Articles
How To Open A Gojo Automatic Soap Dispenser
Modified: May 6, 2024
Learn how to open a Gojo automatic soap dispenser easily with our informative articles. Get step-by-step instructions and troubleshooting tips for a hassle-free experience.
(Many of the links in this article redirect to a specific reviewed product. Your purchase of these products through affiliate links helps to generate commission for Storables.com, at no extra cost. Learn more)
Introduction
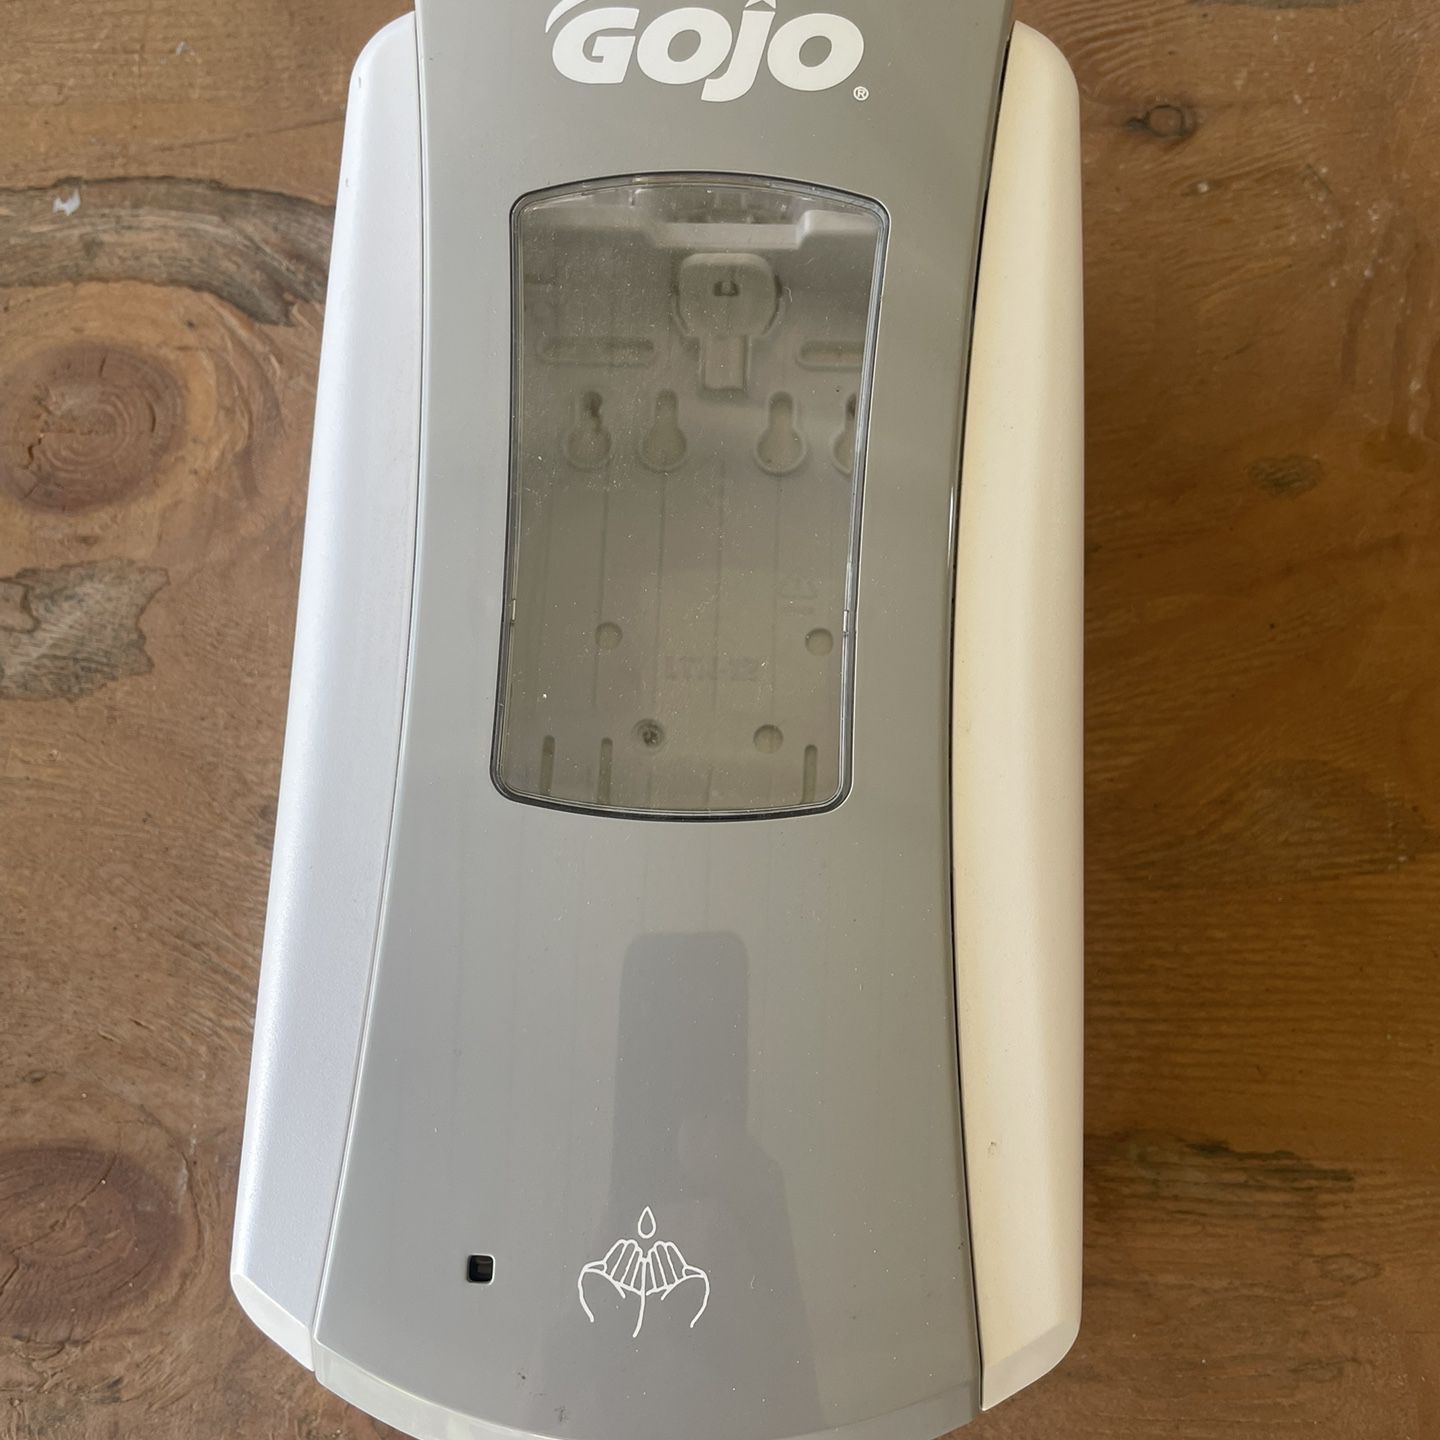
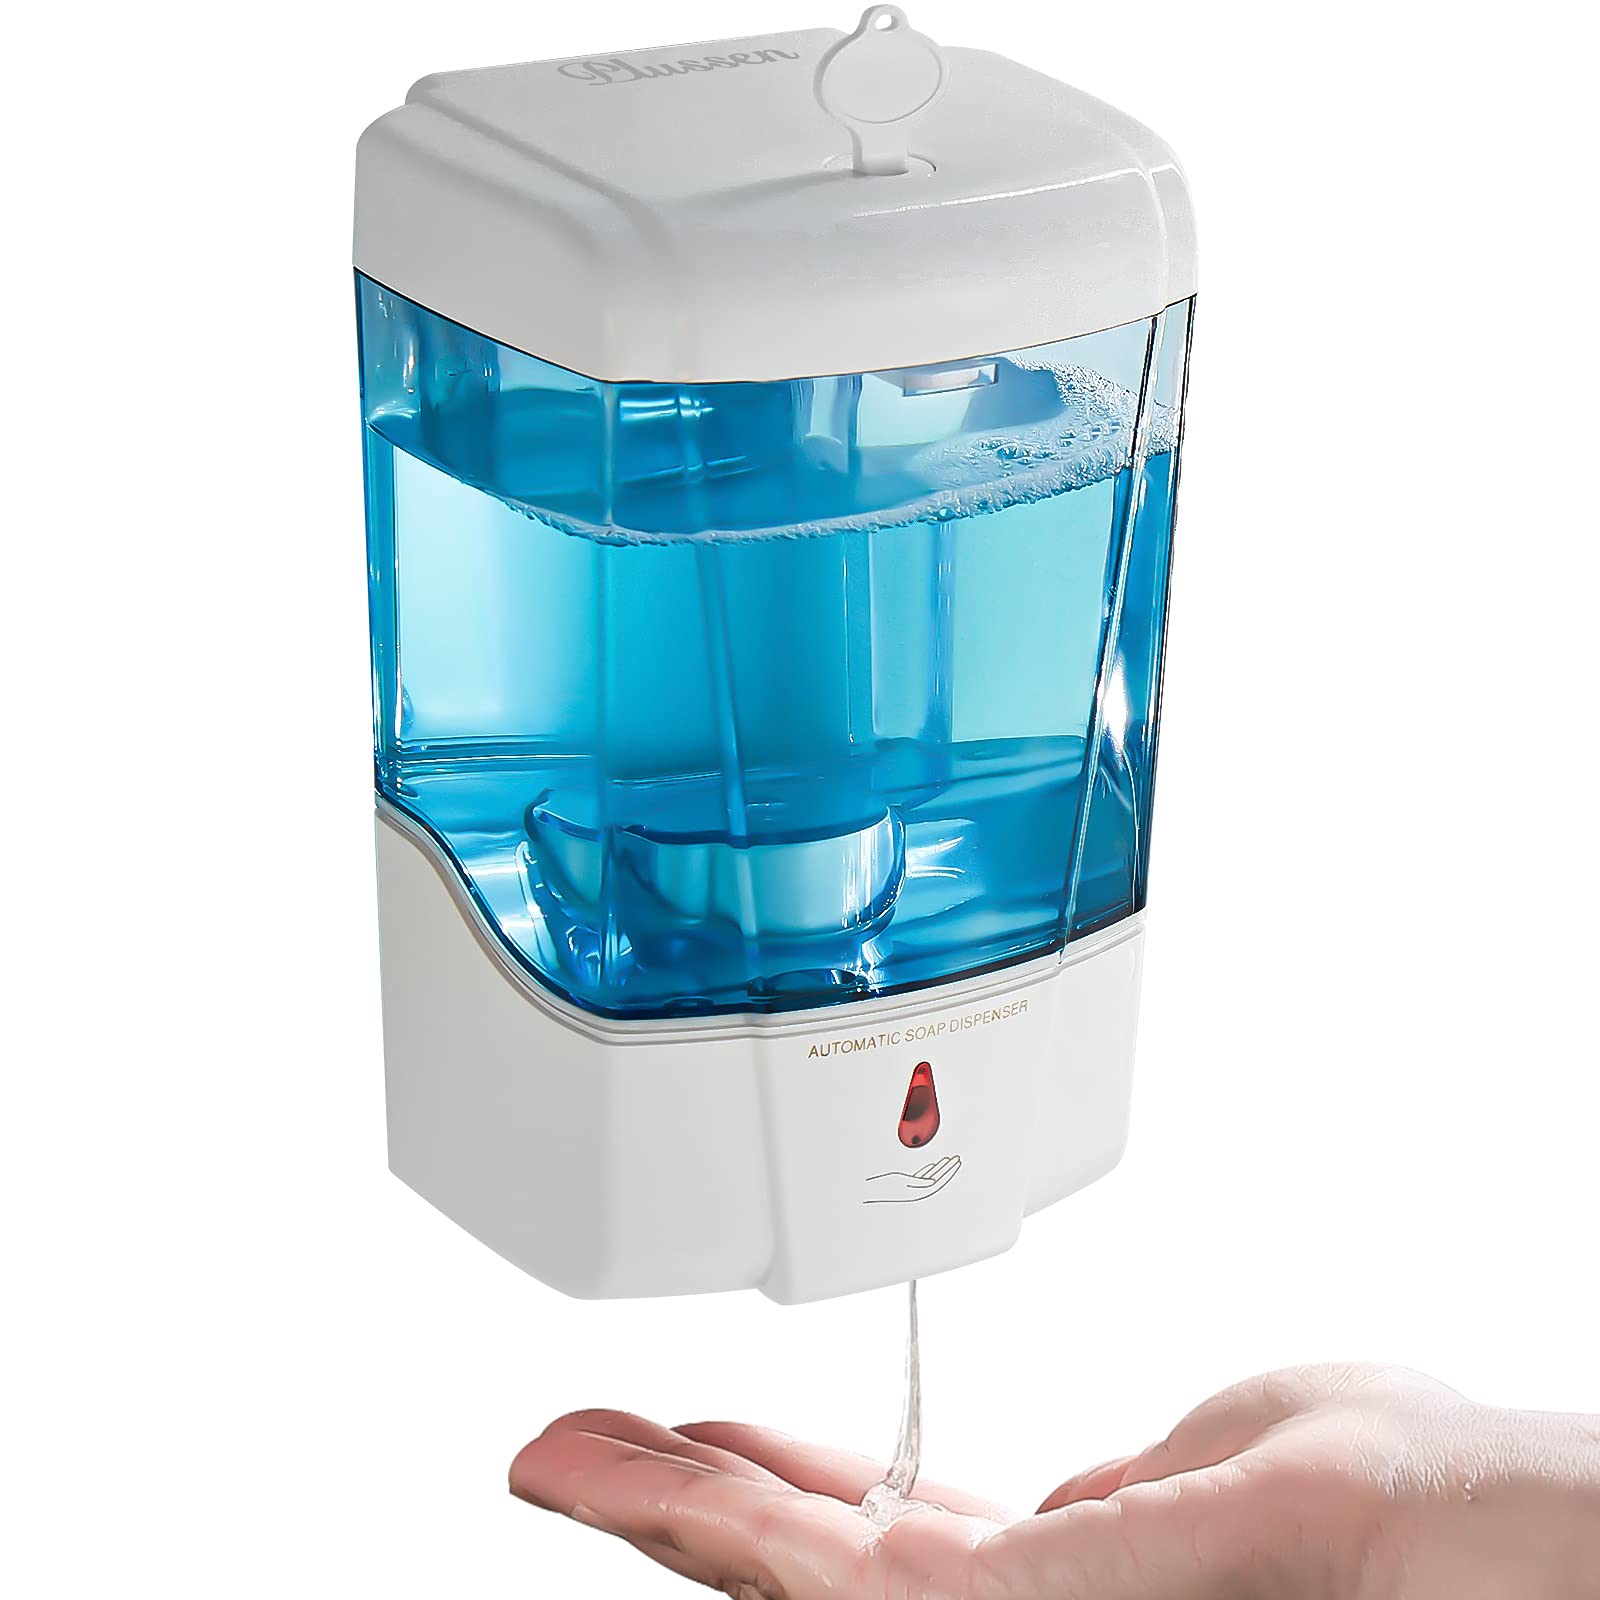
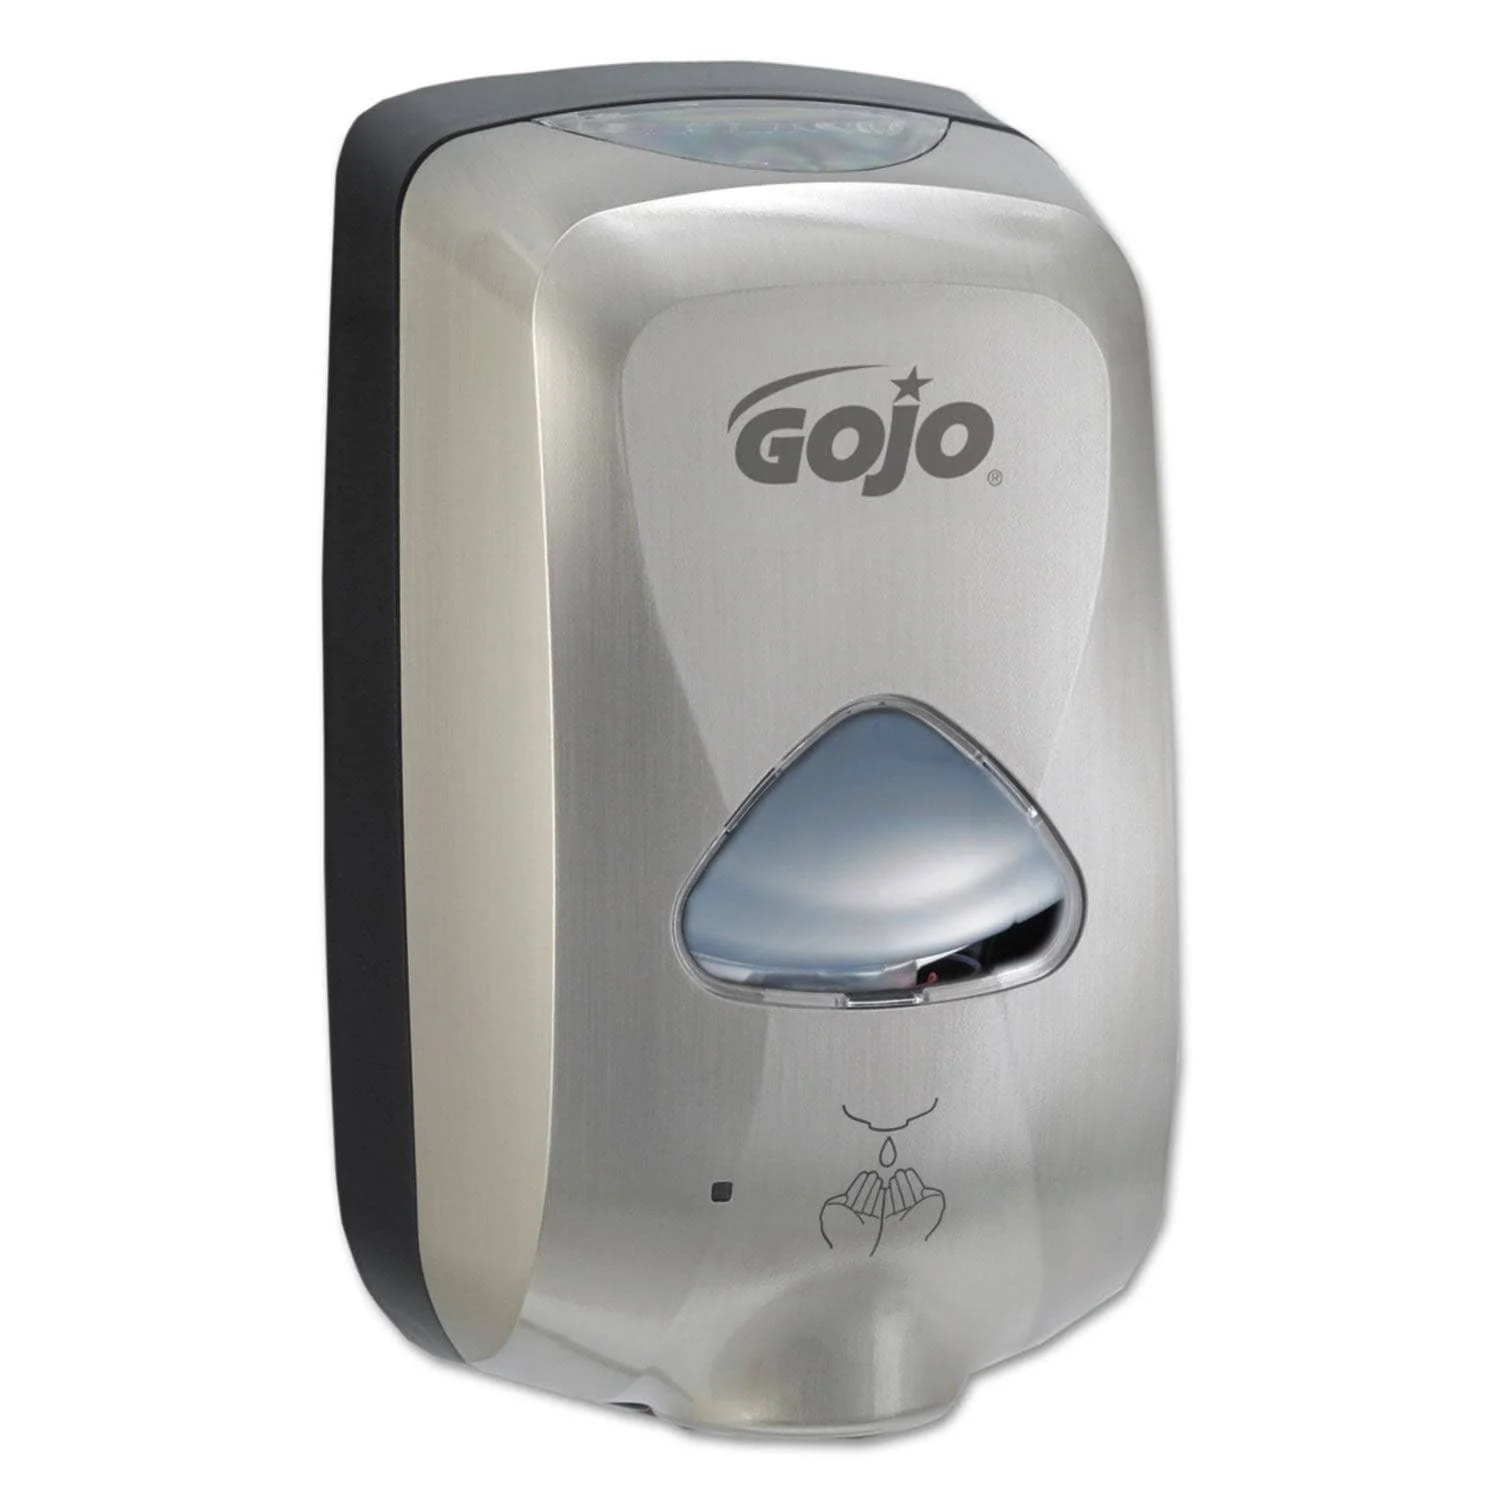
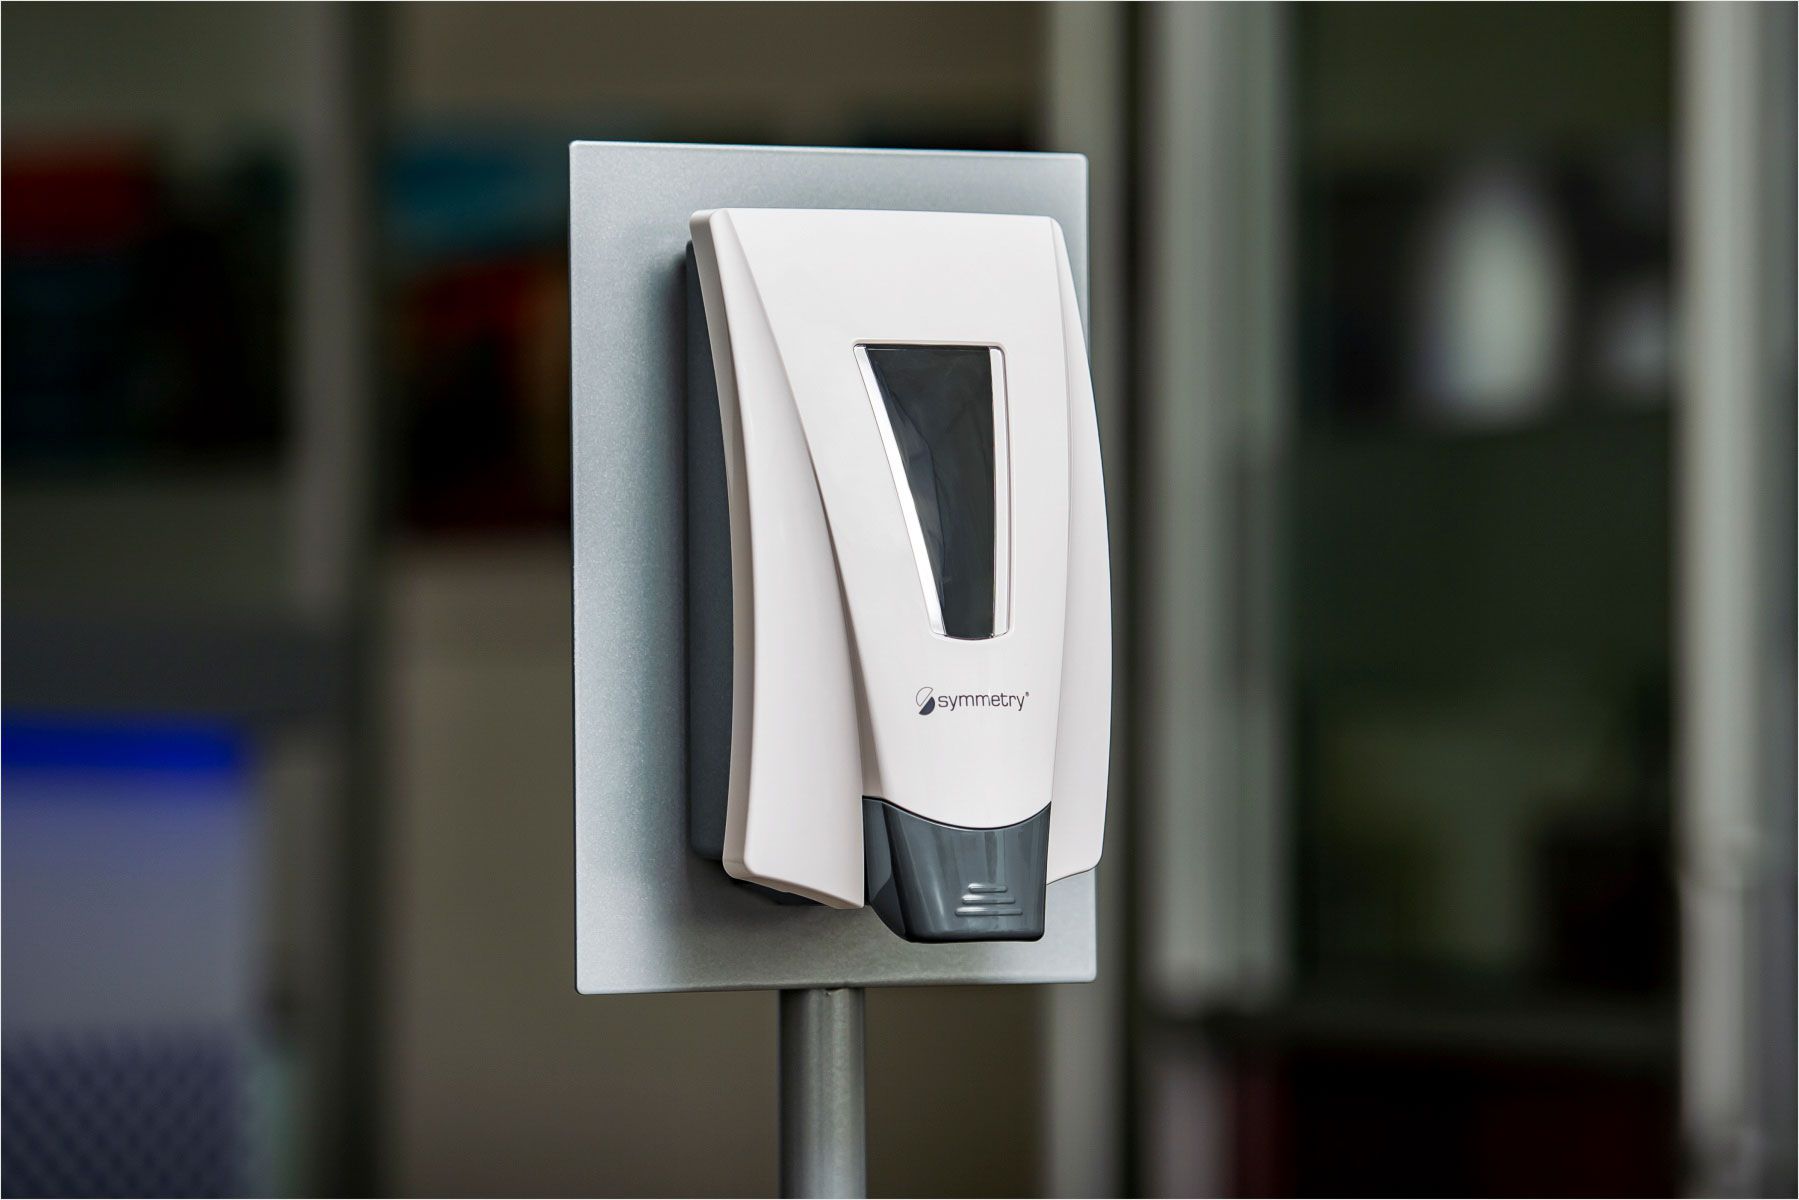
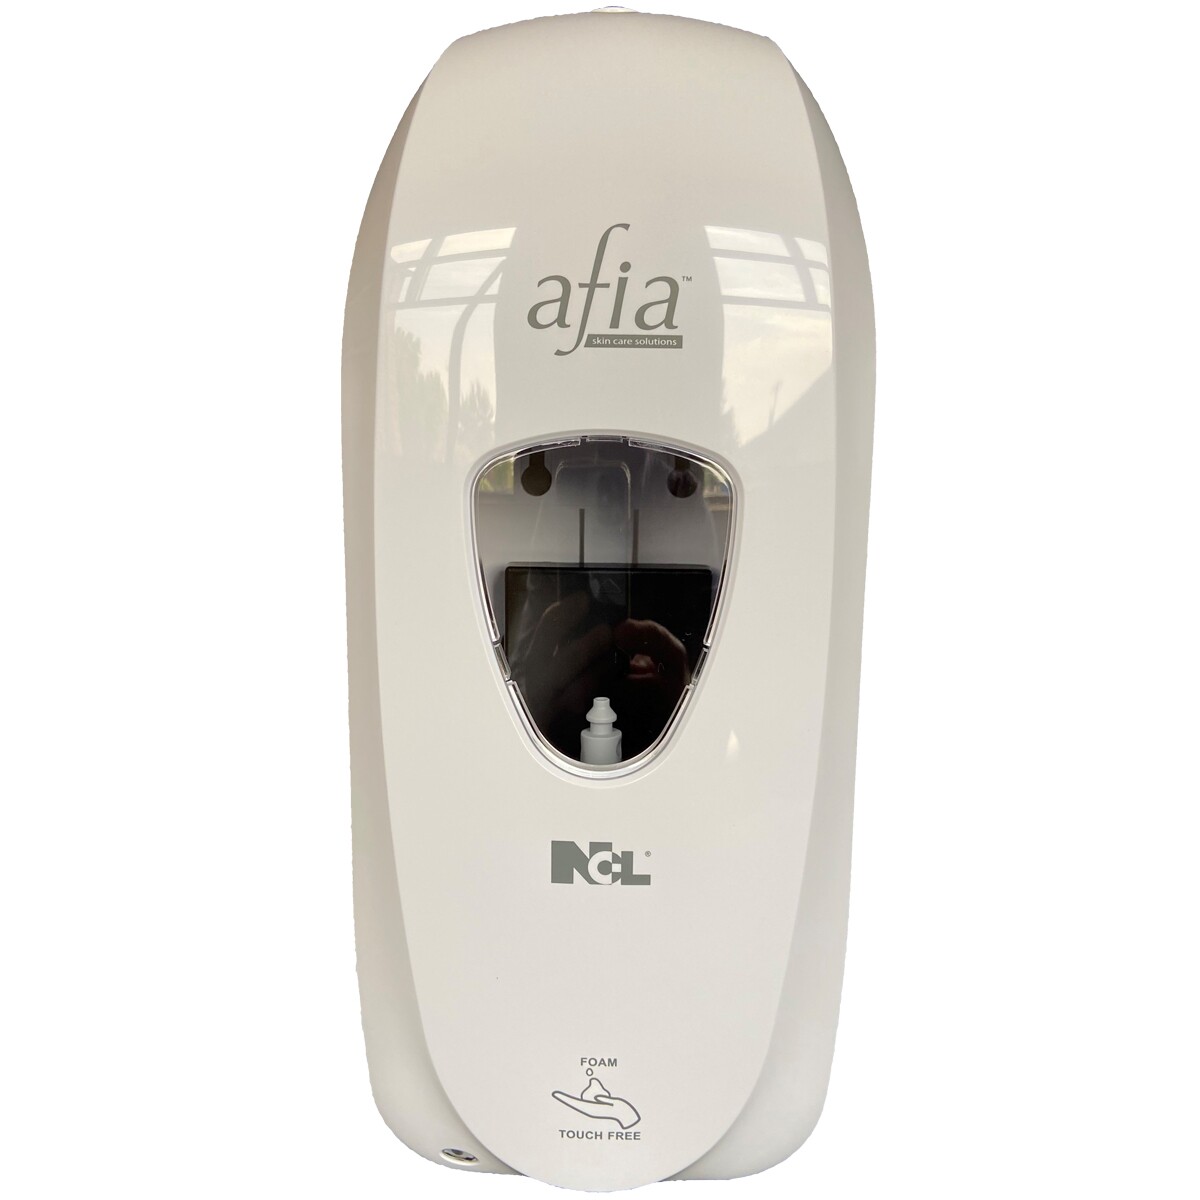
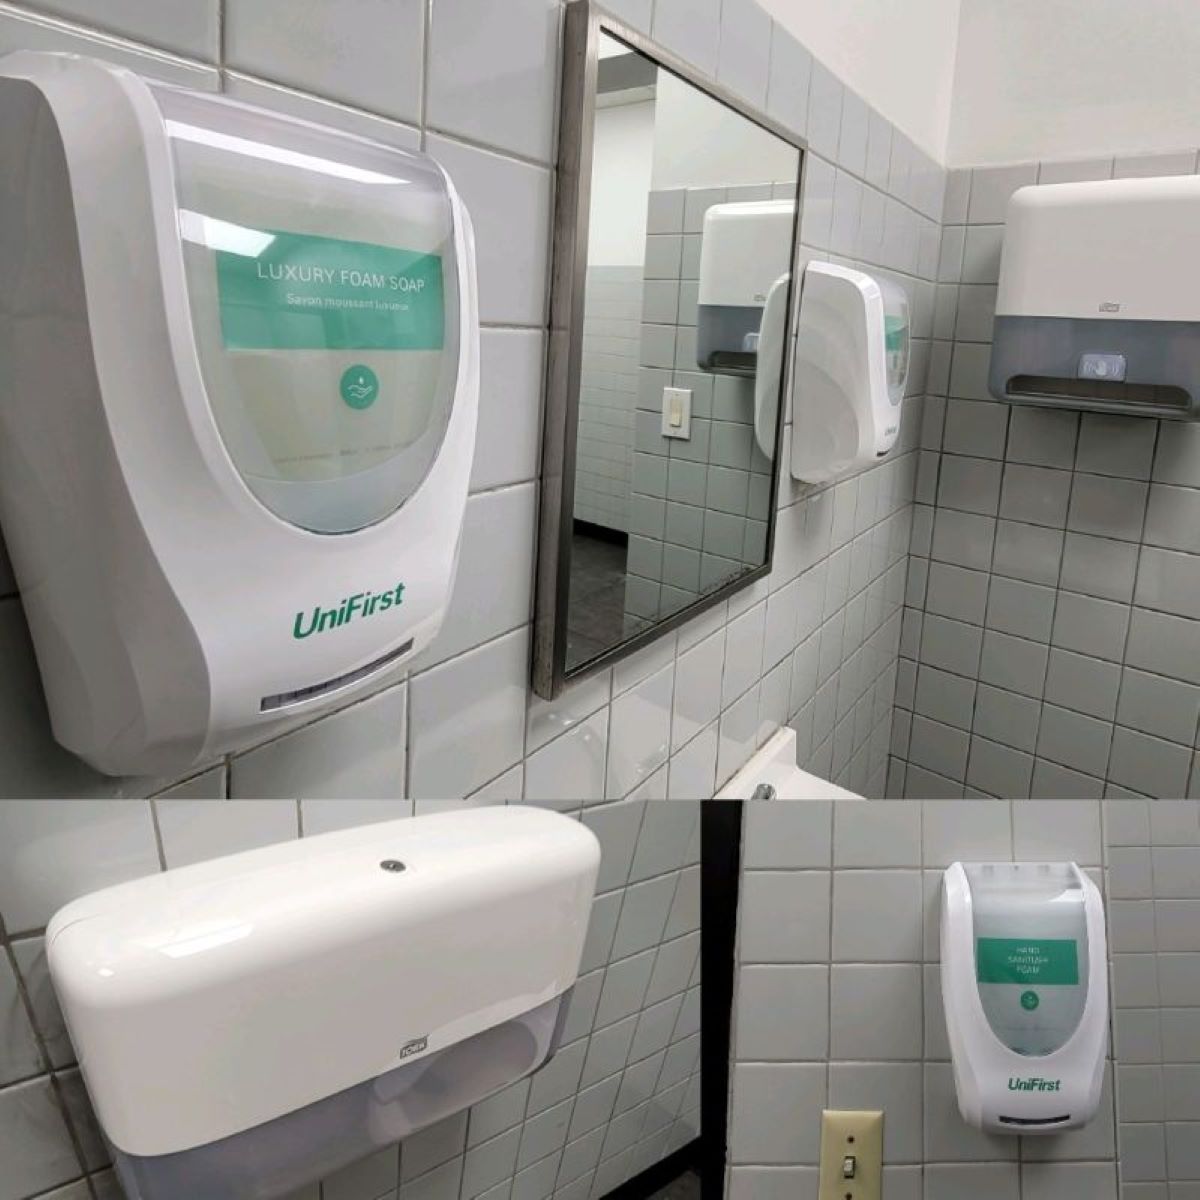
Welcome to the world of convenience and hygiene with the Gojo Automatic Soap Dispenser. This innovative device is designed to provide a touch-free and germ-free handwashing experience. Whether you are using it in your home bathroom, office restroom, or public facilities, learning how to open and set up the Gojo Automatic Soap Dispenser is crucial for a hassle-free operation.
In this article, we will guide you through the step-by-step process of opening and setting up the Gojo Automatic Soap Dispenser. From gathering necessary supplies to filling the reservoir, you will learn everything you need to know to ensure your dispenser functions properly.
So, let’s jump right in and discover how to open a Gojo Automatic Soap Dispenser!
Key Takeaways:
- Enjoy touch-free handwashing convenience by following simple steps to open and set up your Gojo Automatic Soap Dispenser. Ensure a hassle-free experience with proper battery insertion, soap reservoir filling, and sensor testing.
- Promote good hygiene and reduce cross-contamination with a Gojo Automatic Soap Dispenser. Experience the benefits of germ-free handwashing by securely attaching the soap reservoir and testing the dispenser’s functionality.
Read more: How Do You Open A Gojo Soap Dispenser
Step 1: Gather Necessary Supplies
Before you begin opening and setting up your Gojo Automatic Soap Dispenser, it’s important to gather all the necessary supplies. This will ensure a smooth and uninterrupted process. Here’s a list of what you’ll need:
- Gojo Automatic Soap Dispenser
- Batteries (check the user manual for the required type and quantity)
- Hand soap compatible with the dispenser
- Clean cloth or paper towel
Make sure you have these supplies readily available before proceeding to the next steps. Having everything prepared in advance will save you time and help you avoid any delays or interruptions during the setup process.
Step 2: Locate the Battery Compartment
Once you have gathered all the necessary supplies, the next step is to locate the battery compartment of your Gojo Automatic Soap Dispenser. This is where you will insert the batteries to power the dispenser.
Begin by examining the exterior of the dispenser. Look for any marked indicators or symbols that suggest the location of the battery compartment. Typically, it is located on the bottom or backside of the dispenser.
If you are having trouble finding the battery compartment, refer to the user manual that came with your Gojo Automatic Soap Dispenser. The manual should provide clear instructions and diagrams on the location of the battery compartment.
Once you have located the battery compartment, proceed to the next step to insert the batteries and power up your dispenser.
Step 3: Insert Batteries
Now that you have located the battery compartment, it’s time to insert the batteries into your Gojo Automatic Soap Dispenser. Follow these simple steps to ensure a successful battery installation:
- Begin by removing the battery compartment cover. This can usually be done by sliding or lifting the cover in the direction indicated by the arrows or symbols.
- Inside the battery compartment, you will typically find slots or compartments for the batteries to be placed. Refer to the user manual or markings inside the compartment for the correct orientation of battery placement.
- Take the required number of batteries, as specified in the user manual or markings, and insert them into their respective slots. Make sure to align the positive and negative ends of the batteries with the indications inside the compartment.
- Once the batteries are inserted, replace the battery compartment cover by sliding or securing it back into place.
- Ensure that the cover is securely closed to avoid any issues or malfunctions with the dispenser.
With the batteries now inserted, your Gojo Automatic Soap Dispenser is ready to be powered up. Continue to the next step to prepare the soap reservoir.
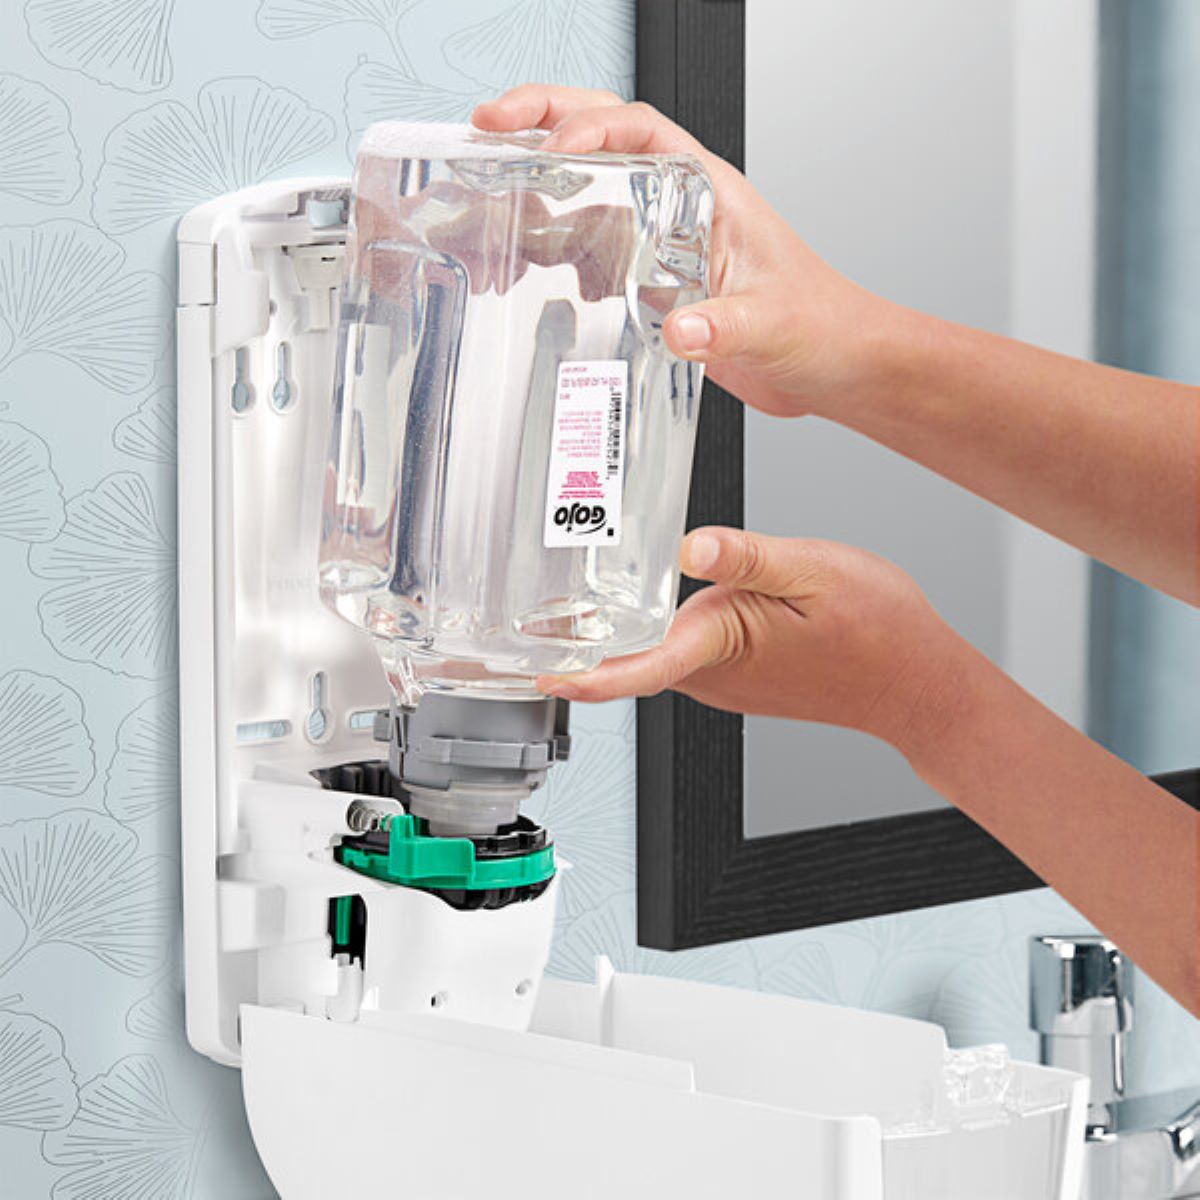
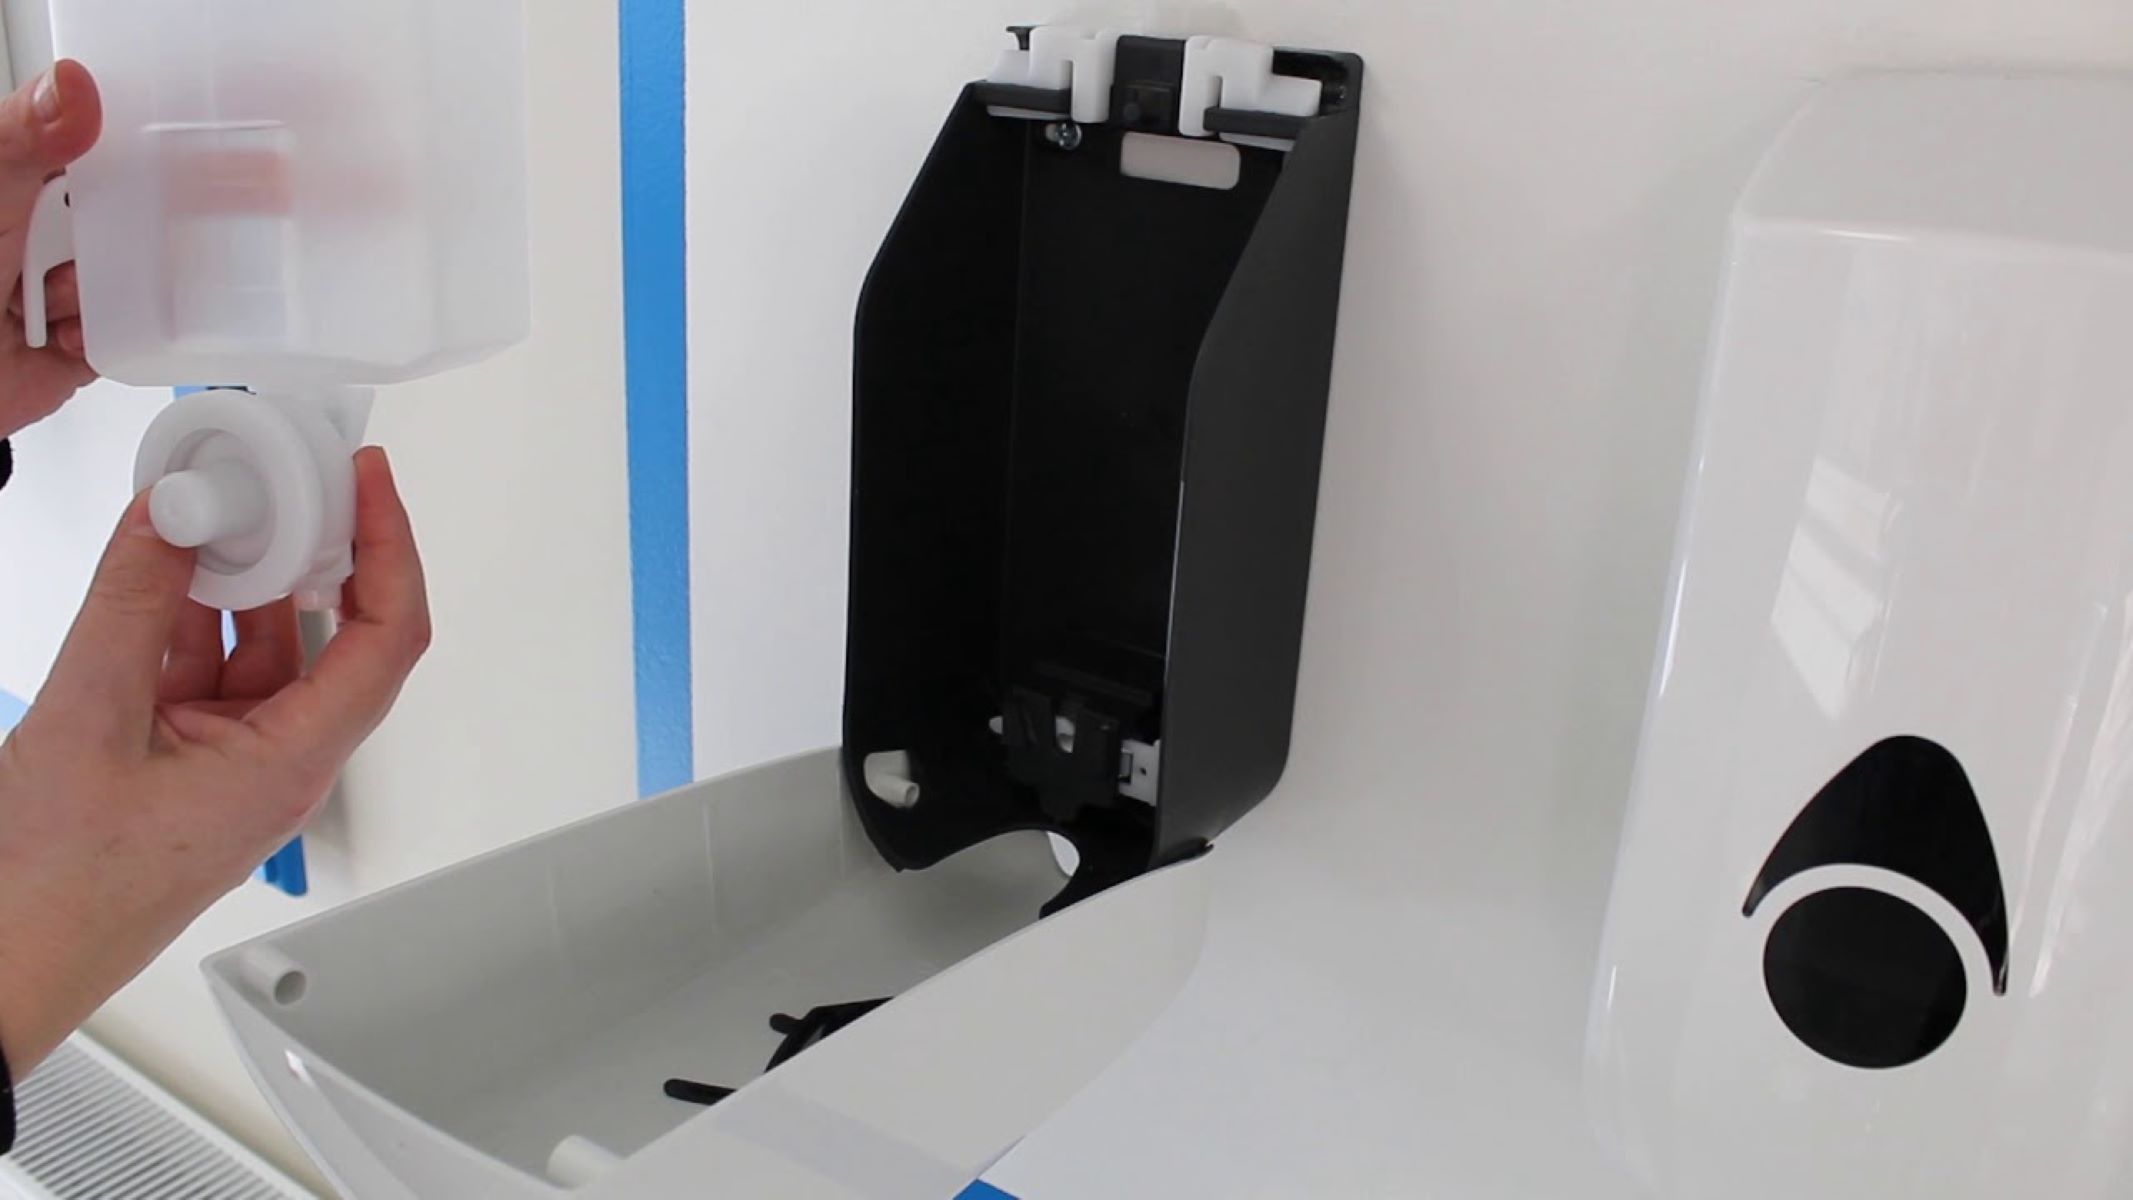
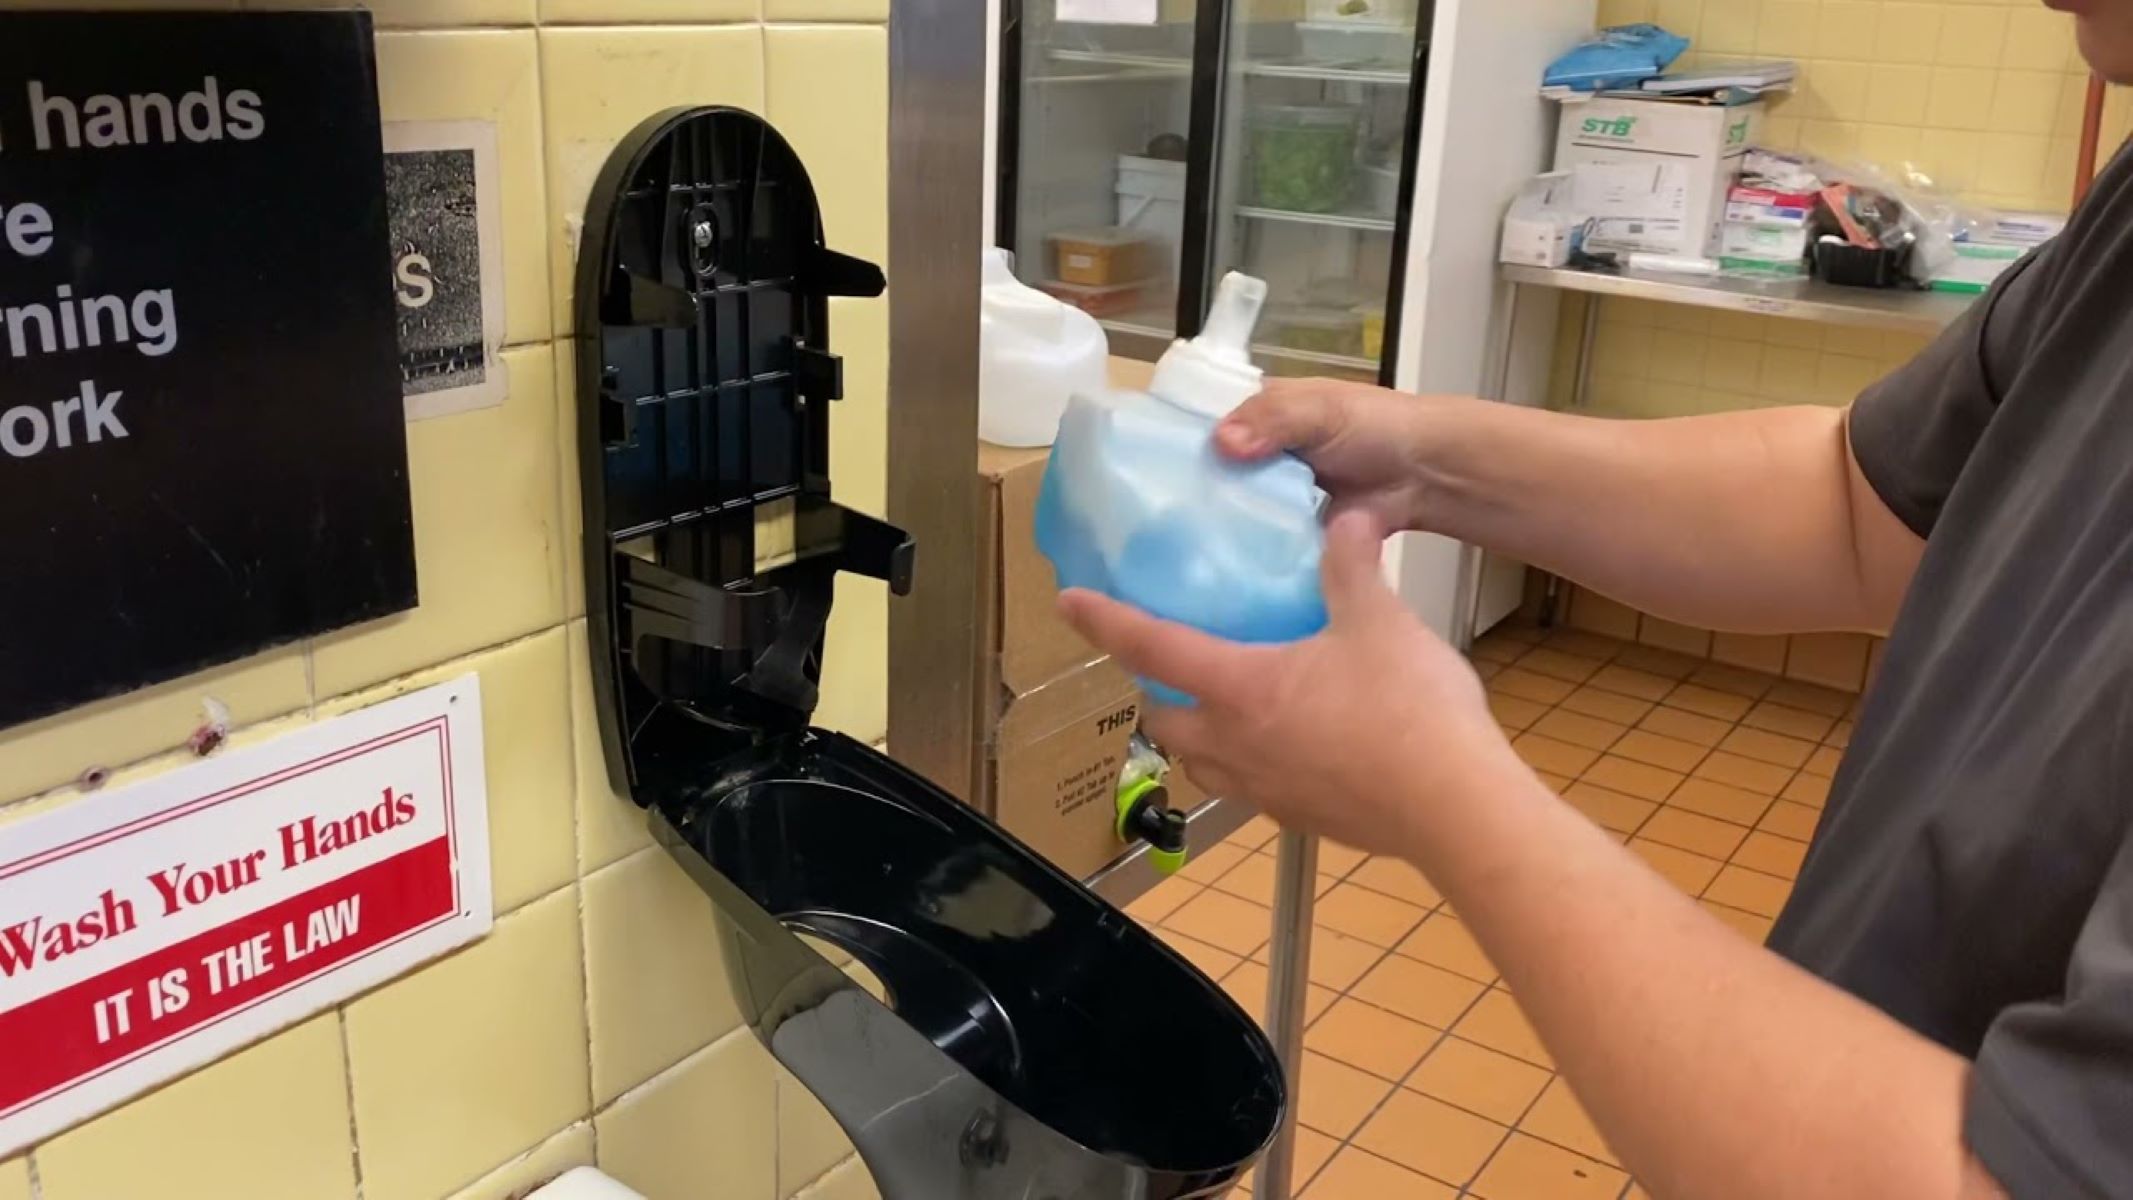
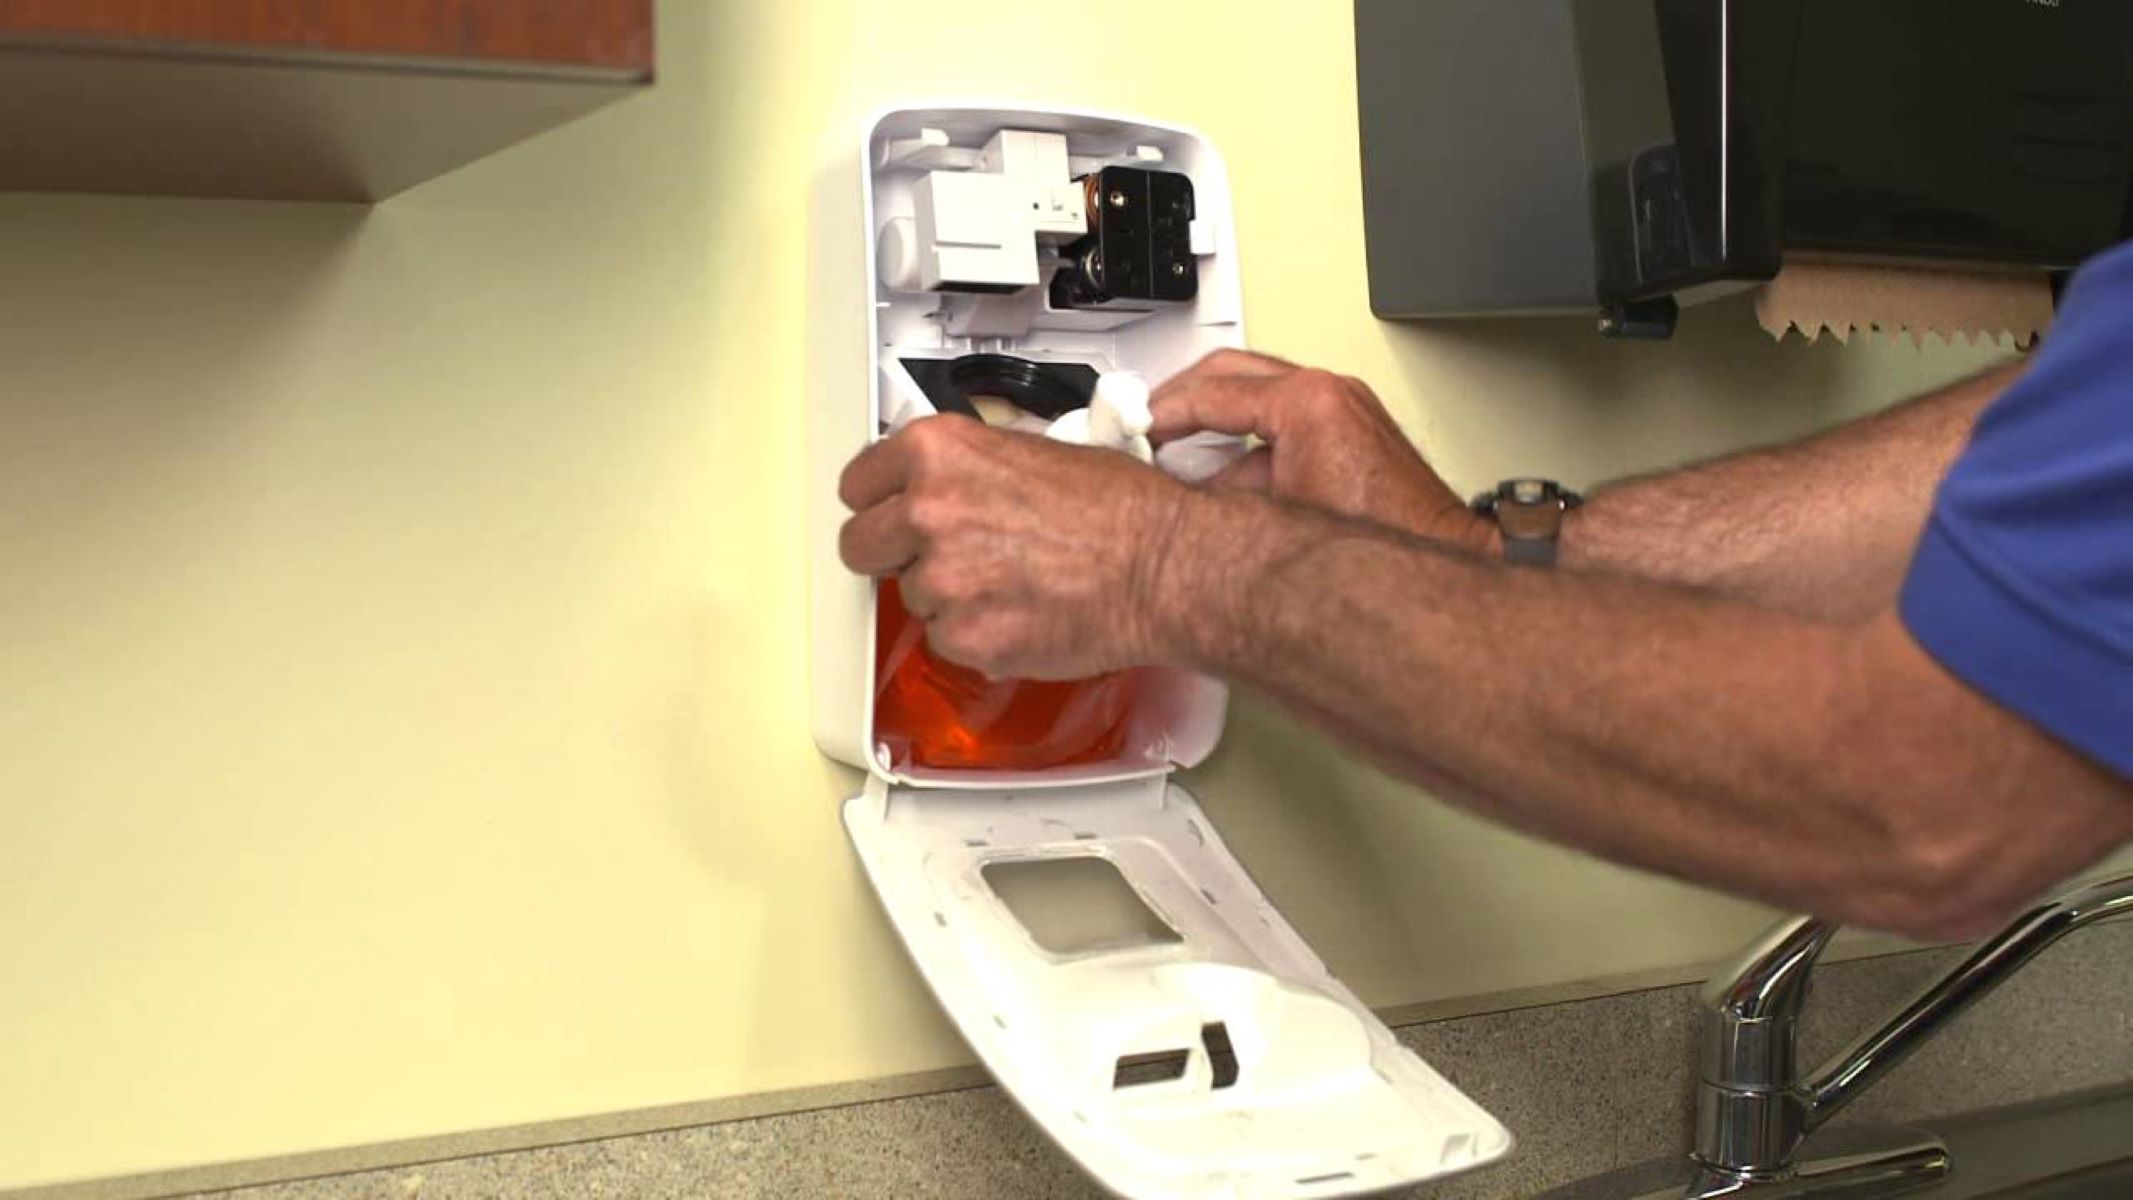
Step 4: Remove the Soap Reservoir
In order to fill the soap reservoir of your Gojo Automatic Soap Dispenser, you first need to remove it from the dispenser. Follow these steps to safely remove the soap reservoir:
- Locate the soap reservoir on your dispenser. It is usually located at the top or front of the unit.
- Look for any buttons, levers, or tabs that are designed to release or unlock the soap reservoir.
- Press or slide the designated button, lever, or tab to unlock and release the soap reservoir from the dispenser.
- Gently pull the soap reservoir forward or upward to detach it from the dispenser.
- Set the soap reservoir aside on a clean surface. Avoid placing it on surfaces that may come into contact with contaminants.
By following these steps, you will be able to safely remove the soap reservoir without causing any damage to your Gojo Automatic Soap Dispenser. With the reservoir detached, you can now proceed to the next step to fill it with your preferred hand soap.
Make sure the dispenser is turned off before opening. Locate the keyhole on the bottom of the dispenser and use the key provided to unlock and open the cover.
Read more: How To Change Soap In Gojo Soap Dispenser
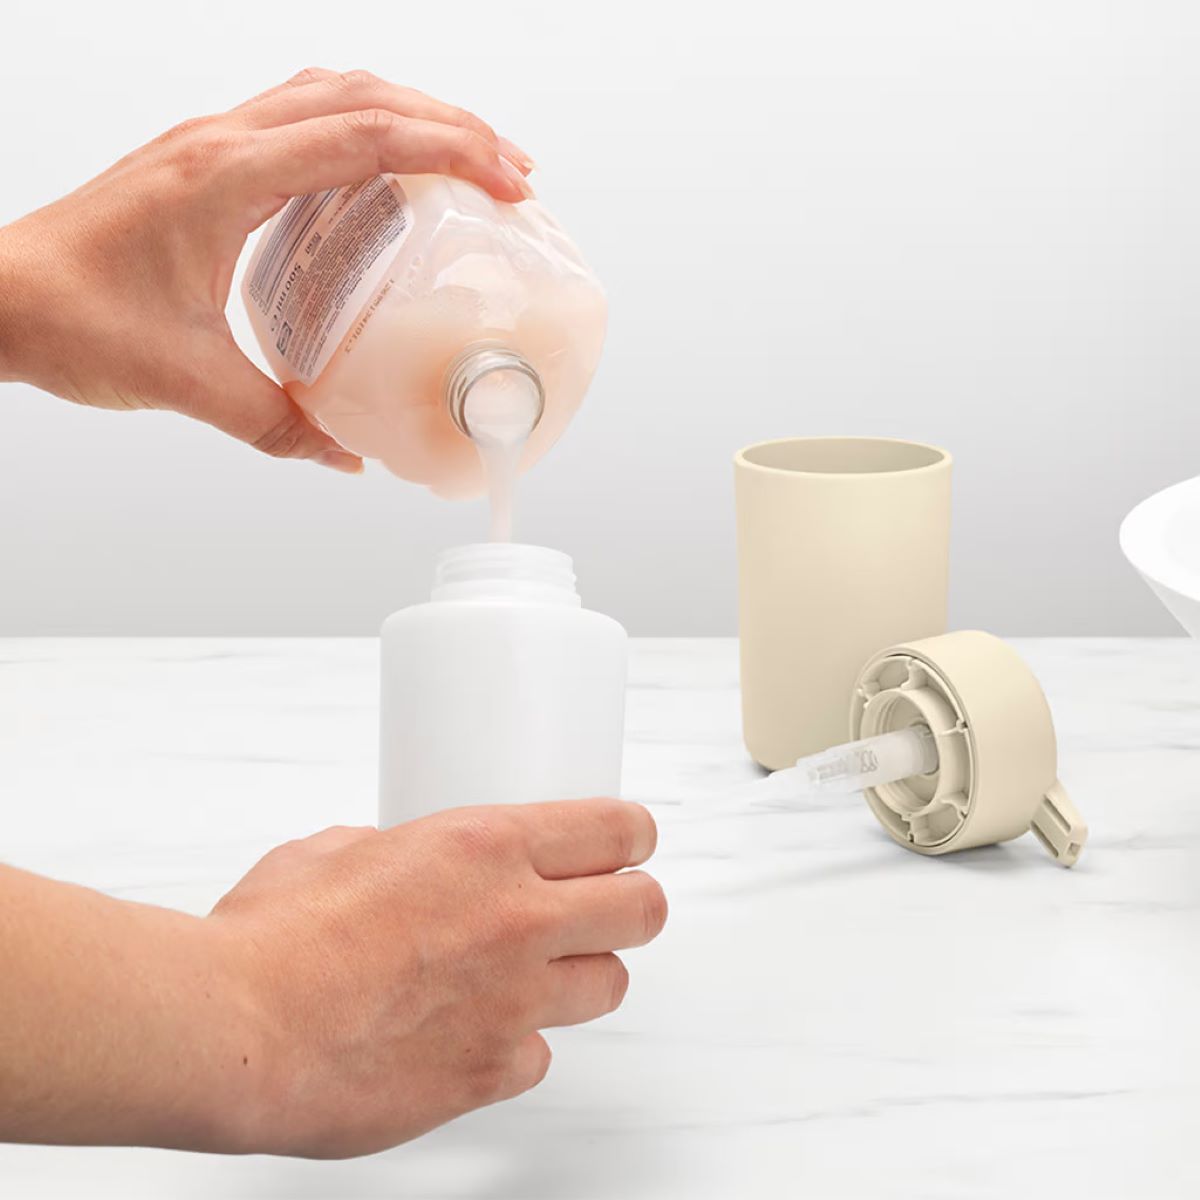
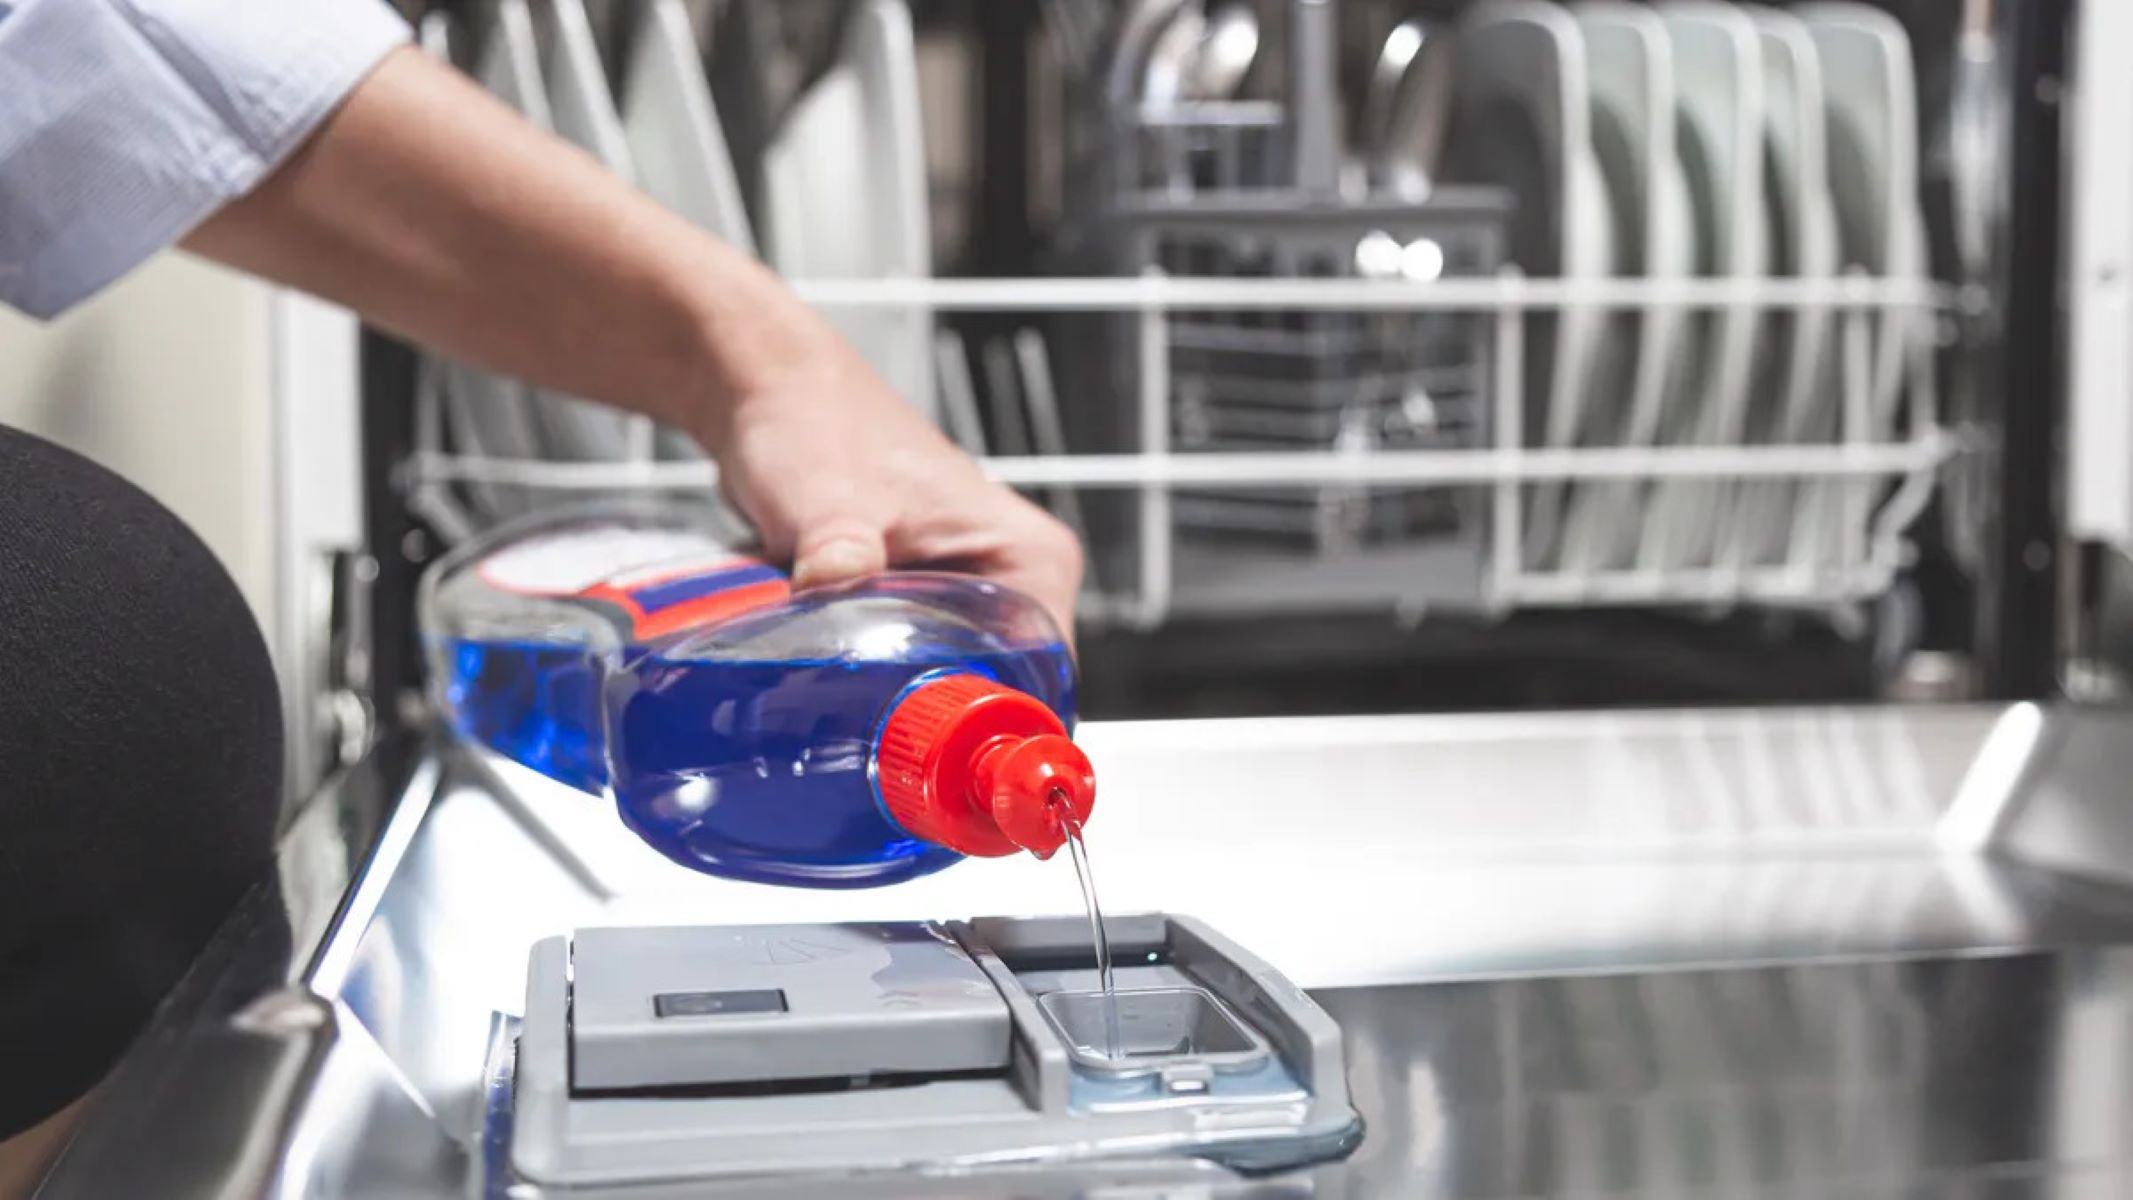
Step 5: Fill the Reservoir with Soap
Now that you have successfully removed the soap reservoir from your Gojo Automatic Soap Dispenser, it’s time to fill it with your chosen hand soap. Follow these steps to ensure the proper filling of the reservoir:
- Start by checking the capacity of the soap reservoir. This information can usually be found in the user manual or on the dispenser itself.
- Select a hand soap that is compatible with your dispenser. Make sure to choose a liquid soap that has the appropriate viscosity and consistency for the dispenser to function optimally.
- Using a clean funnel or pouring spout, carefully pour the hand soap into the reservoir. Be mindful not to overfill, as this can lead to spills and potential malfunctions of the dispenser.
- If necessary, use a clean cloth or paper towel to wipe off any excess soap that may have spilled around the reservoir opening.
- Once the reservoir is filled with the desired amount of hand soap, set it aside momentarily while you prepare to reattach it to the dispenser.
By following these steps, you can ensure that your Gojo Automatic Soap Dispenser is filled with the right amount of soap, ready to provide you with a touch-free and hassle-free handwashing experience. Proceed to the next step to reattach the soap reservoir.
Step 6: Reattach the Soap Reservoir
With the soap reservoir filled and ready to go, it’s time to reattach it to your Gojo Automatic Soap Dispenser. Follow these steps to ensure a secure and proper installation:
- Take the soap reservoir that you previously set aside and align it with the designated slot or connectors on the dispenser.
- Gently push the soap reservoir back into place, making sure it is properly aligned and securely attached to the dispenser.
- Double-check to ensure that the reservoir is firmly seated and does not wobble or move loosely.
- If there is a locking mechanism or a release button, make sure to engage it to secure the soap reservoir in place.
By following these steps, you can ensure that the soap reservoir is securely reattached to your Gojo Automatic Soap Dispenser. This will prevent any leakage or dispensing issues during use. Now that the soap reservoir is in place, it’s time to move on to the final step of testing the dispenser.
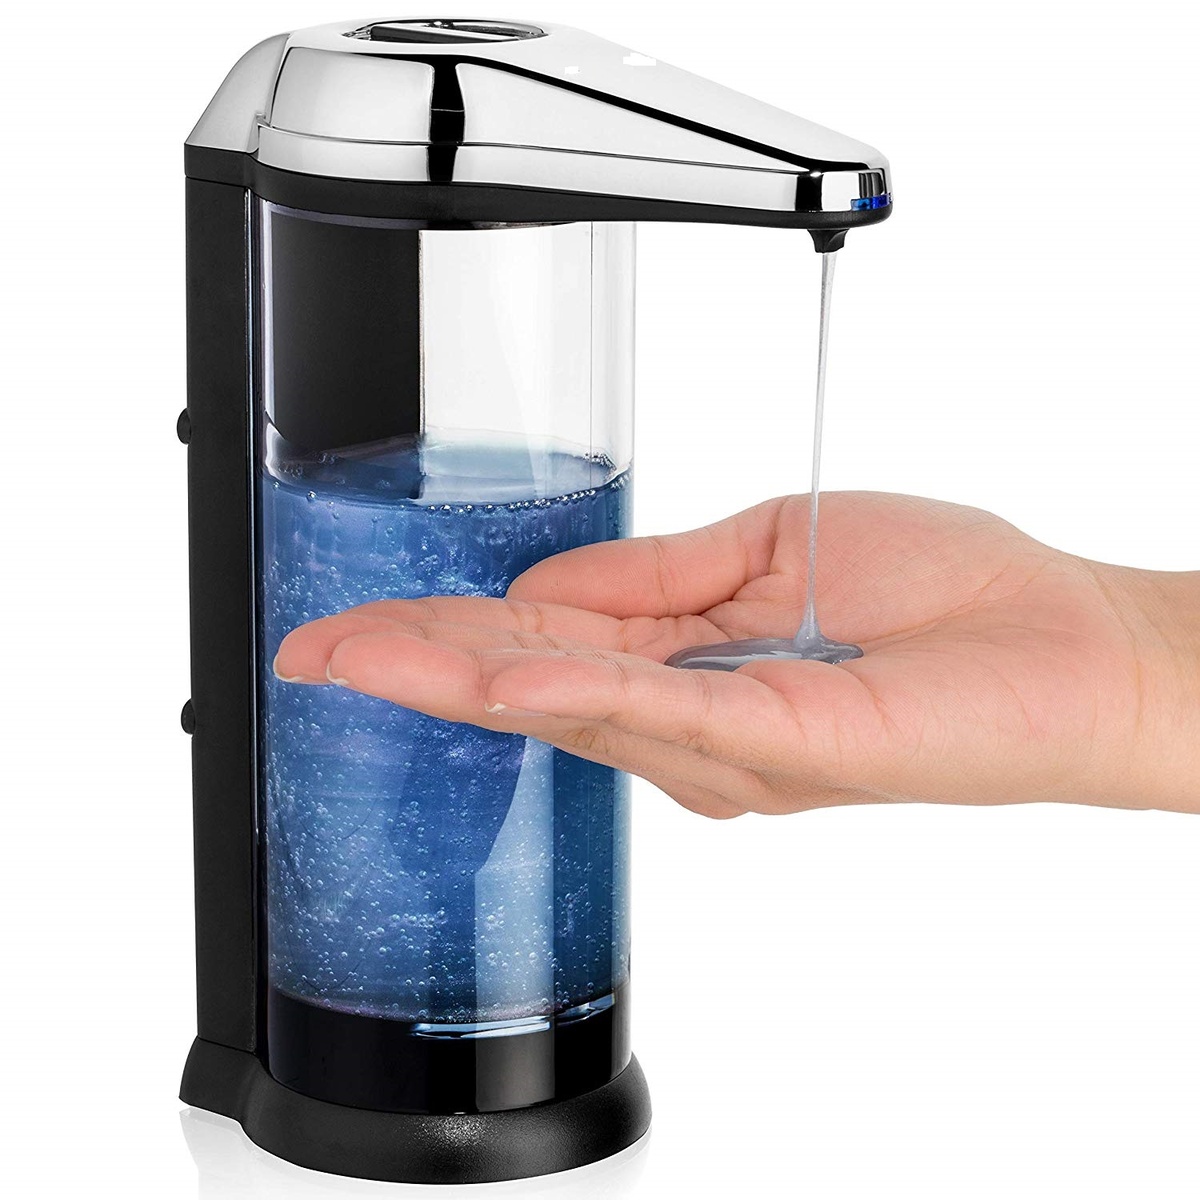
Step 7: Test the Dispenser
Now that you have successfully set up your Gojo Automatic Soap Dispenser, it’s time to test its functionality. Follow these steps to ensure that the dispenser is working properly:
- Make sure the batteries are properly inserted and the soap reservoir is securely attached.
- Position your hands directly under the dispenser’s sensor. The sensor is typically located at the bottom of the dispenser.
- Activate the sensor by either bringing your hands close to it or waving your hands in front of it, depending on the model.
- Observe if the dispenser dispenses the correct amount of soap into your hands. It should release an adequate amount of soap to effectively cleanse your hands.
- Check if the sensor is responsive by repeating the hand motion and checking for consistent soap dispensing.
If the dispenser is not functioning as expected, check the battery connection and ensure that the soap reservoir is properly filled and attached. If the issue persists, consult the user manual or contact the manufacturer for further assistance.
Congratulations! You have successfully opened and set up your Gojo Automatic Soap Dispenser. Enjoy the convenience of touch-free handwashing and the assurance of a germ-free environment.
Conclusion
In conclusion, learning how to open and set up a Gojo Automatic Soap Dispenser is a straightforward process that can greatly enhance your handwashing experience. By following the steps outlined in this article, you can ensure a hassle-free and efficient setup of your dispenser.
Remember to gather all the necessary supplies before getting started and carefully locate the battery compartment. Insert the required batteries and make sure to follow the correct orientation. Remove the soap reservoir and fill it with your preferred hand soap, being mindful not to overfill. Reattach the reservoir securely to the dispenser and test its functionality by activating the sensor.
Properly setting up your Gojo Automatic Soap Dispenser not only provides convenience but also promotes good hygiene. The touch-free operation eliminates the need to touch potentially germ-covered surfaces, reducing the risk of cross-contamination.
Enjoy the benefits of a clean and germ-free handwashing experience with your Gojo Automatic Soap Dispenser. Regularly maintain and refill the dispenser as needed to ensure continuous operation and a steady supply of soap. With this knowledge, you can confidently navigate the process of opening and setting up your Gojo Automatic Soap Dispenser.
Now that you've mastered opening your Gojo automatic soap dispenser, why not explore other top options on the market? Our detailed guide on the 12 best automatic soap dispensers for 2024 will help you choose the perfect model for your needs. Whether you're after elegance or efficiency, this article is packed with insights to assist in your decision-making. Dive into our reviews to secure an ideal match for your space.
Frequently Asked Questions about How To Open A Gojo Automatic Soap Dispenser
Was this page helpful?
At Storables.com, we guarantee accurate and reliable information. Our content, validated by Expert Board Contributors, is crafted following stringent Editorial Policies. We're committed to providing you with well-researched, expert-backed insights for all your informational needs.

0 thoughts on “How To Open A Gojo Automatic Soap Dispenser”