Articles
How To Change Soap In Gojo Soap Dispenser
Modified: August 25, 2024
Learn how to change soap in your Gojo soap dispenser easily with our informative articles. Keep your hands clean and germ-free with our step-by-step guide.
(Many of the links in this article redirect to a specific reviewed product. Your purchase of these products through affiliate links helps to generate commission for Storables.com, at no extra cost. Learn more)
Introduction
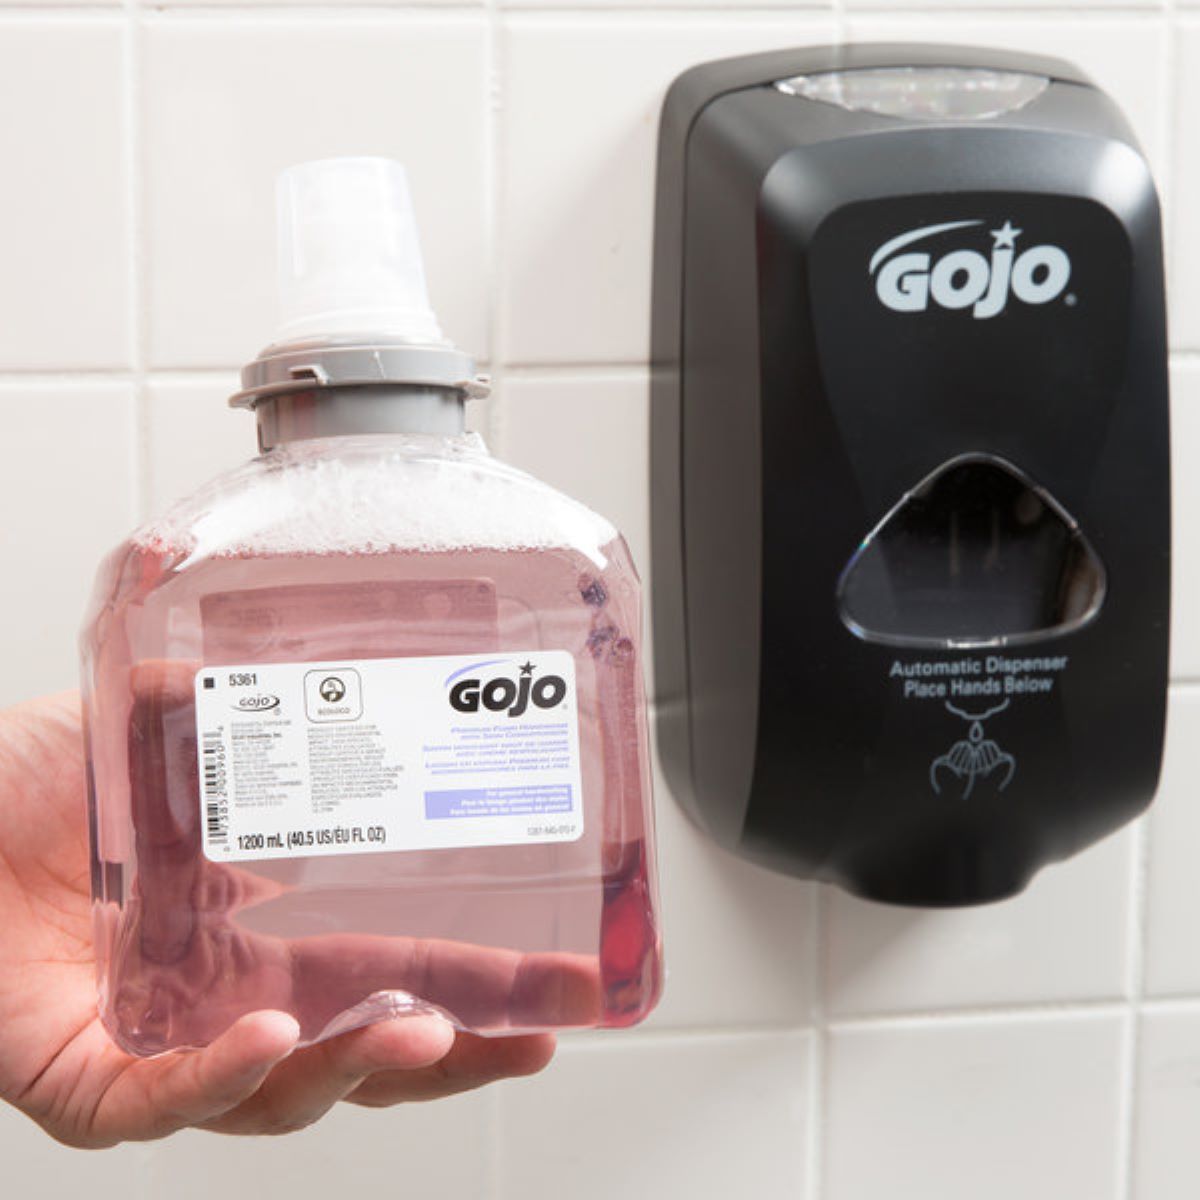
Welcome to this guide on how to change the soap in a Gojo soap dispenser! Gojo soap dispensers are a popular choice for maintaining cleanliness and hygiene in various settings, such as public restrooms, offices, and healthcare facilities. Regularly replacing the soap in these dispensers is essential to ensure a continuous supply of clean and germ-free handwashing liquid.
In this article, we will walk you through the step-by-step process of changing the soap in a Gojo soap dispenser, providing you with the necessary guidance to complete the task effectively. Whether you are a facility manager, a maintenance personnel, or simply someone who wants to learn a new skill, this guide is designed to help you through the process seamlessly.
Before we dive into the details, let’s quickly go over some of the reasons why changing the soap in a Gojo dispenser is important. First and foremost, regular soap replacement helps to maintain the quality and effectiveness of the handwashing liquid. Over time, the soap may lose its potency or become contaminated, reducing its ability to effectively clean and disinfect hands.
Furthermore, changing the soap in a timely manner ensures a continuous supply of soap for users. Running out of soap can be inconvenient for anyone trying to have clean hands, and it can create a negative impression of the facility if not addressed promptly. By following the steps outlined in this guide, you can avoid such situations and ensure a steady flow of soap for users.
Lastly, proper soap replacement contributes to the overall cleanliness and hygiene of the facility. Clean and well-maintained soap dispensers promote good hand hygiene practices and help prevent the spread of germs and illnesses. By regularly changing the soap in your Gojo dispenser, you are taking an important step towards creating a healthier and safer environment for everyone.
Now that we understand the importance of changing the soap in a Gojo dispenser, let’s move on to the step-by-step process of how to do it. But before we begin, make sure you have all the necessary supplies on hand, which we will discuss in the next section.
Key Takeaways:
- Regularly changing the soap in your Gojo soap dispenser is crucial for maintaining cleanliness, ensuring a continuous supply of soap, and promoting overall hygiene in your facility or workspace.
- By following the step-by-step process outlined in this guide, you can confidently replace the soap cartridge in your Gojo soap dispenser, contributing to a safer and healthier environment for yourself and those around you.
Read also: 8 Best Gojo Soap Dispenser for 2025
Step 1: Gathering the necessary supplies
Before you start the process of changing the soap in your Gojo soap dispenser, it is important to gather all the necessary supplies. Having everything you need at hand will ensure a smooth and efficient soap replacement process. Here are the supplies you will need:
- New soap cartridge: Purchase a new soap cartridge that is compatible with your Gojo soap dispenser model. Make sure to check the size and specifications of the cartridge to ensure a proper fit.
- Gloves: Wear a pair of disposable gloves to protect your hands from any potential contact with the used soap or dispenser residue.
- Paper towels or cloth: Keep some paper towels or a clean cloth nearby to wipe any spills or clean the dispenser surfaces, if needed.
Once you have gathered all the necessary supplies, you are ready to proceed to the next step. It’s always a good idea to have everything prepared before you start, as it saves you time and minimizes interruptions during the soap replacement process.
Now that you have your supplies ready, let’s move on to step 2: emptying the dispenser. This step involves removing any remnants of the old soap from the dispenser, making way for the new soap cartridge. Follow along to learn the proper technique for this important step.
Step 2: Emptying the dispenser
Before you can replace the soap in your Gojo soap dispenser, you need to empty the existing soap from it. This step ensures that the dispenser is free from any old or contaminated soap residue, allowing for a fresh start with the new soap cartridge. Follow these steps to properly empty the dispenser:
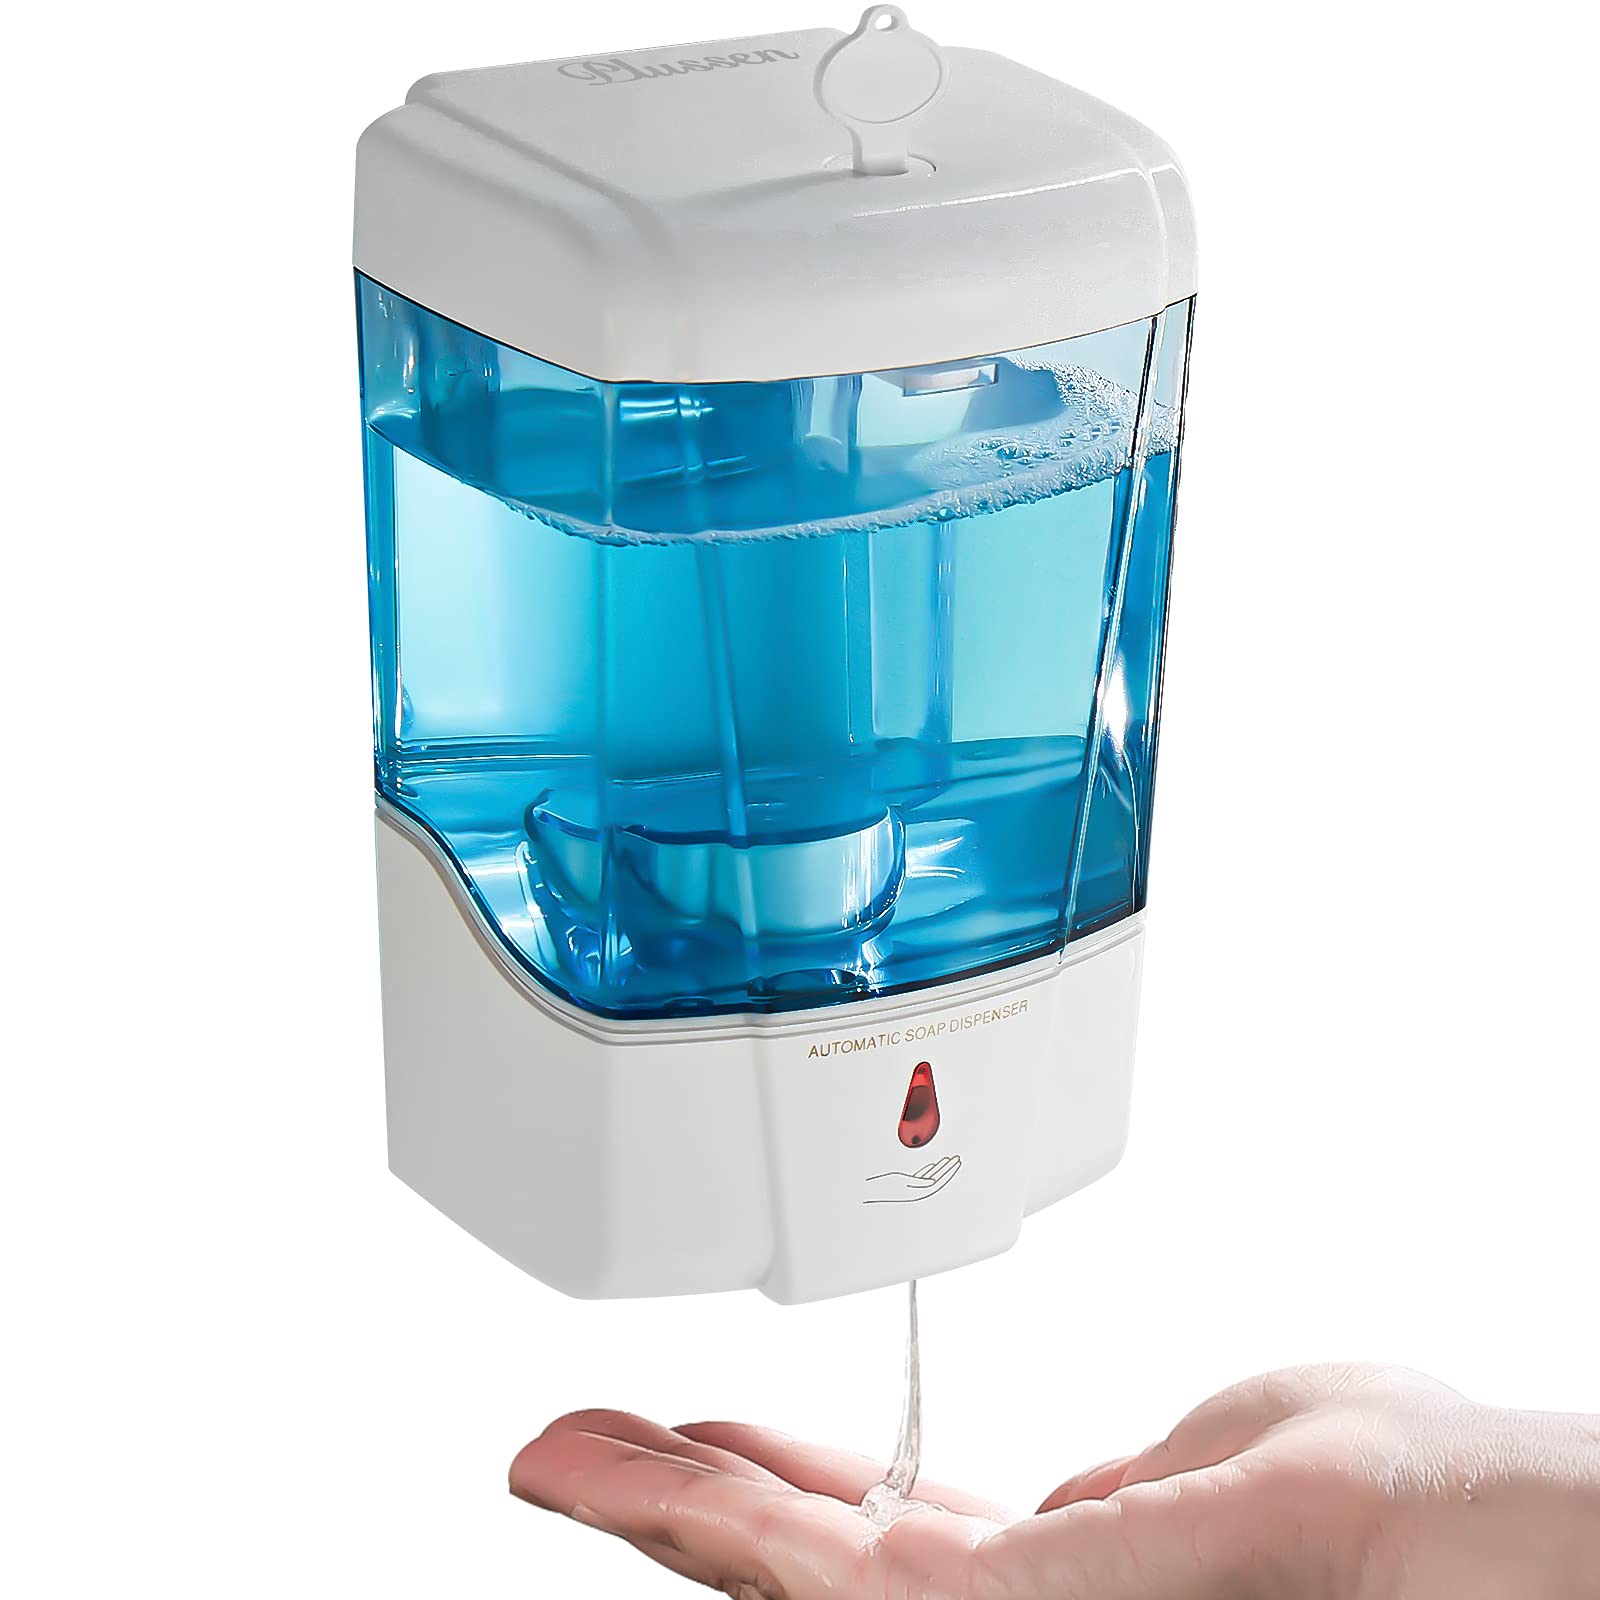
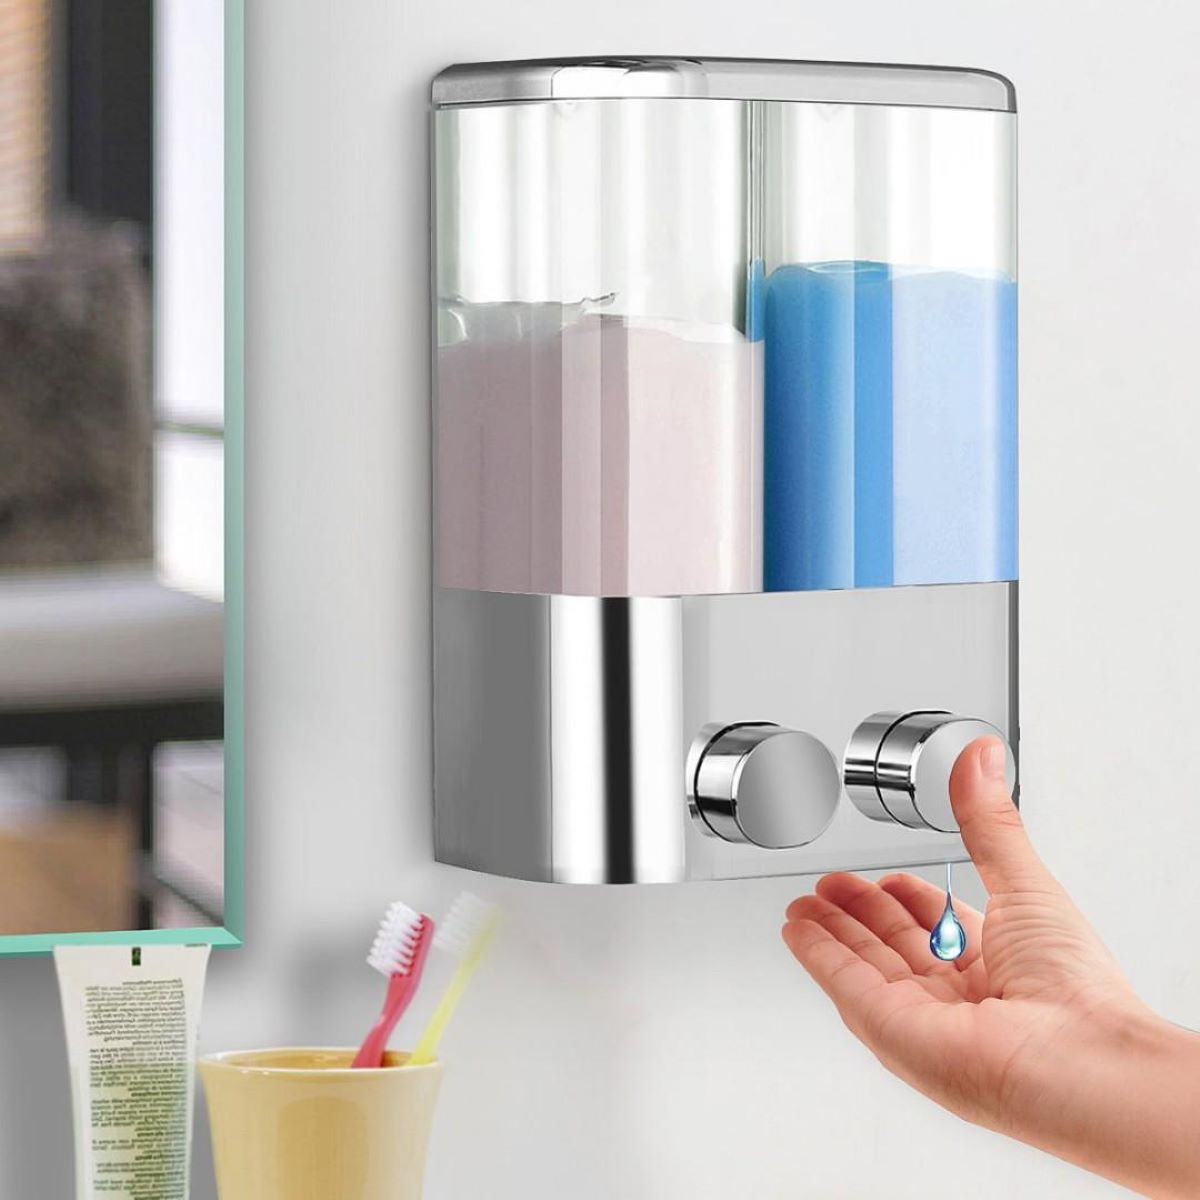
- Locate the soap dispenser: Identify the soap dispenser unit on the wall or countertop. Depending on the model, it may have a visible pump or a hidden mechanism.
- Turn off the dispenser: If your dispenser has an on/off switch or button, make sure to turn it off to prevent accidental dispensing during the emptying process.
- Remove the soap reservoir: Some Gojo soap dispensers have removable soap reservoirs. Check if yours has this feature and, if so, remove the reservoir from the dispenser. This will make it easier to empty the remaining soap.
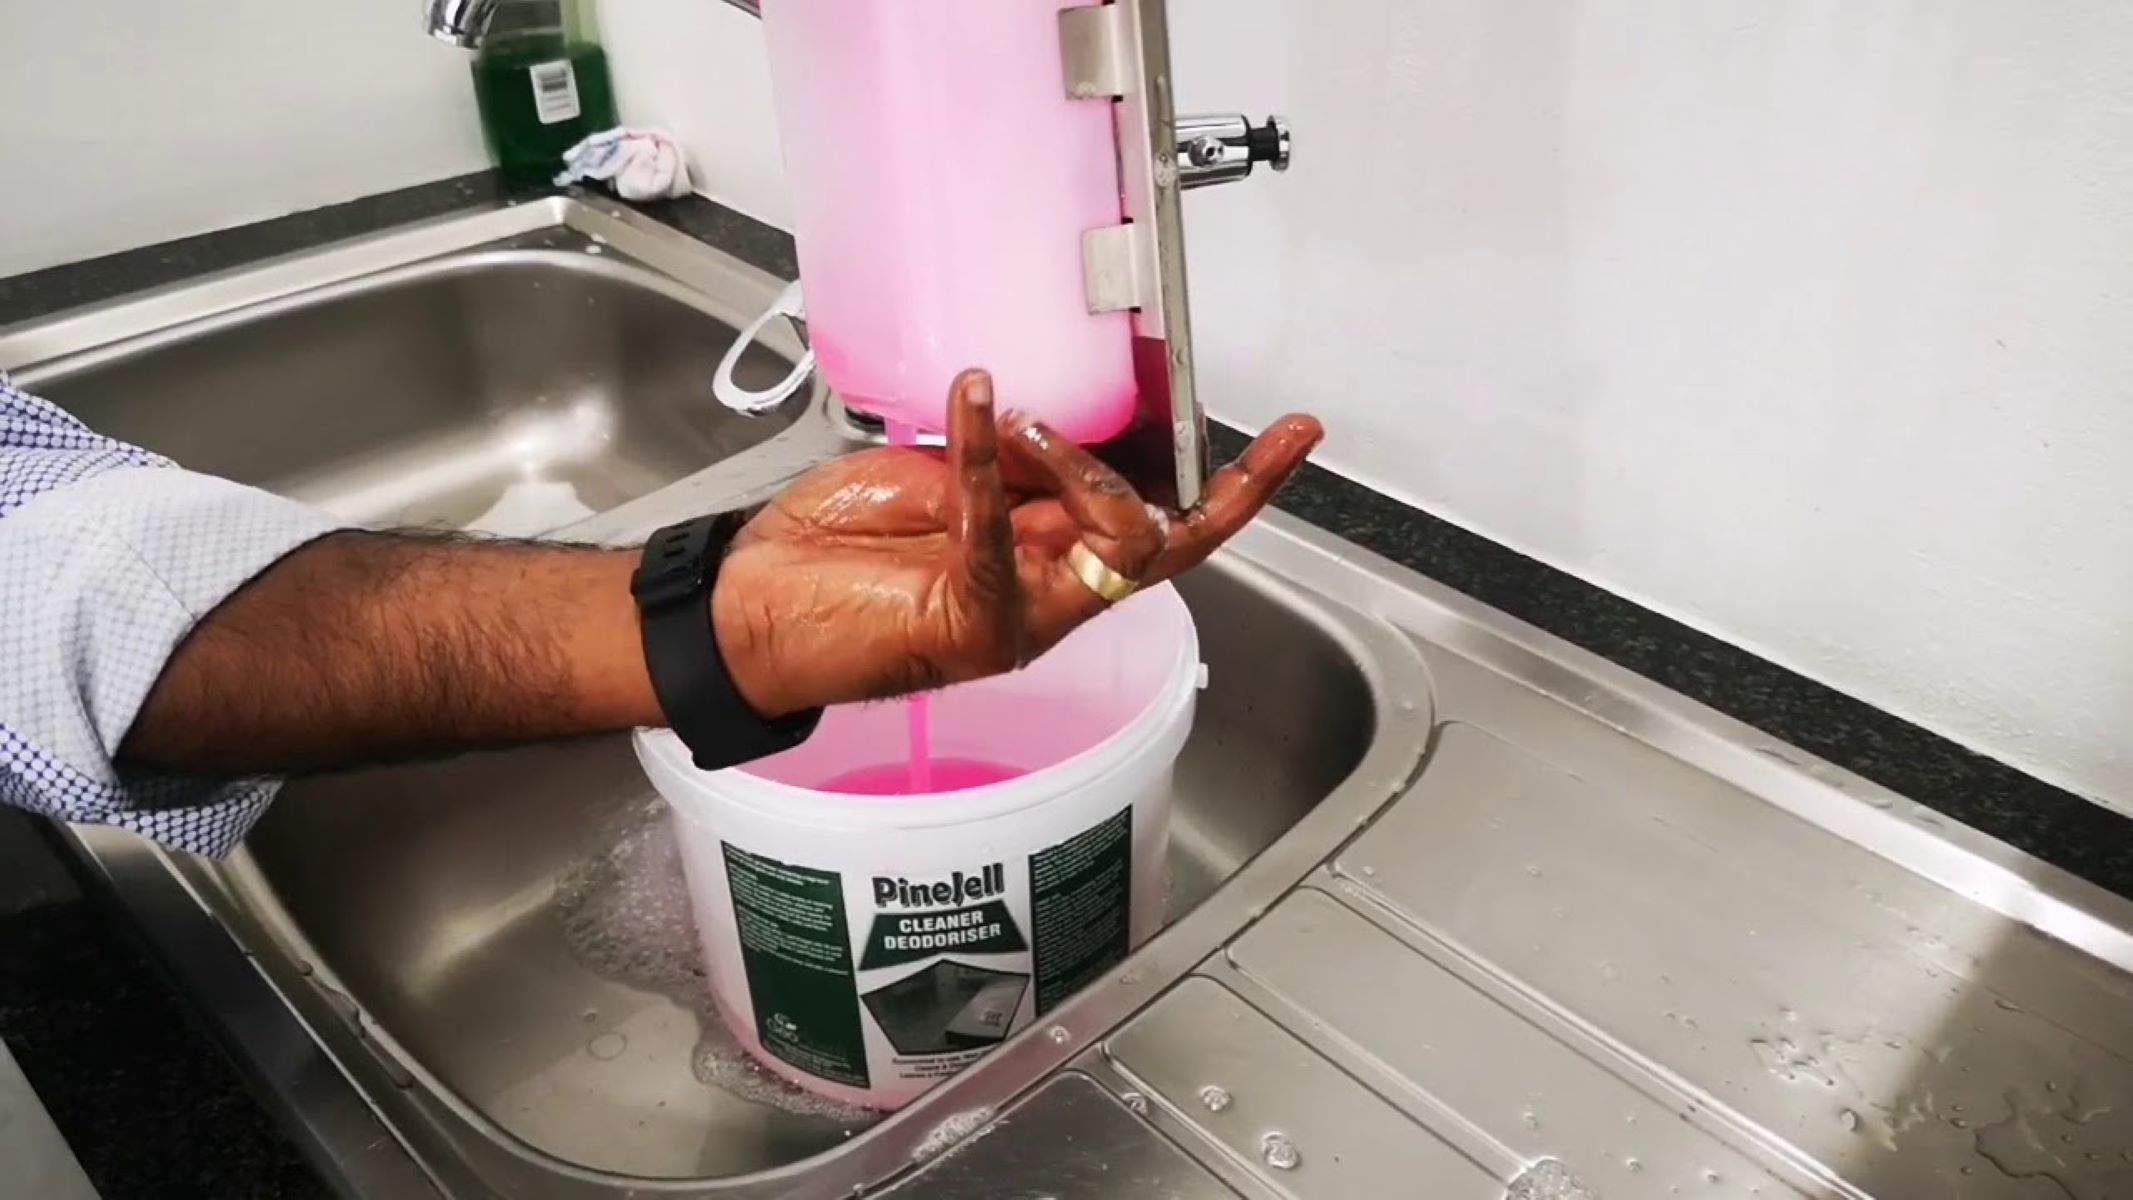
- Empty the soap: Carefully pour out the remaining contents of the soap reservoir into a drain or suitable container. Make sure to avoid spillage or splashing, and dispose of the soap in accordance with local regulations.
- Clean the dispenser: Once the soap reservoir is empty, take a damp cloth or paper towel and wipe the inside of the dispenser to remove any residual soap or build-up. This will ensure a clean surface for the new soap cartridge.
- Dry the dispenser: After cleaning, use a dry cloth or paper towel to dry the inside of the dispenser. It’s important to have a dry surface before installing the new soap cartridge.
By following these steps, you have successfully emptied the dispenser and prepared it for the next phase of the soap replacement process. Now, let’s move on to step 3: removing the existing soap cartridge.
Step 3: Removing the existing soap cartridge
Once you have emptied the Gojo soap dispenser, the next step is to remove the existing soap cartridge. This cartridge houses the old soap and needs to be replaced with a new one to ensure a continuous supply of fresh handwashing liquid. Follow these steps to remove the existing soap cartridge:
- Locate the cartridge housing: Look for the compartment or housing where the soap cartridge is stored. Depending on the model, it may be located at the top, bottom, or side of the dispenser.
- Open the cartridge housing: Depending on the design of your dispenser, there may be a latch, button, or lock mechanism to open the cartridge housing. Follow the instructions provided by the manufacturer to access the soap cartridge.
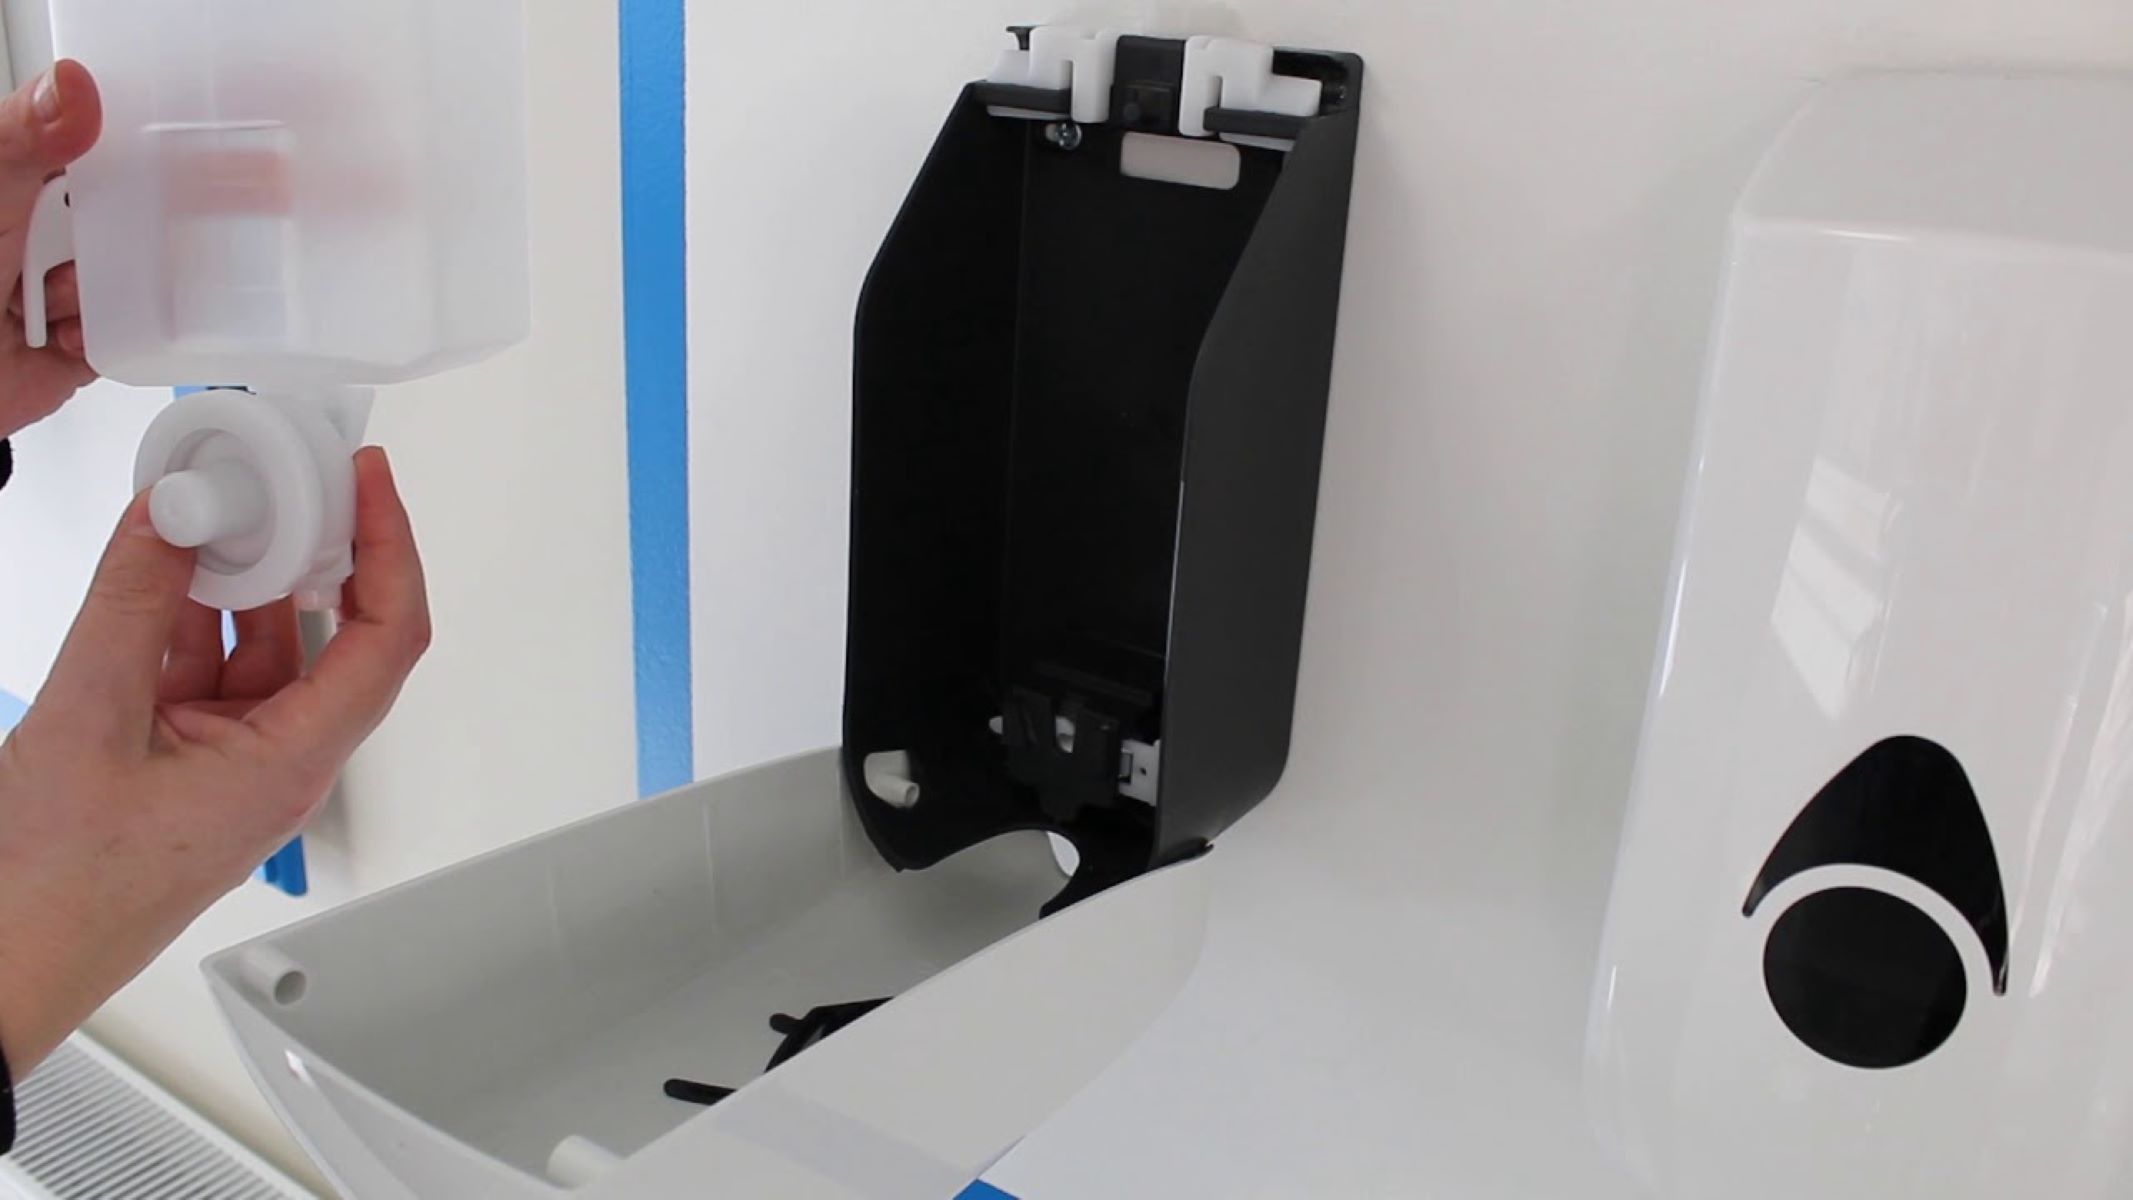
- Remove the old cartridge: Once the housing is open, carefully slide out the old soap cartridge. Be cautious of any leaks or spills during this process and dispose of the old cartridge in accordance with local regulations.
- Inspect the housing: Take a moment to inspect the cartridge housing. Look for any debris, residue, or blockages that may have accumulated over time. If necessary, use a cloth or brush to clean the housing before proceeding to the next step.
By following these steps, you have successfully removed the existing soap cartridge from your Gojo soap dispenser. Now that the old cartridge is out, it’s time to prepare the new soap cartridge for installation. This will be covered in step 4 of the soap replacement process.
Stay tuned for the next step, where we will guide you through the process of preparing the new soap cartridge to ensure a seamless installation in your Gojo soap dispenser.
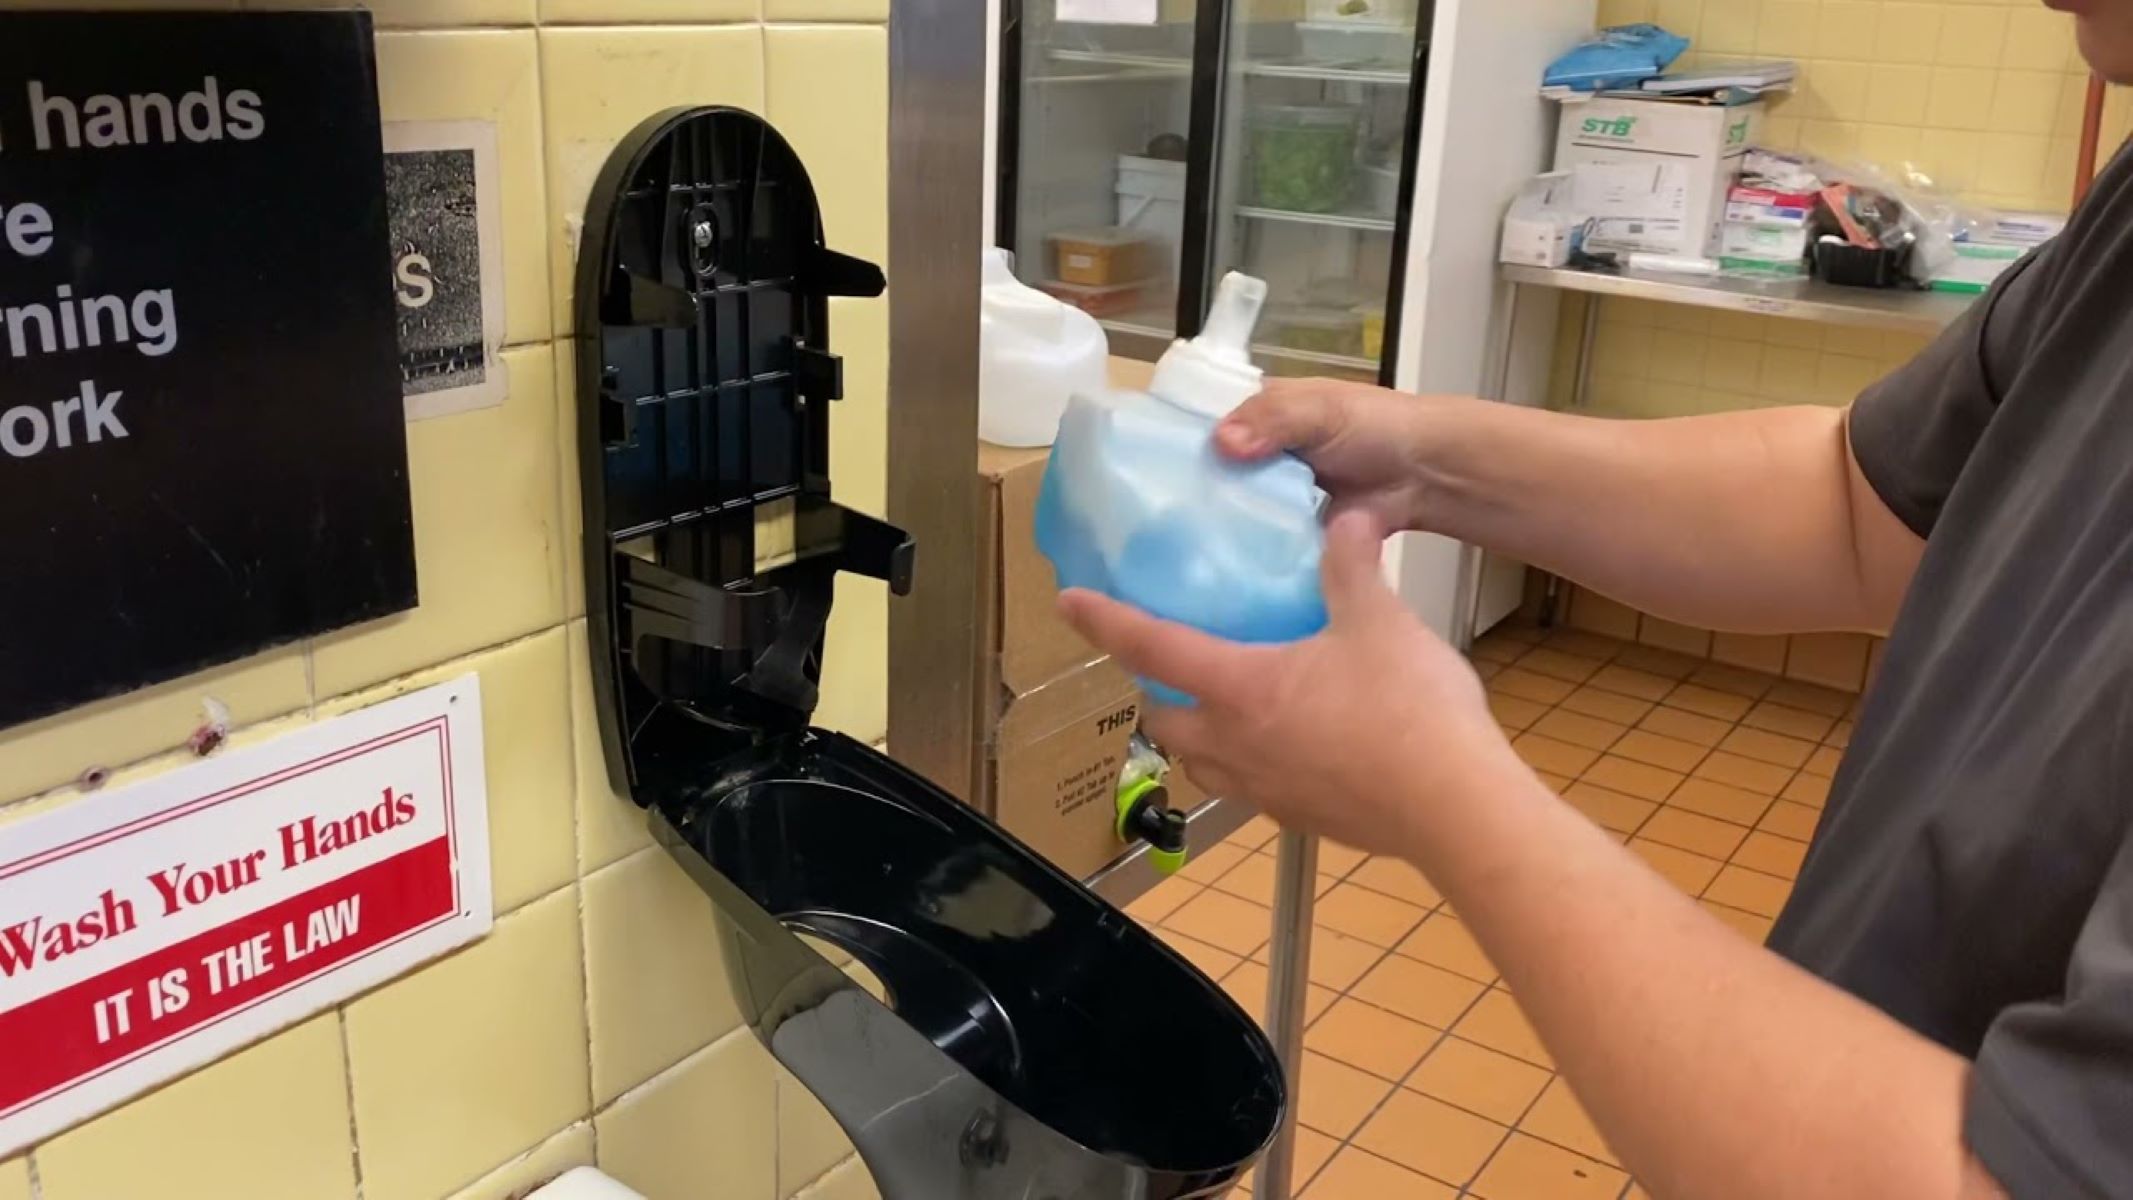
To change the soap in a Gojo soap dispenser, first open the dispenser and remove the old soap bag. Then, insert a new soap bag and close the dispenser. Finally, prime the dispenser by pressing the pump a few times to start the flow of the new soap.
Step 4: Preparing the new soap cartridge
With the old soap cartridge removed from your Gojo soap dispenser, it’s time to prepare the new cartridge for installation. Properly preparing the new soap cartridge ensures that it functions correctly and provides a consistent flow of soap. Follow these steps to prepare the new soap cartridge:
- Read the instructions: Before proceeding, carefully read the instruction manual or any packaging information that accompanies the new soap cartridge. This will provide specific guidance and tips for preparing and installing the cartridge.
- Inspect the new cartridge: Take a moment to inspect the new soap cartridge for any visible damage or defects. Ensure that it matches the specifications of your Gojo soap dispenser in terms of size and compatibility.
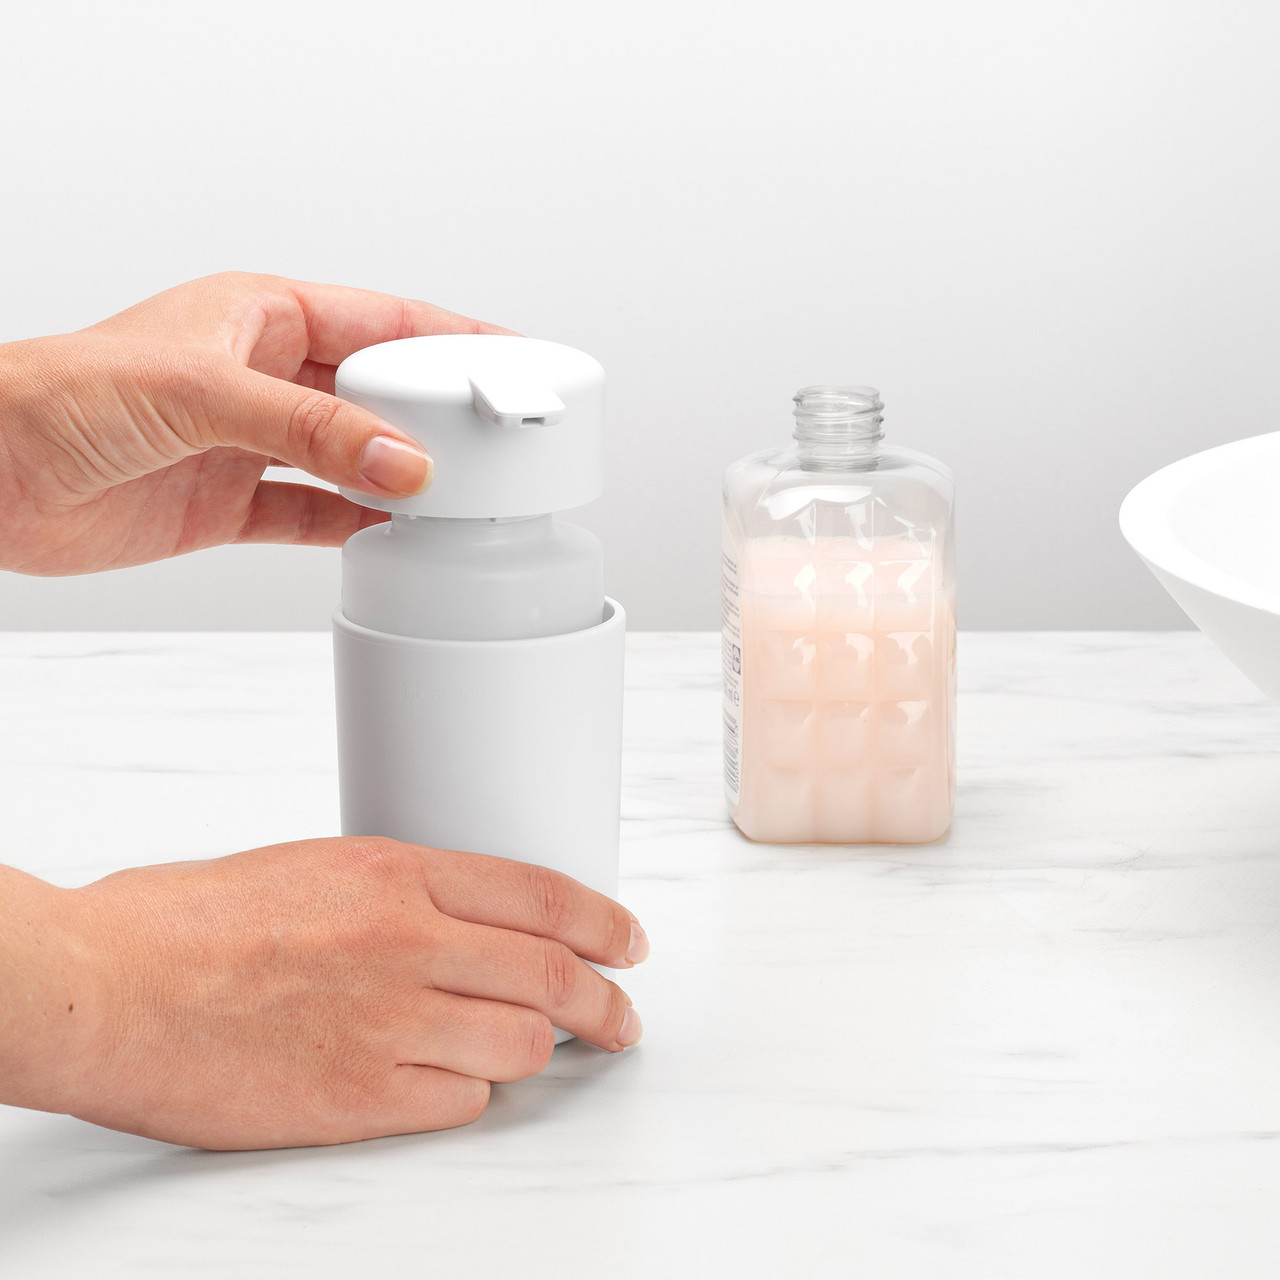
- Remove any protective covers: Some soap cartridges come with protective covers or seals. If your new cartridge has any, make sure to remove them before installation to allow for proper soap flow.
- Shake or agitate the cartridge (if necessary): Depending on the specific soap product, it may be beneficial to shake or agitate the cartridge gently before installing it. This helps to mix the soap ingredients and ensures its consistency for optimal performance.
- Position the cartridge for installation: Hold the new soap cartridge in a way that aligns it with the dispenser’s cartridge housing. Keep it in an upright position to prevent leaks or spills.
By following these steps, you have properly prepared the new soap cartridge for installation in your Gojo soap dispenser. Now, it’s time to move on to the next step: installing the new soap cartridge. Stay tuned for step 5, where we will guide you through the installation process to ensure a successful soap replacement.
Read more: How To Put Soap In A Soap Dispenser
Step 5: Installing the new soap cartridge
Now that you have prepared the new soap cartridge, it’s time to install it in your Gojo soap dispenser. Follow these steps to ensure a proper and secure installation:
- Locate the cartridge housing: Identify the cartridge housing in your Gojo soap dispenser. This is the compartment where the soap cartridge will be inserted.
- Position the new cartridge: Take the prepared new soap cartridge and align it with the cartridge housing. Ensure that it fits snugly and securely into the housing.
- Insert the cartridge: Carefully slide the soap cartridge into the cartridge housing, following any specific instructions provided by the manufacturer. Push it in until it is fully seated in the housing.
- Secure the cartridge: Depending on the model of your Gojo soap dispenser, there may be a locking mechanism or latch to secure the cartridge in place. Engage the lock or latch to ensure that the cartridge is firmly held in position.
- Close the housing: If your dispenser has a hinged or latching mechanism for the cartridge housing, close it securely to protect the soap cartridge and ensure proper operation.
By following these steps, you have successfully installed the new soap cartridge in your Gojo soap dispenser. Now, it’s time to test the dispenser to ensure that the new soap is dispensing correctly. This will be covered in the next step.
Stay tuned for step 6, where we will guide you through the process of testing the dispenser to ensure that the new soap is flowing smoothly and efficiently.
Step 6: Testing the dispenser
After successfully installing the new soap cartridge in your Gojo soap dispenser, it’s important to test the dispenser to ensure that the new soap is dispensing correctly. Follow these steps to test the dispenser:
- Turn on the dispenser: If your dispenser has an on/off switch or button, turn it on to activate the dispenser.
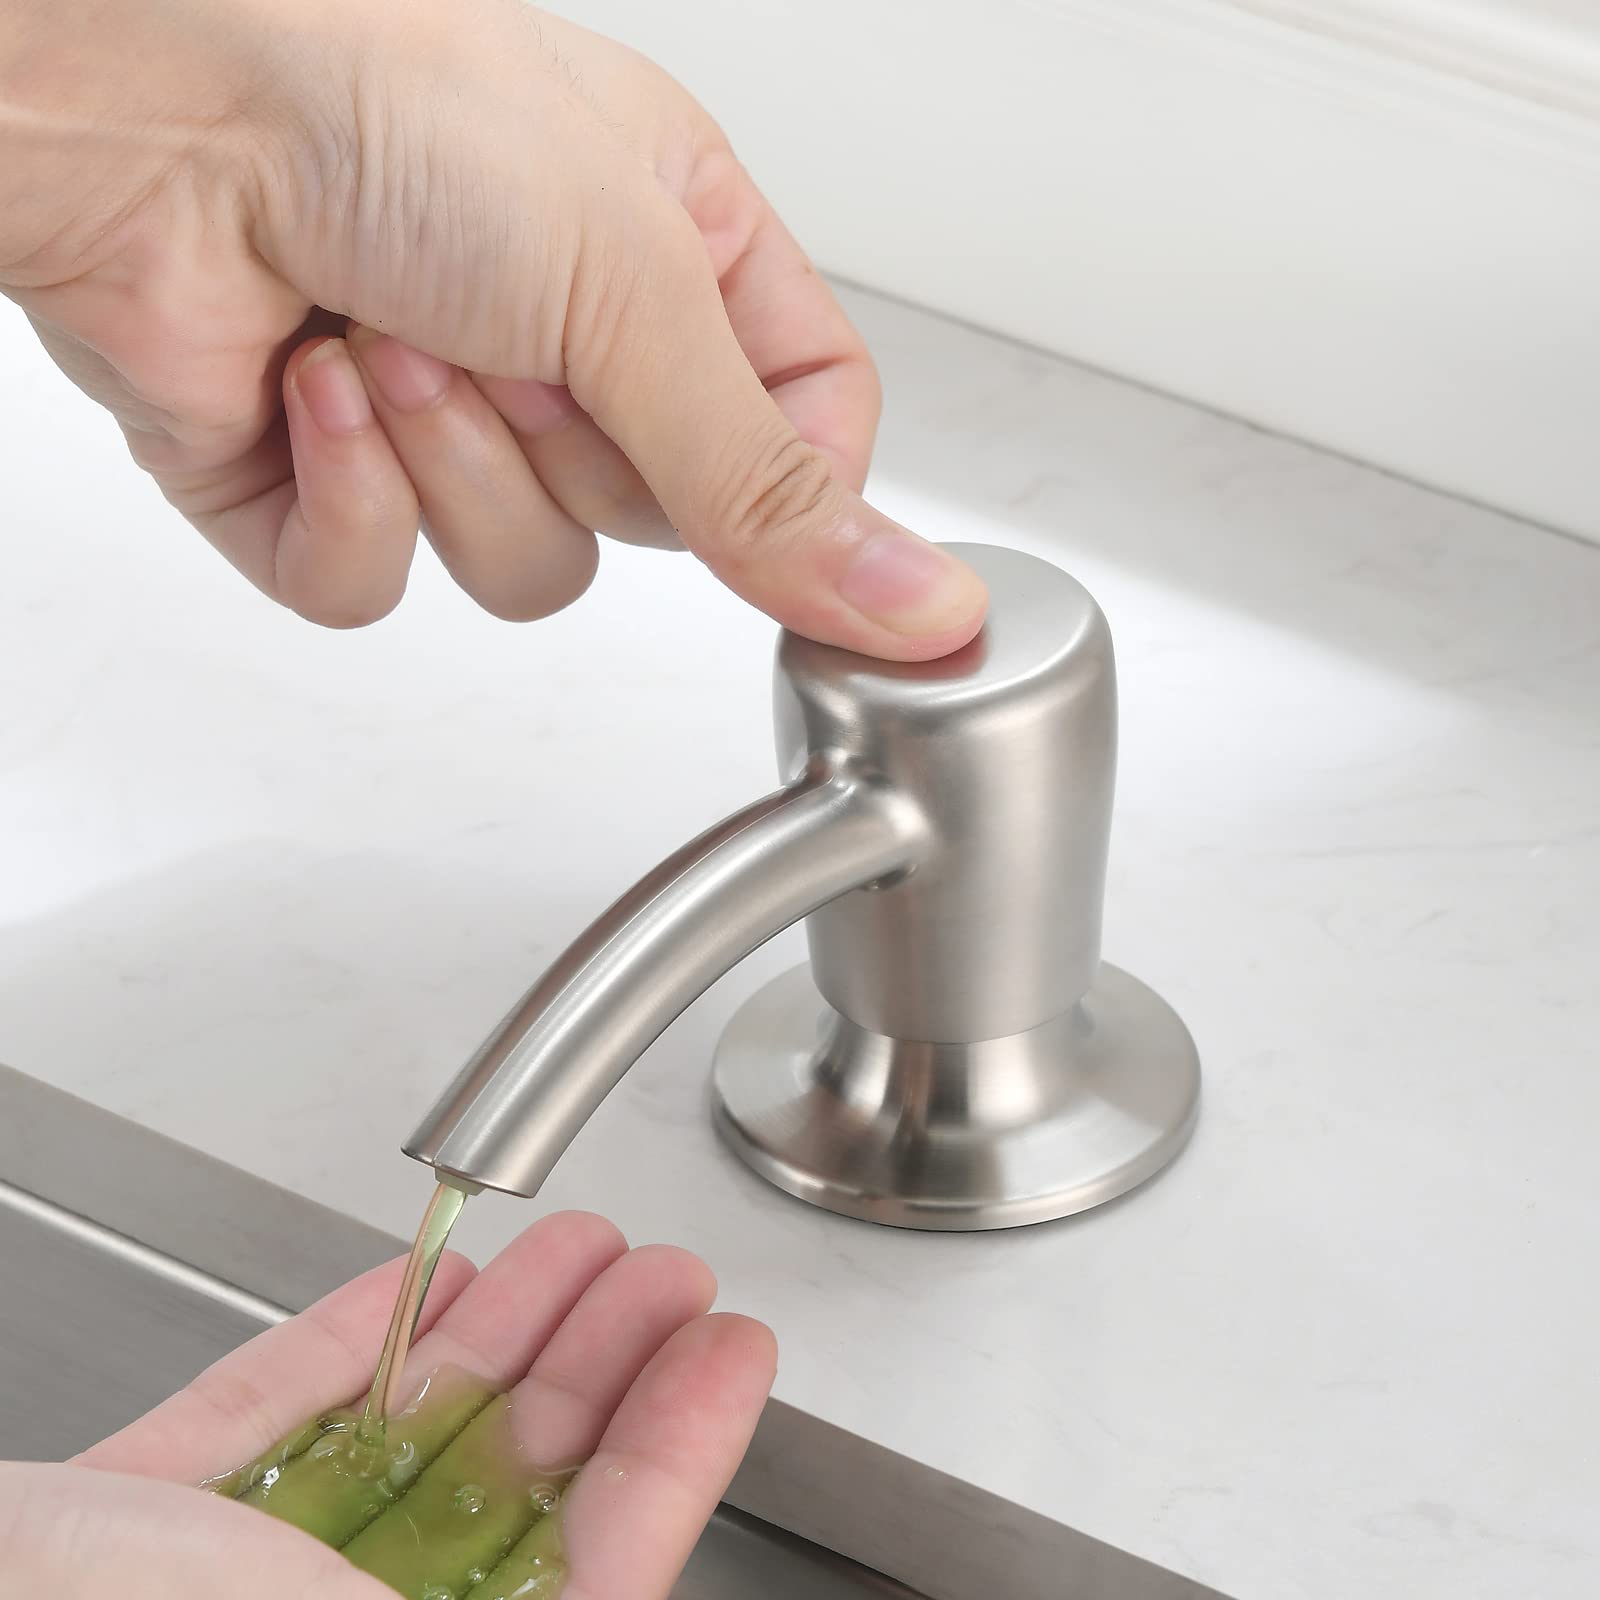
- Activate the dispenser: Depending on the model of your Gojo soap dispenser, there may be a sensor, button, or lever to activate the dispensing mechanism. Follow the instructions provided by the manufacturer to activate the dispenser.
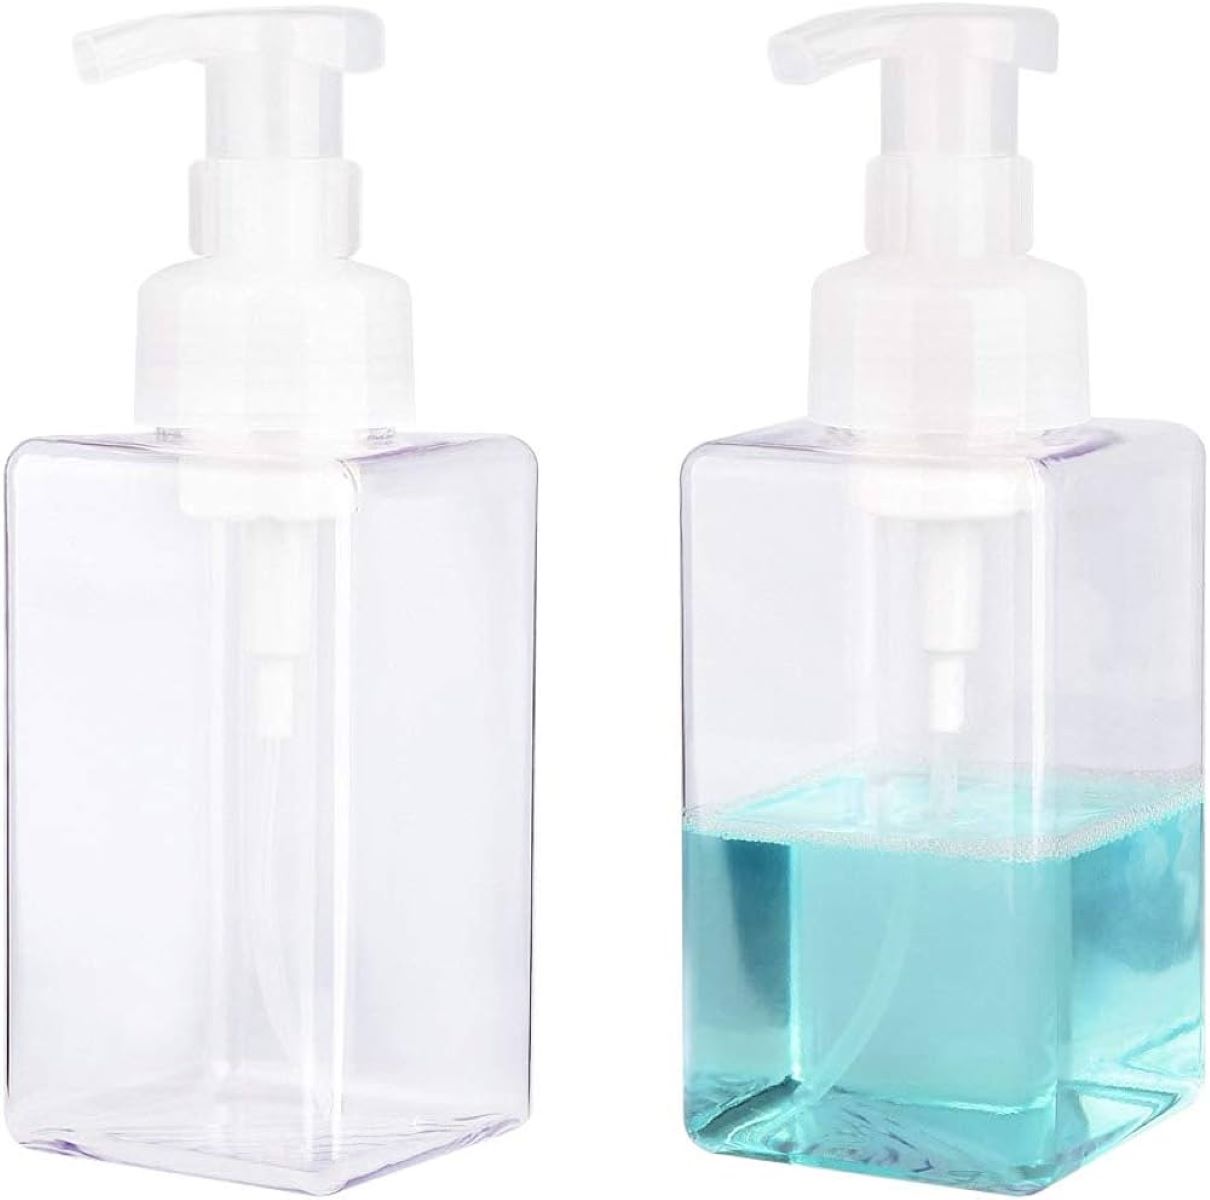
- Observe the soap flow: Pay close attention to the flow of the new soap from the dispenser. Ensure that it is coming out smoothly and at an appropriate rate. If you notice any abnormalities, such as uneven flow or excessive foaming, refer to the troubleshooting section of the instruction manual or contact the manufacturer for assistance.
- Adjust settings if necessary: Some Gojo soap dispensers have adjustable settings for soap dispense volume. If you find that the soap flow is too little or too much, refer to the instruction manual for guidance on adjusting the settings.
- Check for leaks or spills: Inspect the dispenser and surrounding area for any leaks or spills. If you notice any, ensure that the soap cartridge is properly installed and that the dispenser components are securely tightened.
By following these steps, you have properly tested the dispenser to ensure that the new soap is flowing smoothly and efficiently. Congratulations! You have completed the process of changing the soap in your Gojo soap dispenser.
Now, remember to maintain a regular schedule for checking and replacing the soap in your dispenser. This will help ensure a continuous supply of clean and hygienic handwashing liquid for your facility or workspace.
With these instructions, you should now feel confident and knowledgeable about the process of changing the soap in a Gojo soap dispenser. Thank you for following along this guide, and we hope it has been helpful to you.
Remember, proper hand hygiene is essential for maintaining a healthy environment, and regularly changing the soap in your dispenser is an important part of that practice.
Stay clean and stay safe!
Conclusion
Changing the soap in your Gojo soap dispenser is a simple yet crucial task that ensures a continuous supply of clean and germ-free handwashing liquid. By following the step-by-step process outlined in this guide, you can confidently replace the soap cartridge in your dispenser and maintain a high level of cleanliness and hygiene in your facility or workspace.
We started by emphasizing the importance of regular soap replacement, highlighting how it maintains the quality and effectiveness of the handwashing liquid, ensures a continuous supply of soap, and promotes overall cleanliness and hygiene. Understanding these benefits is crucial for creating a healthier and safer environment for everyone.
We then walked through the six essential steps for changing the soap in your Gojo soap dispenser:
- Gathering the necessary supplies
- Emptying the dispenser
- Removing the existing soap cartridge
- Preparing the new soap cartridge
- Installing the new soap cartridge
- Testing the dispenser
Each step was carefully explained to ensure a smooth and successful soap replacement process. From gathering the necessary supplies to testing the dispenser, we provided detailed instructions to guide you through each phase of the process.
Remember, maintaining proper hand hygiene is essential for preventing the spread of germs and illnesses. Regularly changing the soap in your Gojo soap dispenser is a vital part of ensuring clean and healthy hands.
By following this guide, you have gained the knowledge and skills to confidently change the soap in your Gojo soap dispenser. With each soap replacement, you are contributing to a safer and healthier environment for yourself and those around you.
Thank you for reading this article, and we hope it has been helpful to you. Stay clean, stay safe, and keep spreading good hand hygiene practices!
Frequently Asked Questions about How To Change Soap In Gojo Soap Dispenser
Was this page helpful?
At Storables.com, we guarantee accurate and reliable information. Our content, validated by Expert Board Contributors, is crafted following stringent Editorial Policies. We're committed to providing you with well-researched, expert-backed insights for all your informational needs.

0 thoughts on “How To Change Soap In Gojo Soap Dispenser”