Articles
How To Remove Windshield Washer Reservoir
Modified: October 20, 2024
Learn how to remove your windshield washer reservoir in a few simple steps with our informative articles. Get expert advice and DIY tips for a smooth maintenance experience.
(Many of the links in this article redirect to a specific reviewed product. Your purchase of these products through affiliate links helps to generate commission for Storables.com, at no extra cost. Learn more)
Introduction
Welcome to our comprehensive guide on how to remove a windshield washer reservoir. The windshield washer system is a vital component of any vehicle, ensuring clear visibility by providing a steady stream of washer fluid to clean the windshield. Over time, the washer reservoir may become damaged or malfunction, necessitating its removal and replacement. In this article, we will walk you through the step-by-step process of safely and efficiently removing the windshield washer reservoir.
Before we begin, it’s important to note that if you are unsure or uncomfortable performing this task yourself, it is always recommended to seek professional assistance. Working on your vehicle requires caution and proper knowledge, and safety should be your top priority.
Now, let’s gather the necessary tools and materials you’ll need for this project.
Key Takeaways:
- Safely and efficiently remove a windshield washer reservoir by following step-by-step instructions, ensuring clear visibility and driving safety with proper maintenance.
- Prioritize safety, gather necessary tools, and follow detailed steps to remove, replace, and test the windshield washer reservoir for optimal vehicle functionality.
Read more: How To Drain Windshield Washer Fluid
Tools and Materials Needed
Before getting started, make sure you have the following tools and materials on hand:
- Socket set or wrench set
- Screwdriver (flathead or Phillips, depending on your vehicle)
- Pliers
- Empty container or bucket for draining washer fluid
- New washer reservoir (if replacement is required)
- New washer fluid (if necessary)
- Clean cloth or towel
- Safety goggles or glasses
- Gloves
Having these tools and materials readily available will ensure a smooth and efficient removal process.
Step 1: Park the Vehicle Safely
The first step in removing a windshield washer reservoir is to park your vehicle safely in a well-lit and flat area. Ensure that the vehicle is turned off and the engine is cooled down before proceeding with the removal process. Engage the parking brake to prevent any unintentional movement of the vehicle during the procedure.
It is also recommended to wear safety goggles or glasses to protect your eyes from any potential spills or splashes during the removal process. Additionally, wearing gloves will help protect your hands from any sharp edges or debris that may be encountered.
Parking your vehicle safely and taking necessary safety precautions will help ensure a smooth and accident-free removal process.
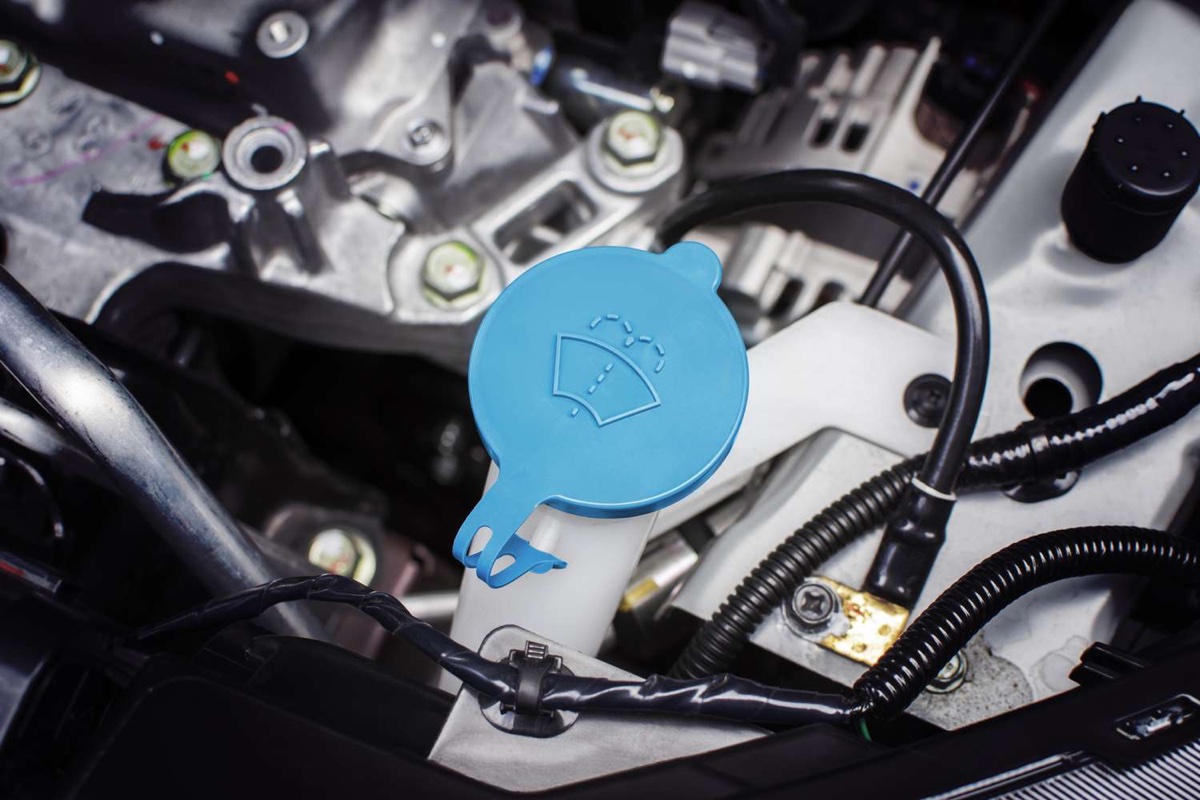
Step 2: Locate the Windshield Washer Reservoir
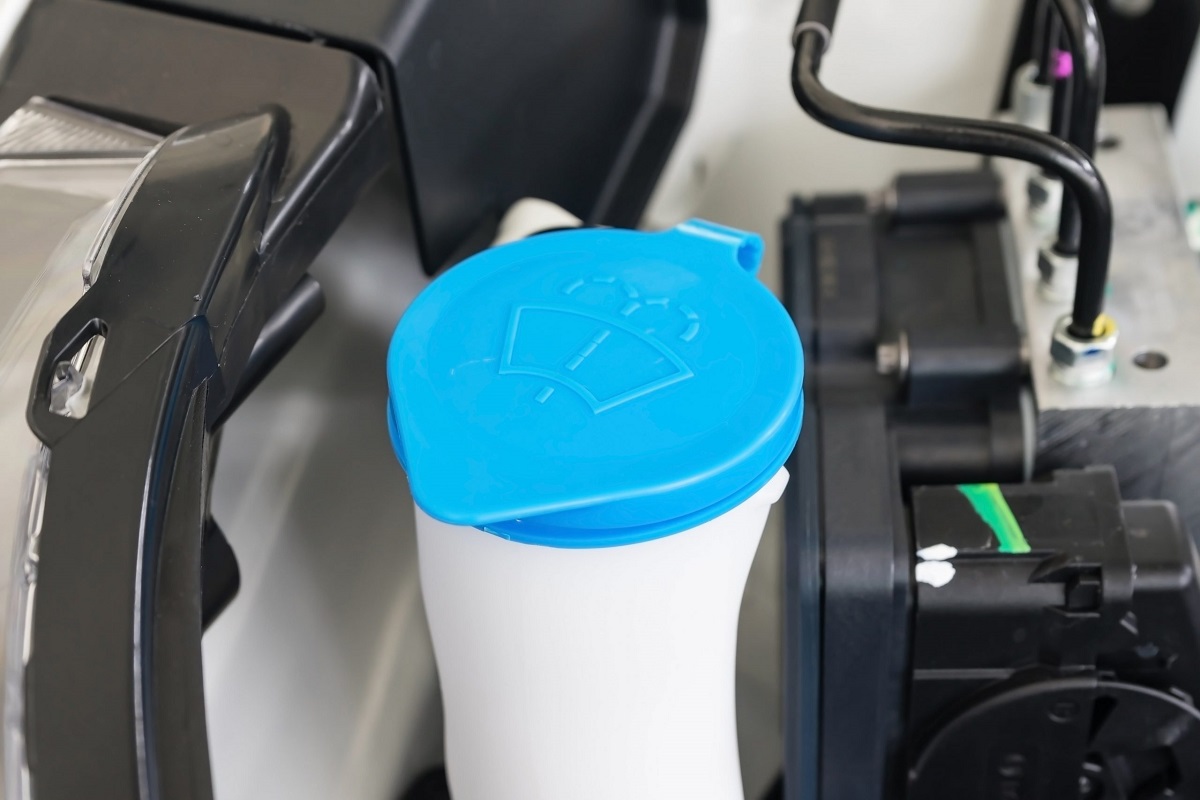
Once your vehicle is parked safely, the next step is to locate the windshield washer reservoir. The location of the reservoir may vary depending on the make and model of your vehicle, so it’s important to consult your vehicle’s owner manual for specific instructions.
In most vehicles, the windshield washer reservoir is typically located near the front of the engine bay. It is usually a translucent or opaque plastic container with a black or colored cap. Look for a container that is marked with a windshield wiper symbol or a text indicating “Washer Fluid” to identify it.
If you’re having trouble locating the reservoir, you can also follow the hoses that connect to the windshield wiper nozzles, as they will lead you back to the reservoir.
Take your time to carefully locate the windshield washer reservoir before proceeding to the next step. Once you have located it, you’re ready to move on to the next step in the removal process.
Step 3: Disconnect the Power Source
Before removing the windshield washer reservoir, it’s important to disconnect the power source to ensure safety and prevent any accidental activation of the washer pump. The power source is usually connected to the reservoir through an electrical connector.
To disconnect the power source, follow these steps:
- Locate the electrical connector that is connected to the windshield washer reservoir.
- Gently press the tab or release mechanism on the connector to unlock it.
- Once unlocked, carefully pull the connector away from the reservoir to disconnect it.
It’s important to handle the electrical connector with care and avoid pulling on the wires. If you’re having difficulty disconnecting the power source, refer to your vehicle’s owner manual or consult a professional for assistance.
By disconnecting the power source, you ensure that the washer pump will not activate during the removal process, making it safer to handle the reservoir.
Read more: How To Unclog Windshield Washer Nozzle
Step 4: Remove the Reservoir Cap
With the power source disconnected, it’s time to remove the reservoir cap. The cap is typically located on the top of the windshield washer reservoir and secures the washer fluid inside.
Follow these steps to remove the reservoir cap:
- Locate the cap on the top of the reservoir. It is usually marked with a symbol or text indicating “Washer Fluid”.
- Gently twist the cap counterclockwise to unlock it.
- Once unlocked, carefully lift the cap off the reservoir.
Be cautious when removing the reservoir cap, as there may be residual pressure inside. If you hear a hissing sound or notice any fluid escaping, step back and wait for the pressure to equalize before continuing.
Set the removed cap aside in a clean and safe place to prevent any dirt or debris from entering the reservoir. With the cap removed, you’re ready to proceed to the next step of draining the washer fluid.
Step 5: Drain the Washer Fluid
Before removing the windshield washer reservoir, it’s necessary to drain the remaining washer fluid inside. This step will prevent any spills or leaks during the removal process.
Follow these steps to drain the washer fluid:
- Place an empty container or bucket beneath the reservoir to catch the fluid.
- Locate the drain plug or hose at the bottom of the reservoir.
- Remove the drain plug or disconnect the hose to allow the washer fluid to flow out.
- Allow the fluid to completely drain into the container.
- Once the reservoir is empty, reseal the drain plug or reconnect the hose to prevent any leaks.
Ensure that all the washer fluid has been drained before proceeding to the next step. You can check by gently pressing on the sides of the reservoir to see if any remaining fluid is present.
Properly disposing of the drained washer fluid is important for environmental reasons. Always dispose of it in accordance with local regulations and guidelines.
With the washer fluid drained, you’re now ready to disconnect the fluid lines from the reservoir.
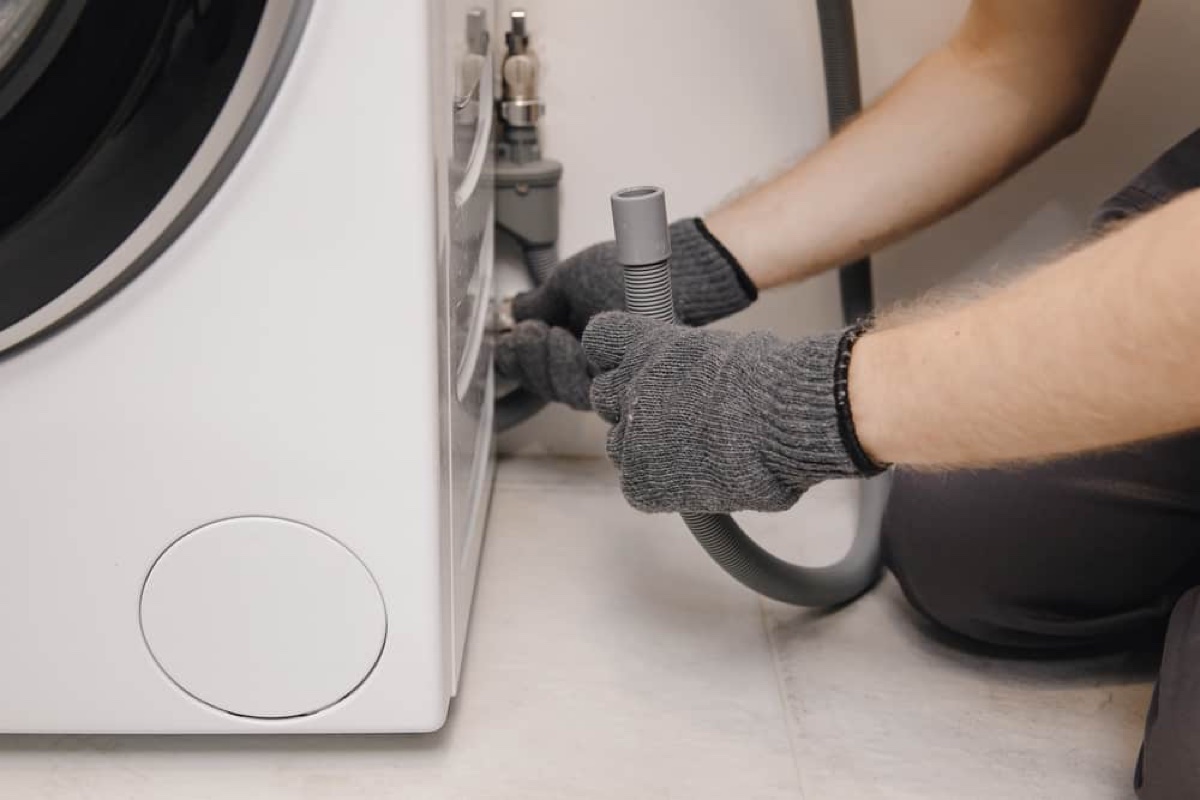
Step 6: Disconnect the Fluid Lines
With the washer fluid drained, the next step is to disconnect the fluid lines from the windshield washer reservoir. These lines connect the reservoir to the windshield washer nozzles, allowing the fluid to be sprayed onto the windshield.
Follow these steps to disconnect the fluid lines:
- Identify the fluid lines that are connected to the reservoir.
- Using a pair of pliers, gently squeeze the plastic tabs or release mechanisms on the connectors.
- While squeezing the tabs, carefully pull the connectors away from the reservoir to detach the fluid lines.
Take care when disconnecting the fluid lines to avoid damaging them or causing any leaks. If the connections are stubborn or difficult to detach, you can use a small flathead screwdriver to help release the tabs.
Make sure to label or take note of the location of each fluid line for easier reassembly later on. Some vehicles may have multiple fluid lines connected to the reservoir, so keeping track of their placement is important.
With the fluid lines disconnected, you’re now ready to proceed to the next step of removing the mounting bolts or nuts.
Before removing the windshield washer reservoir, make sure to disconnect the power and remove the washer fluid. Then, carefully detach the reservoir from its mounting and disconnect any hoses or wires before removing it from the vehicle.
Step 7: Remove the Mounting Bolts or Nuts
Now that the fluid lines are disconnected, it’s time to remove the mounting bolts or nuts that secure the windshield washer reservoir in place. These bolts or nuts can vary in number and location depending on the vehicle make and model.
Follow these steps to remove the mounting bolts or nuts:
- Locate the mounting bolts or nuts that secure the reservoir to the vehicle.
- Using an appropriate socket set or wrench, loosen and remove the bolts or nuts.
- Place the bolts or nuts in a safe location to prevent loss or misplacement.
Take note of the size and type of bolts or nuts being removed. Some vehicles may use different sizes or types of fasteners for securing the reservoir.
It’s important to exercise caution when removing the mounting bolts or nuts to avoid any damage to the surrounding components. If necessary, use a socket extension or a ratchet to reach the fasteners in hard-to-reach areas.
With the mounting bolts or nuts removed, you’re now ready to lift and remove the windshield washer reservoir.
Read more: How To Test Windshield Washer Pump
Step 8: Lift and Remove the Reservoir
With the mounting bolts or nuts removed, it’s time to lift and remove the windshield washer reservoir from its position. Care should be taken during this step to avoid damaging any surrounding components or spilling any remaining fluid.
Follow these steps to lift and remove the reservoir:
- Ensure that you have a firm grip on the reservoir.
- Gently lift the reservoir straight up, taking care not to tilt it too much to prevent any remaining fluid from spilling out.
- If the reservoir feels stuck or difficult to lift, double-check for any attached hoses or wires and gently disconnect them.
- Once the reservoir is free, set it aside in a safe and clean area.
Be cautious when handling the reservoir, as it may be heavy and contain sharp edges. Using gloves can provide additional protection while lifting and removing the reservoir.
Inspect the removed reservoir for any signs of damage or wear, as this may indicate the need for replacement. If necessary, you can proceed with installing a new reservoir in the next step. Otherwise, you can skip to reconnecting the fluid lines and power source.
With the reservoir successfully removed, you’re now ready to install the new reservoir (optional) or move on to reconnecting the fluid lines and power source.
Step 9: Install the New Reservoir (Optional)
If you are replacing the windshield washer reservoir with a new one, you can proceed with this step. Installing a new reservoir ensures that your washer system functions properly and avoids any potential leaks or issues.
Follow these steps to install the new reservoir:
- Ensure that the new reservoir is compatible with your vehicle’s make and model. Double-check the specifications and design to match the original reservoir.
- Position the new reservoir in place, aligning it with the mounting holes or brackets.
- Insert and tighten the mounting bolts or nuts using the appropriate socket set or wrench, ensuring they are securely fastened.
Be cautious not to overtighten the mounting bolts or nuts, as this can cause damage to the reservoir or surrounding components.
If the new reservoir has any additional components or accessories, such as hoses or connectors, ensure they are properly connected to the correct locations.
It’s essential to follow the manufacturer’s instructions for any specific installation steps or requirements that may be unique to your new reservoir.
With the new reservoir installed, you’re now ready to proceed to the next step of reconnecting the fluid lines and power source.
Step 10: Reconnect Fluid Lines and Power Source
Now that the new reservoir is installed (if applicable), it’s time to reconnect the fluid lines and power source to ensure proper functionality of the windshield washer system.
Follow these steps to reconnect the fluid lines and power source:
- Identify the fluid lines that were previously disconnected from the old reservoir.
- Align the connectors on the fluid lines with the corresponding outlets on the new reservoir.
- Push the connectors firmly into place until you hear or feel a click, indicating a secure connection.
- Next, locate the electrical connector that was previously disconnected.
- Align the connector with the power source connection on the new reservoir.
- Insert the connector into the power source connection until it clicks or locks into place.
Ensure that all fluid lines and connectors are properly aligned and securely connected to prevent any leaks or disconnections while the vehicle is in operation.
Double-check the connections to ensure they are tight and secure. If any of the connectors feel loose or not fully engaged, carefully reposition and reconnect them.
With the fluid lines and power source reconnected, you’re now ready to move on to the next step of refilling the washer fluid.
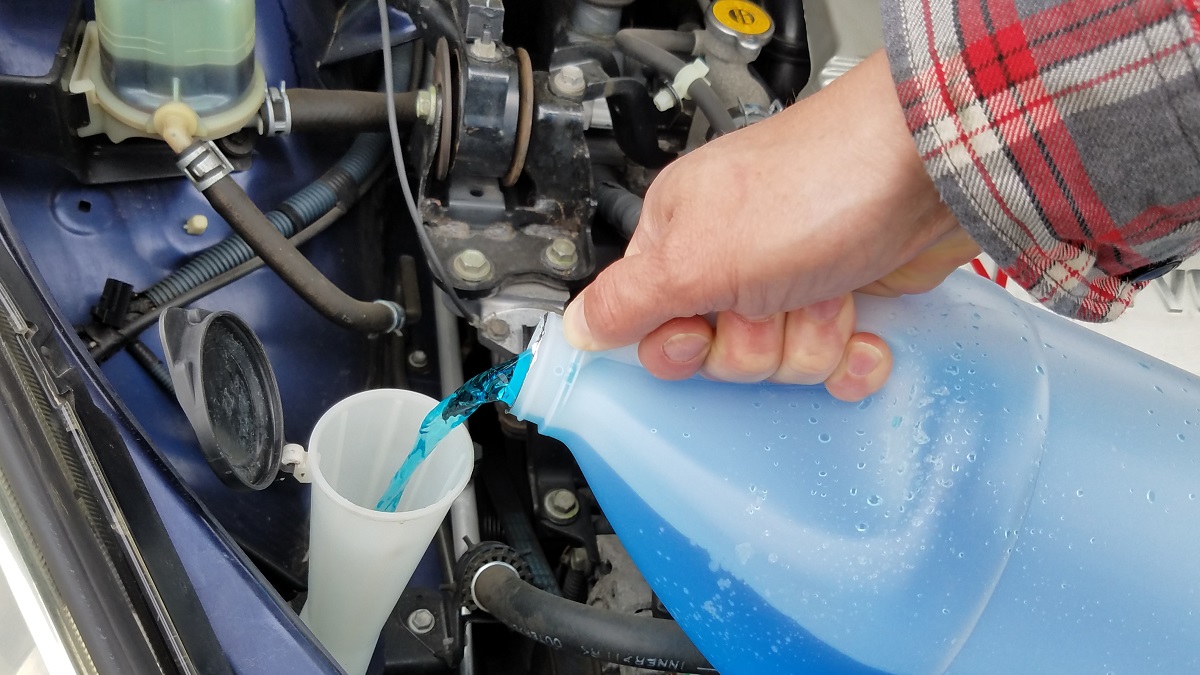
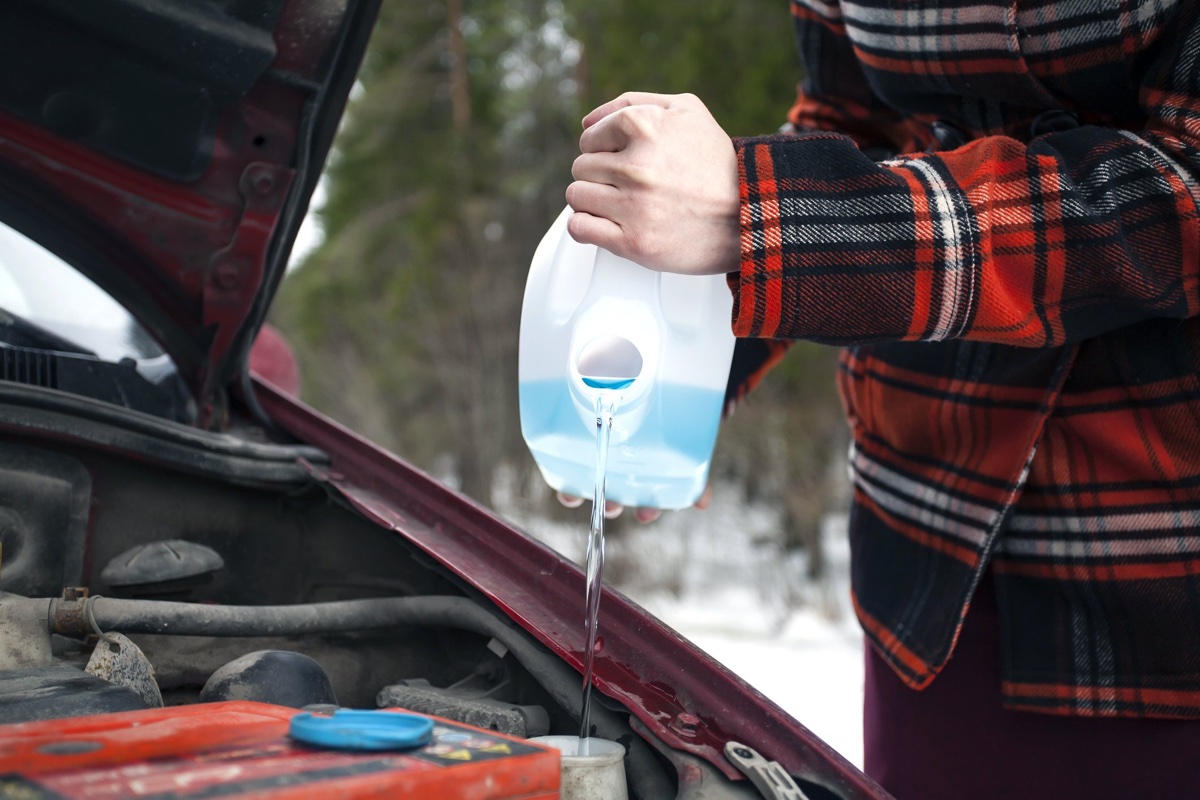
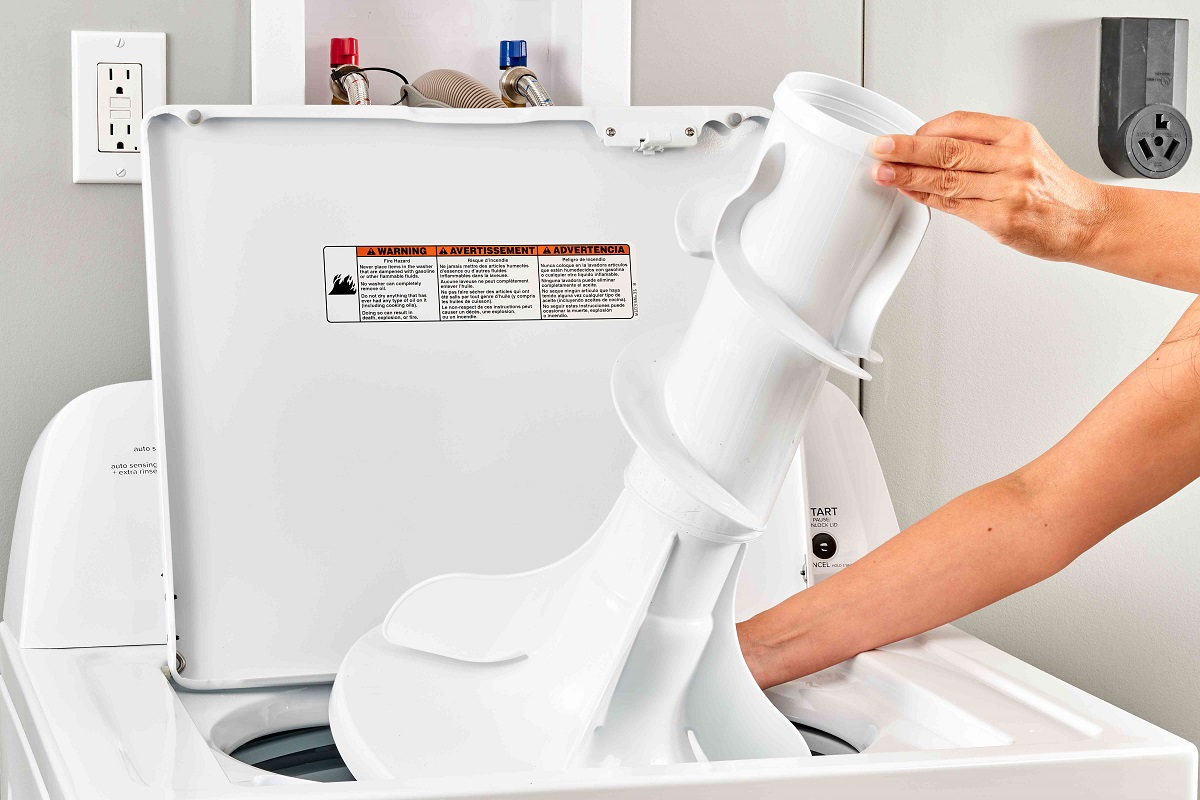
Step 11: Refill the Washer Fluid
With the fluid lines and power source reconnected, it’s time to refill the windshield washer fluid in the newly installed or reconnected reservoir.
Follow these steps to refill the washer fluid:
- Open the reservoir cap by twisting it counterclockwise.
- Using a funnel, carefully pour washer fluid into the reservoir until it reaches the designated fill line.
- Avoid overfilling the reservoir to prevent any spills or overflow when the system is in use.
- Once the fluid is filled to the appropriate level, securely replace the reservoir cap by twisting it clockwise.
Ensure that the reservoir cap is tightly sealed to prevent any leaks or evaporation of the washer fluid.
If you’re unsure about the appropriate type of washer fluid to use, consult your vehicle’s owner manual or check the specifications indicated on the reservoir cap or nearby area.
After refilling the washer fluid, it’s crucial to check for any leaks or issues before moving on to the final step.
With the washer fluid properly refilled, you’re now ready to proceed to the final step of testing the windshield washer system.
Read more: Where To Buy Windshield Washer Fluid
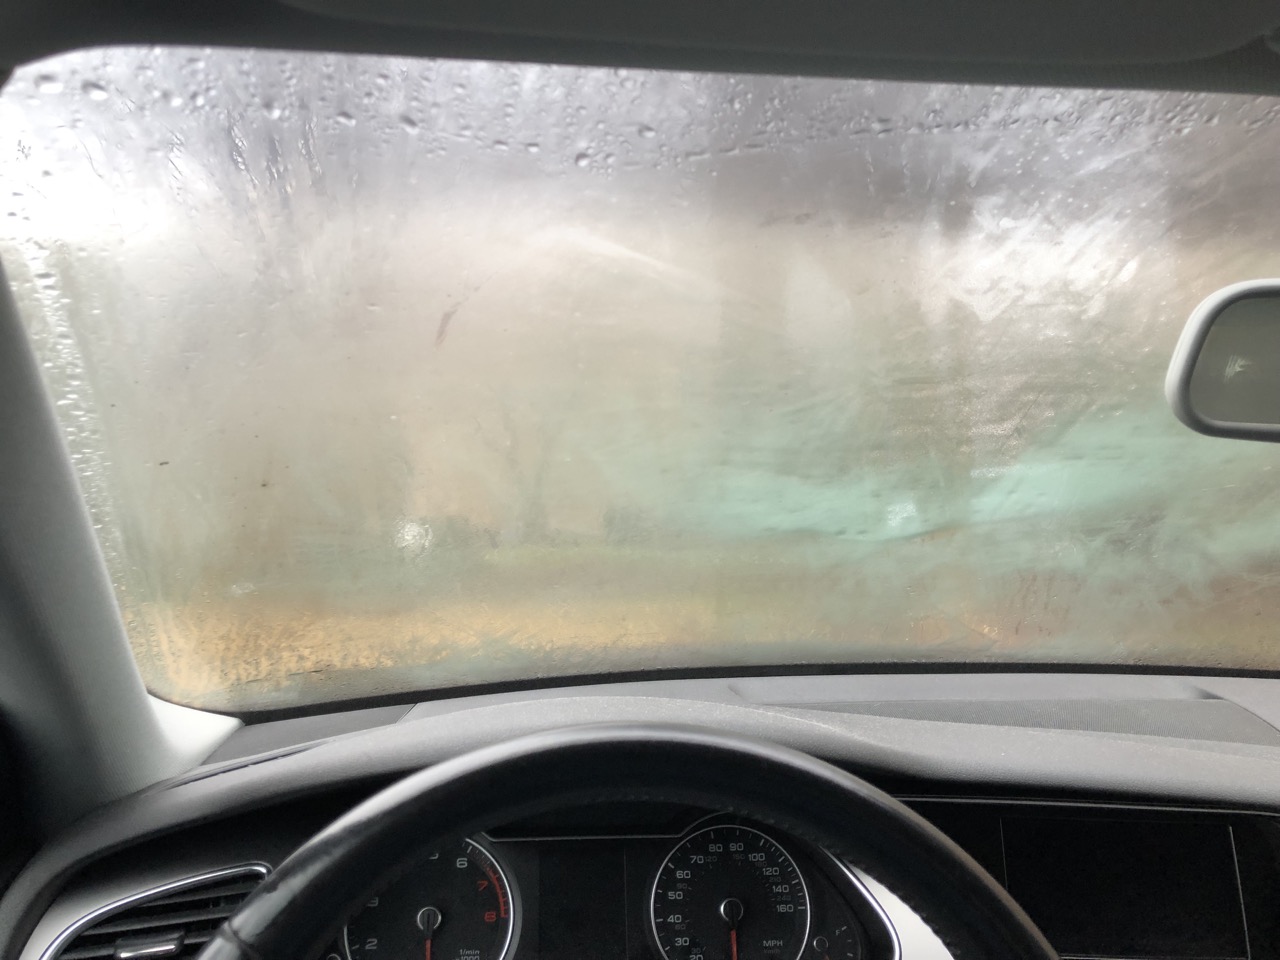
Step 12: Test the Windshield Washer System
After completing the installation or reconnection process, it’s essential to test the functionality of the windshield washer system to ensure proper operation. Testing the system will help verify that everything is working as intended before you hit the road.
Follow these steps to test the windshield washer system:
- Start your vehicle’s engine and let it idle.
- Activate the windshield wipers by turning them on or using the wiper control stalk.
- Pull the washer system control stalk or press the washer system button to activate the washer fluid spray.
- Observe the windshield to ensure that the washer fluid is being sprayed properly onto the glass.
- Check for any leaks, unusual noises, or other issues during the operation of the washer system.
- Ensure that the washer fluid is being sprayed onto the windshield evenly and clears away any dirt or debris.
If there are any issues with the operation of the washer system, double-check the connections, fluid level, and reservoir cap to ensure everything is in order. If problems persist, it may be necessary to consult a professional for further assistance.
Once you’re satisfied with the performance of the windshield washer system and there are no leaks or other issues, you can consider the installation and testing process complete.
Congratulations! You have successfully removed, replaced (if applicable), and tested the windshield washer reservoir of your vehicle. Proper maintenance and regular checks of the windshield washer system will ensure clear visibility on the road and improve driving safety.
Conclusion
Removing a windshield washer reservoir may seem like a daunting task, but with the right tools, materials, and step-by-step guidance, it can be a straightforward process. By following the steps outlined in this guide, you can confidently remove the reservoir, replace it if needed, and ensure the proper functioning of your vehicle’s windshield washer system.
Remember to always prioritize safety when working on your vehicle. Park it in a secure location, disconnect the power source, and use protective gear like safety goggles and gloves. Additionally, consult the owner manual of your specific vehicle for any unique instructions or considerations.
Draining the washer fluid, disconnecting the fluid lines, and removing the mounting bolts or nuts will enable you to lift and remove the reservoir safely. If you are installing a new reservoir, ensure it is compatible and securely fastened. Reconnecting the fluid lines and power source is crucial for the proper operation of the washer system.
Once the new reservoir is in place or the old one reinstalled, refill the washer fluid to the appropriate level and secure the reservoir cap. Finally, test the windshield washer system to ensure it sprays fluid evenly and effectively onto the windshield.
Regular maintenance and checks of your vehicle’s windshield washer system will help you maintain a clear view of the road while driving. By following the steps outlined in this guide, you can easily remove and replace the windshield washer reservoir, ensuring uninterrupted visibility and improving driving safety.
However, if you are unsure or uncomfortable performing these tasks yourself, it is always recommended to seek professional assistance. Your safety and the proper functioning of your vehicle are of utmost importance.
With this guide, you are now equipped with the knowledge to remove a windshield washer reservoir confidently. Stay proactive in maintaining your vehicle, and enjoy the benefits of a reliable and effective windshield washer system.
Frequently Asked Questions about How To Remove Windshield Washer Reservoir
Was this page helpful?
At Storables.com, we guarantee accurate and reliable information. Our content, validated by Expert Board Contributors, is crafted following stringent Editorial Policies. We're committed to providing you with well-researched, expert-backed insights for all your informational needs.


0 thoughts on “How To Remove Windshield Washer Reservoir”