Articles
How To Organize A Freezer
Modified: October 28, 2024
Learn the best tips and tricks for organizing your freezer with these helpful articles. Say goodbye to freezer chaos and hello to efficiency!
(Many of the links in this article redirect to a specific reviewed product. Your purchase of these products through affiliate links helps to generate commission for Storables.com, at no extra cost. Learn more)
Introduction
Welcome to the ultimate guide on how to organize a freezer! A cluttered freezer can quickly turn into a headache, making it difficult to find what you need and causing food waste in the process. By implementing a system of organization, you can maximize the space in your freezer and ensure that everything is easily accessible.
In this article, we’ll walk you through a step-by-step process to help you organize your freezer like a pro. From clearing out the freezer to categorizing food items and utilizing storage containers, we’ve got you covered. So, let’s dive in and transform your freezer into a well-organized haven.
Key Takeaways:
- Clear out your freezer, categorize food items, and utilize storage containers to create an organized and efficient space. Regular maintenance and cleaning will ensure your freezer remains in optimal condition.
- Implement a system of organization and labeling to easily locate items and reduce food waste. Enjoy the benefits of an organized freezer, from efficient meal planning to a hygienic and well-maintained space.
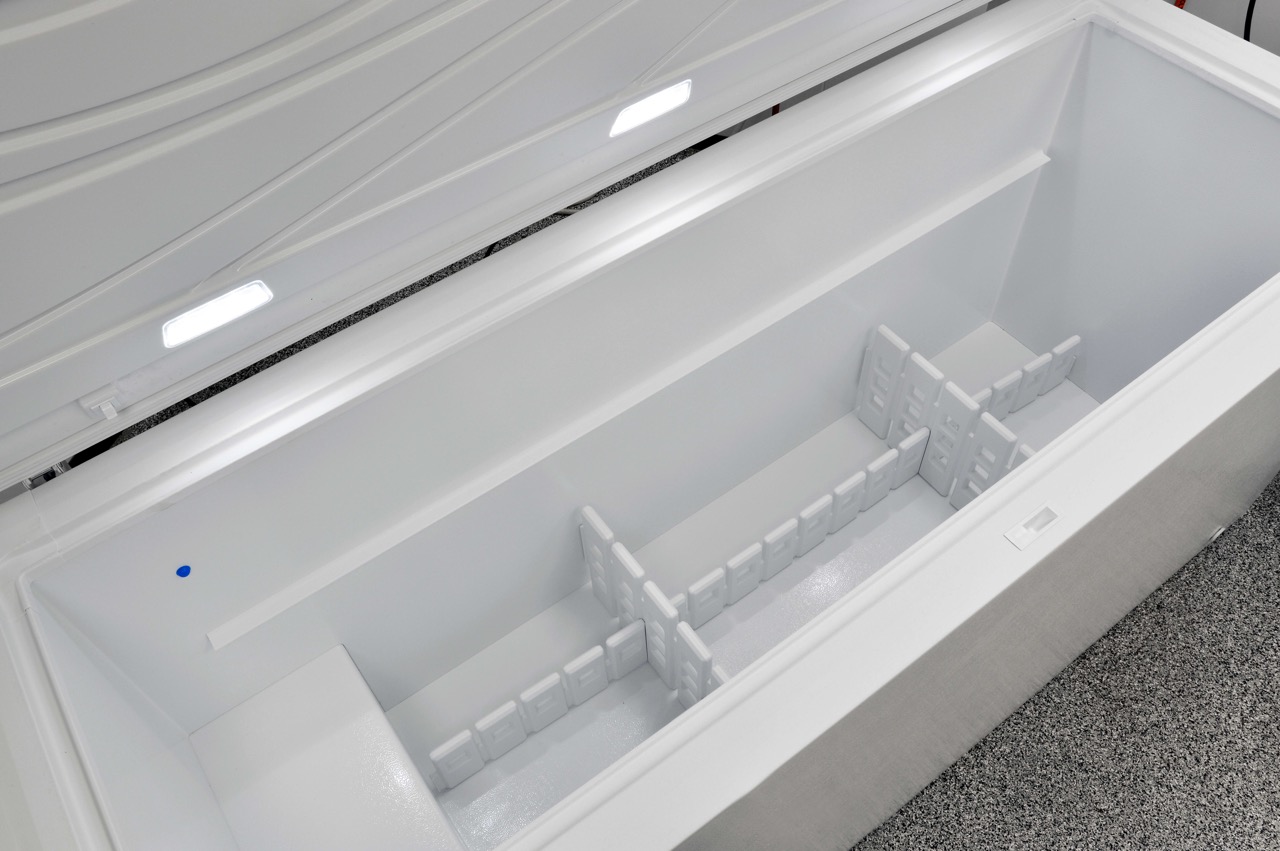
Read more: How To Organize A Freezer Chest
Step 1: Clearing out the Freezer
The first step in organizing your freezer is clearing it out completely. This allows you to assess the contents and start with a clean slate. Follow these steps to clear out your freezer effectively:
- Turn off the freezer: Before you begin, make sure to turn off and unplug your freezer to prevent any accidents or frost buildup.
- Remove all items: Take out all the items from your freezer and place them on a countertop or a table. This will give you a good visual overview of what you have.
- Check expiration dates: Go through each item and check for expiration dates. Discard anything that is past its prime or no longer safe to consume.
- Inspect for freezer burn: Look out for any items that may have freezer burn, which can affect the taste and quality of the food. Consider disposing of these items as well.
As you clear out your freezer, take note of any food items that you frequently use or ones that may have been forgotten at the bottom. This will help you prioritize and organize them better later on.
Once you have cleared out your freezer, it’s time to move on to the next step – categorizing food items.
Step 2: Categorizing Food Items
Now that you have a clean and empty freezer, it’s time to categorize the food items you removed. This step will help you group similar items together and make it easier to find what you need. Follow these guidelines to effectively categorize your food items:
- Sort by food type: Start by categorizing your items based on their type, such as meats, vegetables, fruits, dairy, and desserts. This will create clear sections in your freezer for each category.
- Create subcategories: For larger categories like meats or vegetables, further divide them into subcategories. For example, separate meats into poultry, beef, and fish. This will provide even more organization within your freezer.
- Consider usage frequency: Take into account how often you use certain items. If you frequently reach for frozen vegetables or ice cream, place them in easily accessible areas for convenience.
- Keep like items together: Within each category, group similar items together. For instance, place different cuts of meat together or keep all your frozen fruits in one section. This will help you quickly locate specific items.
By categorizing your food items, you not only create an organized system but also reduce the chances of items getting lost or forgotten at the back of the freezer. This step sets the foundation for efficient freezer organization.
Now that you have categorized your food items, it’s time to move on to step 3: utilizing freezer storage containers.
Step 3: Utilizing Freezer Storage Containers
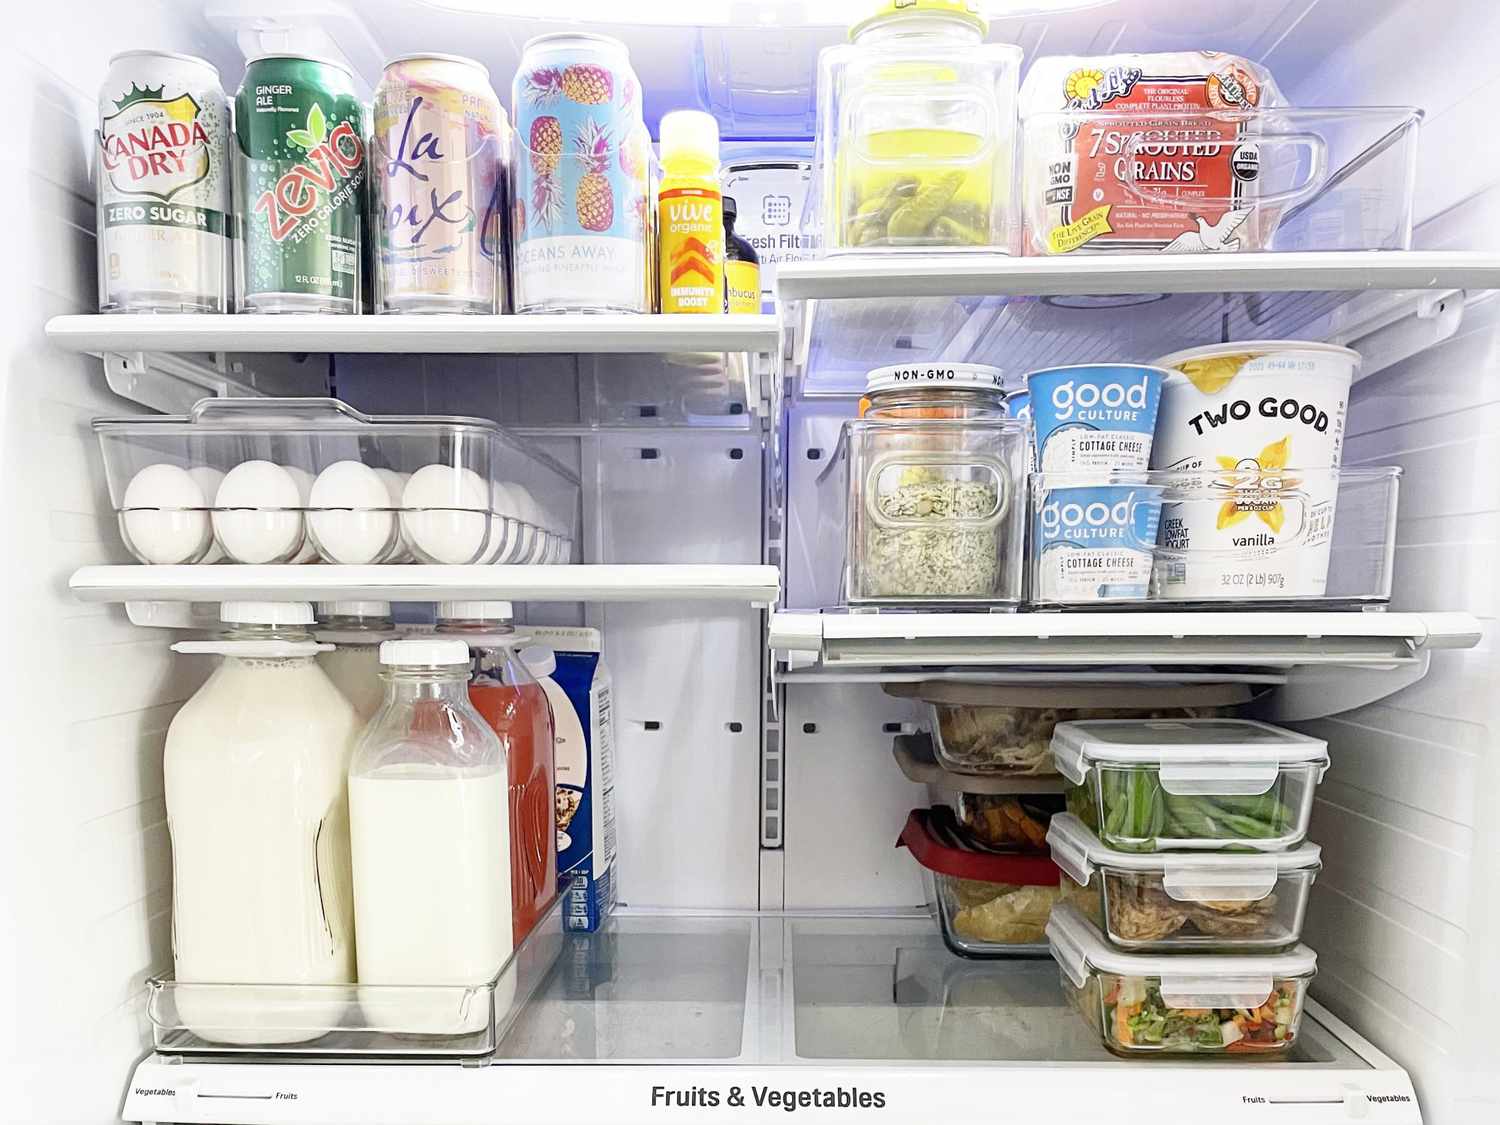
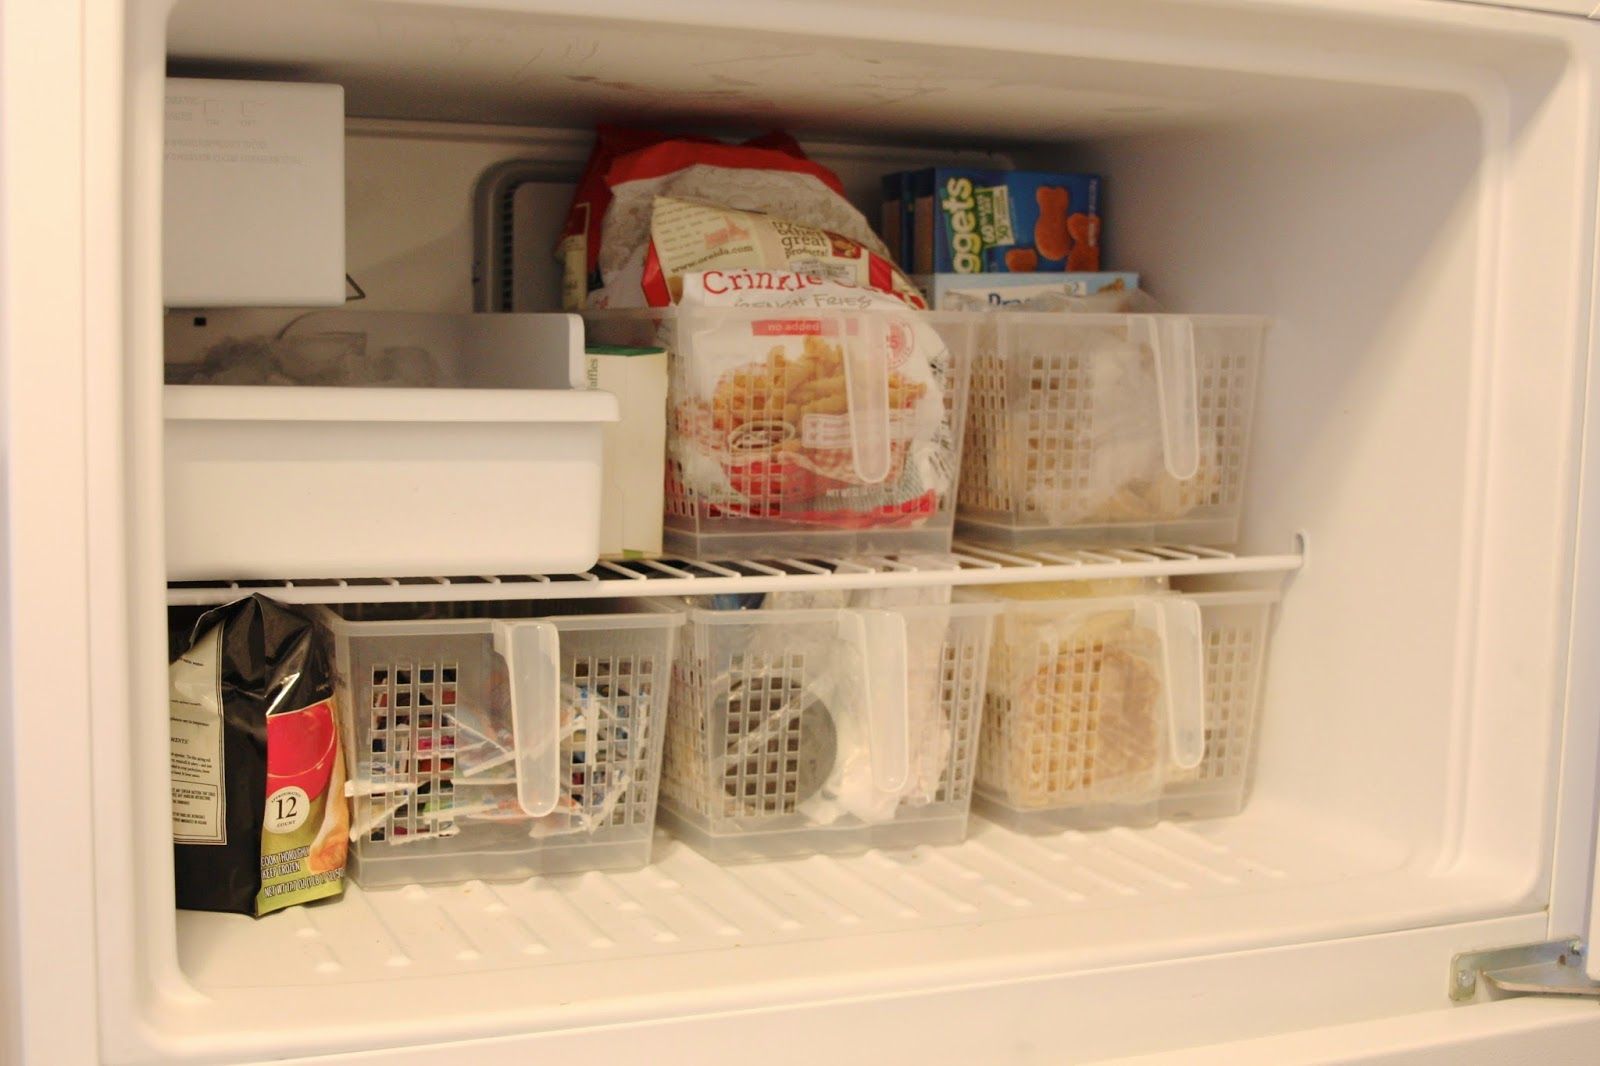
One of the key secrets to a well-organized freezer is the use of storage containers. These containers not only help maximize space but also keep your food items protected and easily accessible. Follow these steps to effectively utilize freezer storage containers:
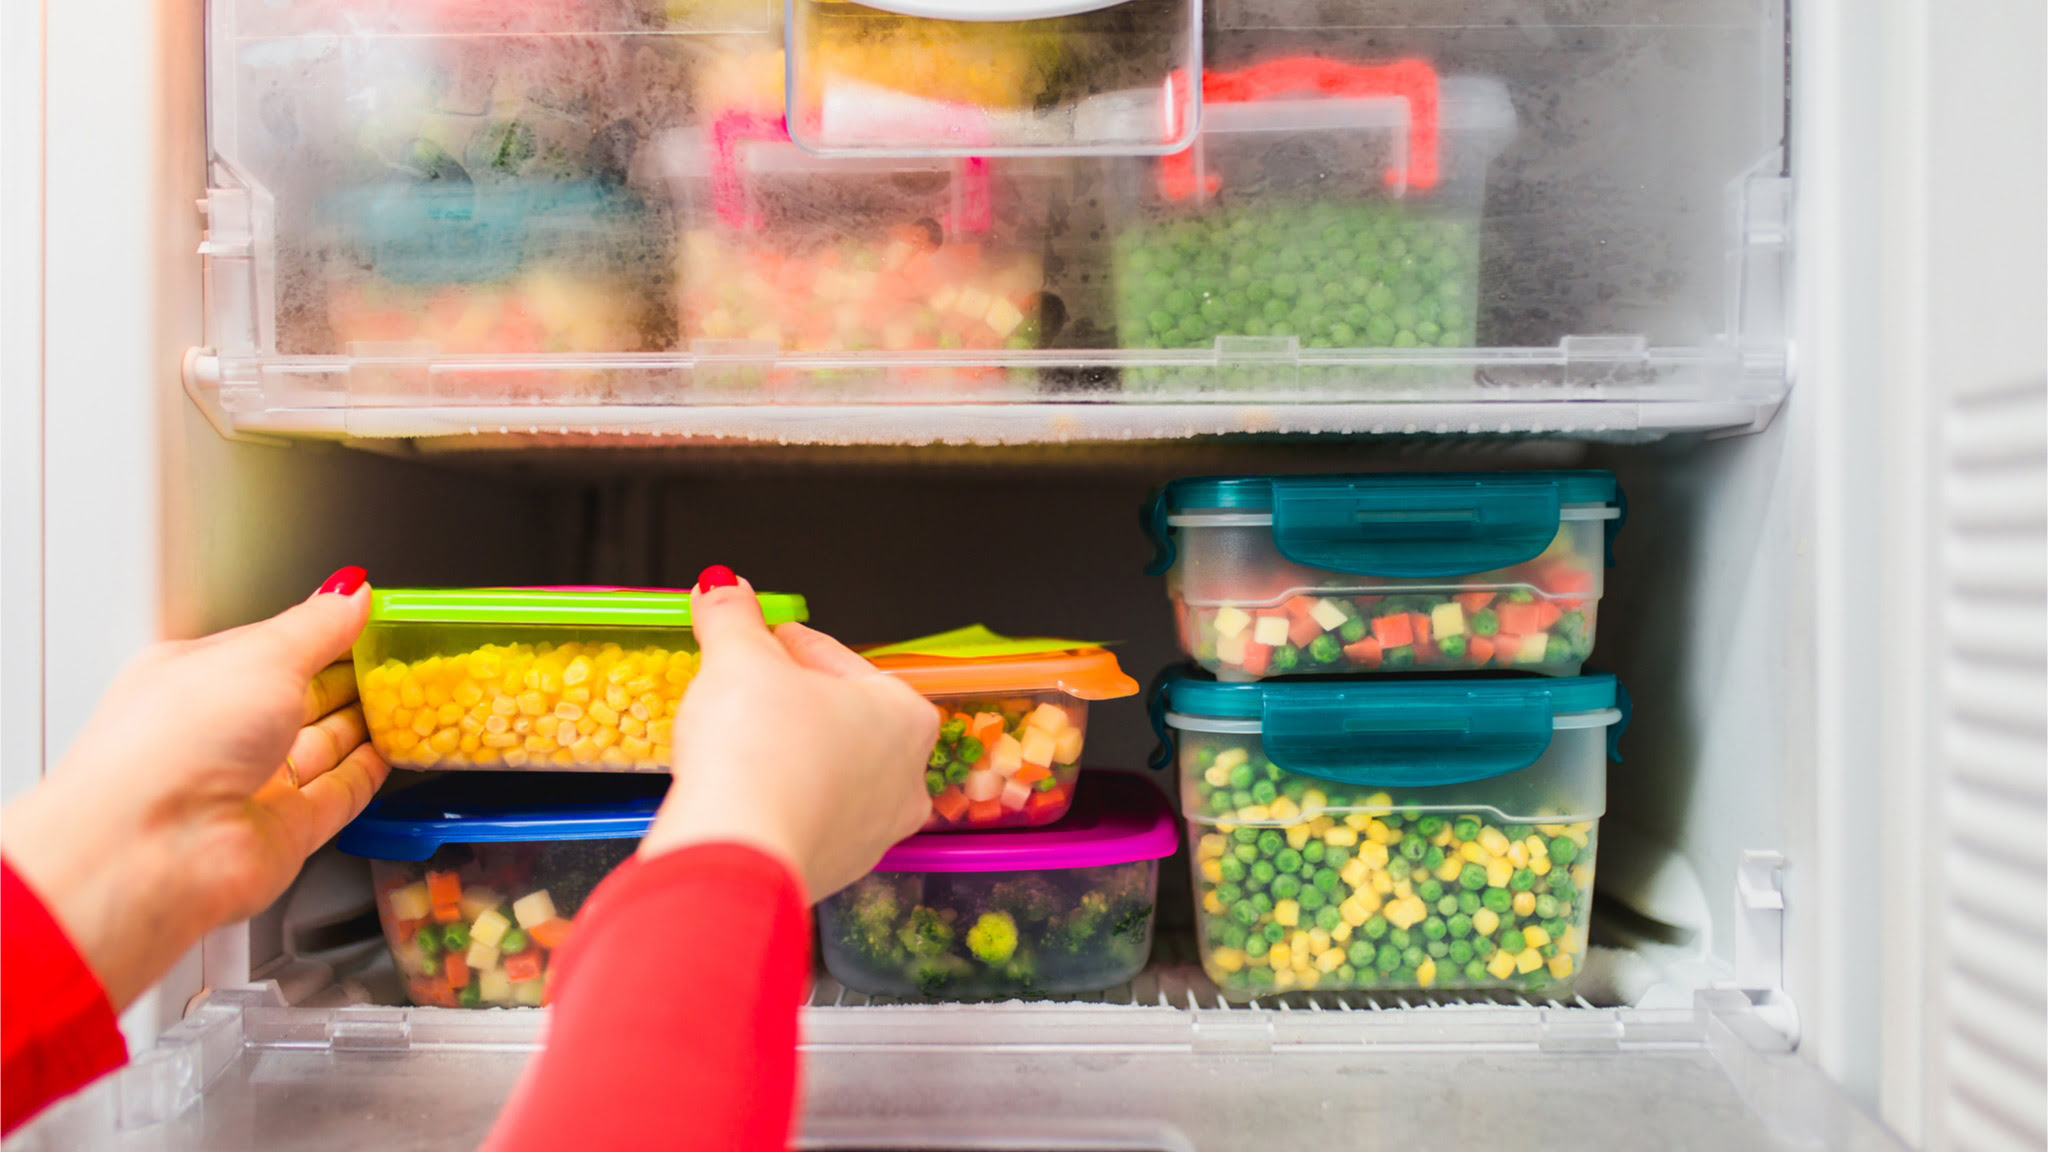
- Select appropriate containers: Choose containers that are freezer-safe and stackable to make the most of the space in your freezer. Opt for clear containers to easily see the contents without having to open them.
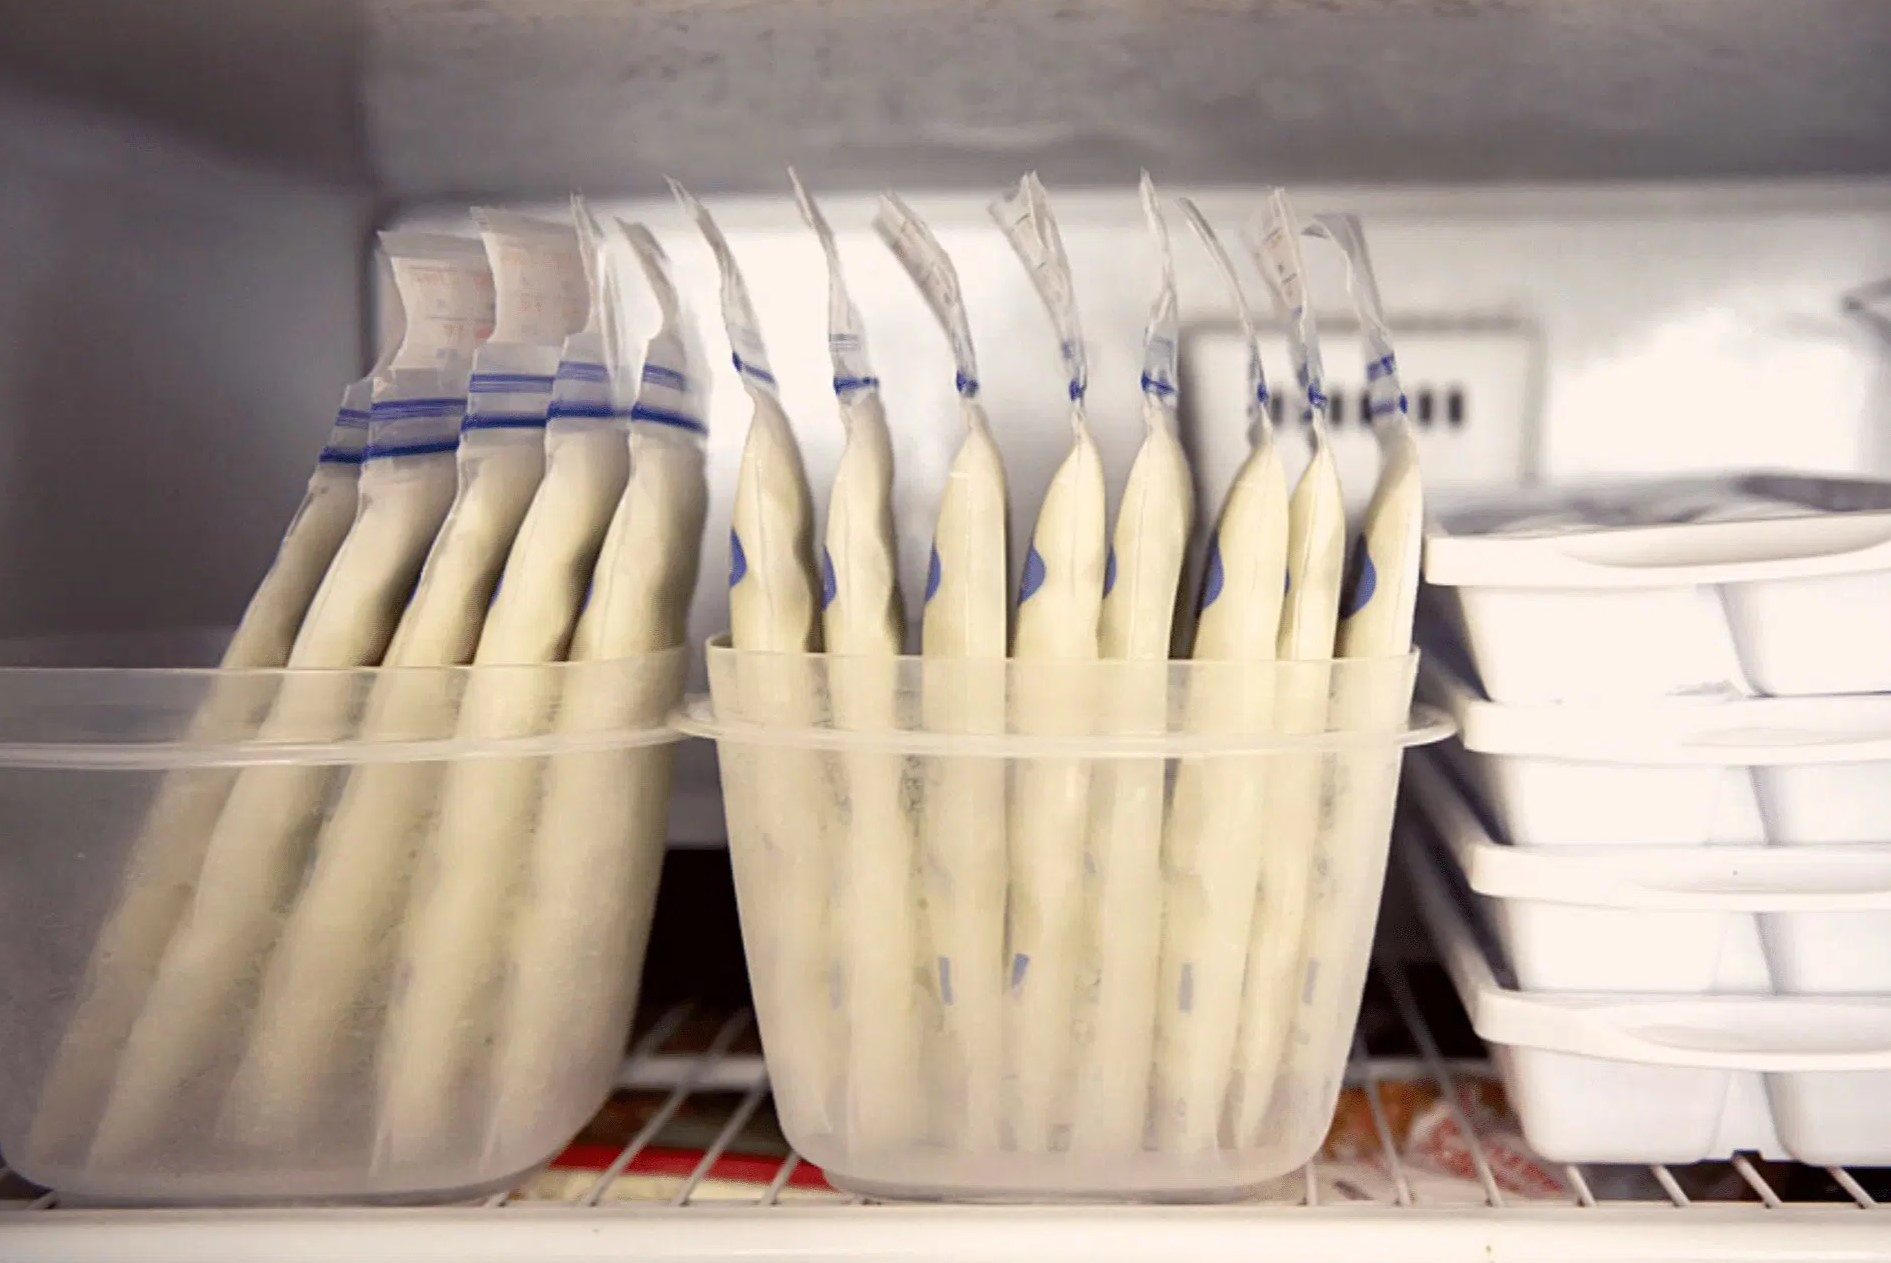
- Divide items into portions: Before placing food items into containers, consider dividing them into individual or family-sized portions. This way, you can thaw only what you need, reducing food waste.
- Label the containers: Label each container with the name of the food item and the date it was frozen. This will help you keep track of its freshness and easily identify what’s inside without needing to open it.
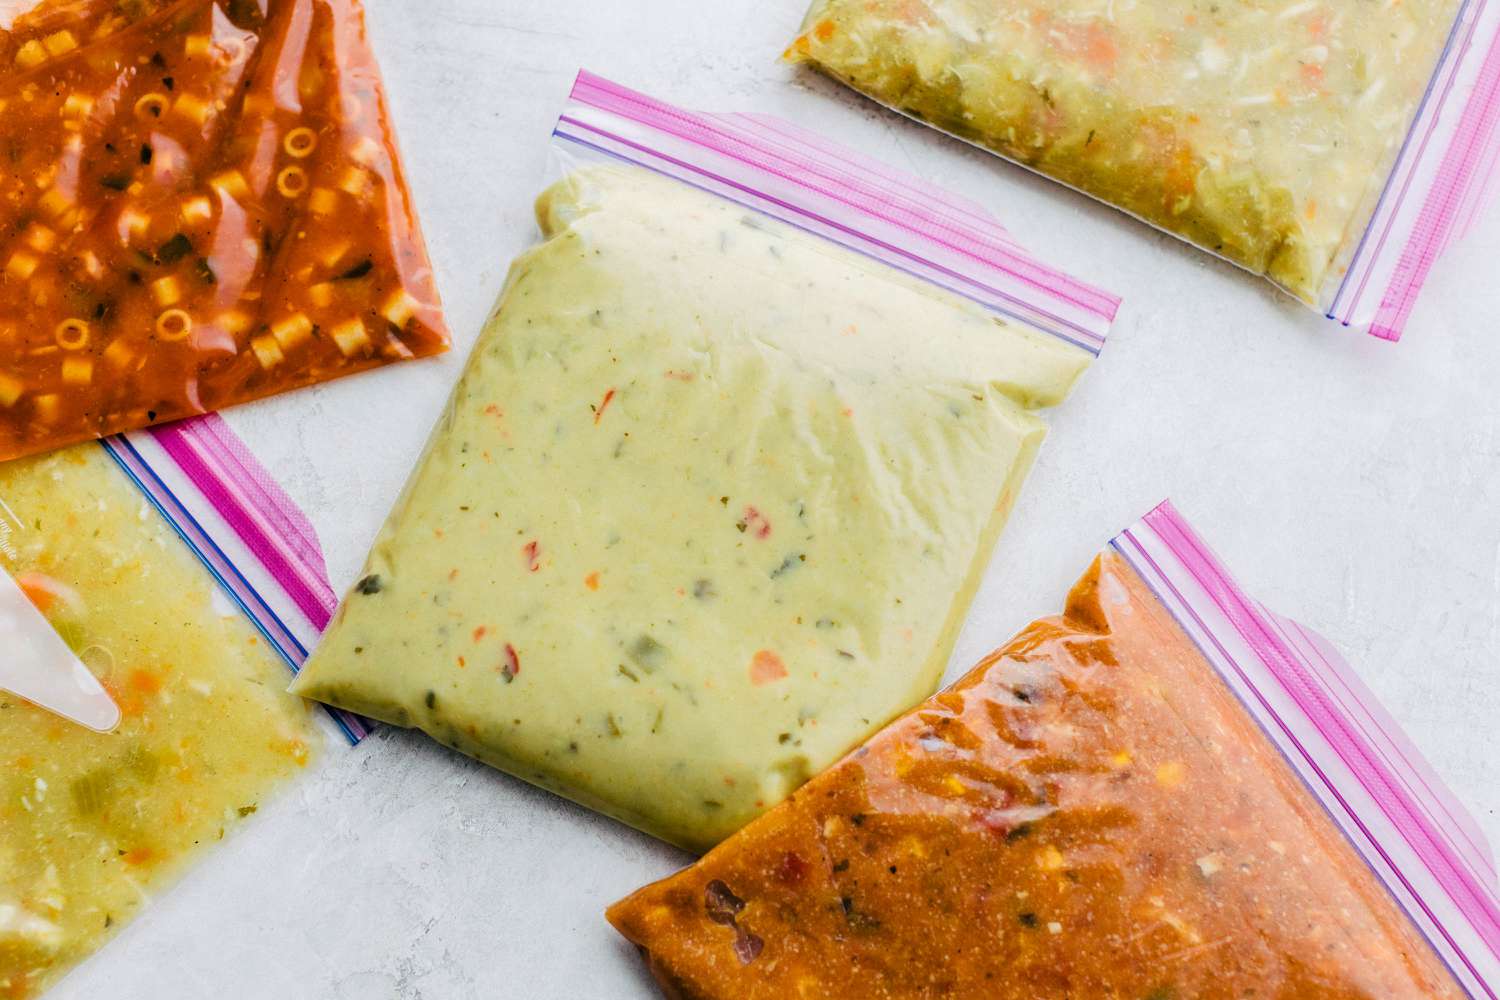
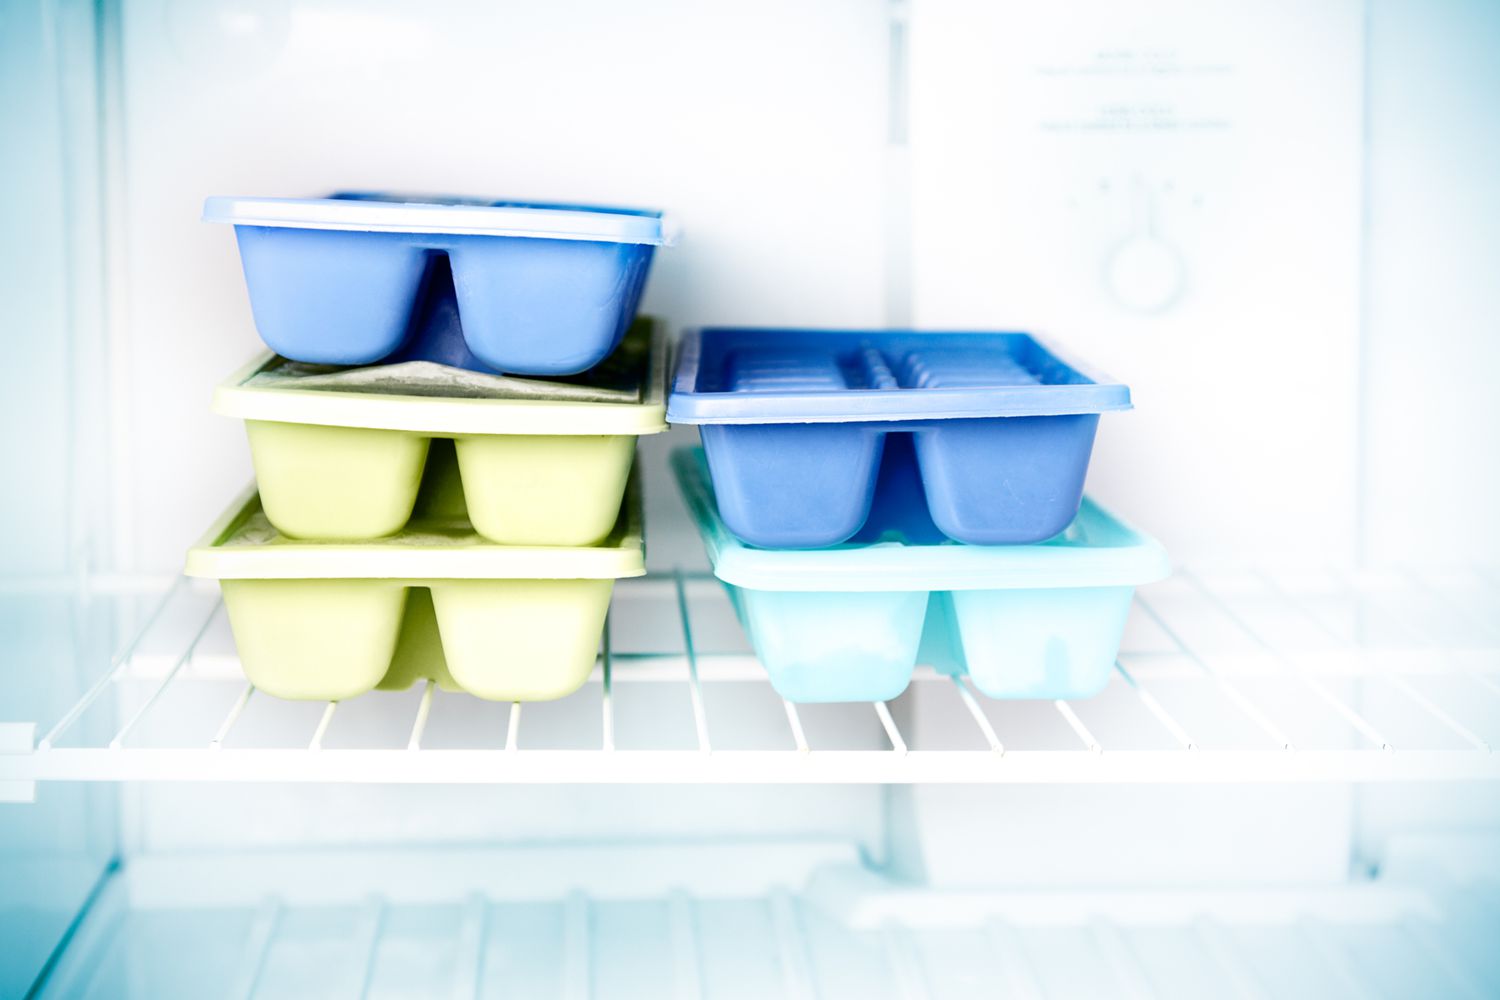
- Utilize freezer bags: Alongside storage containers, freezer bags are excellent for storing items like fruits, vegetables, and leftovers. They offer flexibility and can be easily stacked or laid flat for efficient use of space.
- Optimize vertical space: When placing containers in your freezer, make use of vertical space by stacking them. Ensure that containers are securely sealed to prevent any leaks or cross-contamination.
By utilizing freezer storage containers, you’ll be able to keep your food items well-organized, prevent freezer burn, and easily access what you need without having to rummage through a jumbled mess. This brings us to the next step: labeling the food items.
</p>
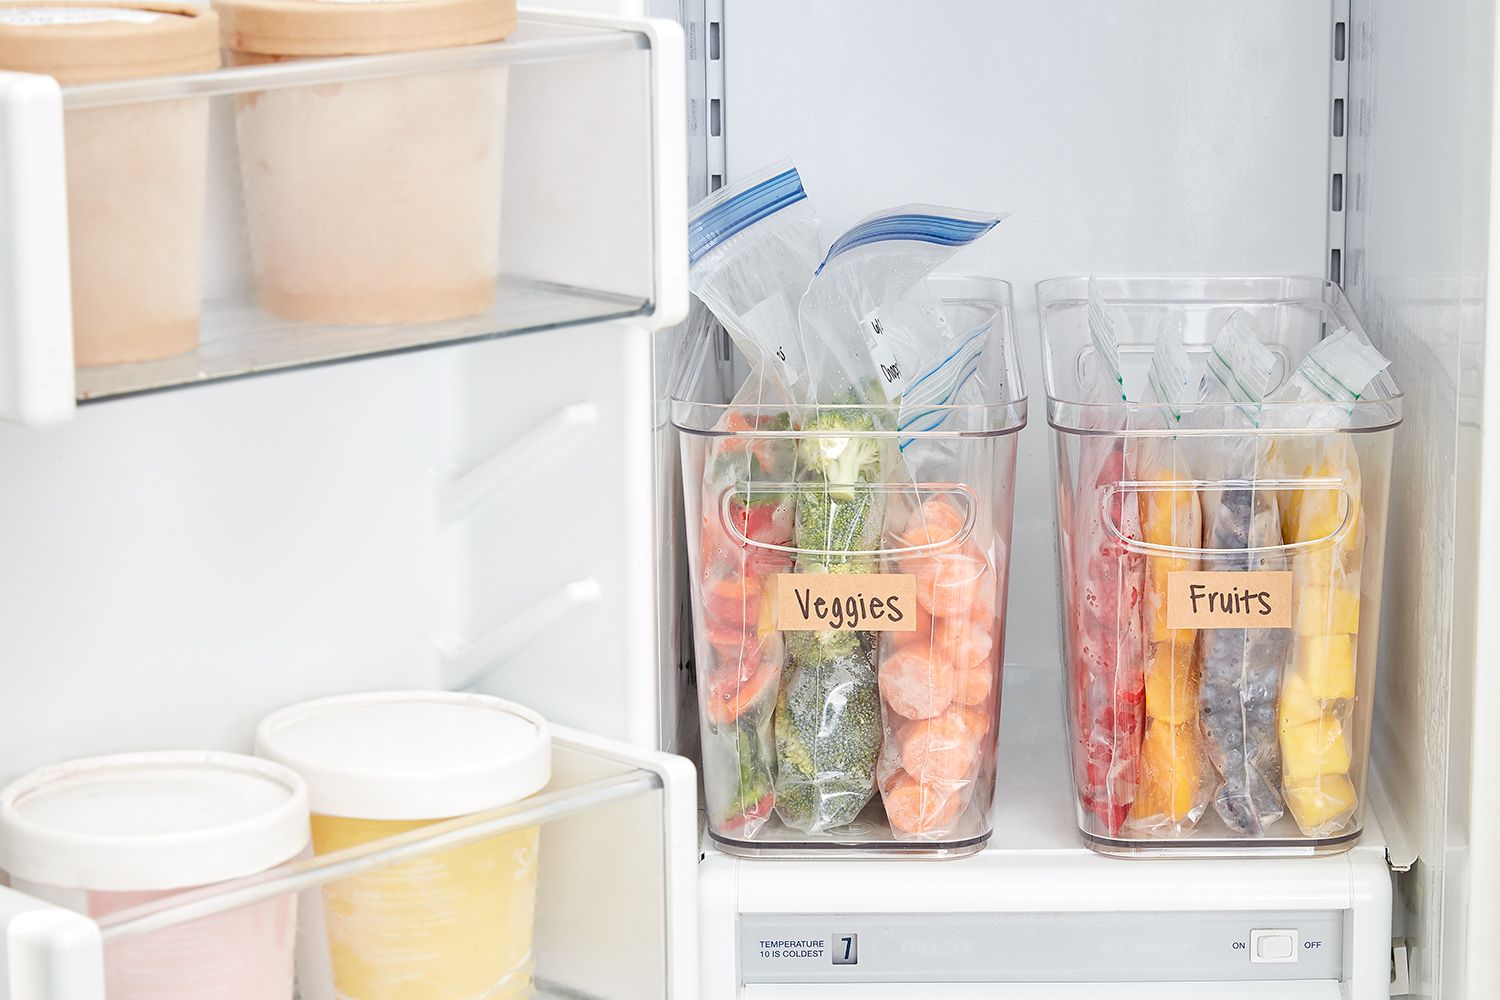
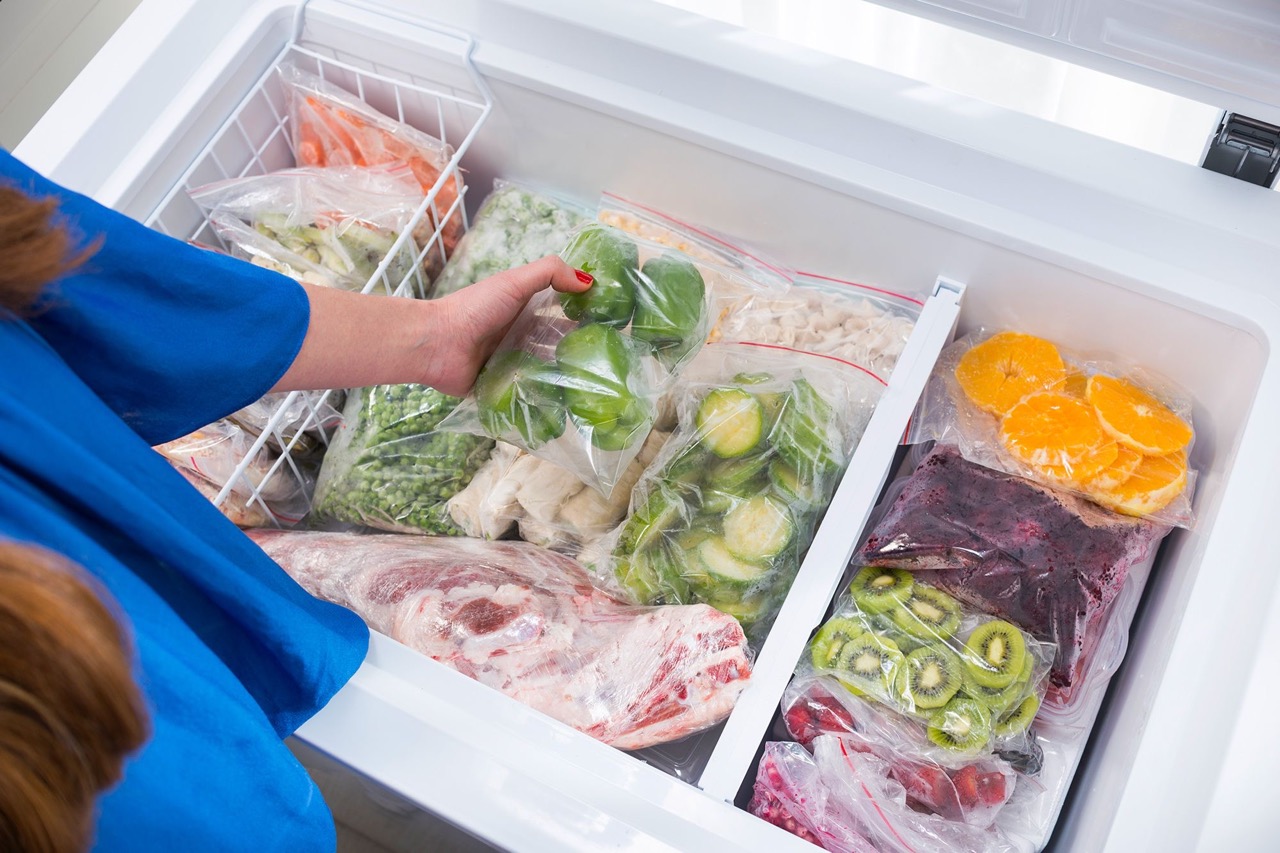
Use clear plastic bins or baskets to group similar items together in your freezer. Label each bin with the contents to easily find what you need.
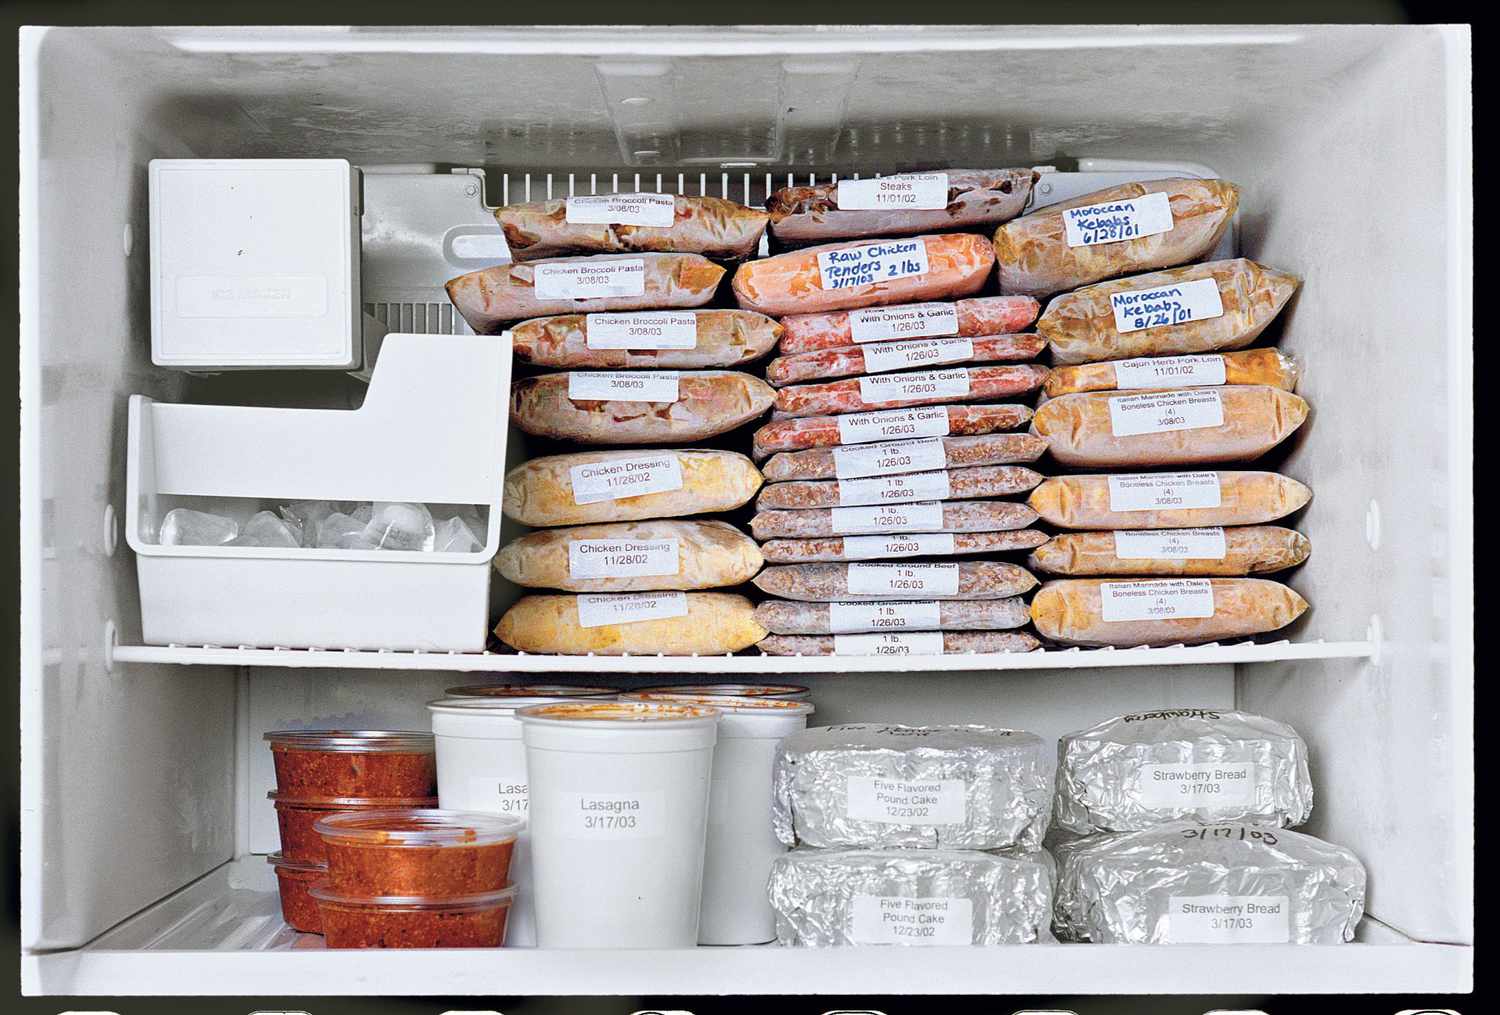
Step 4: Labeling the Food Items
Labeling your food items is an essential step in freezer organization. It ensures that you can easily identify what’s inside each container without having to open it, saving you time and effort. Follow these guidelines for effective labeling:
- Use waterproof labels: Opt for labels that are waterproof and freezer-safe, as they will not smudge or fade over time. You can find adhesive labels designed specifically for freezer use at most office supply stores.
- Include essential information: Write the name of the food item and the date it was frozen on each label. Adding the date allows you to track the freshness of the food and prioritize consumption accordingly.
- Be specific: If possible, provide additional details on the label, such as the quantity or portion size. This is particularly helpful when you have multiple containers of the same food item.
- Place labels in a visible area: Stick the labels prominently on the front or top of each container, making it easy to read at a glance. Avoid placing labels on the bottom, as they may become obscured.
- Use color-coding (optional): Consider using color-coded labels or markers to further enhance organization. Assign a specific color to each category or subcategory, allowing for quick visual identification.
By labeling your food items, you’ll have a clear visual reference of what you have in your freezer, making it easier to plan meals and use items before they expire. With your food items properly labeled, it’s time to move on to step 5: setting up a system of organization.
</p>
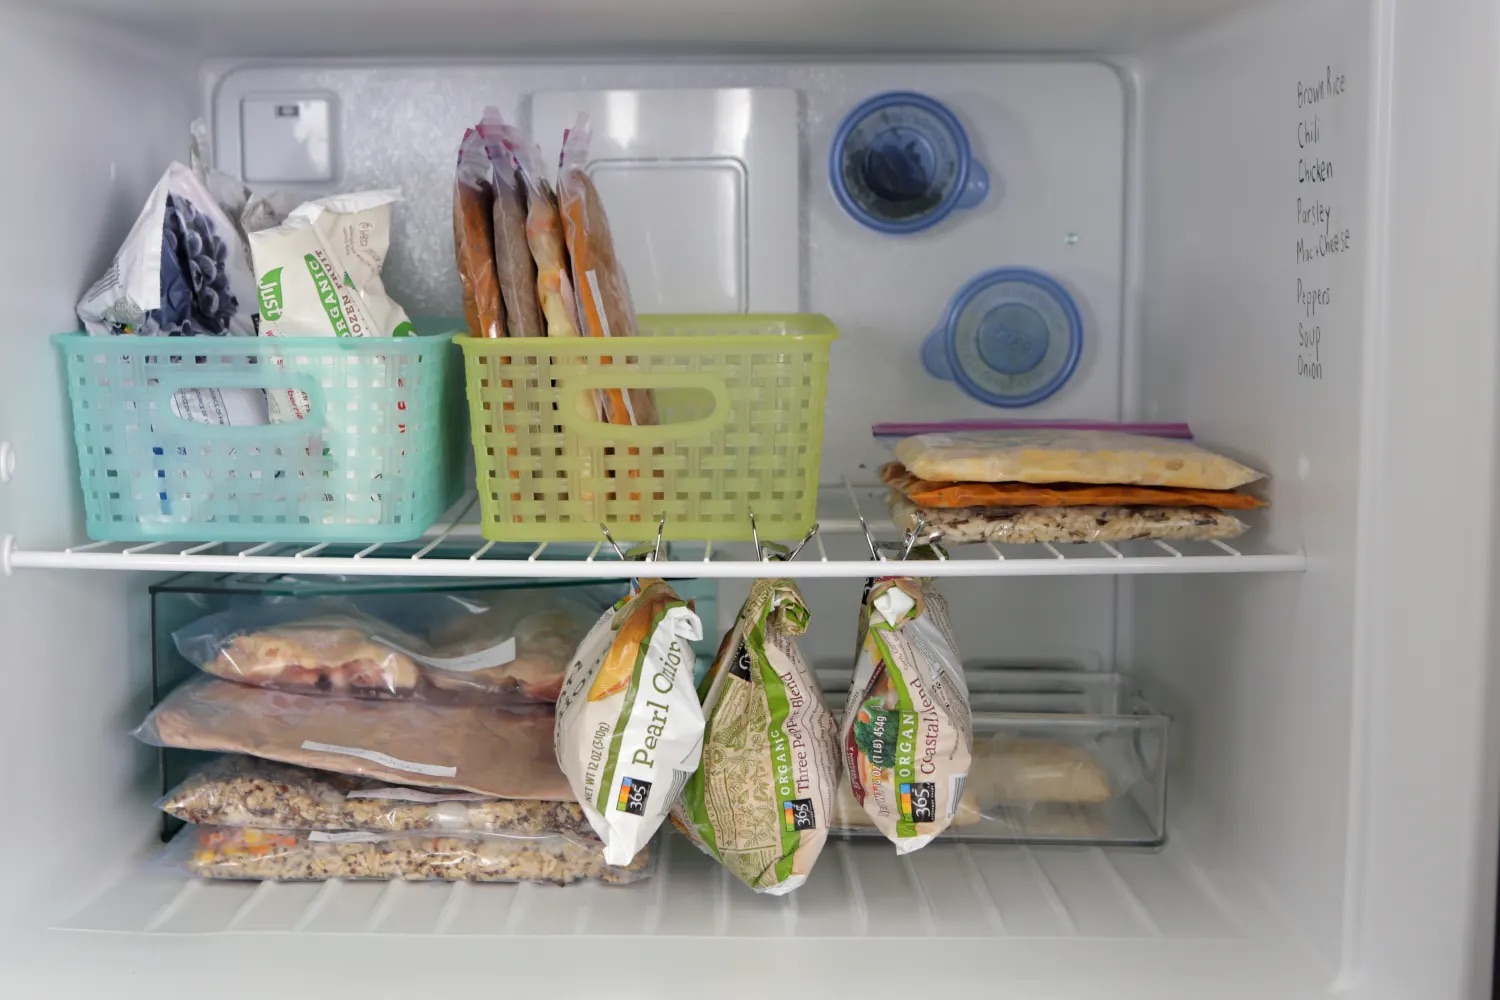
Step 5: Setting Up a System of Organization
Now that you have categorized, containerized, and labeled your food items, it’s time to set up a system of organization within your freezer. This step will ensure that everything is easily accessible and that you can maintain the order you’ve established. Follow these tips for an effective system of organization:
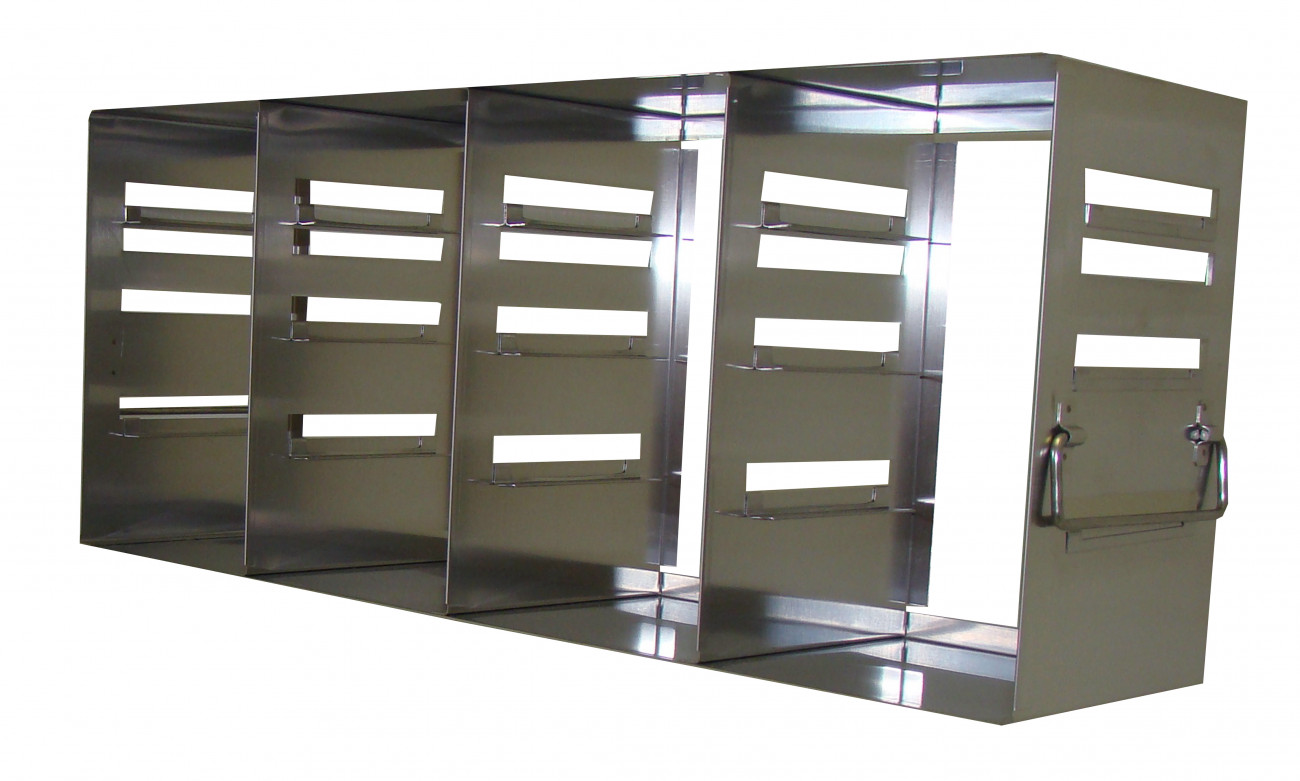
- Assign specific sections: Divide your freezer into sections based on the categories you established earlier. For example, dedicate one shelf to meats, another to vegetables, and so on. This helps maintain order and prevents items from getting mixed up.
- Stack and layer containers: Within each section, stack and layer the containers to make the most of the vertical space. Place frequently used items in the front for easy access and less disruption to the overall organization.
- Create zones: Consider creating zones within each section to further optimize organization. For example, reserve one area for pre-made meals, another for frozen fruits and smoothie ingredients, and another for assorted frozen snacks.
- Rotate items regularly: To prevent items from being forgotten or buried at the back of the freezer, make it a habit to rotate your stock. Move older items to the front and place newer items towards the back.
- Maintain the system: Regularly check and tidy your freezer to maintain the organization you’ve established. Take a few minutes each week to ensure containers are properly sealed, labels are visible, and items are in their designated sections.
By setting up a system of organization, you’ll save time and energy when searching for items in your freezer. Everything will have its designated place, making meal planning and preparation a breeze. With your system in place, it’s time to move on to the final step: regular maintenance and cleaning.
</p>
Step 6: Regular Maintenance and Cleaning
Once you have organized your freezer, it’s important to establish a routine for regular maintenance and cleaning. This step ensures that your freezer remains organized, hygienic, and in optimal condition. Follow these guidelines for effective maintenance and cleaning:
- Regularly check for expired items: Routinely go through your freezer to check for any expired or freezer-burned items. Discard these items promptly to prevent clutter and maintain freshness.
- Thaw and clean when necessary: Plan regular periods to thaw and clean your freezer. Remove all items, defrost the freezer if needed, and wipe down the interior with a mild cleaning solution. Once cleaned, allow the freezer to fully dry before restocking.
- Inspect for spills and leaks: Regularly check for spills or leaks within your freezer. Take the time to clean up any spills promptly to prevent potential contamination or odor buildup.
- Maintain proper temperature: Ensure that your freezer is maintaining the recommended temperature, typically between 0°F and -10°F (-18°C and -23°C). Regularly check the temperature and adjust as necessary.
- Reassess and reorganize periodically: Take the opportunity to reassess and reorganize your freezer every few months. As your needs and stock change, adjust your organization system accordingly to maintain efficiency.
- Keep a freezer inventory list: Consider creating a freezer inventory list to keep track of what you have. This can be a simple spreadsheet or a note on your phone. Update it regularly to have a clear reference of your stock.
By implementing regular maintenance and cleaning practices, you’ll ensure that your freezer remains organized, clean, and efficient. Your food items will stay fresh, and you’ll be able to easily locate what you need. Congratulations on successfully organizing your freezer!
</p>
Conclusion
Organizing your freezer is a worthwhile endeavor that brings numerous benefits. By following the steps outlined in this guide, you can transform your freezer from a cluttered mess into a well-organized and efficient space. Here’s a recap of the steps:
- Clear out the freezer completely to start with a clean slate.
- Categorize your food items to group similar items together.
- Utilize freezer storage containers to maximize space and keep items protected.
- Label your food items for easy identification.
- Set up a system of organization to maintain order and accessibility.
- Maintain regular maintenance and cleaning to keep your freezer in optimal condition.
By implementing these steps, you’ll experience the benefits of an organized freezer. You’ll save time and reduce food waste by easily finding what you need, and you’ll have a clear overview of the items you have in stock. Meal preparation and planning will become more efficient, and your freezer will remain in a hygienic and well-maintained state.
Remember to periodically reassess and adjust your organization system as needed. As your needs and stock change, it’s important to adapt your system to ensure continued efficiency.
Now it’s time to put these steps into action and transform your freezer into an organized haven. Get started today and enjoy the benefits of a well-organized freezer!
</p>
Frequently Asked Questions about How To Organize A Freezer
Was this page helpful?
At Storables.com, we guarantee accurate and reliable information. Our content, validated by Expert Board Contributors, is crafted following stringent Editorial Policies. We're committed to providing you with well-researched, expert-backed insights for all your informational needs.


0 thoughts on “How To Organize A Freezer”