Articles
How To Organize A Chest Freezer
Modified: February 28, 2024
Looking for articles on how to organize a chest freezer? Discover practical tips and tricks to efficiently arrange your frozen items for easy access and optimal space utilization.
(Many of the links in this article redirect to a specific reviewed product. Your purchase of these products through affiliate links helps to generate commission for Storables.com, at no extra cost. Learn more)
Introduction
A chest freezer is an invaluable appliance for storing and preserving a variety of food items. However, without proper organization, it can quickly become a chaotic jumble of frozen goods. Failure to keep your chest freezer organized not only leads to wastage of food but also makes it difficult to locate specific items when needed. In this article, we will provide you with a step-by-step guide on how to organize a chest freezer effectively.
By following these simple tips and strategies, you can maximize the space, reduce food waste, and make the most out of your chest freezer. So, let’s dive in and learn how to transform your freezer into a well-organized and efficient storage solution.
Key Takeaways:
- Efficient organization of a chest freezer involves clearing out, sorting, and grouping items, utilizing storage containers, labeling, and maximizing space. This ensures easy access, minimizes waste, and prolongs freezer life.
- Regular maintenance, cleaning, and temperature monitoring are essential for optimal chest freezer performance. Implementing these steps leads to a well-organized, efficient, and easily accessible freezer space.
Read more: How To Organize The Freezer
Step 1: Clearing out the Freezer
Before you can begin organizing your chest freezer, you’ll need to clear it out completely. Start by removing all the items from the freezer and placing them in a cooler or another freezer if available. This will help prevent any food items from thawing and spoiling during the organizing process.
As you remove each item from the freezer, check the expiration dates and discard any items that are past their prime. This will help you get rid of any old or expired food items and create space for the items you plan to keep.
Next, take the opportunity to clean the empty freezer. Wipe down the interior with a mild detergent solution or a mixture of water and vinegar. Make sure to remove any frost or ice buildup, as this can interfere with the freezer’s efficiency and storage space.
Once your freezer is clean and empty, you’re ready to move on to the next step of organizing.
Step 2: Sorting and Grouping Items
Now that your freezer is empty and clean, it’s time to sort and group the items you plan to store. This step is crucial for efficient organization and easy access to your frozen goods.
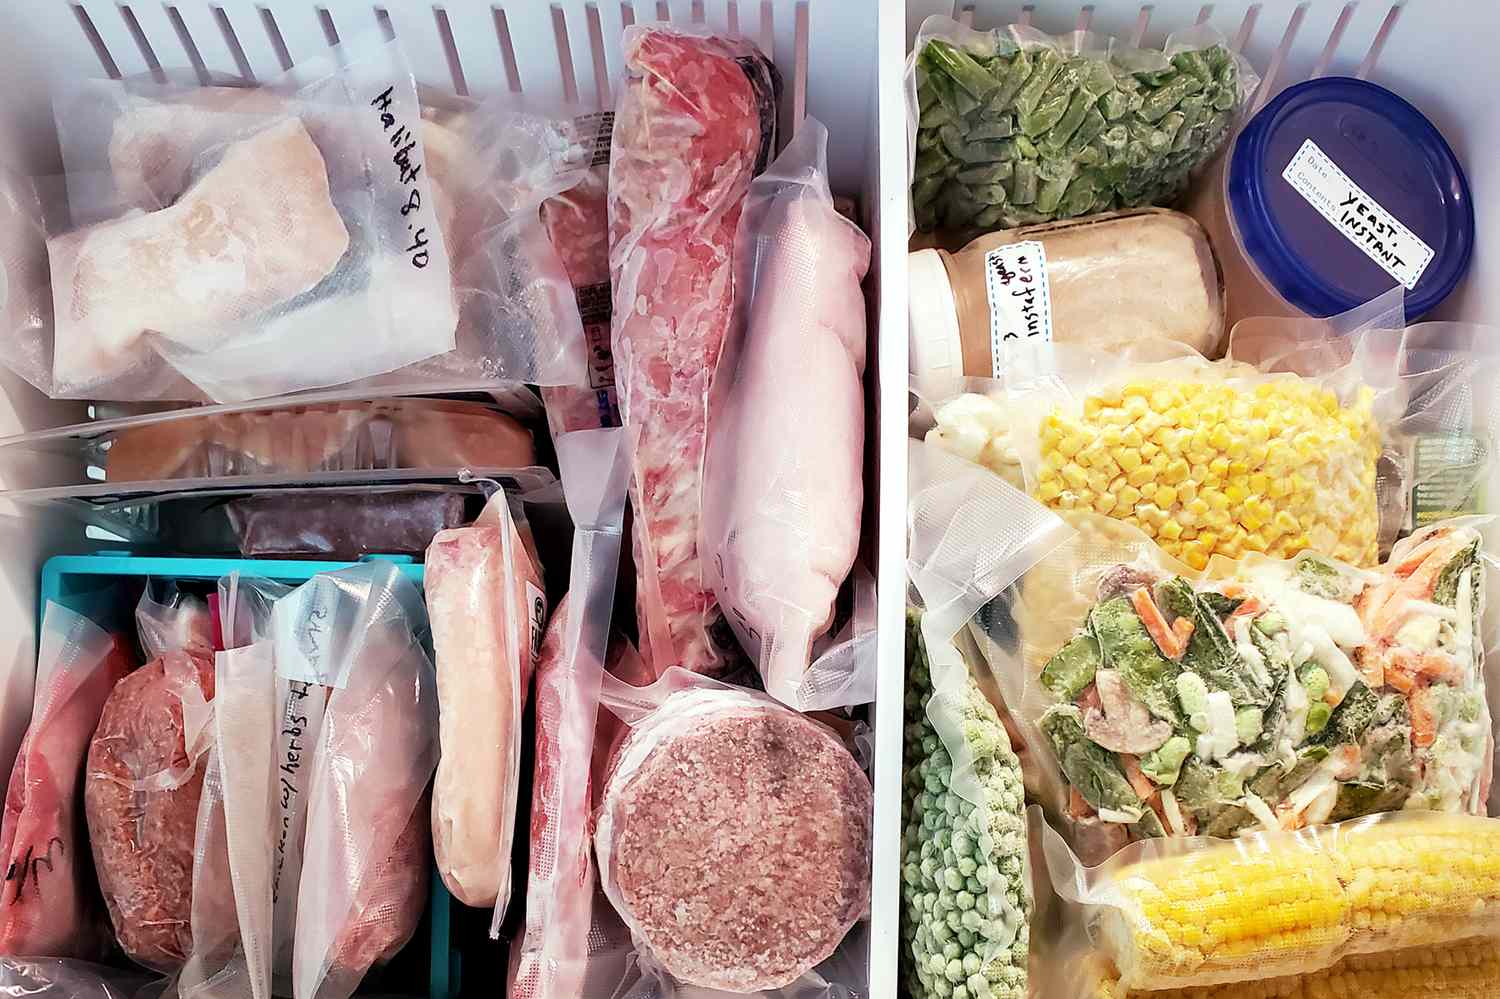
Start by grouping similar items together. For example, keep all meat products in one section, vegetables in another, and so on. This will help you locate specific items quickly and prevent cross-contamination between different food types.
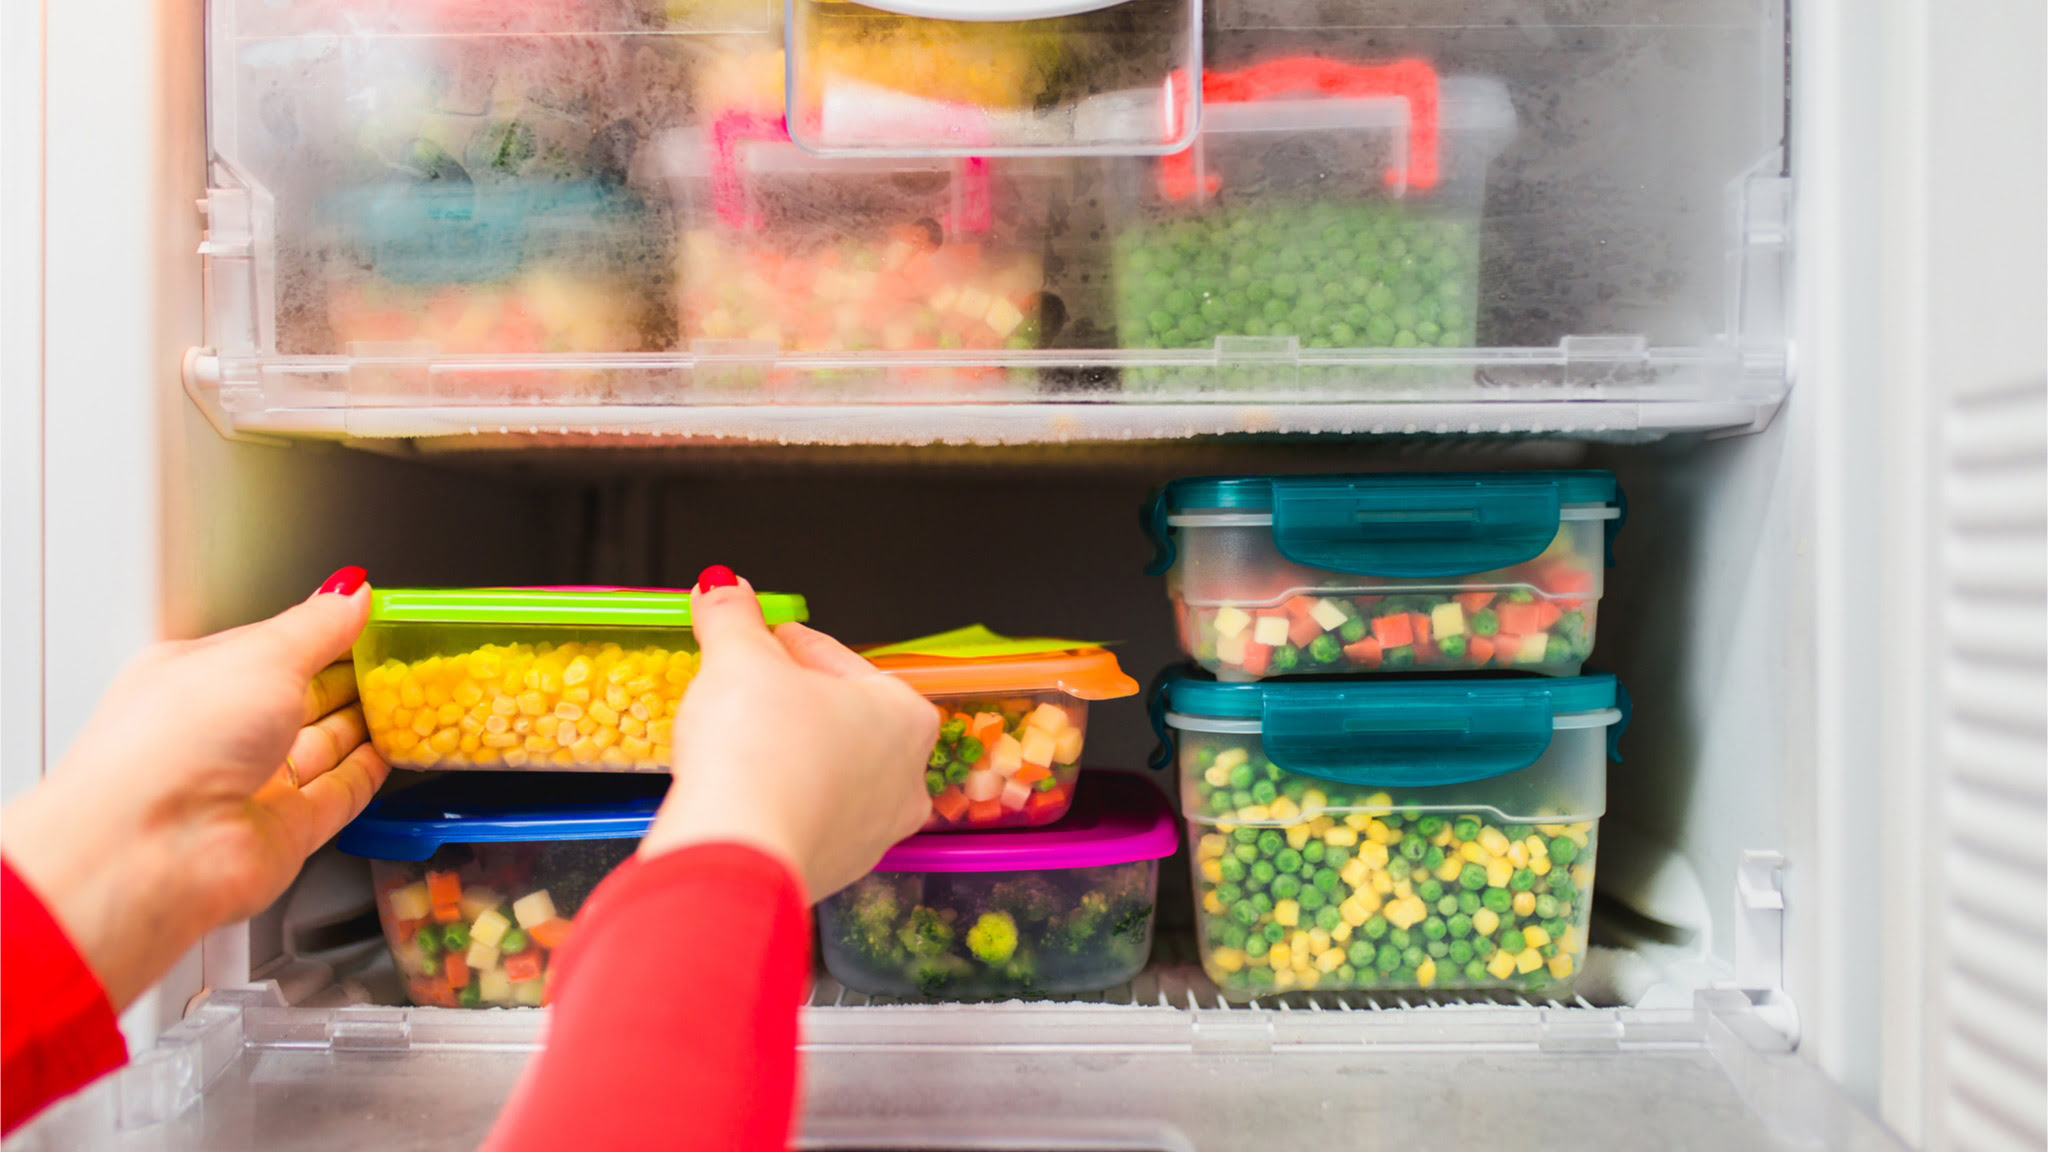
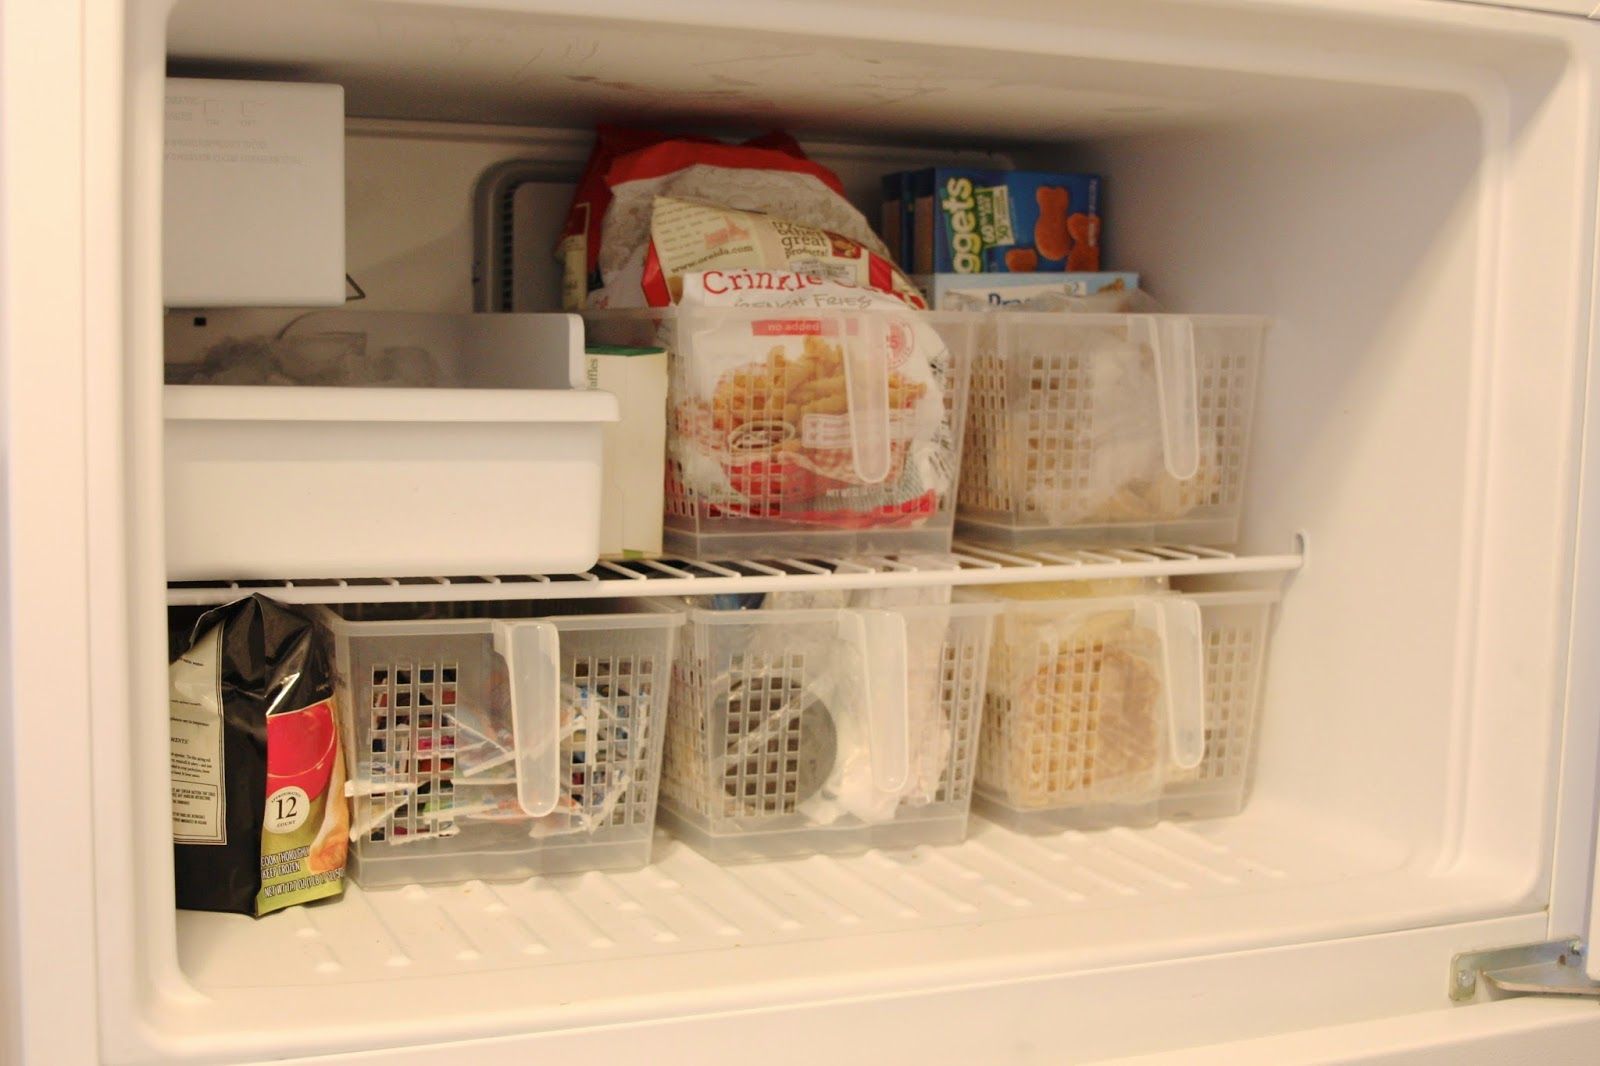
You can take this a step further by using storage baskets or bins to separate and organize different categories of items. Clear plastic containers or wire baskets work well for this purpose, as they allow you to see the contents without having to open each one. Label each bin or basket accordingly to make it even easier to find what you’re looking for.
Additionally, consider grouping items based on their frequency of use. Place frequently accessed items towards the top or front of the freezer for easy reach, while less frequently used items can be placed towards the back or bottom.
By sorting and grouping your frozen items, you’ll create a more organized and visually appealing freezer space. This will also save you time and effort in locating specific items when needed.
Step 3: Utilizing Storage Containers
Storage containers are essential for maximizing the space and organization of your chest freezer. They help keep items grouped together, prevent freezer burn, and make it easier to access and rearrange your frozen goods.
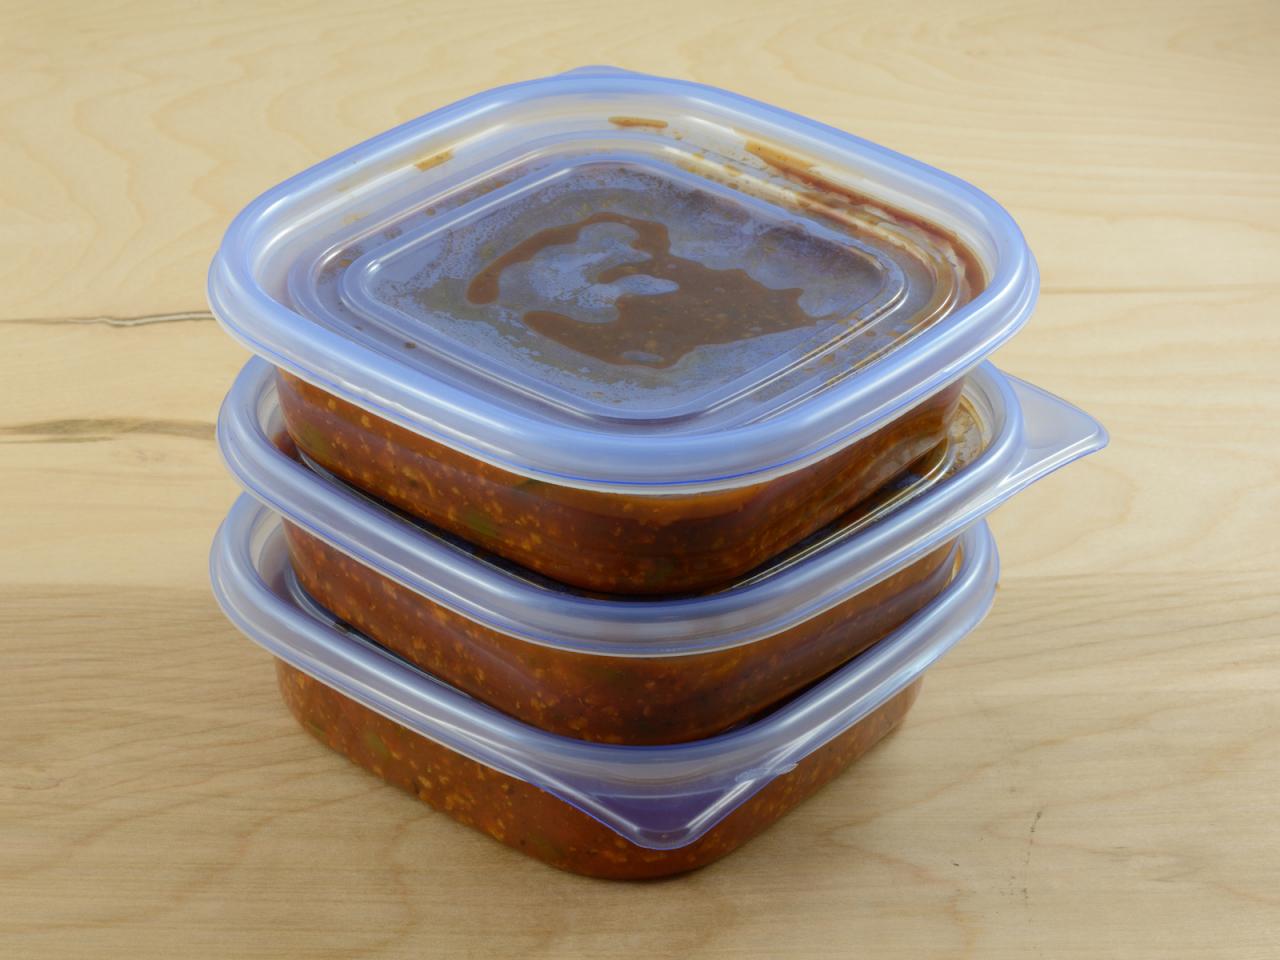
When selecting storage containers for your chest freezer, opt for ones that are freezer-safe and have airtight lids. This will help maintain the quality and freshness of your food items. Transparent containers are also beneficial as they allow you to easily see what’s inside without having to open each container.
Consider choosing containers of different sizes to accommodate a variety of items. Larger containers can be used for bulk items such as meat or vegetables, while smaller containers are ideal for individual servings or smaller food items.
When placing items in the containers, be mindful of leaving some headspace for expansion. This is particularly important for liquids or items that may expand when frozen. You don’t want the containers to burst or spill inside the freezer.
Labeling the containers is another helpful tip. Use waterproof labels or write directly on the containers with a permanent marker to identify the contents and the date of freezing. This will make it easier to locate specific items and ensure you use them in a timely manner.
By utilizing storage containers, you’ll be able to create a more structured and organized freezer space, allowing you to make the most out of the available storage capacity.
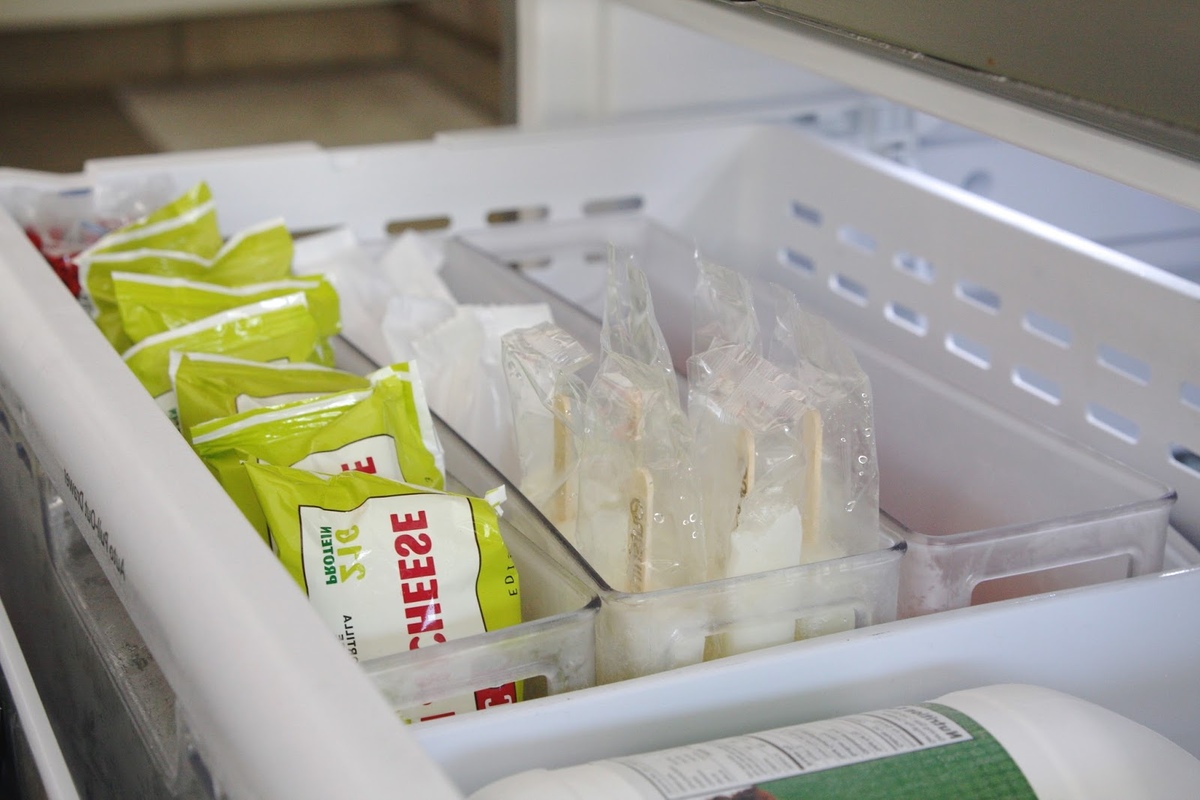
Use clear plastic bins or baskets to group similar items together in your chest freezer. This will make it easier to find what you need and prevent items from getting lost at the bottom.
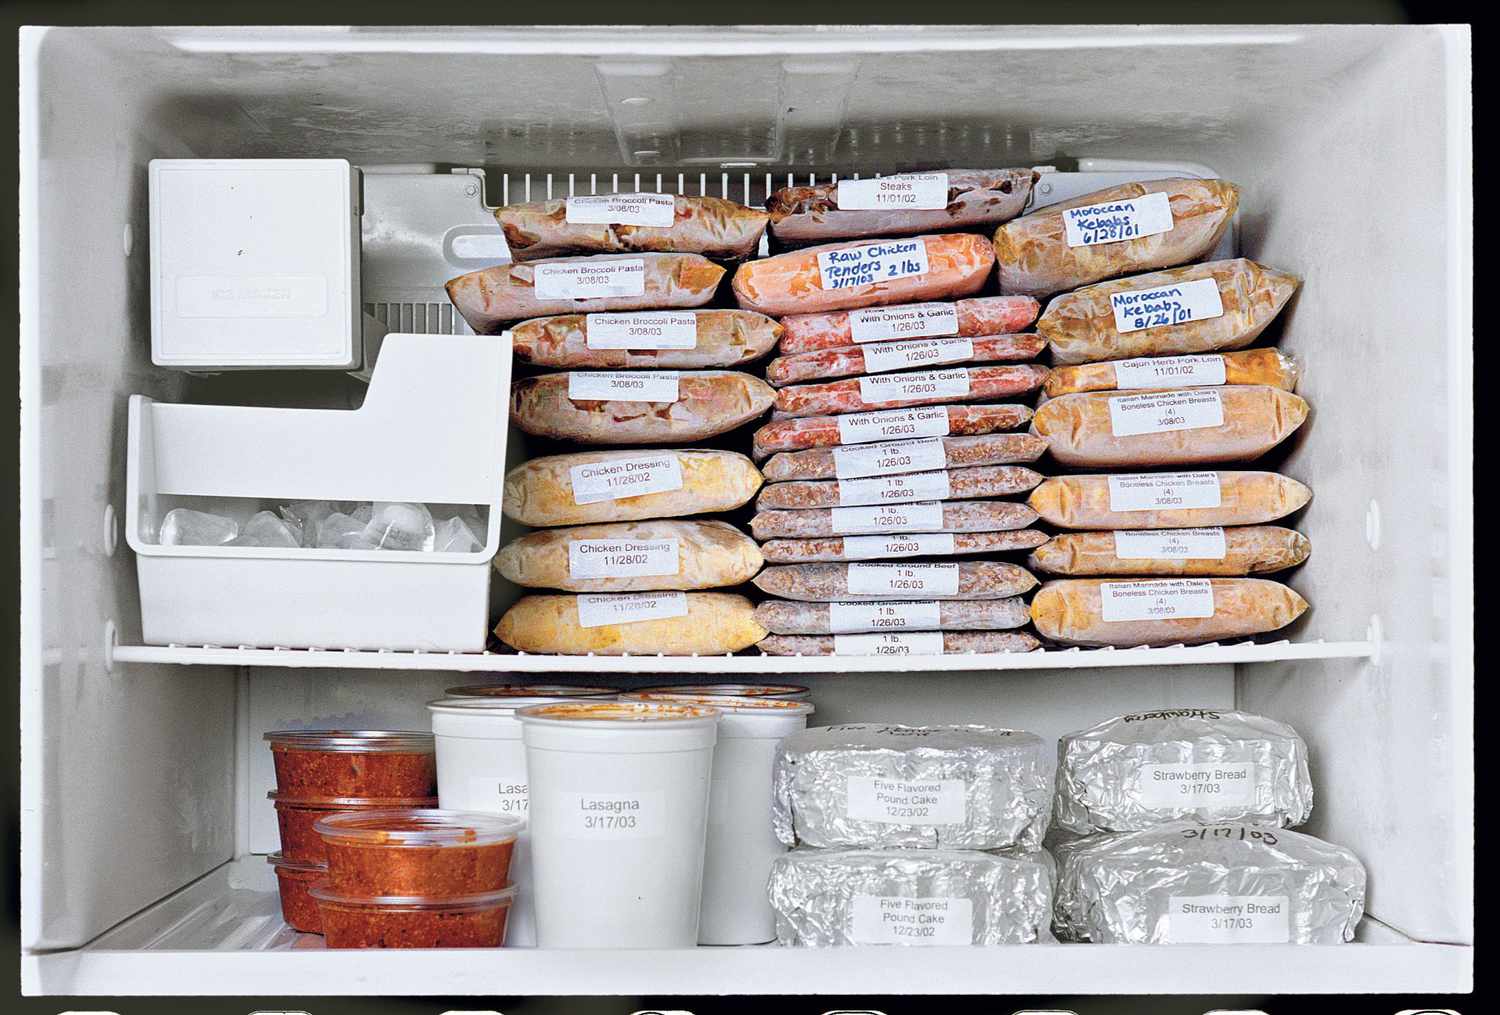
Step 4: Labeling and Categorizing
Labelling and categorizing your items is an essential step in organizing your chest freezer. Clear and visible labels will help you quickly identify the contents of each container, making it easier to find what you need without rummaging through the freezer and disturbing the other items.
When labeling your containers, use waterproof labels or adhesive tape to ensure that the labels stay intact and readable in the freezer’s cold environment. You can also consider using color-coded labels or markers to further categorize items. For example, use blue labels for meats, green labels for vegetables, and red labels for leftovers or prepared meals.
In addition to labeling individual containers, consider creating an inventory list. This list can be either physical, like a whiteboard or a paper list stuck on the freezer door, or digital, using a spreadsheet on your computer or smartphone. The inventory list will serve as a reference to quickly check what items you have in stock, their quantities, and their locations in the freezer. Update the list regularly as you add or remove items to maintain its accuracy.
Categorizing your freezer items can also help with organization. For example, you can allocate specific sections or shelves of your freezer for different categories such as meats, fruits, vegetables, or prepared meals. This way, you’ll know exactly where to look when you need a particular type of food.
By labeling and categorizing your items, you’ll ensure that your chest freezer remains organized and that you can easily locate the items you need, saving you time and minimizing food waste.
Read more: How To Organize A Freezer Chest
Step 5: Maximizing Space Efficiency
To make the most of the available space in your chest freezer, it’s important to employ strategies that maximize space efficiency. This will allow you to store more items while still keeping everything organized and easily accessible.
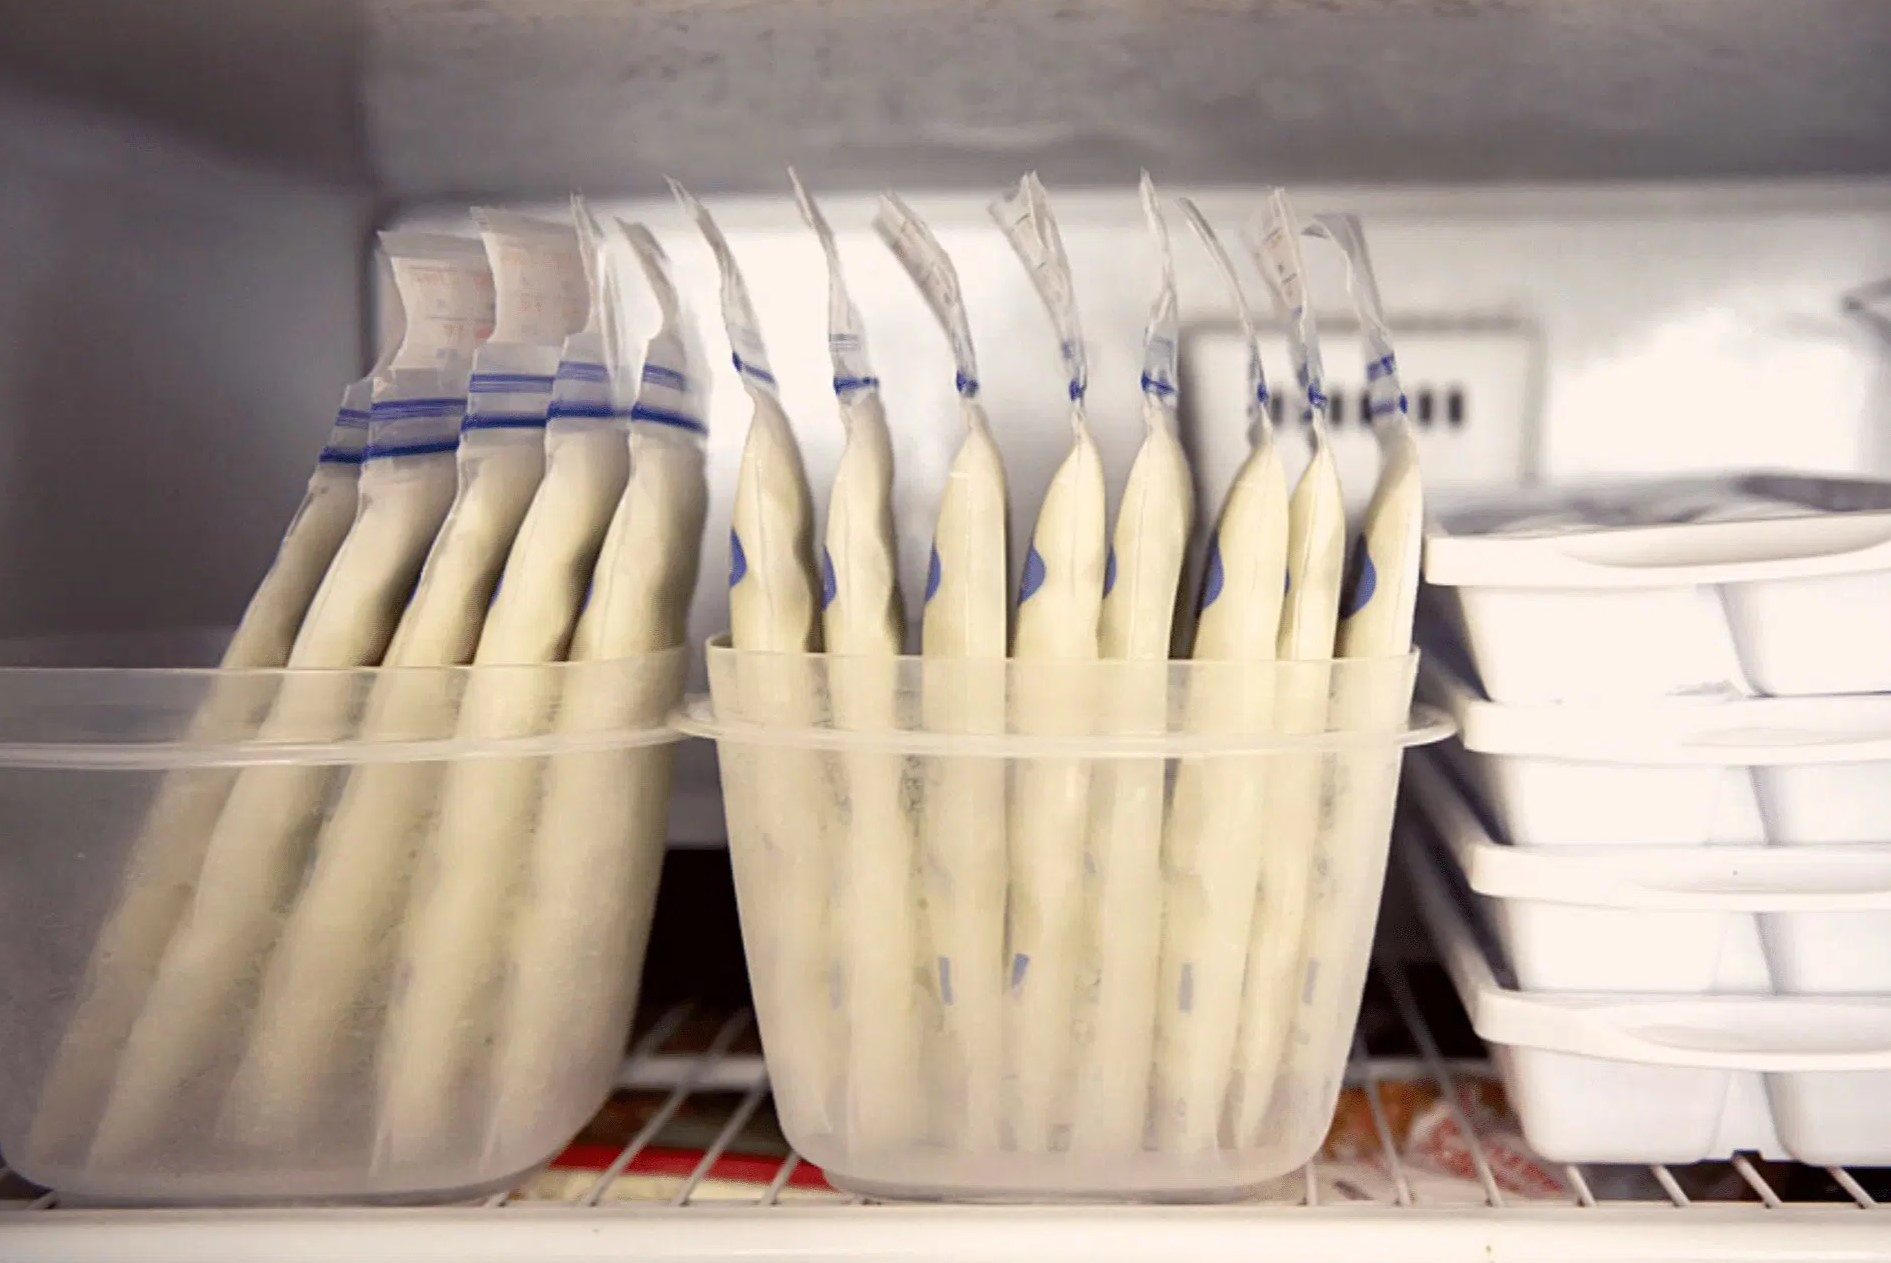
One effective technique is to use stacking and layering. Place larger and bulkier items at the bottom of the freezer, stacking them carefully to make the best use of space. Smaller items or individual servings can be placed on top of the larger ones, creating layers within the freezer. This method prevents wasted vertical space and optimizes the capacity of the freezer.
Consider using freezer-specific storage solutions such as freezer bags or vacuum-sealed bags. These bags help to minimize the air content around the food items, reducing the risk of freezer burn and maximizing the available space. They also allow for easier stacking and organization within the freezer.
Make sure to utilize the corners and edges of the freezer by placing items diagonally. This helps to fill any empty spaces and ensures that every inch of the freezer is utilized effectively.
Another space-saving tip is to remove excess packaging before storing items in the freezer. Removing bulky boxes or unnecessary packaging not only saves space but also makes it easier to stack and arrange items neatly.
Lastly, consider investing in freezer dividers or adjustable shelves. These accessories can help create separate compartments within the freezer, allowing you to store different types of items without them mixing together. These dividers can be particularly useful for storing smaller items such as frozen fruits or vegetables.
By maximizing space efficiency, you’ll be able to maximize the storage capacity of your chest freezer and keep everything well-organized and easily accessible.
Step 6: Maintaining and Cleaning the Freezer
Maintaining and cleaning your chest freezer is crucial for long-term organization and efficiency. By following a regular maintenance and cleaning routine, you can ensure that your freezer remains in optimal condition and that your food items are stored safely and hygienically.
First and foremost, it’s important to regularly check the temperature of your freezer. The ideal temperature for a chest freezer is between -18°C to -20°C (-0.4°F to -4°F). Use an accurate freezer thermometer to monitor the temperature and adjust the settings accordingly. Maintaining the correct temperature helps preserve the quality and freshness of the stored items.
Regularly defrost your freezer to eliminate any frost or ice buildup. Depending on the model, this may be required every few months or once a year. Follow the manufacturer’s instructions for defrosting to avoid damage to your freezer. Removing excess ice not only increases the storage capacity but also improves the energy efficiency of the freezer.
Wipe down the interior of the freezer periodically to keep it clean and free of spills or debris. Use a mild detergent solution or a mixture of water and vinegar, and a clean cloth or sponge. Avoid using abrasive cleaners or sharp objects that may scratch or damage the interior surface.
Additionally, inspect the seals or gaskets around the door to ensure they are in good condition. Damaged or worn-out seals can lead to air leakage, resulting in decreased efficiency and potential frost buildup. Replace any damaged seals as soon as possible to maintain the proper sealing of the freezer.
Lastly, periodically check and rotate your freezer items. This ensures that older items are used first and reduces the chances of food items becoming forgotten and going to waste. Use your inventory list as a reference to keep track of the items and their storage durations.
By maintaining and cleaning your freezer regularly, you’ll ensure its longevity, as well as the quality and safety of your frozen goods.
Conclusion
Organizing a chest freezer may seem like a daunting task, but with the right approach and strategies, it can become a manageable and rewarding project. By following the steps outlined in this guide, you can transform your freezer into a well-organized and efficient storage solution.
Clearing out the freezer, sorting and grouping items, utilizing storage containers, labeling and categorizing, maximizing space efficiency, and maintaining and cleaning the freezer are all crucial steps in achieving an organized freezer.
By implementing these steps, you’ll not only be able to locate specific items quickly and easily, but you’ll also minimize food waste, maximize storage capacity, and prolong the life of your freezer.
Remember to regularly maintain your freezer, monitor the temperature, defrost when necessary, and keep the interior clean to ensure optimal performance and freshness of the stored items.
So, don’t let your chest freezer be a chaotic mess. Take the time to organize it properly and enjoy the benefits of a well-organized and efficient freezer space that allows you to store and access your frozen goods with ease.
Happy organizing!
Frequently Asked Questions about How To Organize A Chest Freezer
Was this page helpful?
At Storables.com, we guarantee accurate and reliable information. Our content, validated by Expert Board Contributors, is crafted following stringent Editorial Policies. We're committed to providing you with well-researched, expert-backed insights for all your informational needs.

0 thoughts on “How To Organize A Chest Freezer”