Articles
How To Defrost Whirlpool Freezer
Modified: January 21, 2024
Learn how to defrost your Whirlpool freezer with these helpful articles. Find step-by-step instructions and tips to ensure a smooth defrosting process.
(Many of the links in this article redirect to a specific reviewed product. Your purchase of these products through affiliate links helps to generate commission for Storables.com, at no extra cost. Learn more)
Introduction
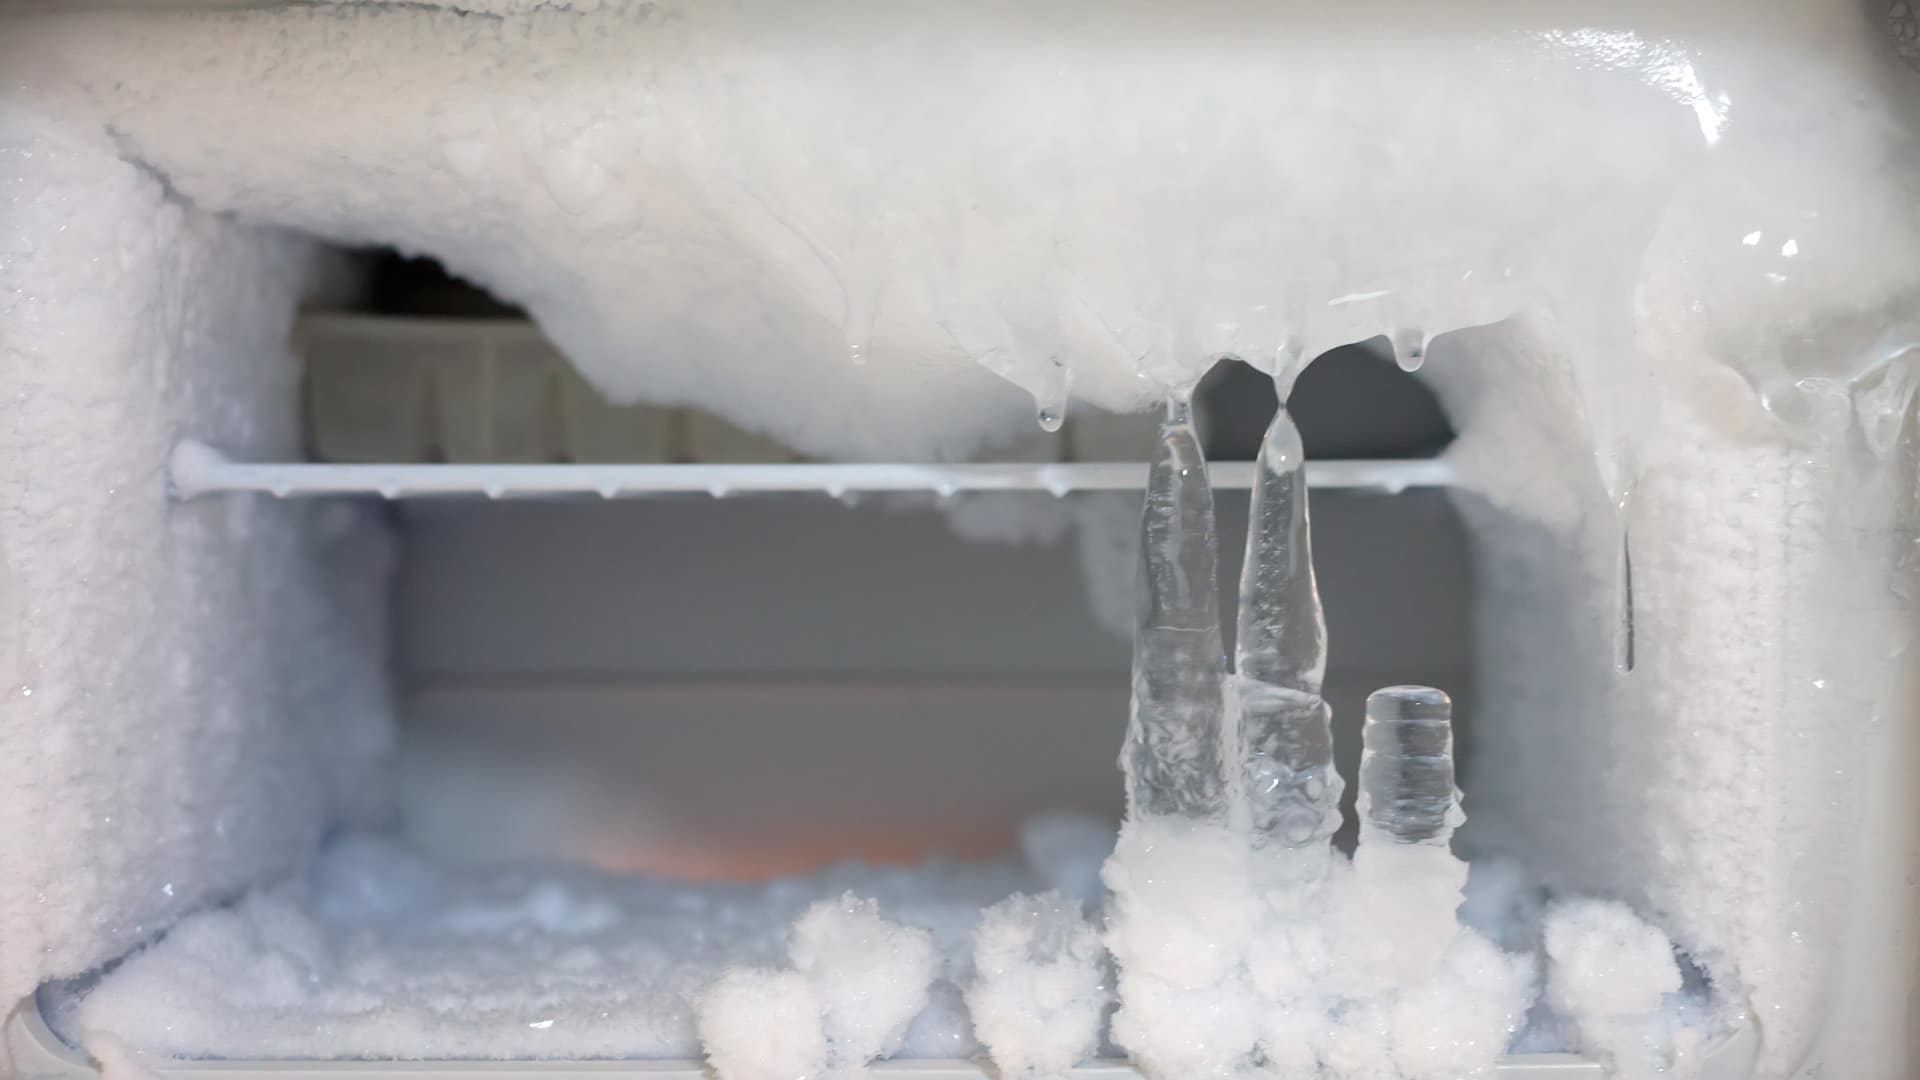
Welcome to our comprehensive guide on how to defrost your Whirlpool freezer. Over time, ice can build up in the freezer, reducing its efficiency and storage capacity. Defrosting your freezer is an essential maintenance task that helps prolong its lifespan and ensures optimal performance. In this article, we will walk you through the step-by-step process of defrosting your Whirlpool freezer, providing helpful tips along the way.
Before we begin, it’s important to note that defrosting a freezer can be a time-consuming task, as it may take several hours for the ice to melt completely. Therefore, it’s advisable to plan ahead and allocate enough time for the defrosting process. Additionally, make sure to have the necessary supplies ready before you begin, as this will help streamline the process and prevent any delays.
Now, let’s dive into the step-by-step instructions for defrosting your Whirlpool freezer, ensuring that it continues to function optimally and efficiently.
Key Takeaways:
- Regularly defrosting your Whirlpool freezer, approximately every six months, is crucial for maintaining its efficiency and prolonging its lifespan. This process creates more space for frozen goods and ensures optimal performance.
- Prioritize safety by wearing protective gloves, avoiding sharp tools, and keeping children and pets away from the freezer during the defrosting process. Regular maintenance and proper cleaning help prevent odors and bacterial growth.
Read more: When To Defrost A Freezer
Safety Precautions
Before you start defrosting your Whirlpool freezer, it’s crucial to prioritize your safety. Here are some important safety precautions to follow:
- Ensure that the freezer is properly unplugged from the power source to avoid the risk of electric shock. It’s advisable to turn off the freezer and unplug it from the wall socket before starting the defrosting process.
- Wear protective gloves to protect your hands from cold temperatures and sharp tools that may be used during the defrosting process.
- Avoid using sharp objects such as knives or ice picks to remove ice buildup. These tools can damage the freezer’s interior and cause injury. Instead, opt for plastic scrapers or spatulas specifically designed for defrosting.
- Ensure that the area around the freezer is well-ventilated to prevent the buildup of harmful gases. Open windows or doors to allow fresh air to circulate during the defrosting process.
- Keep children and pets away from the freezer during the defrosting process to avoid accidents or injuries.
- Do not use heaters or hairdryers to expedite the melting process. These appliances can cause damage to the freezer and increase the risk of electric shock.
- If you encounter any difficulties or notice any abnormalities during the defrosting process, it’s best to consult a professional technician to avoid further damage.
By following these safety precautions, you can ensure a safe and hassle-free defrosting process for your Whirlpool freezer. Now that we’ve covered the safety measures, let’s move on to gathering the necessary supplies for defrosting.
Step 1: Gather Necessary Supplies
Before you begin defrosting your Whirlpool freezer, it’s important to gather all the necessary supplies. Having these items on hand will make the process smoother and more efficient. Here’s a list of supplies you’ll need:
- Large containers or coolers to temporarily store the food items from your freezer. Make sure the containers are clean and have lids to keep the food safe.
- Plastic scraper or spatula specifically designed for defrosting to remove the ice buildup. This will help you avoid damaging the interior of the freezer.
- A towel or sponge to absorb water and wipe down the freezer’s interior once the ice has melted.
- A bucket or basin to collect the water that melts from the freezer as the ice thaws.
- A mild cleaning solution or vinegar mixed with water to clean the interior of the freezer after defrosting.
- A dry cloth or paper towels to dry the freezer before plugging it back in.
Make sure to have these supplies ready before you begin defrosting. It’ll save you time and help you stay organized throughout the process.
Once you have gathered all the necessary supplies, you’re ready to move on to the next step: unplugging the freezer.
Step 2: Unplug the Freezer
Now that you have all the necessary supplies ready, it’s time to start the defrosting process by unplugging your Whirlpool freezer. Follow these steps:
- Locate the power cord of the freezer. It is typically located at the back near the bottom.
- Gently pull the power cord out of the wall socket to disconnect the freezer from the power source.
- Ensure that the power cord is fully unplugged and set it aside in a safe place.
Unplugging the freezer is an essential step before you begin defrosting. It ensures your safety and prevents any electrical accidents during the process. With the freezer unplugged, you’re ready to move on to the next step: emptying the freezer.
Step 3: Empty the Freezer
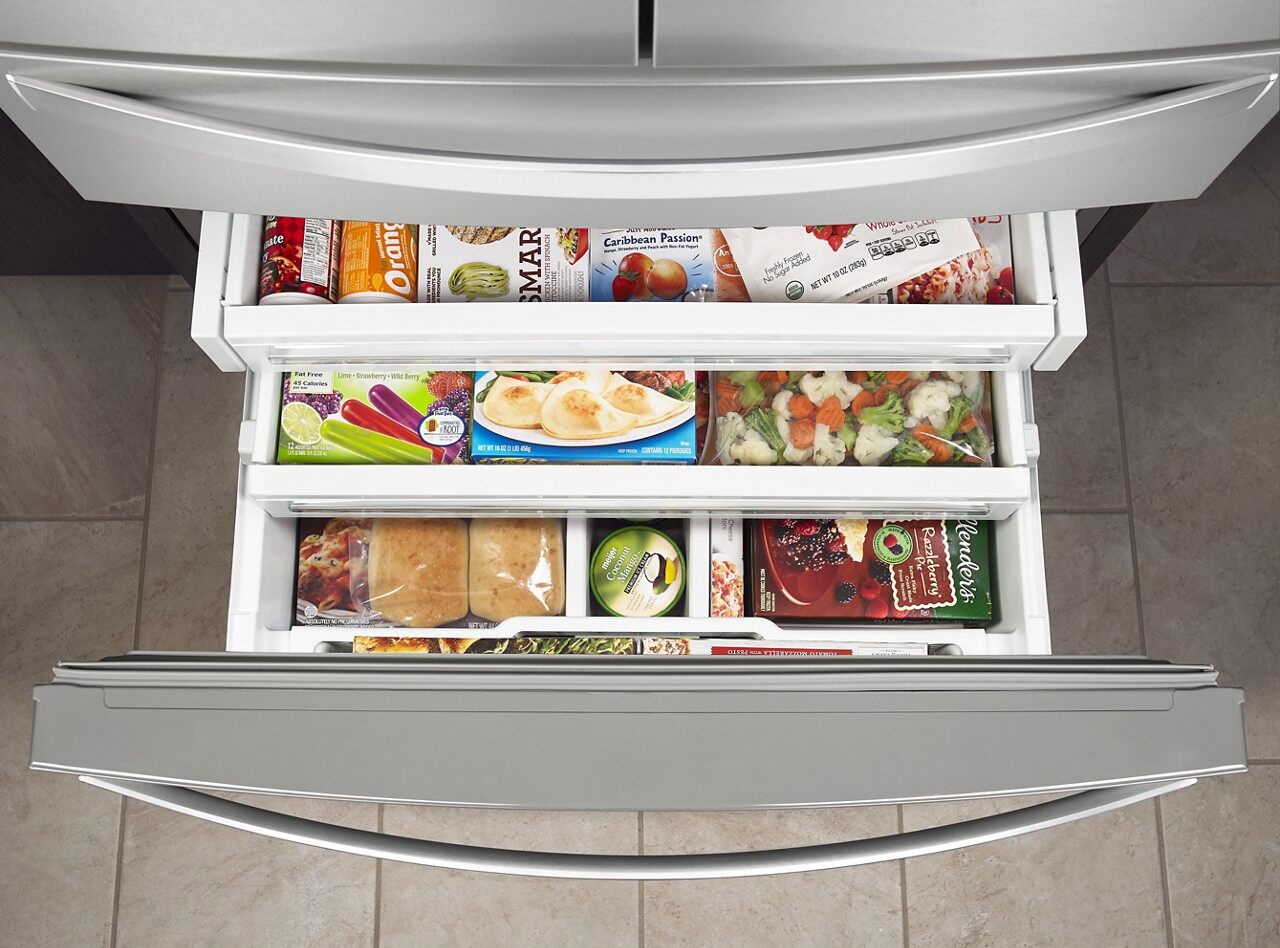
With the freezer unplugged, it’s time to empty its contents. Follow these steps to efficiently and safely remove the items from your Whirlpool freezer:
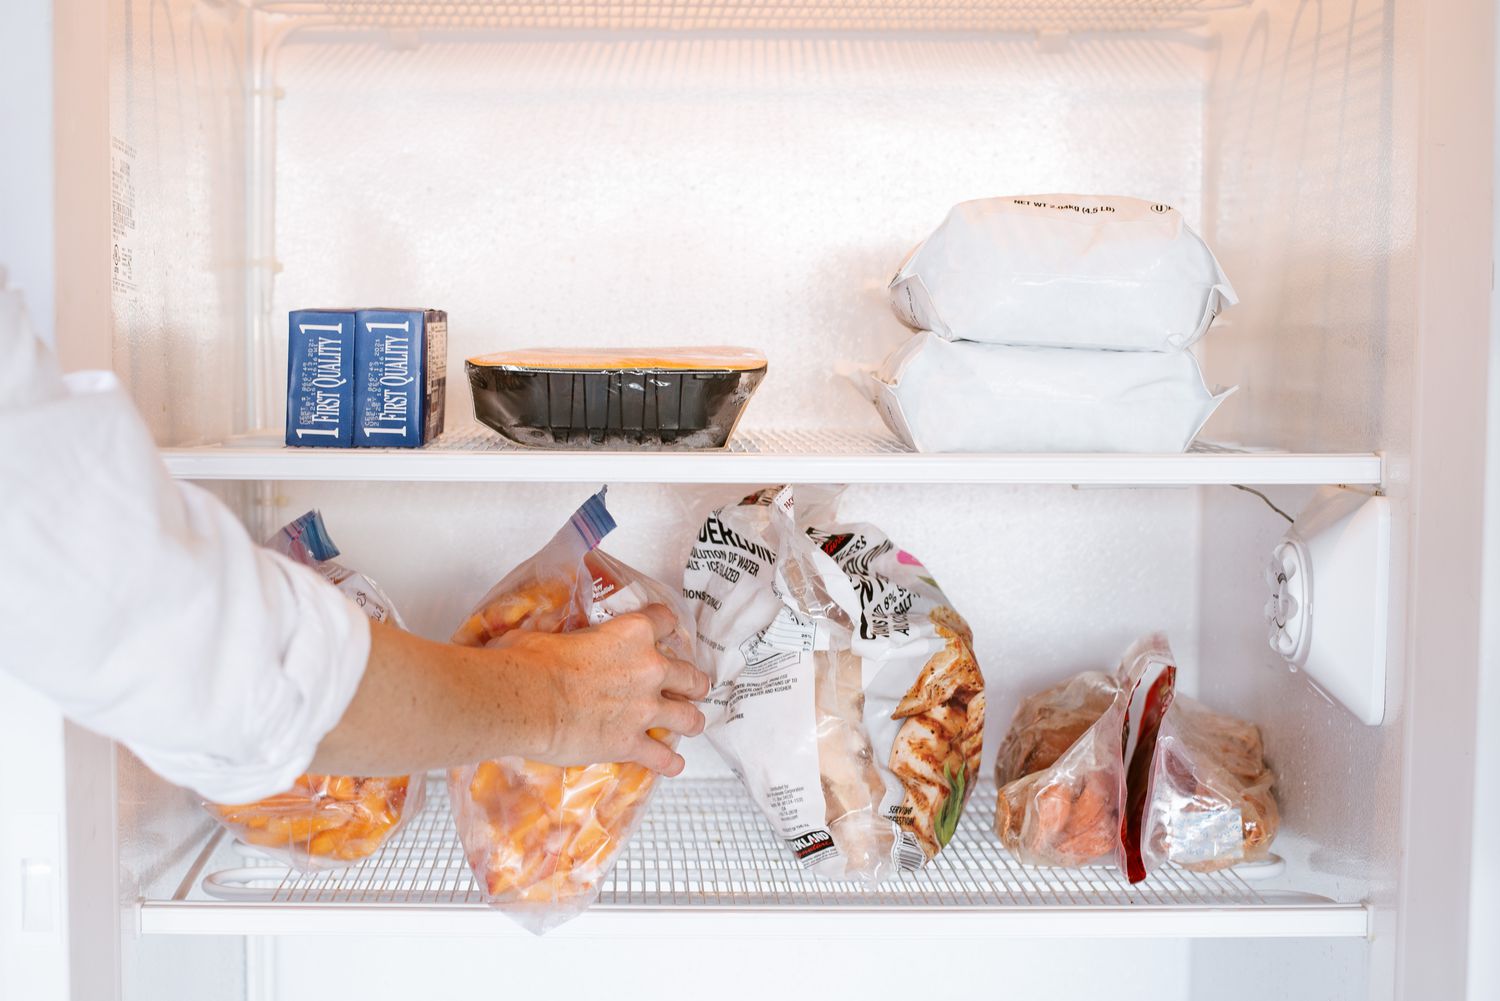
- Start by taking out any perishable items first. Transfer them to the temporary containers or coolers you gathered earlier.
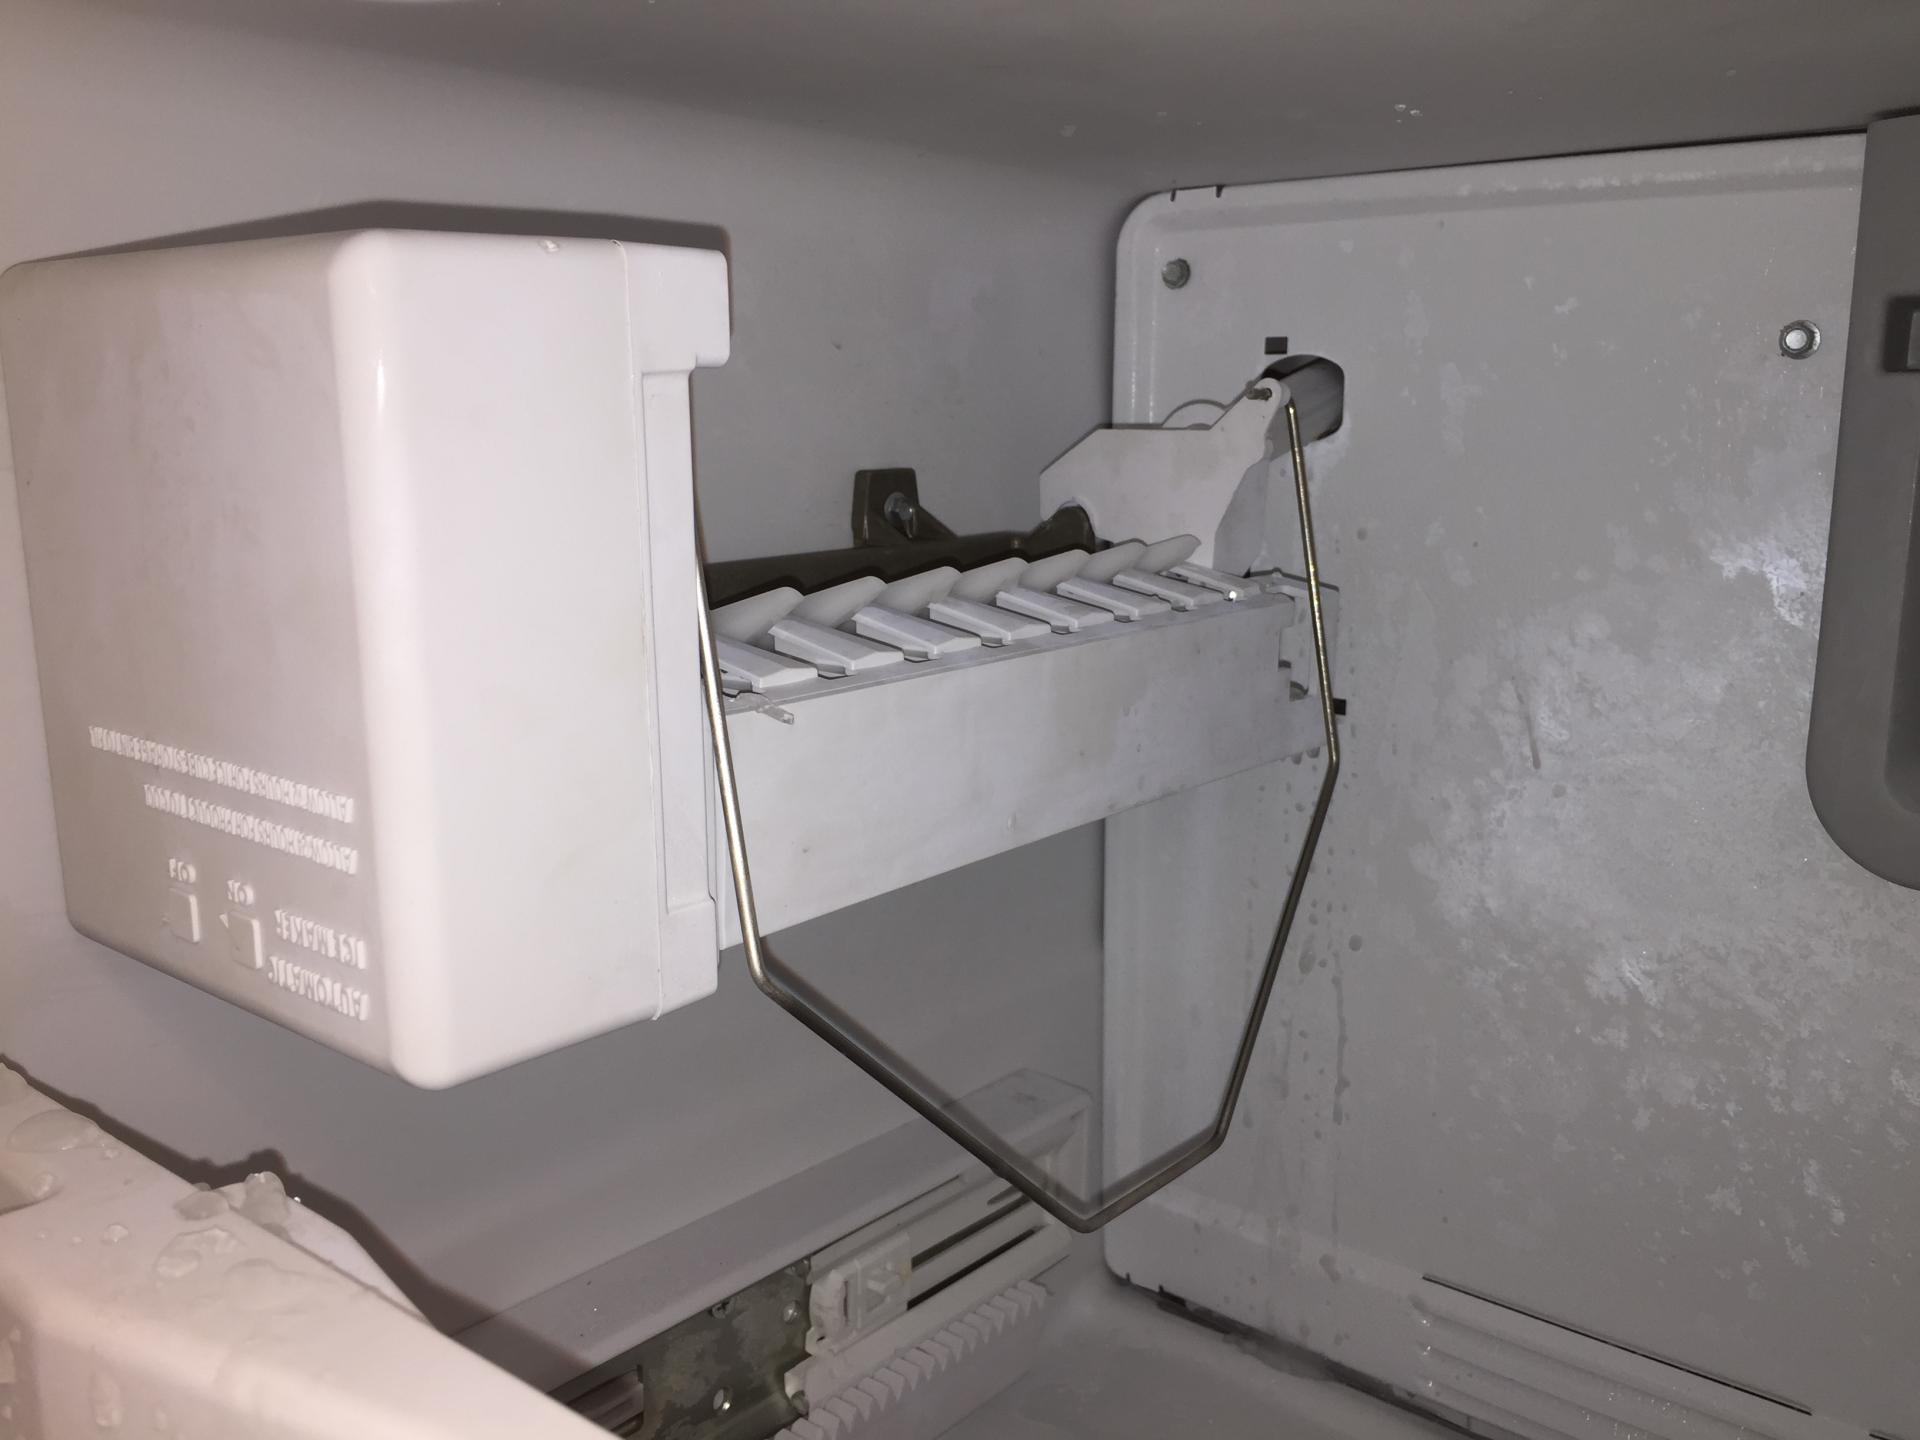
- Next, remove any non-perishable items from the freezer, such as ice trays, frozen vegetables, or packaged goods. Place them in a safe and convenient location.
- As you remove each item, check for signs of thawing or spoilage. Discard any items that have completely thawed or show signs of food spoilage.
- Organize the food items based on their categories or types. This will make it easier to restock the freezer once the defrosting process is complete.
- Once you have emptied the freezer, check the freezer door seal for any signs of dirt, debris, or damage. Clean or replace the door seal if necessary to ensure proper sealing once the freezer is functioning again.
Emptying the freezer allows for a more efficient defrosting process, as it ensures that the ice can melt without interference from food items. It also gives you an opportunity to assess the condition of your food and dispose of any spoiled items. With the freezer emptied, it’s time to move on to the next step: removing the ice buildup.
Read more: How To Defrost An Upright Freezer
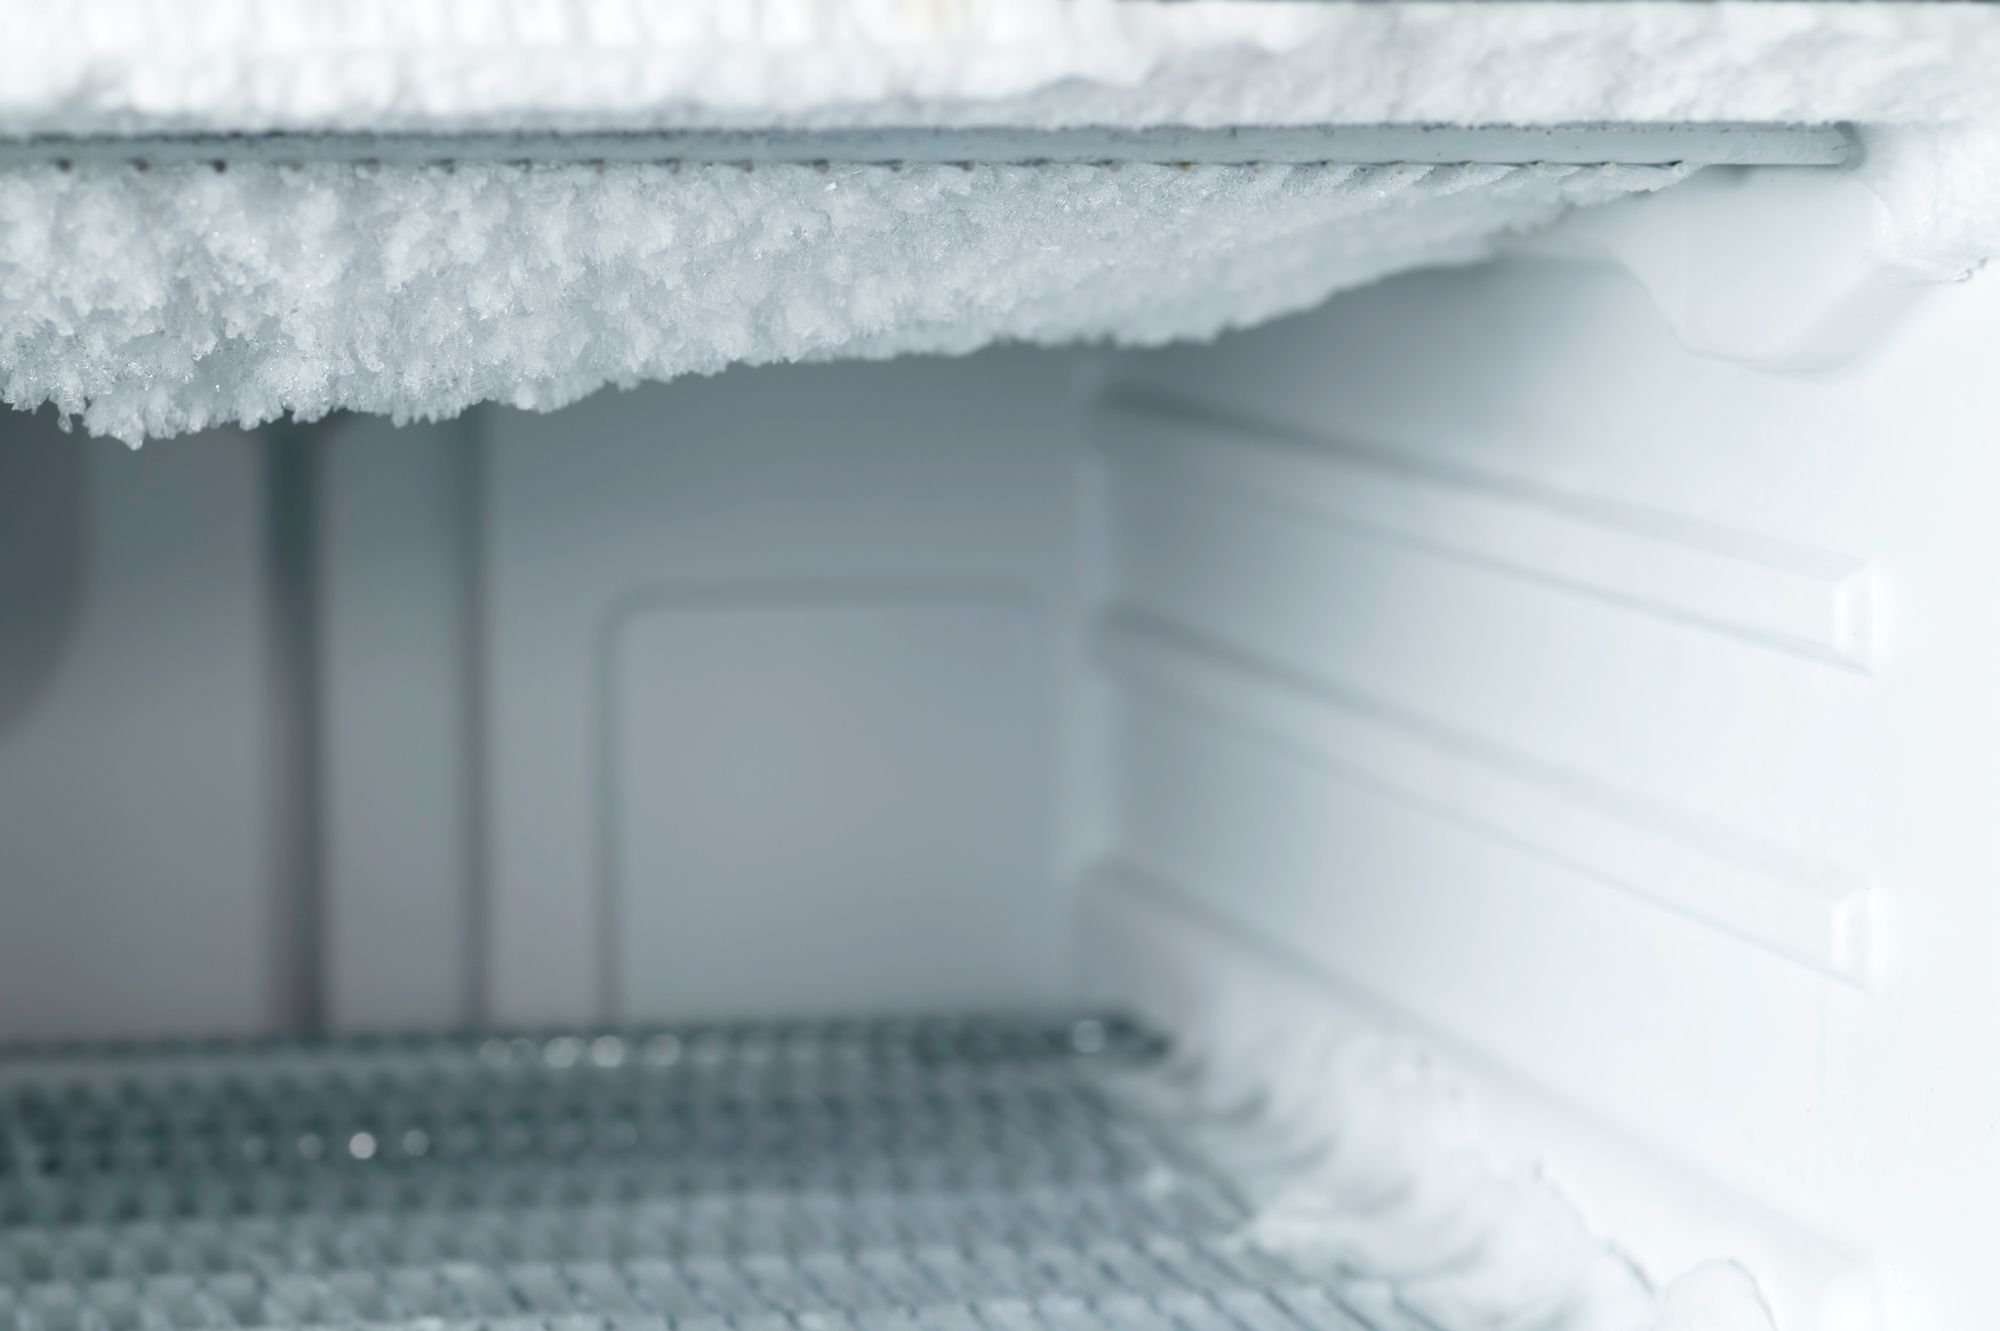
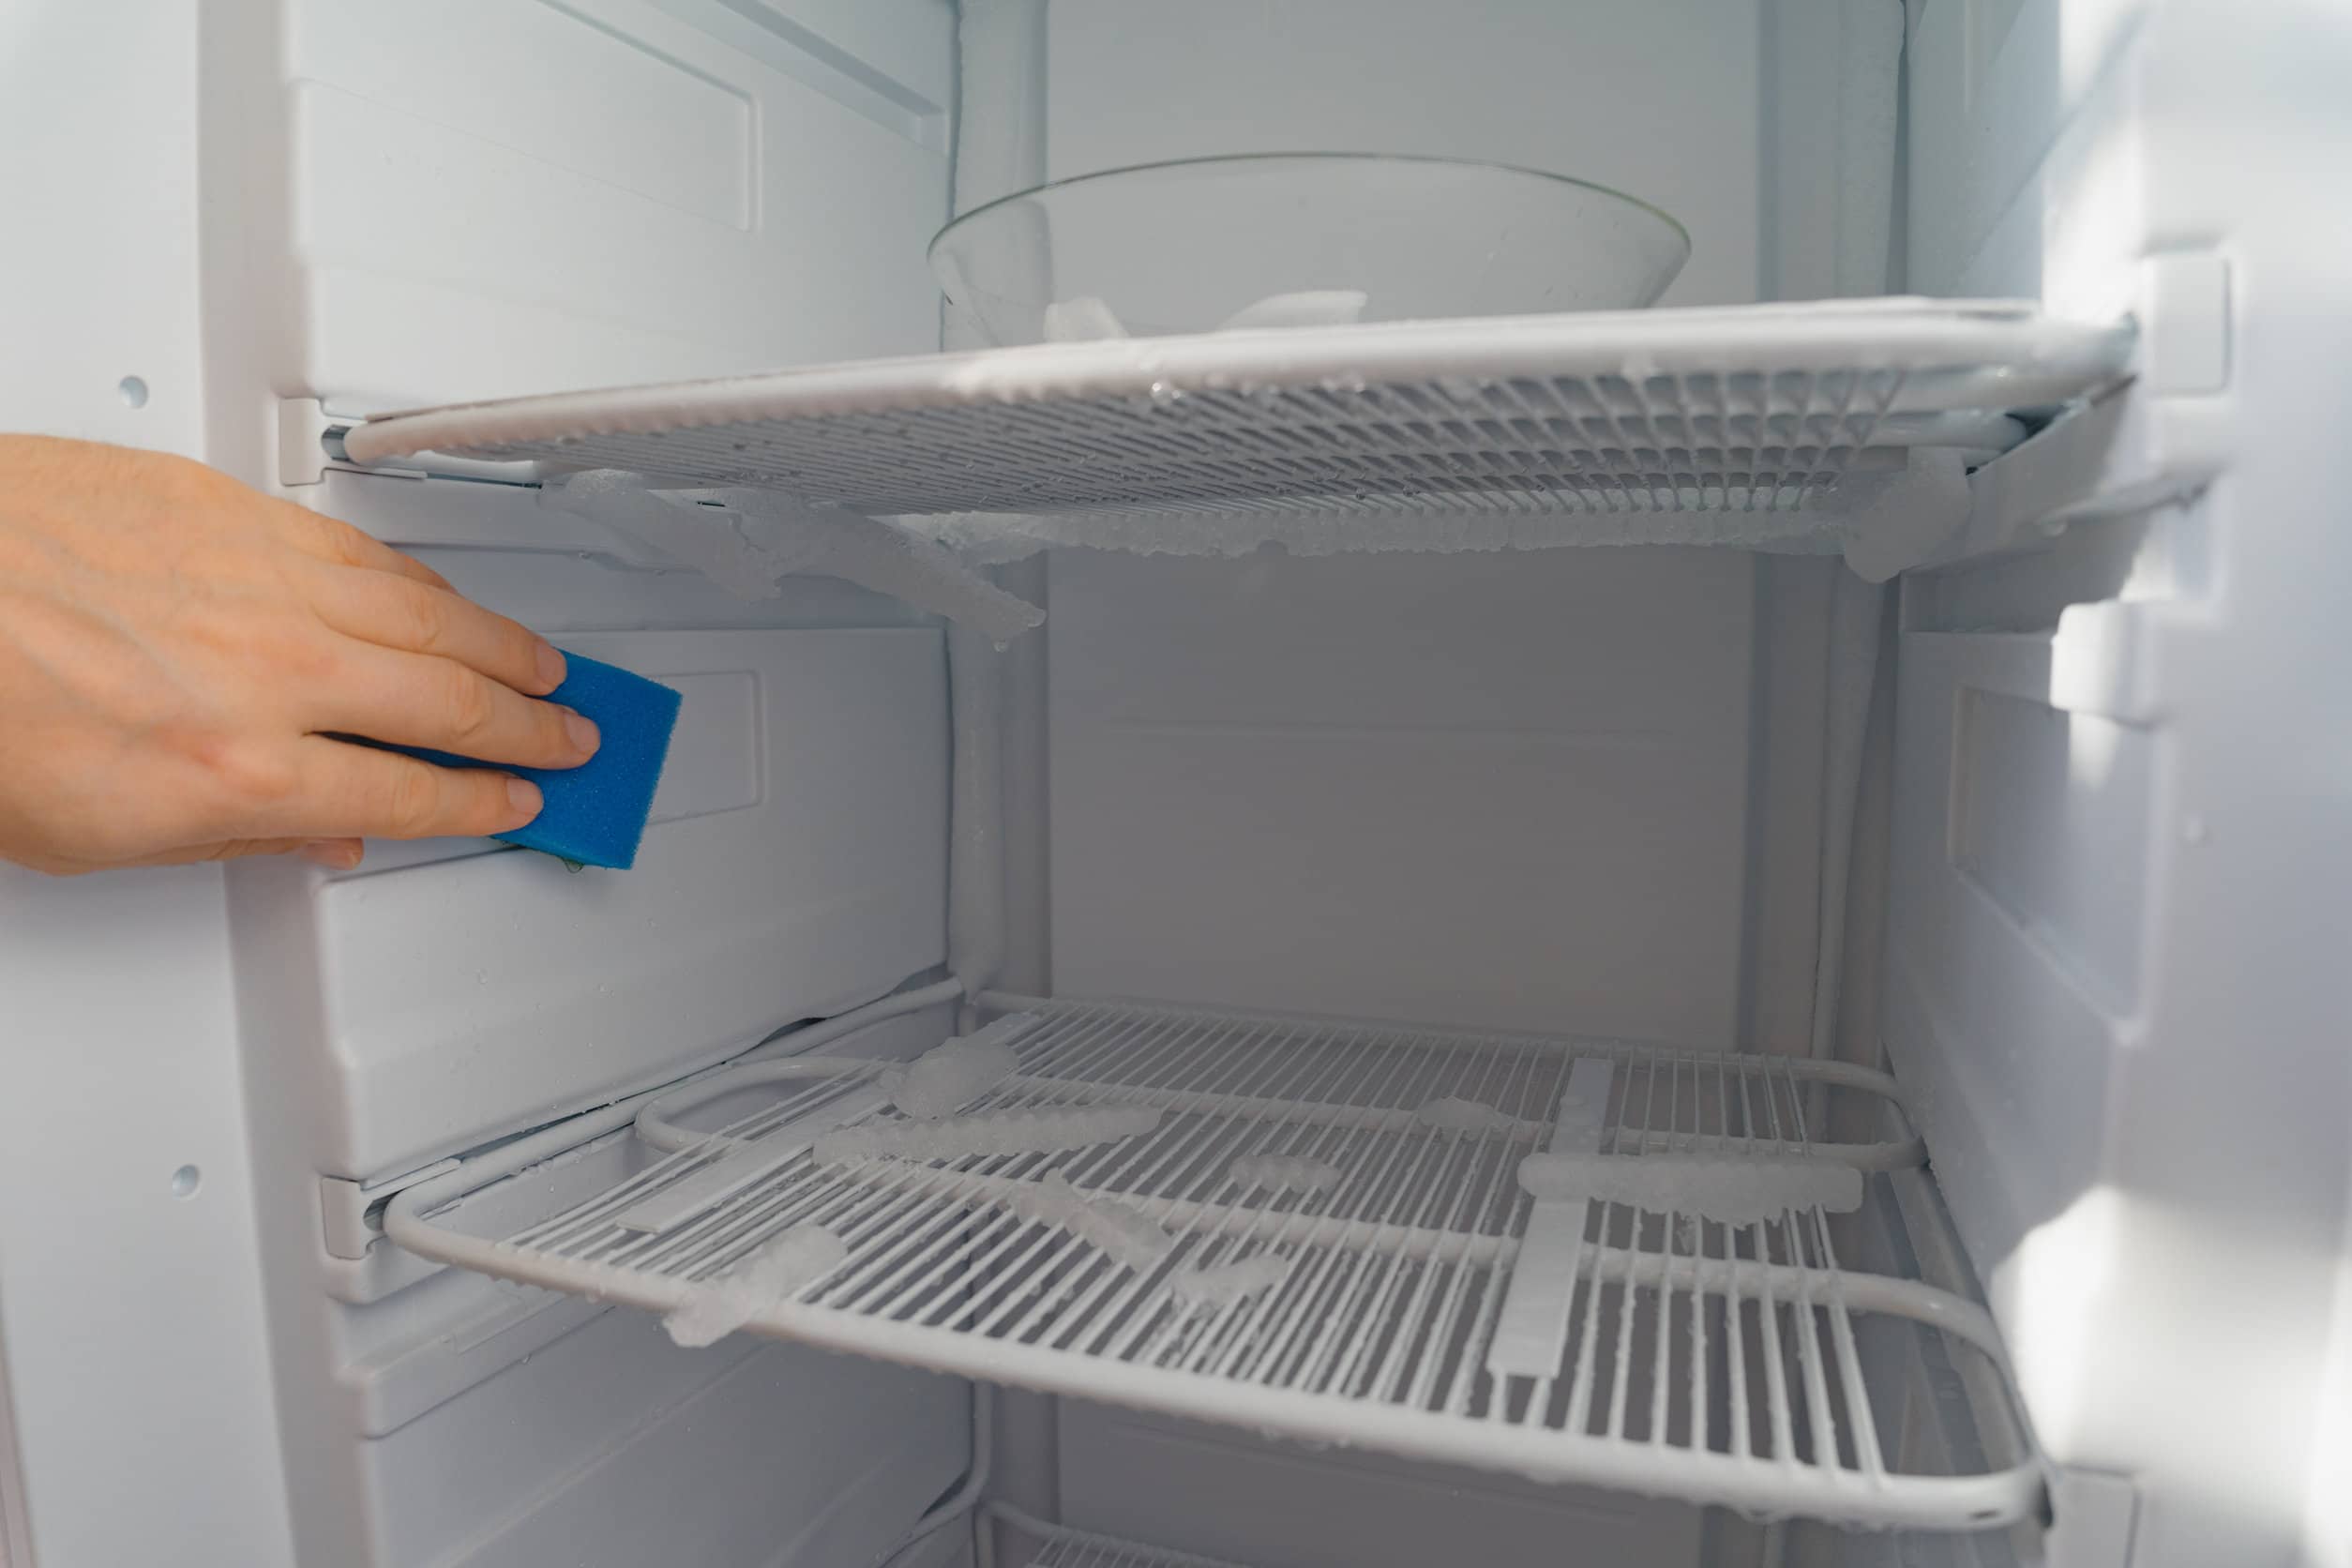
Step 4: Remove Ice from the Freezer
Now that the freezer is empty, it’s time to remove the ice buildup. Follow these steps to effectively remove the ice from your Whirlpool freezer:
- Allow the ice to start melting naturally. This can be facilitated by keeping the freezer door open and allowing the room temperature to circulate inside.
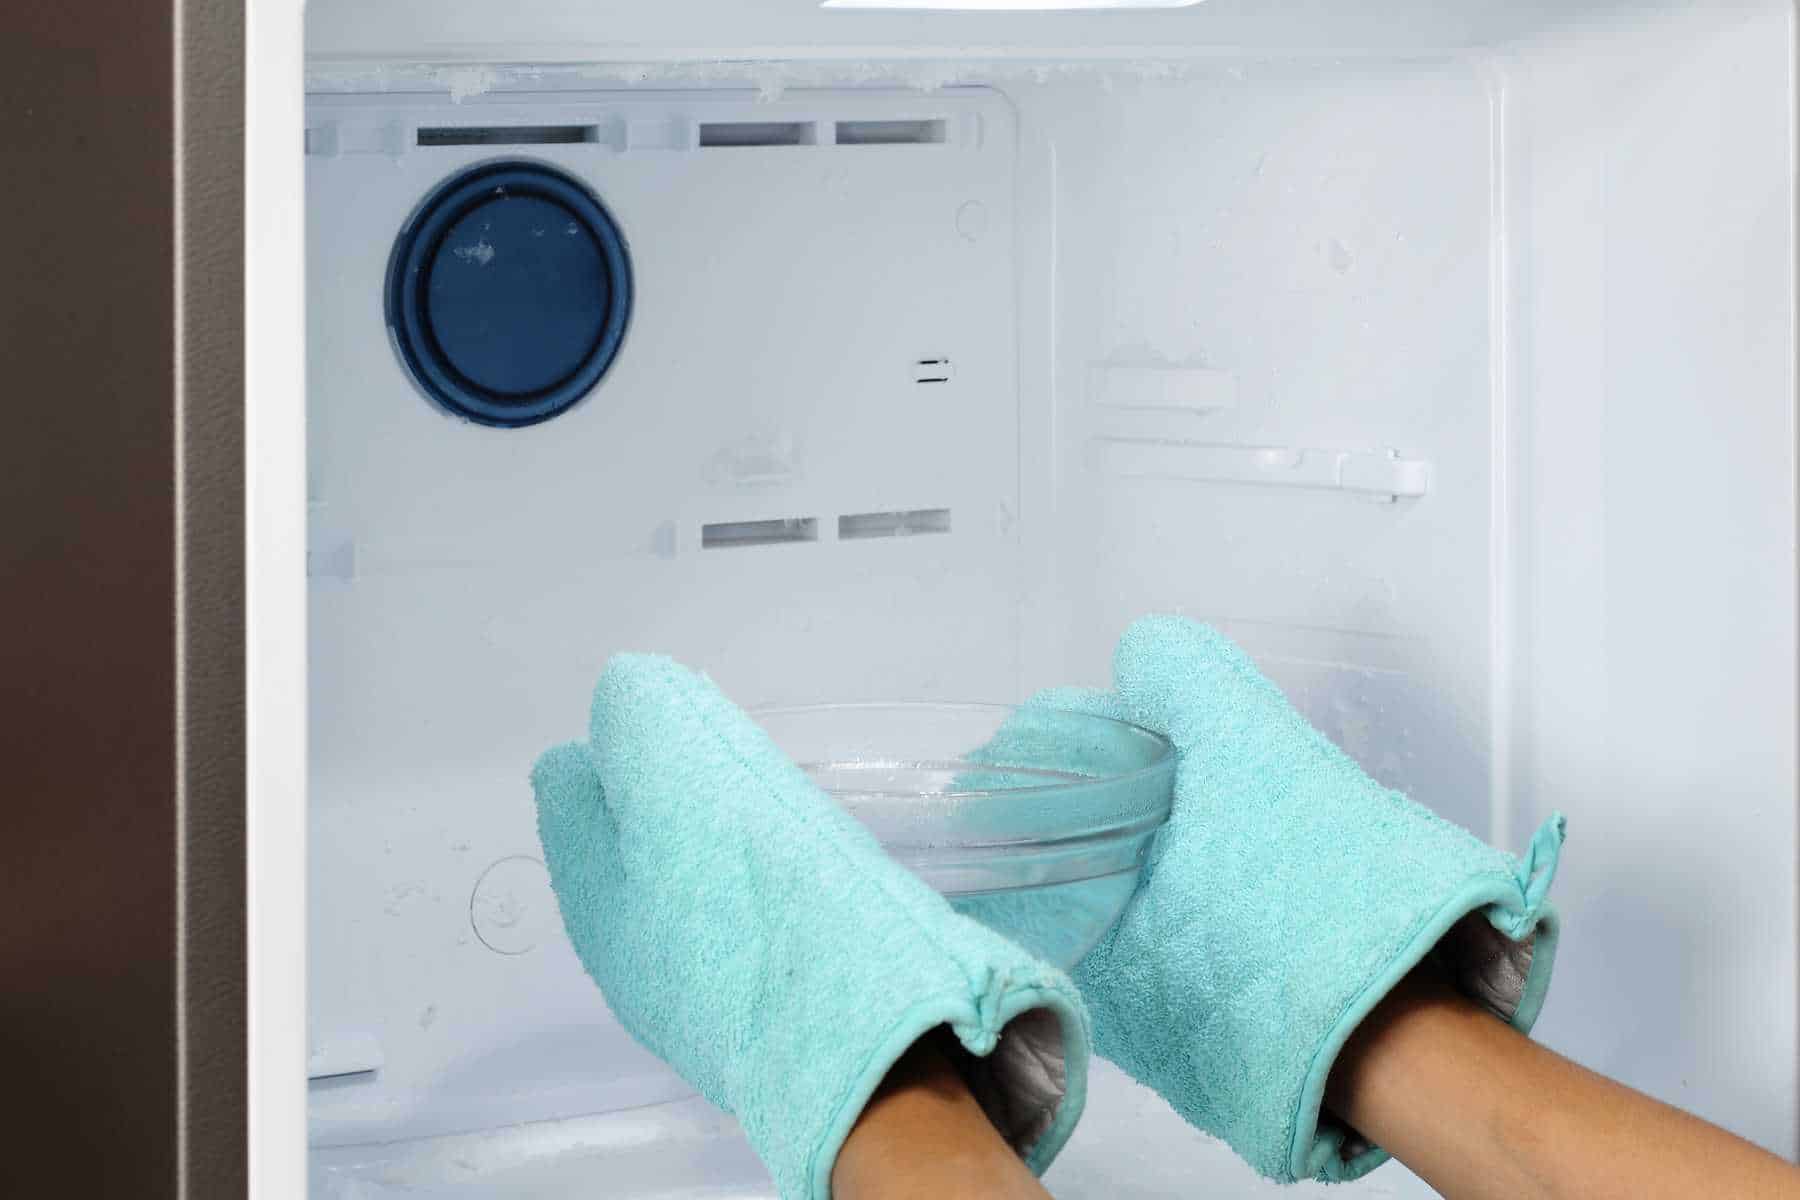
- If you want to speed up the defrosting process, you can place bowls of hot water or use a hairdryer on a low heat setting to gently melt the ice. However, avoid using sharp objects like knives or ice picks, as they can damage the surfaces and interior of the freezer.
- As the ice begins to melt, use a plastic scraper or spatula to carefully remove the softened ice. Start from the top and work your way down, being cautious not to scratch or damage the interior of the freezer.
- Collect the removed ice in a bucket or basin to prevent it from creating a mess on the floor. Dispose of the ice properly once the defrosting process is complete.
- If the ice is stubborn and hard to remove, continue using the gentle heat method or strategically place bowls of hot water near the ice to accelerate the melting process.
- Be patient and let the ice melt completely before moving on to the next step. Trying to force the removal of ice that is still solid can lead to damage and unnecessary strain on the freezer.
By following these steps, you can safely and effectively remove the ice buildup from your Whirlpool freezer. Once all the ice has melted and been removed, it’s time to move on to the next step: cleaning the freezer.
To defrost a Whirlpool freezer, turn off the unit, remove all food and shelves, and place towels inside to absorb melting ice. Use a hairdryer or hot water to speed up the process, and be sure to clean up any water that accumulates.
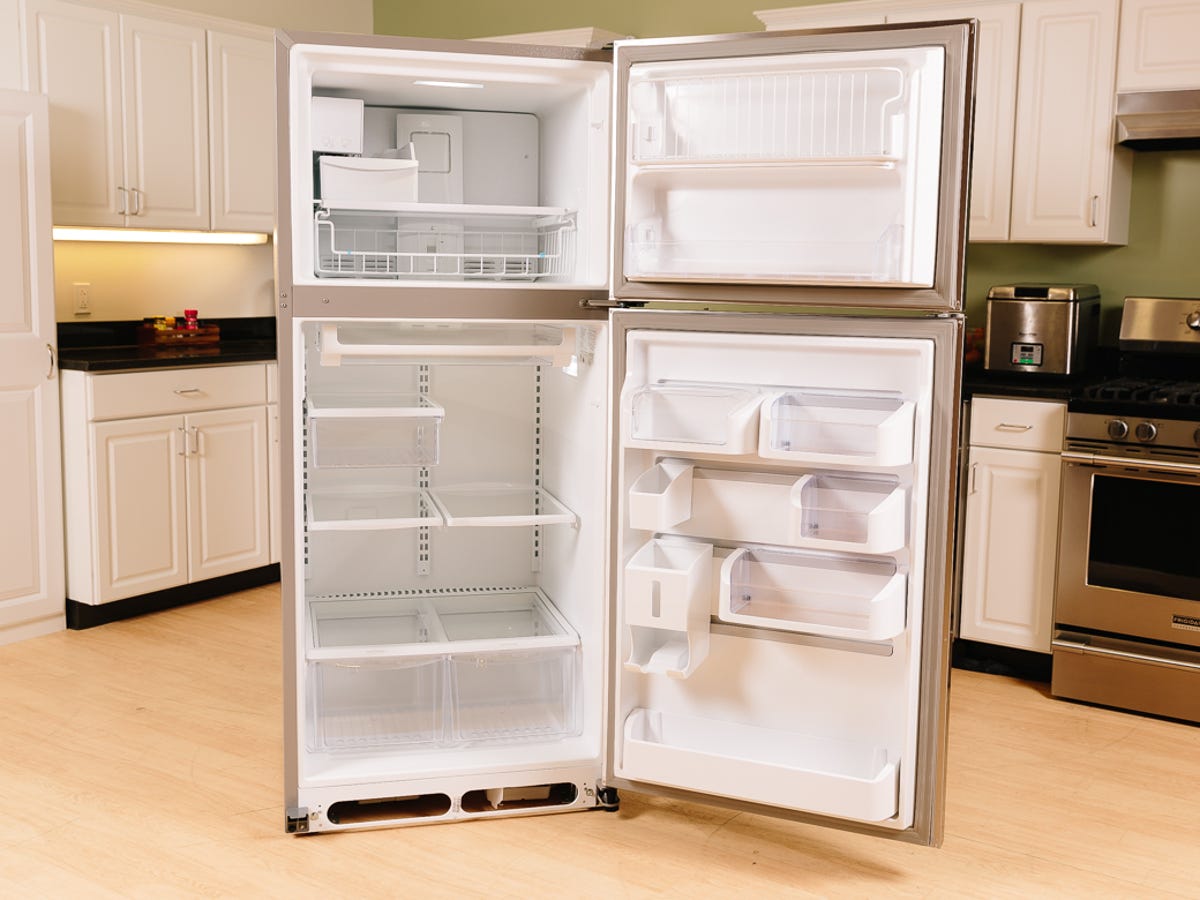
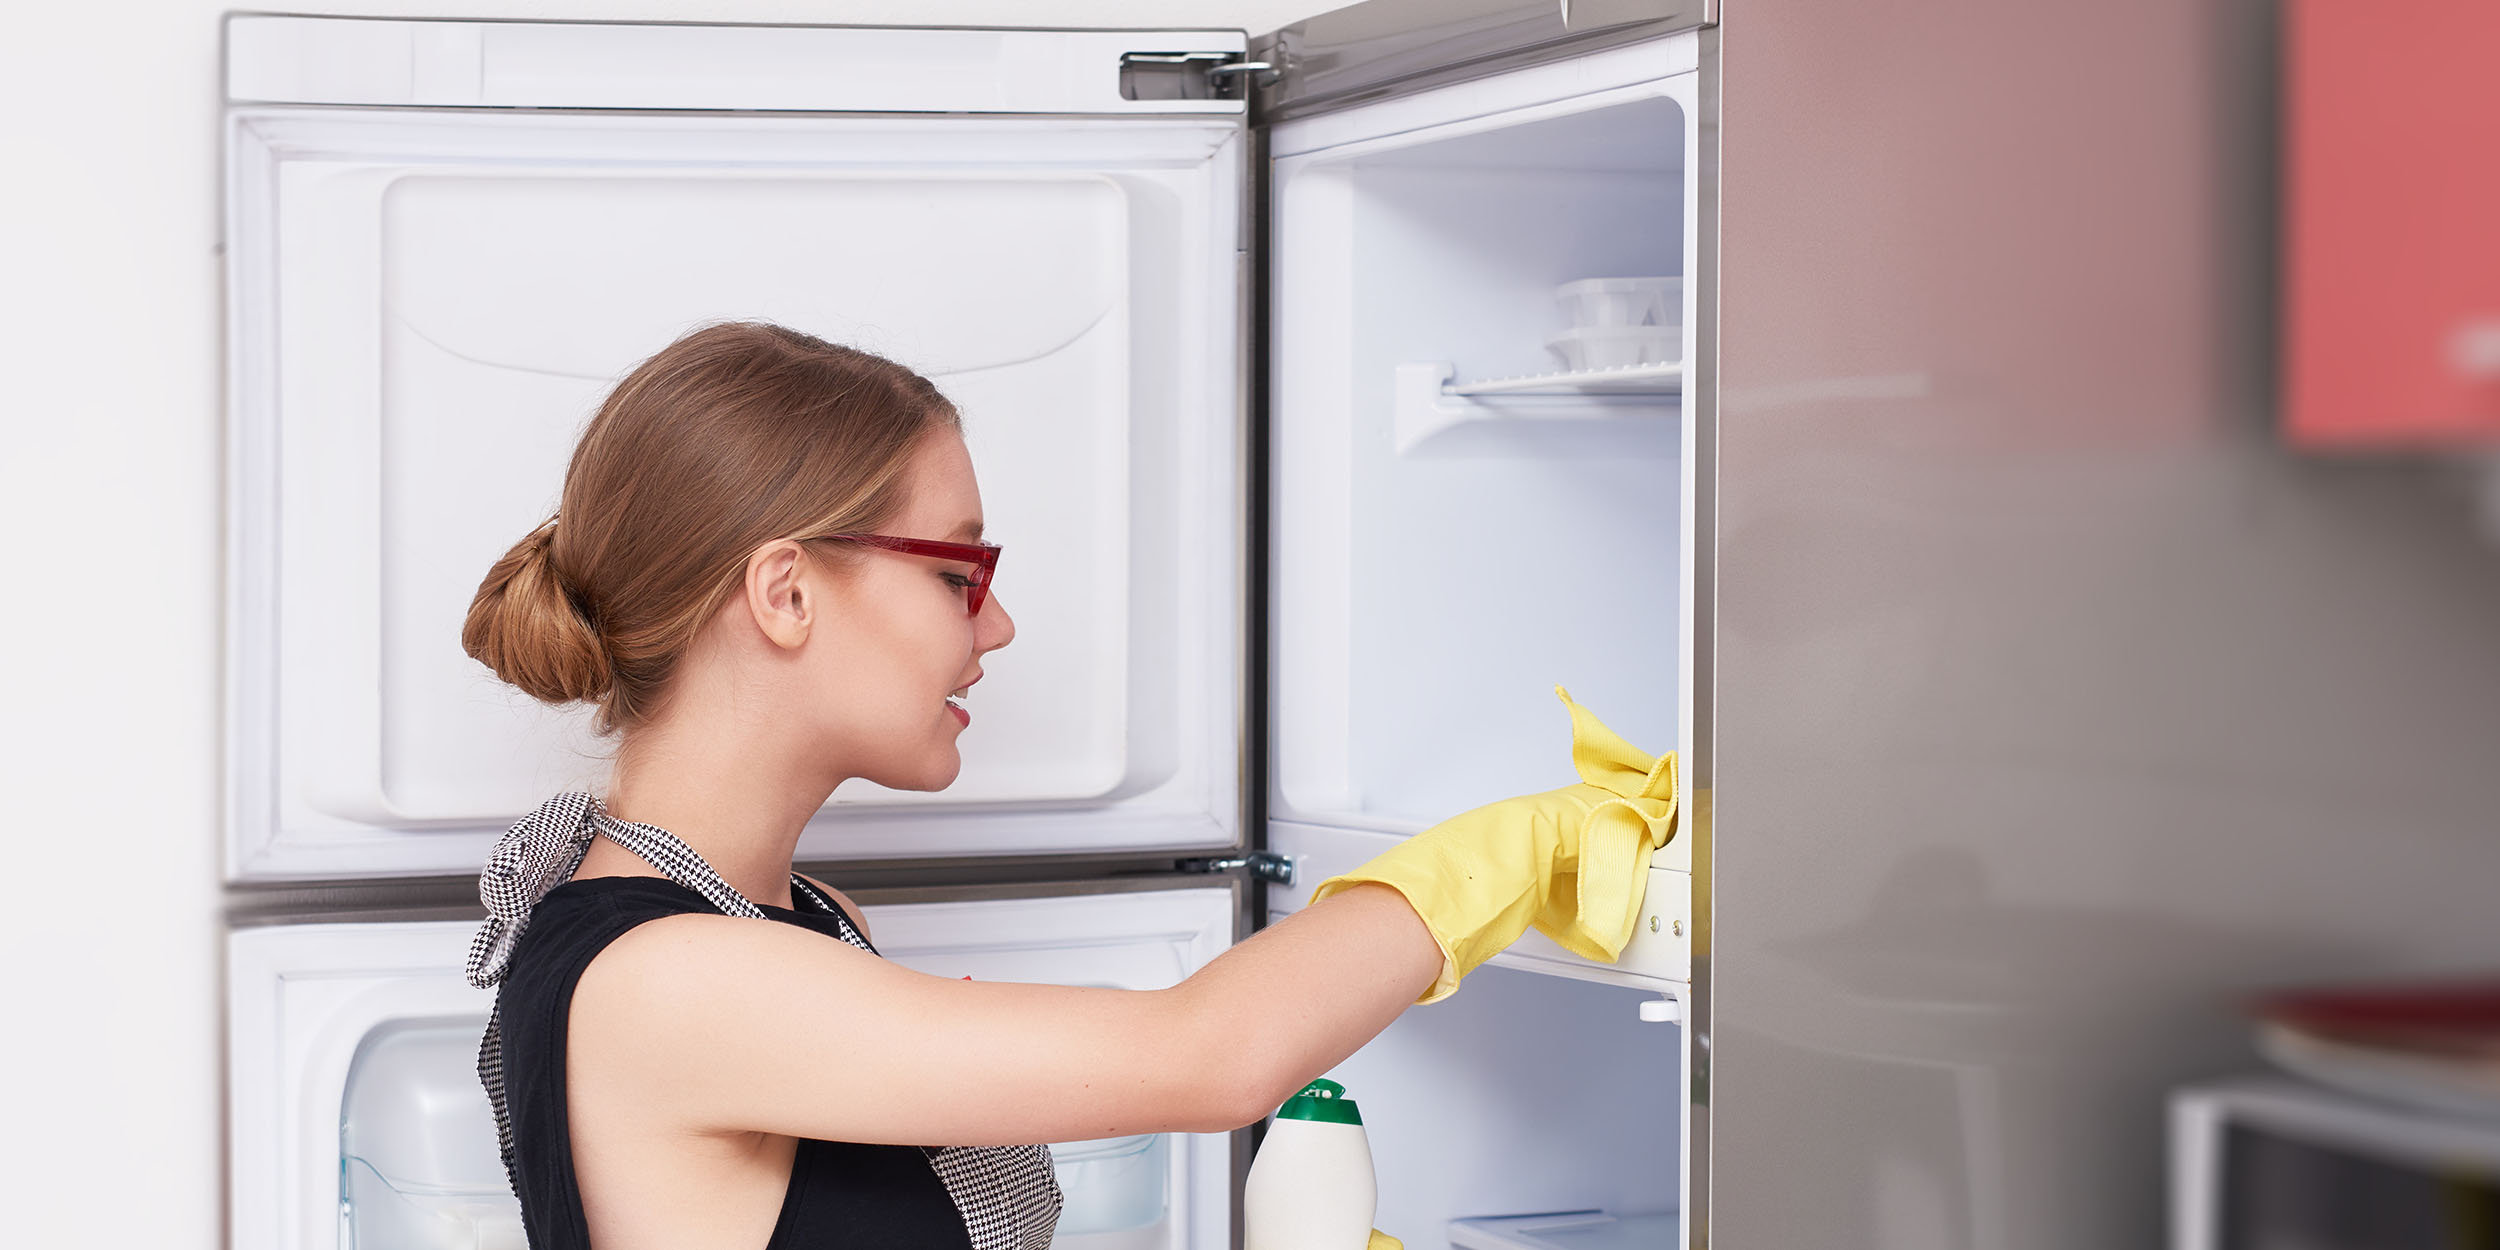
Step 5: Clean the Freezer
Now that the ice has melted and been removed from your Whirlpool freezer, it’s important to thoroughly clean the interior to maintain cleanliness and hygiene. Follow these steps to effectively clean your freezer:
- Mix a mild cleaning solution or vinegar with water in a spray bottle or a bucket. Alternatively, you can use a commercial freezer cleaning product.
- Dampen a sponge or cloth with the cleaning solution and wipe down the interior surfaces of the freezer, including the walls, shelves, and drawers. Pay special attention to any areas that may have accumulated dirt or residue.
- If there are any stubborn stains or spills, use a soft brush or scrubbing pad to gently scrub them away. Avoid using abrasive cleaners or harsh chemicals that may damage the surfaces of the freezer.
- Remove any detachable shelves or drawers and clean them separately using the same cleaning solution. Rinse them thoroughly and allow them to dry completely before placing them back in the freezer.
- Once you have cleaned all the surfaces, use a clean damp cloth to wipe away any remaining cleaning solution. This will ensure that no residue is left behind.
- Allow the freezer to air dry completely before proceeding to the next step. This will help prevent any moisture buildup that can lead to unpleasant odors or the growth of mold and mildew.
Cleaning the freezer not only ensures a fresh and hygienic environment for your food but also prolongs the life of your appliance. Regular cleaning removes any food particles or spills that can attract pests or cause unpleasant odors. With the freezer now clean and dry, you’re ready to move on to the next step: drying the freezer.
Step 6: Dry the Freezer
After cleaning the interior of your Whirlpool freezer, it’s important to ensure that it is thoroughly dried before plugging it back in. Follow these steps to effectively dry your freezer:
- Start by using a dry cloth or paper towels to remove any remaining moisture from the walls, shelves, and drawers of the freezer.
- Pay extra attention to the corners and crevices where moisture can accumulate.
- If needed, you can use a fan to circulate air inside the freezer and expedite the drying process. Ensure that the fan is positioned properly to reach all areas of the interior.
- Allow the freezer to air dry for at least 15-30 minutes or until all moisture has evaporated.
- Make sure that all the shelves and drawers are completely dry before placing them back into the freezer.
Properly drying the freezer is essential to prevent the formation of ice or frost when you plug it back in. Any remaining moisture can lead to a loss in efficiency and potentially damage the freezer’s components. By following these simple steps, you can ensure that your freezer is fully dried and ready for the next step: plugging it back in.
Step 7: Plug in the Freezer
With your Whirlpool freezer cleaned and thoroughly dried, it’s time to plug it back in and restore power. Follow these steps to safely plug in your freezer:
- Locate the power cord of the freezer and ensure that it is clean and free from any debris or moisture.
- Gently insert the power cord into a nearby wall socket. Make sure it is fully inserted and secure.
- Double-check that the power cord is properly connected and not tangled or stretched.
- Give the freezer a few moments to power back on. You should hear the familiar hum or sound of the freezer starting up.
- Check that the temperature control settings are adjusted to your desired temperature. Refer to the user manual for specific instructions on setting the temperature.
- Close the freezer door and ensure that it is properly sealed. The door seal should be clean and free from any debris or damage.
By following these simple steps, you can safely plug in your Whirlpool freezer and restore power to it. Now that your freezer is up and running, the final step is to restock it with your food items.
Read more: How To Defrost A Chest Freezer
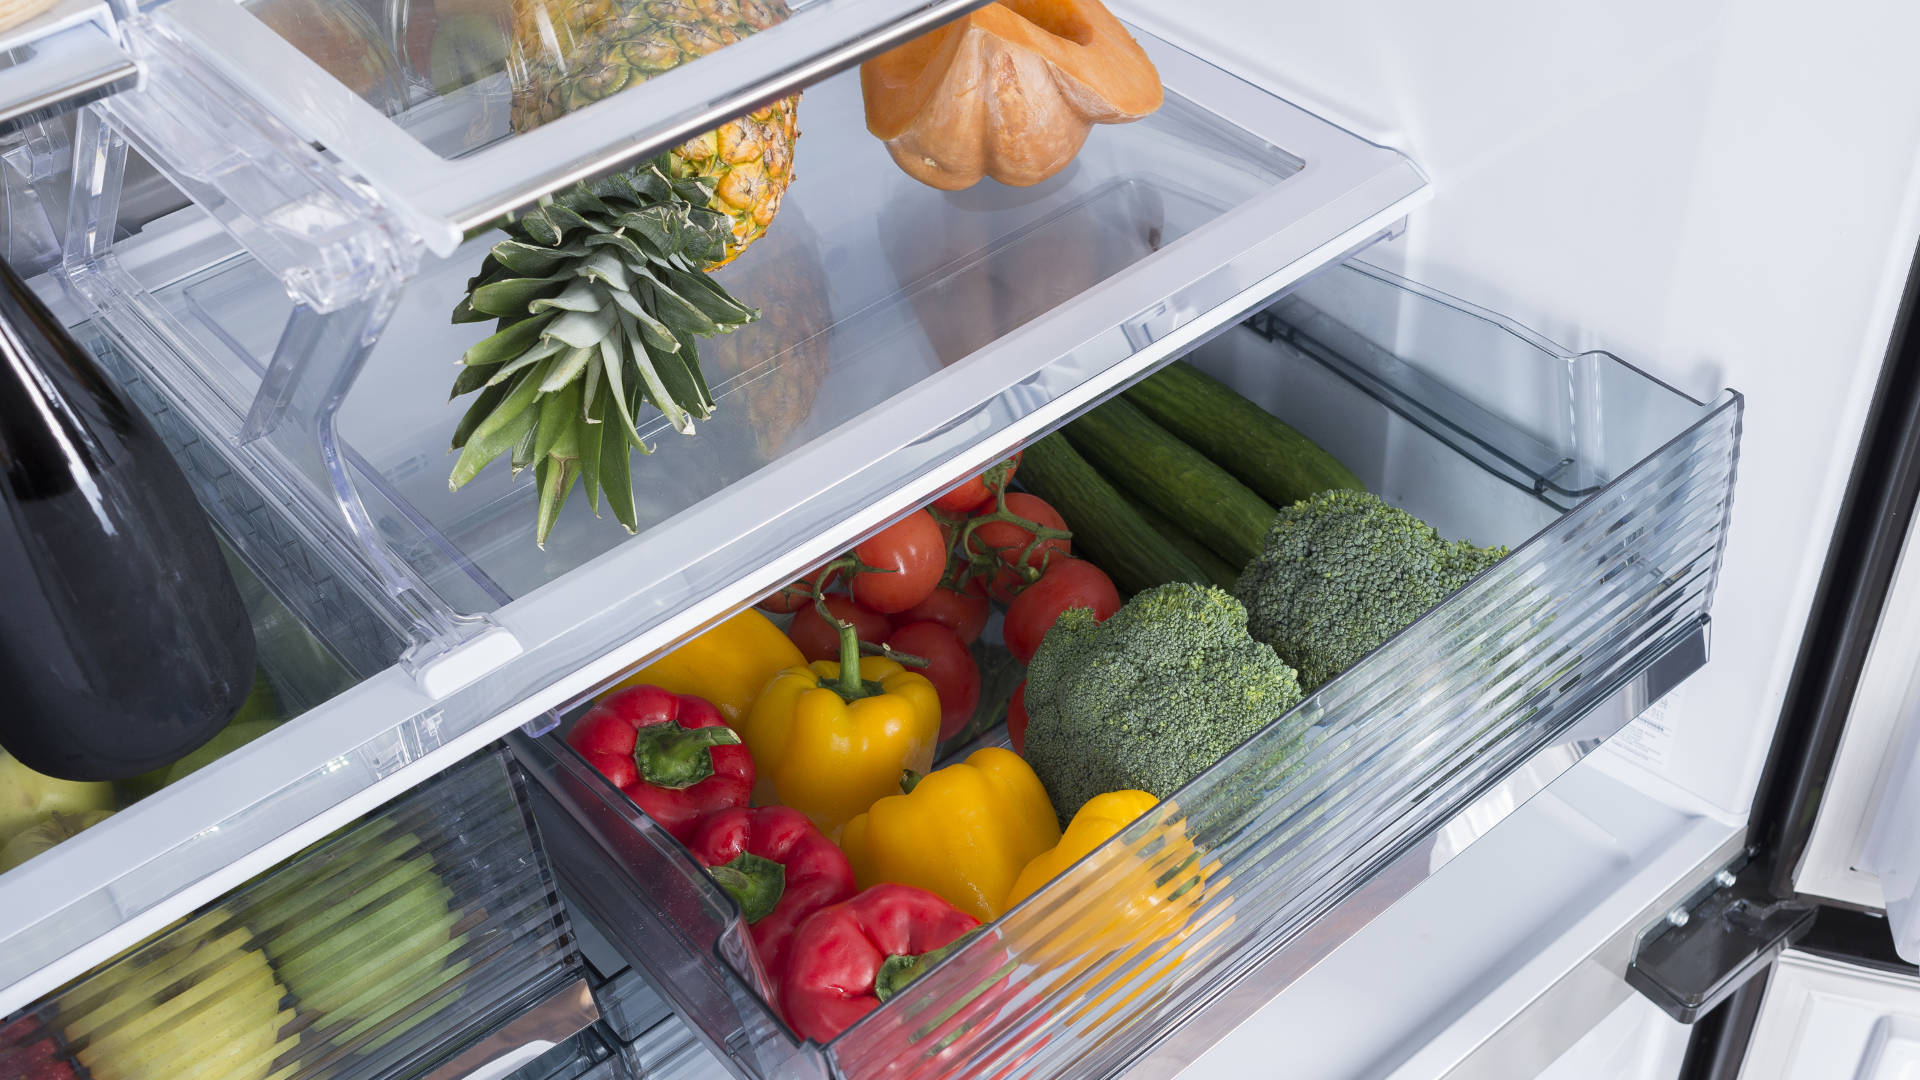
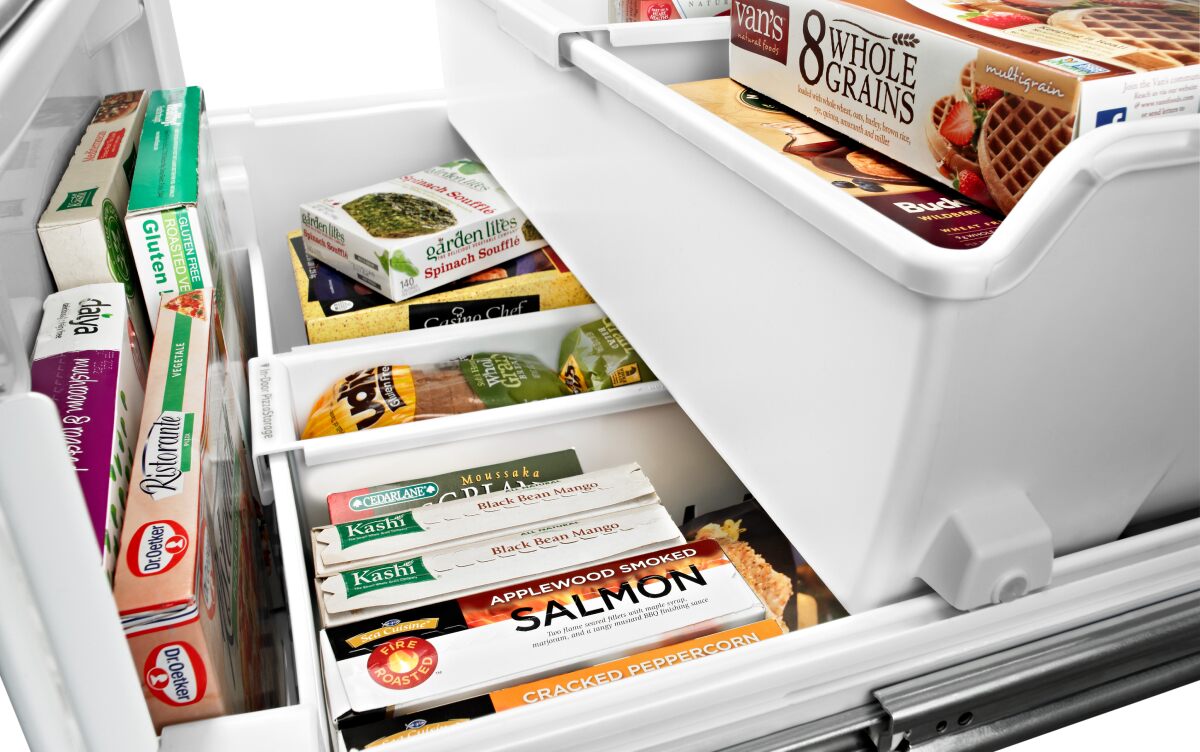
Step 8: Restock Freezer
Now that your Whirlpool freezer is defrosted, cleaned, and plugged back in, it’s time to restock it with your food items. Follow these steps to efficiently restock your freezer:
- Start by organizing the food items you removed earlier. Group similar items together to make it easier to locate them in the future.
- Check the expiration dates of the items and discard any that have expired or are no longer safe to consume.
- Consider reorganizing the freezer to maximize space and optimize airflow. Place frequently used items in easily accessible areas.
- Make use of storage containers, bags, or freezer-safe packaging to keep your food items organized and to prevent freezer burn or cross-contamination.
- Avoid overloading the freezer as this can restrict airflow and affect the freezer’s efficiency. Leave some space between the items to allow proper circulation of cold air.
- If there are any perishable items that you removed from the freezer in temporary containers, ensure they are fully frozen before placing them back inside.
- Take note of the newly stocked items and their locations. This will help you stay organized and efficiently retrieve items when needed.
Restocking your freezer after defrosting allows you to start fresh and maintain an organized storage system for your food items. By following these steps, you can ensure that your freezer is restocked properly and ready to keep your food preserved and frozen at optimal temperatures.
With the freezer restocked, you have successfully completed the entire process of defrosting your Whirlpool freezer. Regularly repeating this process, approximately once every six months or as needed, will help maintain the efficiency and performance of your freezer.
By following these steps and giving proper maintenance to your Whirlpool freezer, you can enjoy its reliable performance and efficiently store your frozen items for a long time to come.
Conclusion
Congratulations! You have successfully learned how to defrost your Whirlpool freezer. By following the step-by-step instructions in this guide, you can effectively remove ice buildup, clean the interior, and ensure optimal performance of your freezer.
Defrosting your freezer is an essential maintenance task that not only improves its efficiency but also prolongs its lifespan. By removing ice buildup, you create more space for storing your frozen goods and allow the freezer to operate at its full capacity.
Remember to prioritize safety throughout the process by wearing protective gloves, avoiding the use of sharp tools, and keeping children and pets away from the freezer. Following proper safety precautions ensures a smooth and accident-free experience.
Regularly defrosting your Whirlpool freezer, approximately every six months or as needed, prevents ice buildup and maintains its performance. Additionally, keeping your freezer clean and dry helps prevent odors, mold, and bacterial growth.
By taking the time to defrost and maintain your Whirlpool freezer, you can enjoy the benefits of a properly functioning appliance that efficiently preserves your frozen food items.
Remember to refer to your Whirlpool freezer’s user manual for specific instructions and guidelines related to defrosting and maintenance. Each model may have slight variations in the process.
Thank you for following this comprehensive guide on how to defrost your Whirlpool freezer. With your newfound knowledge, you can confidently maintain and care for your freezer, ensuring its optimal performance for years to come.
Frequently Asked Questions about How To Defrost Whirlpool Freezer
Was this page helpful?
At Storables.com, we guarantee accurate and reliable information. Our content, validated by Expert Board Contributors, is crafted following stringent Editorial Policies. We're committed to providing you with well-researched, expert-backed insights for all your informational needs.


0 thoughts on “How To Defrost Whirlpool Freezer”