Articles
How Deep Are Pantry Shelves
Modified: May 6, 2024
Discover the depth of pantry shelves for optimal pantry storage. Maximize your kitchen organization with adjustable and spacious pantry shelves.
(Many of the links in this article redirect to a specific reviewed product. Your purchase of these products through affiliate links helps to generate commission for Storables.com, at no extra cost. Learn more)
Introduction
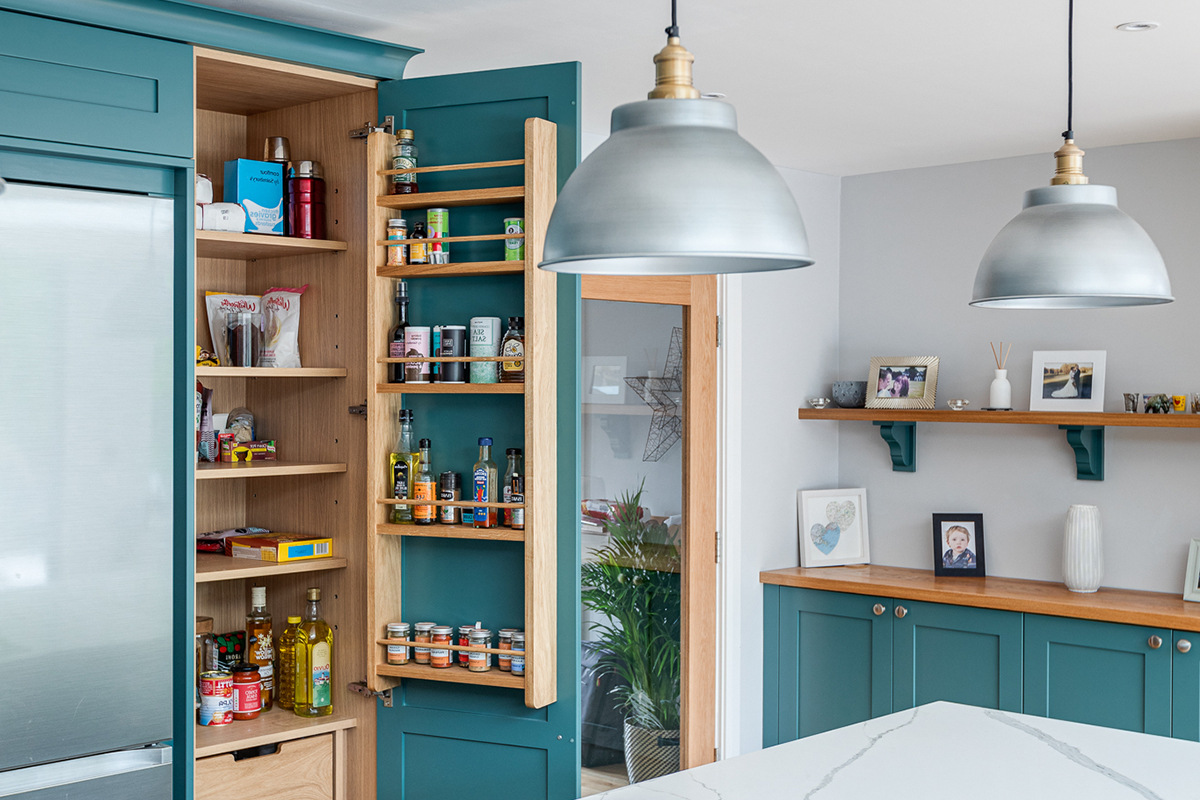
Welcome to our comprehensive guide on pantry shelf depths! Whether you are designing a new pantry space or looking to maximize the storage capacity of your existing pantry, understanding the depth of your pantry shelves is crucial.
A well-organized pantry can make a world of difference in your kitchen. It not only provides ample space for storing your groceries, but it also makes it easier to find and access items when you need them. The depth of your pantry shelves plays a crucial role in determining how much you can store and how efficiently you can organize your pantry.
In this article, we will explore the standard depth of pantry shelves, as well as other options such as adjustable, deep, and narrow shelves. By the end, you will have a better understanding of how to choose the right pantry shelf depth for your needs.
So, let’s dive in and discover the depths of pantry shelves!
Key Takeaways:
- Choose the right pantry shelf depth by considering your storage needs, available space, and the balance between accessibility and capacity. Whether standard, adjustable, deep, or narrow, find the perfect fit for an efficient and organized pantry.
- Deep pantry shelves offer increased storage capacity, while narrow shelves maximize space in small pantries. Consider the types of items you plan to store, available space, and organizational strategies to optimize your pantry storage.
Read more: How To Organise Deep Wardrobe Shelves
Standard Pantry Shelf Depth
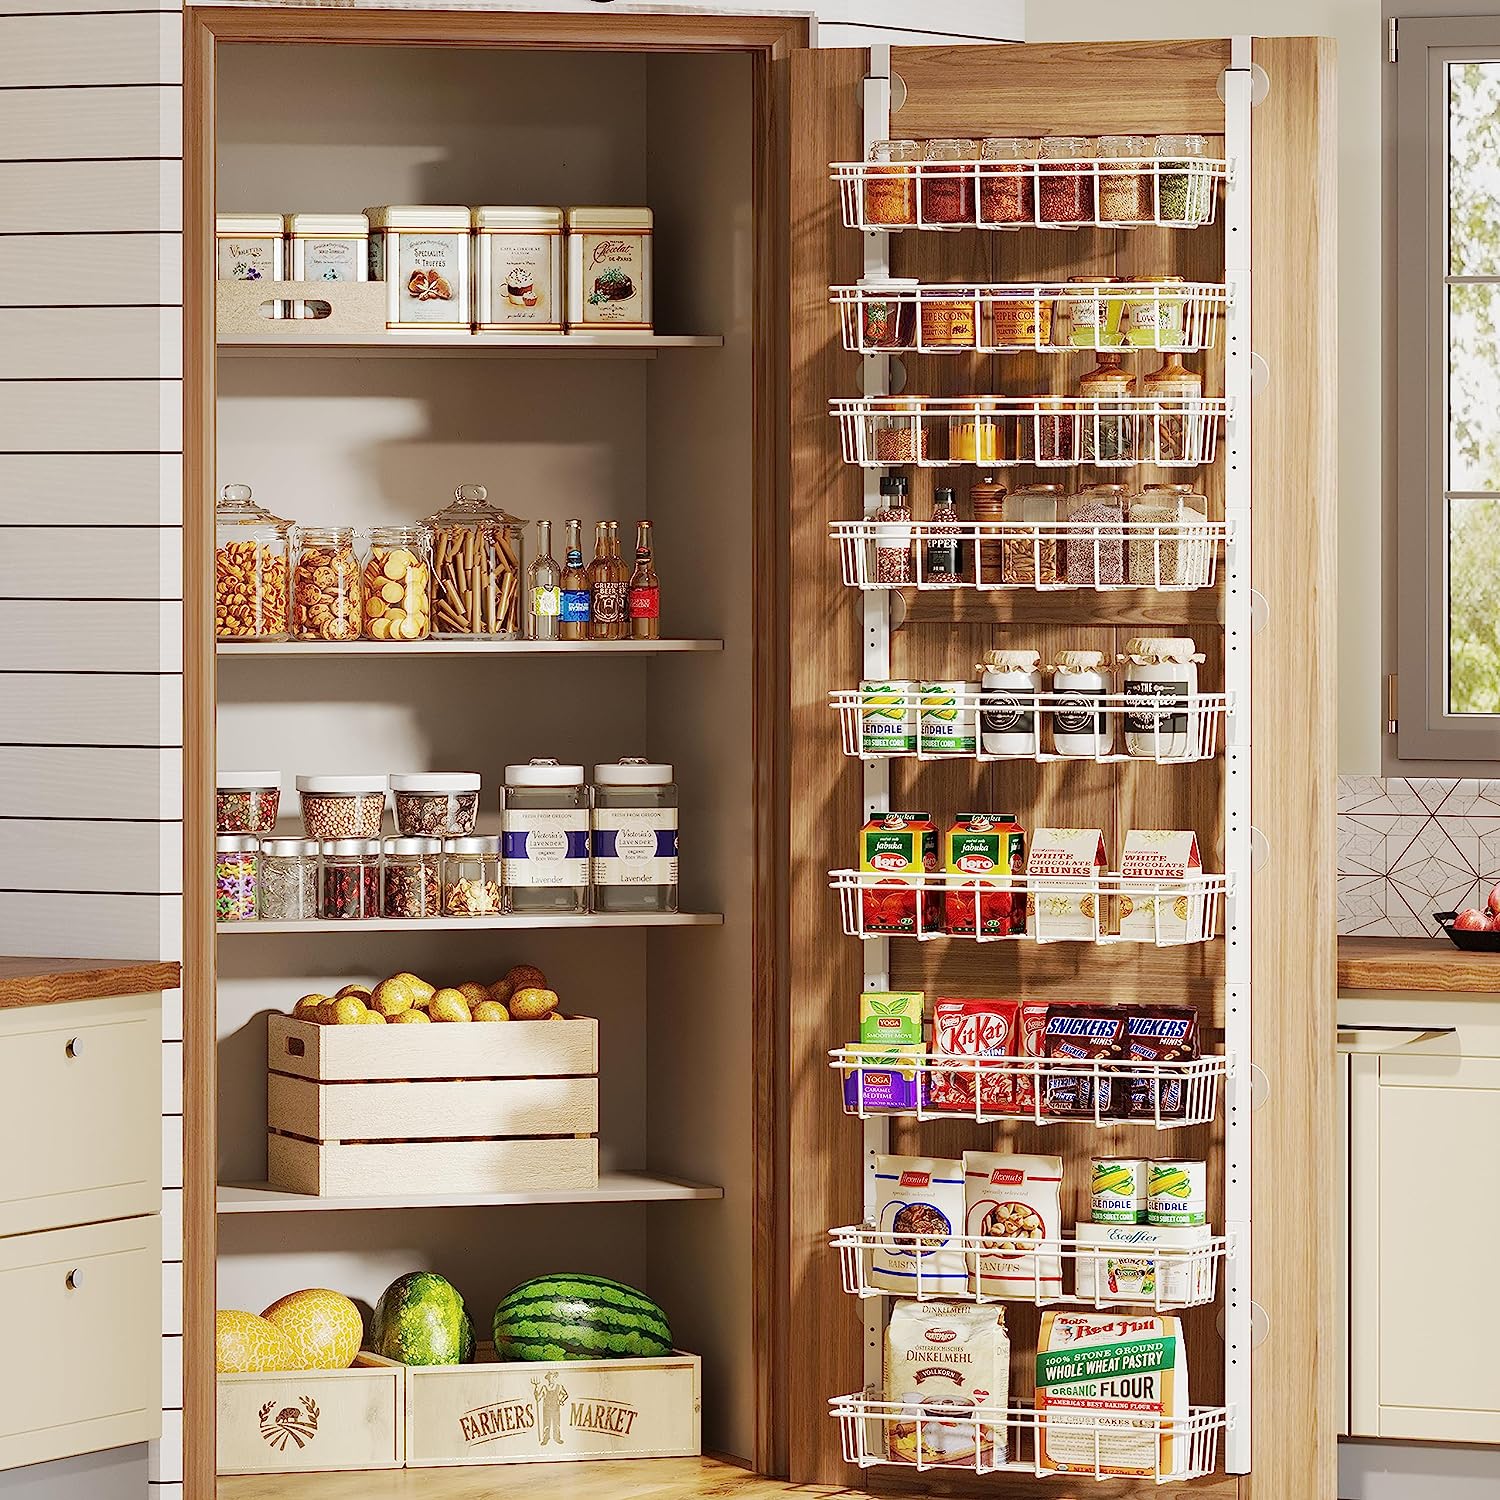
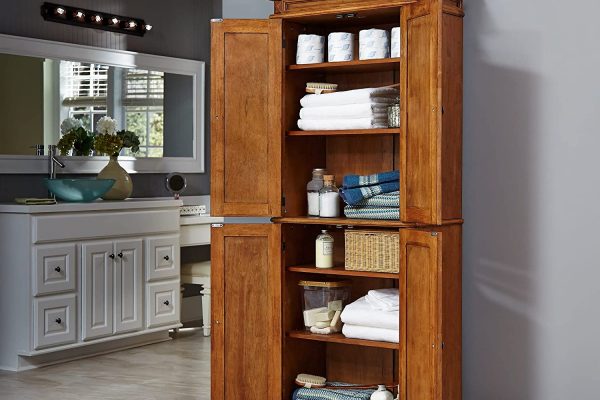
When it comes to the standard pantry shelf depth, most shelves are designed to be around 12 to 16 inches deep. This depth allows for easy access to items and provides sufficient space for storing most food items, cans, and boxes.
The 12 to 16-inch depth is considered optimal as it strikes a balance between storage capacity and accessibility. With shelves of this depth, you can easily see and retrieve items from the front, while still having enough space to store items behind them.
It’s important to note that the standard depth can vary depending on the manufacturer and the design of the pantry. Some pantry shelving systems may have adjustable shelves that allow you to customize the depth according to your needs.
When determining the standard depth for your pantry shelves, it’s also essential to consider the height between each shelf. The ideal distance between shelves is around 12 to 16 inches, allowing you to store different-sized items and groceries efficiently.
Now that we’ve covered the standard depth of pantry shelves, let’s explore other options and variations that can help optimize your pantry’s storage capacity.
Dimensions of Pantry Shelves
While the standard depth of pantry shelves is typically around 12 to 16 inches, it’s important to consider the overall dimensions of your pantry shelves to ensure maximum storage efficiency. Here are a few key dimensions to keep in mind:
- Width: The width of your pantry shelves will depend on the available space in your pantry. Typically, pantry shelves range from 24 to 36 inches wide. However, if you have a larger pantry or want to accommodate more items, you can opt for wider shelves or even custom-designed shelving solutions.
- Height: The height of your pantry shelves will also impact the overall storage capacity. Standard pantry shelves have a height between 12 to 16 inches, allowing for stacking items vertically. However, it’s essential to consider the height of the items you typically store in your pantry to ensure they fit comfortably on the shelves.
- Adjustability: Some pantry shelving systems offer adjustable shelves, allowing you to customize the dimensions according to your needs. This flexibility is particularly useful when storing items of different heights or when you want to reorganize your pantry periodically. Adjustable shelves give you the freedom to create a customized storage solution that maximizes your pantry space.
- Depth: As mentioned earlier, the standard depth of pantry shelves is around 12 to 16 inches. This depth provides ample space for storing most food items, cans, and boxes. However, if you have specific storage requirements or larger items to accommodate, you might consider deeper shelves.
When planning the dimensions of your pantry shelves, it’s important to consider your specific storage needs and the available space in your pantry. Take into account the types of items you store, how frequently you access them, and any organizational systems you want to implement. By carefully considering the dimensions of your pantry shelves, you can create a functional and efficient storage solution that meets your unique requirements.
Next, let’s explore the option of adjustable pantry shelves and how they can enhance your pantry’s functionality.
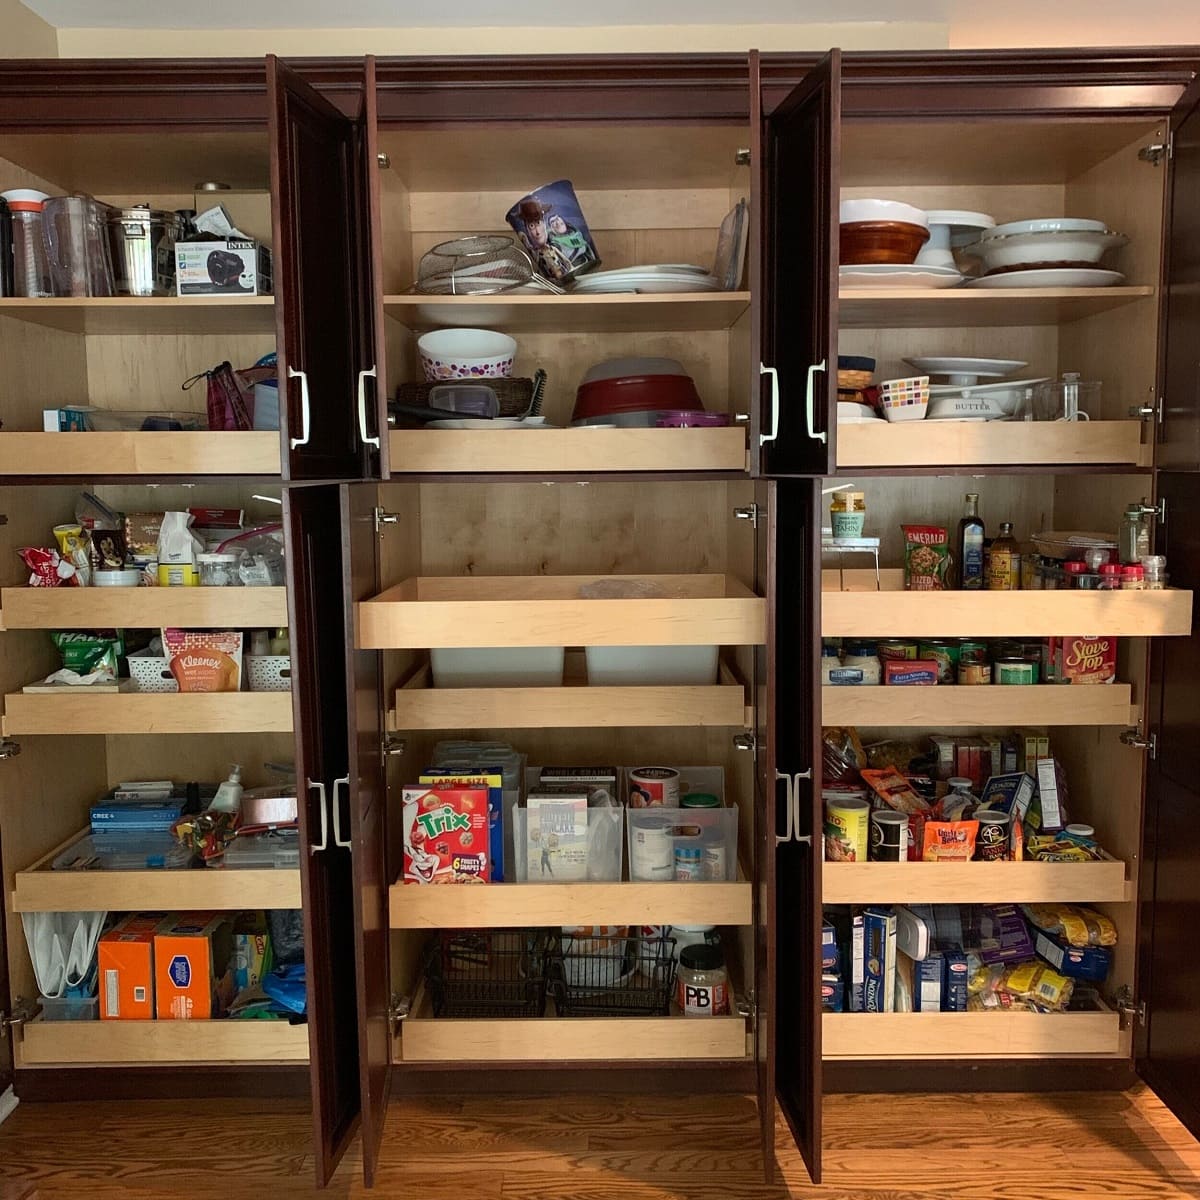
Adjustable Pantry Shelves
When it comes to optimizing the storage space in your pantry, adjustable shelves can be a game-changer. These shelves offer flexibility in terms of dimensions, allowing you to customize the height and spacing according to your specific needs.
Adjustable pantry shelves typically feature a system of tracks or brackets that enable you to move and reposition the shelves at various heights. This flexibility is especially beneficial when storing items of different sizes or when your storage needs change over time.
With adjustable shelves, you can easily accommodate taller items like cereal boxes, bottles, or kitchen appliances by creating more vertical space. Similarly, if you need more shelf space for smaller items like spices or canned goods, you can adjust the shelves accordingly.
One of the major advantages of adjustable pantry shelves is the ability to reconfigure them whenever you want. This allows you to organize and reorganize your pantry according to your preferences or changing needs. Whether you decide to reorganize by food category, frequency of use, or any other system, adjustable shelves make the process simple and hassle-free.
As you consider adjustable pantry shelves, it’s important to ensure that the shelving system you choose is durable and can support the weight of your items. Look for quality materials and sturdy construction, as you want your shelves to withstand the load and last for a long time.
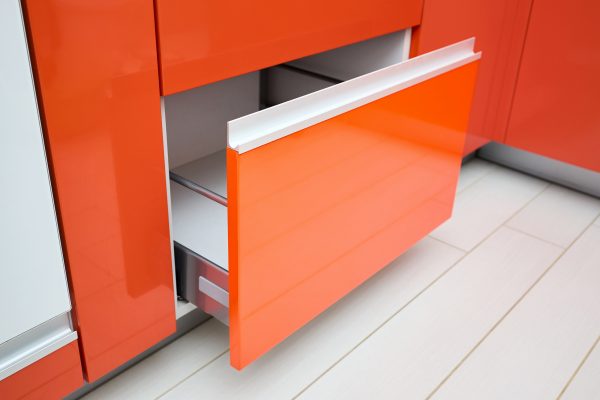
In addition to adjustable shelves, you may also want to consider incorporating other features such as pull-out drawers or baskets. These additional elements can further enhance the functionality of your pantry and make it easier to access and see all your stored items.
Now that we’ve explored the benefits of adjustable pantry shelves, let’s dive into the world of deep pantry shelves and how they can provide even more storage capacity.
When organizing pantry shelves, consider the depth of the shelves to ensure easy access to items. Shelves that are 12-16 inches deep are ideal for most pantry items, allowing for efficient storage and retrieval.
Deep Pantry Shelves
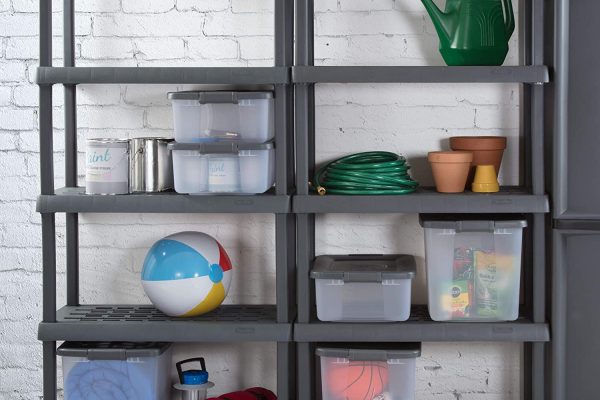
If you’re looking to maximize storage capacity in your pantry, deep shelves can be a fantastic option. Deep pantry shelves are designed to be larger in depth, typically ranging from 18 to 24 inches. This extra depth allows you to store larger items and provides ample space for organizing your pantry essentials.
Deep pantry shelves are especially beneficial for storing bulk items, large appliances, or oversized containers. They offer more room to stack items horizontally, making it easier to see and access everything stored on the shelves.
With deep shelves, you can easily store items like large cereal boxes, jumbo packs of snacks, or even kitchen gadgets that don’t fit well on standard shelves. This additional space allows you to stock up on items, reducing the frequency of grocery shopping trips.
However, it’s important to consider the accessibility factor when opting for deep pantry shelves. Since the depth is larger, it might be slightly more challenging to reach items stored at the back. To overcome this, you can use organizational tools like lazy susans, sliding baskets, or pull-out trays. These accessories make it easier to access items stored on deep shelves by allowing you to conveniently reach and pull them forward.
Before installing deep pantry shelves, be sure to measure the available space in your pantry. Ensure that the added depth won’t hinder the functionality of your pantry or make it difficult to navigate.
While deep shelves offer increased storage capacity, it’s essential to maintain proper organization and avoid clutter. Regularly reevaluate the items on your deep shelves and discard any expired or unused products to keep your pantry tidy and efficient.
Now that we’ve explored the benefits of deep pantry shelves, let’s take a look at the opposite end of the spectrum and discuss narrow pantry shelves.
Read more: How Deep Should A Pantry Cabinet Be
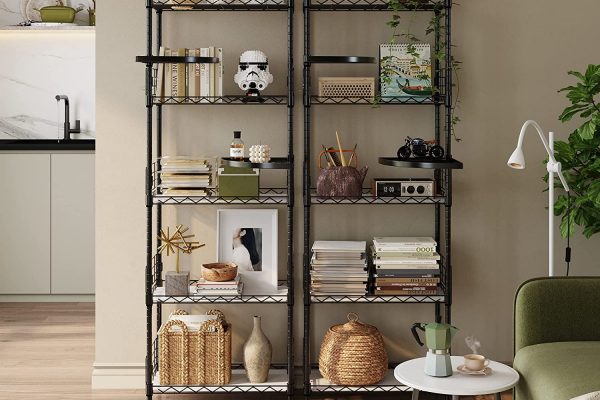
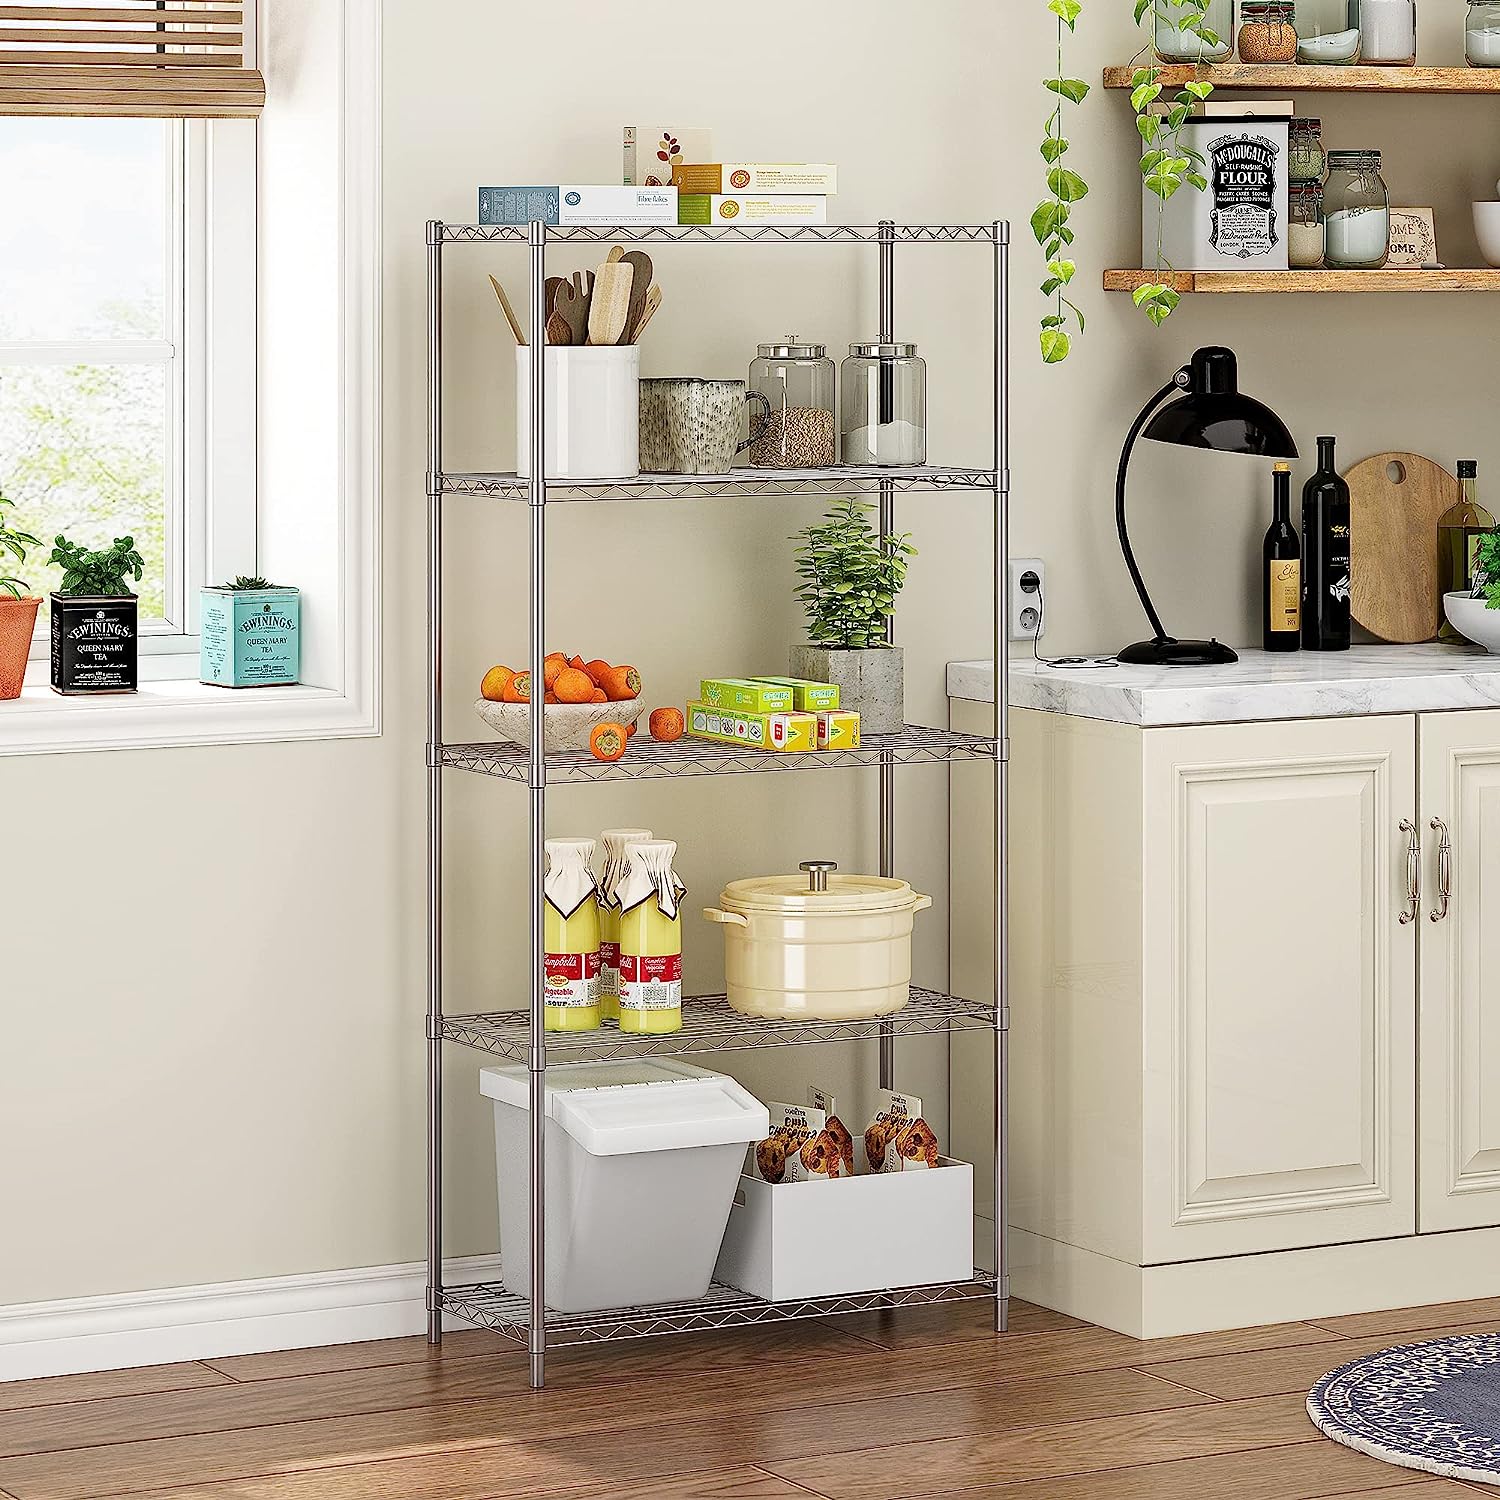
Narrow Pantry Shelves
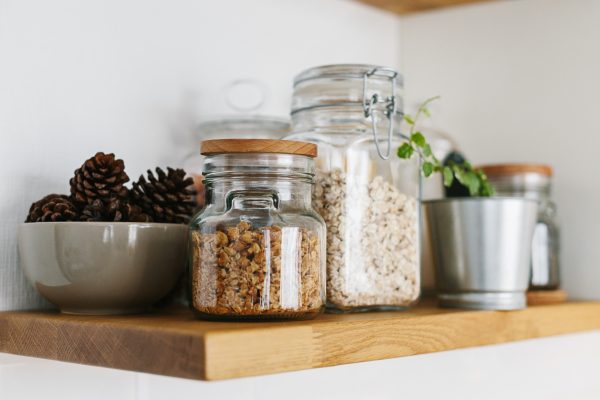
If you are dealing with limited space or have a small pantry, narrow shelves can be the perfect solution to maximize your storage efficiency. Narrow pantry shelves are designed to be slimmer in width, typically ranging from 12 to 18 inches, allowing you to make the most of your available space.
While narrow shelves may have less surface area compared to wider shelves, they offer their own set of advantages. First and foremost, narrow shelves create a more organized and streamlined look in your pantry. They help prevent overcrowding and allow for better visibility of the items stored on the shelves.
With narrow shelves, you can make efficient use of vertical space. By stacking items vertically, you can store a greater number of items in a small pantry. This vertical organization also makes it easier to see and access the items towards the back of the shelf, as they are not hidden behind other items.
Another advantage of narrow pantry shelves is their versatility. They can be placed in tight corners or alcoves that might otherwise go unused. This allows you to truly maximize every inch of your pantry and create a functional storage space even in small or awkward areas.
While narrow shelves are excellent for maximizing space, it’s important to consider the types of items you plan to store. Ensure that the width of the shelves is suitable for the containers or products you regularly use in your kitchen. If you have larger items that won’t fit on narrow shelves, you may opt for a combination of narrow and wider shelves to accommodate various sizes.
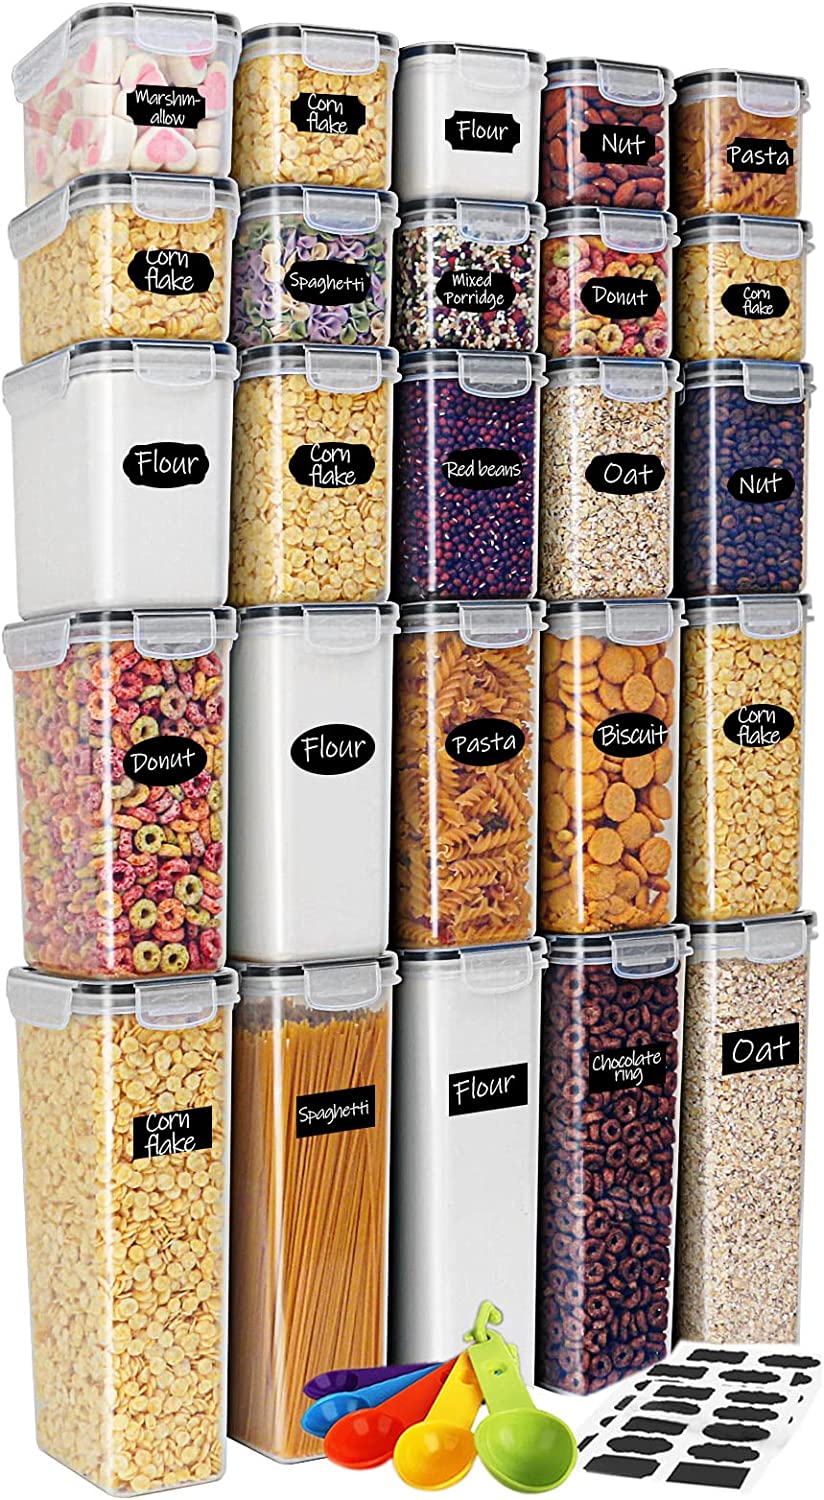
Organization and proper labeling are key when utilizing narrow pantry shelves. Group similar items together and use baskets, bins, or shelf dividers to make the most of the limited space. By keeping items in designated areas, you can easily find what you need and maintain order in your pantry.
Now that we’ve explored the benefits of narrow pantry shelves, let’s discuss how to choose the right pantry shelf depth overall.
Choosing the Right Pantry Shelf Depth
When it comes to selecting the perfect pantry shelf depth, there are several factors to consider. The ideal shelf depth for your pantry will depend on your storage needs, the available space, and the types of items you plan to store.
Start by assessing your storage requirements. Consider the types of food items, containers, and appliances you regularly store in your pantry. Do you have a lot of bulk items or oversized containers? If so, deeper shelves may be beneficial. On the other hand, if you mainly store smaller items and want to maximize space, narrower shelves might be more suitable.
Take into account the available space in your pantry. Measure the width, height, and depth of the area designated for shelving. This will give you a clear understanding of the maximum dimensions you can work with. It’s important to leave space for easy navigation and access to items, so don’t overcrowd the pantry with shelves that are too deep or too wide.
Consider the overall organization and accessibility of your pantry. If efficiency and visibility are top priorities, standard depth shelves may be the best option. They provide a good balance between storage capacity and accessibility, making it easier to locate and retrieve items.
If you have the flexibility to adjust shelf heights, adjustable pantry shelves can be a versatile choice. They allow you to customize the shelf depth according to the items you are storing or to accommodate changing storage needs over time.
It’s also worth considering the aesthetics of your pantry. Deep shelves can create a more substantial, robust look, while narrow shelves can give a sleek and streamlined appearance. Choose a shelf depth that complements the overall design and style of your pantry and kitchen space.
Lastly, don’t forget about practicality and functionality. Deep shelves may require additional accessories like pull-out trays or sliding baskets to ensure easy access to items stored at the back. Narrow shelves may benefit from shelf dividers or organizational bins to maximize space and maintain order.
In the end, choosing the right pantry shelf depth boils down to understanding your storage needs, considering the available space, and finding the balance between accessibility and capacity. With careful consideration and planning, you can create a well-organized and efficient pantry that meets your unique requirements.
Now that you have a better understanding of choosing the right pantry shelf depth, let’s wrap up our guide.
Conclusion
Designing a functional and organized pantry starts with choosing the right shelf depth. By considering factors such as storage needs, available space, and the types of items you plan to store, you can ensure that your pantry shelves are optimized for maximum efficiency.
The standard pantry shelf depth of 12 to 16 inches provides a good balance between storage capacity and accessibility. It allows for easy access to items while still providing enough space to store a variety of food items, cans, and boxes. However, there are also other options to consider.
Adjustable pantry shelves offer flexibility and customization, allowing you to adapt the shelf height and spacing to suit your storage needs. This versatility is beneficial when storing items of different sizes or when you want to reorganize your pantry periodically.
If you have the space, deep pantry shelves can provide even more storage capacity. With depths ranging from 18 to 24 inches, deep shelves are ideal for storing bulk items, large appliances, or oversized containers. However, it’s important to consider accessibility and utilize organizational tools to reach items stored at the back.
On the other hand, narrow pantry shelves are perfect for small spaces as they maximize storage efficiency. Ranging from 12 to 18 inches in width, narrow shelves allow for vertical organization and make it easier to see and access items. Organizational strategies such as grouping similar items and using baskets or dividers can make the most of the limited space.
Choosing the right pantry shelf depth is a balancing act that requires consideration of your specific needs and available space. Whether you opt for standard shelves, adjustable shelves, deep shelves, or narrow shelves, it’s important to maintain proper organization, regularly declutter, and make use of storage accessories to optimize your pantry space.
With the right pantry shelf depth and an organized system in place, you can create a functional and efficient pantry that not only stores your food items but also makes meal preparation and cooking a breeze.
We hope this comprehensive guide has provided you with valuable insights into the various pantry shelf depths available. Now, armed with this knowledge, it’s time to design or optimize your pantry space to create a well-organized and convenient storage solution for all your culinary needs.
Now that you've got a handle on the ideal depths for pantry shelves, why not take your kitchen organization skills up a notch? If you're wrestling with limited space, our next guide on organizing a small kitchen offers practical tips that'll help you maximize every inch. From clever storage solutions to layout tweaks, find out how to make even the most compact kitchen a model of efficiency.
Frequently Asked Questions about How Deep Are Pantry Shelves
Was this page helpful?
At Storables.com, we guarantee accurate and reliable information. Our content, validated by Expert Board Contributors, is crafted following stringent Editorial Policies. We're committed to providing you with well-researched, expert-backed insights for all your informational needs.

0 thoughts on “How Deep Are Pantry Shelves”