Articles
How To Build Kitchen Pantry Cabinet
Modified: September 2, 2024
Discover expert articles on how to build a kitchen pantry cabinet and create a functional space that suits your needs.
(Many of the links in this article redirect to a specific reviewed product. Your purchase of these products through affiliate links helps to generate commission for Storables.com, at no extra cost. Learn more)
Introduction
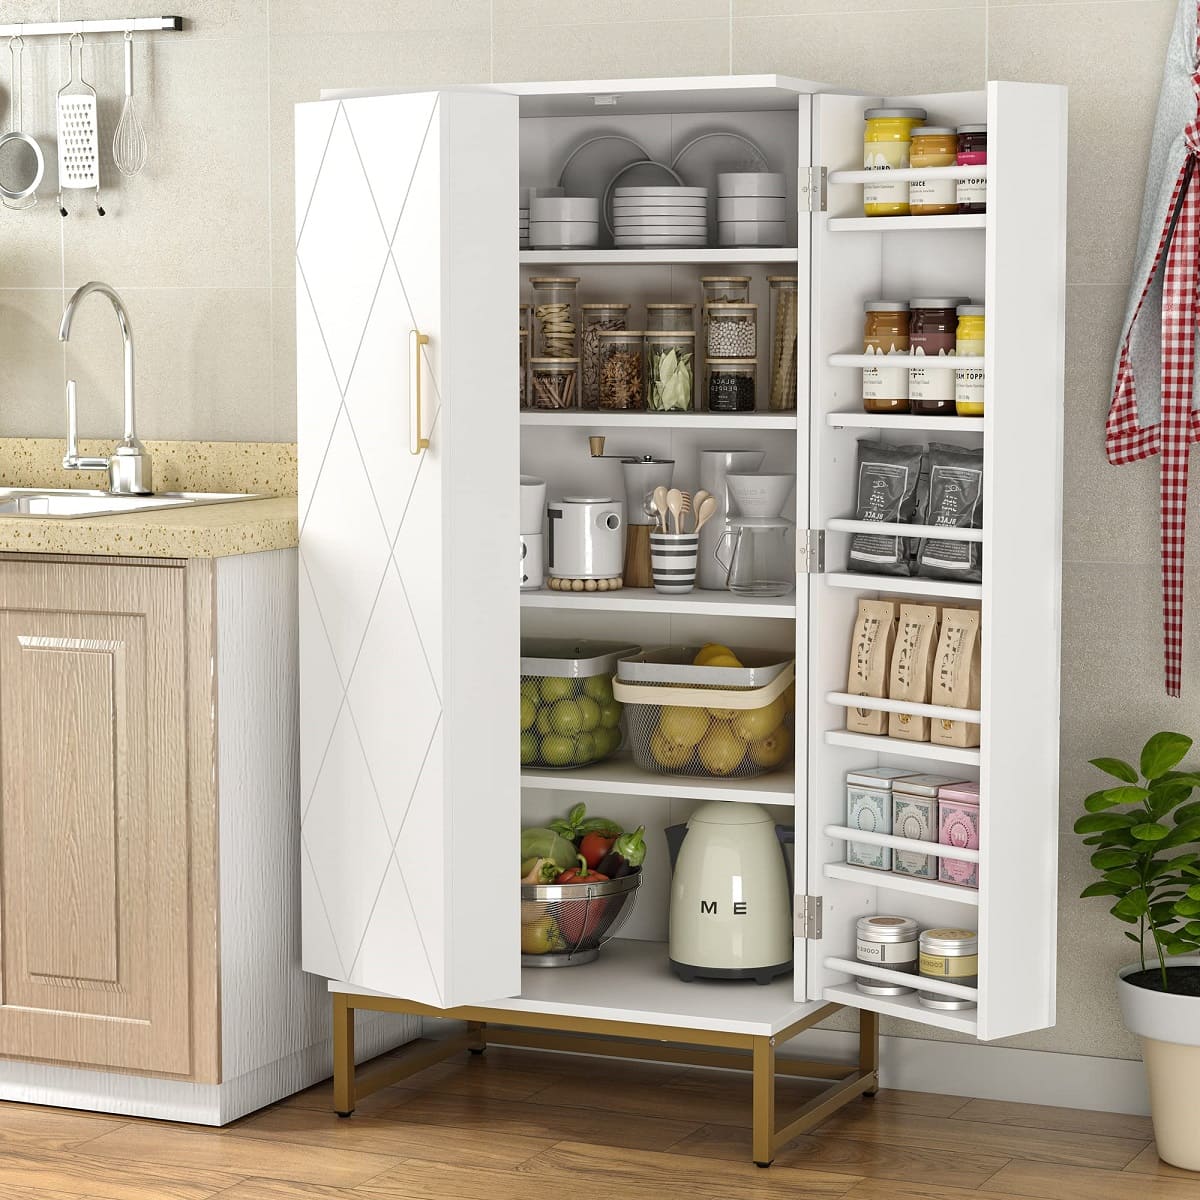
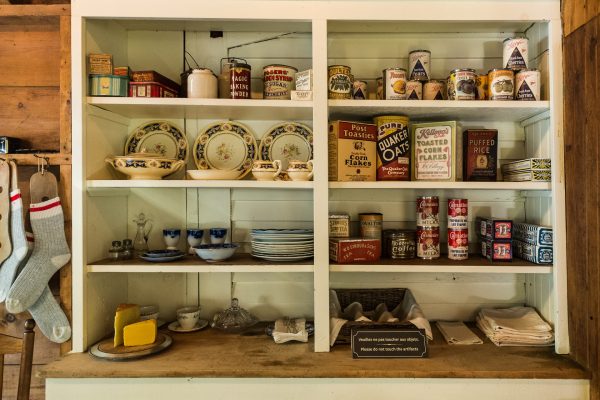
Welcome to the ultimate guide on how to build a kitchen pantry cabinet from scratch! Having a well-organized and efficient pantry is essential for any kitchen. It not only provides ample storage space for your groceries, cookware, and other kitchen essentials but also enhances the overall functionality and aesthetics of your kitchen.
While you can purchase pre-made pantry cabinets from stores, building one on your own allows you to customize it according to your specific needs and space constraints. Plus, it can be a rewarding and fulfilling project that showcases your woodworking skills.
In this comprehensive guide, we will take you through the step-by-step process of planning, designing, and building a kitchen pantry cabinet. We will cover everything from gathering the necessary materials and tools to installing the shelves and doors. So, let’s roll up our sleeves and dive into the world of DIY pantry cabinet construction!
Disclaimer: Building a kitchen pantry cabinet requires basic woodworking skills and tools. Ensure your safety by wearing appropriate protective gear and following proper safety guidelines. If you’re unsure about any step, it’s always best to consult with a professional.
Key Takeaways:
- Customize your kitchen pantry cabinet to fit your needs and space constraints by following the step-by-step DIY guide. Enjoy the process and create a functional and stylish storage space that enhances your kitchen’s organization and efficiency.
- Prioritize safety and proper woodworking techniques while building your pantry cabinet. From planning and designing to adding finishing touches, enjoy the rewarding journey of creating a personalized and durable storage solution for your kitchen.
Planning and Designing the Kitchen Pantry Cabinet
Before diving into construction, it’s crucial to take the time to plan and design your kitchen pantry cabinet. This step will ensure that your cabinet meets your storage needs and fits seamlessly into your kitchen space. Here are some key considerations:
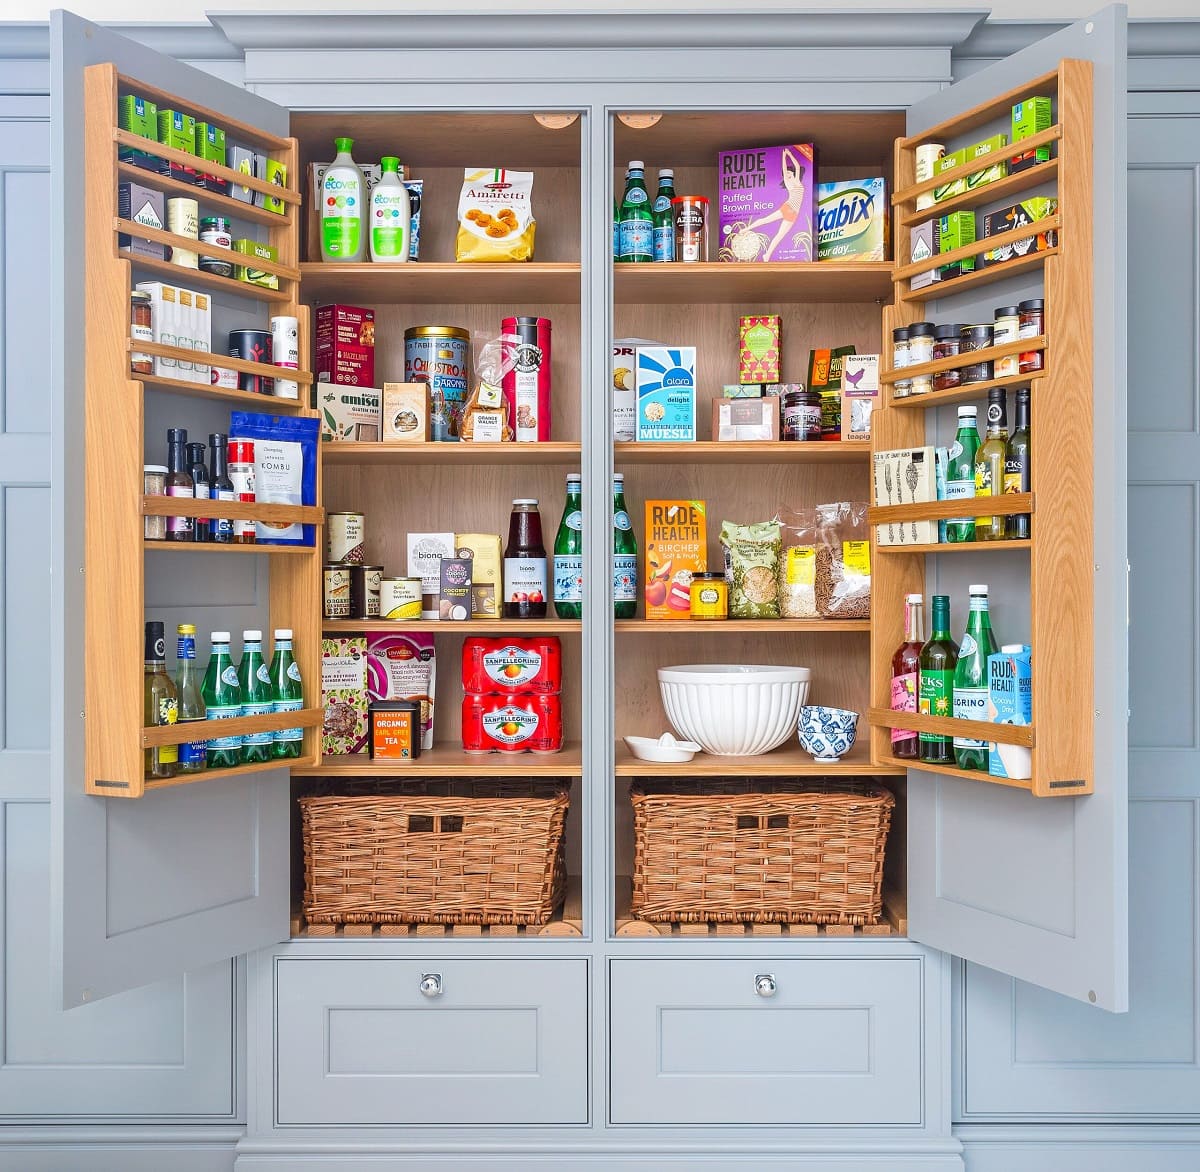
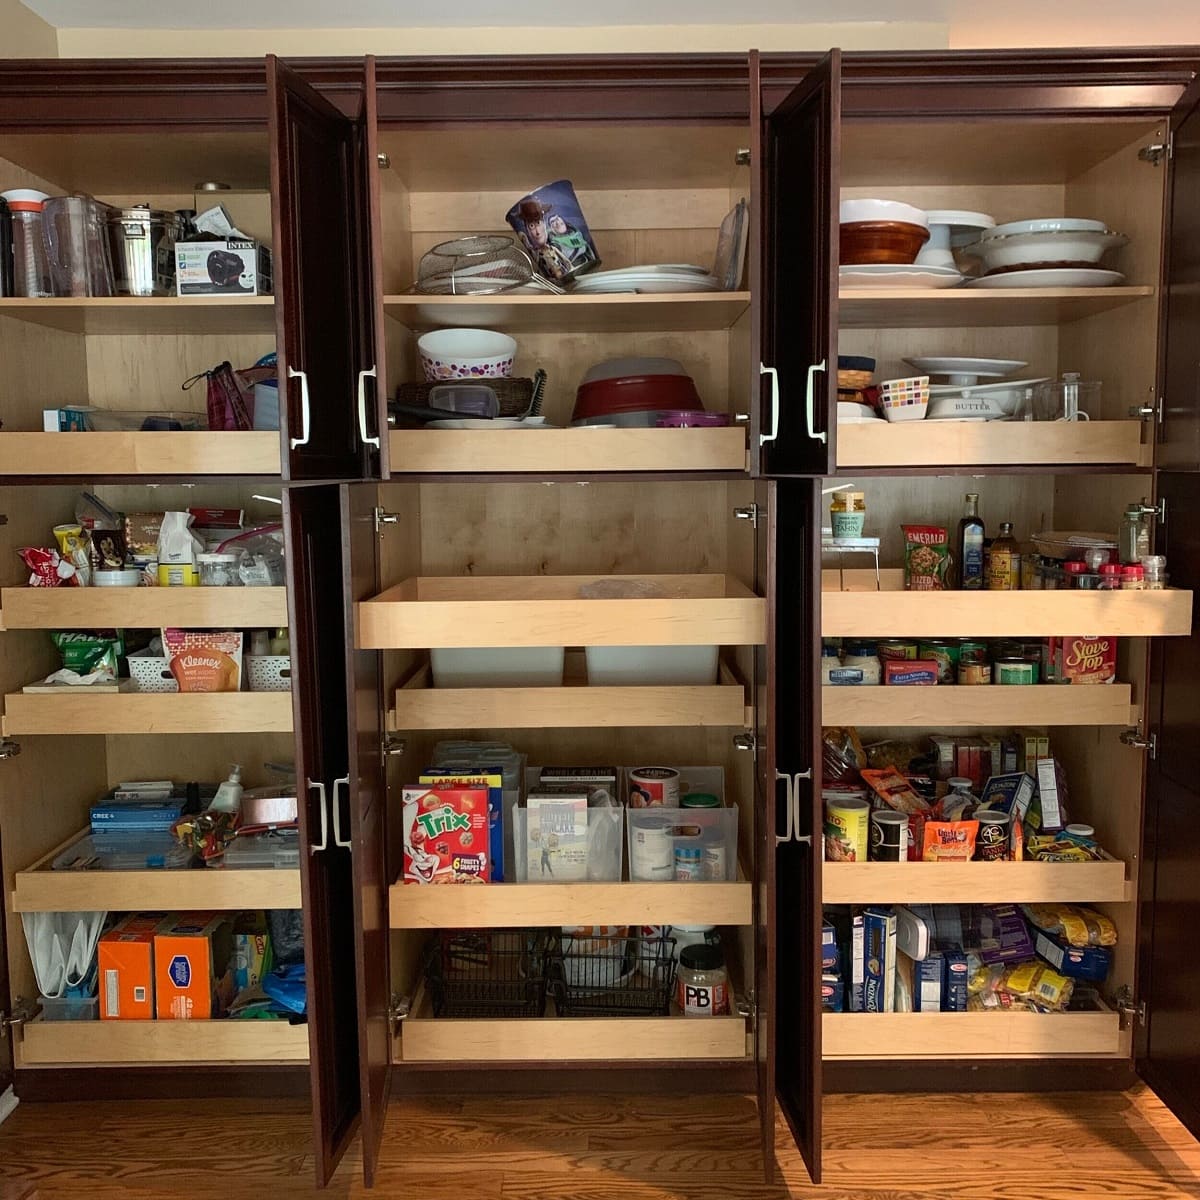
- Assess your storage requirements: Take stock of your pantry items and figure out how much storage space you need. Consider the dimensions and types of items you will be storing, such as canned goods, jars, dry goods, and appliances.
- Measure your available space: Measure the area where you plan to install the pantry cabinet. Consider the height, width, and depth of the space to determine the appropriate cabinet size. Take into account any obstacles like plumbing or electrical lines.
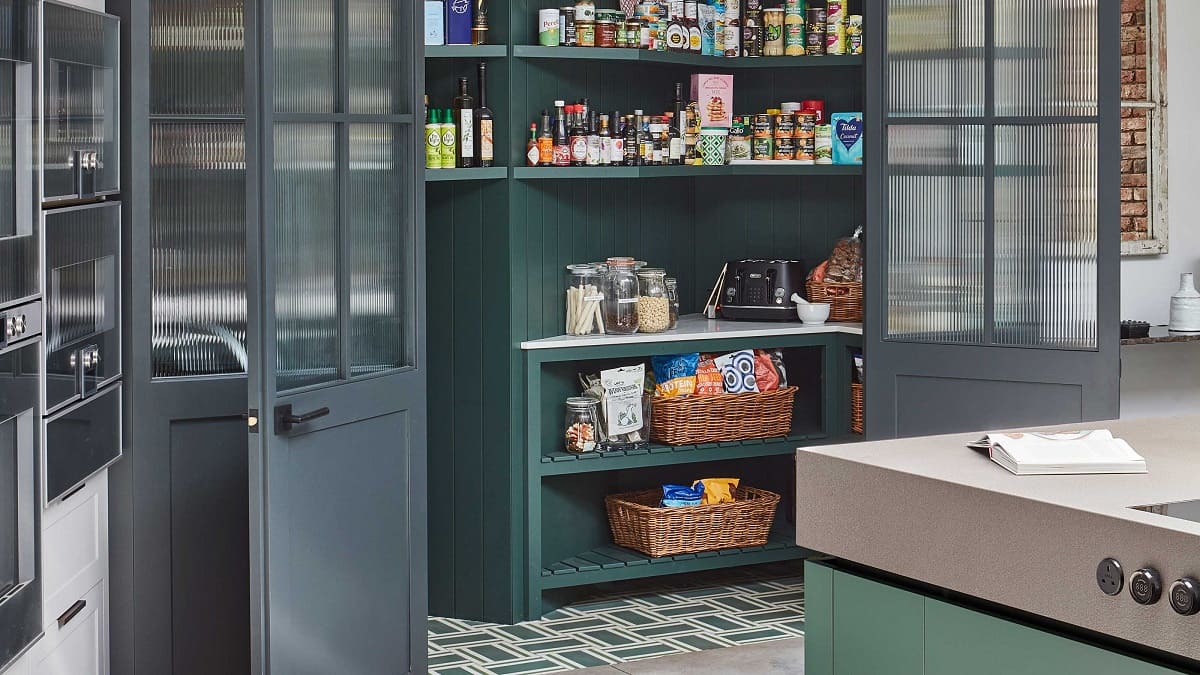
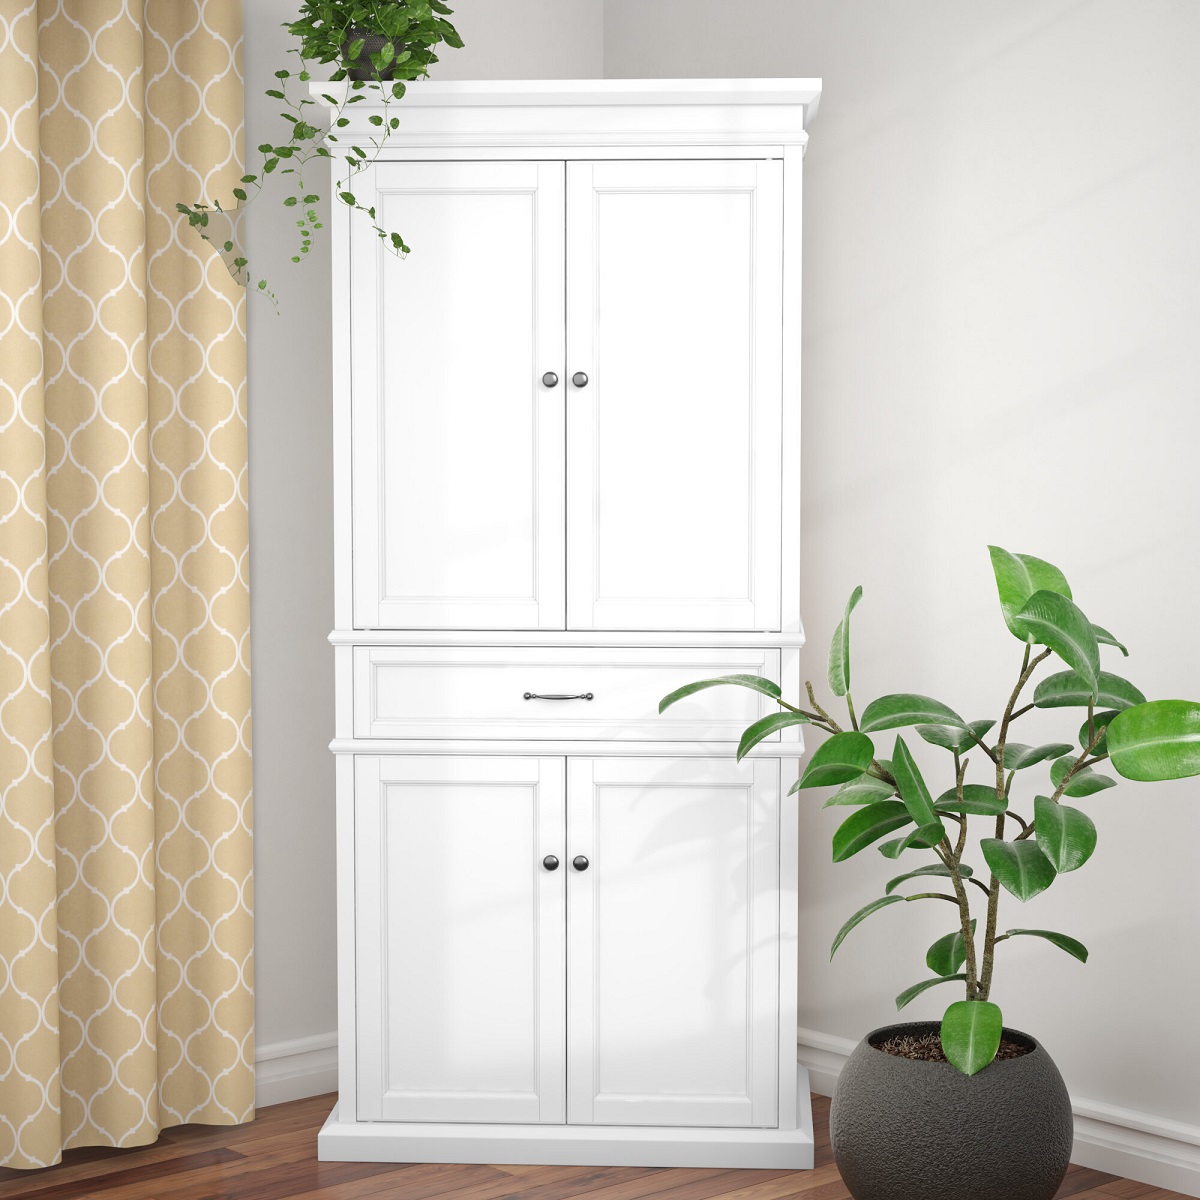
- Determine the cabinet style: Decide on the style and design of your pantry cabinet. Do you prefer a floor-standing cabinet or a wall-mounted one? Consider factors such as the overall kitchen aesthetic, available space, and personal preference.
- Create a blueprint or sketch: Sketch out a blueprint or use online design tools to visualize your cabinet dimensions and layout. This will help you get a clear idea of the final product.
- Pick the right materials: Choose the appropriate materials for your pantry cabinet. Opt for sturdy and durable materials such as plywood or MDF for the cabinet frame and shelves. Additionally, consider the finish and color that will complement your kitchen décor.
- Plan for ventilation and lighting: Adequate ventilation is crucial to keep pantry items fresh. Consider adding ventilation slots or a small exhaust fan to ensure proper airflow. Additionally, plan for sufficient lighting inside the cabinet for easy visibility of items.
Once you have finalized your design and gathered all the necessary information, you can move on to the next step of gathering the materials and tools required for constructing your kitchen pantry cabinet.
Gathering the Necessary Materials and Tools
Before you start building your kitchen pantry cabinet, it’s essential to gather all the necessary materials and tools. Having everything ready at hand will make the construction process smoother and more efficient. Here’s a list of the key items you’ll need:
Materials:
- Plywood or medium-density fiberboard (MDF) for the cabinet frame and shelves
- Wood screws or nails for assembly
- Wood glue for added strength
- Sandpaper for smoothing rough edges
- Primer and paint or stain for finishing
- Cabinet hardware such as hinges, knobs, and pulls
- Optional: Ventilation components like vents or an exhaust fan
- Optional: Lighting components like LED strips or under-cabinet lights
Tools:
- Tape measure for precise measurements
- Saw (circular saw or table saw) for cutting plywood or MDF
- Drill or screwdriver for assembling the cabinet
- Sandpaper or a sander for smoothing surfaces
- Paintbrush or roller for applying primer and paint
- Level for ensuring the cabinet is properly aligned
- Optional: Router for creating decorative edges
Ensure that you have the correct sizes and quantities of materials based on your design and measurements. It’s also a good idea to have some extra materials on hand in case of any mistakes or unforeseen issues.
Before you proceed to build the pantry cabinet, make sure your workspace is well-organized and equipped with the necessary safety gear, such as safety goggles and gloves. Having everything prepared beforehand will save you time and help you stay focused during the construction process. Now that you have your materials and tools ready, it’s time to start building the frame of your kitchen pantry cabinet.
Building the Frame of the Kitchen Pantry Cabinet
The frame serves as the foundation of your kitchen pantry cabinet, providing support and stability. Building a sturdy frame is crucial to ensure the longevity and durability of your cabinet. Here are the steps to construct the frame:
- Prepare the plywood or MDF: Begin by cutting your plywood or MDF according to your measurements for the top, bottom, sides, and back panels of the cabinet. Use a saw, such as a circular saw or table saw, to achieve precise cuts.
- Assemble the sides and back: Place the side panels vertically and attach the back panel horizontally using wood screws or nails. Make sure to align the edges and corners properly. Apply wood glue before fastening for added strength.
- Attach the top and bottom panels: Place the top panel on the frame, aligning it with the edges. Use wood screws or nails to secure it in place. Repeat the process for the bottom panel, ensuring it is level and flush with the sides.
- Create support strips: Cut strips of plywood or MDF to serve as internal supports. Attach them between the top and bottom panels, running horizontally. This will provide additional stability and prevent sagging of the shelves.
- Install shelf supports: Cut small strips of plywood or purchase shelf supports from a hardware store. Attach these strips along the inside walls of the cabinet to hold the shelves securely in place.
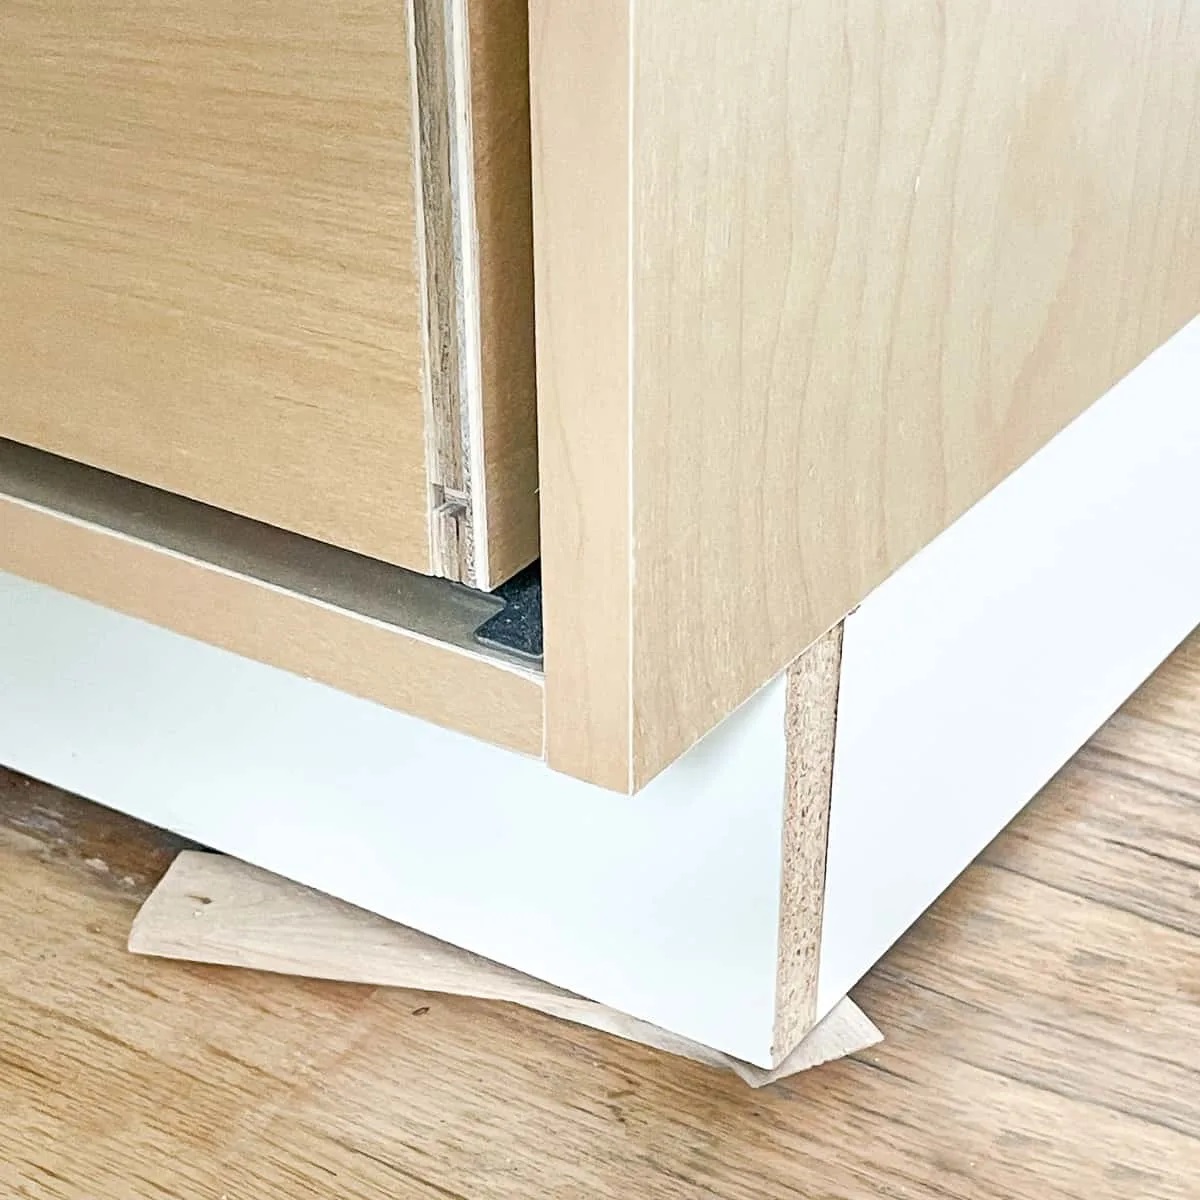
- Sand and smooth the frame: Use sandpaper or a sander to smooth any rough edges or surfaces. This will prepare the frame for paint or stain.
Once the frame is complete, double-check its measurements and ensure it is square and level. Any adjustments or corrections should be made at this stage before proceeding further. With the frame in place, you are now ready to install the shelves and doors of your kitchen pantry cabinet.
Installing the Shelves and Doors
Installing the shelves and doors in your kitchen pantry cabinet is the next step in creating a functional storage space. Here’s a guide on how to properly install them:
Installing Shelves:
- Measure and mark the desired spacing: Determine the number of shelves you want in your pantry cabinet. Measure and mark the desired spacing between each shelf on the inside walls of the cabinet.
- Cut the plywood or MDF: Cut the plywood or MDF into appropriate sizes according to your measurements for the shelves. Ensure that the shelves fit snugly between the side panels.
- Attach the shelves: Place the shelves on the installed shelf supports or attach them directly to the side panels using wood screws or nails. Use a level to ensure that the shelves are horizontal and evenly spaced.
Installing Doors:
- Measure and mark for the hinges: Measure and mark the placement of the hinges on both the cabinet frame and the doors. Ensure that the doors will be properly aligned and centered on the cabinet.
- Attach the hinges: Secure the hinges to both the cabinet frame and the doors using screws. Be sure to follow the manufacturer’s instructions for the specific hinge type you are using.
- Hang the doors: Align the hinges on the doors with the hinge marks on the cabinet frame. With the help of a friend or a level, attach the doors to the cabinet by screwing the hinges into place. Adjust the doors as needed to ensure they open and close smoothly.
Once the shelves and doors are installed, make any necessary adjustments to ensure they are level and aligned properly. Take the time to test opening and closing the doors to ensure they function smoothly. You’re almost done! Now, it’s time to add the finishing touches and hardware to complete your kitchen pantry cabinet.
Adding Finishing Touches and Hardware
Adding the finishing touches and hardware to your kitchen pantry cabinet not only enhances its appearance but also improves its functionality. Here’s what you need to do:
Finishing the Cabinet:
- Sand and smooth the surfaces: Use sandpaper or a sander to smooth any rough spots or edges on the cabinet. Pay attention to areas where the plywood or MDF sheets meet to create seamless transitions.
- Apply primer and paint or stain: Apply a coat of primer to the entire cabinet, allowing it to dry completely. Follow up with paint or stain of your choice, applying multiple coats as needed. Ensure that the finish complements your kitchen’s style and color palette.
- Add decorative touches: Consider adding decorative elements, such as molding or trim, to enhance the aesthetic appeal of your pantry cabinet. Install these components using wood glue and finishing nails.
Installing Hardware:
- Attach the knobs and pulls: Measure and mark the desired placement for the knobs and pulls on the cabinet doors. Use a drill to create holes or choose a template to ensure consistent placement. Attach the hardware using screws.
- Install door closers (optional): If desired, install door closers to ensure that the cabinet doors close softly and securely. Follow the manufacturer’s instructions for proper installation.
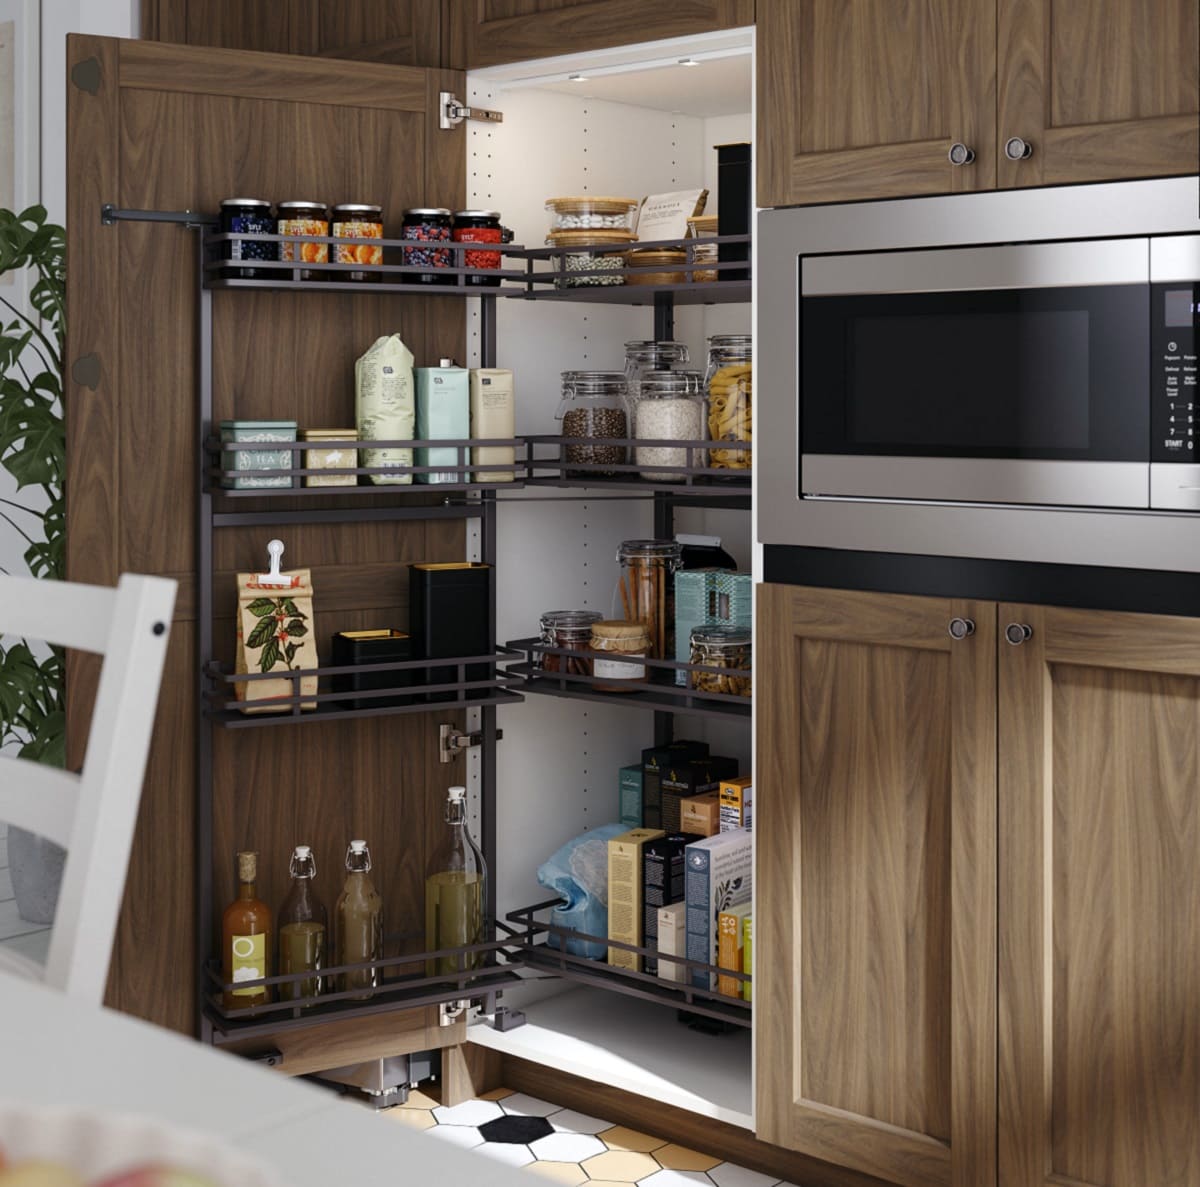
- Install any additional hardware: Depending on the design of your pantry cabinet, you may want to add other hardware components, such as shelf brackets, drawer slides, or magnetic door catches. Ensure they are installed securely and function properly.
With the finishing touches and hardware in place, step back and admire your beautifully crafted kitchen pantry cabinet. Take the time to organize the shelves, arranging your pantry items in a way that suits your needs. Your DIY project is complete!
Remember, proper maintenance is essential to keep your pantry cabinet looking and functioning its best. Regularly clean and inspect the cabinet for any signs of wear or damage. Make any necessary repairs or touch-ups promptly to ensure its longevity.
Congratulations on building your own kitchen pantry cabinet! You have created a functional and stylish storage space that will serve you well for years to come.
Conclusion
Building your own kitchen pantry cabinet is a rewarding and satisfying project that allows you to customize your storage space according to your needs and preferences. By following the steps outlined in this guide, you can create a functional and beautiful pantry cabinet that enhances the organization and efficiency of your kitchen.
Remember to start with careful planning and designing, considering your storage requirements and available space. Gathering the necessary materials and tools beforehand will set you up for a smooth construction process. Building the frame is a crucial step to ensure stability and support, while installing the shelves and doors adds functionality to your pantry cabinet.
Adding finishing touches such as sanding, priming, painting, and installing decorative hardware completes the project and adds that extra touch of style. Enjoy the process of organizing your pantry items on the shelves and admiring the fruits of your labor.
Always prioritize safety and consult professionals or experts if needed, ensuring that you follow proper woodworking techniques and guidelines. With patience, attention to detail, and a bit of craftsmanship, you can create a kitchen pantry cabinet that suits your taste and enhances the overall functionality of your kitchen.
So, why wait? Start planning, gather your materials, and embark on the journey of building your very own kitchen pantry cabinet today. Happy woodworking!
Frequently Asked Questions about How To Build Kitchen Pantry Cabinet
Was this page helpful?
At Storables.com, we guarantee accurate and reliable information. Our content, validated by Expert Board Contributors, is crafted following stringent Editorial Policies. We're committed to providing you with well-researched, expert-backed insights for all your informational needs.


0 thoughts on “How To Build Kitchen Pantry Cabinet”