Articles
How To Make A Pull Out Pantry Cabinet
Modified: May 6, 2024
Learn how to build a pull-out pantry cabinet with our informative articles. Discover step-by-step instructions and expert tips for creating a functional storage solution.
(Many of the links in this article redirect to a specific reviewed product. Your purchase of these products through affiliate links helps to generate commission for Storables.com, at no extra cost. Learn more)
Introduction
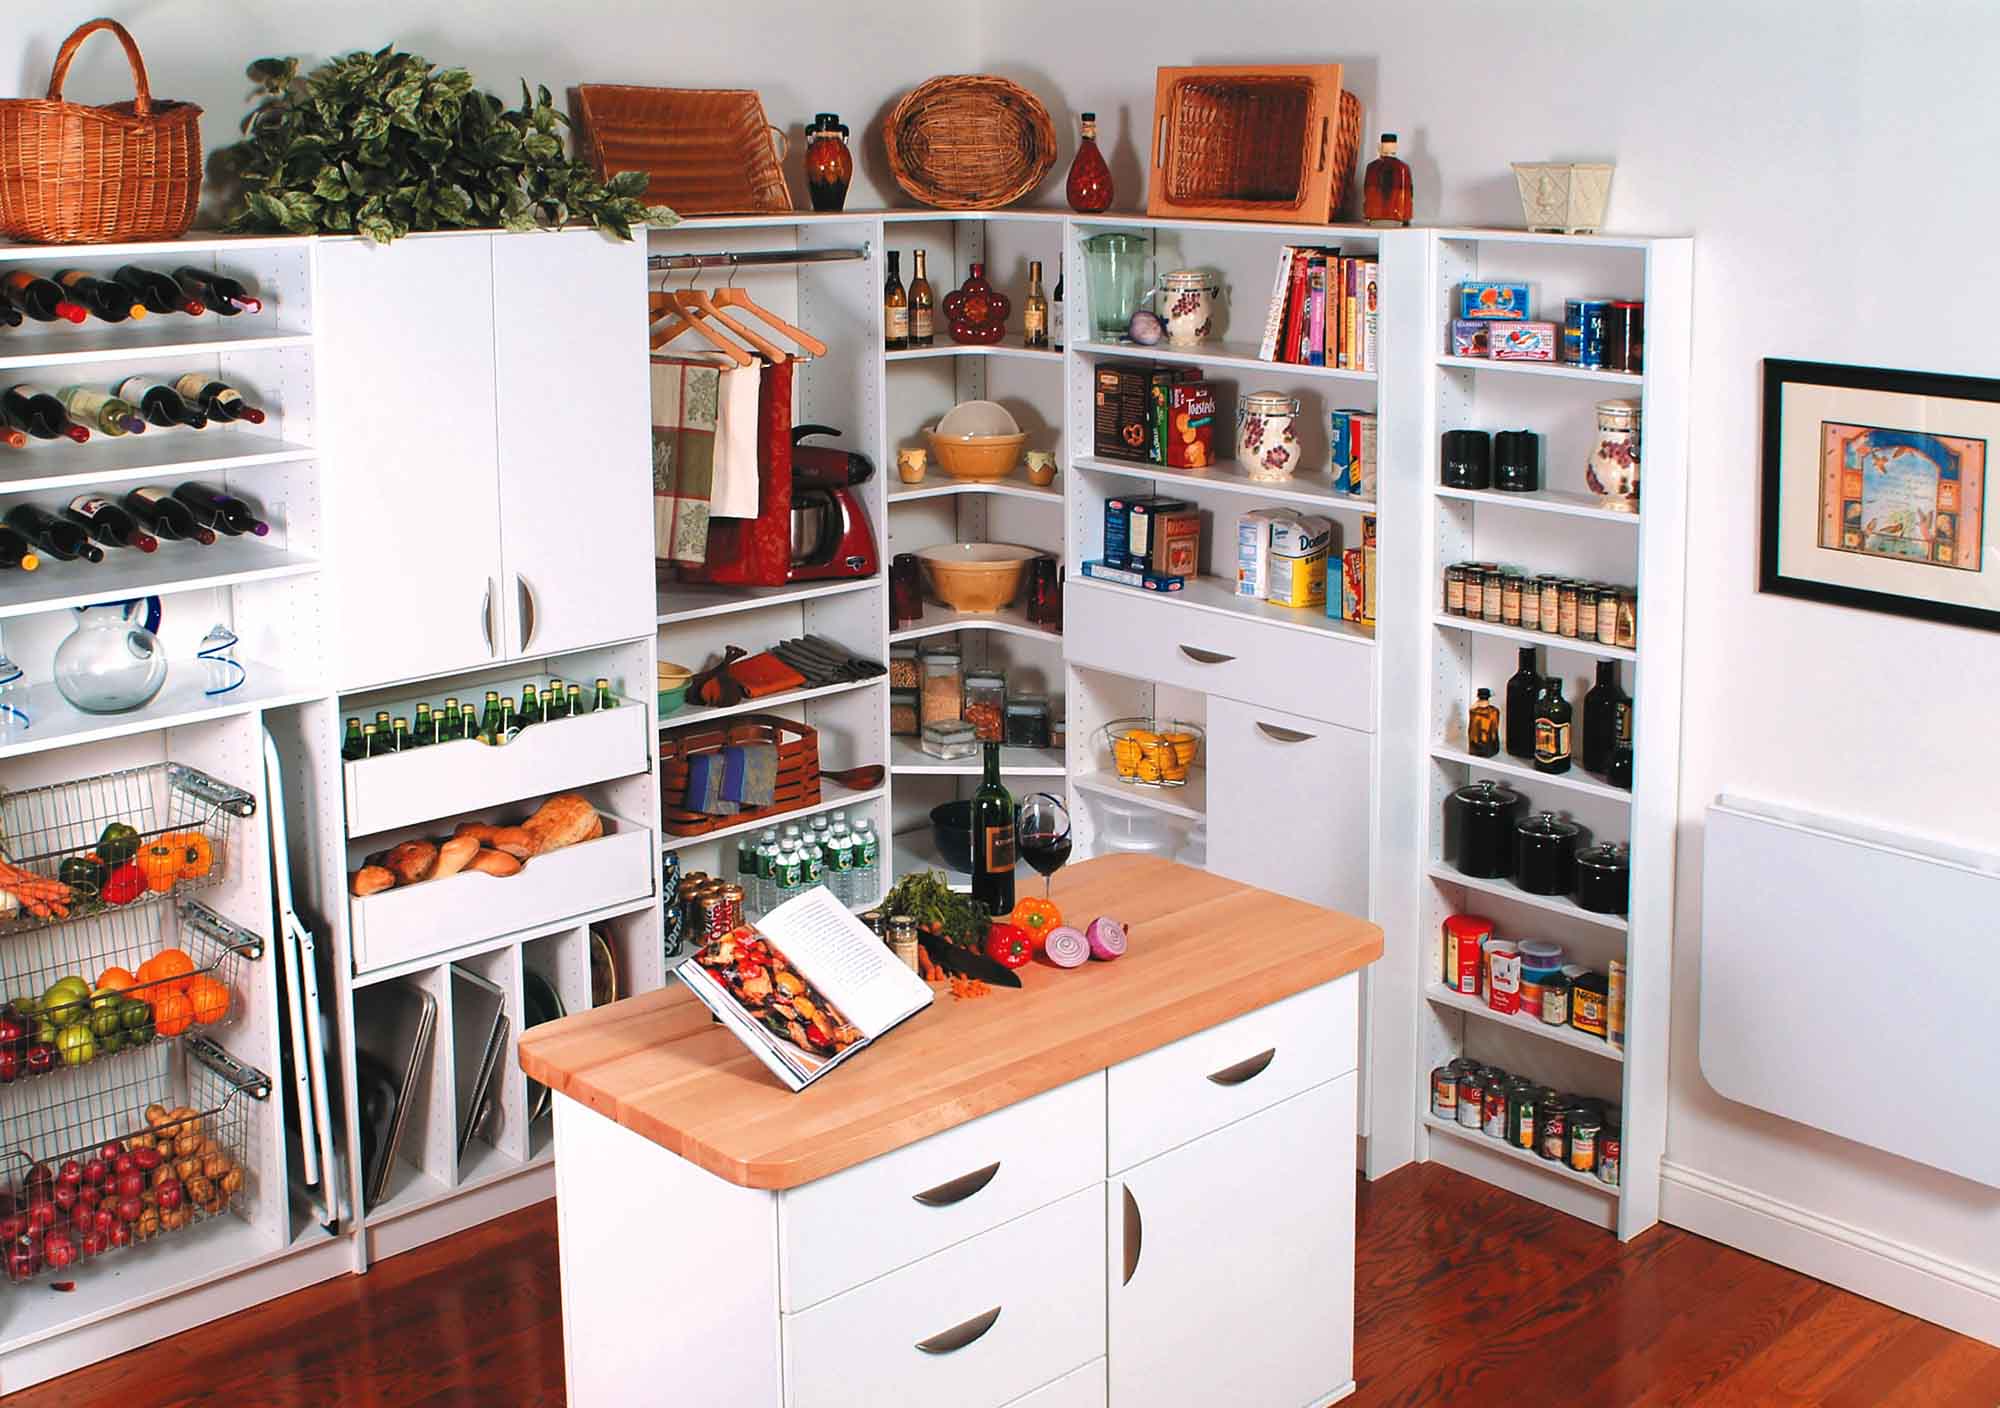
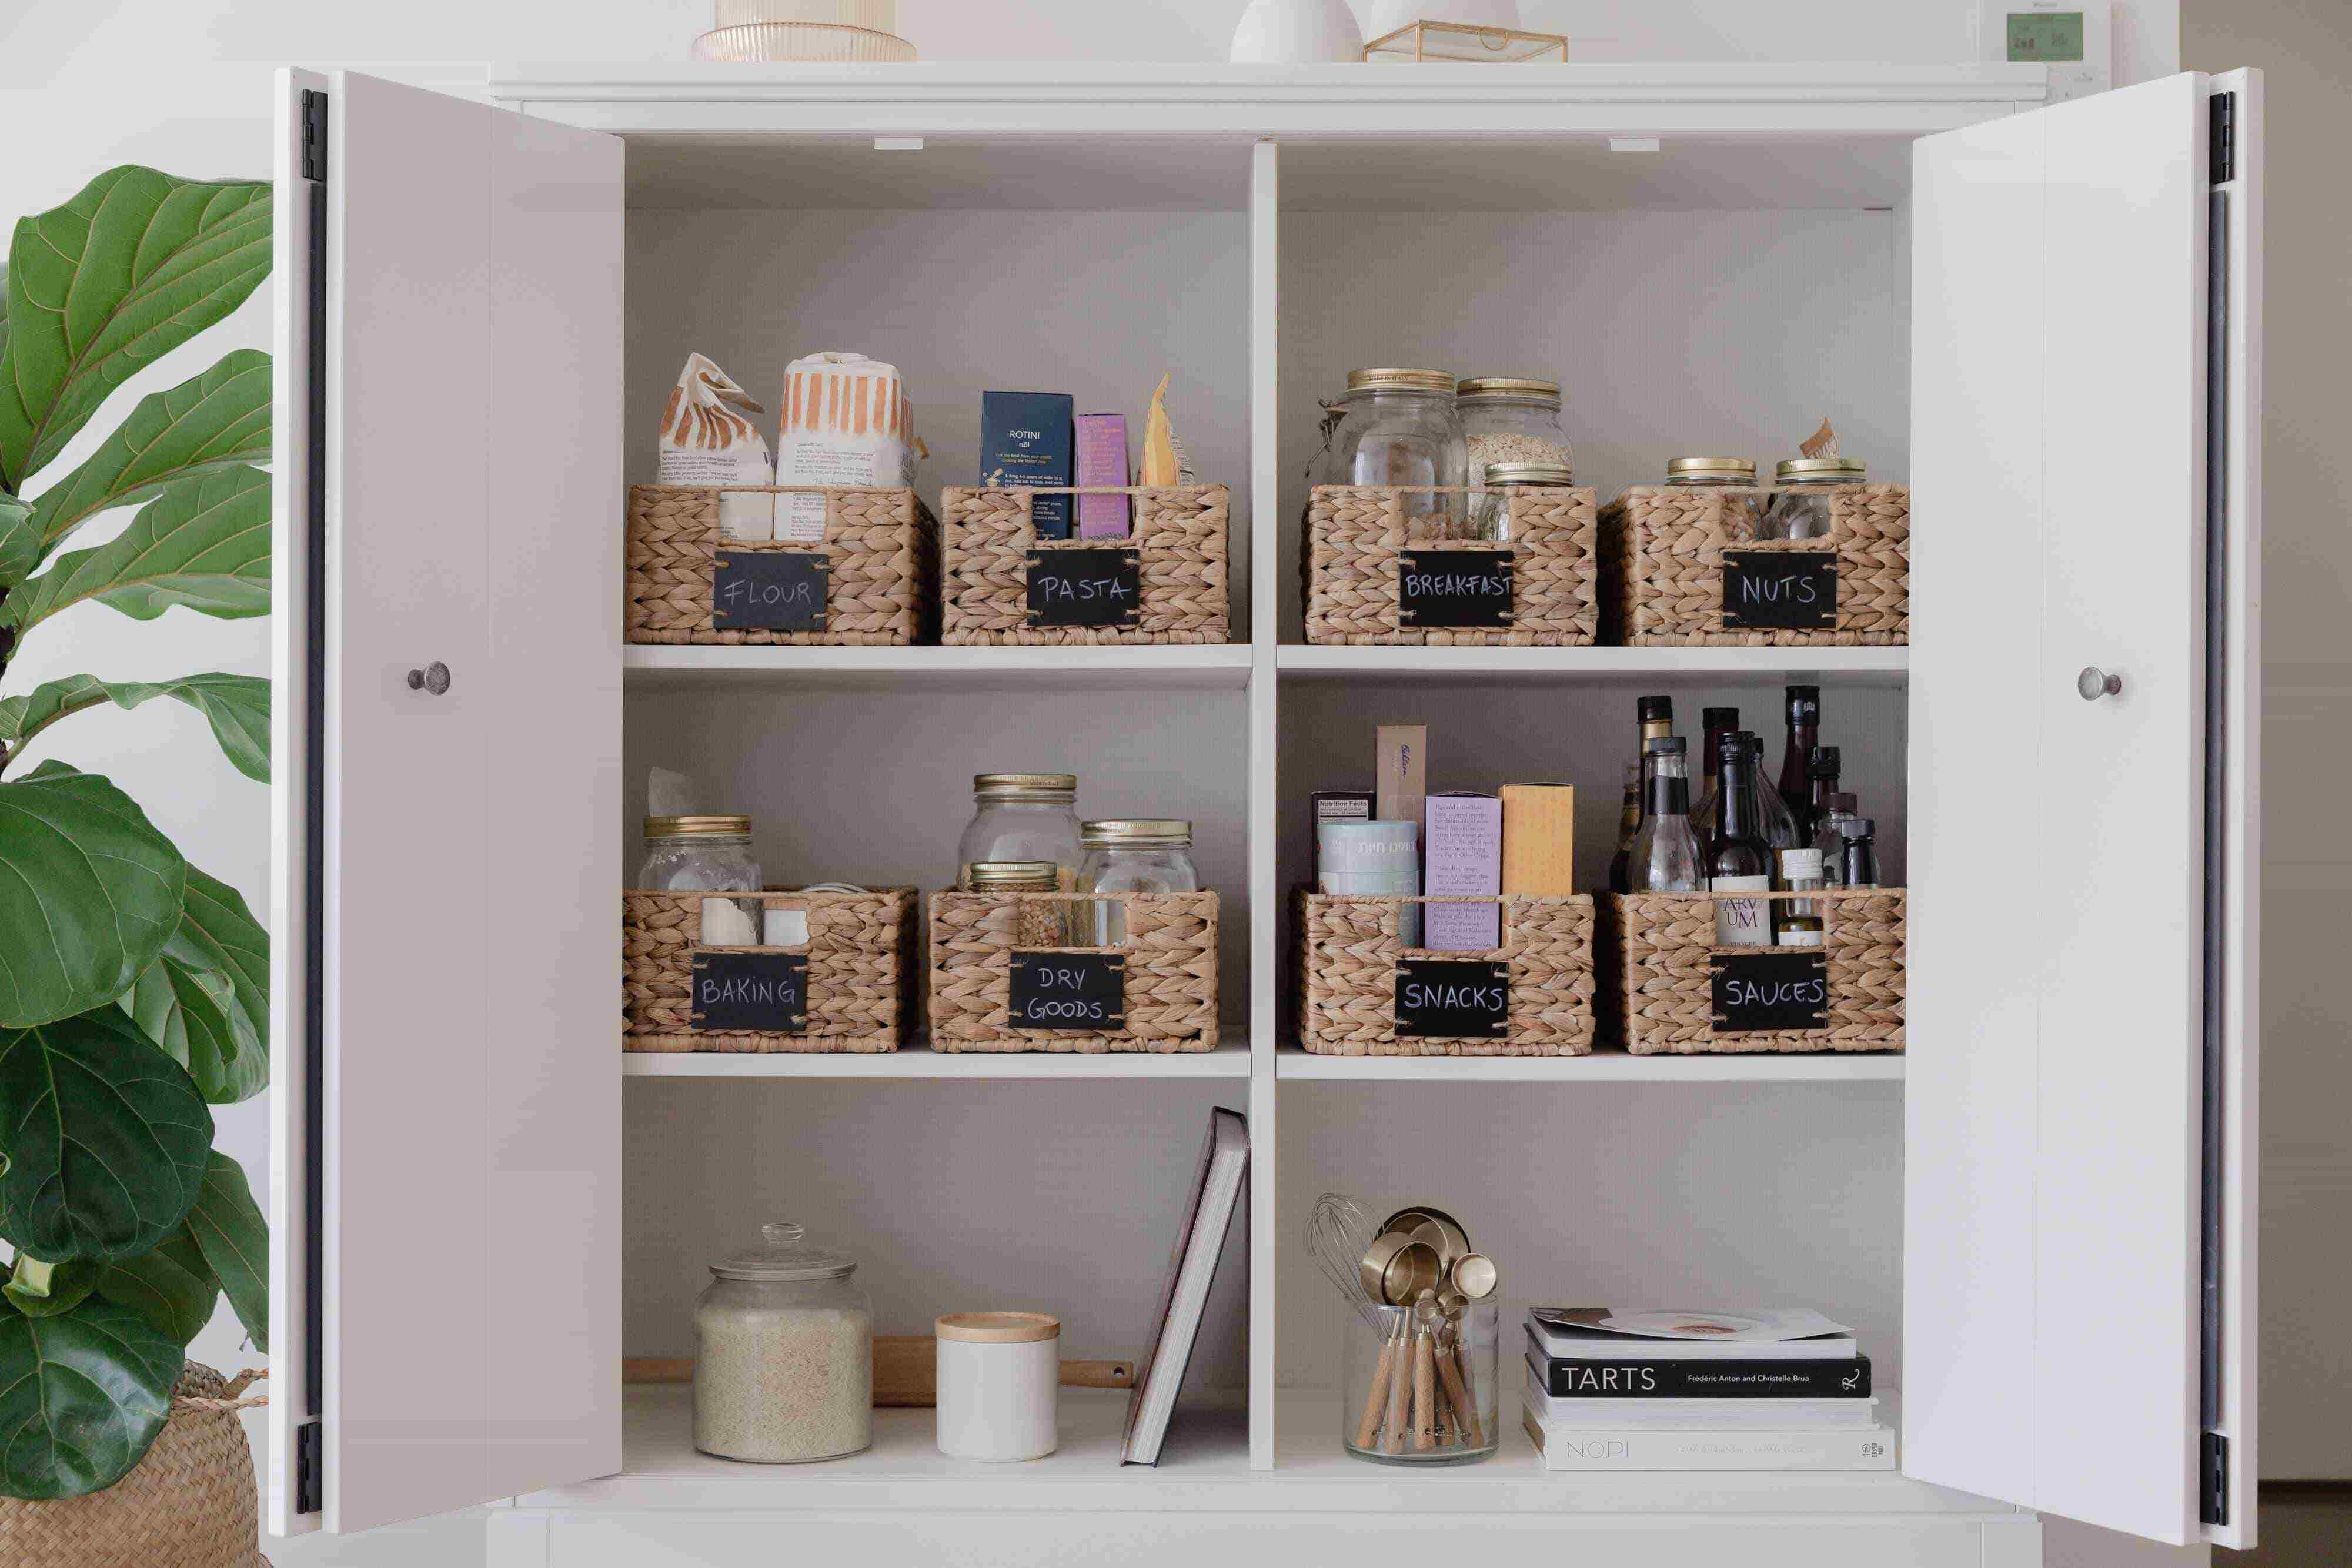
Are you tired of rummaging through your pantry, struggling to find what you need? Do you wish there was a better storage solution that would help you keep your pantry organized and accessible? If so, then a pull-out pantry cabinet might be the perfect solution for you. In this article, we will guide you through the process of making your own pull-out pantry cabinet.
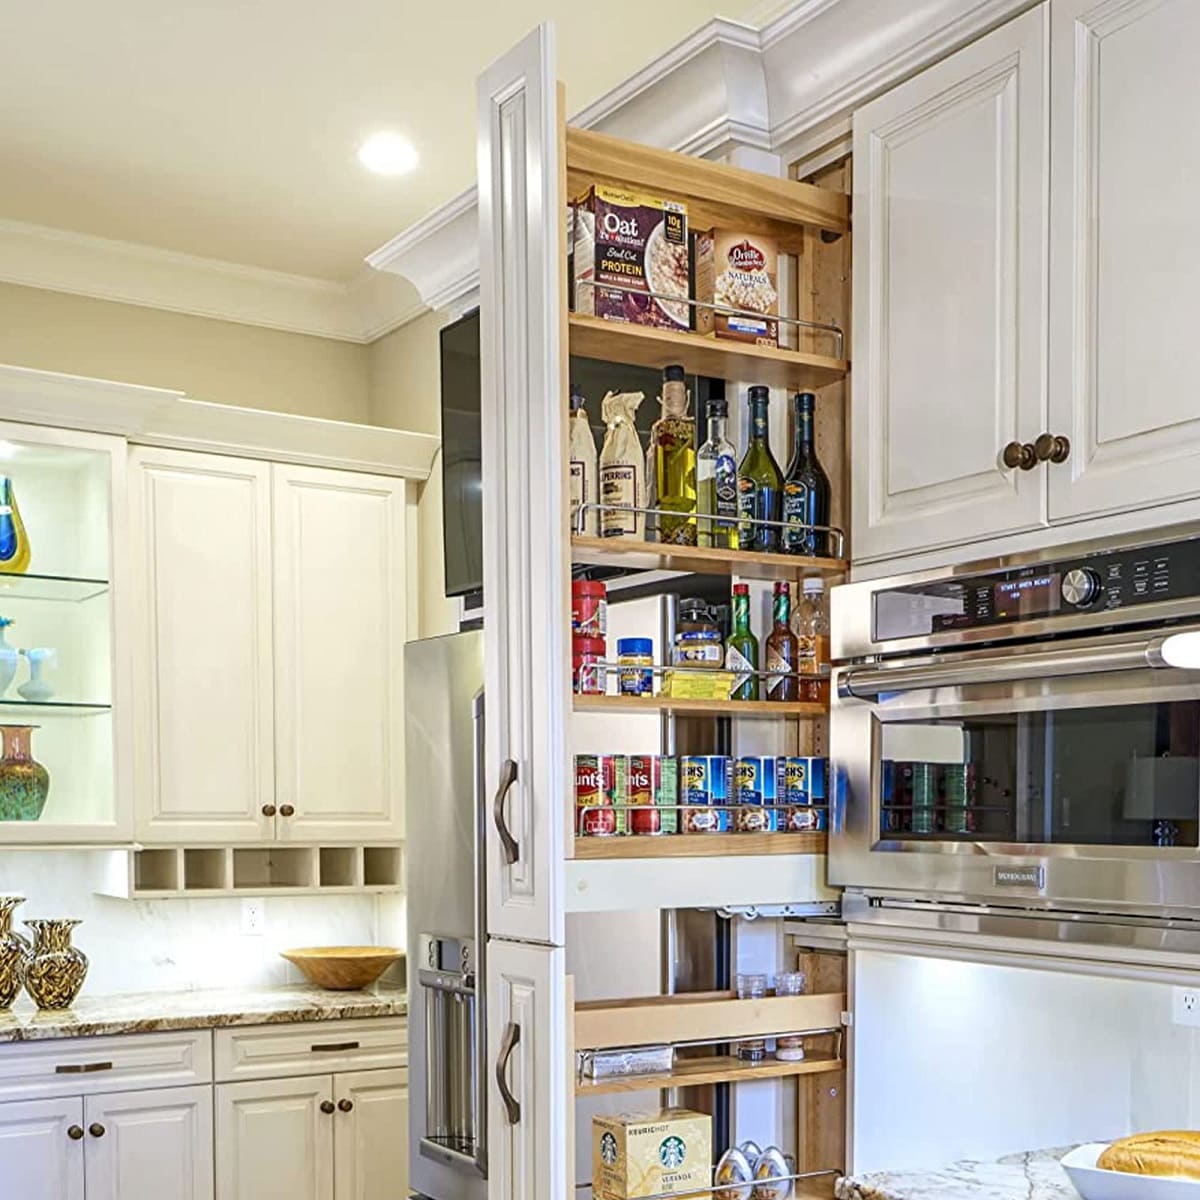
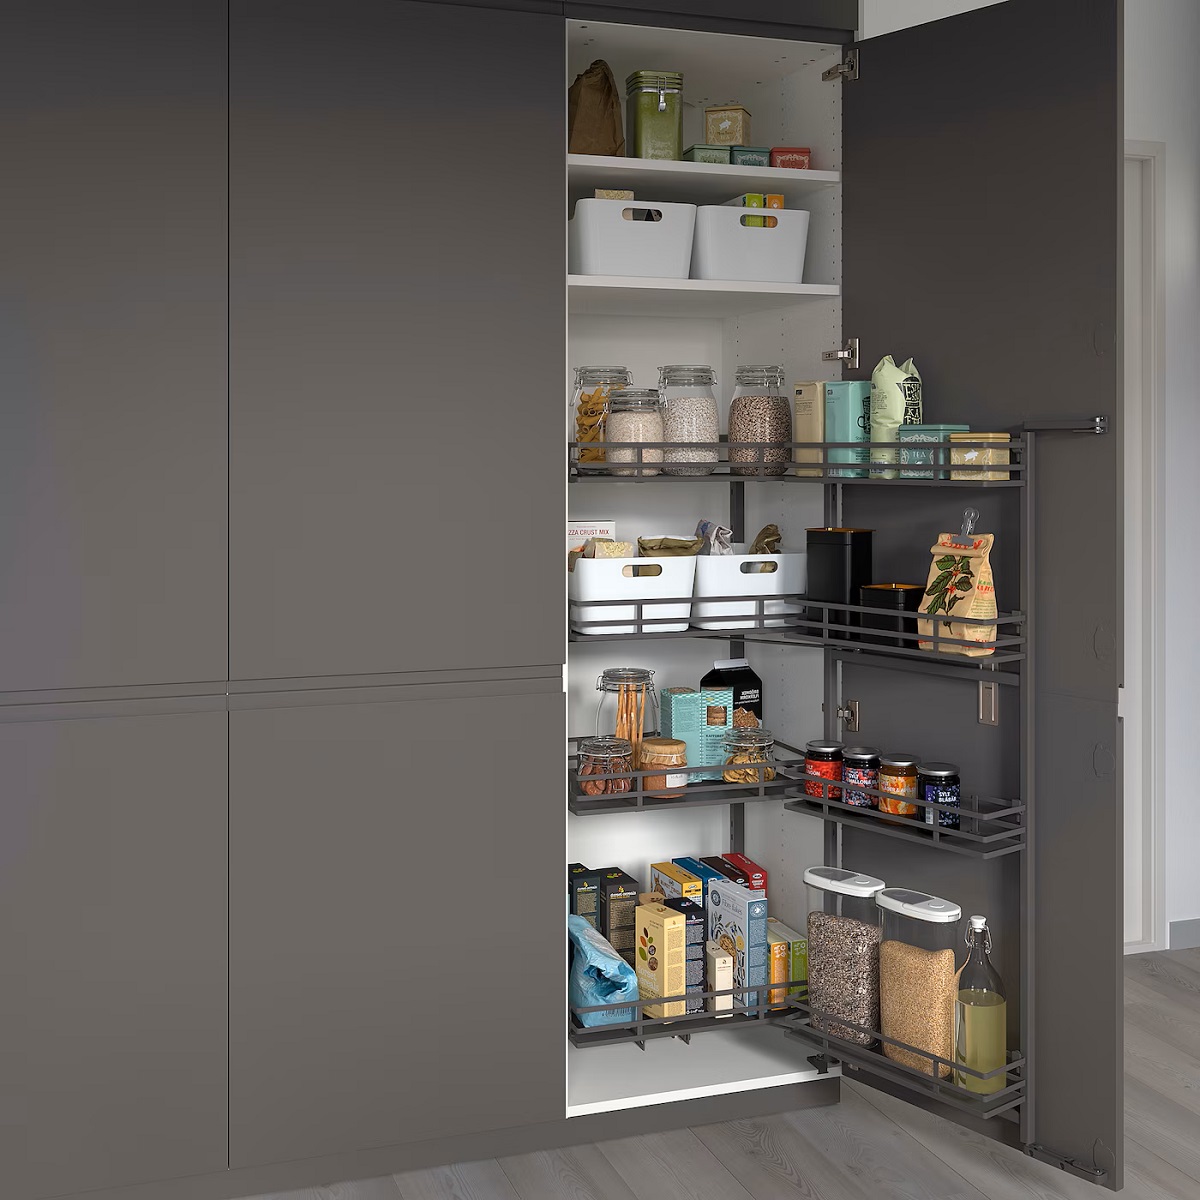
A pull-out pantry cabinet is a versatile storage option that allows you to maximize the space in your kitchen. It consists of shelves that can be pulled out, giving you easy access to your pantry items. With a pull-out pantry cabinet, you can say goodbye to the days of items getting lost in the back of your pantry or having to shuffle through stacks of cans to find what you need.
Building a pull-out pantry cabinet may sound like a daunting task, but with the right guidance and tools, it can be a rewarding DIY project. Not only will you have a functional and efficient storage solution, but you will also have the satisfaction of creating something with your own hands.
In this step-by-step guide, we will walk you through the process of making a pull-out pantry cabinet from start to finish. We will cover everything from measuring and planning, to gathering materials and tools, to building the shelves and installing the drawer slides. By the end of this article, you will be equipped with the knowledge and skills to create a custom pull-out pantry cabinet that fits your space and meets your storage needs.
So, if you’re ready to transform your pantry and make it more organized and accessible, let’s dive into the first step: measuring and planning.
Key Takeaways:
- Building a pull-out pantry cabinet is a rewarding DIY project that maximizes kitchen storage. From measuring and planning to installing drawer slides, this guide empowers you to create a customized and efficient storage solution.
- By following this step-by-step guide, you can transform your pantry storage, making items easily accessible and organized. Enjoy the convenience of a custom pull-out pantry cabinet and the satisfaction of a successful DIY project.
Read more: How To Organize A Pull Out Pantry
Step 1: Measure and Plan
Before you start building your pull-out pantry cabinet, it’s essential to measure your available space and plan out the design. This step will ensure that your cabinet fits perfectly in your kitchen and meets your storage needs. Here’s how to get started:
1. Measure your space: Use a measuring tape to determine the height, width, and depth of the area where you intend to install the pull-out pantry cabinet. Make sure to account for any obstructions such as electrical outlets or pipes.
2. Consider your storage needs: Take stock of your pantry items and decide how many shelves you will need in your pull-out pantry cabinet. Think about the height and depth of the items you typically store and plan your shelf spacing accordingly.
3. Sketch your design: Create a rough sketch of your pull-out pantry cabinet, noting the overall dimensions and the number and spacing of shelves. You can use graph paper or a computer design program to help visualize your plan.
4. Research materials and hardware: Decide on the materials you will use for the shelves, cabinet frame, and drawer slides. Look for durable and high-quality options that can withstand the weight of your pantry items. Research different types of drawer slides to find the best fit for your cabinet design.
5. Set a budget: Determine how much you are willing to spend on materials and hardware for your pull-out pantry cabinet. This will help guide your choices and ensure you stay within your budget.
Once you have completed these steps, you will have a clear understanding of the dimensions, design, and materials needed for your pull-out pantry cabinet. This information will be invaluable as you move forward with the building process.
Now that you have measured and planned, it’s time to gather the necessary materials and tools for the construction of your pull-out pantry cabinet. In the next step, we will guide you through this important preparation phase.
Step 2: Gather Materials and Tools
Now that you have a plan in place for your pull-out pantry cabinet, it’s time to gather all the necessary materials and tools for the construction process. Having everything you need on hand will make the building process smoother and more efficient. Here’s what you’ll need:
Materials:
- Wood: Choose a sturdy and durable wood for the cabinet frame and shelves. Plywood or MDF (Medium-Density Fiberboard) are popular choices.
- Drawer slides: Select heavy-duty drawer slides that can support the weight of the pantry items. Make sure to choose slides that are compatible with the dimensions of your cabinet and shelves.
- Screws: Use screws that are appropriate for the type of wood you’re using. Opt for ones that are long enough to secure the shelves and slides firmly in place.
- Edge banding: If you want to give your cabinet a finished look, consider using edge banding to cover the exposed edges of the plywood or MDF.
- Paint or stain: Decide on the finish you want for your cabinet. Choose a paint or stain that complements your kitchen’s décor.
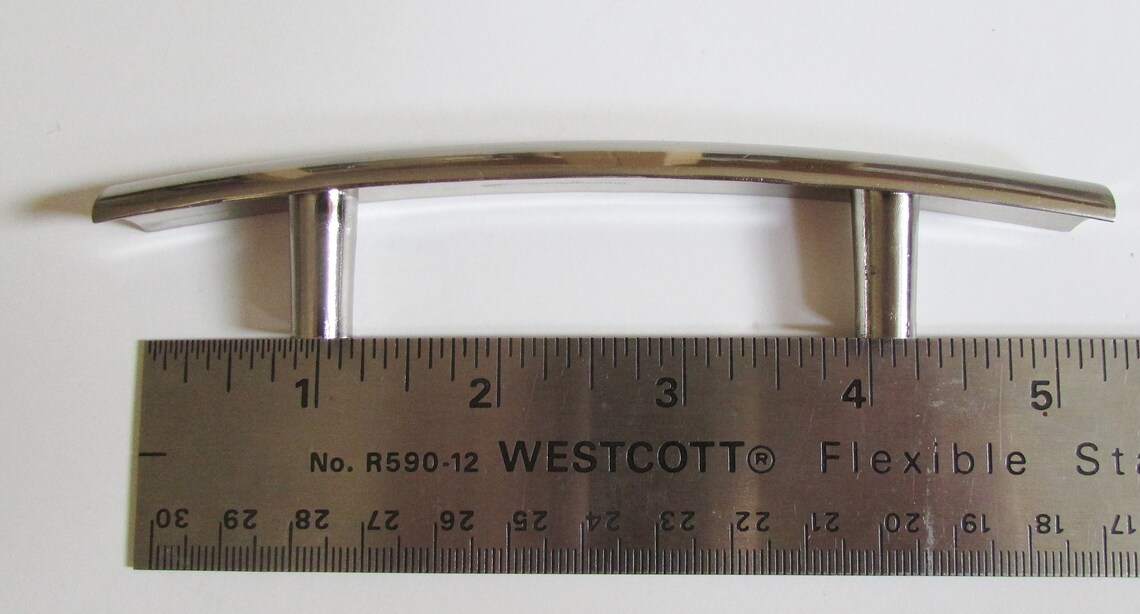
- Hardware: Purchase cabinet hardware such as handles or knobs to complete the look of your pull-out pantry cabinet.
Tools:
- Tape measure: Use a tape measure to take accurate measurements during the construction process.
- Saw: A circular saw or table saw will be needed to cut the wood to the desired dimensions.
- Drill: A power drill will be necessary for drilling holes and driving screws during assembly.
- Screwdriver: Depending on the type of screws you’re using, you may need a screwdriver or a drill bit for screwdriver attachments.
- Sandpaper: Sand the wood surfaces to ensure a smooth finish before painting or staining.
- Paintbrushes or rollers: Use brushes or rollers to apply paint or stain to the cabinet surfaces.
Once you have gathered all the necessary materials and tools, you will be well-equipped to start building your pull-out pantry cabinet. In the next step, we will guide you through removing shelves and prepping the cabinet.
Step 3: Remove Shelves and Prep Cabinet
Before you begin building the pull-out pantry cabinet, it’s important to prepare the existing cabinet by removing any shelves and making necessary modifications. This step will ensure a smooth installation process and optimize the space for your pull-out shelves. Here’s what you need to do:
1. Empty the cabinet: Remove all items from the existing cabinet to create a clear workspace.
2. Remove shelves: Take out any existing shelves or dividers inside the cabinet. Use a screwdriver or drill to unscrew any screws or brackets holding the shelves in place.
3. Patch and sand: Inspect the inside of the cabinet for any holes or rough surfaces. Fill any holes or gaps with wood filler and let it dry. Once dry, sand the inside of the cabinet to create a smooth and even surface for the new shelves.
4. Paint or stain (optional): If desired, you can paint or stain the inside of the cabinet to freshen up the appearance. Be sure to allow sufficient drying time before proceeding to the next step.
5. Install drawer slides (optional): If the existing cabinet does not have drawer slides, you may choose to install them at this stage. Measure and mark the placement of the slides on both sides of the cabinet, following the manufacturer’s instructions. Use a drill to attach the slides securely.
By removing shelves and preparing the cabinet, you are creating a clean and optimized space for the installation of the pull-out pantry cabinet. This step ensures a solid foundation for the construction of your pull-out shelves, which we will cover in the next step.
Now that the cabinet is prepped and ready, let’s move on to building the pull-out shelves. In step 4, we will guide you through this process, ensuring that your shelves are sturdy, functional, and customized to fit your pantry items perfectly.
Step 4: Build Pull-Out Shelves
Now that you have prepared the cabinet, it’s time to start building the pull-out shelves for your pantry. Building your own shelves allows you to customize them to fit your specific needs and maximize your storage space. Here’s how to build pull-out shelves:
1. Measure and cut the shelf material: Using the measurements from your initial plan, cut the plywood or MDF to the desired dimensions for each shelf. Use a circular saw or table saw to make accurate cuts.
2. Sand the edges: After cutting the shelves, use sandpaper to smooth the edges and eliminate any roughness. This will prevent splinters and create a clean finish.
3. Install shelf supports: Determine the height and placement of each shelf within the cabinet. Mark the positions where you want the shelf supports to be installed. Use a drill to attach the shelf supports to the sides of the cabinet or utilize a dado or rabbet joint for additional support.
4. Attach the shelf material: Place the cut shelves onto the supports and secure them with screws or nails. Ensure that the shelves are level and securely attached to provide stability and durability.
5. Test the shelves: Slide the shelves in and out of the cabinet to ensure they operate smoothly. Make any necessary adjustments to ensure proper fit and functionality.
6. Consider adding trim or edging (optional): If desired, you can add trim or edging to the front of the shelves to provide a finished look. This can be done using wood trim or edge banding material.
By following these steps, you will create sturdy and functional pull-out shelves that will revolutionize the accessibility and organization of your pantry items.
With the pull-out shelves now built, the next step is to install the drawer slides that will allow the shelves to smoothly slide in and out of the cabinet. In step 5, we will guide you through the process of installing the drawer slides effectively.
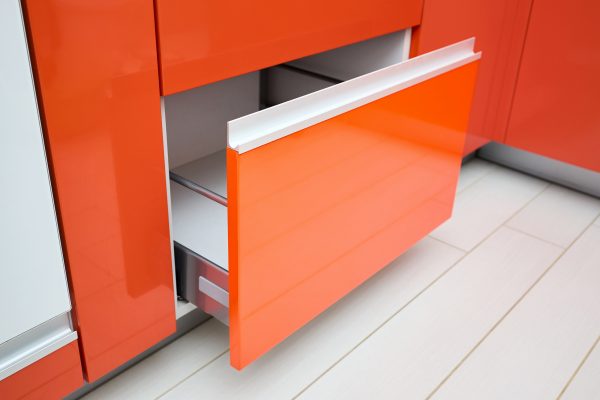
When building a pull-out pantry cabinet, make sure to use heavy-duty drawer slides to support the weight of the pantry items and to ensure smooth operation.
Step 5: Install Drawer Slides
Now that you have built the pull-out shelves, it’s time to install the drawer slides that will allow the shelves to smoothly slide in and out of the pantry cabinet. Proper installation of the drawer slides is crucial for the functionality and longevity of your pull-out pantry cabinet. Here’s how to install the drawer slides:
1. Measure and mark the slide placement: Measure the distance from the bottom of the cabinet to the desired height for the first shelf, and mark this measurement on both sides of the cabinet. Repeat this process for each shelf, ensuring consistent spacing.
2. Attach the drawer slides to the cabinet: Following the manufacturer’s instructions, attach one part of the drawer slide to the marked location on the side of the cabinet. Use a drill to screw the slides firmly in place, ensuring they are level and aligned. Repeat this process for the other side of the cabinet.
3. Install the slides on the pull-out shelves: Attach the corresponding part of the drawer slide to the underside of each pull-out shelf. Ensure that the slides are aligned and securely attached, allowing for smooth movement. Test the shelves to ensure they slide in and out smoothly along the slides.
4. Check for proper alignment: Test the pull-out shelves to ensure they align properly with the slides. They should glide in and out without friction or resistance. If needed, make adjustments to the alignment of the slides for a seamless operation.
5. Secure the slides and shelves: Once you have confirmed that the pull-out shelves are properly aligned and functional, use screws to secure the drawer slides to the cabinet and shelves. This will ensure that the slides remain stable and secure during use.
By following these steps, you will successfully install the drawer slides, allowing your pull-out pantry cabinet to function smoothly and efficiently. In the next step, we will guide you through the process of attaching the shelves to the installed slides.
Step 6: Attach Shelves to Slides
Now that you have installed the drawer slides, it’s time to attach the shelves to the slides in your pull-out pantry cabinet. This step is crucial for ensuring that the shelves are secure and can slide in and out smoothly. Here’s how to attach the shelves to the slides:
1. Align the shelves: Place each pull-out shelf onto the installed drawer slides. Ensure that the shelves are level and aligned with the edges of the cabinet and slides.
2. Anchor the shelves: Once the shelves are aligned, use screws or nails to anchor them to the drawer slides. Make sure to screw or nail through the pre-drilled holes or designated mounting areas on the slides. This will secure the shelves in place and prevent any shifting or movement during use.
3. Test the movement: After attaching the shelves to the slides, test the sliding motion to ensure smooth operation. The shelves should glide in and out of the cabinet without any resistance or sticking. If there is any interference or difficulty in sliding, check for any obstructions or misalignments and make necessary adjustments.
4. Reinforce the shelves (optional): To add extra stability and prevent sagging of the shelves over time, you can consider adding additional support to the shelves. This can be done by attaching wooden support brackets or reinforcing the underside of the shelves with additional pieces of wood.
5. Repeat for all shelves: Repeat the process of aligning, anchoring, and testing the movement for each shelf in your pull-out pantry cabinet.
By attaching the shelves securely to the installed drawer slides, you ensure that your pull-out pantry cabinet is functional and reliable. In the next step, we will guide you through testing and adjusting the cabinet to ensure optimal performance.
Step 7: Test and Adjust
Now that you have built and installed the pull-out shelves in your pantry cabinet, it’s time to test their functionality and make any necessary adjustments. Testing and adjusting your cabinet will ensure that it operates smoothly and meets your storage needs. Here’s what you need to do:
1. Test the sliding motion: Slide each pull-out shelf in and out of the cabinet several times. Pay attention to how smoothly the shelves move along the tracks. If you encounter any resistance or sticking, identify the cause and make adjustments accordingly.
2. Check for alignment: Verify that the shelves are properly aligned with each other and with the sides of the cabinet. They should slide in and out without tilting or snagging on the cabinet’s structure. If there is misalignment, adjust the placement of the drawer slides or the shelves themselves.
3. Assess weight capacity: Load the shelves with pantry items to simulate real-world usage. Ensure that the weight of the items does not cause the shelves to sag or put excessive strain on the drawer slides. If needed, reinforce the shelves or use heavier-duty drawer slides to accommodate the weight.
4. Make necessary adjustments: If you encounter any issues during testing, such as misalignment, sticking, or sagging, take the time to make the necessary adjustments. This could involve realigning the drawer slides, reinforcing the shelves, or exploring other solutions to optimize the functionality and performance of your pull-out pantry cabinet.
5. Test accessibility and organization: Once the cabinet is functioning smoothly, test its accessibility and organization. Load it with your pantry items and ensure that you can easily see and access everything. Make any adjustments to the placement of items or the shelf heights to improve organization and convenience.
By thoroughly testing and adjusting your pull-out pantry cabinet, you can ensure that it operates smoothly and meets your storage needs effectively. Taking the time to fine-tune the functionality and organization will result in a optimized pantry storage solution.
Now that you have tested and adjusted the cabinet, it’s time to move on to the final step – finishing and finalizing your pull-out pantry cabinet. This step will give your cabinet a polished look and complete the project.
Step 8: Finish and Finalize
Congratulations! You’re in the final step of creating your pull-out pantry cabinet. Step 8 involves putting the finishing touches on your cabinet and finalizing the project. This step will give your cabinet a polished and cohesive look. Here’s how to finish and finalize your pull-out pantry cabinet:
1. Sand and smooth any rough surfaces: Carefully inspect the cabinet, shelves, and drawer slides for any rough edges or imperfections. Use sandpaper to smooth out these areas, creating a seamless finish.
2. Apply paint or stain: Choose a paint or stain color that complements your kitchen’s aesthetic. Use a brush or roller to apply the paint or stain to the cabinet surfaces, ensuring even coverage. Multiple coats may be necessary for a vibrant and durable finish. Allow sufficient drying time between coats as per the manufacturer’s instructions.
3. Add hardware: Enhance the functionality and style of your pull-out pantry cabinet by adding hardware. Install handles or knobs on the cabinet doors, if applicable. Choose hardware that matches the overall design theme of your kitchen and complements the finish of the cabinet.
4. Install any additional features (optional): If desired, you can add additional features to your pull-out pantry cabinet, such as spice racks, wire baskets, or hooks for hanging utensils. Consider your storage needs and the available space to determine which features would be most beneficial for your pantry organization.
5. Clean and organize: Before stocking your pantry items, ensure that the cabinet and shelves are clean and free from any debris. Wipe down the surfaces with a damp cloth and organize your pantry items in a logical and accessible manner.
6. Enjoy your new pull-out pantry cabinet: Step back and admire your completed project! Your custom-made pull-out pantry cabinet is now ready to be used. Enjoy the convenience and efficiency of having organized and easily accessible pantry items.
By following these steps, you have transformed your pantry storage with a functional and visually appealing pull-out pantry cabinet. You have created a customized storage solution that will make a significant difference in the organization and accessibility of your kitchen essentials.
Remember to periodically maintain and clean your pull-out pantry cabinet to keep it in optimal condition. With proper care, your cabinet will continue to serve you effectively for years to come.
Thank you for joining us on this journey to create your pull-out pantry cabinet. We hope this guide has been informative and helpful. Happy organizing!
Conclusion
Congratulations on completing your journey to create a pull-out pantry cabinet! By following the step-by-step guide in this article, you have successfully transformed your pantry storage and created a customized solution to keep your kitchen essentials organized and easily accessible.
Building a pull-out pantry cabinet may seem like a daunting task, but with the right guidance and tools, it is a rewarding DIY project that allows you to maximize the storage space in your kitchen. By measuring and planning, gathering the necessary materials and tools, removing shelves, building pull-out shelves, installing drawer slides, attaching shelves, testing and adjusting, and finally finishing and finalizing your project, you have created a functional and efficient storage solution that fits your space and meets your storage needs.
Your new pull-out pantry cabinet will revolutionize the way you store and access pantry items. No more rummaging through cluttered shelves or struggling to find what you need. With the pull-out shelves, your pantry items are easily visible and within reach, allowing for efficient meal preparation and a more organized kitchen space.
Remember to regularly maintain and clean your pull-out pantry cabinet to keep it in optimal condition. This will ensure its longevity and continued functionality for years to come. Additionally, feel free to customize and add additional features to your cabinet as your needs evolve.
Thank you for joining us on this journey of creating a pull-out pantry cabinet. We hope this guide has been informative and helpful in guiding you through the process. Now, enjoy the convenience and efficiency of your newly organized pantry storage!
Happy cooking and happy organizing!
Now that you've mastered creating a pull-out pantry cabinet, why not expand your kitchen's functionality even further? For those seeking clever ways to keep essentials tidy, our article on kitchen storage solutions offers a variety of innovative ideas. If cabinets still clutter easily, find inspiration in our guide to the best cabinet organizers designed to streamline spaces. Lastly, don't miss expert advice on perfecting your kitchen's layout and storage with insightful tips from a leading kitchen designer.
Frequently Asked Questions about How To Make A Pull Out Pantry Cabinet
Was this page helpful?
At Storables.com, we guarantee accurate and reliable information. Our content, validated by Expert Board Contributors, is crafted following stringent Editorial Policies. We're committed to providing you with well-researched, expert-backed insights for all your informational needs.


0 thoughts on “How To Make A Pull Out Pantry Cabinet”