Home>Renovation & DIY>DIY Projects & Ideas>How To Organize Crafts
DIY Projects & Ideas
How To Organize Crafts
Published: March 2, 2024
Discover creative DIY projects and ideas for organizing crafts with our helpful tips and tutorials. Get inspired to declutter and beautify your crafting space today!
(Many of the links in this article redirect to a specific reviewed product. Your purchase of these products through affiliate links helps to generate commission for Storables.com, at no extra cost. Learn more)
Introduction
Are you tired of digging through piles of supplies to find what you need for your next crafting project? Organizing your craft space can make a world of difference in your productivity and enjoyment. In this article, we'll explore the best strategies for setting up your craft space, sorting and storing supplies, planning and scheduling crafting time, and maintaining an organized craft area. Whether you're a seasoned crafter or just starting out, these tips will help you create a functional and inspiring space for all your creative endeavors. Let's dive in and transform your craft area into a well-organized haven for your DIY projects!
Key Takeaways:
- Create a well-lit and personalized craft space with ample storage and a dedicated work surface to boost productivity and enjoyment in DIY projects.
- Sort and store crafting supplies in clear containers, categorize them, and utilize vertical storage to maintain a clutter-free craft area and spend more time creating.
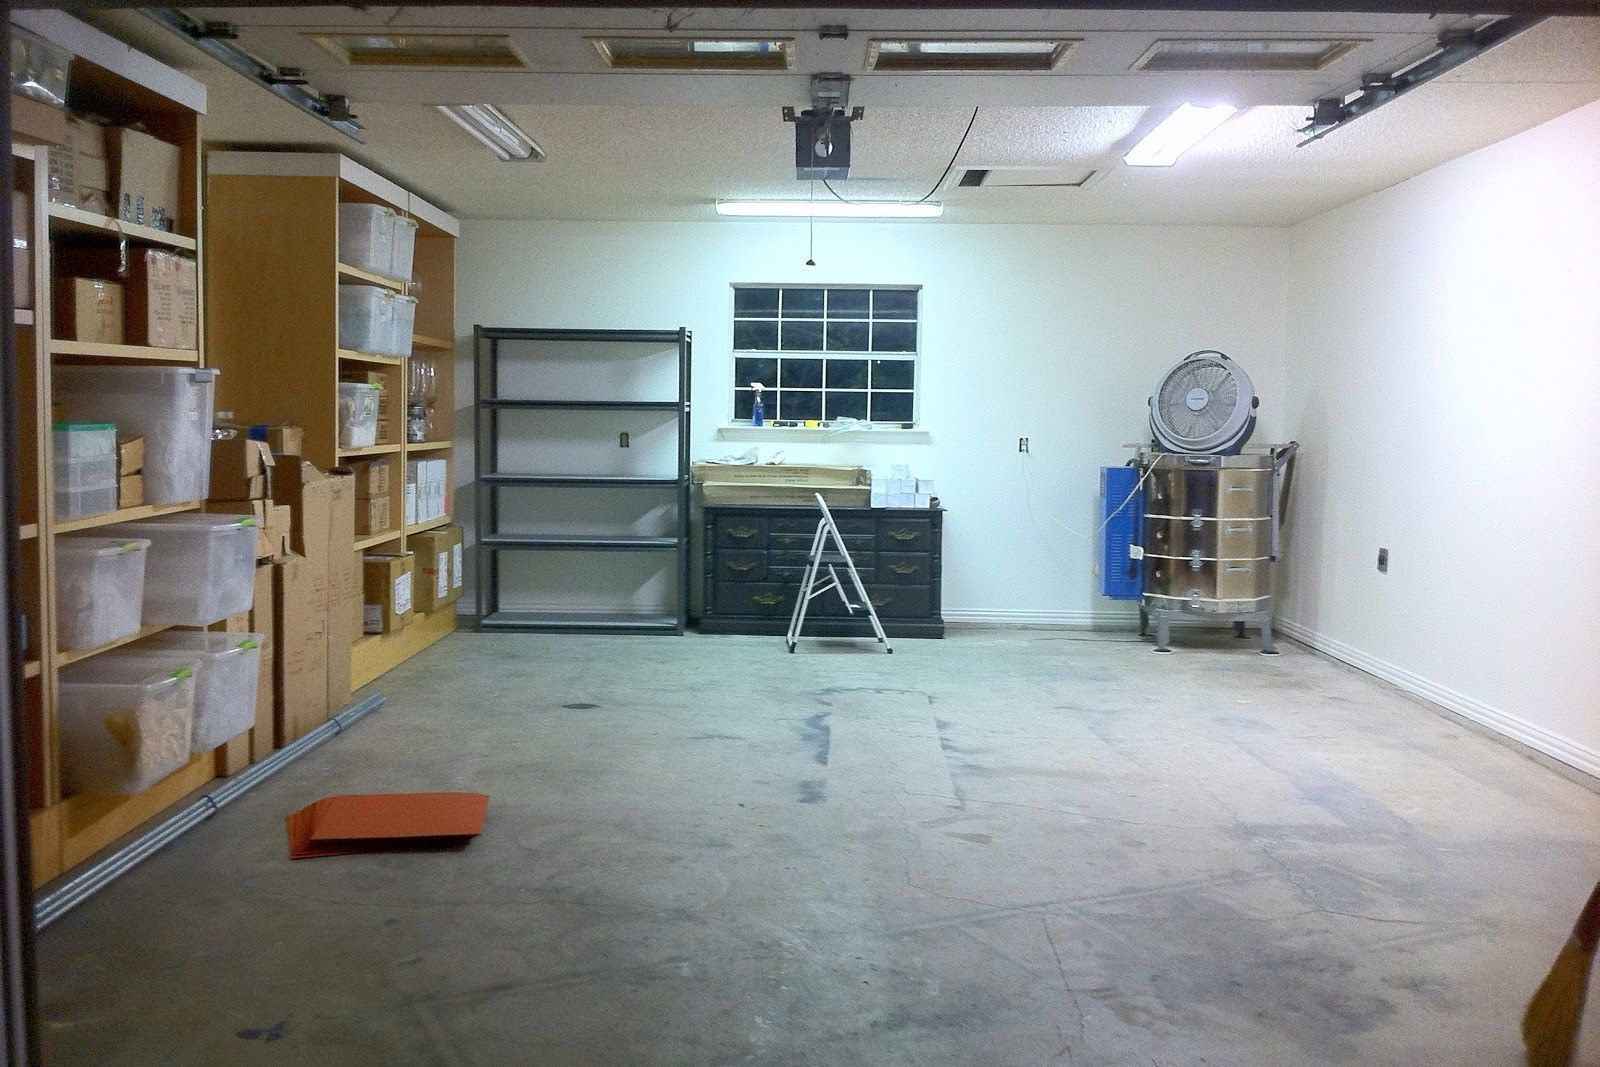
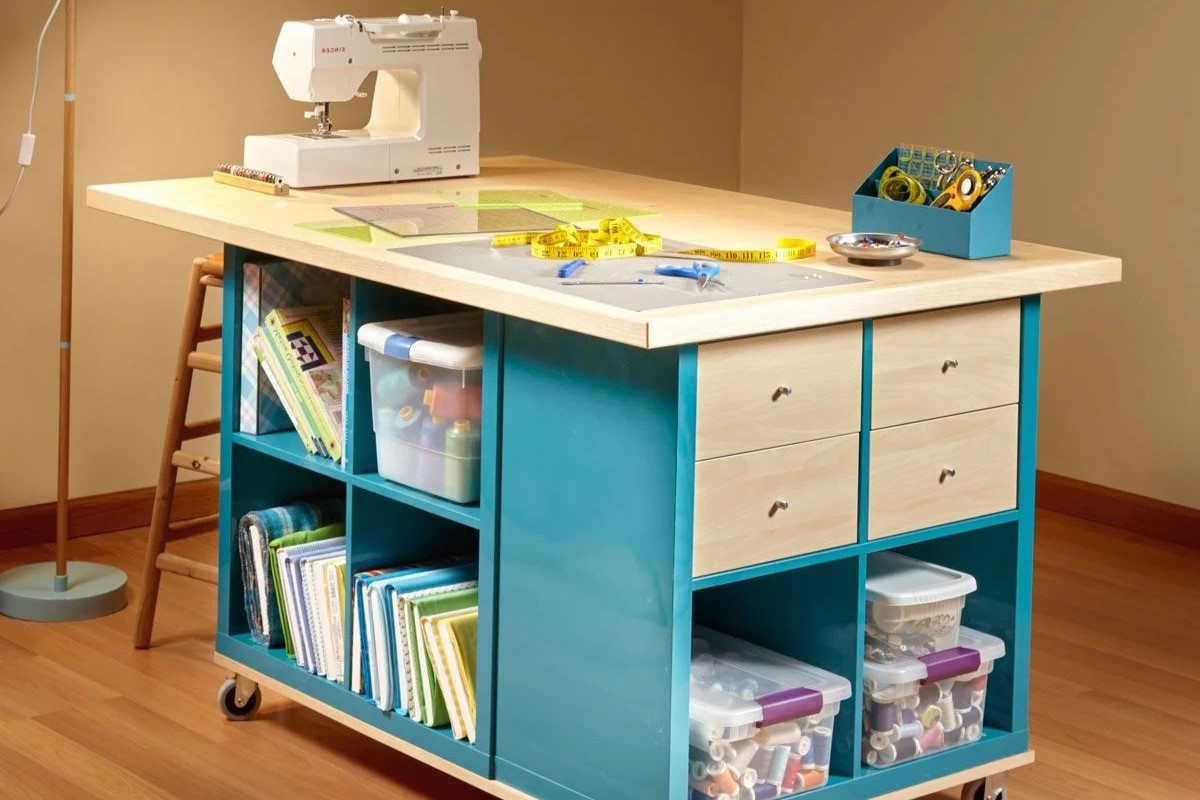
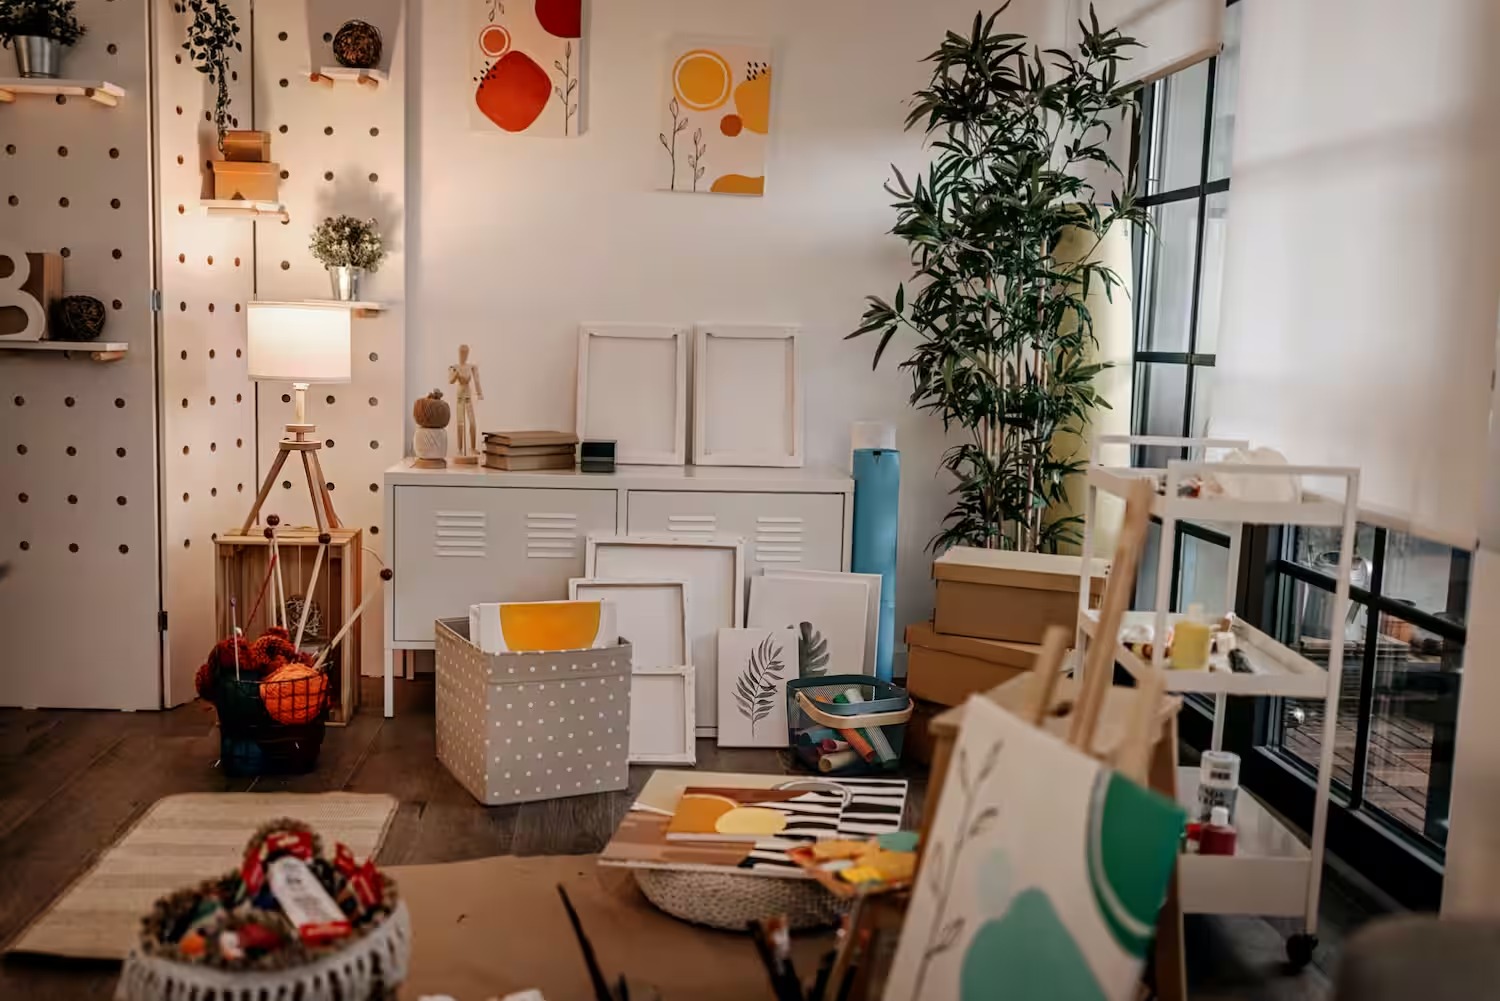
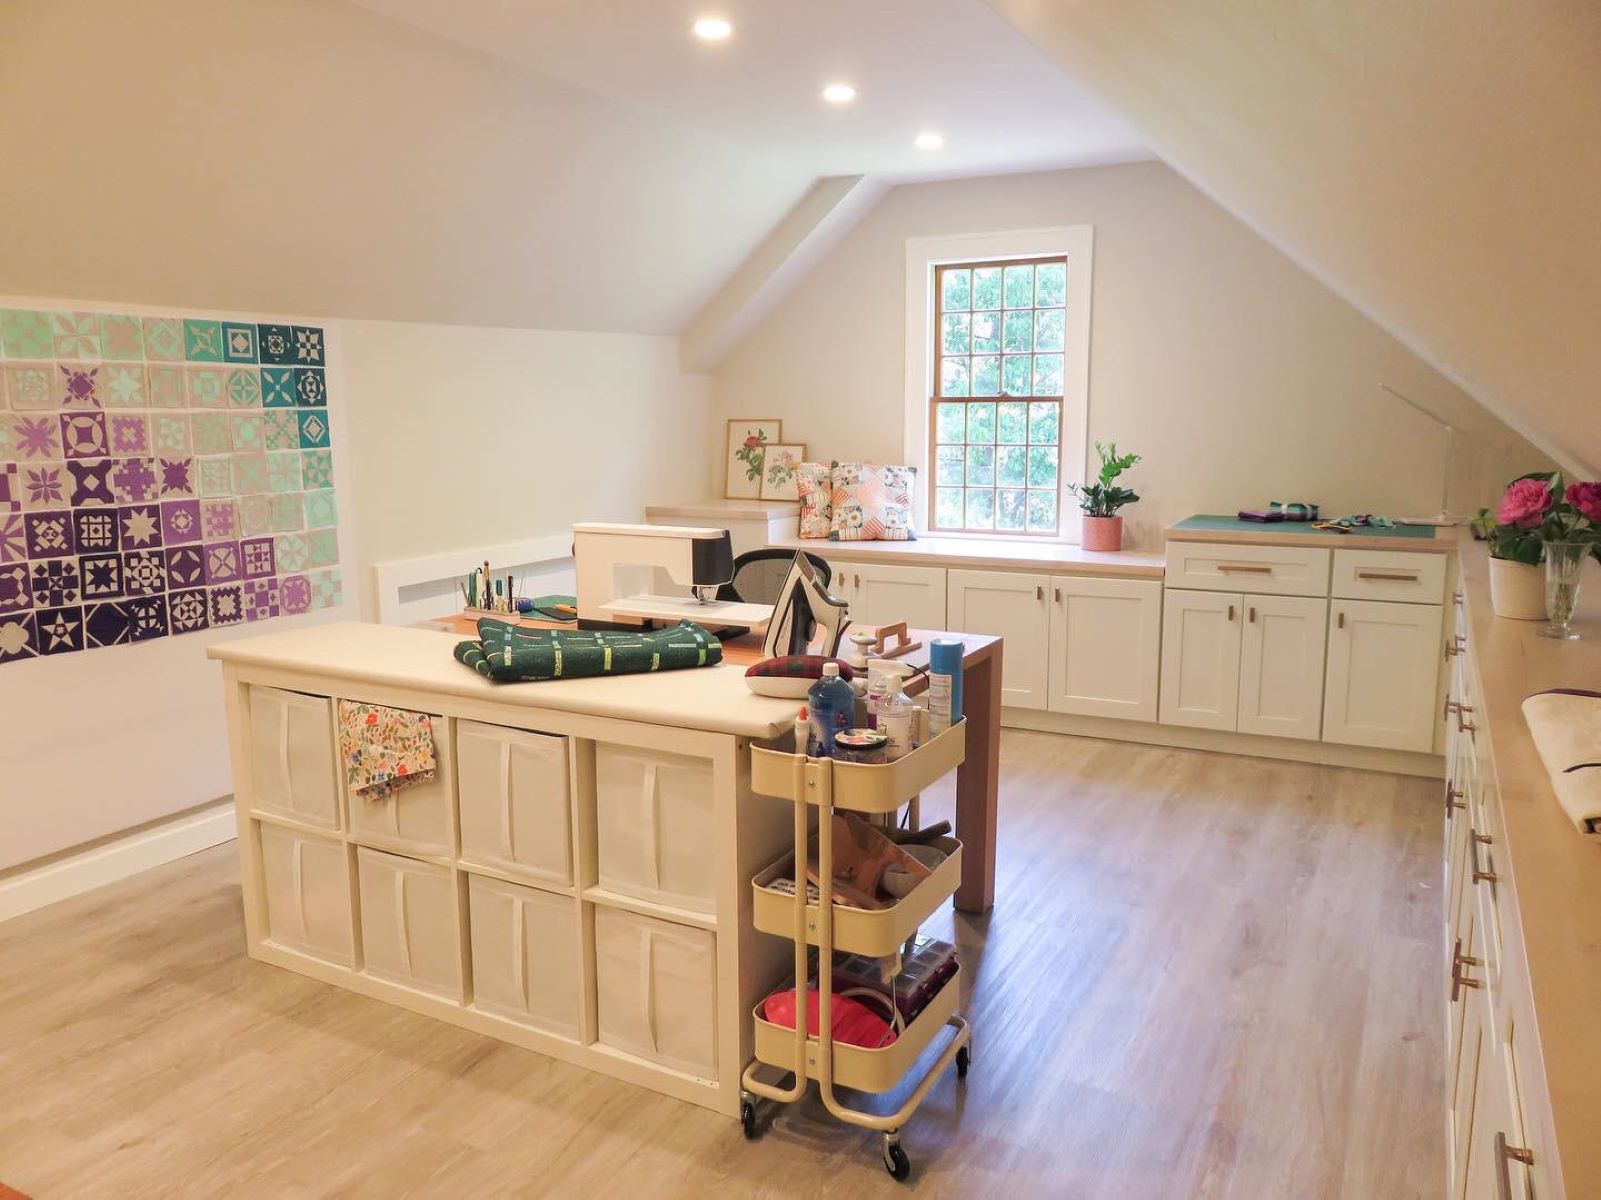
Setting Up Your Craft Space
Setting up your craft space is the first step to creating an organized and inspiring environment for your DIY projects. Here are some essential tips to help you get started:
-
Choose the Right Location: Select a well-lit and well-ventilated area for your craft space. Natural light can make a significant difference in your crafting experience, so try to position your workspace near a window if possible.
-
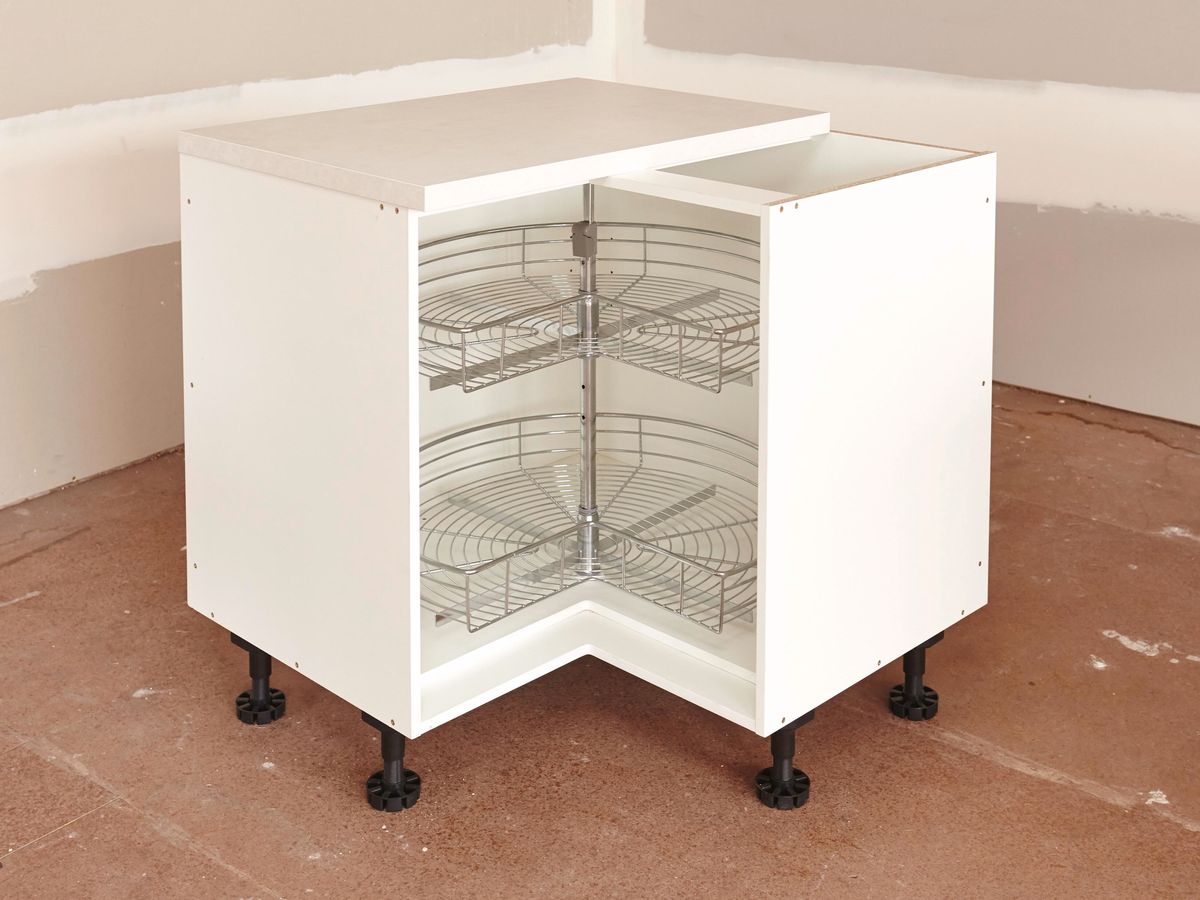
Invest in Storage Solutions: Consider investing in shelves, drawers, bins, and containers to keep your supplies organized and easily accessible. Wall-mounted shelves can help maximize space, while clear containers can help you see what's inside at a glance.
-
Create a Work Surface: Whether it's a large table, desk, or countertop, having a dedicated work surface is essential for crafting. Make sure it's sturdy and spacious enough to accommodate your projects.
-
Personalize Your Space: Add personal touches to make your craft area feel inviting and inspiring. Hang up artwork, photos, or motivational quotes to create a space that reflects your creativity and personality.
-
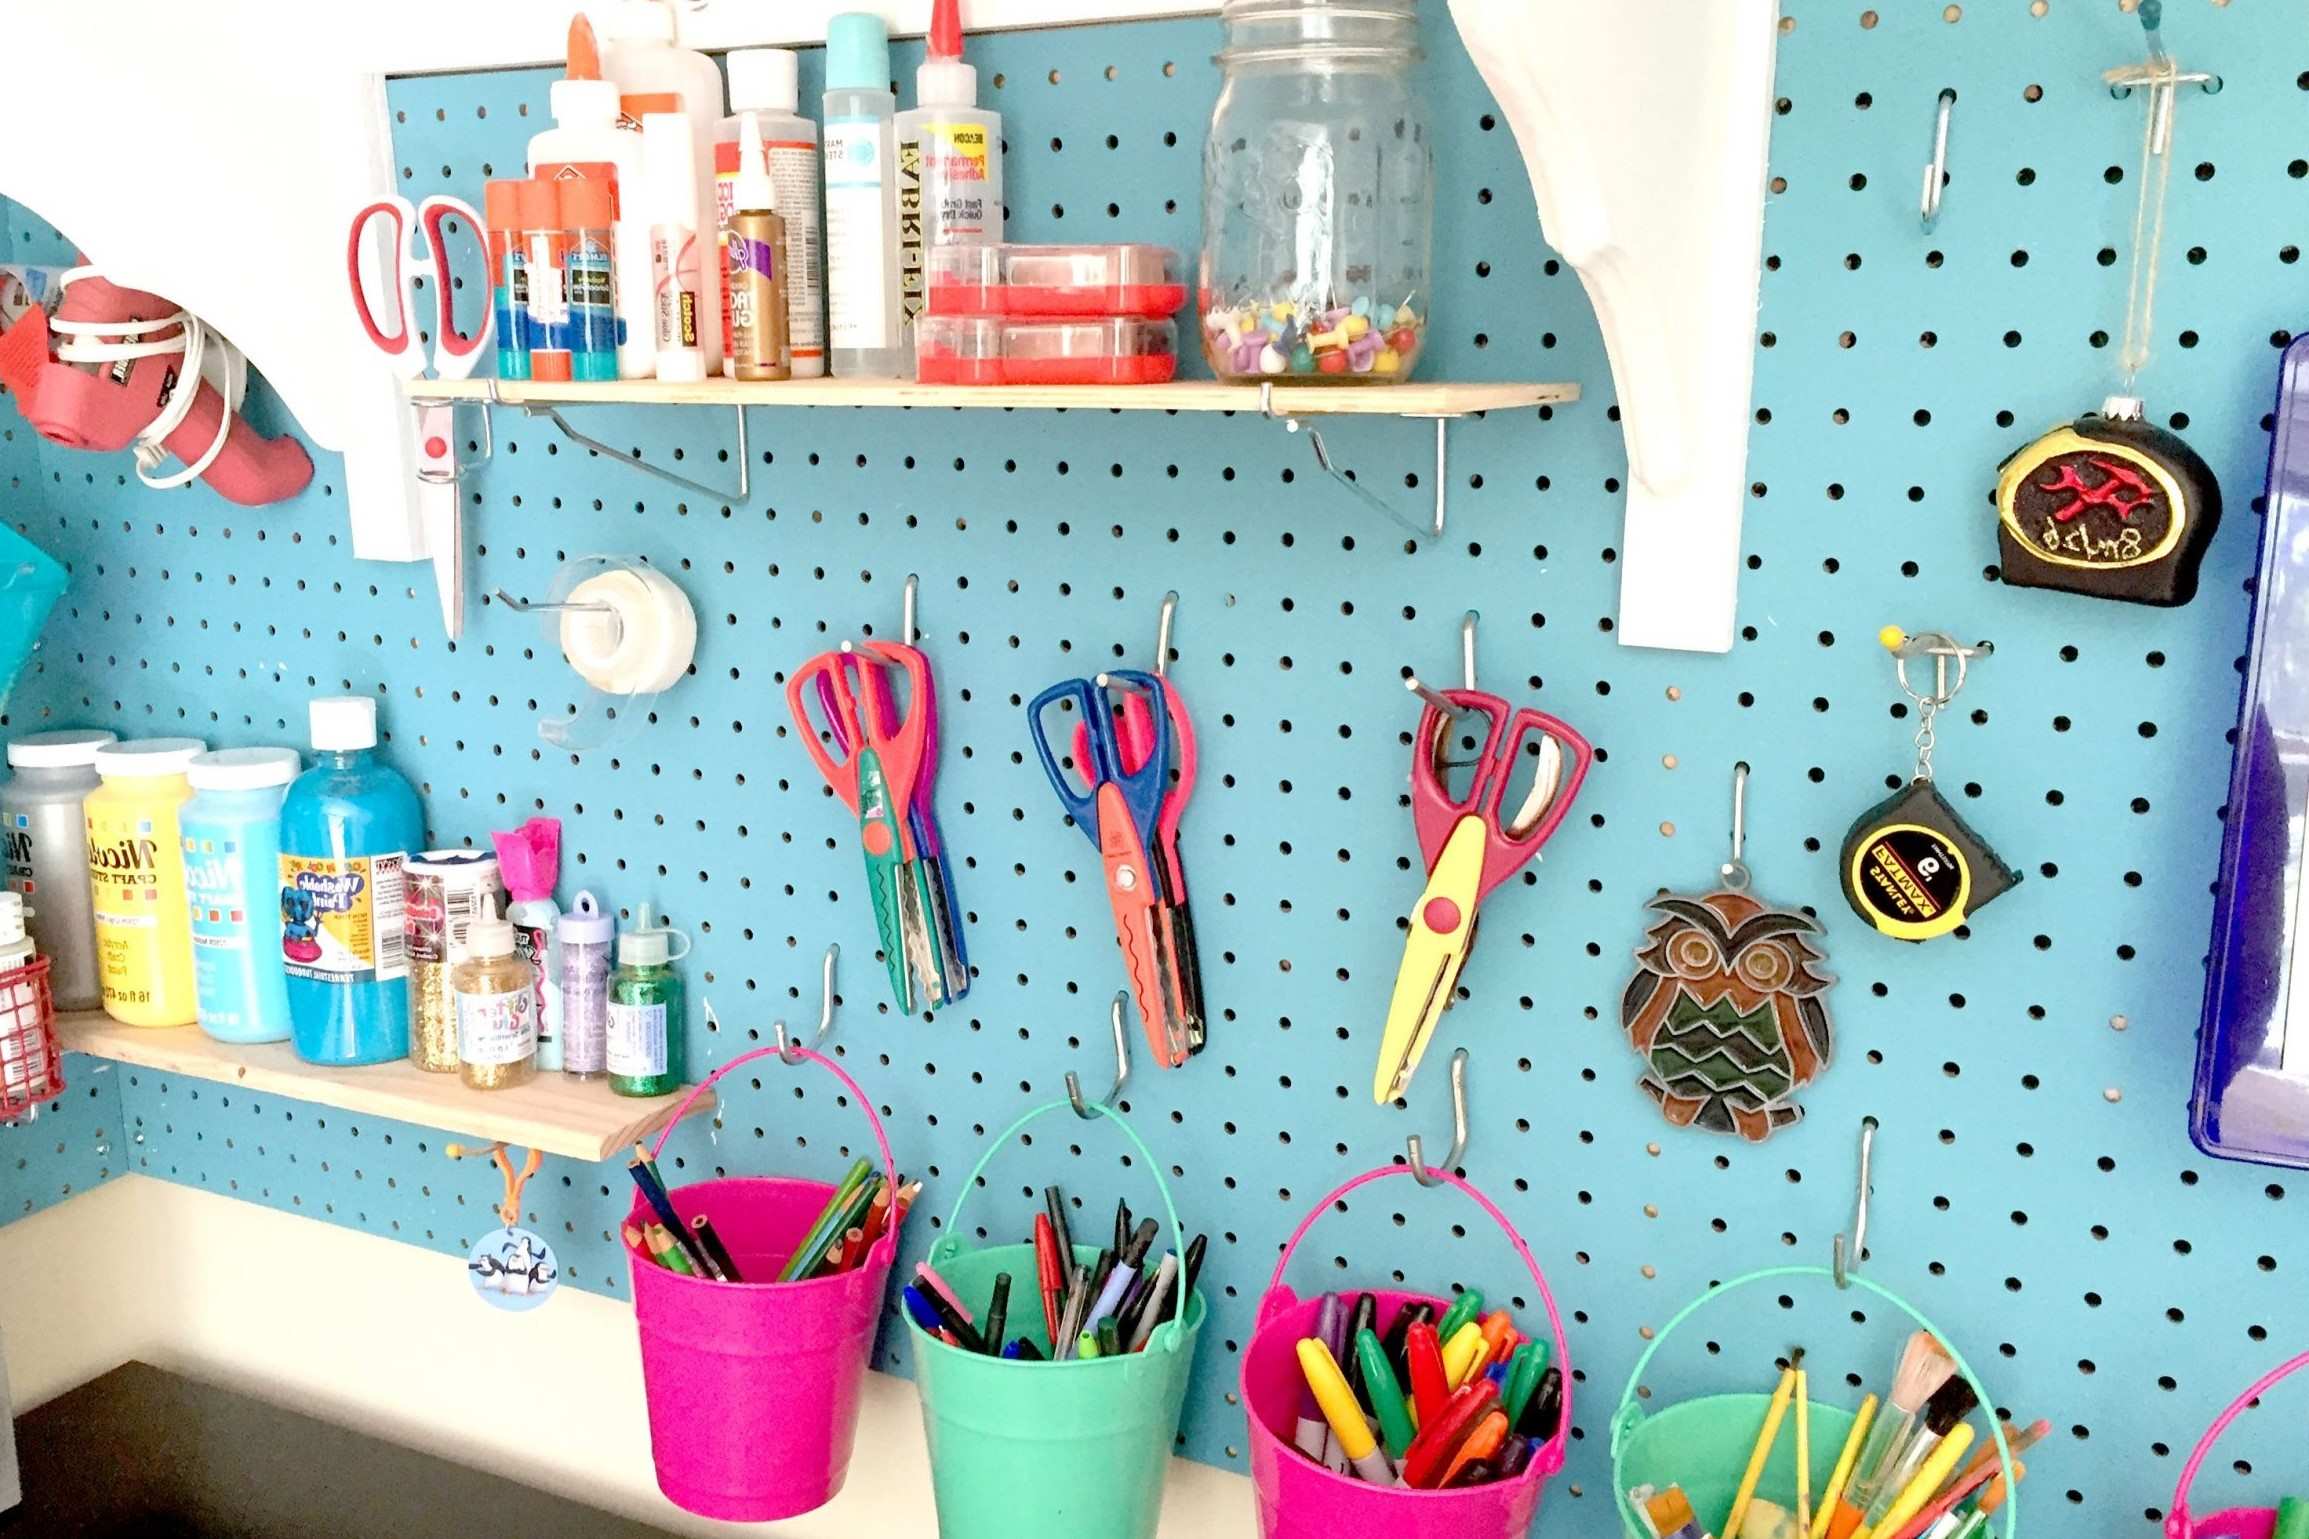
Organize Tools and Equipment: Keep frequently used tools within arm's reach and consider installing pegboards or tool racks to keep them organized and easily accessible.
By following these tips, you can create a functional and inviting craft space that sets the stage for productive and enjoyable crafting sessions.
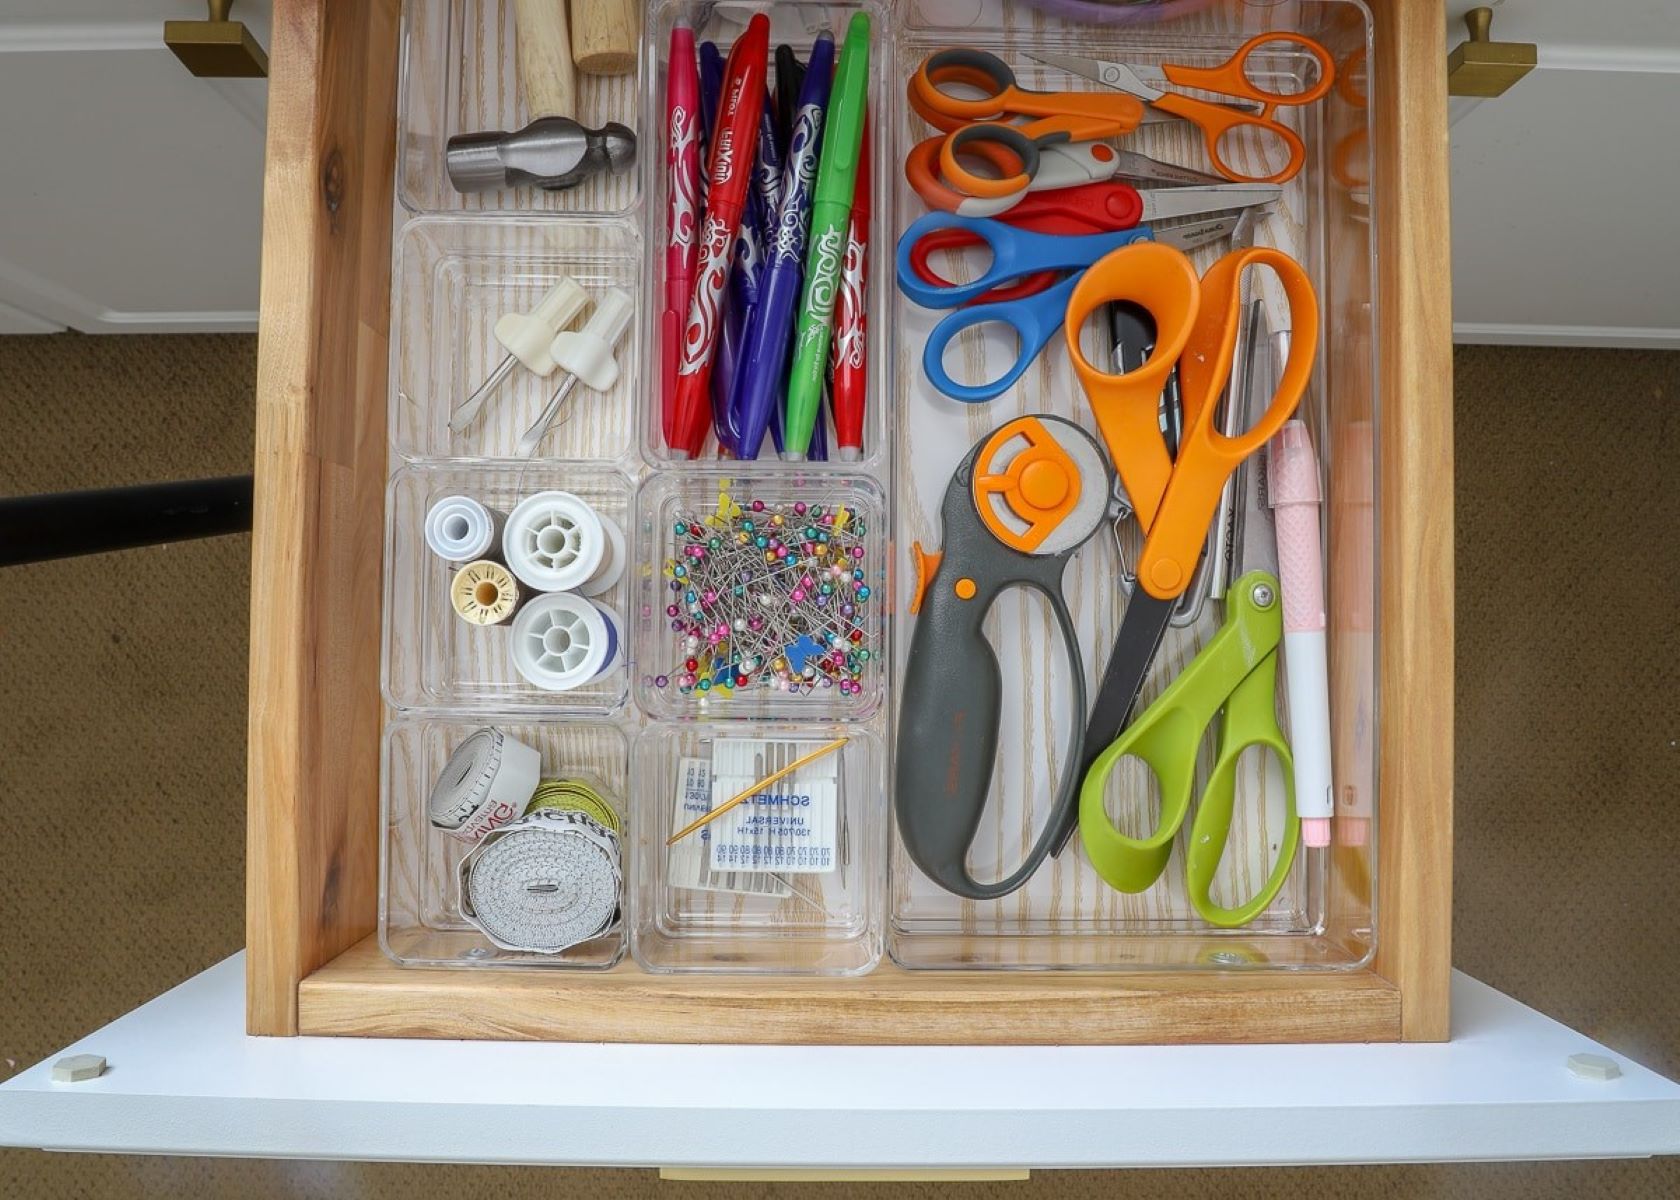
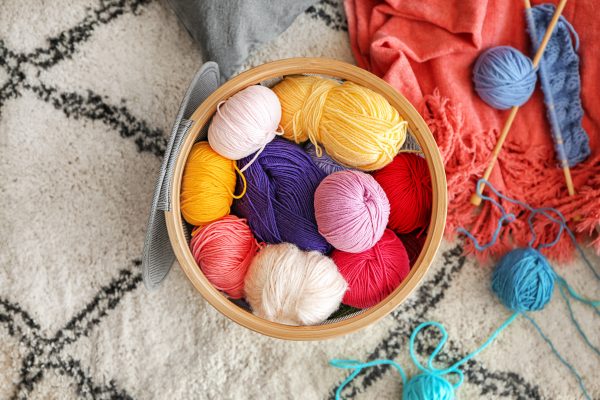
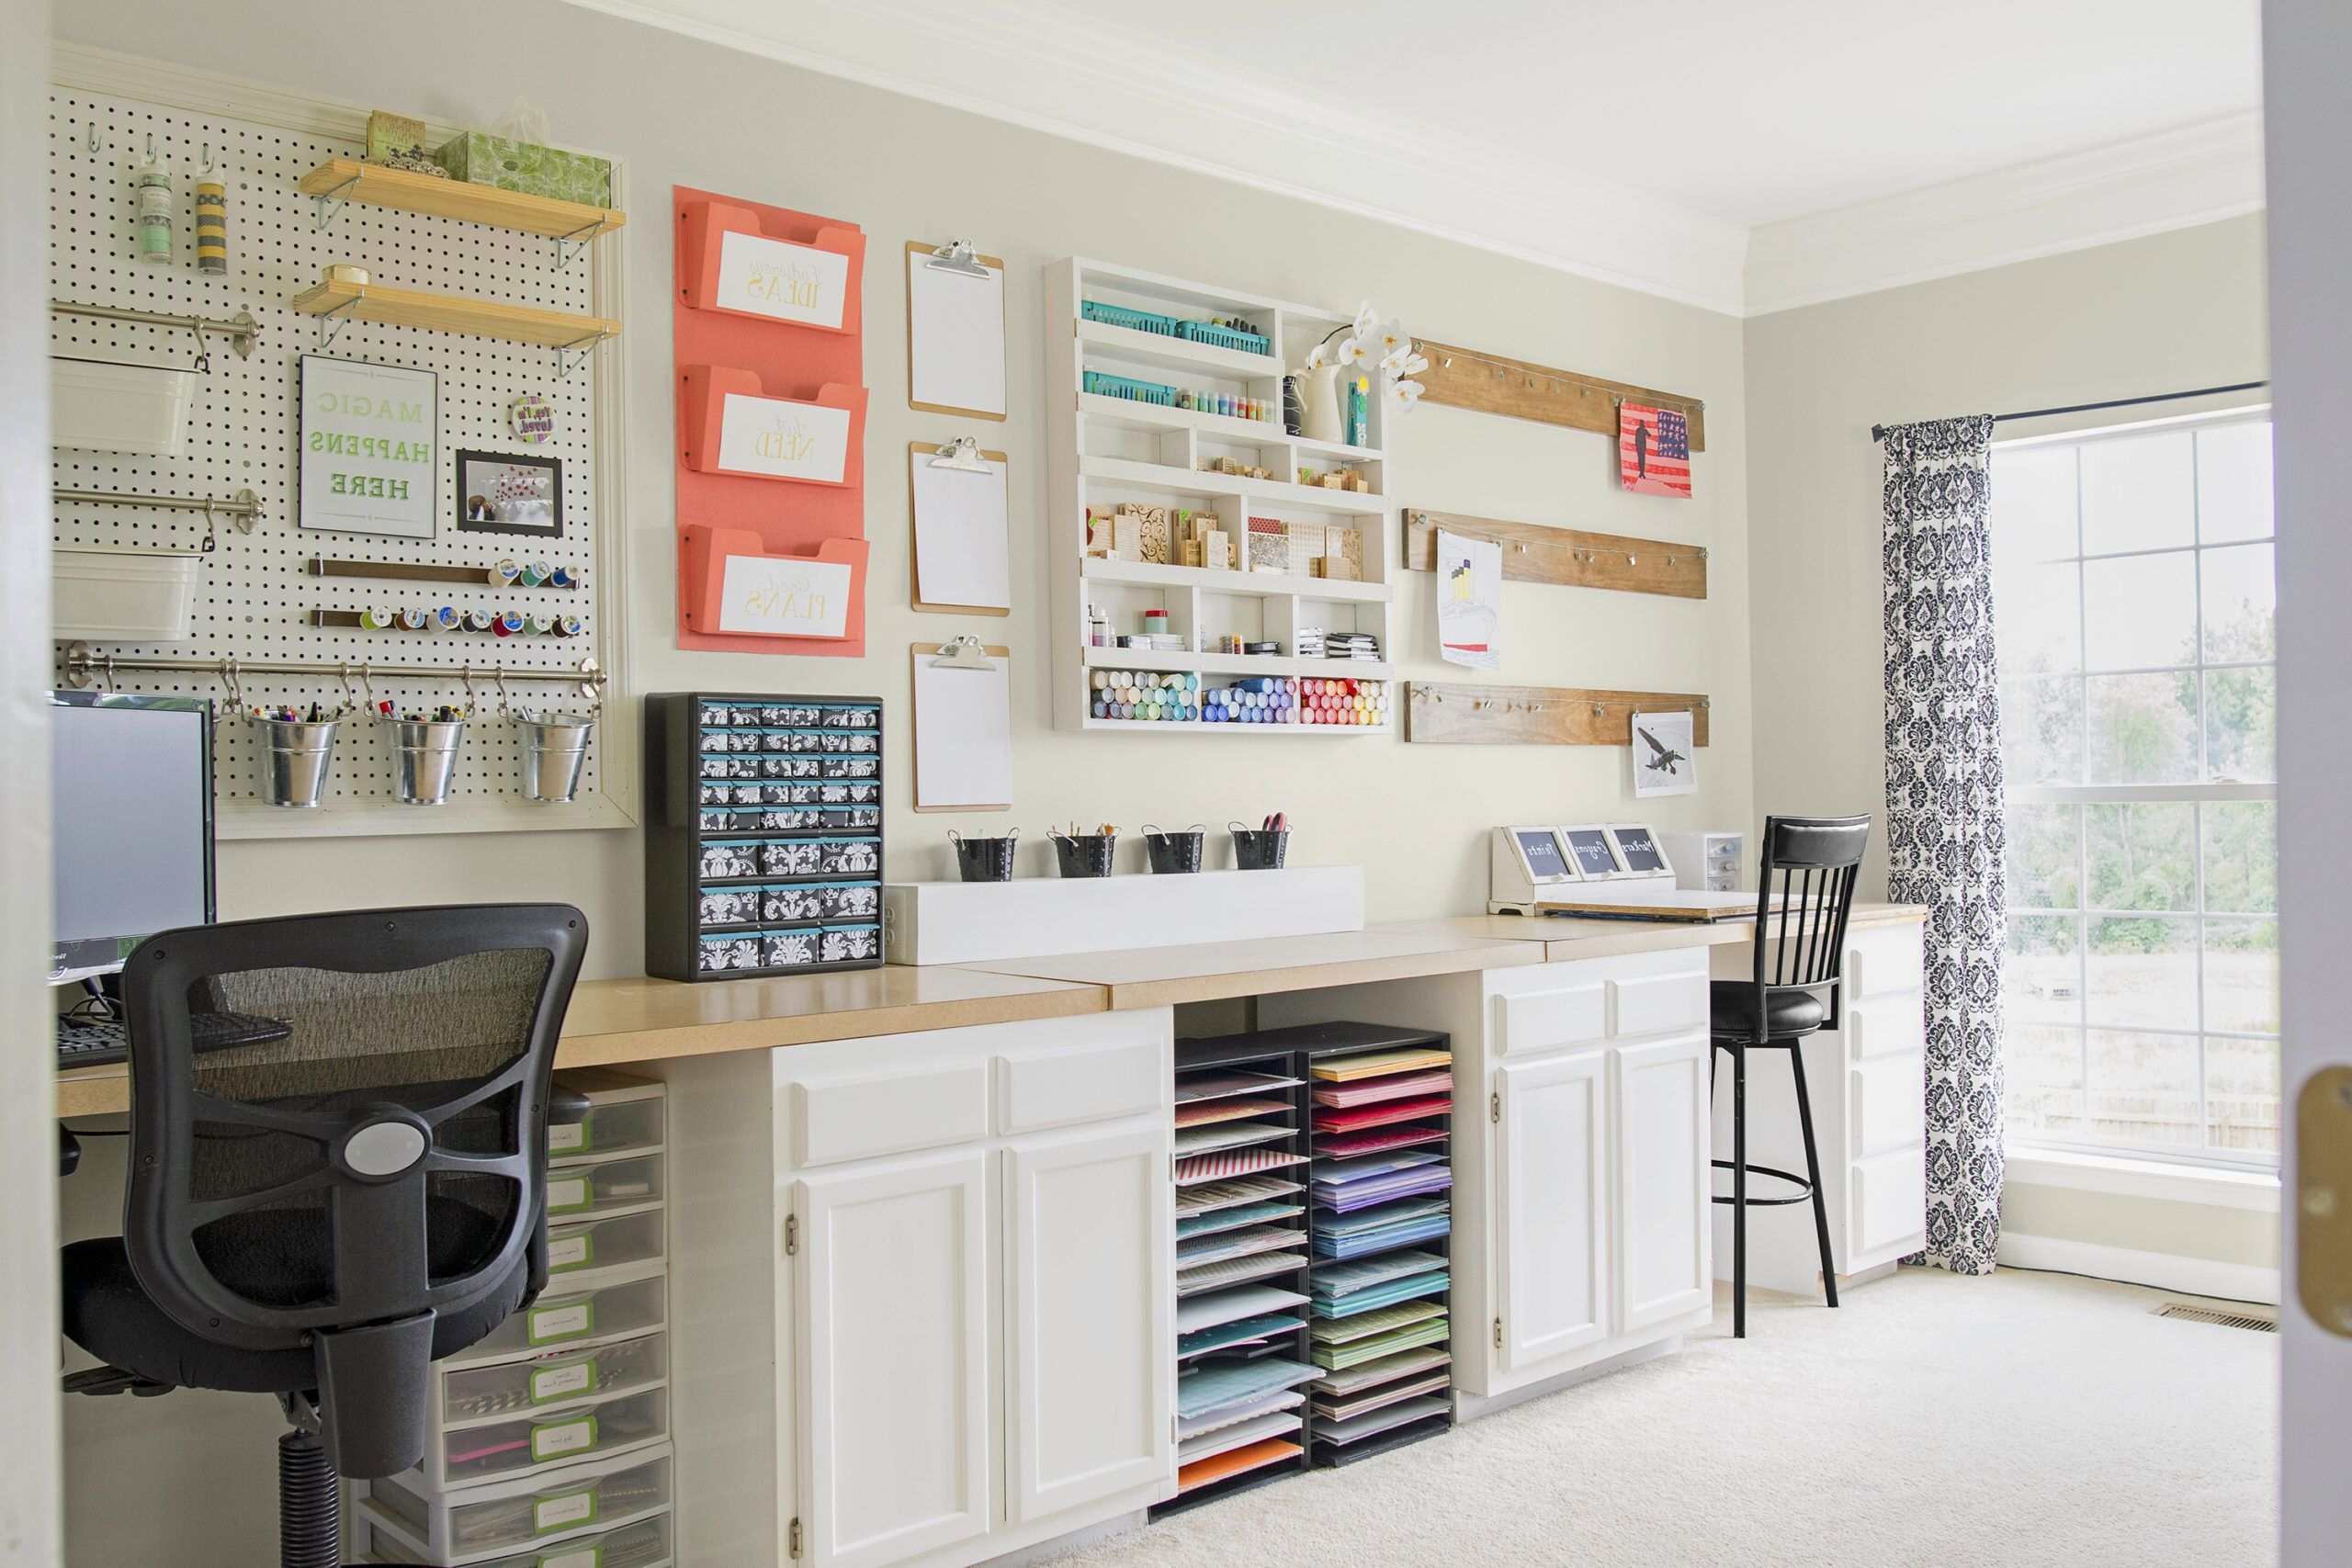
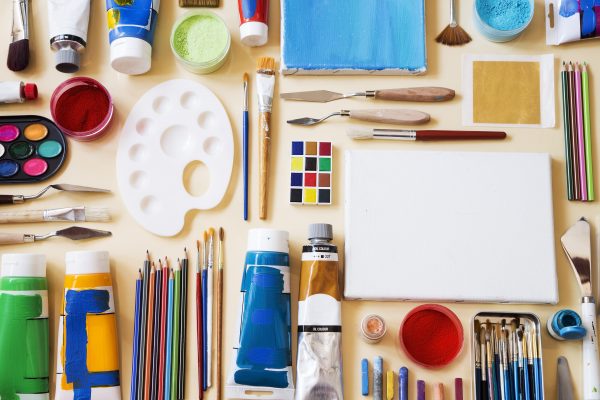
Sorting and Storing Supplies
When it comes to crafting, having a well-organized system for sorting and storing supplies can make all the difference. Here are some effective strategies to keep your crafting materials in order:
-
Categorize Your Supplies: Start by sorting your supplies into categories such as paper, fabric, beads, paints, and tools. This will make it easier to locate specific items when you need them.
-
Use Clear Containers: Opt for clear containers to store your supplies. This allows you to see the contents at a glance, saving you time and effort when searching for specific materials.
-
Label Everything: Labeling your containers is crucial for easy identification. Use a label maker or simply write on sticky notes to clearly mark the contents of each container.
-
Utilize Vertical Storage: Maximize your space by using vertical storage solutions such as shelving units or stackable bins. This not only saves space but also keeps your supplies easily accessible.
-
Invest in Drawer Organizers: For smaller items like beads, buttons, and thread, drawer organizers are a game-changer. They keep everything neatly separated and prevent small items from getting lost in larger containers.
-
Consider Pegboards: Pegboards are versatile and customizable storage solutions for tools, ribbons, and other crafting supplies. Install a pegboard on your wall and use hooks and containers to keep your tools within reach.
-
Create a Scrap Fabric System: If you work with fabric, consider organizing your scraps by color or size. Clear bins or hanging organizers are great for keeping fabric remnants tidy and easily accessible.
By implementing these sorting and storing strategies, you can maintain a clutter-free craft space and spend more time creating and less time searching for supplies.
Use clear plastic bins or containers to store and organize your craft supplies. Label each container with the contents to easily find what you need.
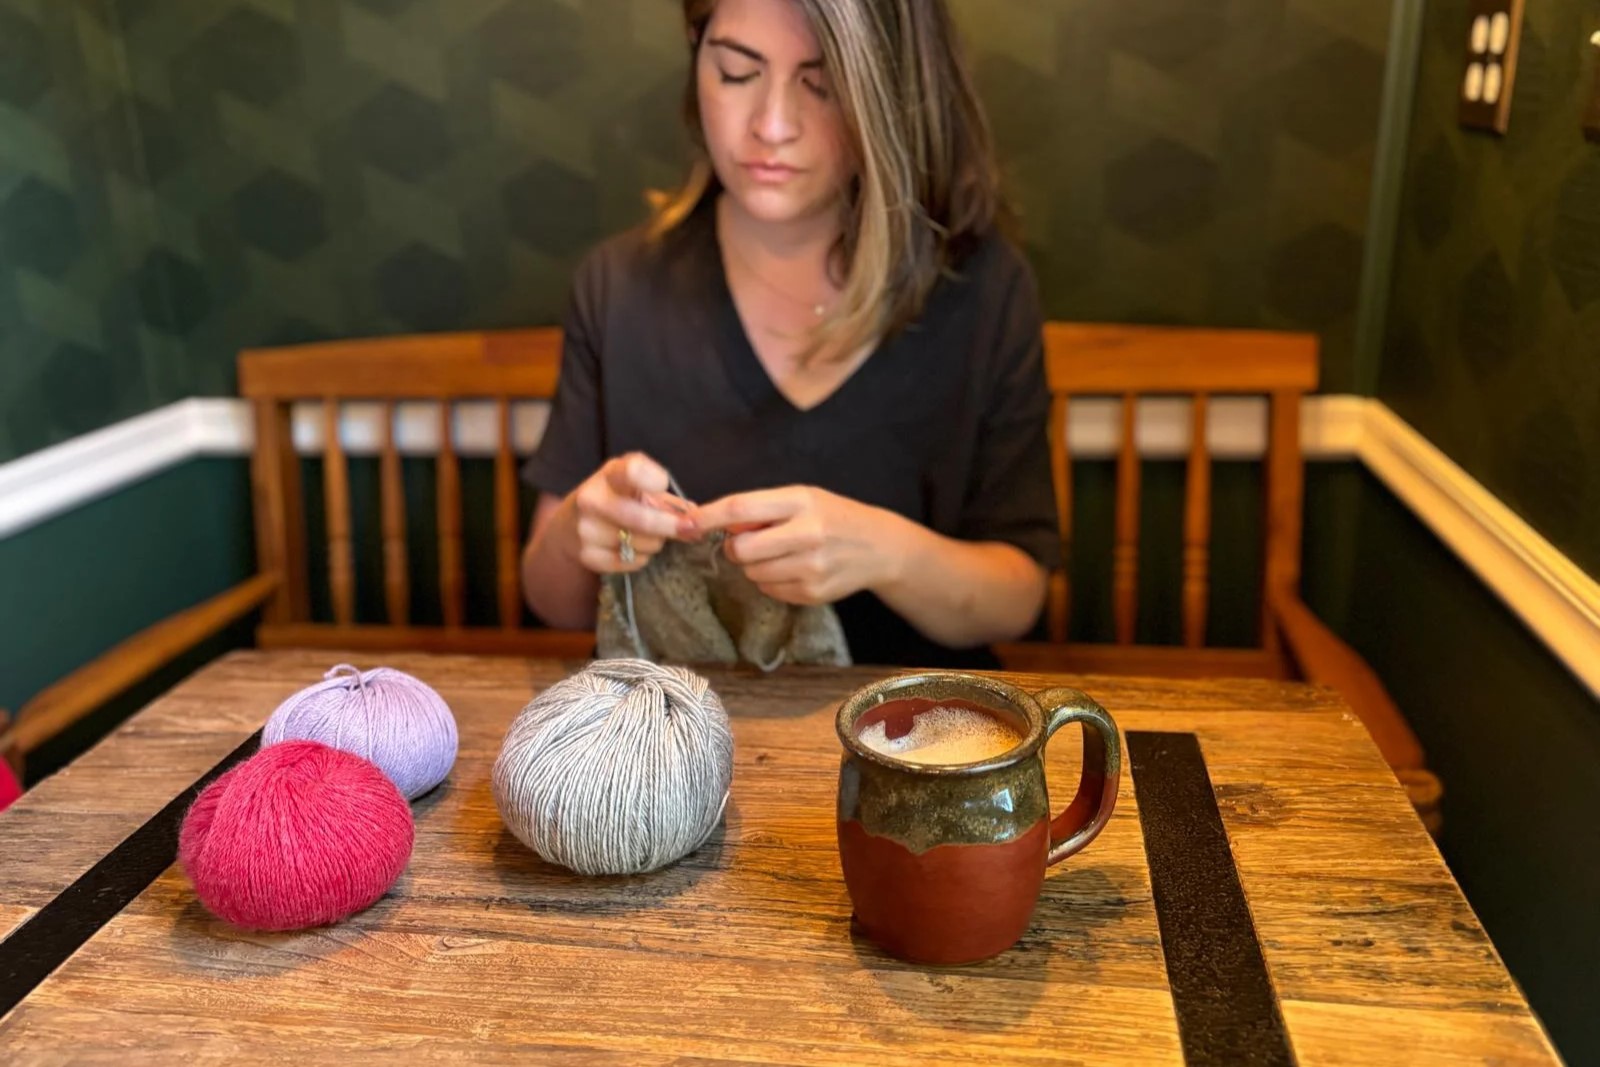
Planning and Scheduling Crafting Time
Crafting is not just a hobby; it's a form of self-expression and relaxation. However, finding time for crafting amidst our busy schedules can be challenging. Here's how you can effectively plan and schedule your crafting time:
-
Set Realistic Goals: Determine what you want to accomplish in each crafting session. Whether it's completing a specific project or simply enjoying some creative time, setting realistic goals will help you stay focused and motivated.
-
Create a Crafting Calendar: Designate specific days or times in your weekly schedule for crafting. Treat these slots as non-negotiable appointments with your creative self. Having a dedicated crafting calendar ensures that you prioritize your creative pursuits.
-
Consider Your Peak Productivity Hours: Identify the times of day when you feel most creative and energized. Whether it's early morning, late at night, or during the afternoon lull, schedule your crafting sessions during these peak productivity hours for optimal results.
-
Prepare Your Materials in Advance: Before each crafting session, gather all the necessary materials and tools. This eliminates the need to interrupt your creative flow to search for supplies, allowing you to make the most of your scheduled crafting time.
-
Be Flexible: While it's important to schedule crafting time, it's equally important to be flexible. Life can be unpredictable, so be open to adjusting your crafting schedule when necessary. The key is to find a balance between structure and adaptability.
-
Incorporate Crafting into Daily Routines: Look for opportunities to incorporate crafting into your daily routines. Whether it's knitting during your lunch break, sketching while watching TV, or doing a quick DIY project on the weekends, finding small pockets of time for crafting can add up to significant progress.
-
Join Crafting Communities: Consider joining crafting groups or communities where you can schedule regular crafting meetups or participate in crafting challenges. Being part of a community can provide accountability and inspiration, making it easier to stick to your crafting schedule.
By planning and scheduling your crafting time thoughtfully, you can ensure that your creative endeavors become an integral and fulfilling part of your daily life.
Tips for Keeping Your Craft Area Organized
Maintaining an organized craft area is essential for a seamless and enjoyable crafting experience. Here are some valuable tips to help you keep your craft space tidy and inspiring:
-
Clean As You Go: Make it a habit to clean up as you work on your projects. Put away tools and supplies as soon as you're done using them. This prevents clutter from accumulating and saves you time during post-crafting cleanup sessions.
-
Implement a "One In, One Out" Rule: For every new item or supply you bring into your craft space, consider removing an old or unused item. This helps prevent overcrowding and ensures that your space remains clutter-free.
-
Regular Decluttering Sessions: Set aside time at regular intervals to declutter your craft area. Sort through your supplies, discard any items that are damaged or no longer needed, and reorganize your storage solutions as necessary.
-
Utilize Vertical Space: If you're short on horizontal space, make use of vertical space for storage. Install shelves, pegboards, or wall-mounted organizers to keep your supplies off the work surface and create more room for crafting.
-
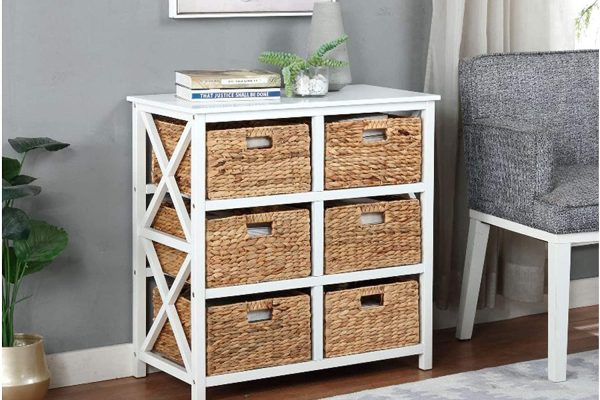
Invest in Multi-Functional Furniture: Consider furniture pieces that offer storage solutions, such as tables with built-in drawers or ottomans with hidden compartments. This allows you to maximize space while keeping your supplies neatly tucked away.
-
Establish a "Designated Items" Area: Designate a specific area for items that don't belong in your craft space. This could be a nearby closet, shelf, or storage bin. Encourage yourself and others to return misplaced items to their designated area to maintain a clutter-free craft space.
-
Create a Daily Tidying Routine: Dedicate a few minutes at the end of each crafting session to tidy up your workspace. Put away tools, organize supplies, and wipe down surfaces. A daily tidying routine ensures that your craft area remains organized and ready for your next creative endeavor.
By incorporating these tips into your crafting routine, you can ensure that your craft area remains organized, inspiring, and conducive to your creative pursuits.
Frequently Asked Questions about How To Organize Crafts
Was this page helpful?
At Storables.com, we guarantee accurate and reliable information. Our content, validated by Expert Board Contributors, is crafted following stringent Editorial Policies. We're committed to providing you with well-researched, expert-backed insights for all your informational needs.


0 thoughts on “How To Organize Crafts”