
Articles
How To Plant Potatoes In Containers
Modified: October 20, 2024
Learn how to plant potatoes in containers and create your own garden with this step-by-step guide. Grow fresh and delicious potatoes right at home!
(Many of the links in this article redirect to a specific reviewed product. Your purchase of these products through affiliate links helps to generate commission for Storables.com, at no extra cost. Learn more)
Introduction
Planting potatoes in containers has become a popular alternative for gardening enthusiasts who have limited space or want to have more control over the growing conditions. Whether you have a small backyard or a balcony garden, containers offer you the flexibility to grow your own potatoes right at home.
In this article, we will explore the benefits of growing potatoes in containers, guide you through the process of selecting the right container and potato varieties, provide tips on planting and caring for your potato plants, and share advice on harvesting and storing your homegrown potatoes.
By following these steps, you can enjoy a bountiful harvest of fresh and flavorful potatoes, all while maximizing your available space and enjoying the satisfaction of growing your own food.
Key Takeaways:
- Enjoy the flexibility of growing potatoes in containers, even with limited space. Control growing conditions, overcome pests, and extend the growing season for a bountiful harvest right at home.
- Select the right container and potato varieties, prepare and care for your plants, and prevent pests and diseases to ensure a successful and rewarding harvest of homegrown potatoes.
Read more: How To Plant Potatoes In A Garden
Benefits of Growing Potatoes in Containers
Growing potatoes in containers offers several advantages compared to traditional garden beds. Here are some key benefits:
- Space Efficiency: Containers allow you to grow potatoes in small spaces such as patios, balconies, or even indoors. This makes them an ideal option for urban gardeners or those with limited yard space.
- Control over Growing Conditions: With containers, you have complete control over the quality of soil, sunlight exposure, and watering conditions. This means you can create optimal growing conditions for your potatoes, leading to better overall plant health and yields.
- Portability: One of the biggest advantages of container gardening is the ability to move your plants around. This is especially beneficial for potatoes, as you can adjust their location to maximize sunlight exposure or protect them from extreme weather conditions.
- Reduced Risk of Pests and Diseases: Growing potatoes in containers can help minimize the risk of pests and diseases that commonly afflict potatoes when planted in the ground. Containers provide a physical barrier that keeps pests away and allows for easier monitoring and control of any potential issues.
- Extended Growing Season: Containers offer the advantage of extending the growing season for potatoes. You can start planting earlier in the spring by bringing the containers indoors or covering them during colder weather. This allows you to harvest your potatoes earlier and even enjoy a second planting in the same season.
By planting potatoes in containers, you can overcome space constraints, have better control over growing conditions, reduce the risk of pests and diseases, and extend your growing season. This makes it a rewarding and practical choice for any home gardeners, regardless of their available space or gardening experience.
Choosing the Right Container
When it comes to growing potatoes in containers, selecting the right container is crucial for the success of your plants. Here are some important factors to consider:
- Size: Potatoes need space to grow and develop a healthy root system. Choose a container that is at least 12-16 inches deep to allow for proper tuber formation. The width of the container will depend on how many potato plants you plan to grow.
- Material: Containers can be made from various materials, including plastic, ceramic, or fabric. Each material has its pros and cons. Plastic containers are lightweight, durable, and retain moisture well. Ceramic containers offer aesthetic appeal but may be heavier and prone to cracking in extreme temperatures. Fabric pots provide excellent drainage and air circulation but may dry out quickly.
- Drainage: Proper drainage is essential to prevent waterlogged soil, which can lead to rotting potatoes. Ensure your container has drainage holes at the bottom to allow excess water to escape.
- Visibility: Choose a container that allows you to easily monitor the growth and health of your potato plants. Translucent or opaque containers can make it difficult to check for pest infestations or determine when your potatoes are ready for harvesting.
- Number of Plants: Consider the number of potato plants you intend to grow in a single container. Potatoes need space to develop, and overcrowding can lead to smaller yields. A general rule of thumb is to plant 2-3 seed potatoes per container.
- Accessibility: Accessibility is important when it comes to planting, watering, and harvesting your potatoes. Ensure that the container is at a height that allows for comfortable access without straining your back or causing discomfort.
Remember, the right container will provide adequate space, drainage, visibility, and accessibility for your potato plants. Consider these factors when selecting your containers to set your potatoes up for healthy growth and a successful harvest.
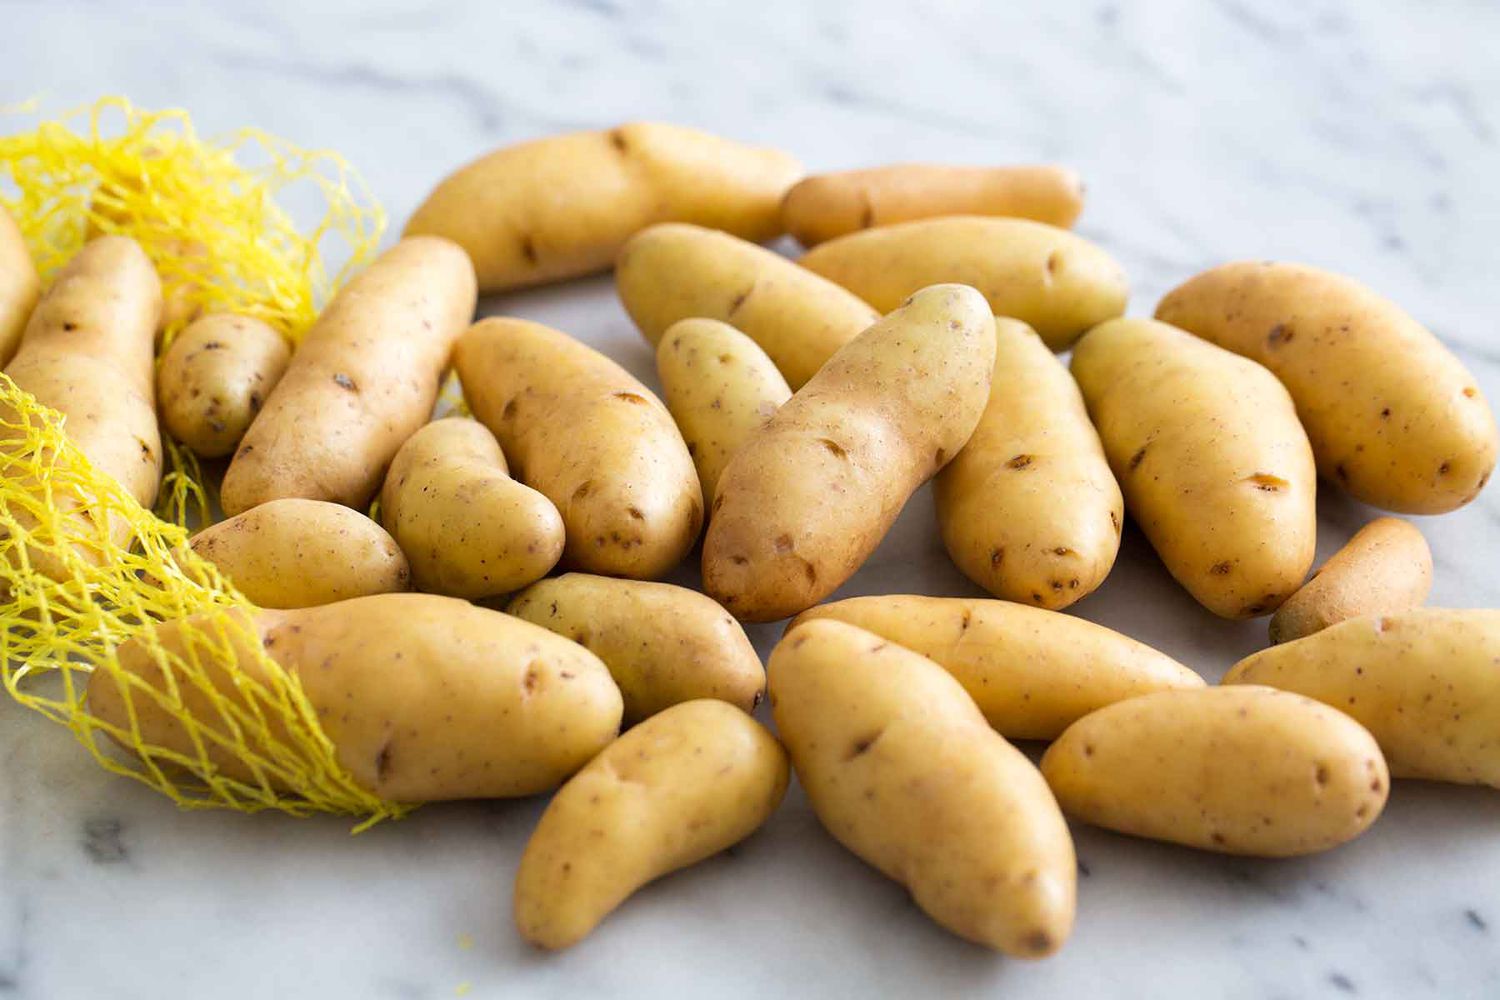
Selecting the Right Potato Varieties for Containers
Choosing the right potato varieties is crucial for successful container gardening. Here are some factors to consider when selecting potato varieties for your containers:
- Compact Growth Habit: Look for potato varieties that have a compact or bushy growth habit. These varieties are better suited for containers as they require less space to grow and have shorter vines.
- Early or Mid-Season Varieties: Opt for early or mid-season potato varieties as they tend to have a shorter growing period and are well-suited for container gardening. This allows you to enjoy an earlier harvest and frees up the container for a succession planting or other crops later in the season.
- Disease Resistance: Check for potato varieties that have resistance to common potato diseases such as late blight, early blight, or scab. Disease-resistant varieties can help minimize the risk of infections and ensure healthier plants.
- Yield: Consider the yield potential of different potato varieties. Some varieties are known for producing higher yields, which can be advantageous when growing in limited container space.
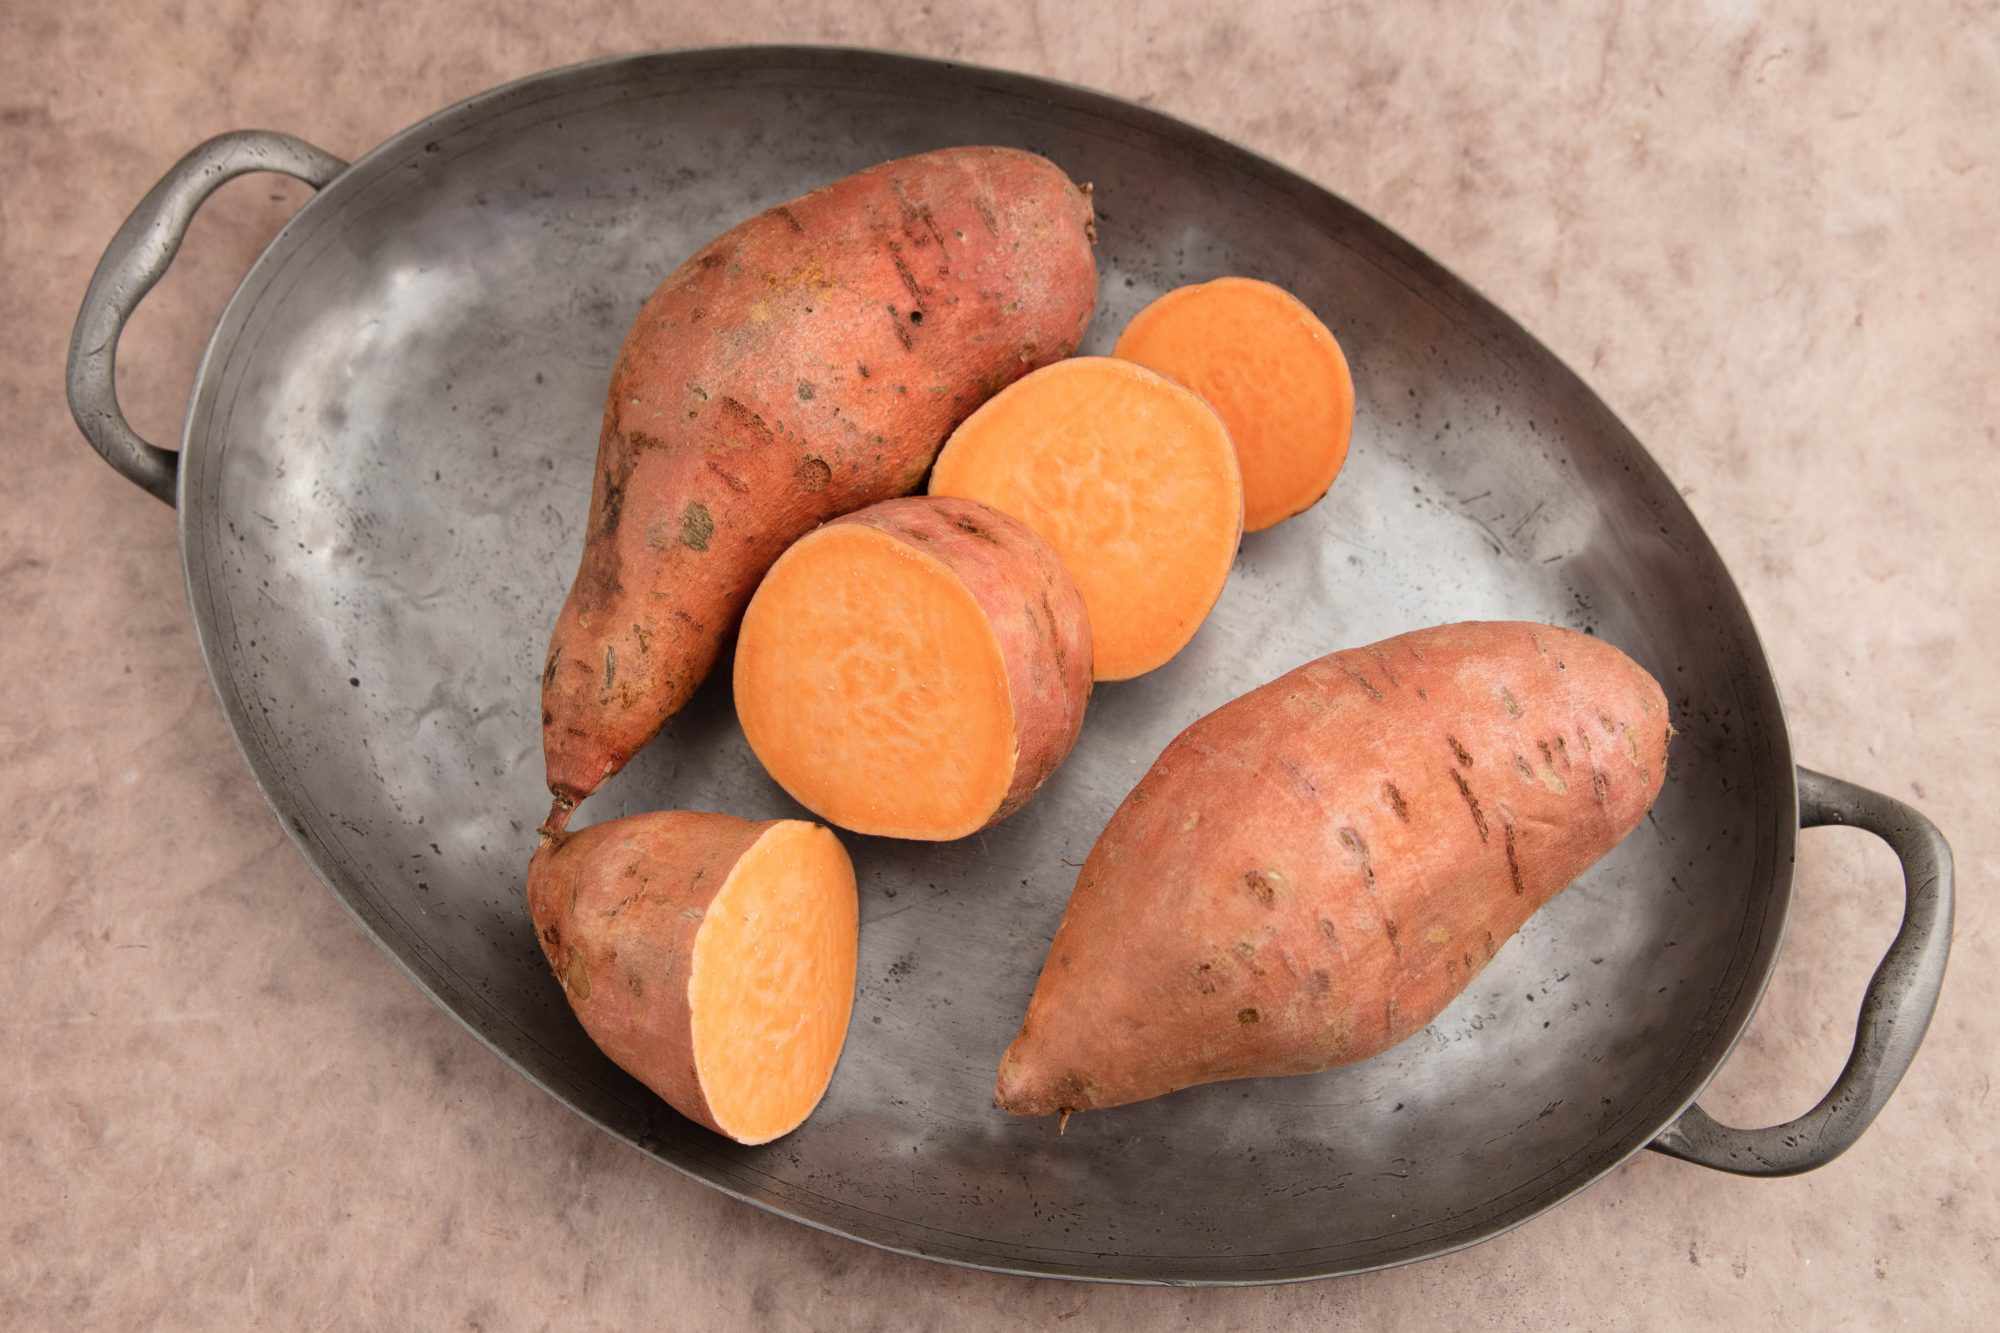
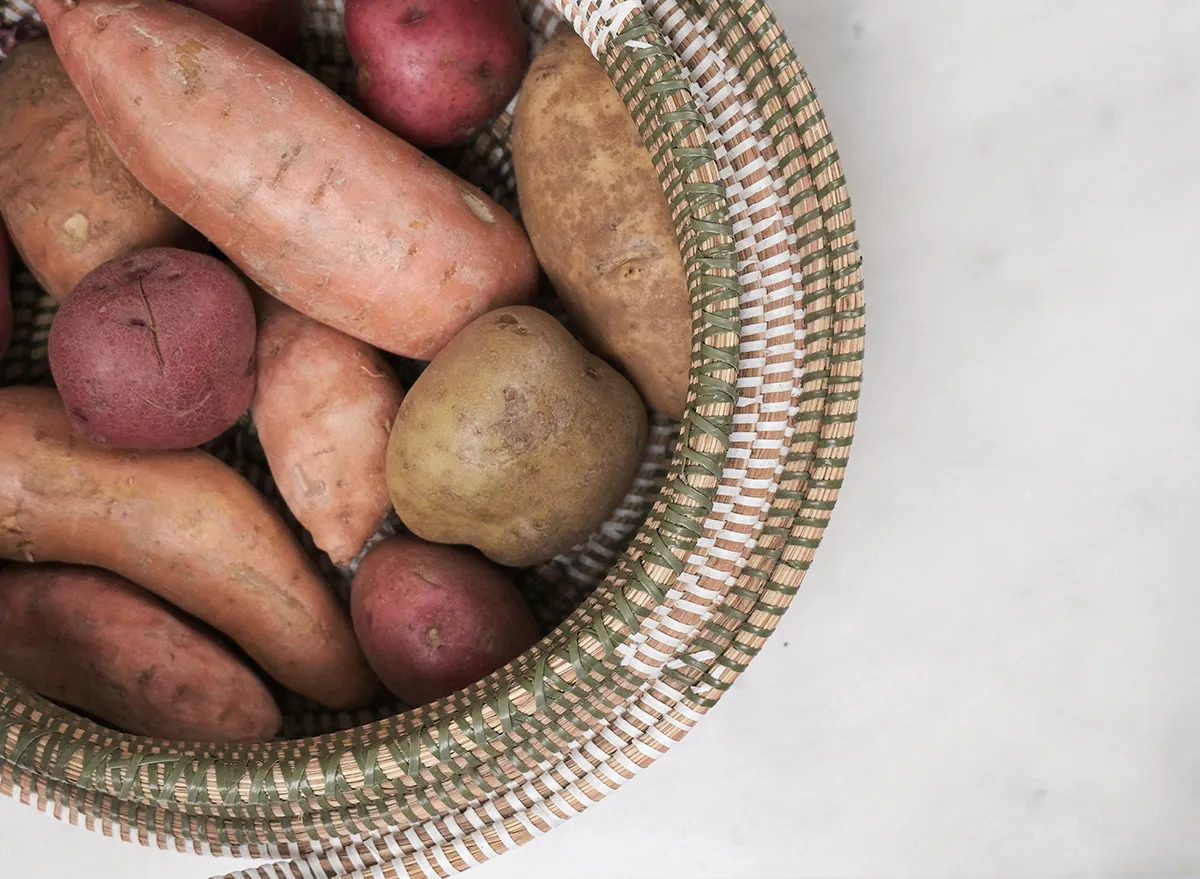
- Taste and Culinary Uses: Consider the flavor and culinary uses of the potato variety. Some varieties are better for boiling, roasting, or making mashed potatoes, while others are more suitable for salads or fries. Choose varieties that align with your taste preferences and cooking needs.
- Availability: Check with local nurseries or seed catalogs to see which potato varieties are readily available in your area. Choosing locally adapted varieties can increase your chances of successful cultivation.
Popular potato varieties that are well-suited for container gardening include ‘Yukon Gold,’ ‘Red Pontiac,’ ‘Russian Banana,’ and ‘Fingerling’ varieties. These varieties generally have compact growth habits, disease resistance, and great flavor profiles.
Remember to plant certified disease-free seed potatoes from a reputable source to ensure healthy plants. Take into account the specific requirements and characteristics of different potato varieties to choose ones that best suit your container gardening needs.
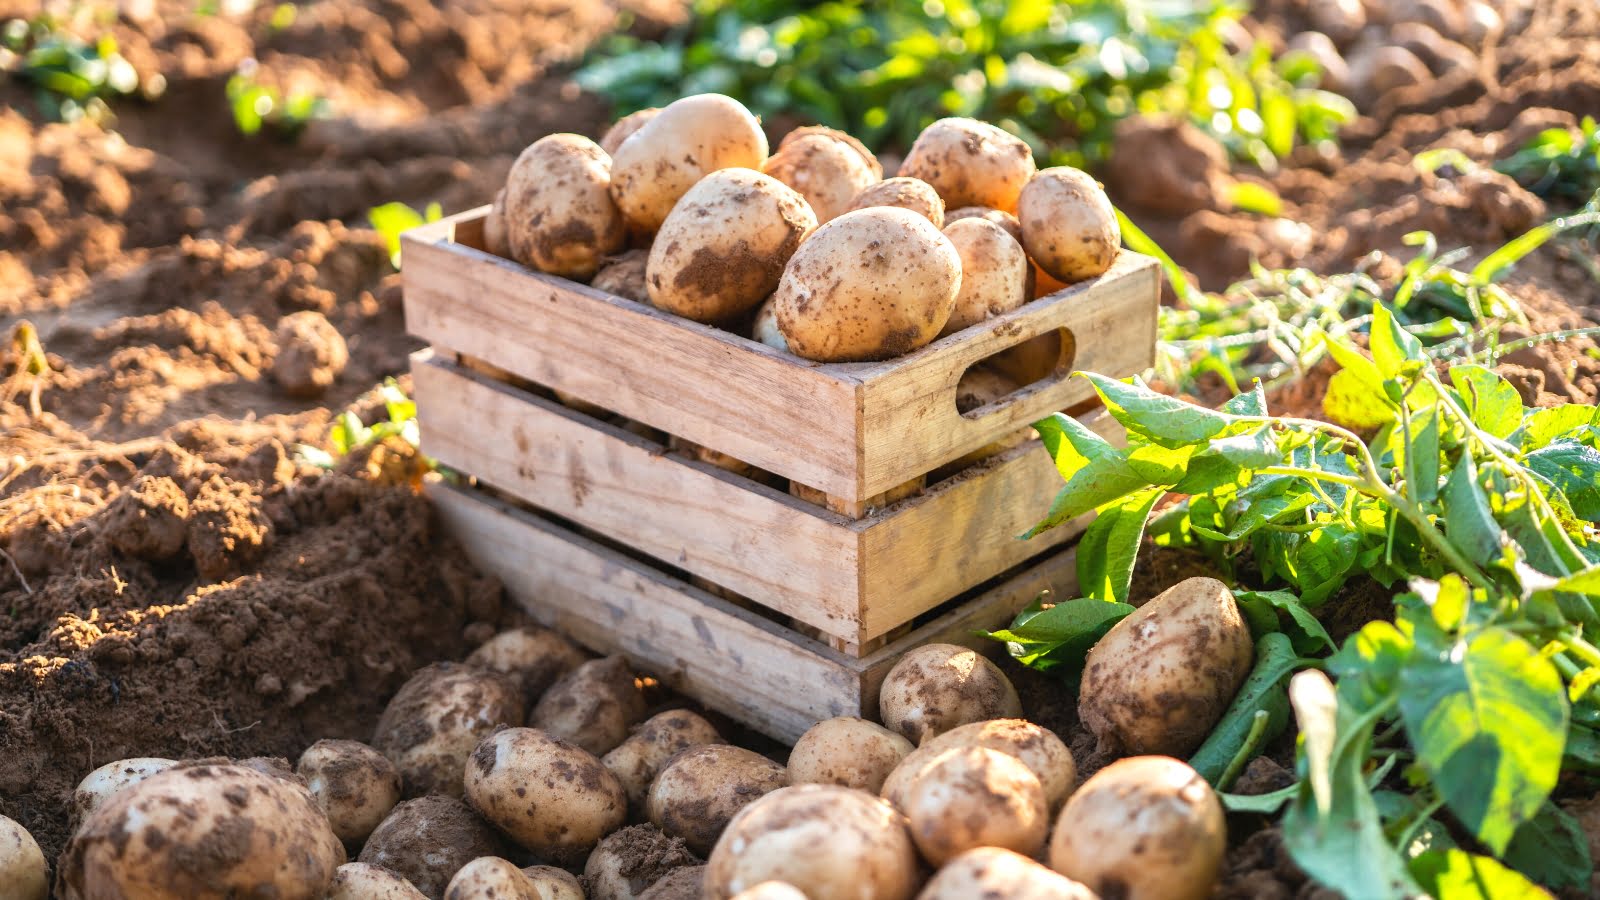
Preparing the Potatoes for Planting
Before planting your potatoes in containers, proper preparation of the seed potatoes is essential for ensuring successful growth. Follow these steps to prepare your potatoes for planting:
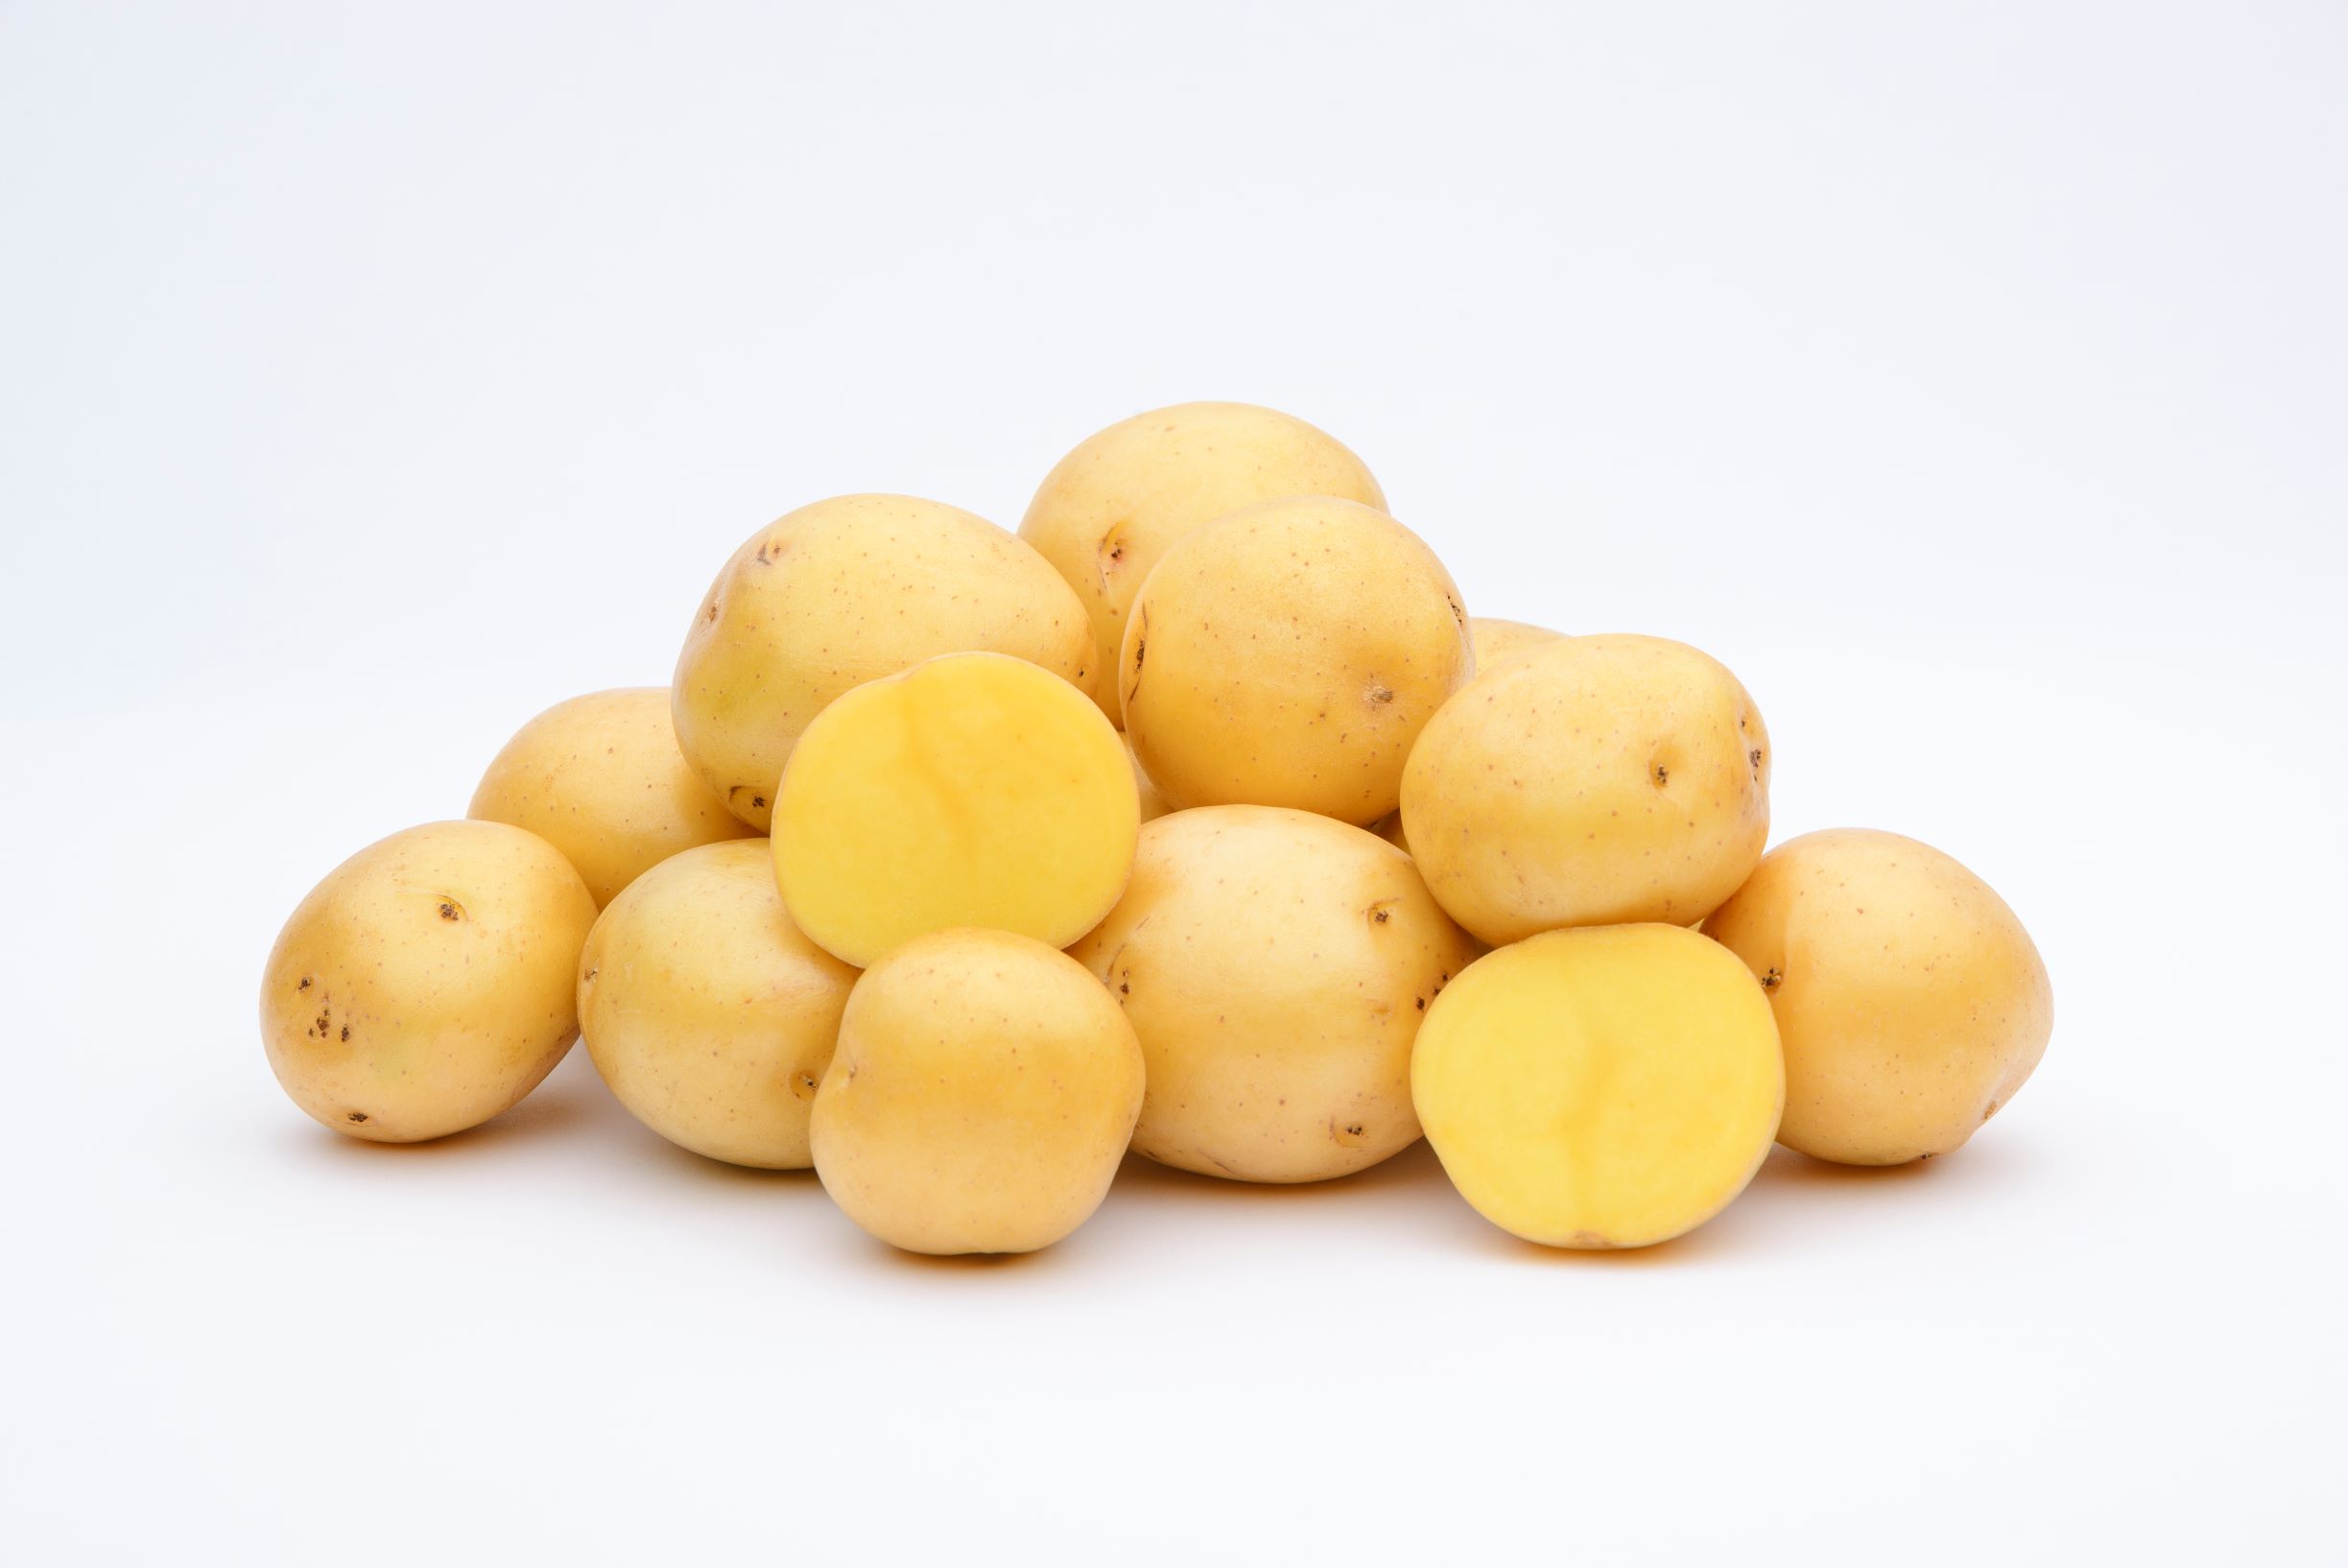
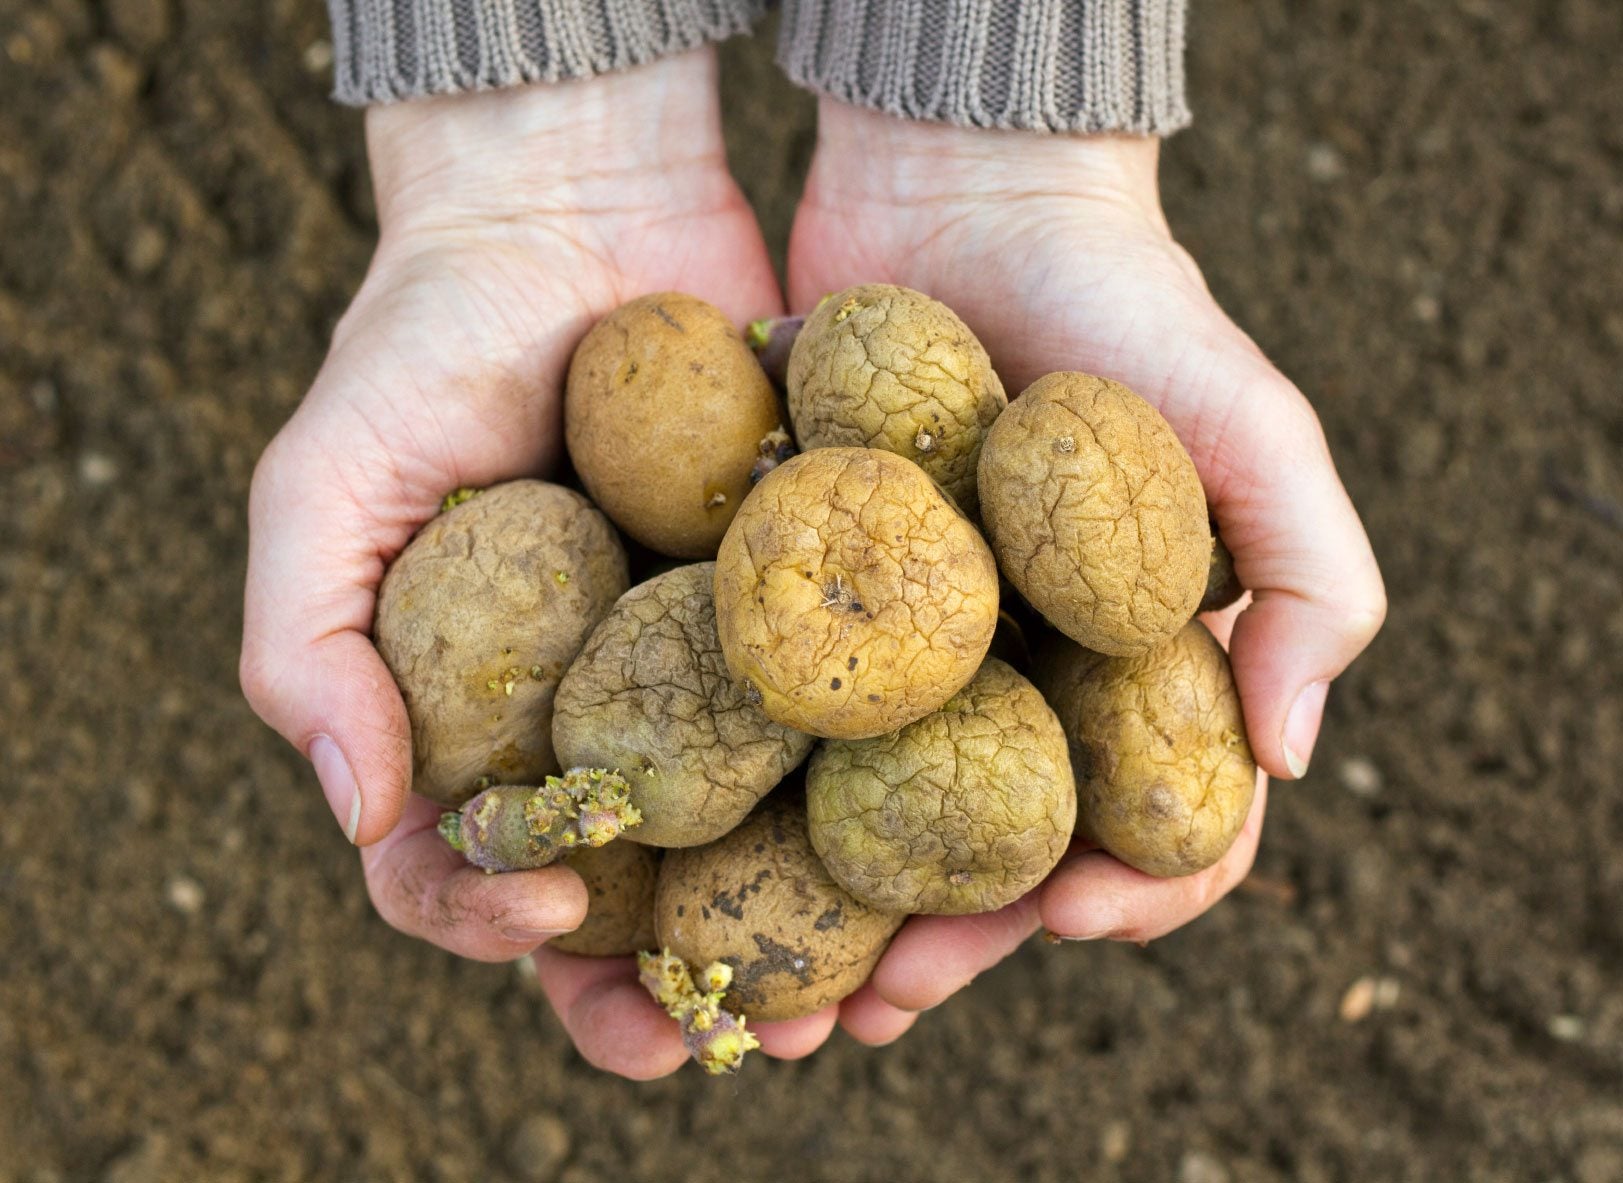
- Select Quality Seed Potatoes: Choose certified disease-free seed potatoes from a reliable source. Look for potatoes that are firm, free from blemishes, and have well-developed eyes.
- Chit the Potatoes: Chitting, or sprouting, the seed potatoes is an optional step that can help promote faster and more vigorous growth. Place the seed potatoes in an egg carton or a shallow tray with the eyes facing upwards. Keep them in a cool, well-lit area for a few weeks until sprouts begin to emerge.
- Cut Larger Potatoes: If your seed potatoes are particularly large, you can cut them into smaller pieces, ensuring each piece has at least one or two eyes. Allow the cut potatoes to dry and form a protective skin for a day or two before planting.
- Prevent Rot: To prevent rotting, you can dust the cut surfaces of the seed potatoes with some agricultural-grade sulfur or a sprinkle of cinnamon. This helps to protect them from fungal infections.
- Consider Pre-Sprouted Potatoes: If you want to skip the chitting process, you can also purchase pre-sprouted potatoes from nurseries or online suppliers. These are already sprouted and ready for planting.
Remember to handle the seed potatoes with care to prevent damage and ensure that each piece has sufficient nutrients and potential for growth. Taking the time to properly prepare your seed potatoes will set the stage for healthy and robust potato plants.
Read more: How To Store Sprouted Potatoes For Planting
Planting the Potatoes in Containers
Once your seed potatoes are prepared, it’s time to plant them in containers. Follow these steps to ensure successful planting:
- Fill the Container: Fill the container with a high-quality potting mix or a combination of potting soil and compost. Leave about 4-6 inches of space from the top of the container to allow for additional soil as the plants grow.
- Plant the Seed Potatoes: Place the prepared seed potatoes on the soil surface, with the sprouts or eyes facing upward. Space the seed potatoes evenly, leaving enough room for growth between each potato.
- Cover and Water: Gently cover the seed potatoes with a layer of soil, about 2-3 inches thick. Water thoroughly to ensure the soil is evenly moist. Avoid overwatering, as it can lead to waterlogged soil and rotting potatoes.
- Provide Support (Optional): If you are growing taller potato varieties or want to maximize your space, consider using a trellis or stakes for support. As the potato plants grow, you can gently tie the vines to the support structure to prevent them from sprawling and taking up unnecessary space.
- Place in a Sunny Location: Position the containers in a location that receives at least 6-8 hours of direct sunlight each day. Potatoes require ample sunlight for healthy growth and to encourage the development of tubers.
- Maintain Adequate Moisture: Regularly check the moisture level in the containers and water whenever the top inch of soil feels dry. Aim to keep the soil consistently moist but not waterlogged.
- Keep an Eye on Temperature: Potatoes prefer cooler temperatures for growth. Monitor the temperature around the container and provide protection if there is a risk of frost or extremely hot conditions. Moving the containers to a sheltered spot or using shade cloth can help regulate the temperature.
Be patient, as it may take a couple of weeks for the potato sprouts to emerge from the soil. Once the plants start to grow, continue to provide proper care and attention to ensure healthy development and an abundant harvest.
When planting potatoes in containers, make sure to use a large container with good drainage. Plant the seed potatoes in a few inches of soil, and as the plants grow, keep adding more soil to cover the stems. This will encourage more potato production.
Providing Adequate Water and Sunlight
Proper watering and sunlight are essential for the successful growth and development of your potato plants in containers. Follow these guidelines to ensure your plants receive the necessary water and sunlight:
Watering:
- Keep the soil evenly moist throughout the growing season. Avoid allowing the soil to dry out completely or become waterlogged.
- Check the moisture level regularly by inserting your finger into the soil. If the top inch feels dry, it’s time to water.
- Water deeply, ensuring the water reaches the root zone of the plants. This encourages healthy root development.
- Water the containers in the early morning or late evening to minimize evaporation and allow the foliage to dry before nighttime.
- Take into account the weather conditions. Hot and windy weather may dry out the soil faster, requiring more frequent watering, while cooler or rainy periods may require less watering.
Sunlight:
- Place the containers in a location that receives at least 6-8 hours of direct sunlight each day. This is crucial for photosynthesis and the development of robust potato plants.
- Monitor the sun exposure throughout the day and adjust the position of the containers if necessary to ensure the plants receive adequate sunlight.
- If you have limited access to sunlight, consider using reflective materials, such as white walls or mirrors, to redirect and maximize the available sunlight.
- During heatwaves or exceptionally hot days, provide some shade or use shade cloth to protect the plants from scorching and excessive heat.
Remember, finding the right balance between water and sunlight is essential. Overwatering can lead to rotting and disease, while insufficient sunlight can result in weak plants and low yields. Regularly monitor and adjust your watering and sunlight practices to provide optimal growing conditions for your potato plants in containers.
Applying Fertilizer and Mulching
Proper fertilization and mulching are important aspects of growing potatoes in containers. They help provide essential nutrients, retain moisture, and suppress weed growth. Follow these tips to effectively nourish and protect your potato plants:
Applying Fertilizer:
- Start by incorporating slow-release organic fertilizer into the potting soil before planting. This will provide a steady release of nutrients throughout the growing season.
- Alternatively, you can use a balanced granular fertilizer formulated for vegetables. Follow the packaging instructions for application rates and timing.
- As the potato plants grow, you can apply a side dressing of additional fertilizer. This can be done when the plants are about 6-8 inches tall and repeated every 4-6 weeks throughout the growing season.
- Use a fertilizer high in potassium, as it promotes tuber development. Potassium-rich options include potassium sulfate or wood ash.
- Avoid over-fertilizing, as it can lead to excessive vegetative growth and reduced tuber development.
Mulching:
- Apply a layer of organic mulch around the base of the potato plants once they have emerged from the soil. Use materials such as straw, shredded leaves, or compost.
- Mulching helps to retain soil moisture, regulate soil temperature, and suppress weed growth.
- Ensure the mulch layer is about 2-3 inches thick, taking care not to cover the potato foliage or stems directly.
- Regularly monitor the mulch layer and replenish it as needed to maintain the desired thickness.
By providing a steady supply of nutrients and implementing mulching techniques, you can promote healthy growth, increase yield potential, and reduce the need for excessive watering and weeding. These practices contribute to the overall success of your container-grown potatoes.
Preventing Pests and Diseases
Pests and diseases can pose a threat to your potato plants, but with proper prevention and vigilance, you can minimize the risk. Here are some steps you can take to prevent common pests and diseases in your container-grown potatoes:
Pest Prevention:
- Aphids: Monitor your plants regularly for aphids, small insects that cluster on the undersides of leaves. If detected, spray a strong stream of water to dislodge them or use insecticidal soap as a natural remedy.
- Cutworms and Wireworms: Place collars made of cardboard or plastic around the base of your plants to protect them from cutworms and wireworms, which can chew through the stems or tubers.
- Colorado Potato Beetle: Handpick and destroy any adult beetles or larvae you find on the plants. Introducing beneficial insects like ladybugs or using organic insecticides can also help control their population.
- Slugs and Snails: Set up beer traps or use organic slug pellets to attract and eliminate slugs and snails. Removing debris and reducing moisture can also discourage their presence.
Disease Prevention:
- Early and Late Blight: Plant disease-resistant potato varieties and provide adequate spacing between plants for good air circulation. Avoid overhead watering, as damp foliage can contribute to disease development. If necessary, apply organic fungicides to control the spread of blight.
- Scab: Maintain proper soil pH and moisture levels to minimize the risk of scab. Add organic matter such as compost to the soil to improve its quality. Crop rotation and avoiding excessive nitrogen fertilization can also help prevent scab.
- Viruses: Use certified disease-free seed potatoes to reduce the risk of viral infections. Remove any infected plants promptly and avoid planting potatoes near other plants prone to viral diseases.
- Early Sprouting and Tuber Rot: Keep an eye on moisture levels and avoid overwatering, as it can lead to tuber rot. Harvest potatoes promptly once they are mature to prevent tubers from sprouting prematurely.
Regularly inspect your potato plants for any signs of pests or diseases, and take immediate action to address them. Early detection and prevention are key to protecting the health and productivity of your container-grown potatoes.
Harvesting and Storing Potatoes
Harvesting your homegrown potatoes is an exciting culmination of your efforts. Here are some guidelines to follow for a successful harvest and proper storage:
Harvesting:
- Monitor Tuber Development: Check the plants regularly for signs of maturity. Mature potatoes will have a firm skin and will have reached their full size.
- Wait for Plant Die-back: As the growing season comes to an end, the foliage of the potato plants will start to turn yellow and wither. This is a sign that the plants are nearing the end of their cycle and the tubers are ready for harvest.
- Harvesting Technique: To harvest potatoes, gently dig into the soil near the base of the plants using a garden fork or hand trowel. Carefully lift the plant and its tubers from the container. Avoid puncturing or damaging the tubers during this process.
- Curing: Brush off any excess soil from the harvested potatoes, but do not wash them. Allow the potatoes to dry in a cool, dark, and well-ventilated area for about 1-2 weeks. This process, known as curing, helps toughen the skin and prolong storage life.
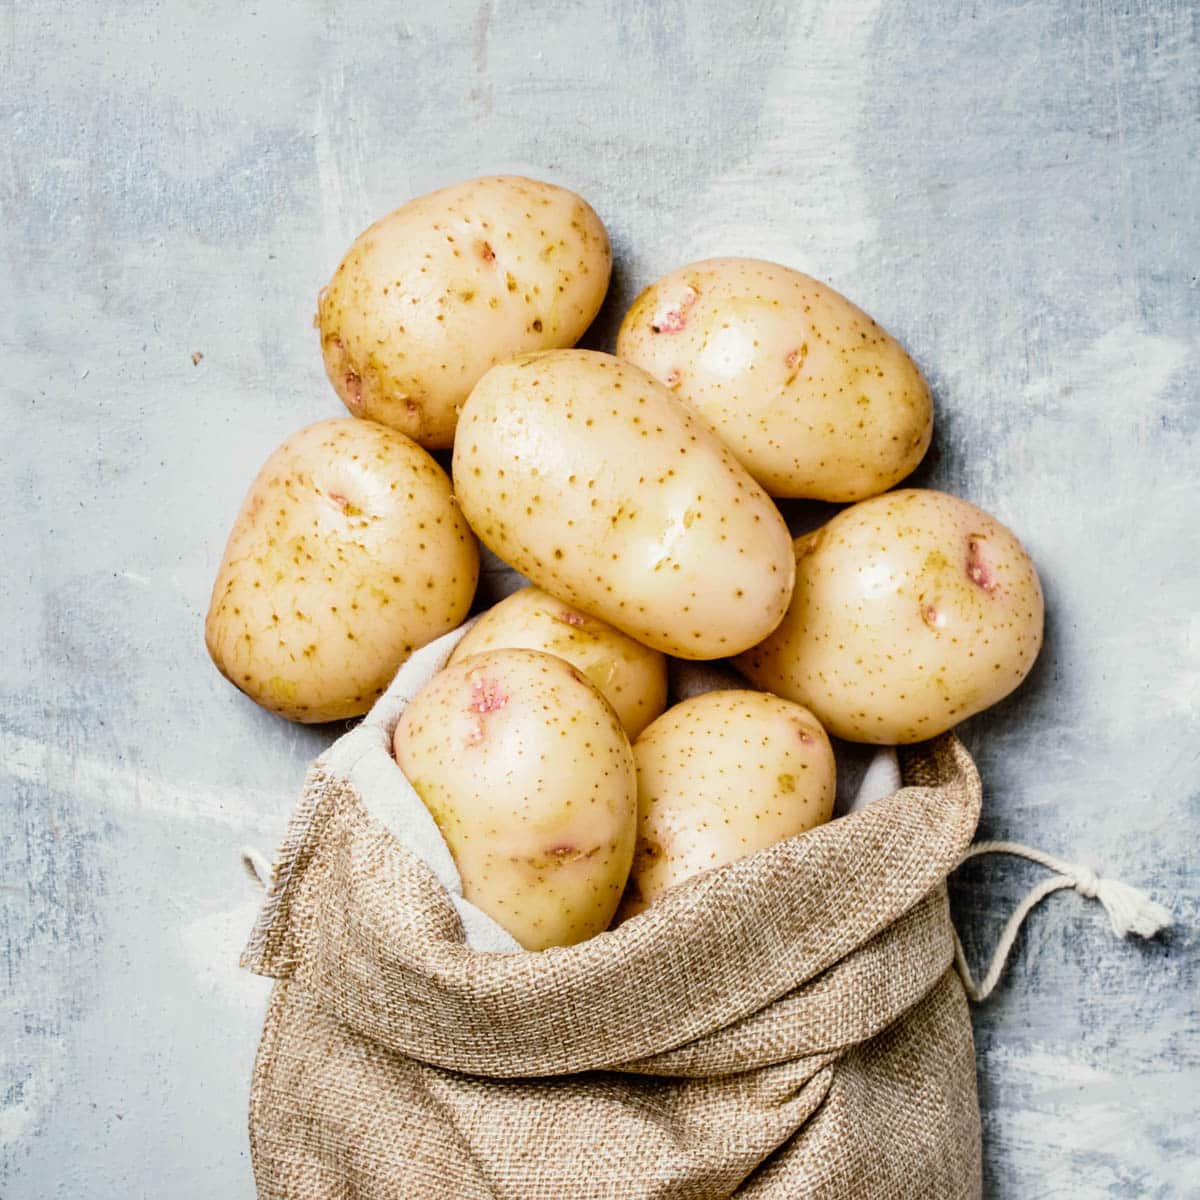
Storing:
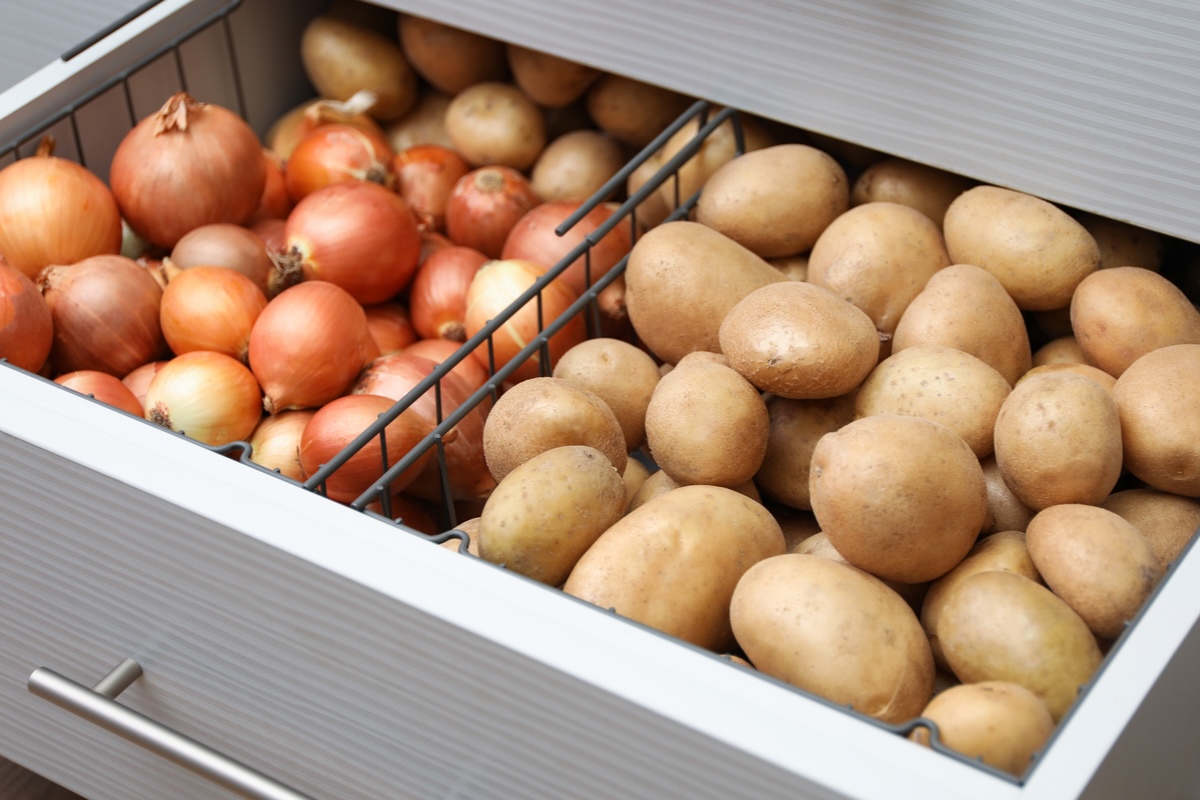
- Choose the Right Storage Conditions: Store the cured potatoes in a cool and dark location, such as a cellar, basement, or an unheated garage. The ideal temperature for potato storage is around 45-50°F (7-10°C) with a relative humidity of 80-90%.
- Avoid Light Exposure: Exposure to light can cause potatoes to turn green and develop a bitter taste. Store potatoes in breathable containers, such as burlap sacks or cardboard boxes, to protect them from light.
- Check for Spoilage: Regularly inspect your stored potatoes and remove any that show signs of rotting or sprouting. One rotten potato can quickly spoil the entire batch.
- Avoid Refrigeration: Do not store potatoes in the refrigerator, as the cold temperatures can convert the potato’s starches to sugar and affect the flavor and texture.
- Separate from Other Produce: Keep potatoes separate from other fruits and vegetables, as some produce releases ethylene gas, which can speed up the sprouting process in potatoes.
By following these guidelines for harvesting and storing, you can enjoy the fruits of your labor for months to come. Freshly harvested and properly stored potatoes will provide delicious meals and a sense of satisfaction knowing that you have successfully grown your own food.
Conclusion
Growing potatoes in containers is a rewarding and practical way to enjoy homegrown produce, even if you have limited space. By following the steps outlined in this article, you can successfully plant, care for, and harvest your own potatoes right at home.
From the benefits of container gardening to choosing the right container and potato varieties, we covered the essentials of growing potatoes in containers. Proper preparation, including chitting the seed potatoes and selecting quality soil, sets the stage for healthy growth. Planting the potatoes, providing adequate water and sunlight, and applying fertilizer and mulch promote optimum plant development.
To ensure a successful harvest, it is important to prevent pest and disease issues through vigilance and proactive measures. Regular monitoring and control methods can help protect your potato plants from common pests and diseases. When the time comes, harvesting your potatoes and storing them correctly will ensure their quality and extend their shelf life.
Container-grown potatoes provide not only the satisfaction of growing your own food but also the opportunity to savor the flavor of freshly harvested potatoes. So, get your containers ready, choose your potato varieties, and embark on a journey of growing delicious potatoes right in the comfort of your own home.
Remember to enjoy the process, experiment with different potato varieties, and share the joy of homegrown potatoes with family and friends. Happy gardening!
Frequently Asked Questions about How To Plant Potatoes In Containers
Was this page helpful?
At Storables.com, we guarantee accurate and reliable information. Our content, validated by Expert Board Contributors, is crafted following stringent Editorial Policies. We're committed to providing you with well-researched, expert-backed insights for all your informational needs.


0 thoughts on “How To Plant Potatoes In Containers”