Home>Interior Design>How To Paint A Ceiling: Expert Tips For A Flawless Finish
Interior Design
How To Paint A Ceiling: Expert Tips For A Flawless Finish
Modified: November 1, 2024
Learn expert tips and tricks for achieving a flawless finish when painting a ceiling with our comprehensive guide. Perfect for interior design enthusiasts.
(Many of the links in this article redirect to a specific reviewed product. Your purchase of these products through affiliate links helps to generate commission for Storables.com, at no extra cost. Learn more)
Introduction
Welcome to the world of interior design, where every element plays a vital role in creating the perfect space. When it comes to transforming a room, painting the walls is often at the top of the list. However, one area that is often overlooked but just as crucial is the ceiling. A well-painted ceiling can add depth, character, and elegance to any room.
In this article, we will guide you through the process of painting a ceiling, providing expert tips to help you achieve a flawless finish. Whether you are a seasoned DIY enthusiast or a novice looking to tackle your first home improvement project, these tips will ensure that your ceiling painting venture is a success.
Before we dive into the step-by-step process, it’s essential to understand the importance of proper preparation. Prepping the ceiling will ensure that the paint adheres well and the final result is smooth and long-lasting. Let’s explore the necessary steps to prepare the ceiling before the actual painting begins.
Key Takeaways:
- Transform your space with a flawless ceiling by following expert tips on preparation, paint selection, application techniques, and avoiding common mistakes. Enjoy the process and revel in the satisfaction of a beautifully painted ceiling.
- Achieve a professional finish with the right tools, patience, and attention to detail. From priming to clean-up, create a visually appealing and aesthetically pleasing atmosphere in your space. Happy painting!
Read more: Paint Finishes For Ceilings Explained
Preparing the Ceiling
Before you begin painting the ceiling, it is crucial to prepare the surface properly. This involves removing any dirt, dust, or flaking paint and ensuring that the ceiling is smooth and ready to be painted. Follow these steps to prepare your ceiling:
- Clean the ceiling: Start by removing any dust, cobwebs, or dirt from the ceiling. Use a soft broom or a vacuum cleaner with a brush attachment to gently clean the surface. This will ensure that the paint adheres well and provides a smooth finish.
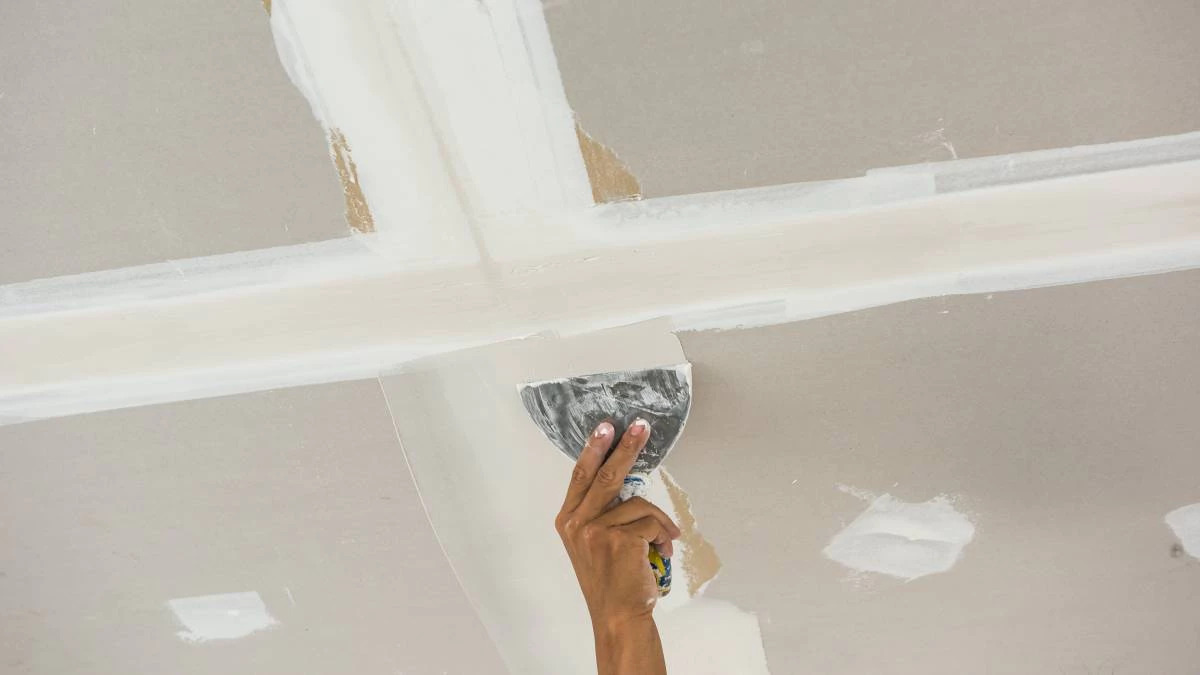
- Repair any imperfections: Inspect the ceiling for any cracks, holes, or imperfections. Use a suitable filler or spackling compound to fill in these areas. Smooth the filler with a putty knife and allow it to dry according to the manufacturer’s instructions. Sand any excess filler until the surface is even and smooth.
- Protect the surrounding areas: Cover the floor and furniture with drop cloths or plastic sheets to protect them from paint splatters or drips. Use masking tape to cover any fixtures or edges that you don’t want to be painted.
- Remove light fixtures: If there are any light fixtures or ceiling fans on the ceiling, remove them before painting. This will make the painting process easier and prevent any accidental paint splatter on these fixtures. Remember to turn off the power supply and follow the manufacturer’s instructions for safe removal.
Once you have completed these preparation steps, you are ready to move on to the next phase: choosing the right paint and tools. This is a crucial step in ensuring a professional-looking finish for your painted ceiling.
Choosing the Right Paint and Tools
Selecting the right paint and tools is essential to achieve a flawless finish on your ceiling. Here are some factors to consider when choosing the paint and tools for your project:
- Type of paint: For ceilings, it is recommended to use a flat or matte finish paint. These finishes help to minimize any imperfections on the ceiling’s surface and provide a smooth appearance. Avoid using glossy or semi-gloss paints, as they can highlight flaws and make the ceiling appear uneven.
- Color: When it comes to ceiling paint color, most people opt for a classic white or off-white shade. These light colors help to make the room feel more spacious and enhance the overall brightness. However, if you want to make a statement or create a dramatic effect, consider using a different color that complements the room’s design and decor.
- Quality of paint: Investing in high-quality paint is crucial for a long-lasting and professional finish. Higher-quality paints typically have better coverage, are easier to apply, and provide a more durable finish. Look for paint brands that are known for their quality and have good reviews from other customers.
- Tools: The right tools can make a significant difference in the painting process. Here are some essential tools you will need for painting a ceiling:
- Roller: Use a roller with a medium nap (around ½ to ¾ inch) for smooth ceilings. For textured ceilings, a roller with a longer nap (around ¾ to 1 ¼ inch) will help to reach all the crevices.
- Extension pole: An extension pole attaches to the roller handle and allows you to reach high ceilings safely without the use of a ladder. This tool will save you time and effort during the painting process.
- Paint tray: A paint tray is used to hold the paint and allow for even distribution on the roller. Look for a sturdy and easy-to-clean paint tray.
- Brushes: Have a few brushes on hand for cutting in the edges and reaching corners that the roller can’t reach. Choose a high-quality brush with synthetic bristles for smooth paint application.
- Dust sheets and masking tape: These tools are crucial for protecting the surrounding areas from paint splatters and drips. Use dust sheets to cover the floor and furniture, and masking tape to cover fixtures and edges that you don’t want to be painted.
By considering the type of paint, color, quality, and the right tools, you are setting yourself up for a successful ceiling painting project. With these essentials in place, you are now ready to move on to the next step: priming the ceiling.
Prime the Ceiling
Priming the ceiling is an important step in the painting process as it helps the paint adhere better, provides a uniform surface, and ensures better coverage. Here’s how to prime your ceiling:
- Clean the surface: Before applying primer, make sure the ceiling is clean and free of any dust or debris. Gently wipe the surface with a damp cloth to remove any dirt.
- Protect the surrounding areas: Cover the floor and any furniture with drop cloths or plastic sheets to protect them from primer splatters or drips. Use masking tape to cover fixtures or edges that you don’t want to be primed.
- Choose the right primer: Select a high-quality primer that is specifically designed for ceilings. Look for a primer that is compatible with the type of paint you will be using. If your ceiling has significant stains or discoloration, consider using a stain-blocking primer to ensure they don’t bleed through the paint.
- Apply the primer: Pour the primer into a paint tray and use a roller with a medium nap to evenly distribute the primer on the ceiling. Start at one corner of the room and work your way across, applying the primer in overlapping strokes. Use a brush to cut in the edges and corners that the roller can’t reach.
- Allow the primer to dry: Follow the manufacturer’s instructions on the primer label for the recommended drying time. It is crucial to ensure that the primer is completely dry before proceeding with the painting process.
- Inspect the primed surface: Once the primer is dry, carefully inspect the ceiling for any areas that may require touch-ups or additional priming. Address any imperfections or missed spots before moving on to the next step.
Priming the ceiling provides a smooth and even base for the paint, resulting in a more professional-looking finish. Now that your ceiling is primed and ready, it’s time to move on to the next step: cutting in the edges.
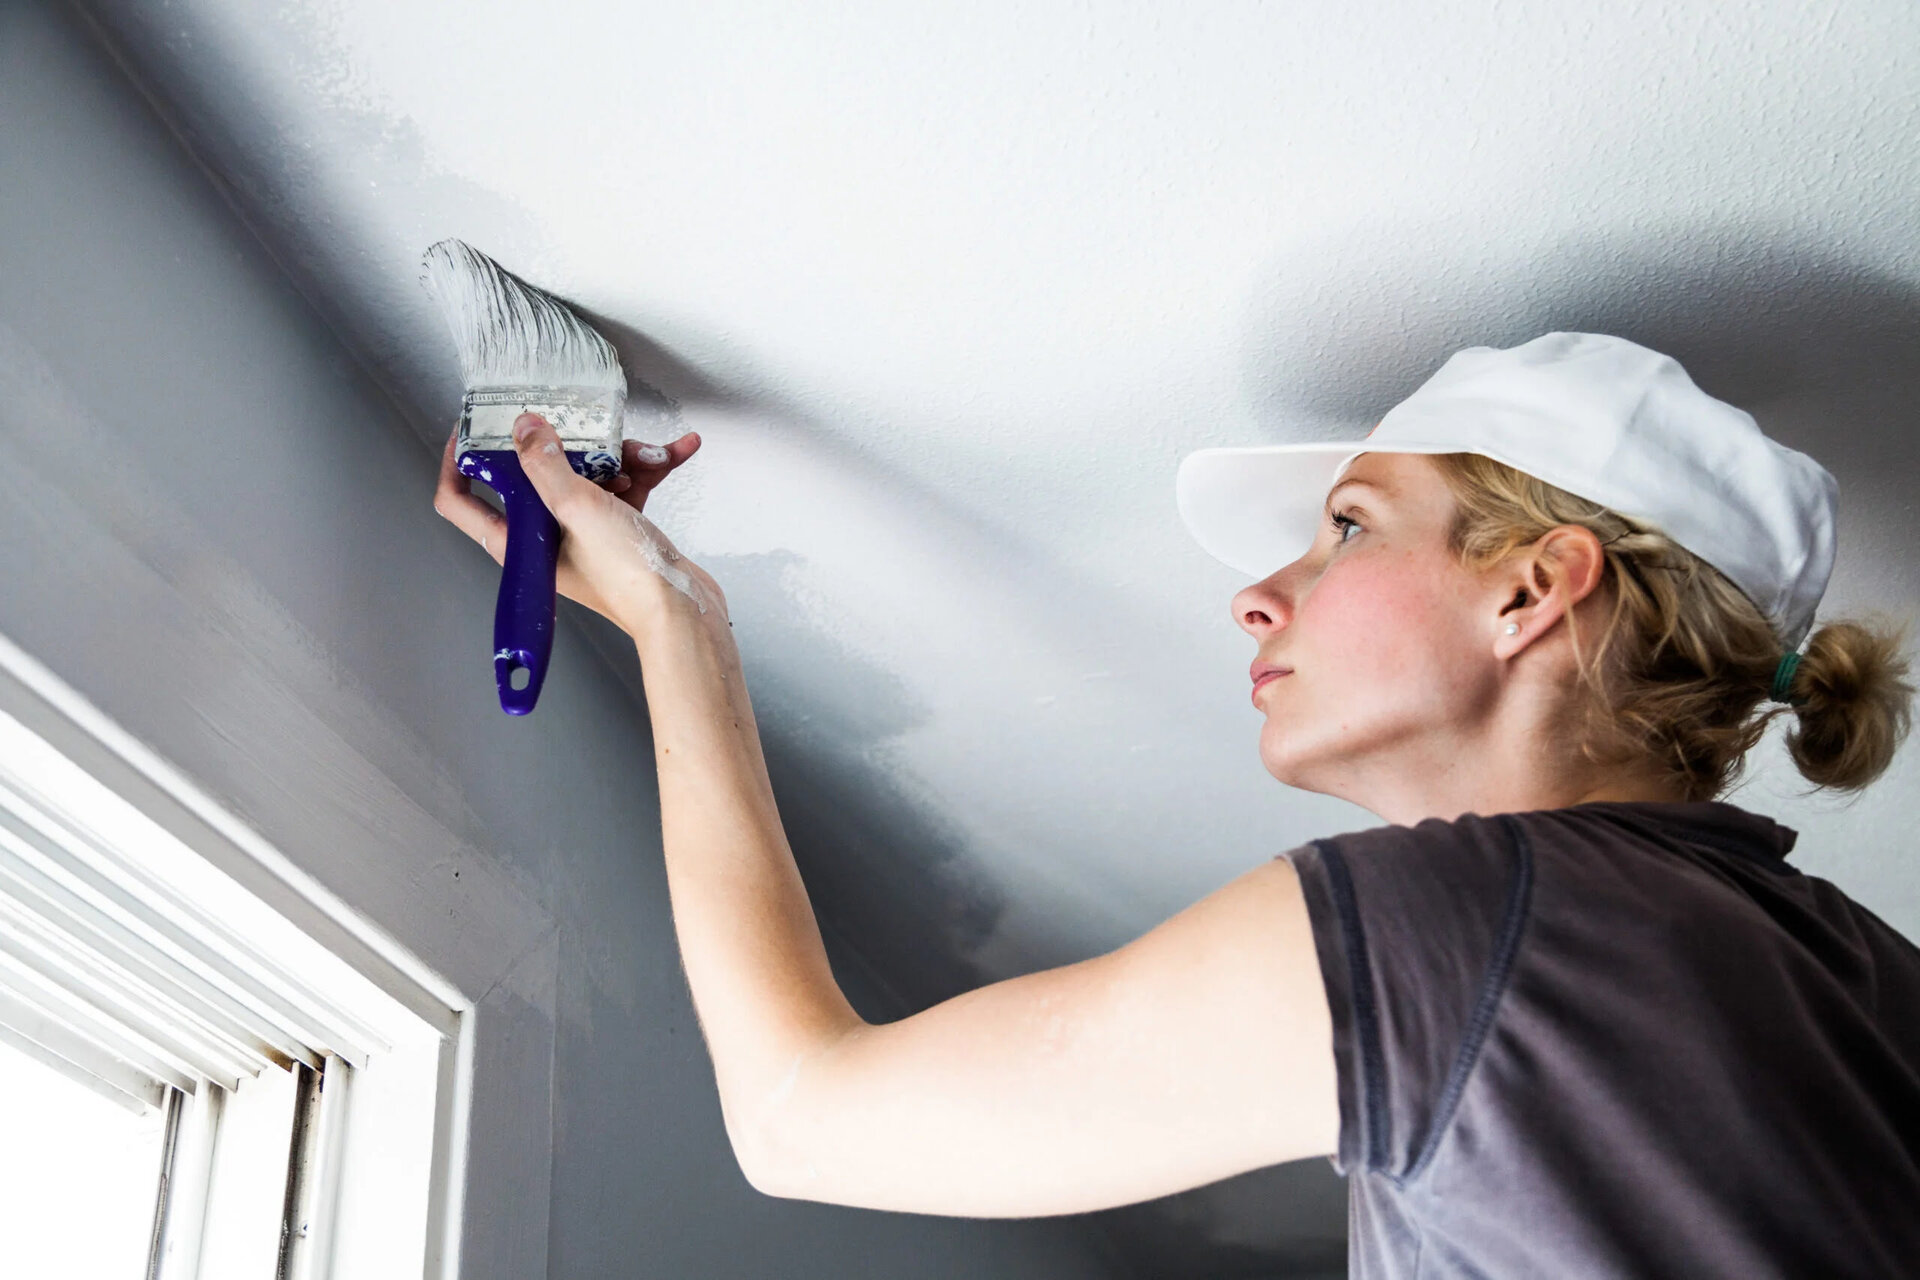
Cutting in the Edges
When painting a ceiling, cutting in the edges is an important step to ensure clean lines and a polished finish. Cutting in refers to applying paint to the edges of the ceiling where it meets the walls, corners, and other areas that cannot be reached with a roller. Here are the steps to properly cut in the edges of your ceiling:
- Prepare the paint: Pour the paint into a paint tray and dip a high-quality brush into the paint. Avoid soaking the brush with too much paint to prevent excessive dripping.
- Remove excess paint: Gently tap the brush against the side of the paint tray to remove any excess paint. This ensures a smooth and even application without excessive build-up of paint on the brush.
- Start with the corners: Begin by cutting in the corners of the ceiling using the brush. With steady and controlled strokes, carefully paint along the wall-ceiling junction. Take your time to achieve a precise and straight line.
- Continue along the edges: Working in small sections, continue cutting in along the edges of the ceiling, moving gradually towards the center. Use smooth, even strokes to maintain a consistent thickness of paint.
- Maintain a wet edge: To ensure a seamless finish, it’s important to maintain a wet edge while cutting in. This means overlapping the newly applied brush strokes with the previous ones while the paint is still wet. This technique helps to blend the paint and minimize visible brush marks.
- Check for consistency: Periodically step back and assess the cut-in lines for consistency and coverage. Touch up any missed spots or uneven areas with additional paint as needed.
- Allow the edges to dry: Once you have completed cutting in the edges, allow the paint to dry before proceeding with the roller application. Follow the recommended drying time provided by the paint manufacturer.
Cutting in the edges requires patience and attention to detail, but the result will be well-defined lines and a professional-looking finish. Now that the edges are painted, it’s time to move on to the next step: applying the paint to the rest of the ceiling.
Use a high-quality angled brush to cut in around the edges of the ceiling before using a roller for the main surface. This will give you a clean and professional finish.
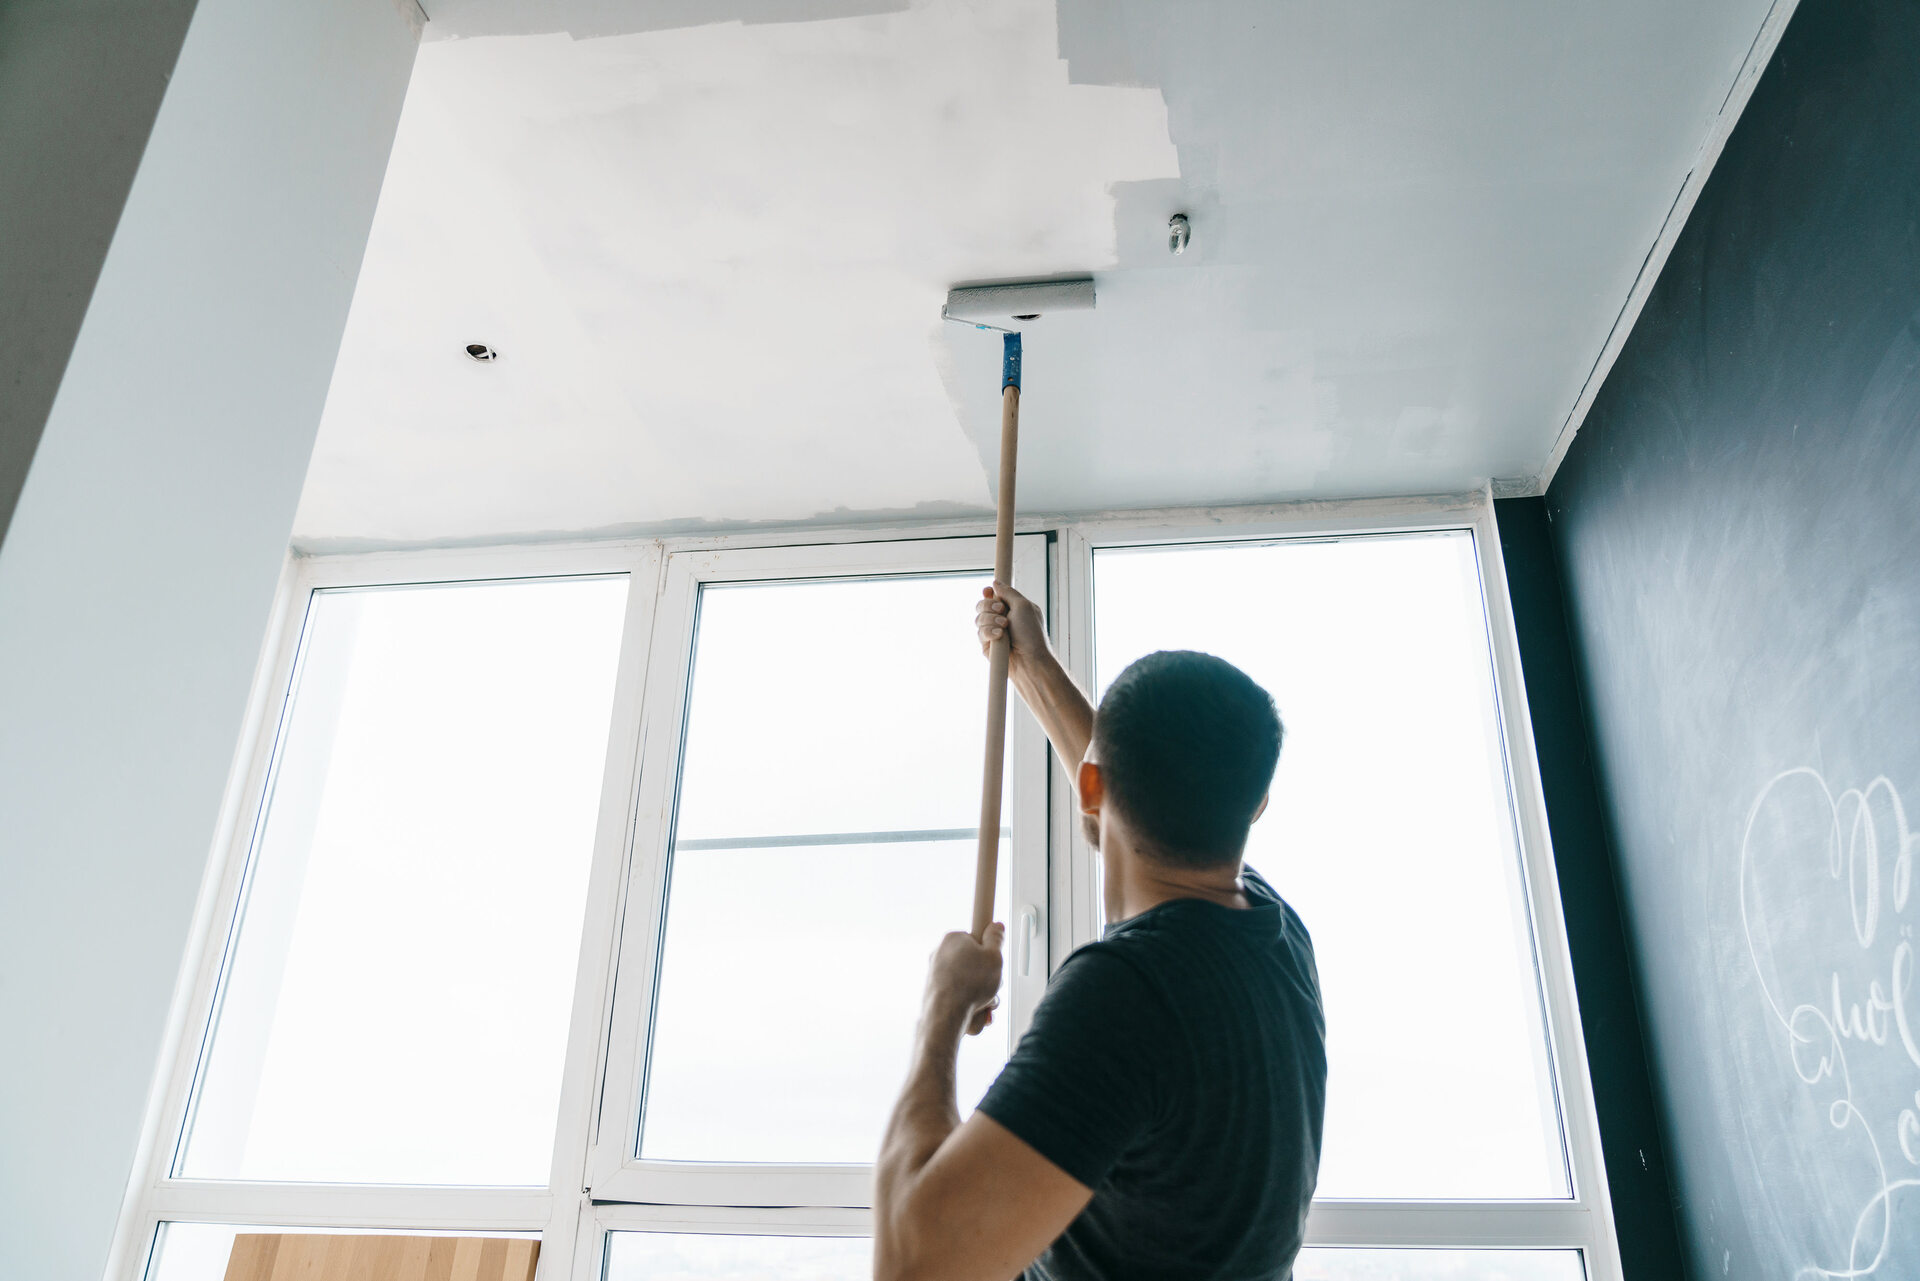
Applying the Paint
Now that the edges of the ceiling have been cut in, it’s time to apply the paint to the rest of the surface. Follow these steps to ensure a smooth and flawless application:
- Prepare the paint: Pour the paint into a paint tray and use a roller with a medium nap. Dip the roller into the paint, allowing it to absorb the paint evenly.
- Start in a corner: Begin painting in a corner of the ceiling, working your way across the room. This allows for a consistent flow of paint and avoids accidentally painting yourself into a corner.
- Apply the paint in sections: Work in small sections, approximately four square feet at a time. Start by rolling the paint onto the ceiling in a “W” or “M” pattern, then fill in the areas between the pattern with vertical strokes. This technique ensures even coverage and minimizes visible roller lines.
- Use a consistent pressure: Apply steady and even pressure on the roller while painting to maintain a consistent thickness of paint. Avoid pressing too hard, as it can create texture or cause the paint to drip.
- Overlap each stroke: To achieve a seamless finish, slightly overlap each newly applied stroke with the previous one while the paint is still wet. This helps to blend the paint and avoids visible lines or patches.
- Work from natural light sources: As you paint, try to work in the direction of natural light sources, such as windows or skylights. This allows you to better see any missed spots or uneven areas and ensures consistent lighting throughout the room.
- Check for consistency and coverage: Periodically step back and assess the painted area for consistency and coverage. Look out for any missed spots or areas that may require touch-ups. Address these issues by applying additional paint as needed.
- Allow the paint to dry: Once you have completed painting the entire ceiling, allow the paint to dry as per the manufacturer’s instructions. Avoid touching or applying any pressure on the freshly painted surface until it is fully dry.
By following these steps, you can achieve a perfectly painted ceiling with smooth, even coverage. Now that the paint is applied, let’s move on to the next section: avoiding common mistakes during the ceiling painting process.
Avoiding Common Mistakes
Painting a ceiling can be a rewarding project, but it’s important to be aware of common mistakes that can affect the final result. By avoiding these pitfalls, you can ensure a flawless and professional finish. Here are some common mistakes to watch out for:
- Skipping the prep work: Properly preparing the ceiling before painting is essential. Skipping steps like cleaning, repairing imperfections, and priming can result in poor paint adhesion and an uneven finish. Take the time to prepare the ceiling properly to achieve the best results.
- Using the wrong type of paint: Not all paint types are suitable for ceilings. Using glossy or semi-gloss paint can highlight imperfections and make the ceiling appear uneven. Stick to flat or matte finishes designed for ceilings to achieve a smooth and flawless look.
- Applying too much paint at once: Overloading the roller with too much paint can lead to drips, uneven coverage, and texture issues. Apply paint in thin, even layers to achieve a smooth and professional finish.
- Not cutting in the edges: Cutting in the edges of the ceiling helps create clean lines and avoids visible brush or roller marks along the walls. Take the time to carefully cut in the edges before using the roller for the main application.
- Using a low-quality brush or roller: Investing in high-quality brushes and rollers is key to achieving a professional finish. Cheap brushes can leave visible brush marks, while low-quality rollers might shed fibers or create an uneven surface. Choose the right tools for the job to ensure a smooth and flawless application.
- Allowing paint to dry unevenly: If you don’t maintain a wet edge while painting, the drying paint may leave visible lap marks or lines. Work in small sections and make sure to blend each stroke with the previous one while the paint is still wet.
- Not using proper ventilation: Painting a ceiling can release fumes that may be harmful if inhaled in an enclosed space. Ensure proper ventilation by opening windows or using fans during the painting process to promote airflow and reduce fumes.
- Rushing the drying process: Patience is key when it comes to drying time. Rushing the process by applying a second coat too soon or touching the paint before it’s fully dry can result in smudges, streaks, or damage to the finish. Follow the recommended drying time provided by the manufacturer.
By being mindful of these common mistakes and taking the necessary precautions, you can avoid potential issues and achieve a flawless finish on your painted ceiling. Now that you have learned how to paint a ceiling without pitfalls, let’s move on to the final steps: clean-up and final touches.
Clean-up and Final Touches
Once you have completed painting the ceiling, it’s important to properly clean up and add any final touches to ensure a polished and professional result. Here are the steps for clean-up and final touches:
- Remove drop cloths and masking tape: Carefully remove the drop cloths or plastic sheets covering the floor and furniture. Dispose of any paint debris in a responsible manner. Remove the masking tape from fixtures and edges, ensuring you peel it off slowly and at a 45-degree angle to avoid damaging the freshly painted surface.
- Clean your tools: Properly clean your brushes, rollers, paint tray, and any other painting tools you used. Depending on the type of paint you used, you may need to use water for latex-based paints or paint thinner for oil-based paints. Thoroughly rinse and dry your tools to keep them in good condition for future use.
- Inspect the painted ceiling: Take a moment to carefully inspect your painted ceiling. Look for any missed spots, drips, or imperfections that may need touch-ups. Use a small brush to correct any noticeable mistakes or uneven areas. It’s better to address these issues now, while the paint is still fresh.
- Reinstall light fixtures: Once the paint is completely dry, you can reinstall any light fixtures or ceiling fans that were removed. Follow the manufacturer’s instructions for safe and proper installation. Remember to turn the power supply back on and test the fixtures to ensure they are working correctly.
- Clean the room: Give the entire room a thorough cleaning to remove any dust or debris that may have accumulated during the painting process. Wipe down surfaces, vacuum the floor, and ensure everything is tidy. This will enhance the overall appearance of the room and showcase your newly painted ceiling.
With the clean-up and final touches complete, you can step back and admire your beautifully painted ceiling. You have successfully followed the necessary steps and avoided common mistakes, resulting in a flawless and professional finish. Your hard work and attention to detail have paid off, and your newly painted ceiling will be a stunning addition to your space.
Remember, painting a ceiling requires patience, proper preparation, and the right tools. By following these steps and incorporating your own personal touch, you can transform any room and create a captivating and visually appealing space. Enjoy the fruits of your labor and revel in the beauty of your newly painted ceiling!
Conclusion
Painting a ceiling may seem like a daunting task, but with the right preparation, techniques, and tools, you can achieve a flawless and professional-looking finish. Throughout this article, we have provided expert tips and guidance to help you successfully paint your ceiling.
From the importance of proper preparation to choosing the right paint and tools, we covered the essential steps involved in painting a ceiling. We discussed the significance of priming the ceiling, cutting in the edges, applying the paint evenly, and avoiding common mistakes that can hinder your progress.
By taking the time to properly prepare the ceiling, select the appropriate paint and tools, and follow the recommended techniques, you can transform your space and create an atmosphere that is visually appealing and aesthetically pleasing.
Remember to take care of the details, such as removing drop cloths and cleaning your tools, to ensure a polished result. The final touches and clean-up are just as important as the painting process itself. With attention to detail and a little bit of patience, you can achieve a flawless and professional finish.
Whether you are looking to refresh the look of a room, enhance the overall ambiance, or simply give your space a new lease of life, painting the ceiling is an effective and impactful way to achieve your desired result.
So go ahead, gather your supplies, and embark on your ceiling painting journey. With the knowledge and tips shared in this article, you are well-equipped to tackle this project and create a stunning ceiling that will be the envy of all who enter your space.
Remember, painting is not just about adding color to your walls – it’s about expressing your personal style, creating a warm and inviting space, and making your house feel like a home. Enjoy the process, embrace your creativity, and relish in the satisfaction of a beautifully painted ceiling.
Happy painting!
Frequently Asked Questions about How To Paint A Ceiling: Expert Tips For A Flawless Finish
Was this page helpful?
At Storables.com, we guarantee accurate and reliable information. Our content, validated by Expert Board Contributors, is crafted following stringent Editorial Policies. We're committed to providing you with well-researched, expert-backed insights for all your informational needs.


0 thoughts on “How To Paint A Ceiling: Expert Tips For A Flawless Finish”