Articles
How To Polish Wooden Furniture
Modified: January 19, 2024
Learn how to polish wooden furniture with our easy step-by-step guide. Enhance the beauty of your favorite pieces and protect them for years to come.
(Many of the links in this article redirect to a specific reviewed product. Your purchase of these products through affiliate links helps to generate commission for Storables.com, at no extra cost. Learn more)
Introduction
Welcome to our guide on how to polish wooden furniture! Whether you have a prized antique piece or a modern wooden furniture item, regular polishing helps maintain its beauty and extend its lifespan. Not only does polishing give your furniture a lustrous shine, but it also helps protect the wood from dirt, moisture, and scratches. In this comprehensive article, we will take you through the step-by-step process of polishing wooden furniture, ensuring that you achieve professional-looking results.
Before diving into the polishing process, it’s essential to gather all the necessary supplies. These items will not only make the task more manageable but also ensure that you obtain optimal results. Let’s explore the supplies you’ll need:
Key Takeaways:
- Regularly polishing wooden furniture not only enhances its appearance but also protects it from dirt, moisture, and scratches, extending its lifespan and maintaining its beauty.
- Proper preparation, thorough cleaning, and meticulous attention to detail during the polishing process are essential for achieving professional-looking results and ensuring the longevity of wooden furniture.
Read more: How To Use Furniture Polish
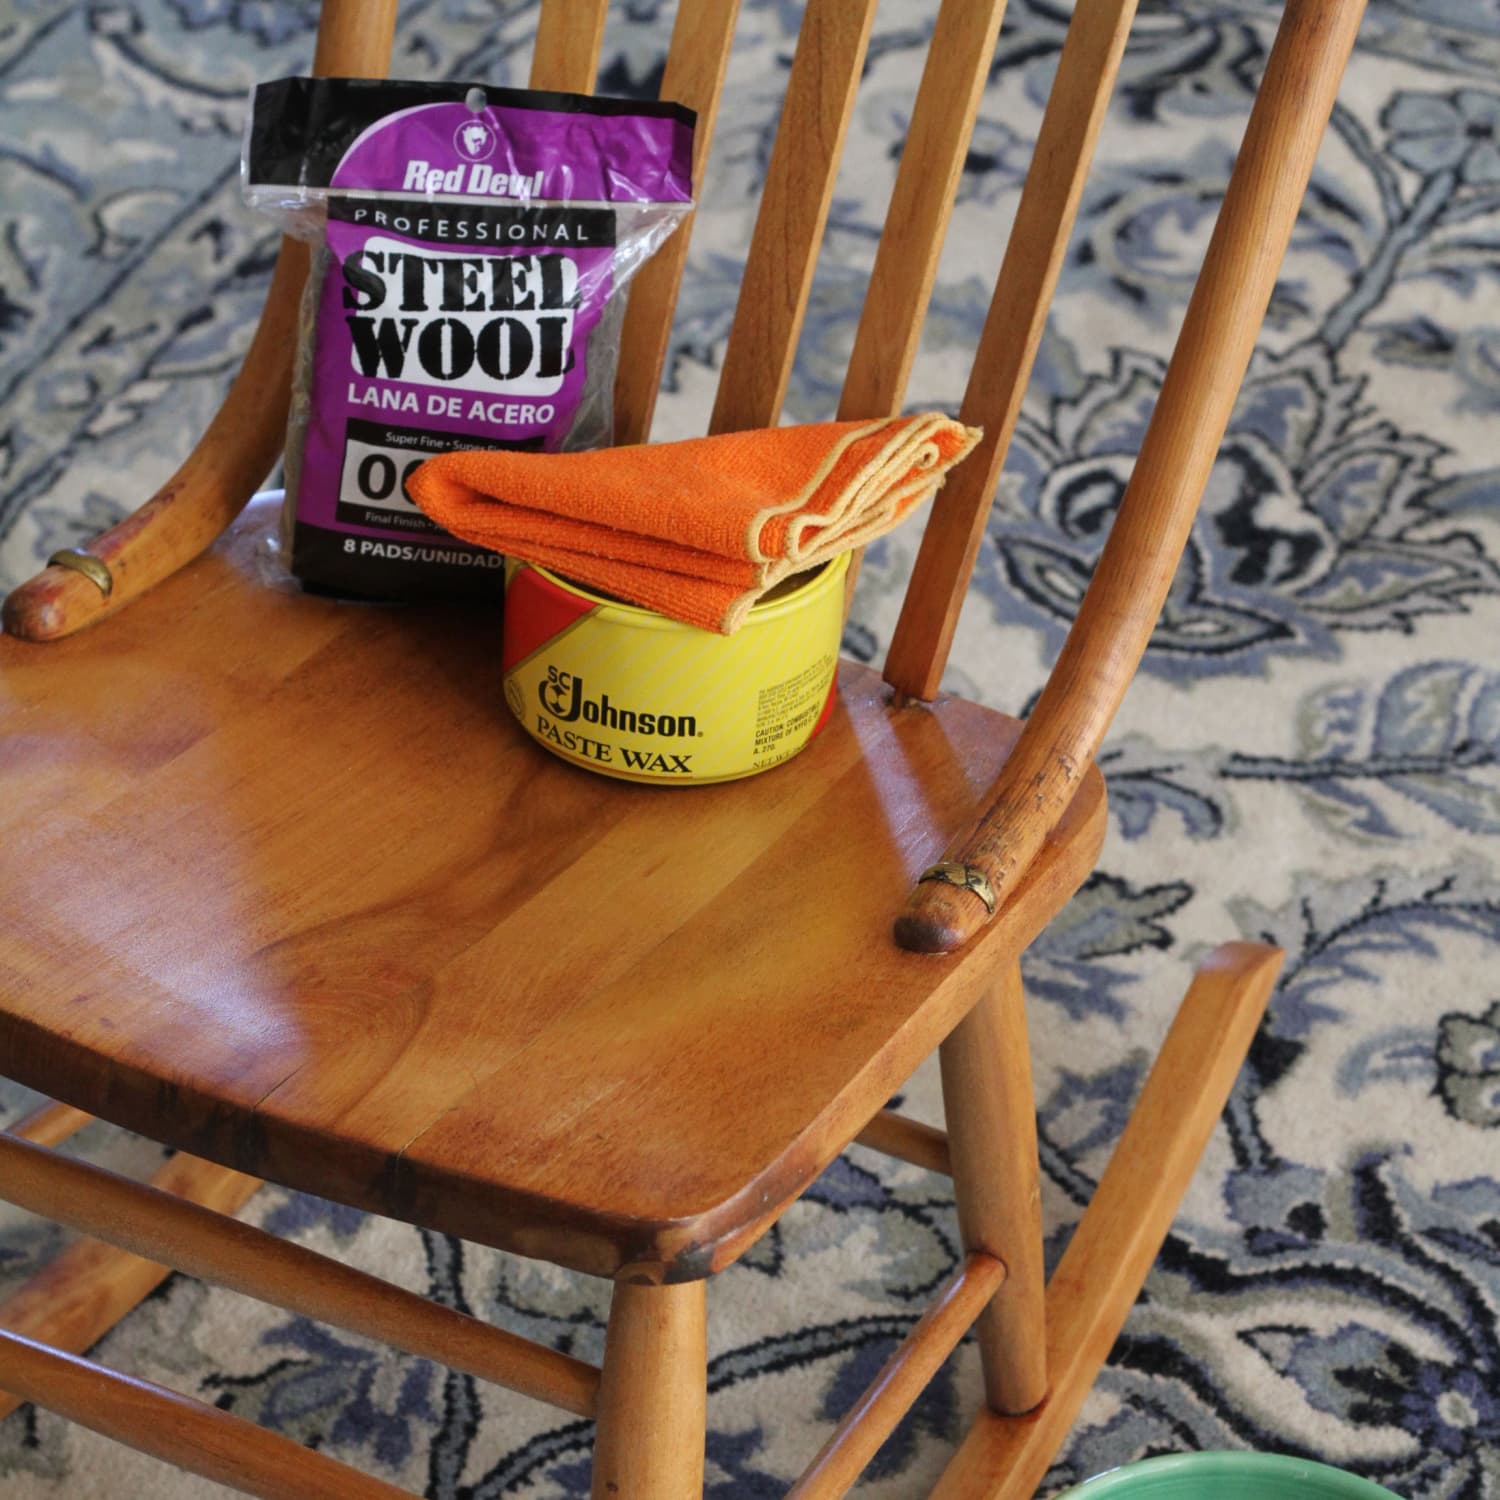
Supplies Needed
- Gentle wood cleaner or mild dish soap
- Bucket of lukewarm water
- Soft microfiber cloths or chamois
- Wood filler and putty knife (if applicable)
- Sandpaper (various grits)
- Wood polish or wax
- Polishing cloth or sponge
- Protective gloves
Now that you have gathered all the necessary supplies, it’s time to prepare your furniture for the polishing process. Proper preparation is crucial in achieving the best results and ensuring that the wood’s surface is clean and free of any dirt or residue. Follow these steps to prepare your furniture:
Preparation
- Clear the area around the furniture: Start by removing any objects or decorations near the furniture to provide a clean and clutter-free workspace.
- Cover the floor: Place a drop cloth or old sheets on the floor to protect it from any spills or drips during the polishing process.
- Dust the furniture: Use a soft microfiber cloth or a feather duster to remove any surface dust and debris from the furniture.
With the furniture now prepped and ready, it’s time to move on to the cleaning process. Cleaning the furniture thoroughly ensures that the polish adheres well and produces a beautiful finish. Follow these steps to clean your wooden furniture:
Cleaning the Furniture
- Mix the cleaning solution: Depending on the level of dirt and grime, either dilute gentle wood cleaner according to the instructions or use a small amount of mild dish soap mixed with lukewarm water.
- Dampen a microfiber cloth: Dip a soft microfiber cloth into the solution, ensuring it’s only slightly damp and not soaking wet.
- Gently wipe the furniture: Start from the top and work your way down, using smooth and even strokes to wipe away any dirt, stains, or residue.
- Dry the furniture: Use a dry microfiber cloth to remove any excess moisture and allow the furniture to air dry completely.
With the furniture now clean, it’s time to address any scratches, dents, or imperfections on the wood’s surface. Follow these steps to fill in minor scratches and dents:
Filling in Scratches and Dents
- Prepare the wood filler: If your furniture has minor scratches or dents, mix the wood filler according to the manufacturer’s instructions.
- Apply the wood filler: Use a putty knife to spread a thin layer of wood filler over the scratches or dents, ensuring to smooth it out evenly.
- Let it dry: Allow the wood filler to dry completely, following the recommended drying time specified by the manufacturer.
- Sand the filled areas: Once the wood filler is dry, use fine-grit sandpaper to carefully sand down the filled areas until they are smooth and level with the rest of the surface.
Now that any imperfections have been addressed, it’s time to sand the furniture to create a smooth and even surface for the polish to adhere to. Follow these steps to sand your wooden furniture:
Key Takeaways:
- Regularly polishing wooden furniture not only enhances its appearance but also protects it from dirt, moisture, and scratches, extending its lifespan and maintaining its beauty.
- Proper preparation, thorough cleaning, and meticulous attention to detail during the polishing process are essential for achieving professional-looking results and ensuring the longevity of wooden furniture.
Read more: How To Use Furniture Polish
Supplies Needed
Before you begin the process of polishing your wooden furniture, it’s important to gather all the necessary supplies. Having the right tools and materials at hand will ensure that you achieve the best results. Here are the supplies you’ll need:
- Gentle wood cleaner or mild dish soap: Choose a cleaner specifically formulated for wood furniture. Avoid using products that contain harsh chemicals or abrasive ingredients that can damage the wood.
- Bucket of lukewarm water: You’ll need water to dilute the wood cleaner or dish soap and create a cleaning solution.
- Soft microfiber cloths or chamois: These are essential for cleaning and drying the furniture. Microfiber cloths are gentle and effective for capturing dust particles and preventing scratches.
- Wood filler and putty knife (if applicable): If your furniture has scratches, dents, or small imperfections, you may need wood filler to fill in those areas. The putty knife will be used to apply the wood filler evenly.
- Sandpaper (various grits): Different grits of sandpaper will be used for smoothing out the surface of the wood and preparing it for polishing. Choose a range of grits, starting from coarse to fine.
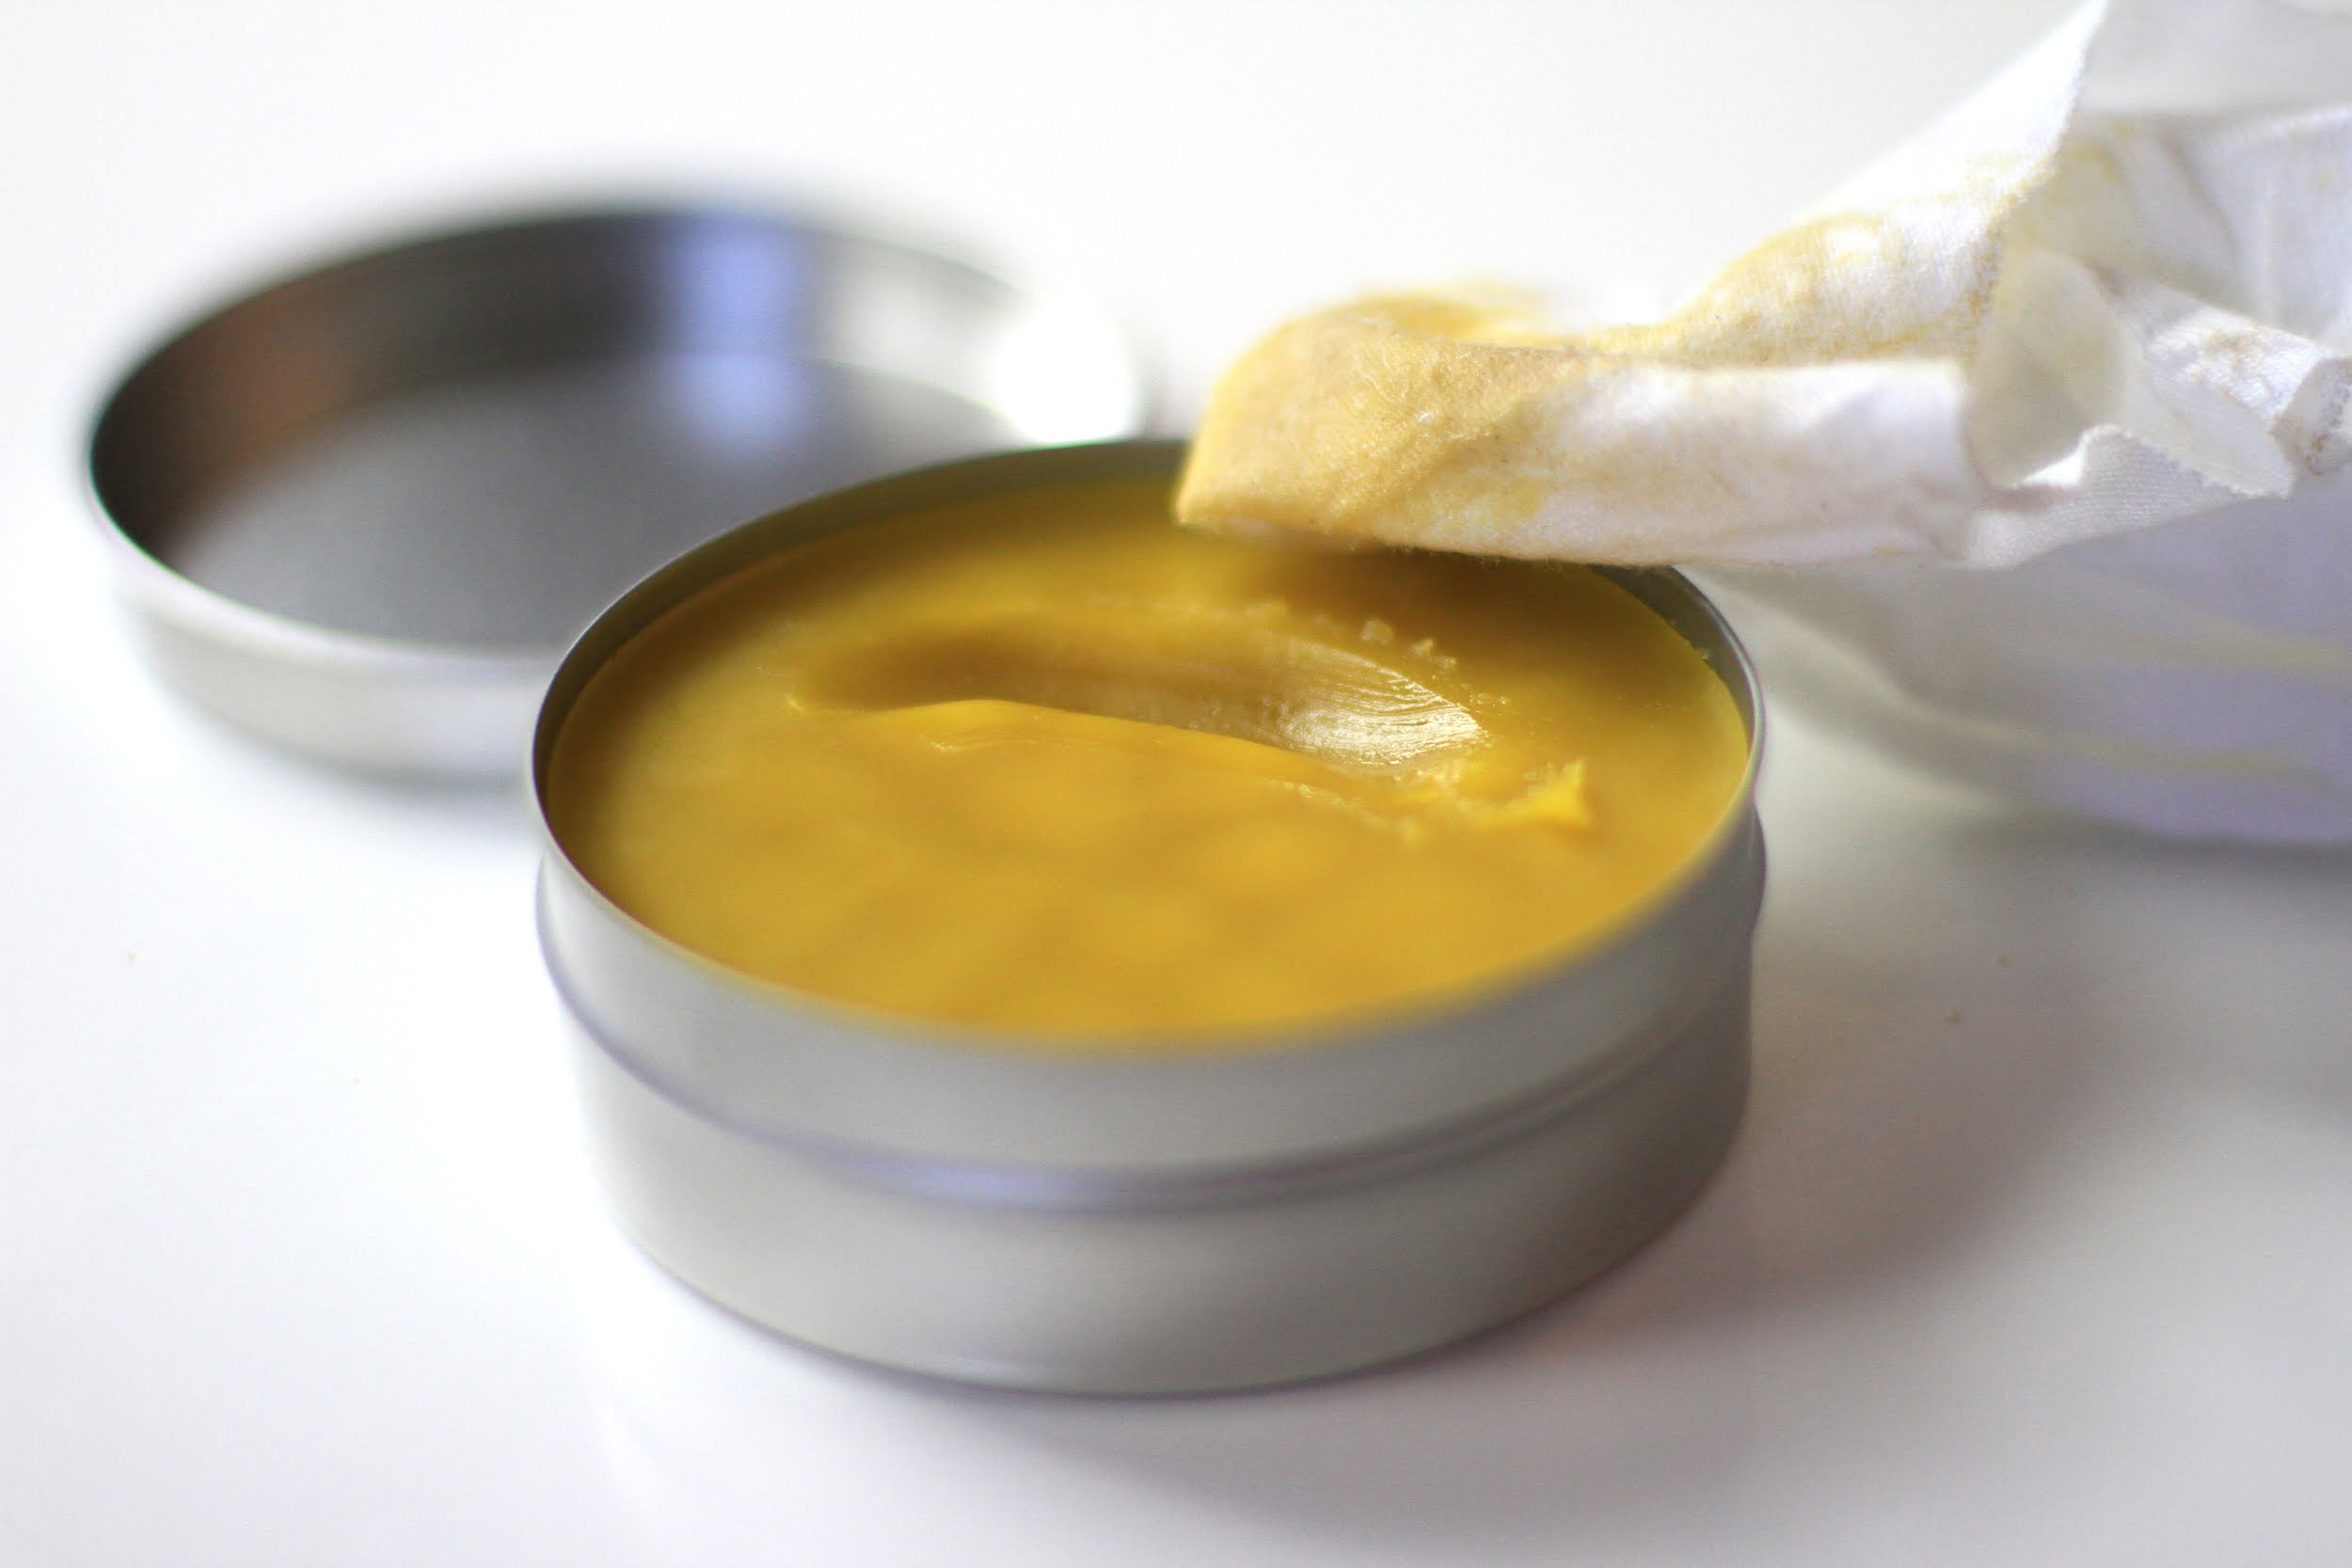
- Wood polish or wax: Opt for a high-quality wood polish or wax that is suitable for the type of wood used in your furniture. Consider using a product that includes nourishing oils to replenish the wood and enhance its natural beauty.
- Polishing cloth or sponge: You’ll need a soft cloth or sponge specifically designed for polishing wood. These will help distribute and buff the polish evenly into the wood’s surface for a smooth and glossy finish.
- Protective gloves: It’s always a good idea to wear gloves when handling cleaning solutions, wood filler, or any chemicals to protect your hands from irritation or potential skin reactions.
By gathering these supplies before you start the polishing process, you’ll be well-prepared to give your wooden furniture the care and attention it deserves. Remember to choose high-quality products that are specifically designed for wooden surfaces to ensure optimal results. Now that you have all the necessary supplies, let’s move on to the next step: preparing your furniture for the polishing process.
Preparation
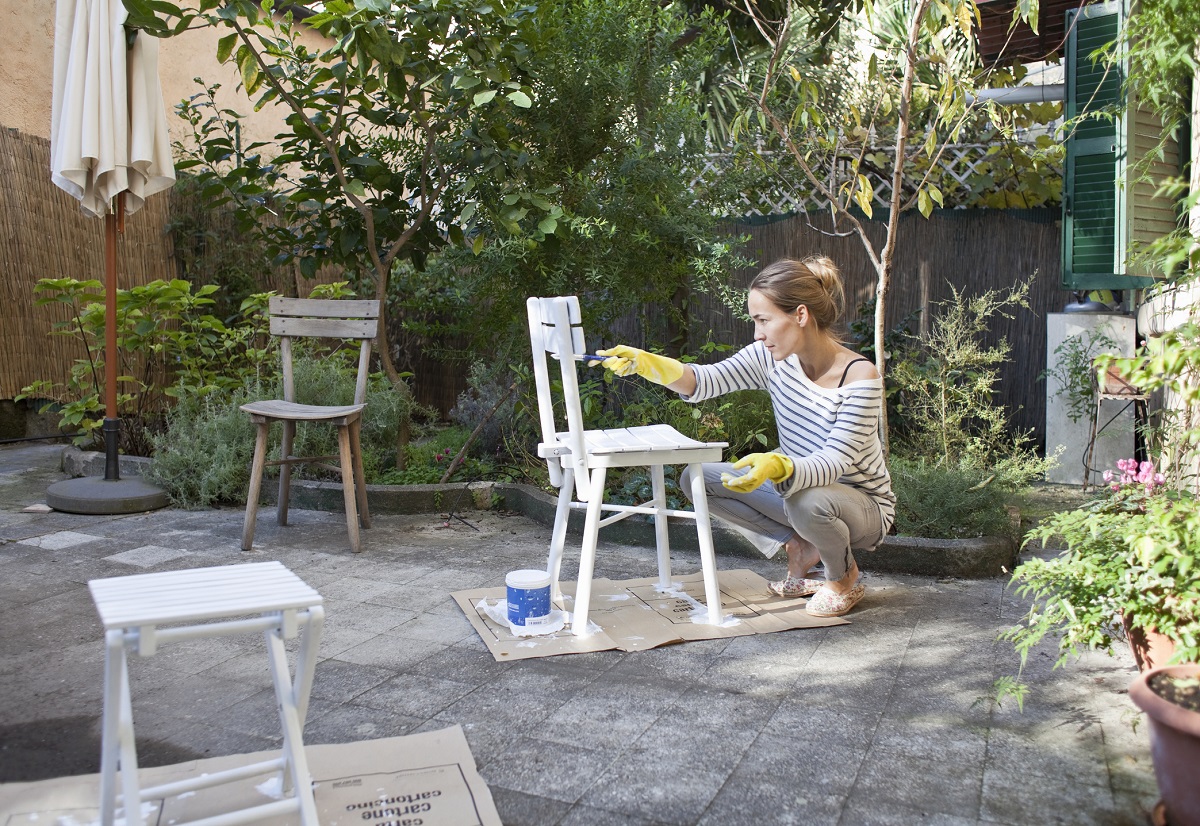
Before diving into the actual process of polishing your wooden furniture, it’s crucial to properly prepare the furniture and the surrounding area. Taking the time to prepare will ensure that you achieve the best results and minimize any potential damage. Follow these steps to prepare your furniture for the polishing process:
- Clear the area around the furniture: Start by removing any objects or decorations near the furniture. This will provide ample space to work and prevent any accidental spills or damage to nearby items.
- Cover the floor: Place a drop cloth, old sheets, or plastic sheeting on the floor beneath the furniture. This will protect the floor surface from any potential spills, drips, or dust generated during the polishing process.
- Dust the furniture: Use a soft microfiber cloth or a feather duster to remove any visible dust, dirt, or debris from the furniture. Pay attention to the corners, crevices, and intricate details of the piece.
By clearing the area, protecting the floor, and removing dust from the furniture, you’ll create a clean and organized workspace for the polishing process. This will ensure that the polish adheres well to the surface and produces a smooth and even finish.
In addition to the general preparation steps, there may be some furniture-specific considerations to keep in mind:
- Remove hardware or accessories: If your furniture has any removable hardware, such as handles or knobs, consider taking them off before polishing. This will make it easier to polish all surface areas and prevent any accidentally getting polish on the hardware.
- Treat any stains or spills: If your furniture has any stubborn stains or spills, address them before polishing. Use an appropriate cleaner or technique to remove the stain, following the manufacturer’s instructions or seeking professional advice if necessary.
- Check for loose or damaged parts: Inspect the furniture for any loose joints, screws, or damaged parts. If you find any, take the time to repair them before proceeding with the polishing process. This will ensure that the furniture is structurally sound and prevent further damage.
Proper preparation sets the stage for a successful polishing process. By clearing the area, protecting the floor, dusting the furniture, and addressing any specific considerations, you’ll be ready to move on to the next step: cleaning the furniture to ensure a pristine surface for polishing.
Cleaning the Furniture
Before you begin the process of polishing your wooden furniture, it’s essential to thoroughly clean the surface to remove any dirt, grime, or residue that may interfere with the polishing process. Follow these steps to effectively clean your furniture:
- Mix the cleaning solution: Depending on the level of dirt and grime, you can either dilute a gentle wood cleaner according to the instructions on the bottle or use a small amount of mild dish soap mixed with lukewarm water. Avoid using harsh chemicals or abrasive cleaners that can damage the wood.
- Dampen a microfiber cloth: Dip a soft microfiber cloth or sponge into the cleaning solution, ensuring that it is only slightly damp and not soaking wet. Excess moisture can seep into the wood and cause damage.
- Gently wipe the furniture: Start from the top and work your way down, using smooth and even strokes to wipe away any dirt, stains, or residue on the surface of the furniture. Pay extra attention to areas that are heavily soiled or have built-up grime.
- Clean intricate details: For furniture with intricate carvings or detailed designs, use a soft-bristled brush or toothbrush to remove any dirt or dust from those hard-to-reach areas. Be gentle to avoid scratching the wood.
- Dry the furniture: After thoroughly cleaning the surface, use a dry microfiber cloth or towel to remove any excess moisture. It’s important to let the furniture air dry completely before moving on to the next step.
By meticulously cleaning your furniture, you’ll remove any surface contaminants that could potentially affect the final result of the polishing process. The thorough cleaning process ensures that the wood surface is pristine and ready to absorb the polish, resulting in a beautiful and long-lasting shine.
Additionally, here are a few additional tips to keep in mind during the cleaning process:
- Test in an inconspicuous area: Before applying the cleaning solution to the entire furniture piece, it’s a good idea to test it in a small, inconspicuous area. This will ensure that the cleaner doesn’t cause any adverse reactions or damage to the wood finish.
- Use gentle motions: When wiping or brushing the furniture, use gentle motions and avoid applying too much pressure. This will help prevent any scratches or damage to the wood surface.
- Protect the surroundings: If you are cleaning a piece of furniture that is near other surfaces, such as walls or floors, consider protecting them with a cloth or plastic sheeting to prevent accidental splashes or spills.
Once your furniture is clean and dry, it’s time to address any minor scratches, dents, or imperfections on the wood’s surface. Follow the next section to learn how to fill in scratches and prepare the furniture for the polishing stage.
Filling in Scratches and Dents
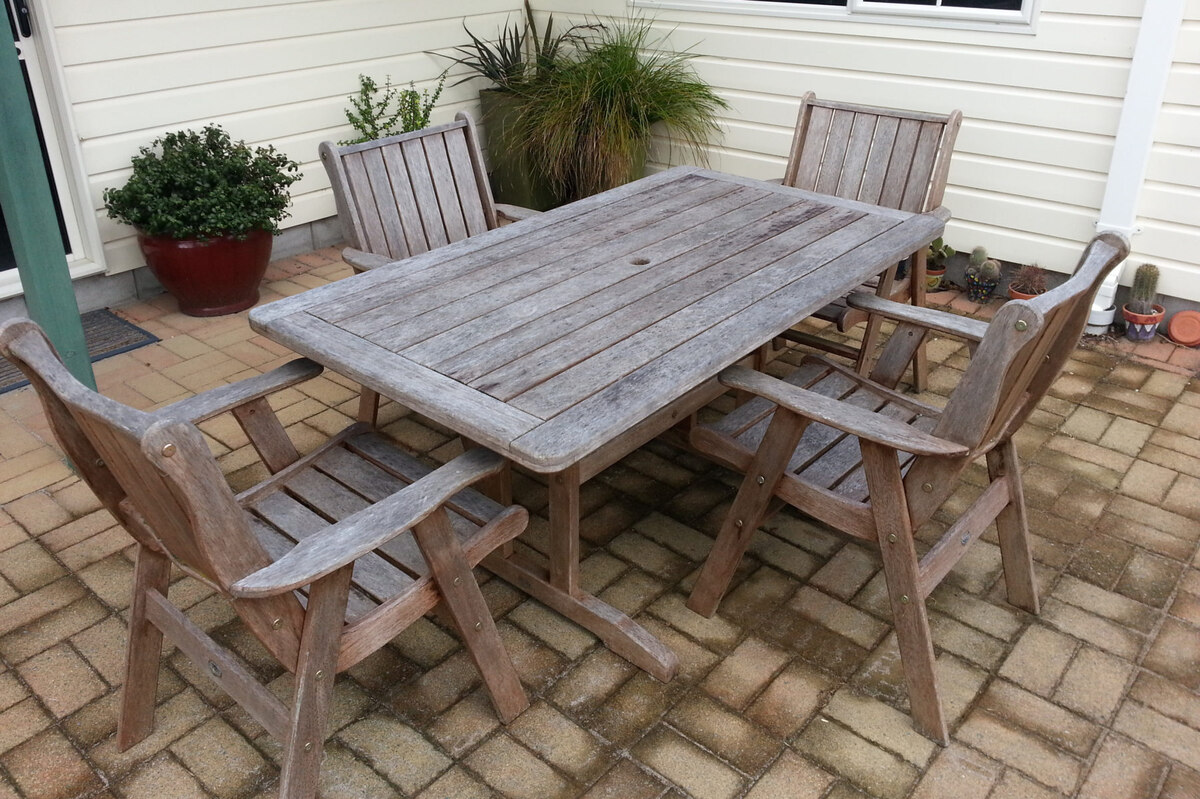
Even with proper care, wooden furniture can develop minor scratches, dents, or imperfections over time. Before proceeding with the polishing process, it’s important to address these issues to achieve a smooth and flawless surface. Follow these steps to fill in scratches and dents on your wooden furniture:
- Prepare the wood filler: If your furniture has shallow scratches or small dents, you’ll need to use a suitable wood filler. Choose a filler that matches the color of your wood or is transparent. Consult the manufacturer’s instructions for mixing the filler if required.
- Apply the wood filler: Use a putty knife or a small spatula to apply a thin layer of wood filler to the scratched or dented areas. Ensure that the filler is evenly spread and level with the surface of the furniture. You can gently scrape off excess filler using the edge of the putty knife.
- Allow the filler to dry: Follow the recommended drying time specified by the manufacturer. The drying time can vary depending on the brand and type of filler used. Be patient and allow the filler to dry completely to ensure a stable and solid surface.
- Sand the filled areas: Once the wood filler is dry, use fine-grit sandpaper to gently sand over the filled areas. The goal is to create a smooth and even surface by blending the filler with the surrounding wood. Sand in gentle circular or back-and-forth motions until the filler is flush with the rest of the furniture.
- Clean the sanded areas: After sanding, use a clean microfiber cloth or a soft brush to remove any dust or debris from the sanded areas. This will ensure a clean base for the next step of the polishing process.
By filling in scratches and dents, you restore the uniformity and smoothness of the furniture’s surface. When the wood filler is properly applied and sanded, it becomes virtually indistinguishable from the rest of the surface, creating a seamless appearance.
It’s important to note that more significant damage or deep scratches may require professional repair or restoration. In such cases, it’s advisable to seek the expertise of a furniture restoration specialist to ensure proper treatment and preservation of the furniture.
With the scratches and dents addressed, we can now proceed to the next step: sanding the furniture to create a smooth and flawless surface before applying the wood polish.
Read more: What Is In Pledge Furniture Polish
Sanding the Furniture
Sanding is an essential step in the furniture polishing process as it helps create a smooth and even surface for the wood polish to adhere to. Sanding also removes any remaining imperfections and prepares the wood for a beautiful and flawless finish. Follow these steps to sand your wooden furniture:
- Choose the right sandpaper grit: Depending on the condition of your furniture and the extent of imperfections, select the appropriate grit of sandpaper. Start with a coarser grit (such as 80 or 120) to remove any rough patches or deep scratches, then progress to finer grits (such as 220 or 320) for a smoother finish.
- Sand in the direction of the grain: Always sand in the direction of the wood grain to avoid causing any visible scratches or marks. Use long and even strokes, applying gentle pressure. Do not press too hard, as excessive sanding can damage the wood surface.
- Begin with coarse sandpaper: Start by sanding the furniture with the coarsest grit of sandpaper. Focus on areas with visible imperfections, rough patches, or stains. Move the sandpaper in smooth, circular motions or back-and-forth motions, covering the entire surface evenly.
- Progress to finer grits: As you progress, switch to finer grits of sandpaper. Repeat the sanding process, making sure to remove all visible scratches from the previous grit. This gradual process of sanding with finer grits will create a smooth and refined surface.
- Clean the sanded areas: After sanding, use a clean, dry cloth or a soft brush to remove any dust or debris from the sanded areas. It’s essential to create a clean and smooth base for the next step of the polishing process.
While sanding your furniture, it’s important to be patient and take your time. The goal is to create a smooth and even surface, so avoid rushing through this step. Check your progress regularly by running your hand lightly over the sanded areas to ensure they feel smooth and free of any rough spots.
It’s also worth noting that not all furniture will require extensive sanding. If your furniture is already in good condition with minimal imperfections, a gentle sanding with a fine-grit sandpaper may be sufficient to prepare the surface for polishing.
With the sanding process complete, we can now move on to the next step: applying the wood polish to restore the furniture’s luster and protect the wood from future damage.
Applying Wood Polish
After thoroughly cleaning and sanding your wooden furniture, it’s time to apply the wood polish. This step not only enhances the natural beauty of the wood but also helps protect and nourish it, ensuring its longevity. Follow these steps to apply the wood polish:
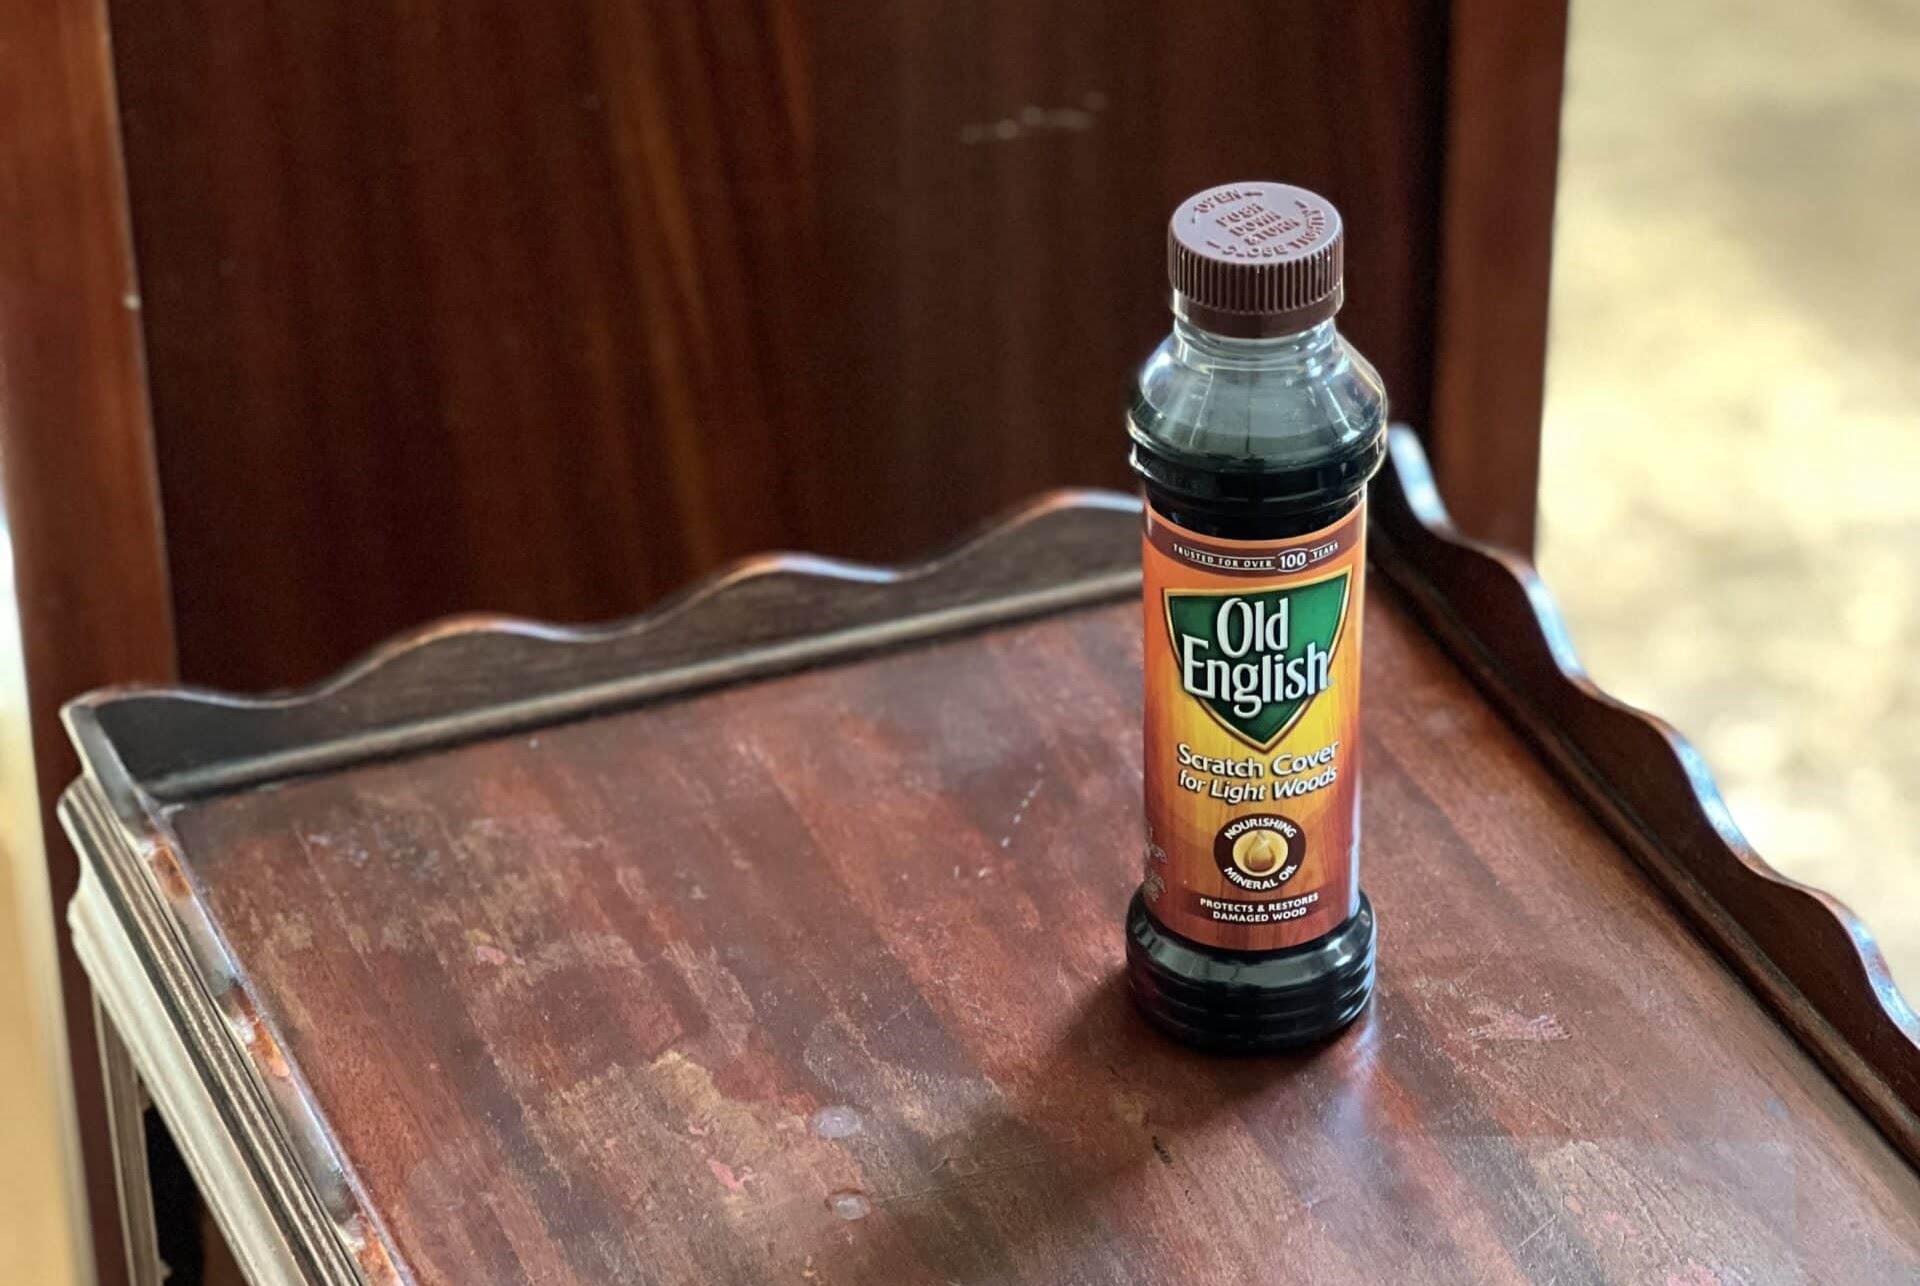
- Choose the right wood polish: Consider the type of wood used in your furniture and choose a polish specifically designed for that type of wood. Different types of wood may require different formulations of polish. Look for a high-quality polish that contains nourishing oils to replenish and condition the wood.
- Read and follow the manufacturer’s instructions: Before applying the polish, carefully read and follow the instructions provided by the manufacturer. Pay attention to any specific guidelines or recommended application methods to ensure optimal results.
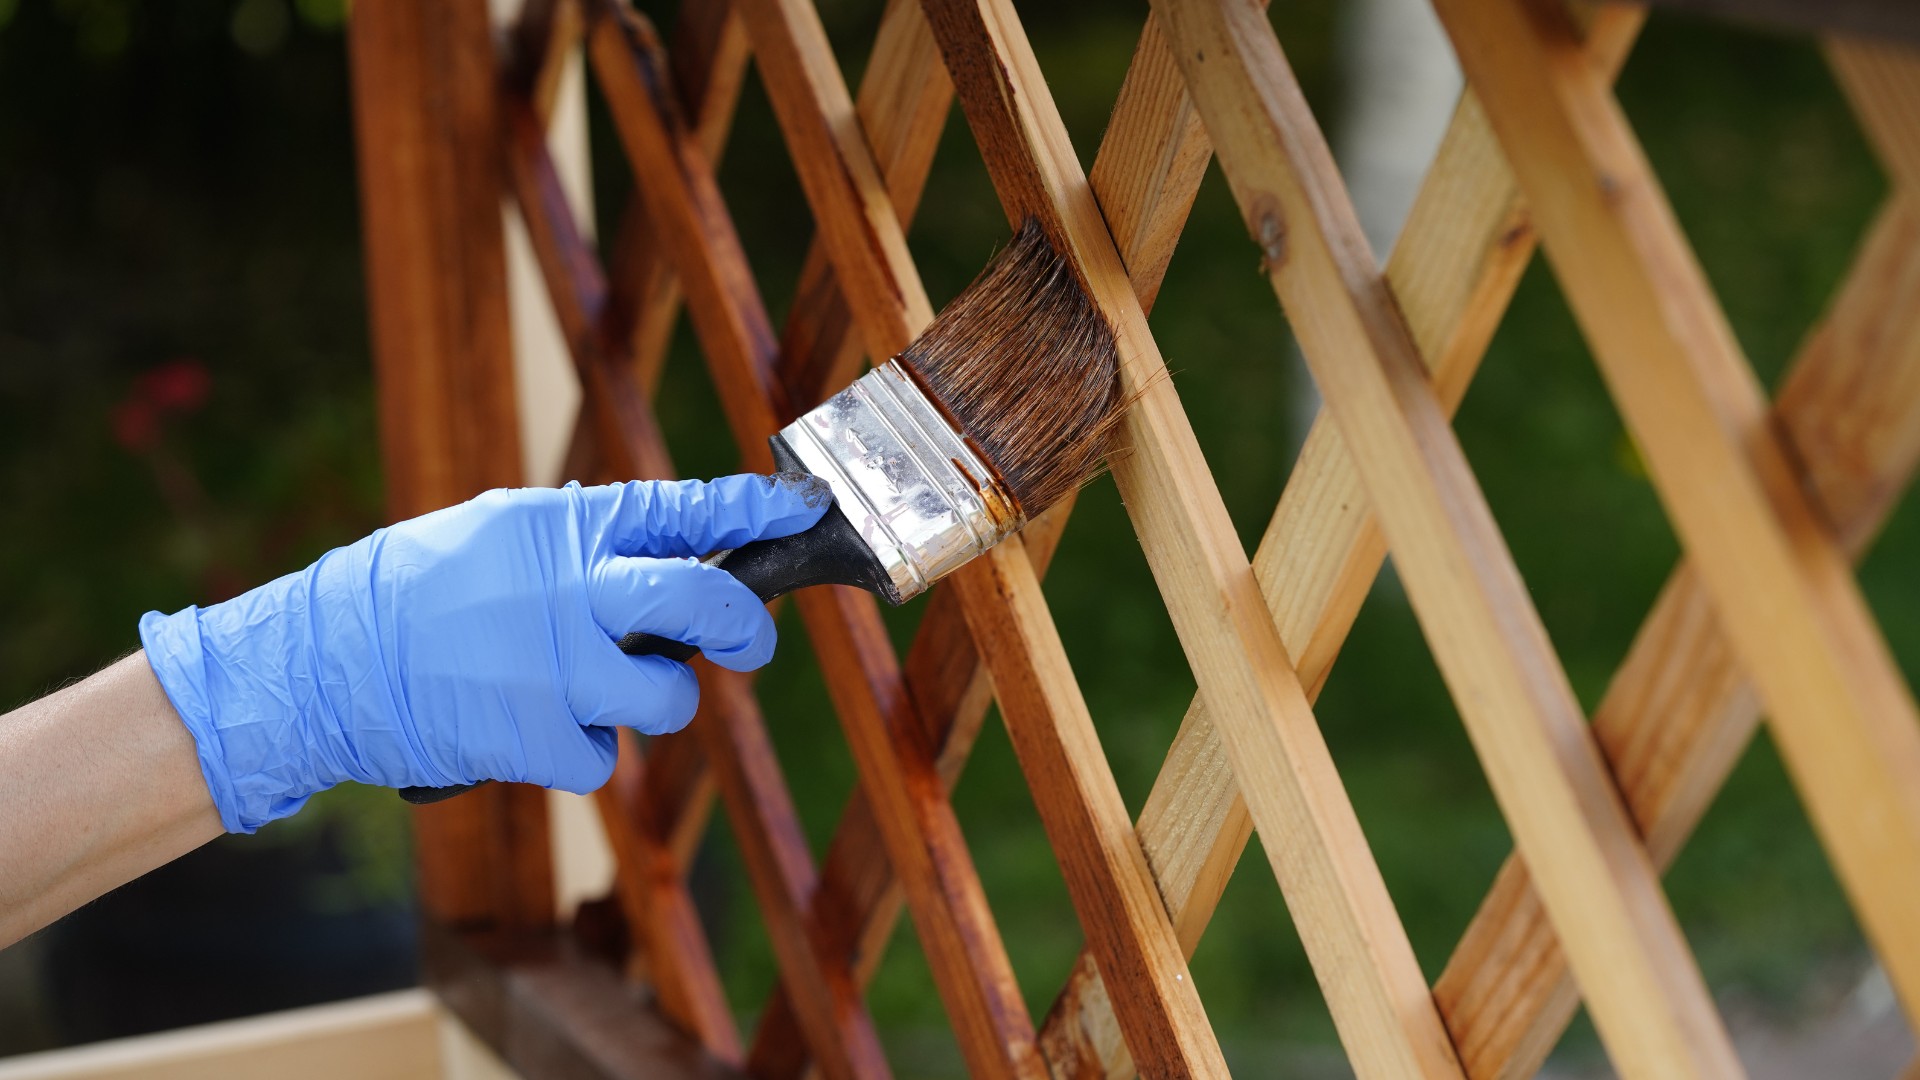
- Apply a thin and even layer: Take a clean, soft cloth or a polishing sponge and apply a small amount of wood polish to it. Begin by applying a thin and even layer of polish to a small section of the furniture, working your way across the entire surface. Avoid over-saturating the cloth or applying too much polish at once, as this can lead to uneven application and streaks.
- Rub in the polish: Using gentle circular motions or back-and-forth motions, rub the polish into the wood surface. Ensure that the polish is evenly distributed and absorbed by the wood. Apply slightly more pressure when working on any visible scratches or marks to help blend them into the surrounding area.
- Allow the polish to penetrate: After applying the wood polish, allow it to penetrate the wood for the recommended amount of time specified by the manufacturer. This will allow the oils and conditioners to soak into the wood and provide maximum protection and nourishment.
During the application process, it’s important to work in small sections and pay attention to any guidelines or precautions provided by the manufacturer. Remember that less is often more when it comes to applying wood polish. Applying too much polish can lead to a sticky residue and an uneven finish.
In addition to applying the wood polish, you may also choose to apply multiple coats for deeper shine and protection. If you decide to do so, follow the recommended drying times between each coat, and lightly sand the surface with a fine-grit sandpaper before applying subsequent coats.
Now that you have skillfully applied the wood polish and allowed it to penetrate, it’s time to move on to the final step: buffing and polishing your furniture to achieve a stunning, glossy finish.
Buffing and Polishing
After applying the wood polish and giving it time to penetrate the wood, the next step is to buff and polish the surface to achieve a beautiful, glossy finish. This process helps to enhance the luster of the wood and give your furniture a stunning final appearance. Follow these steps to buff and polish your wooden furniture:
- Choose a clean, soft cloth: Select a clean, lint-free cloth or a polishing cloth specifically designed for wood. Avoid using rough or abrasive materials that can scratch or dull the surface.
- Buff the furniture: Using gentle, circular motions, begin buffing the furniture. Apply light pressure and work systematically, covering one small section at a time. This motion helps to evenly distribute the polish and bring out the natural shine of the wood.
- Continue buffing the entire surface: Work your way across the entire piece of furniture, ensuring that you buff every visible area. Pay extra attention to any areas that may need additional shine or have stubborn stains or marks.
- Remove excess polish: As you buff, periodically check the cloth for any excess polish buildup. If you notice a significant amount of polish on the cloth, gently wipe away the excess with a clean part of the cloth or switch to a fresh cloth.
- Inspect the finish: Once you’ve buffed the entire surface, step back and carefully inspect the finish. Look for any areas that may need additional buffing or polishing. If necessary, repeat the buffing process using a clean portion of the cloth.
When buffing and polishing your furniture, remember to work gently and avoid excessive pressure, as this can cause the polish to become smeared or streaked. Take your time and ensure that you cover the entire surface evenly, paying attention to detail.
Additionally, keep the following tips in mind to attain the best results:
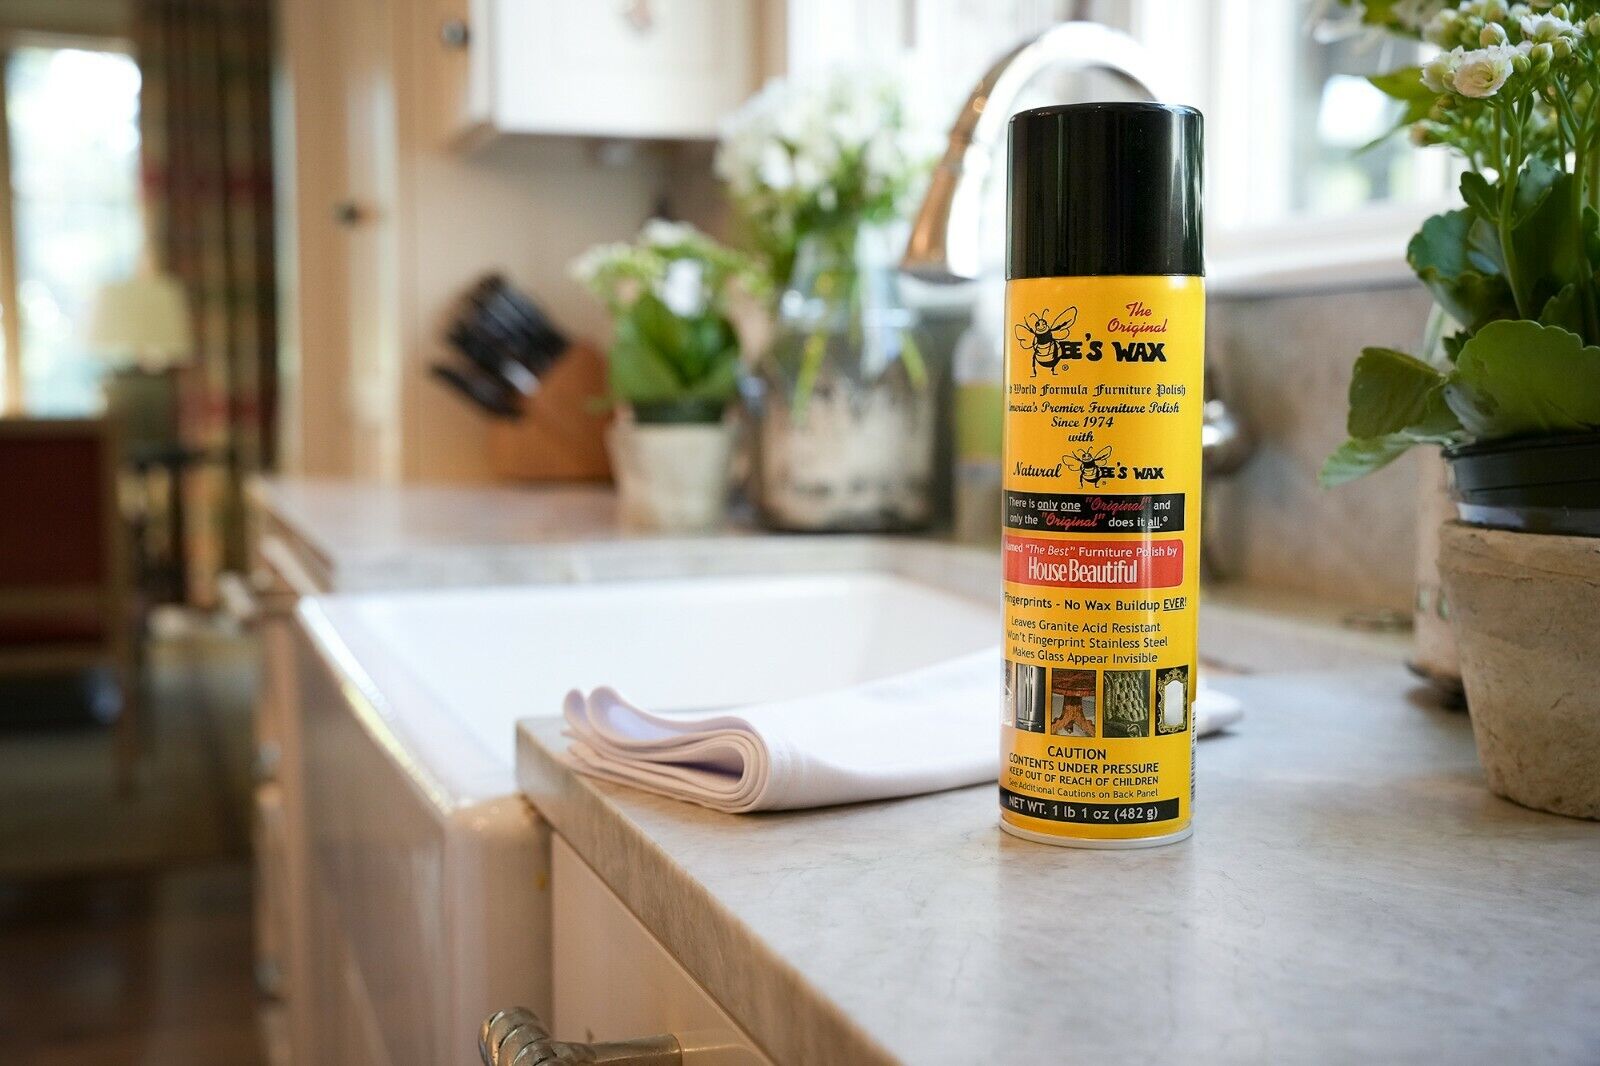
- Use specialized polish if desired: If you want to achieve an extra level of shine, you can consider using a specialized furniture polish or a polish specifically formulated for the type of wood you are working with. Follow the manufacturer’s instructions when using specialized polishes.
- Allow the polish to fully cure: For optimal results, allow the polish to fully cure according to the recommendations of the manufacturer. This ensures that the polish sets and provides long-lasting protection and shine.
- Maintain regular maintenance: To keep your furniture looking its best, it’s important to perform regular maintenance. Dusting regularly and wiping up spills promptly can help prevent future damage and maintain the shine of the polished surface.
With the buffing and polishing complete, you have successfully transformed your wooden furniture into a stunning masterpiece. Remember to admire and enjoy the beauty of your polished furniture while also taking necessary steps to protect it from future wear and tear.
Before concluding, let’s explore some additional tips and final thoughts to help you maintain and care for your beautifully polished wooden furniture.
Additional Tips and Final Thoughts
Now that you’ve learned the step-by-step process of polishing wooden furniture, here are some additional tips and final thoughts to further enhance your furniture care experience:
- Regular maintenance: To keep your furniture looking its best, incorporate regular maintenance into your routine. Dust the furniture regularly using a soft cloth or a feather duster to prevent the buildup of dirt and debris.
- Avoid direct sunlight and moisture: To protect your furniture from fading or warping, place it away from direct sunlight and sources of excessive moisture. Sunlight can cause the wood to fade, while moisture can lead to swelling or warping.
- Use coasters and placemats: When placing hot objects, beverages, or sharp items on your furniture, always use coasters, trivets, or placemats to prevent scratches, heat damage, or water rings.
- Regularly check for damage: Regularly inspect your furniture for any signs of damage, such as loose joints, cracks, or chips. Address these issues promptly to prevent further damage and maintain the integrity of the piece.
- Consider professional restoration: For valuable or antique furniture pieces, consider consulting a professional furniture restorer for specialized care. They can provide expert advice and restoration services to ensure the longevity and preservation of your cherished items.
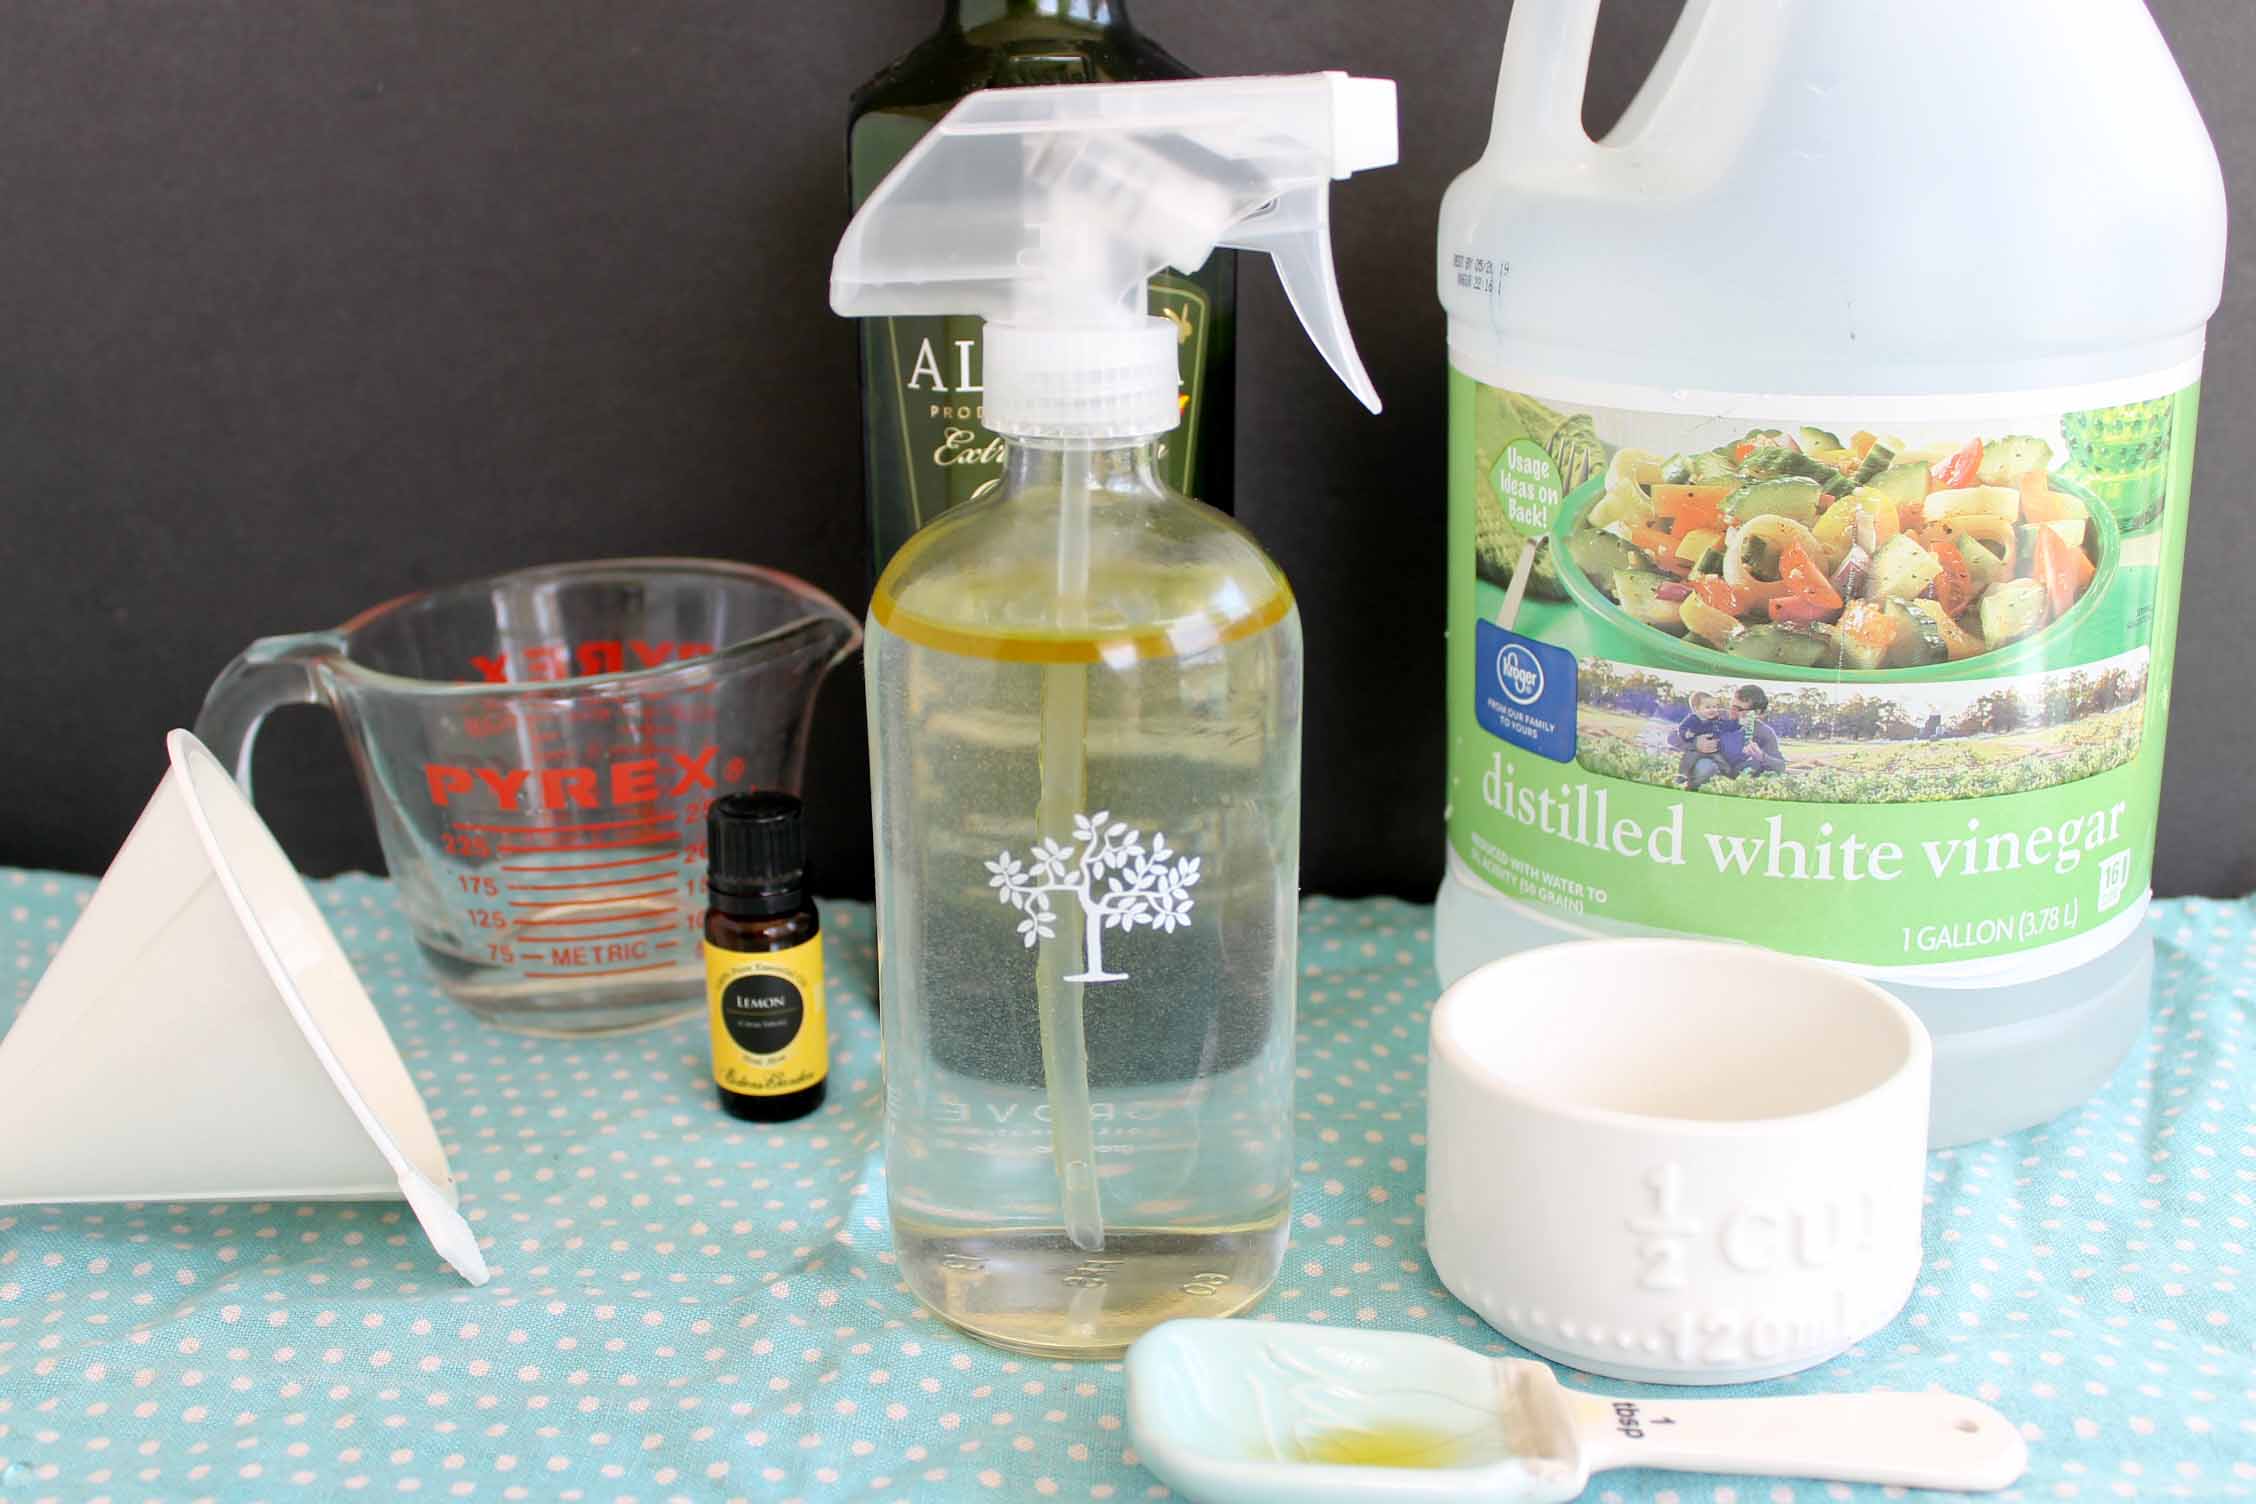
- Experiment with natural remedies: If you prefer to use natural alternatives, you can explore homemade furniture polish recipes that incorporate ingredients like olive oil, vinegar, or lemon juice. However, exercise caution and test these mixtures on a small, inconspicuous area before applying them to the entire piece.
Remember, the key to successfully polishing wooden furniture is to approach the process with patience, attention to detail, and the right tools and materials. By following the steps outlined in this guide and implementing these additional tips, you can achieve professional-looking results and ensure that your furniture remains beautiful and well-cared for throughout the years.
Now, it’s time to put your knowledge into action and start polishing your wooden furniture to restore its natural beauty and protect it for years to come. Enjoy the process and admire the stunning results of your efforts!
Frequently Asked Questions about How To Polish Wooden Furniture
Was this page helpful?
At Storables.com, we guarantee accurate and reliable information. Our content, validated by Expert Board Contributors, is crafted following stringent Editorial Policies. We're committed to providing you with well-researched, expert-backed insights for all your informational needs.


0 thoughts on “How To Polish Wooden Furniture”