Home>Interior Design>How To Paint A Popcorn Ceiling: 5 Steps To A Beautiful Finish

Interior Design
How To Paint A Popcorn Ceiling: 5 Steps To A Beautiful Finish
Modified: January 9, 2024
Transform your interior design with our easy guide on how to paint a popcorn ceiling. Follow our 5 simple steps for a beautiful finish.
(Many of the links in this article redirect to a specific reviewed product. Your purchase of these products through affiliate links helps to generate commission for Storables.com, at no extra cost. Learn more)
Introduction
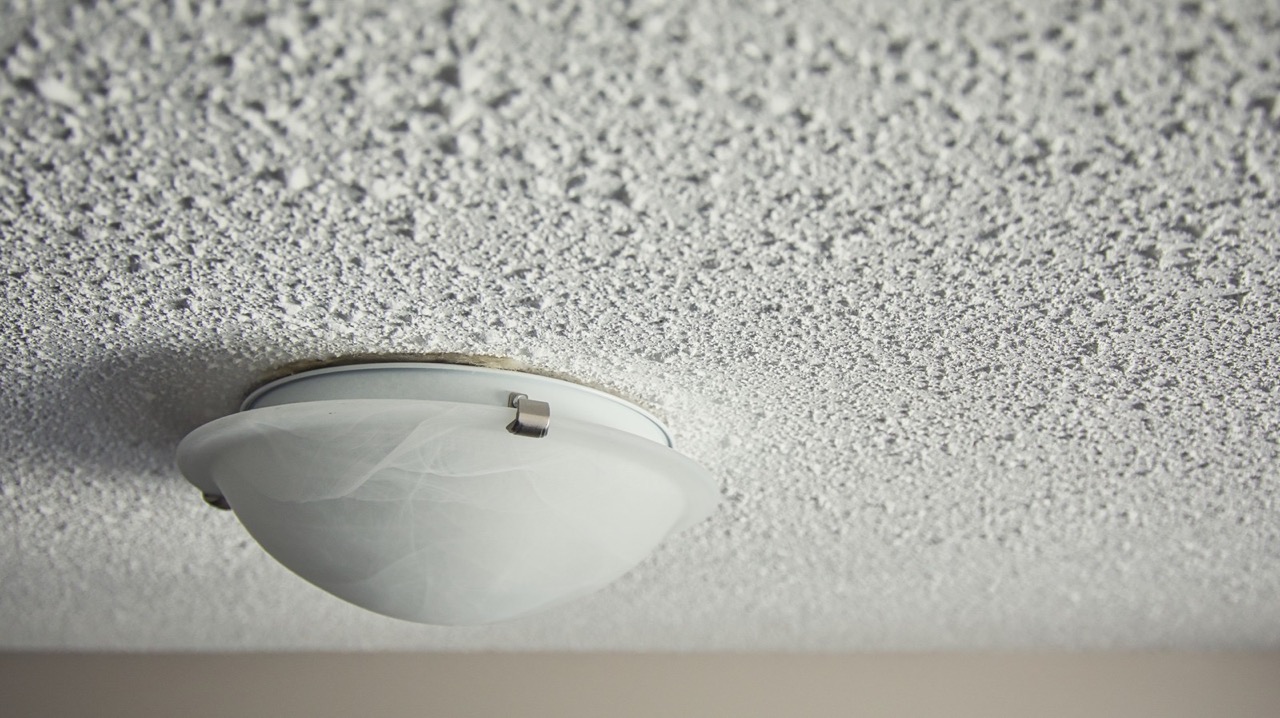
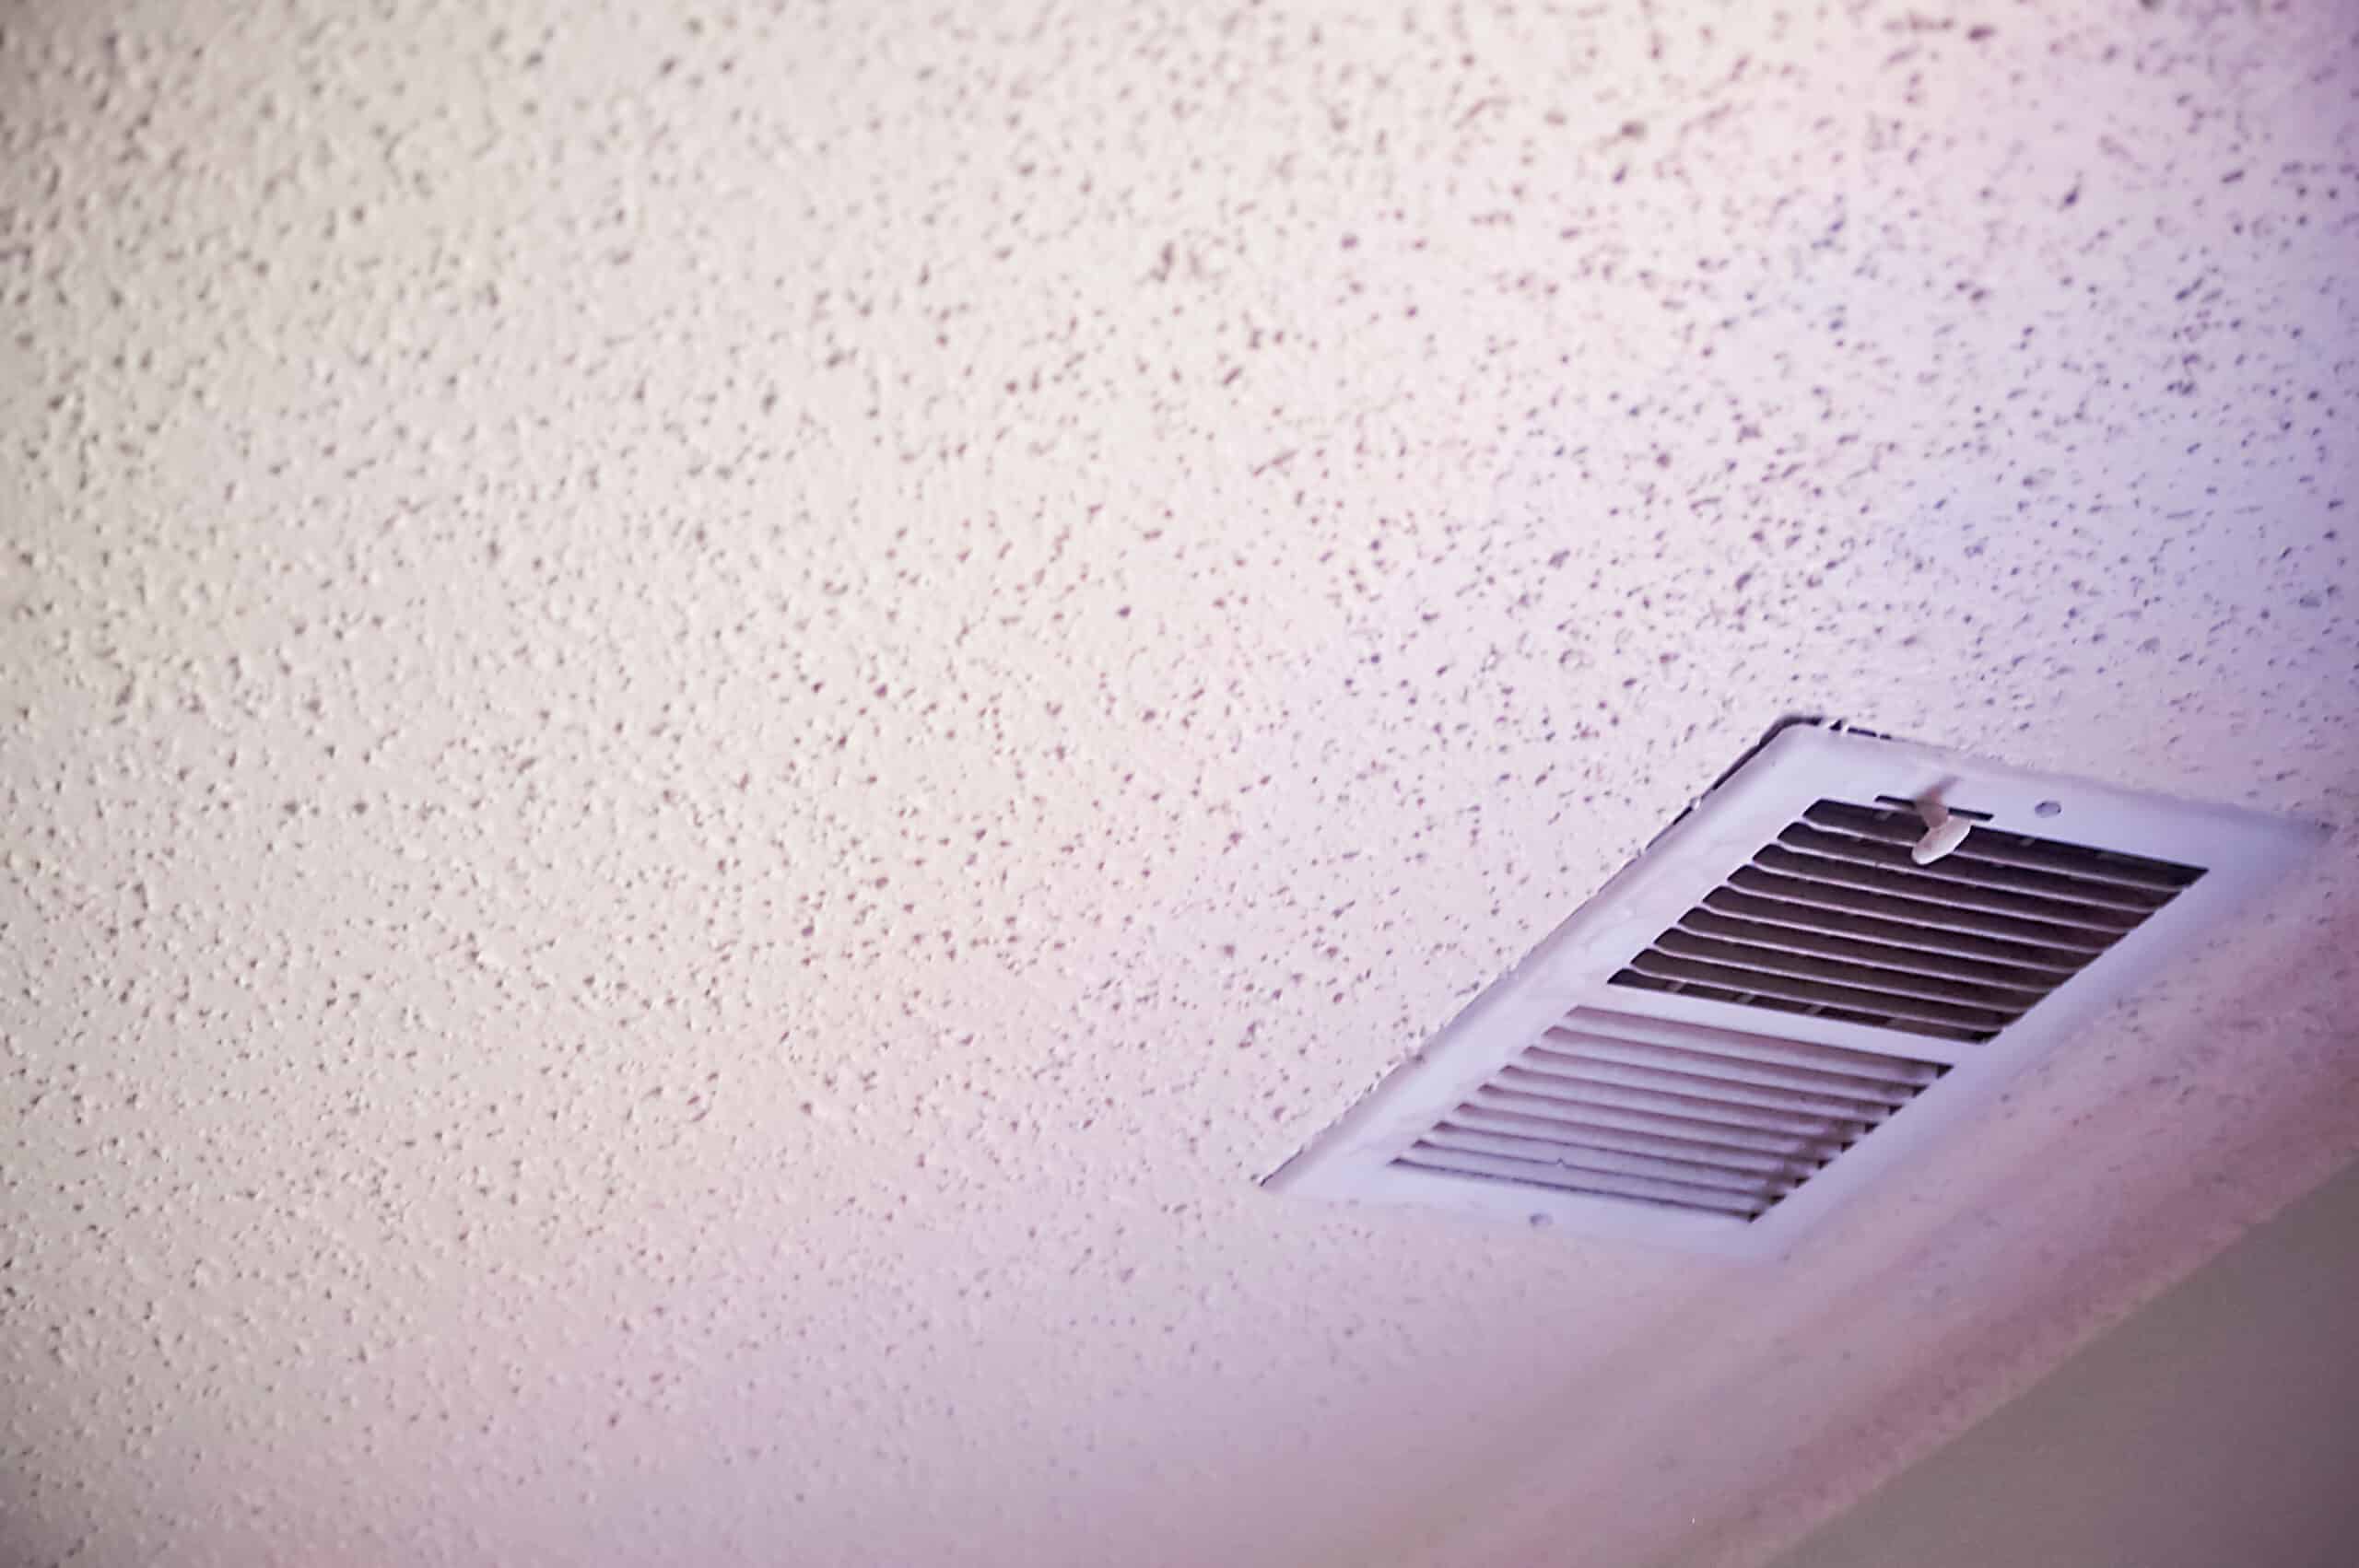
Welcome to the world of interior design! One of the key elements in transforming a space is the ceiling. A popcorn ceiling, also known as a stipple or textured ceiling, was a popular design choice in the past due to its ability to hide imperfections and reduce noise. However, trends change, and many homeowners are now opting for a smooth and fresh look for their ceilings. Painting a popcorn ceiling is a cost-effective and relatively simple way to update the overall aesthetic of a room. In this article, we will guide you through five steps to achieve a beautiful and seamless finish for your popcorn ceiling.
Before we delve into the process, it’s important to note that painting a popcorn ceiling requires careful preparation and attention to detail. The textured surface can make the task more challenging, but with the right tools and techniques, you can achieve professional-looking results. So, let’s roll up our sleeves and get started on transforming your popcorn ceiling!
Word count: 150
Key Takeaways:
- Transform your space with a fresh look by painting your popcorn ceiling. Follow 5 simple steps for a professional finish and enjoy the modern elegance it brings to your room.
- Achieve a seamless and beautiful popcorn ceiling by preparing the room, protecting furniture and flooring, priming, painting with care, and adding final touches. Enjoy the updated and elegant space!
Step 1: Prepare the Room
Before you begin painting your popcorn ceiling, it’s crucial to prepare the room properly. Follow these steps to ensure a smooth and trouble-free process:
- Clear the room: Start by removing all furniture, decorations, and lighting fixtures from the room. If there are any items that cannot be removed, cover them with plastic sheets or drop cloths to protect them from paint splatters.
- Clean the ceiling: Use a vacuum cleaner with a soft brush attachment to remove any dust or dirt from the popcorn ceiling. Pay extra attention to corners and edges where debris tends to accumulate.
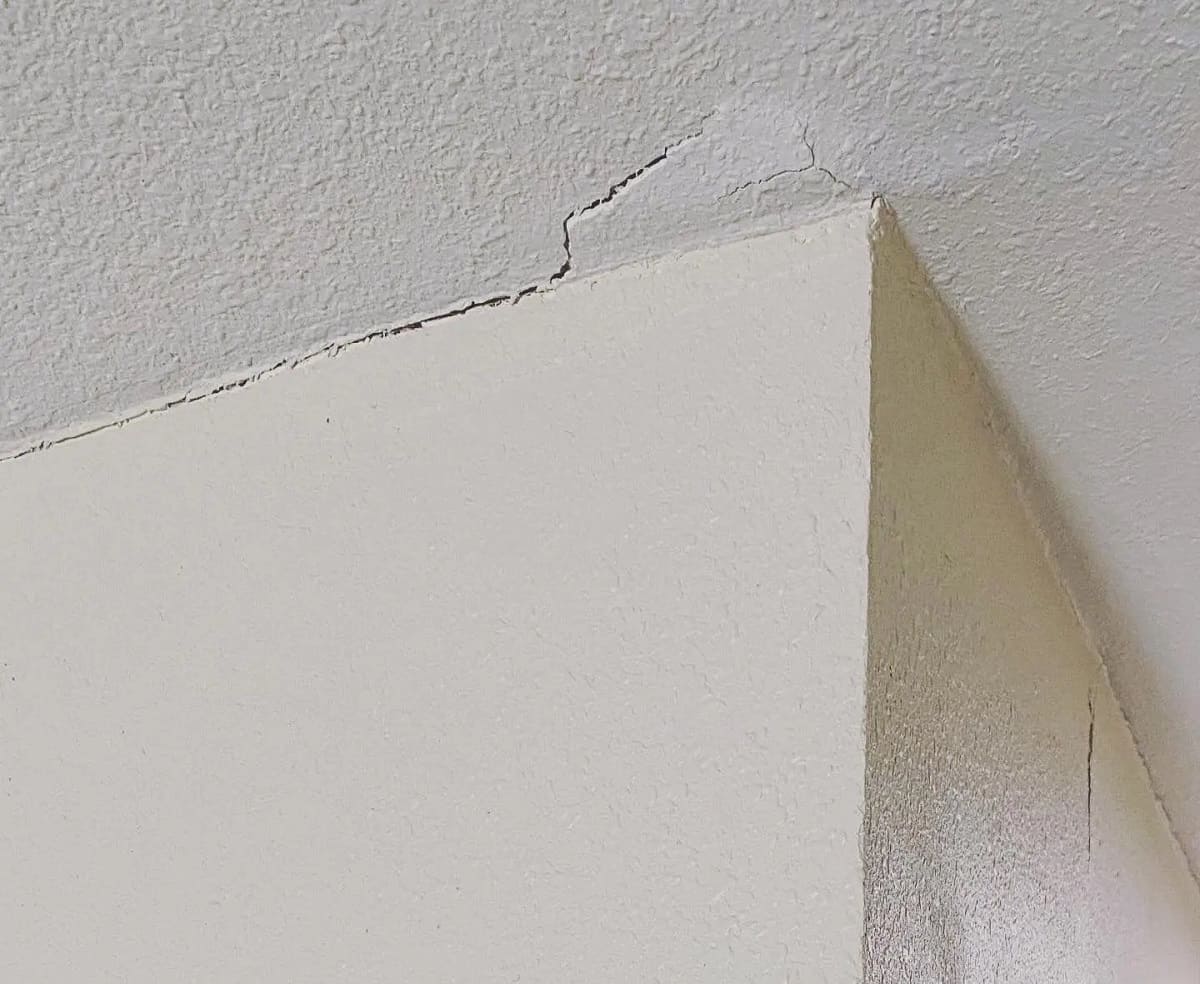
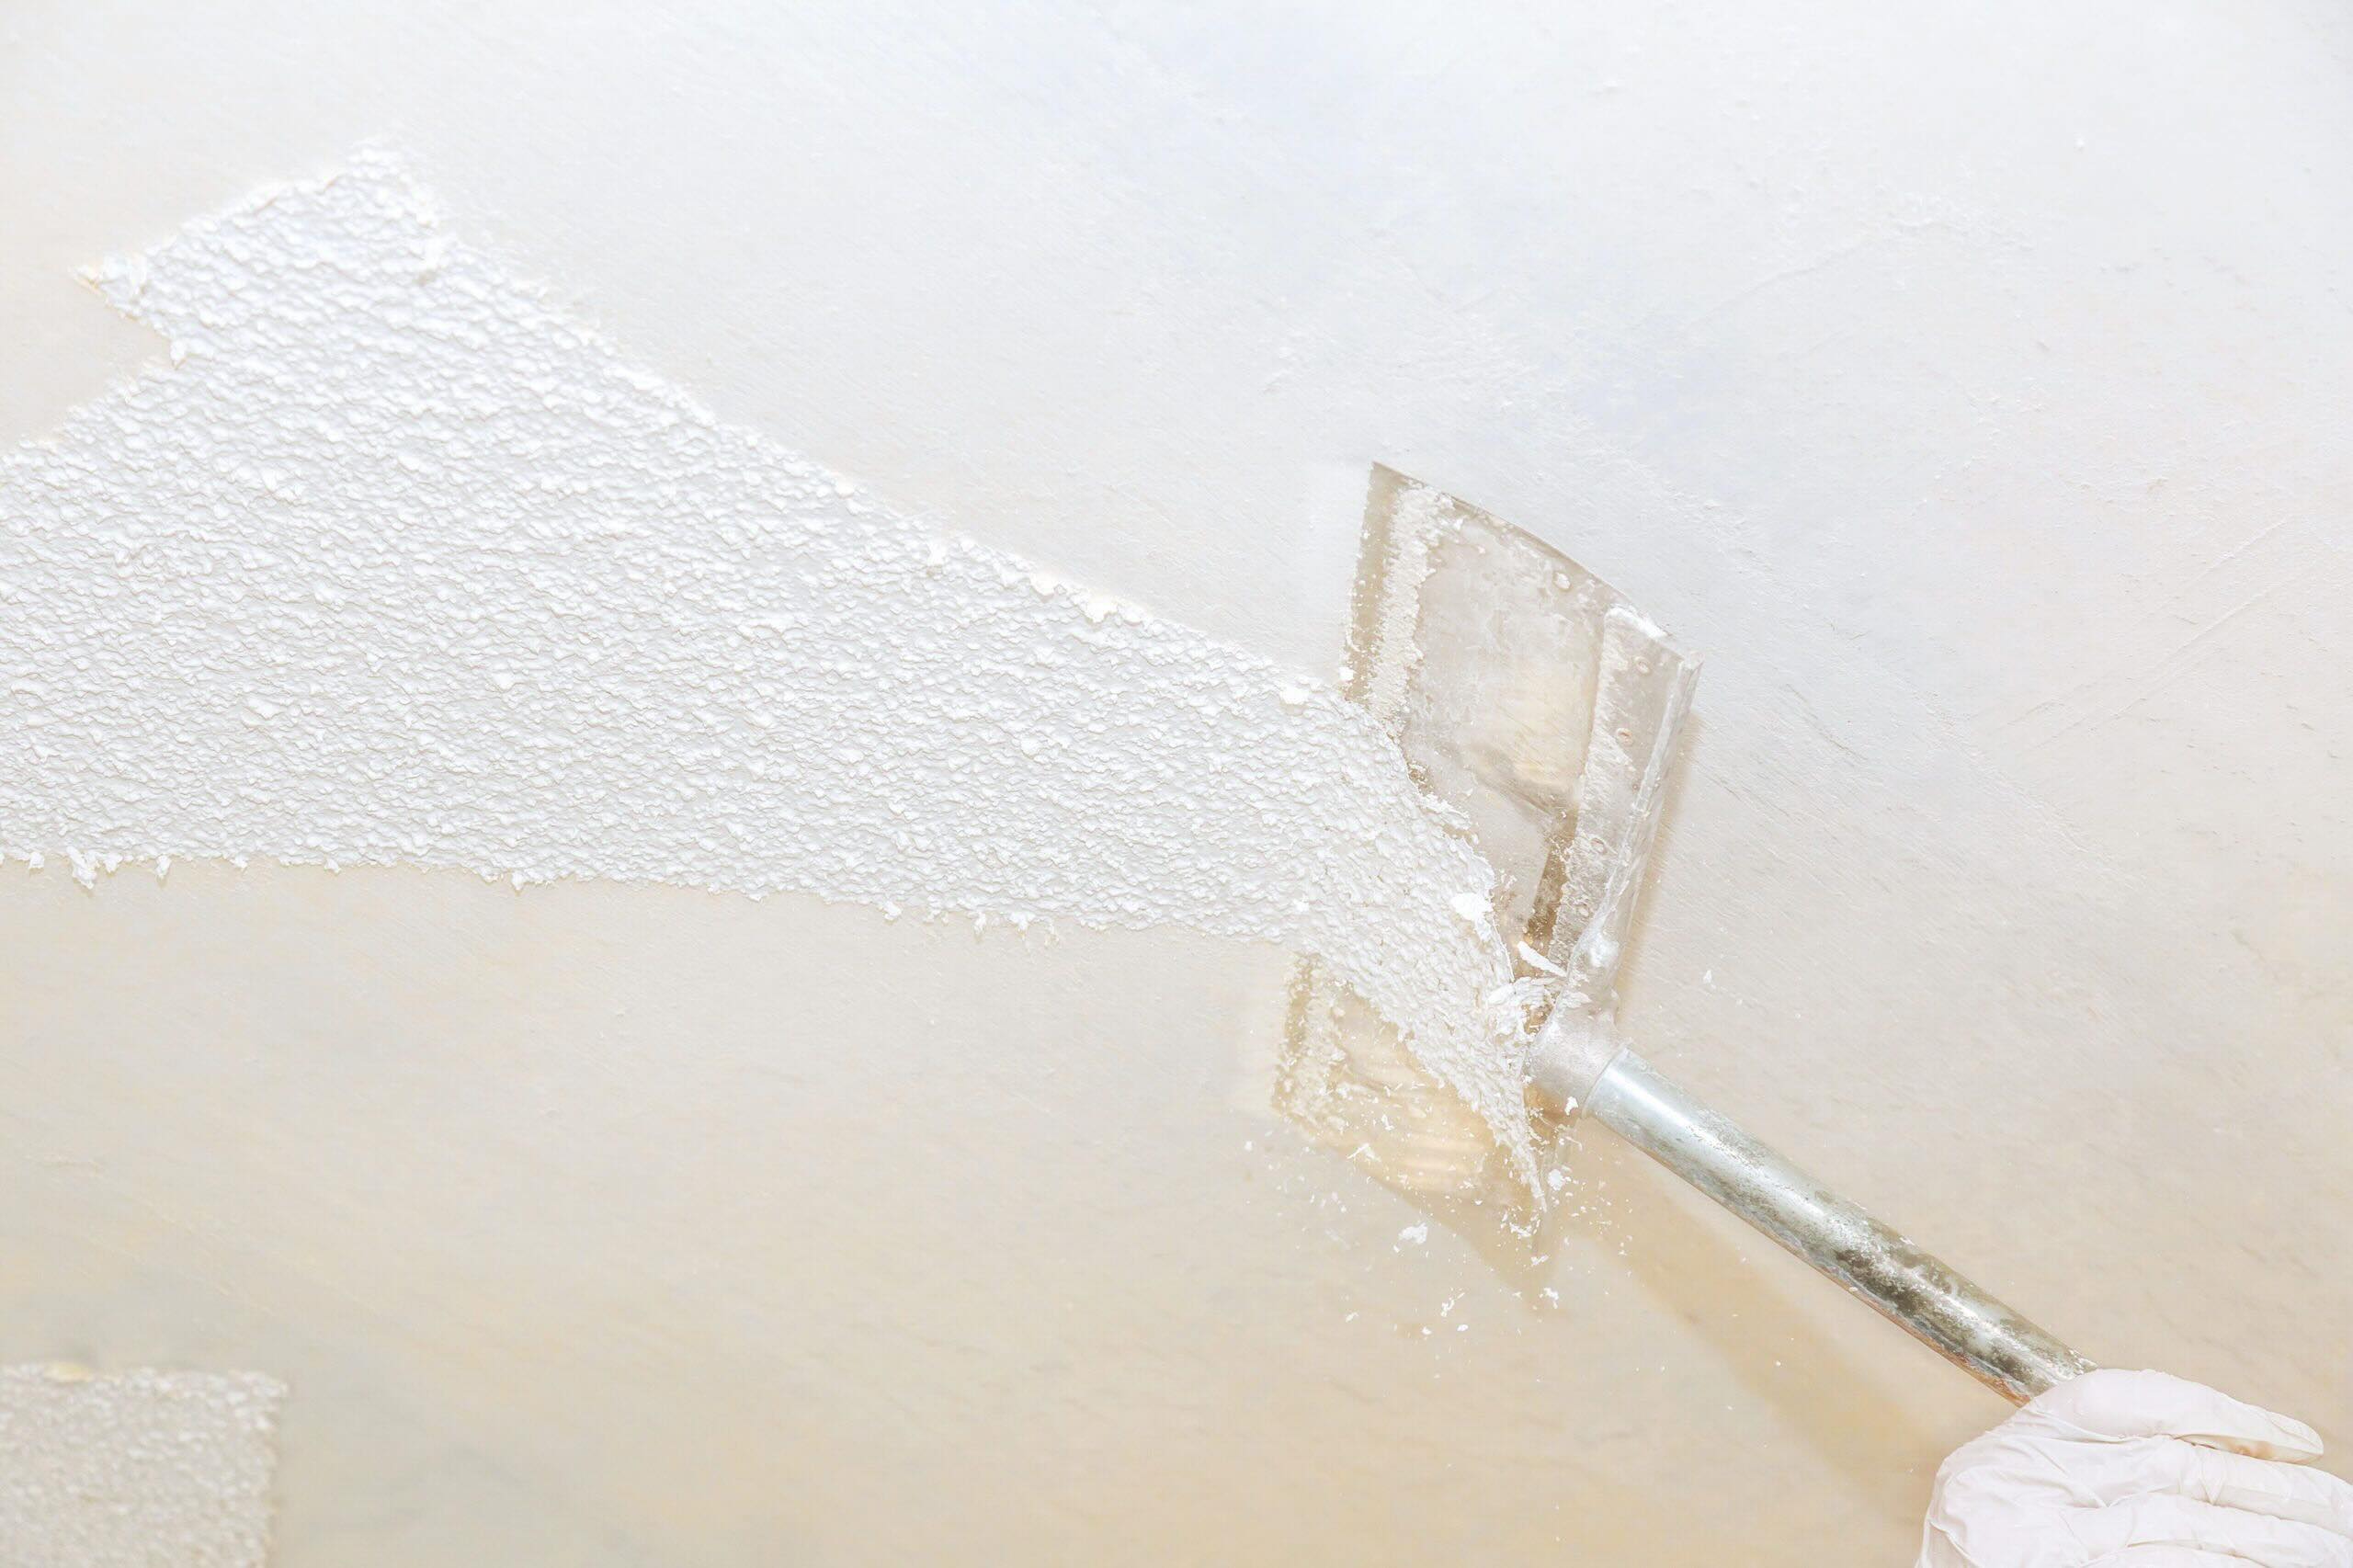
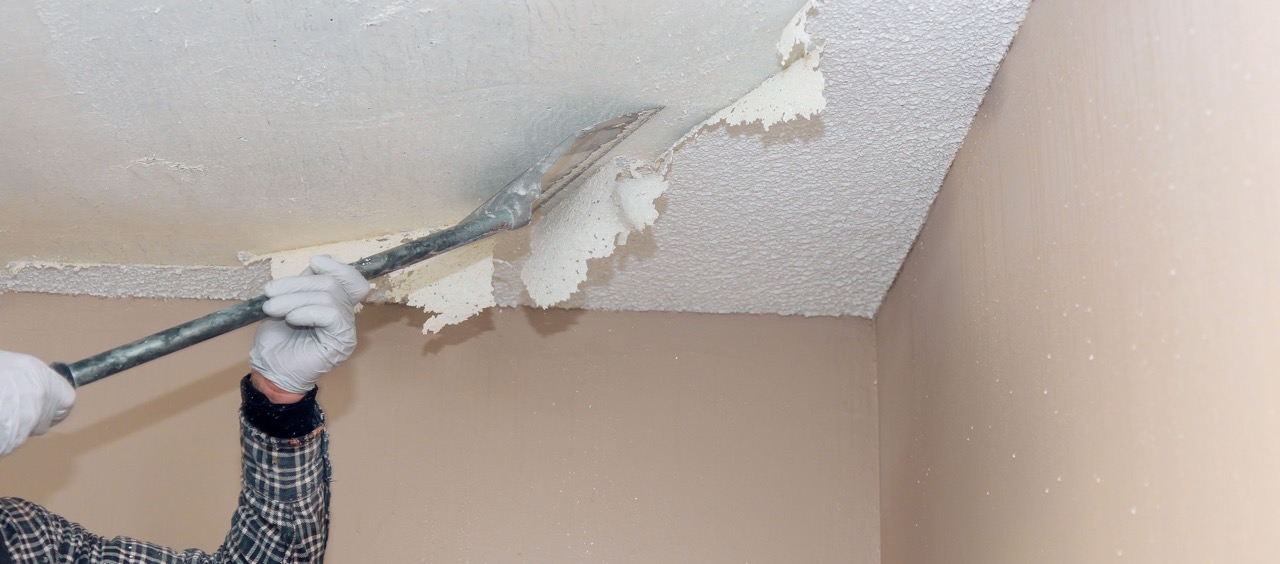
- Repair any damages: Inspect the ceiling for any cracks, holes, or loose texture. Use a putty knife and lightweight spackling compound to fill in these imperfections. Allow the compound to dry completely before proceeding.
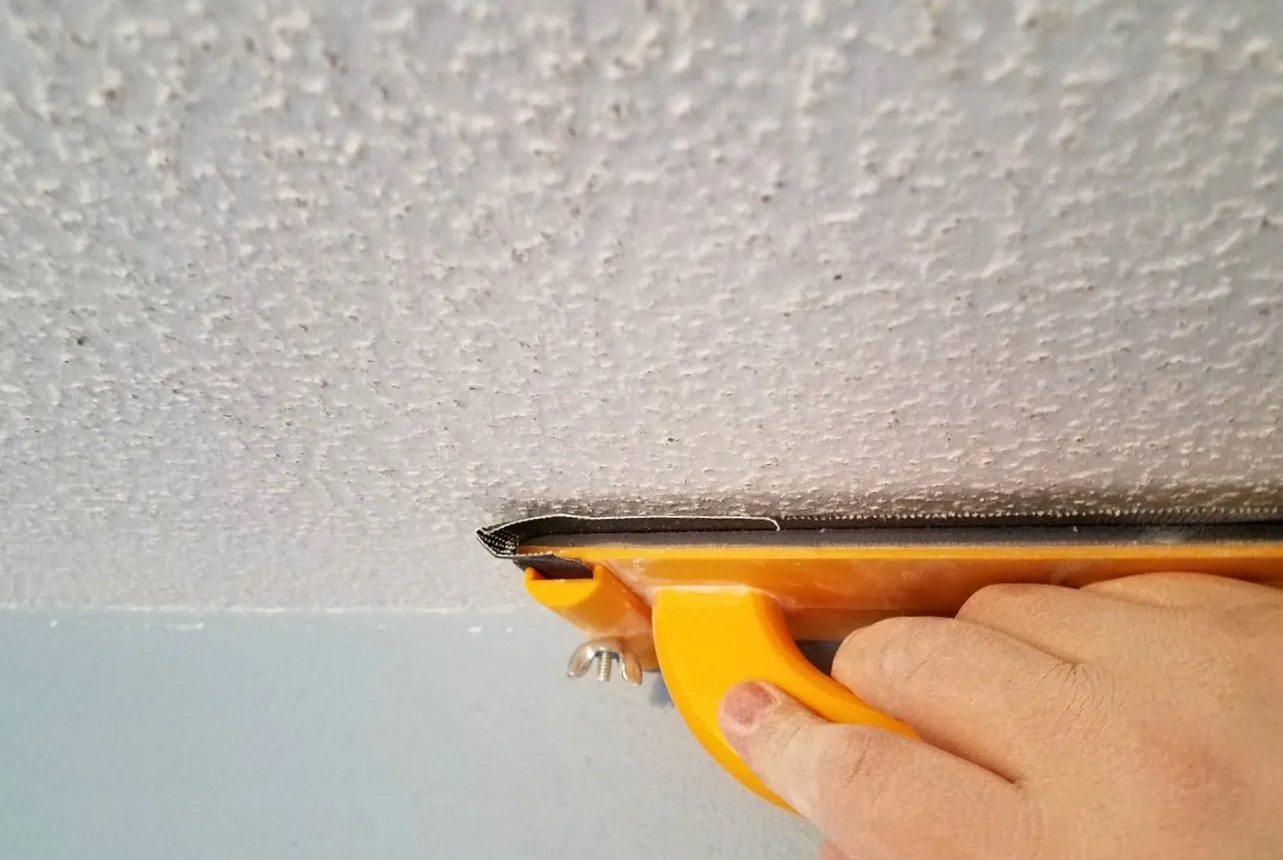
- Protect walls and trim: Cover the walls, crown molding, and trim with painter’s tape. This will prevent any accidental paint splatters or drips from reaching these areas.
By taking the time to prepare the room, you ensure a clean and organized workspace, which will contribute to achieving a professional-looking finish on your popcorn ceiling.
Word count: 200
Step 2: Protect Furniture and Flooring
When it comes to painting a popcorn ceiling, one of the most important aspects is protecting your furniture and flooring from potential paint splatters. Follow these steps to safeguard your valuable belongings:
- Cover furniture: Move any remaining furniture to the center of the room and cover it with plastic sheets or drop cloths. Make sure to secure the covers in place to prevent them from moving or shifting during the painting process.
- Protect flooring: Lay out additional drop cloths or plastic sheets on the floor to shield it from any paint drips or spills. Secure the edges with painter’s tape to keep them in place.
- Consider removing flooring: If you are particularly concerned about protecting your flooring, such as carpet or hardwood, you may want to consider removing it temporarily, if feasible. This will provide an added layer of protection and peace of mind.
By taking the time to properly protect your furniture and flooring, you can paint your popcorn ceiling with peace of mind, knowing that your cherished belongings are shielded from any potential damage.
Word count: 200
Step 3: Prime the Ceiling
Priming the popcorn ceiling before painting is an essential step that helps ensure better adhesion and coverage of the paint. Follow these steps to properly prime your ceiling:
- Select the right primer: Choose a high-quality primer specifically designed for textured surfaces. Look for a primer that is compatible with the type of paint you plan to use for the final coat.
- Prepare the primer: Follow the manufacturer’s instructions to properly prepare the primer for application. This may involve stirring the primer or diluting it with water, depending on the product.
- Apply the primer: Using a paint roller with a thick nap, begin applying the primer to the popcorn ceiling. Work in small sections, starting from one corner and gradually moving across the ceiling. Make sure to spread the primer evenly and avoid excessive buildup in any one area.
- Allow the primer to dry: Follow the recommended drying time specified by the primer manufacturer. This will ensure that the primer fully bonds to the textured surface and provides a solid base for the paint.
- Inspect for any missed spots: After the primer has dried, inspect the ceiling for any areas that may have been missed or require additional coats. Touch up these spots with primer as needed.
Priming the ceiling not only improves paint adhesion but also helps to seal the porous texture of the popcorn surface, resulting in a more even and professional finish.
Word count: 200
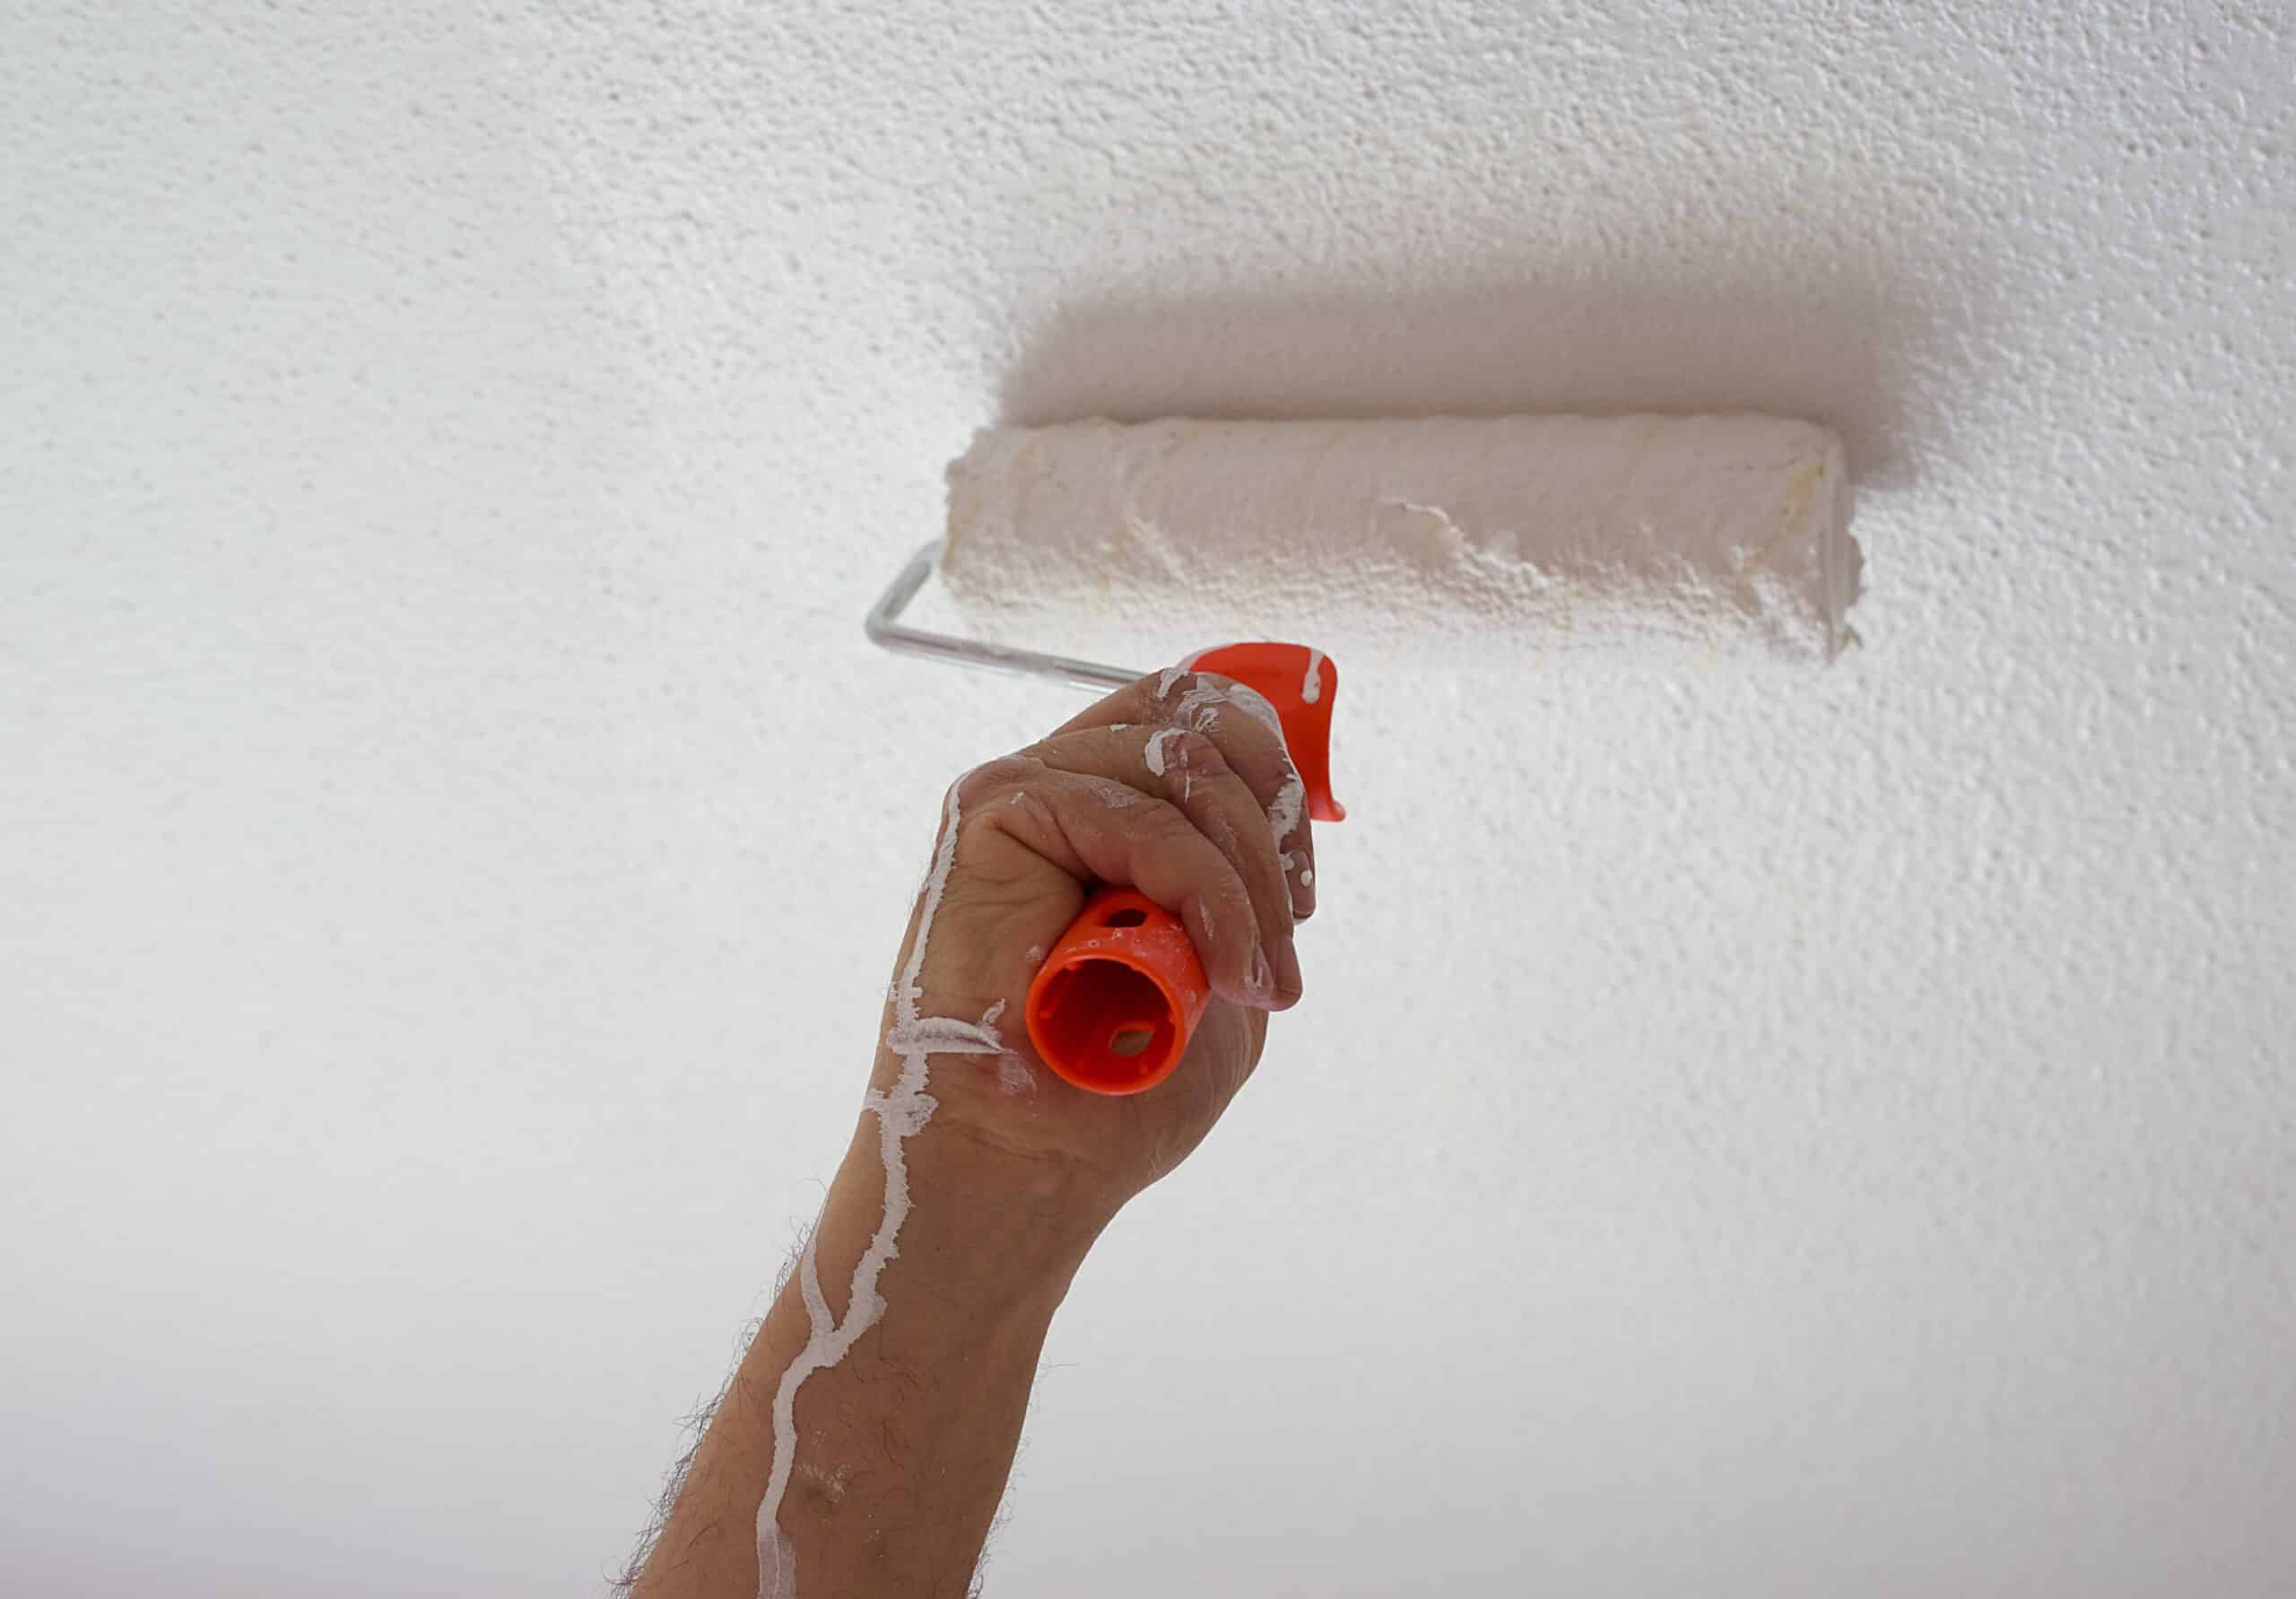
Before painting a popcorn ceiling, make sure to repair any damaged areas and cover the floor and furniture with plastic. Use a thick-nap roller to apply the paint in a consistent pattern for a smooth finish.
Step 4: Paint the Ceiling
After priming the popcorn ceiling, it’s time to apply the paint and transform the space. Follow these steps to paint your popcorn ceiling effectively:
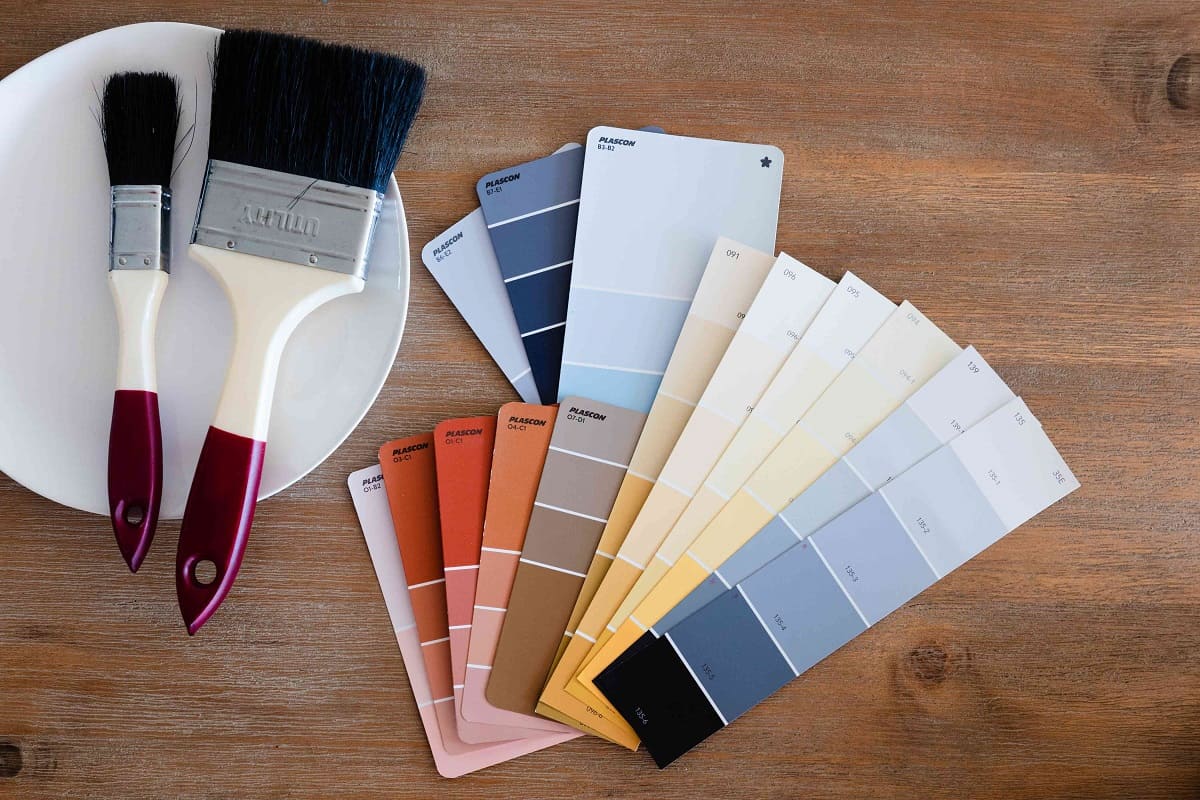
- Choose the right paint: Select a high-quality latex paint that is specifically designed for ceilings. Opt for a paint with a flat or matte finish to minimize the appearance of imperfections.
- Prepare the paint: Stir the paint thoroughly to ensure an even consistency. If necessary, strain the paint to remove any lumps or debris that may affect the finish.
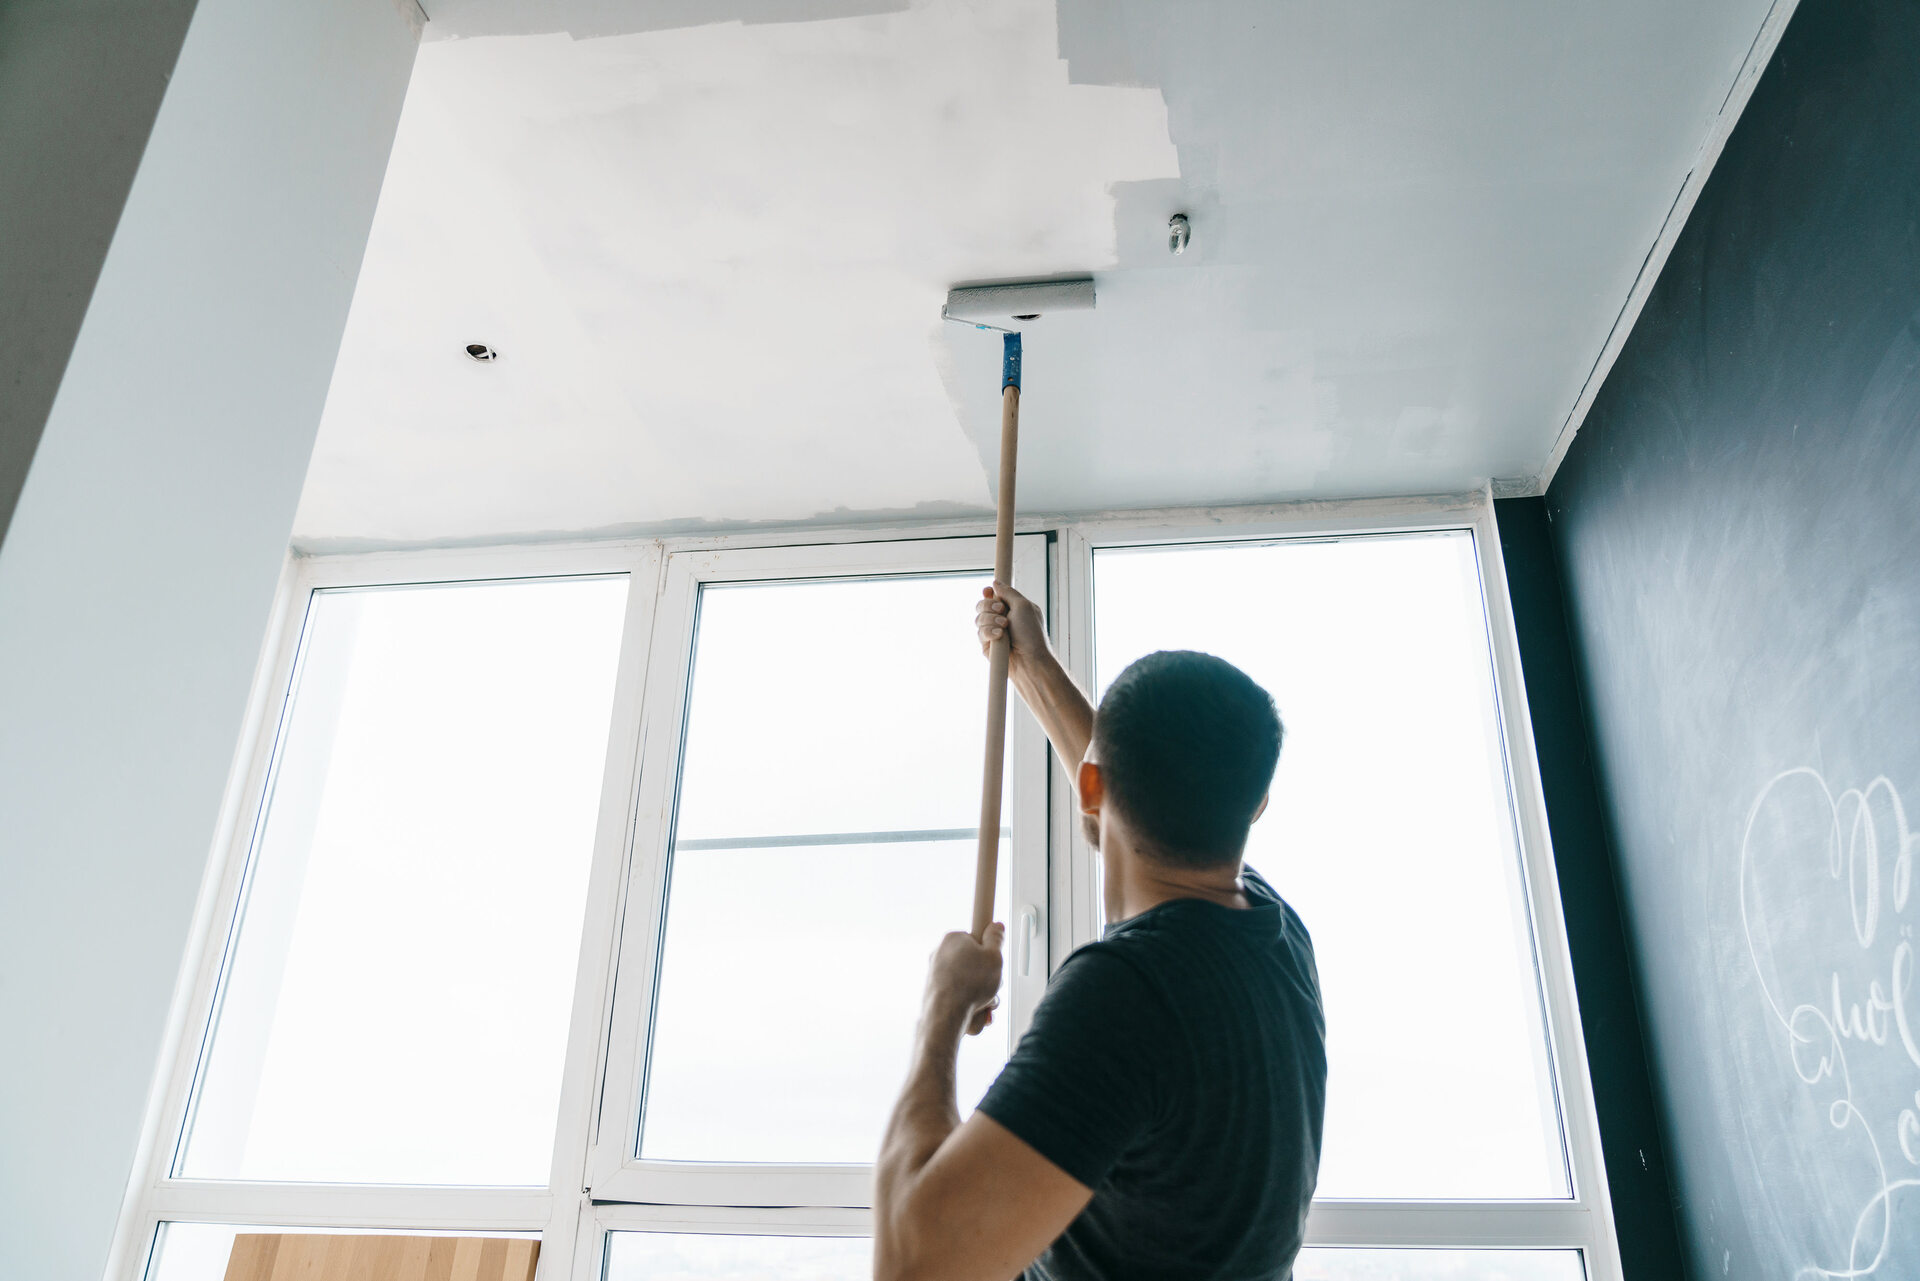
- Use the right tools: Use a paint roller with a thick nap to apply the paint to the popcorn ceiling. This will ensure even coverage and help to reach the textured surface effectively.
- Start from the edges: Begin by cutting in along the edges of the ceiling with a brush. This will create a clean and defined line where the roller will meet the brushwork.
- Roll the paint: With a loaded roller, start painting the ceiling using smooth and even strokes. Work in small sections, overlapping each stroke to ensure thorough coverage. Be mindful not to press too hard on the roller, as it may remove the texture from the popcorn surface.
- Allow the paint to dry: Follow the recommended drying time specified by the paint manufacturer. Avoid touching or disturbing the freshly painted surface until it is fully dry.
- Inspect for touch-ups: Once the paint has dried, carefully inspect the ceiling for any missed spots or uneven coverage. Touch up these areas with the paint as needed.
By following these steps and taking your time during the painting process, you can achieve a beautifully painted popcorn ceiling that enhances your space.
Word count: 250
Read more: Paint Finishes For Ceilings Explained
Step 5: Clean Up and Final Touches
Now that you’ve successfully painted your popcorn ceiling, it’s time to wrap up the project with some final touches. Follow these steps to clean up and add those finishing touches to complete the transformation:
- Clean up the workspace: Remove all the drop cloths, plastic sheets, and painter’s tape from the room. Dispose of any leftover paint properly according to local regulations.
- Inspect the ceiling: Take a final look at the painted ceiling to ensure that it has dried uniformly and that there are no visible imperfections or drips. If necessary, touch up any areas that require additional paint.
- Reinstall furniture and decorations: Carefully return the furniture and decorations to their original positions in the room. Take your time to arrange them in a way that complements the new look of the ceiling.
- Consider additional enhancements: If you want to further enhance the aesthetics of your newly painted popcorn ceiling, you can consider adding decorative elements such as ceiling medallions, light fixtures, or crown molding.
- Maintain the ceiling: To keep your popcorn ceiling looking fresh and well-maintained, avoid excessive moisture or water exposure. Use a soft microfiber cloth or a duster to remove dust and cobwebs periodically.
With these final steps, your popcorn ceiling painting project is complete. Step back and admire the transformation you’ve achieved, as the new paint adds a fresh and updated look to your space.
Word count: 250
Conclusion
Congratulations on successfully painting your popcorn ceiling! By following the five steps outlined in this article, you have transformed the look and feel of your space. Painting a popcorn ceiling may seem like a daunting task, but with careful preparation, the right tools, and attention to detail, you can achieve professional-looking results.
Remember, proper room preparation, including clearing the space, cleaning the ceiling, and repairing any damages, is crucial to ensure a smooth painting process. Additionally, protecting your furniture and flooring from paint splatters is essential to safeguard your valuable belongings.
Priming the ceiling creates a stable base for the paint, while using the right paint and tools helps ensure even coverage and a seamless finish. Taking your time and applying the paint with care will contribute to a beautiful outcome. Don’t forget to clean up the workspace and add those final touches to complete the project.
With your newly painted popcorn ceiling, your room has a fresh and updated look. The smooth and uniform finish adds a touch of elegance and modernity. Enjoy the beauty of your space and take pride in your accomplishment.
Remember, maintenance is key to preserving the beauty of your popcorn ceiling. Regularly remove dust and debris, and avoid excessive moisture or water exposure. By doing so, your newly painted popcorn ceiling will continue to impress and enhance your space for years to come.
Thank you for following our guide on how to paint a popcorn ceiling. We hope you found it informative and helpful. Happy painting!
Word count: 250
Frequently Asked Questions about How To Paint A Popcorn Ceiling: 5 Steps To A Beautiful Finish
Was this page helpful?
At Storables.com, we guarantee accurate and reliable information. Our content, validated by Expert Board Contributors, is crafted following stringent Editorial Policies. We're committed to providing you with well-researched, expert-backed insights for all your informational needs.




0 thoughts on “How To Paint A Popcorn Ceiling: 5 Steps To A Beautiful Finish”