Articles
How To Put Quilt In Duvet Cover
Modified: February 23, 2024
Learn how to put a quilt inside a duvet cover with our informative articles. Step-by-step instructions and tips included for easy bedding transformations.
(Many of the links in this article redirect to a specific reviewed product. Your purchase of these products through affiliate links helps to generate commission for Storables.com, at no extra cost. Learn more)
Introduction
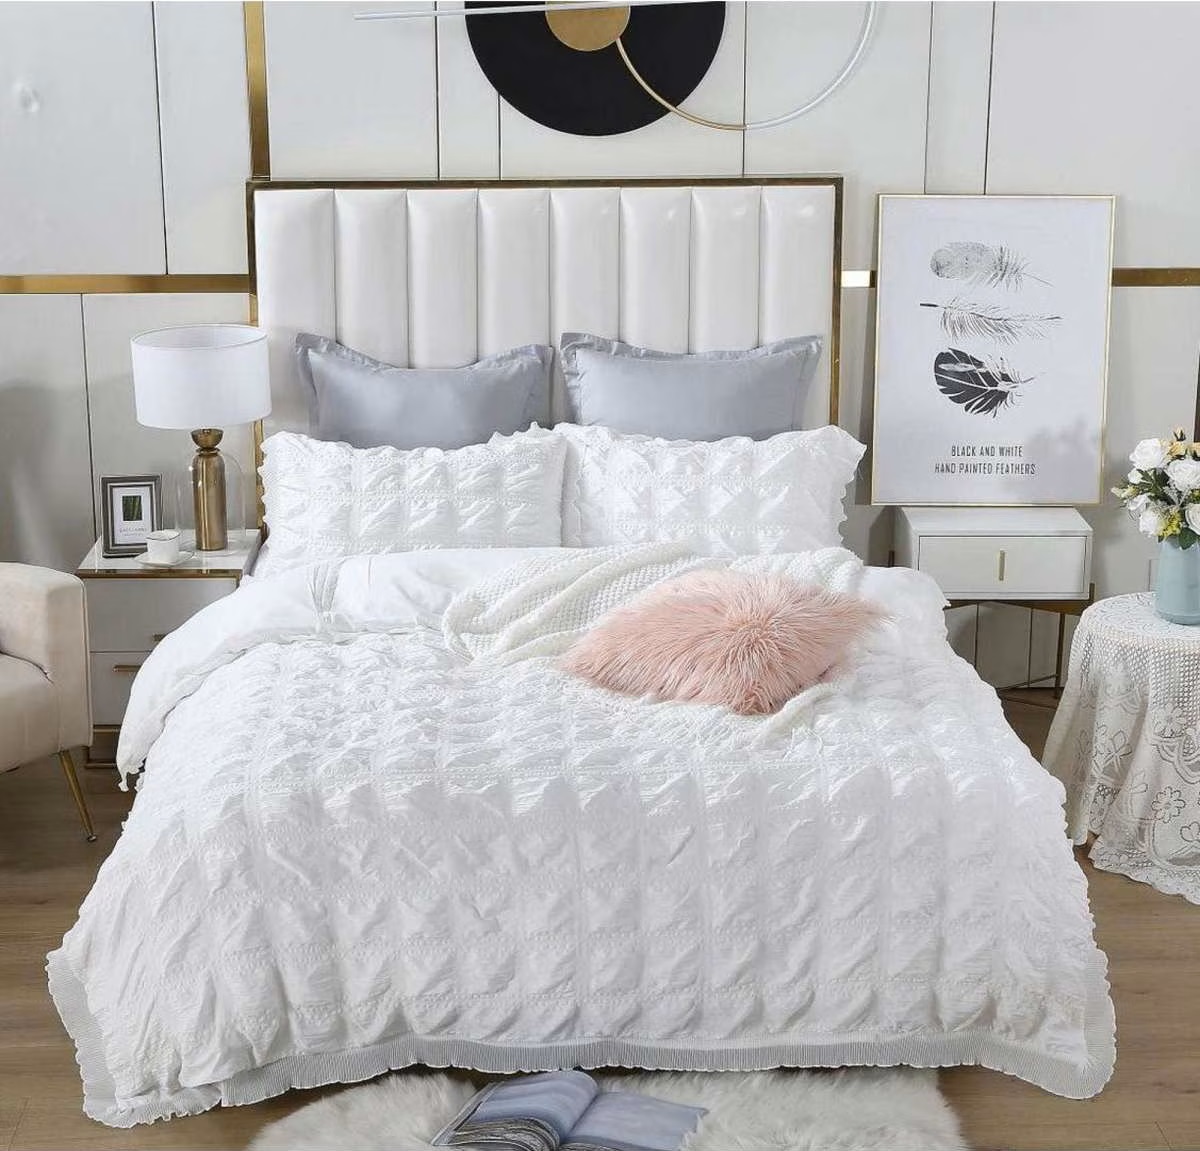
Putting a quilt inside a duvet cover can be a challenging task, especially if you’re not familiar with the technique. However, with a few simple steps and some patience, you can successfully insert your quilt into a duvet cover, giving your bedding a fresh and stylish look.
A duvet cover is a protective shell that goes over a quilt, comforter, or duvet. It not only offers protection to your bedding but also allows you to change the look of your bedroom decor easily. The process may seem daunting at first, but once you get the hang of it, it will become second nature.
In this article, we will guide you through the step-by-step process of putting a quilt inside a duvet cover, ensuring a snug and professional-looking result. Grab your materials and let’s get started!
Key Takeaways:
- Master the art of putting a quilt in a duvet cover by following the step-by-step guide. Take your time, secure the quilt in place, and enjoy a perfectly dressed bed that exudes comfort and style.
- Embrace the joy of creating a cozy and inviting space with a beautifully dressed bed. Experiment with different duvet covers and quilts to effortlessly change the look and feel of your bedroom decor.
Read more: How To Turn A Duvet Cover Into A Quilt
Materials Needed
Before you begin the process of putting a quilt in a duvet cover, make sure you have the following materials on hand:
- A quilt or comforter: This is the fluffy, padded layer that provides warmth and comfort.
- A duvet cover: This is the decorative fabric cover that will encase your quilt or comforter.
- A flat surface: You’ll need a clean and flat surface, such as a bed or table, to spread out the duvet cover.
- Patience: Putting a quilt in a duvet cover can be a bit tricky, so it’s important to approach the task with patience and a calm mindset.
Optional materials that can make the process easier include:
- A duvet clip or safety pin: These can be used to secure the ends of the duvet cover, preventing the quilt from shifting inside.
- A partner: If you have someone to assist you, the process can be quicker and more straightforward.
Once you have gathered all the necessary materials, you’re ready to begin putting your quilt in the duvet cover. The process may take a bit of time and practice, but the end result will be a perfectly dressed bed that exudes style and comfort.
Step 1: Prepare the Quilt and Duvet Cover
Before you begin inserting the quilt into the duvet cover, it’s essential to prepare both the quilt and duvet cover to ensure a smooth and hassle-free process.
Start by laying the duvet cover flat on a clean and flat surface, with the opening facing towards you. Smooth out any wrinkles or creases to create a neat and even surface.
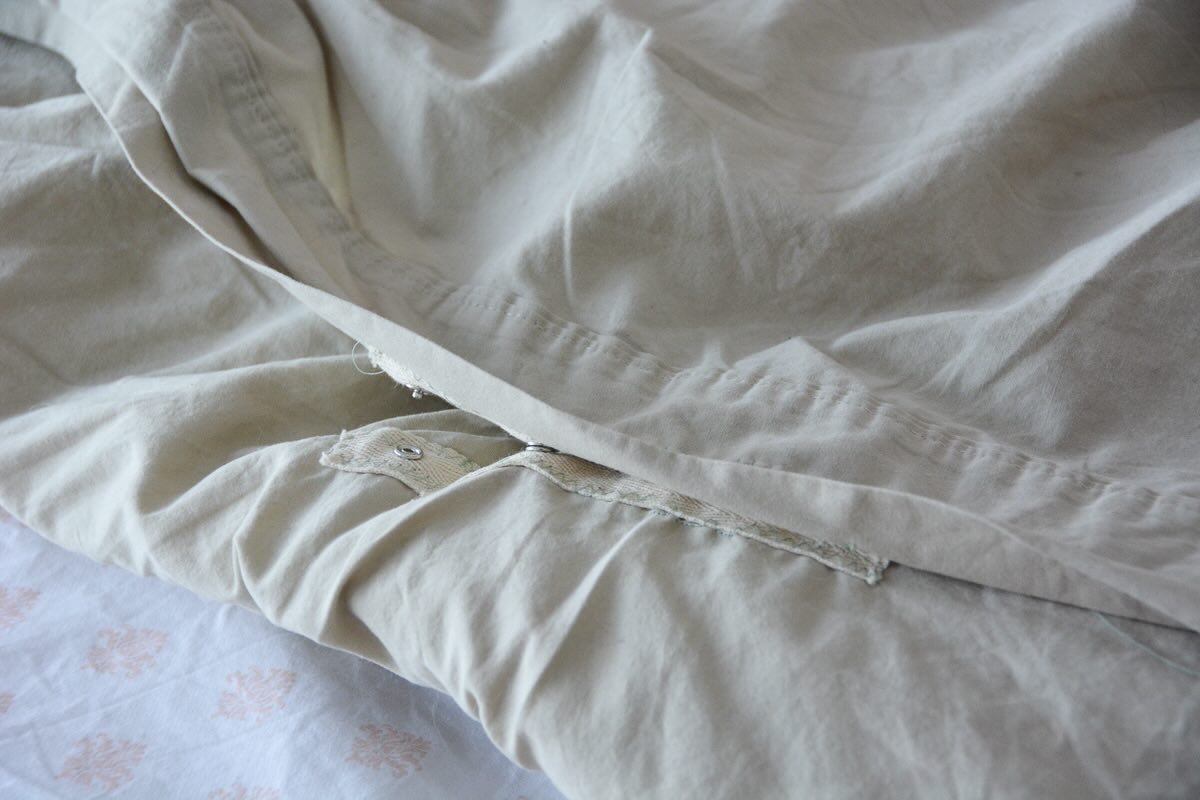
If your duvet cover has ties or buttons, ensure they are undone and ready to fasten once the quilt is inserted. This will prevent any unnecessary struggles later on.
Next, make sure your quilt is evenly spread out and aligned with the corners of the duvet cover. Smooth out any wrinkles or lumps in the quilt to ensure a tidy and comfortable fit.
If your quilt has corners that match up with the corners of the duvet cover, use your hands to match them together. This will help keep the quilt in place during the insertion process and create a snug, professional finish once the duvet cover is closed.
By taking the time to prepare both the quilt and duvet cover, you’re setting yourself up for a much easier and more efficient process when it comes time to insert the quilt. So, make sure everything is laid out properly and ready to go before moving on to the next step.
Step 2: Flip the Duvet Cover Inside Out
Once you have prepared the quilt and duvet cover, it’s time to flip the duvet cover inside out. This step may seem counterintuitive, but it will make the insertion process much easier and help ensure a smooth and wrinkle-free finish.
To flip the duvet cover inside out, locate the opening of the duvet cover and slide your hands inside. Reach all the way to the bottom corners and grasp them firmly. Pull the bottom corners up and through the opening, turning the duvet cover inside out in the process.
Continue pulling the bottom corners up until the entire duvet cover is inside out. Make sure the opening of the duvet cover is fully accessible and ready for the next step.
Flipping the duvet cover inside out provides better access to the inside of the cover, making it easier to insert the quilt. By doing this, you’re ensuring a seamless and effortless process for the next steps.
Once the duvet cover is inside out, take a moment to smooth out any wrinkles or folds on the fabric. This will help create a clean and neat appearance when the quilt is inserted.
Now that the duvet cover is ready, move on to the next step: inserting the quilt into the duvet cover.
Step 3: Insert the Quilt into the Duvet Cover
Now that you have flipped the duvet cover inside out, it’s time to insert the quilt. This step requires some careful maneuvering to ensure that the quilt is correctly placed inside the duvet cover.
Start by holding the top corners of the quilt and find the corresponding corners of the duvet cover. Insert the top corners of the quilt into the top corners of the duvet cover, matching them up as closely as possible.
With the top corners aligned, continue to slide the quilt down into the duvet cover, making sure that the sides of the quilt align with the sides of the duvet cover. This will help prevent any bunching or unevenness once the duvet cover is closed.
As you guide the quilt into the duvet cover, periodically shake and adjust the cover to ensure that the quilt is evenly distributed inside. Use your hands to smooth out any wrinkles or lumps in the fabric, creating a clean and professional appearance.
Take your time during this step, ensuring that the quilt is fully inserted and aligned with the corners and sides of the duvet cover. Pay close attention to any patterns or designs on the fabric and make sure they are facing the correct way for the desired aesthetic.
If needed, don’t hesitate to enlist the help of a partner to hold the duvet cover open or assist with adjusting the quilt. Having an extra set of hands can make the process easier and more efficient.
Once the quilt is fully inserted into the duvet cover and aligned properly, you’re ready to move on to the next step: securing the quilt in place.
When putting a quilt in a duvet cover, start by laying the duvet cover inside out on the bed, then lay the quilt on top. Roll both together, then reach inside and flip the duvet cover right side out over the rolled-up quilt. Unroll and shake to settle.
Read more: How To Put On An IKEA Duvet Cover
Step 4: Secure the Quilt in the Duvet Cover
With the quilt successfully inserted into the duvet cover, it’s time to secure it in place to prevent it from shifting or bunching up inside. This step will help ensure a neat and tidy appearance when the bed is made.
If your duvet cover has ties or buttons, start by fastening them. Locate the ties or buttons along the opening of the duvet cover and use them to secure the edges of the duvet cover around the quilt. This will help keep the quilt in place and prevent it from moving around inside the cover.
If your duvet cover doesn’t have ties or buttons, consider using duvet clips or safety pins as an alternative. Attach them along the edges of the duvet cover at regular intervals to hold the quilt in place. These clips or pins will provide the necessary security and keep the quilt from shifting during use.
As you secure the quilt, take a moment to smooth out the fabric and adjust any wrinkles or folds. This will ensure a clean and crisp appearance when the duvet cover is closed.
It’s important to note that if using safety pins, be cautious to insert them through the fabric without snagging or tearing it. Take your time and work carefully to avoid any damage to the duvet cover or quilt.
By securing the quilt in the duvet cover, you’re ensuring that it stays in place and maintains its shape and appearance over time. This step is crucial for a well-made bed and a comfortable night’s sleep.
Once the quilt is securely in place, it’s time to move on to the next step: shaking and adjusting.
Step 5: Shake and Adjust
After securing the quilt in the duvet cover, it’s important to shake and adjust the bedding to ensure a smooth and evenly distributed appearance. This step will help eliminate any wrinkles or lumps, giving your bed a clean and polished look.
Start by standing at one end of the bed and firmly grab the duvet cover near the corner. Give it a few shakes to help settle the quilt and allow it to fall naturally into place. Repeat this process for each corner of the duvet cover.
Once you’ve given the duvet cover a few shakes, it’s time to adjust the quilt inside. Use your hands to smooth out any wrinkles or lumps, working from the center towards the edges of the bed. Take your time and make sure the quilt is evenly distributed within the cover.
If needed, lift up the corners of the duvet cover and gently tug on the quilt to reposition it and create a more balanced appearance. Continue adjusting until you’re satisfied with the overall look of the bed.
Don’t forget to fluff up the pillows and arrange them neatly on the bed to complete the well-made look. Straighten out any wrinkles or folds in the sheets or bed skirt for a clean and inviting finish.
By shaking and adjusting the duvet cover, you’re ensuring that the quilt settles and lies flat inside, giving your bed a professionally made appearance. Take the time to perfect the arrangement, as it will contribute to the overall ambiance of your bedroom.
Now that the quilt is properly shaken and adjusted, it’s time to move on to the final step: closing the duvet cover.
Step 6: Close the Duvet Cover
With the quilt perfectly positioned and the bed looking immaculate, it’s time to close the duvet cover and complete the process. This step will secure the quilt inside the cover, providing a finished and polished look to your bedding ensemble.
Start by reaching inside the duvet cover and locating the opening. If you flipped the duvet cover inside out earlier, now is the time to reverse it and bring the fabric back to its original orientation.
Begin closing the duvet cover by carefully aligning the edges of the opening and ensuring that the corners of the quilt match up with the corners of the duvet cover. Gently feed the quilted edges into the cover, making sure they are fully enclosed within the fabric.
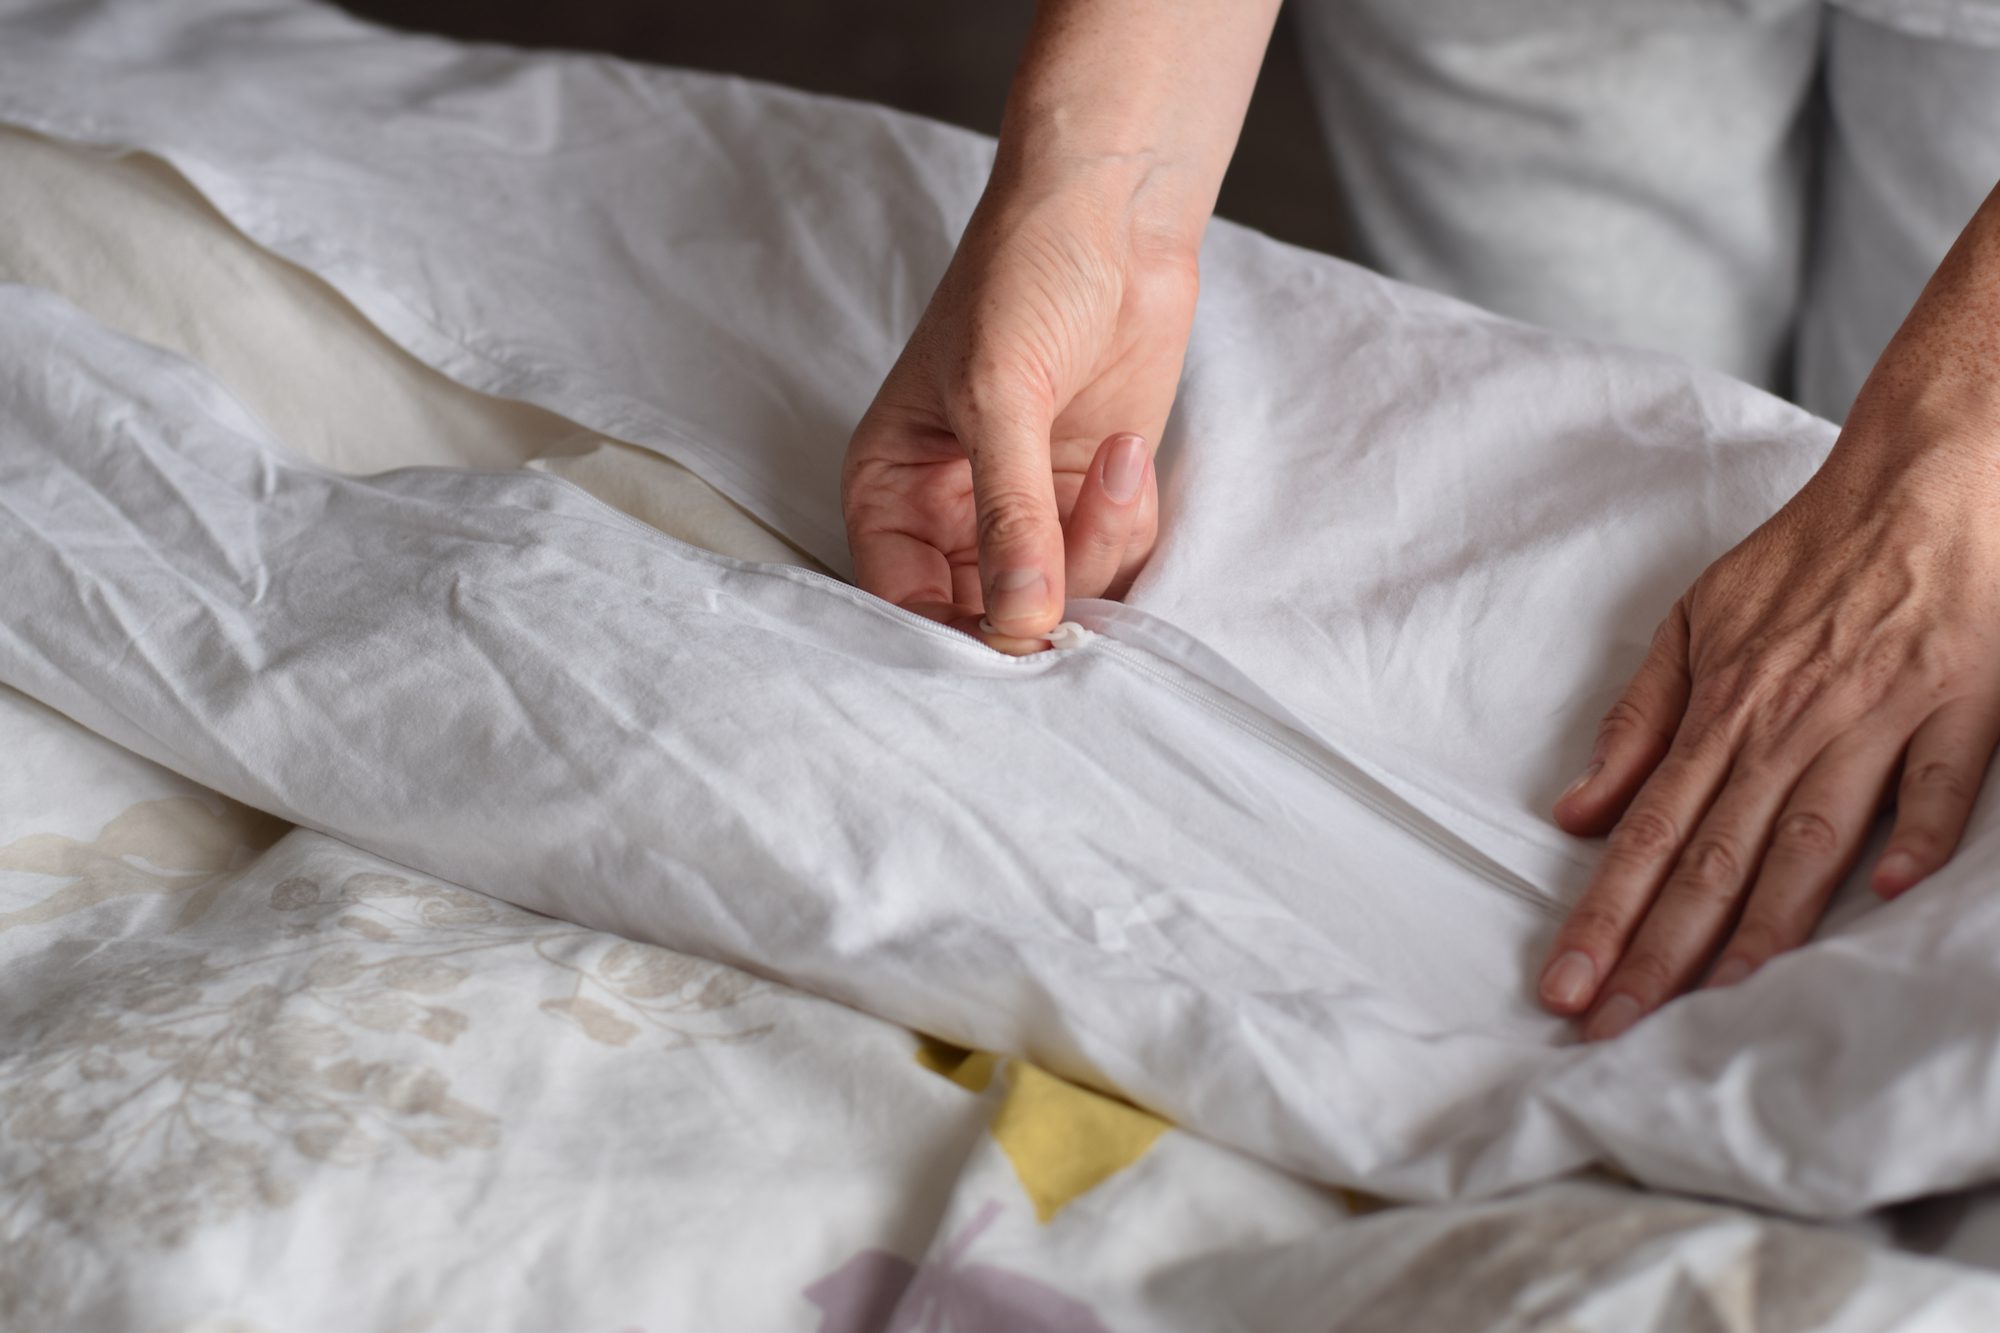
Next, slowly zip up or button the opening of the duvet cover, taking care not to catch any of the quilt or fabric. If your duvet cover has buttons, fasten them one at a time, tucking the quilted edges inside as you go.
As you close the duvet cover, smooth out any wrinkles or creases along the closure. This will give your bed a clean and cohesive appearance.
If desired, give the duvet cover a final shake or tug to ensure that the quilt lies flat and is evenly distributed inside. This will help create a neat and comfortable look once the bed is ready for use.
Once the duvet cover is closed, step back and marvel at your perfectly dressed bed. The quilt is snugly secured inside the cover, creating an inviting and stylish focal point in your bedroom.
Congratulations! You’ve successfully put a quilt in a duvet cover, transforming your bedding into a comfortable and aesthetically pleasing sanctuary.
Remember, practice makes perfect. The more you familiarize yourself with this process, the easier and quicker it will become. Enjoy your beautifully arranged bed and relish in the cozy atmosphere it provides.
Now, it’s time to relax, unwind, and enjoy a peaceful night’s sleep surrounded by the warmth and comfort of your quilted duvet cover.
Conclusion
Putting a quilt in a duvet cover may initially seem like a daunting task, but with the right technique and a little practice, it can be easily accomplished. By following the step-by-step guide provided in this article, you can achieve a perfectly dressed bed with a neatly encased quilt.
Throughout the process, it’s important to take your time and pay attention to details. Prepare the quilt and duvet cover, flipping the cover inside out for easier insertion. Secure the quilt in place using ties, buttons, or duvet clips, ensuring it remains in position. Shake and adjust the duvet cover to eliminate wrinkles and create an evenly distributed appearance. Finally, close the duvet cover, ensuring a snug and smooth finish.
By mastering the art of putting a quilt in a duvet cover, you can effortlessly change the look and feel of your bedroom decor. With the ability to switch out duvet covers and quilts, you can create a variety of styles to suit your mood or the season.
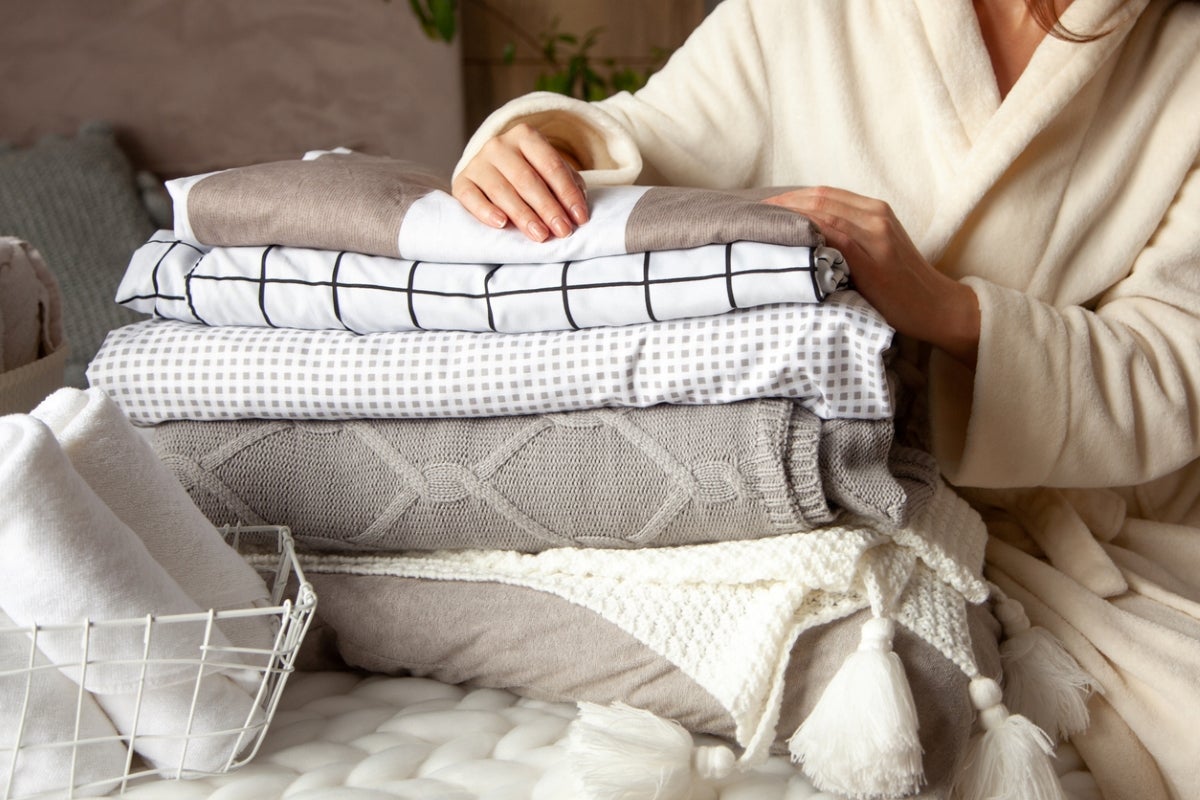
Remember to choose high-quality materials that are durable and easy to care for. Opt for duvet covers and quilts that complement your personal style and enhance the overall aesthetic of your bedroom.
With each new attempt, you will become more efficient and skilled at the process. Don’t be afraid to experiment and find your own techniques for achieving a perfectly “dressed” bed. Soon enough, putting a quilt in a duvet cover will become second nature to you.
Embrace the joy of creating a cozy and inviting space with your beautifully dressed bed. It’s not just about functionality but also about creating an atmosphere of comfort and style.
So, go ahead and give it a try. Enjoy the satisfaction of a well-made bed and the luxurious feeling of a quilted duvet cover wrapping you in warmth each night. Sweet dreams!
Frequently Asked Questions about How To Put Quilt In Duvet Cover
Was this page helpful?
At Storables.com, we guarantee accurate and reliable information. Our content, validated by Expert Board Contributors, is crafted following stringent Editorial Policies. We're committed to providing you with well-researched, expert-backed insights for all your informational needs.


0 thoughts on “How To Put Quilt In Duvet Cover”