
Articles
How To Put A Duvet Cover On With Ties
Modified: February 24, 2024
Learn how to easily put a duvet cover on with ties with our informative articles. Simplify the process and keep your duvet securely in place.
(Many of the links in this article redirect to a specific reviewed product. Your purchase of these products through affiliate links helps to generate commission for Storables.com, at no extra cost. Learn more)
Introduction
Putting on a duvet cover can be a frustrating task, especially if it doesn’t have any ties. However, if your duvet cover does have ties, you’re in luck! Ties can make the process much easier and ensure that your duvet stays securely in place.
In this article, we will guide you through the step-by-step process of putting on a duvet cover with ties. Whether you’re a beginner or have struggled with this task in the past, by following these simple instructions, you’ll be able to effortlessly transform the appearance of your bedroom and give your duvet a clean, polished look.
So, grab your duvet cover with ties, and let’s get started!
Key Takeaways:
- Easily transform the appearance of your bedroom and give your duvet a clean, polished look by following these simple steps to put on a duvet cover with ties.
- Achieve a beautifully made bed that is both functional and aesthetically pleasing by preparing your duvet cover, inserting the duvet, securing it with ties, and smoothing out the cover.
Read more: How To Tie Duvet Cover With Loops
Step 1: Prepare your duvet cover
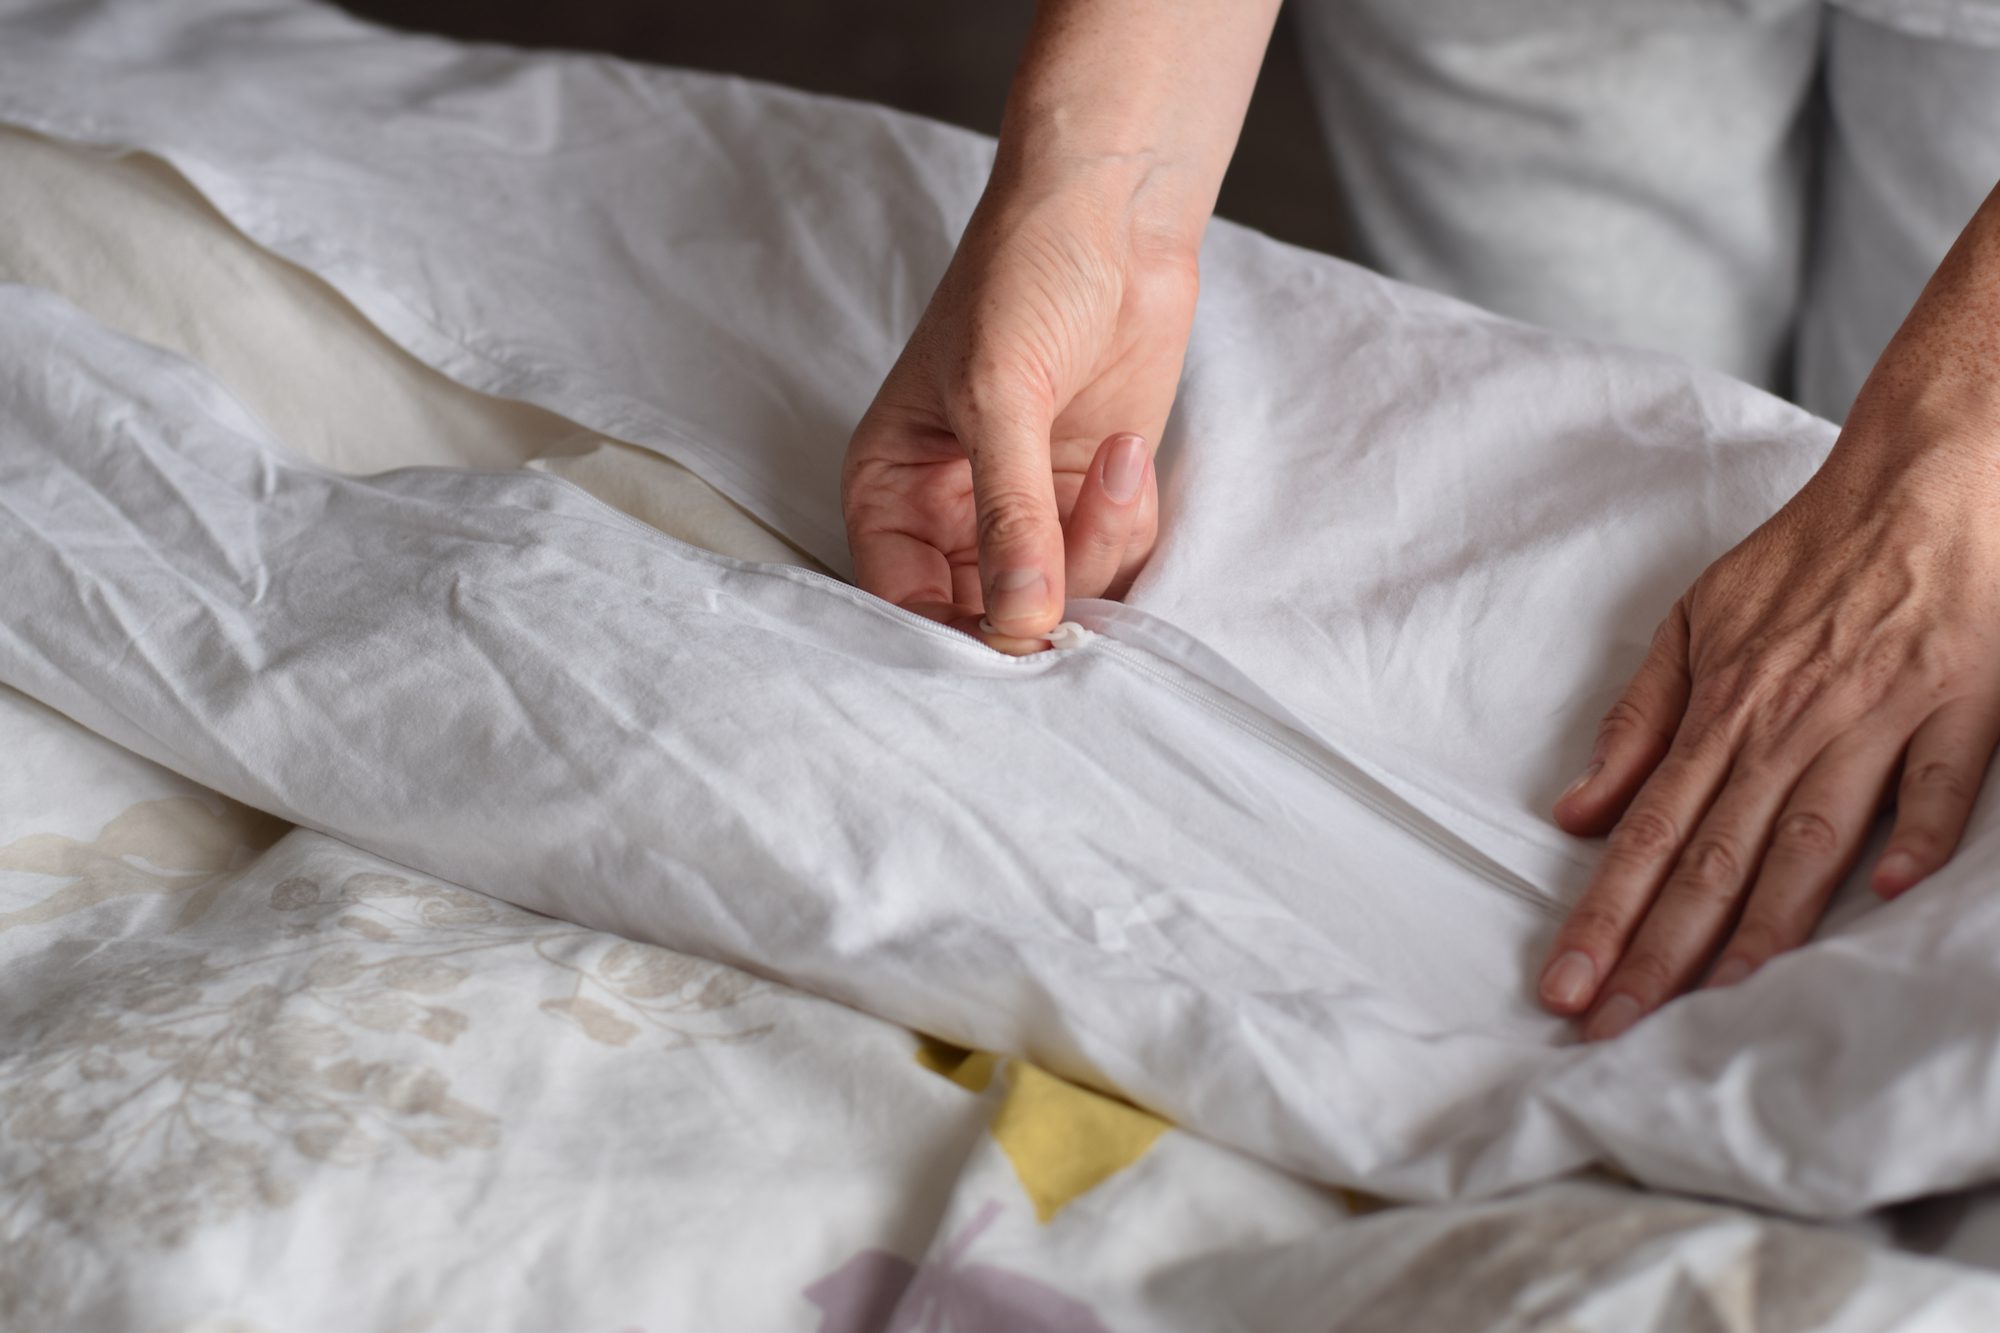
Before you begin, it’s important to make sure that your duvet cover is ready to be put on. Start by opening up the cover and ensuring that all of the buttons or zippers are undone. Lay the duvet cover flat on your bed, smoothing out any wrinkles or creases.
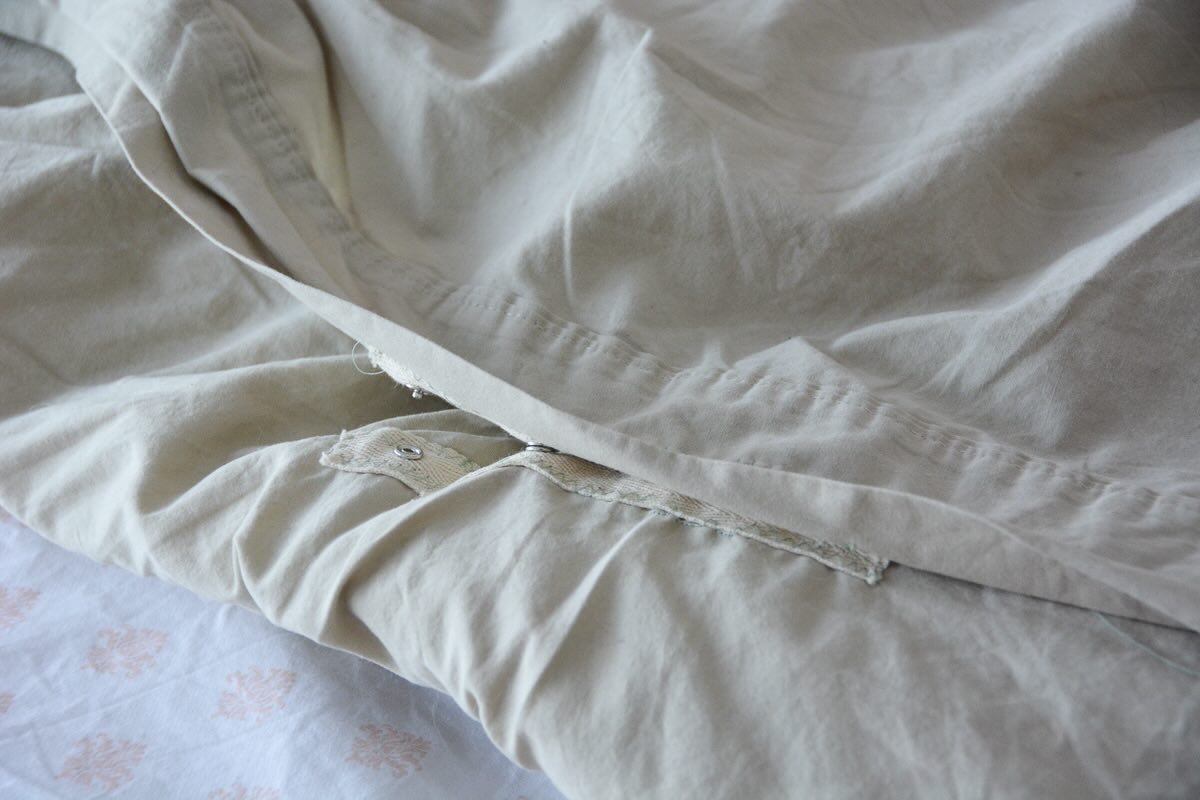
If your duvet cover has ties, locate them on the inside corners of the cover. These ties will be used to secure the duvet in place and prevent it from shifting around inside the cover. Take a moment to ensure that the ties are in good condition and securely attached to the cover.
Next, check the size of your duvet and duvet cover. It’s essential that they are a perfect match to ensure a proper fit. If your duvet is larger than the cover, it may not fit properly, which can lead to discomfort and a messy-looking bed. If needed, consider purchasing a new duvet cover that matches the size of your duvet.
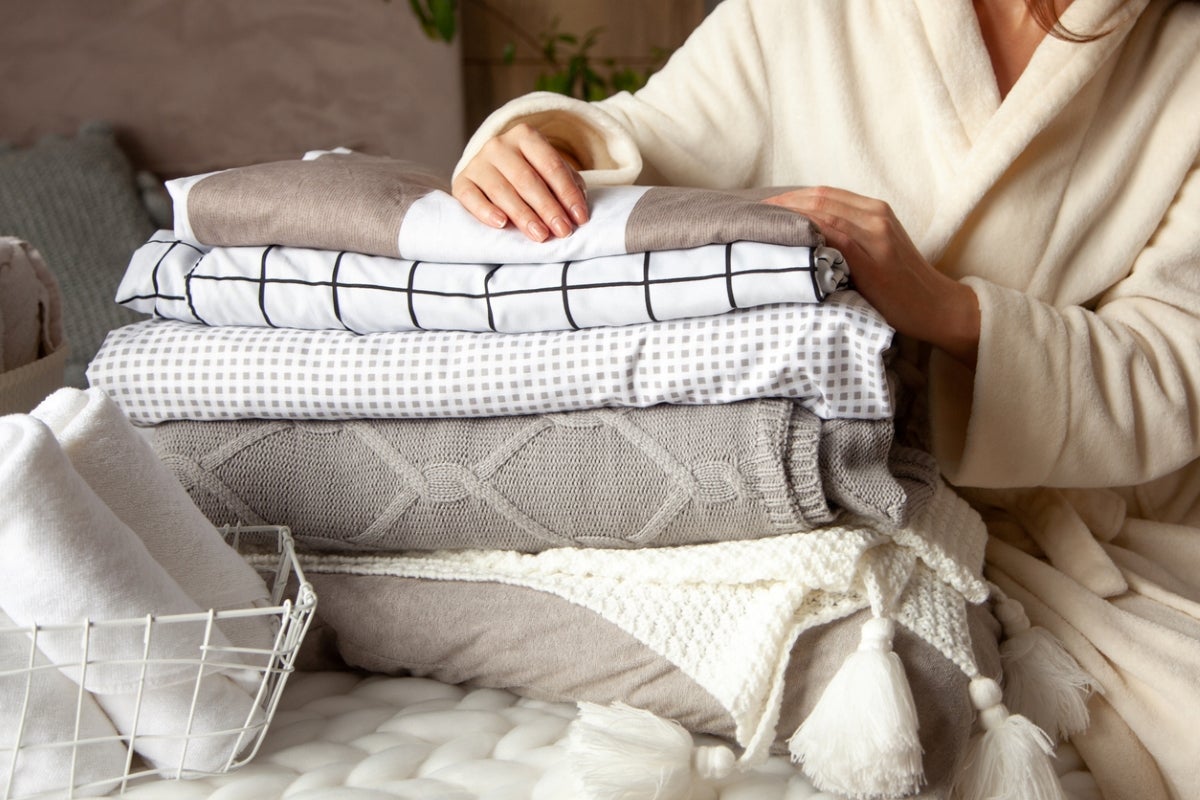
Finally, take a moment to examine the care instructions on your duvet cover. This will inform you of any specific recommendations for washing or drying the cover. It’s important to follow these instructions to maintain the quality and longevity of your duvet cover.
With your duvet cover properly prepared, you’re now ready to move on to the next step: laying the duvet cover on the bed.
Step 2: Lay the duvet cover on the bed
Now that your duvet cover is prepared, it’s time to lay it out on your bed. Start by spreading the duvet cover flat on top of your mattress or bedsheet, making sure that it is centered and aligned properly.
If your duvet cover has a decorative pattern or design, ensure that it is facing down, as it will be flipped inside out when you insert the duvet. This way, when you flip the cover back over, the design will be on the outside.
Smooth out any wrinkles or creases in the duvet cover to ensure a neat and polished appearance. You can use your hands or a flat surface, such as a large book or your forearm, to press down on the cover and remove any air pockets.
At this point, it can be helpful to stand at the foot of the bed to get a better view of the duvet cover and ensure that it is properly aligned and centered. Take your time to adjust the cover as needed until it looks symmetrical and properly fitted on the bed.
Once the duvet cover is laid out and properly aligned, you’re ready to move on to the next step: inserting the duvet into the cover.
Step 3: Insert the duvet into the cover
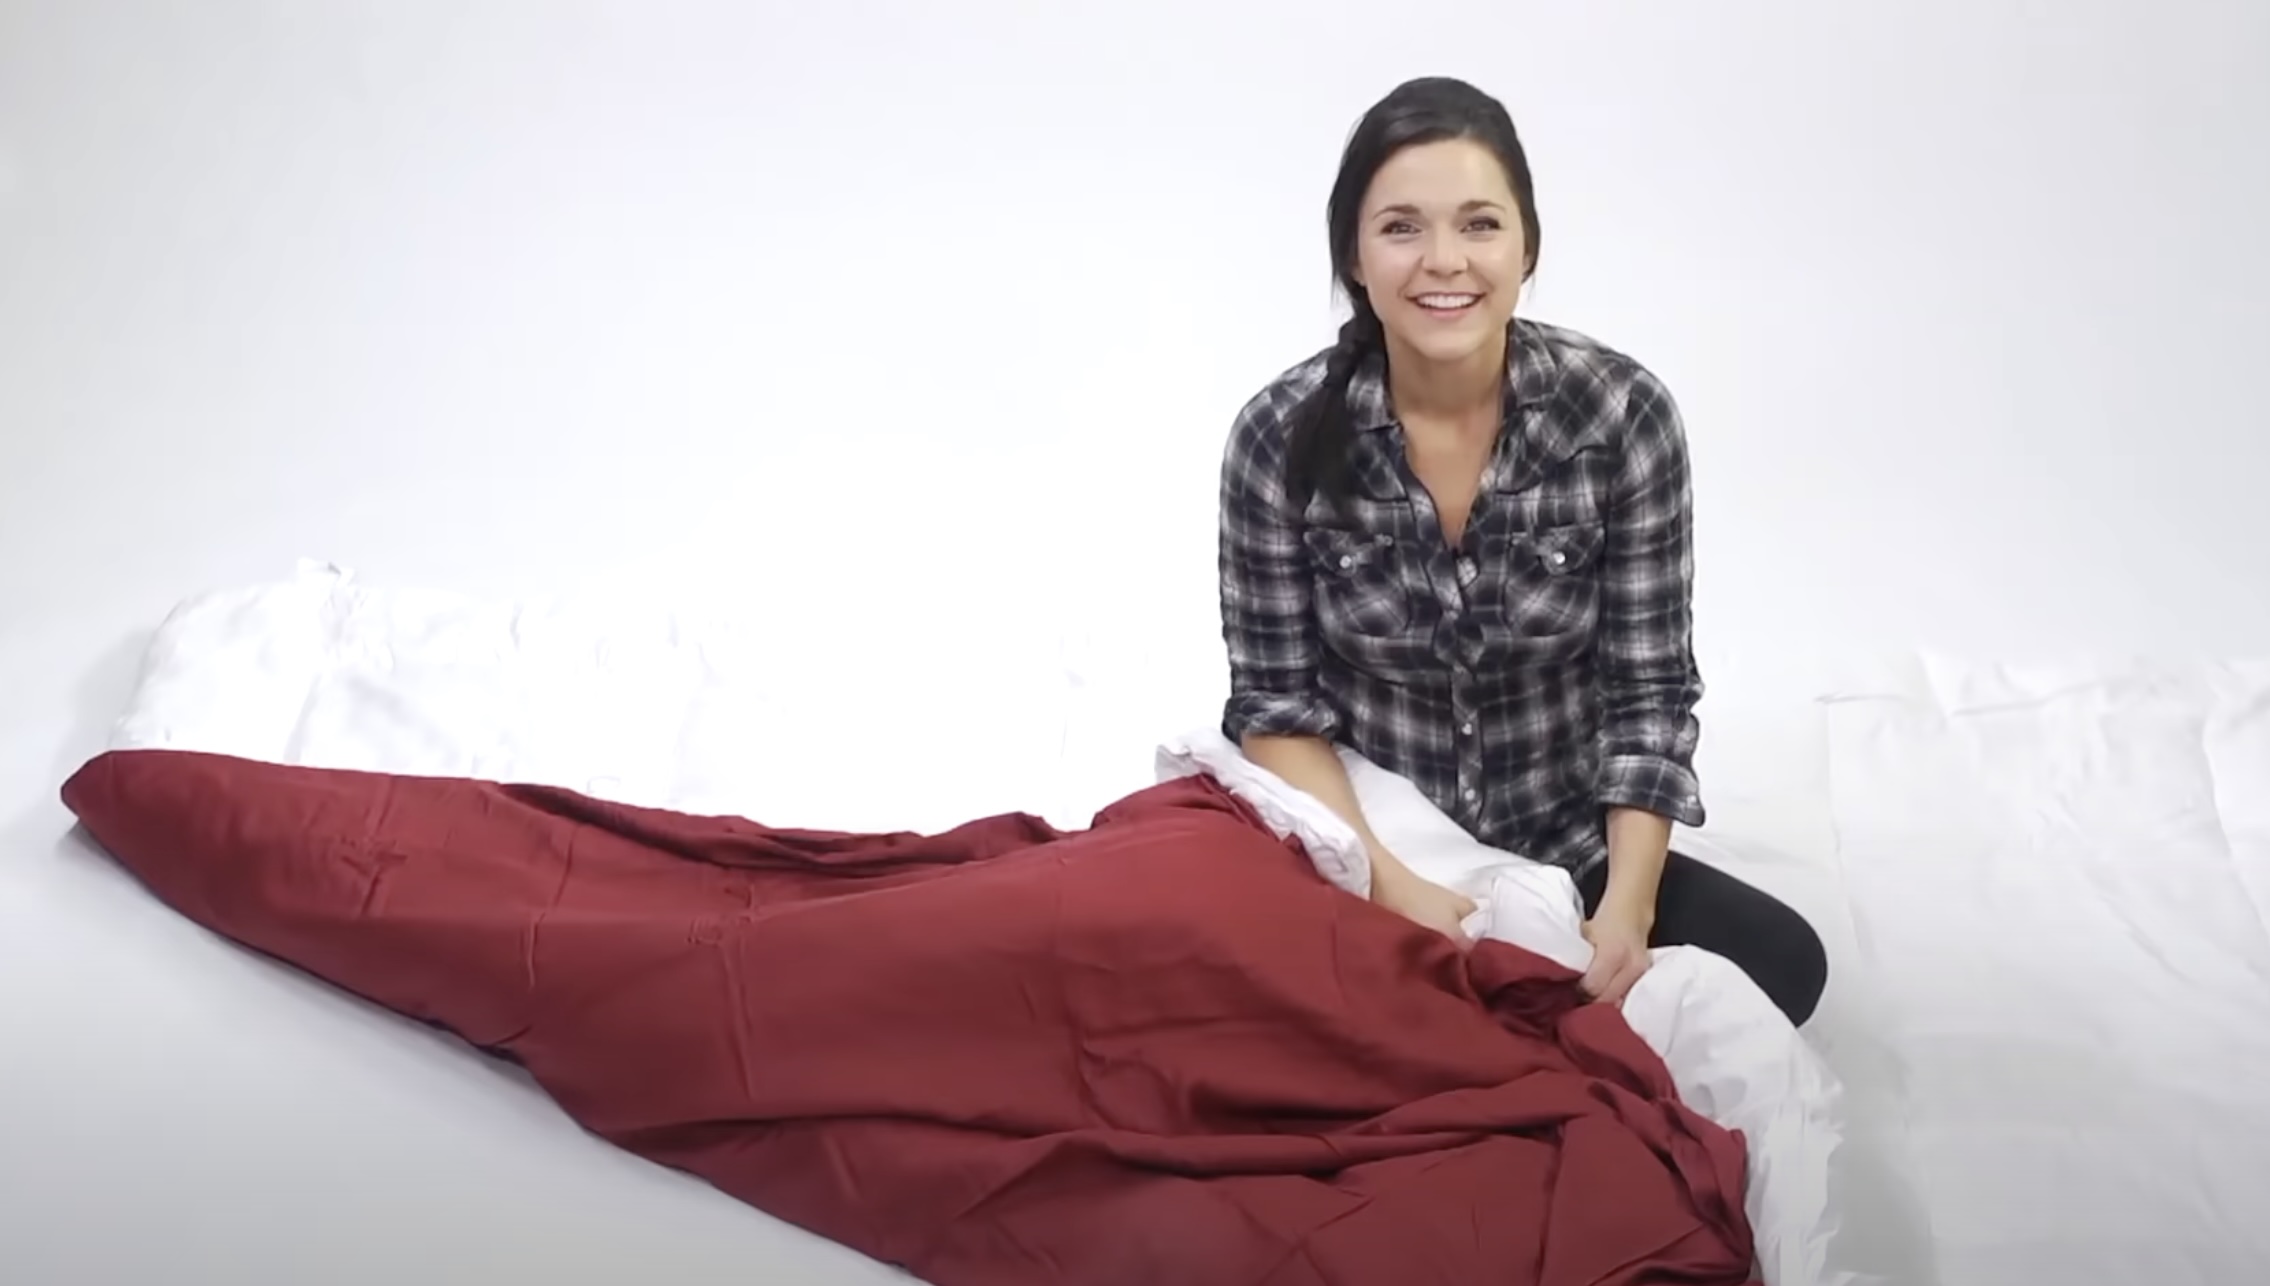
Now that you have the duvet cover properly laid out on the bed, it’s time to insert the duvet itself. This step may require a bit of maneuvering, but don’t worry, it’s easier than it seems!
Start by holding the top two corners of the duvet cover and open it wide. Then, grab the top two corners of the duvet itself and insert them into the corresponding corners of the cover. Make sure that the corners of the duvet are fully inside the corners of the cover.
Once the top corners are securely in place, continue to hold onto them while you shake the duvet gently. This will help the duvet settle and distribute evenly inside the cover. If needed, you can also give the duvet a few light tugs to adjust its positioning.
As you work your way down, continue to insert the rest of the duvet into the cover, alternating between the left and right sides. Take your time to ensure that the duvet is flat and centered inside the cover, with no lumps or unevenness.
If necessary, you can ask someone to help you hold the duvet corners as you insert them into the cover. Having an extra set of hands can make the process smoother and easier.
Once the duvet is fully inserted, you’re ready to move on to the next step: securing the duvet with the ties.
After turning the duvet cover inside out, attach the ties of the duvet to the corners of the duvet cover. Then, flip the cover right side out and shake the duvet into place.
Step 4: Secure the duvet with the ties
Now that the duvet is safely inside the cover, it’s time to secure it in place using the ties. The ties are typically located on the inside corners of the duvet cover, and they play a crucial role in preventing the duvet from shifting or bunching up inside the cover.
Start by locating the ties inside the duvet cover. They are usually small fabric loops or strings sewn onto the corners of the cover. Take one corner of the duvet cover and locate the corresponding tie. Grasp the tie and tie it in a secure knot around the corner of the duvet.
Repeat this process for the remaining three corners, making sure to tie each one tightly to keep the duvet in place. The ties will help prevent the duvet from sliding around inside the cover, ensuring that it stays evenly distributed and provides a comfortable sleeping experience.
When tying the knots, ensure that they are secure but not overly tight. You want to keep the duvet in place without putting too much stress on the fabric or causing discomfort when lying on the bed.
As you tie each corner, double-check that the duvet is still centered and aligned properly inside the cover. Adjust the duvet if necessary to ensure a smooth and uniform appearance.
Securing the duvet with the ties is an important step in keeping the duvet cover neat and preventing it from slipping or bunching up. Once all the ties are securely fastened, you’re ready to move on to the final step: smoothing out the duvet cover.
Read more: What Are The Ties Inside A Duvet Cover For
Step 5: Smooth out the duvet cover
With the duvet securely in place and the ties fastened, it’s time to give your duvet cover a final touch to ensure a sleek and polished appearance.
Start by standing at the foot of the bed and gently pull on the edges of the duvet cover. This will help to smooth out any wrinkles or creases that may have formed during the process of inserting the duvet. Work your way from the top of the bed to the foot, smoothing out the cover as you go.
Use your hands to pat down the duvet cover, ensuring that it is evenly spread across the duvet and there are no lumps or uneven areas. Smooth out the fabric with gentle strokes, being careful not to tug too hard, which could loosen the ties.
If you notice any excess fabric or bunching in certain areas, you can tuck it under the mattress or use your hands to adjust and redistribute the fabric evenly. Take your time to achieve a tidy and wrinkle-free appearance.
Once you’re satisfied with the smoothness of the duvet cover, step back from the bed and take a moment to admire your handiwork. Your duvet is now securely covered with a neatly fitted duvet cover!
Remember, it’s always a good idea to periodically check the ties and smooth out the duvet cover to maintain a crisp look. This will ensure that your duvet stays in place and your bed looks inviting and well-groomed.
Congratulations! You have successfully learned how to put a duvet cover on with ties. Now you can enjoy a beautifully made bed that is both stylish and cozy.
Now that you’re a pro at putting on a duvet cover, feel free to experiment with different textures, patterns, and colors to create a stunning bedroom ensemble that reflects your personal style.
Conclusion
Putting on a duvet cover with ties doesn’t have to be a daunting task. With a few simple steps, you can easily transform the appearance of your bedding and give your bedroom a fresh, polished look.
By preparing your duvet cover, laying it out on the bed, inserting the duvet, securing it with ties, and smoothing out the cover, you can achieve a beautifully made bed that is both functional and aesthetically pleasing.
Remember to take your time and pay attention to details, ensuring that the duvet is evenly distributed and the duvet cover is properly aligned. This will not only make your bed look more inviting, but it will also provide you with a comfortable and cozy sleep experience.
Whether you’re a beginner or someone who has struggled with this task before, this step-by-step guide has equipped you with the knowledge and techniques needed to effortlessly put on a duvet cover with ties.
So, the next time you need to change your duvet cover, embrace the process with confidence and enjoy the satisfaction of a well-made bed. With a little practice, you’ll become a pro at putting on duvet covers and can even impress your friends and family with your newfound skill.
Now, go ahead and transform your bedroom into a sanctuary of comfort and style with your perfectly fitted duvet cover!
Frequently Asked Questions about How To Put A Duvet Cover On With Ties
Was this page helpful?
At Storables.com, we guarantee accurate and reliable information. Our content, validated by Expert Board Contributors, is crafted following stringent Editorial Policies. We're committed to providing you with well-researched, expert-backed insights for all your informational needs.


0 thoughts on “How To Put A Duvet Cover On With Ties”