Home>Interior Design>How To Clean A Paint Roller And Keep It In Top Condition
Interior Design
How To Clean A Paint Roller And Keep It In Top Condition
Modified: February 23, 2024
Learn the best techniques for cleaning a paint roller and keeping it in excellent condition to achieve professional results. Perfect for interior design projects.
(Many of the links in this article redirect to a specific reviewed product. Your purchase of these products through affiliate links helps to generate commission for Storables.com, at no extra cost. Learn more)
Introduction
Welcome to the world of interior design, where spaces come alive with color, texture, and style. As an interior design enthusiast, you understand the importance of a well-executed paint job. Whether you’re refreshing a room with a new coat of paint or starting from scratch, a paint roller is often the tool of choice for achieving smooth, even coverage.
However, many people overlook one crucial step in the painting process – cleaning the paint roller. Properly cleaning and maintaining your paint roller not only ensures a flawless finish but also prolongs its lifespan, saving you time and money in the long run.
In this article, we will guide you through the step-by-step process of cleaning a paint roller and share expert tips on how to keep it in top condition. So, let’s roll up our sleeves and get started!
Key Takeaways:
- Properly cleaning and maintaining your paint roller ensures even paint application, cost savings, and an eco-friendly approach to interior design. It also saves time and contributes to sustainable painting practices.
- Following the step-by-step process and maintenance tips outlined in this article will keep your paint roller in top condition, ready for flawless paint application and countless future projects.
Importance of Cleaning a Paint Roller
Cleaning a paint roller is an essential part of the painting process that should not be overlooked. While it may seem like an extra chore, taking the time to properly clean your paint roller has several benefits:
- Even Paint Application: A clean paint roller ensures an even distribution of paint, resulting in a smooth and professional finish. Any dried paint particles or debris on the roller can create lumps and uneven patches, detracting from the overall aesthetic of your paint job.
- Cost Savings: Buying new paint rollers for each project can quickly add up. By thoroughly cleaning and maintaining your roller, you can extend its lifespan and save money over time. Plus, a well-maintained roller will continue to provide excellent results, reducing the need for touch-ups or repainting.
- Eco-Friendly Practice: Properly cleaning and reusing your paint roller is an environmentally conscious choice. By reducing waste and minimizing the use of disposable materials, you contribute to a more sustainable approach to painting.
- Time Efficiency: Cleaning your paint roller immediately after use saves you time in the long run. Dried paint is much more challenging to remove and can require extensive scrubbing, which can be avoided by taking a few minutes to rinse and clean the roller after each use.
Overall, cleaning a paint roller is a simple yet crucial step that ensures optimal paint application, cost-effective painting projects, and a sustainable approach to interior design.
Tools and Materials Needed
Before you embark on the task of cleaning a paint roller, gather the following tools and materials:
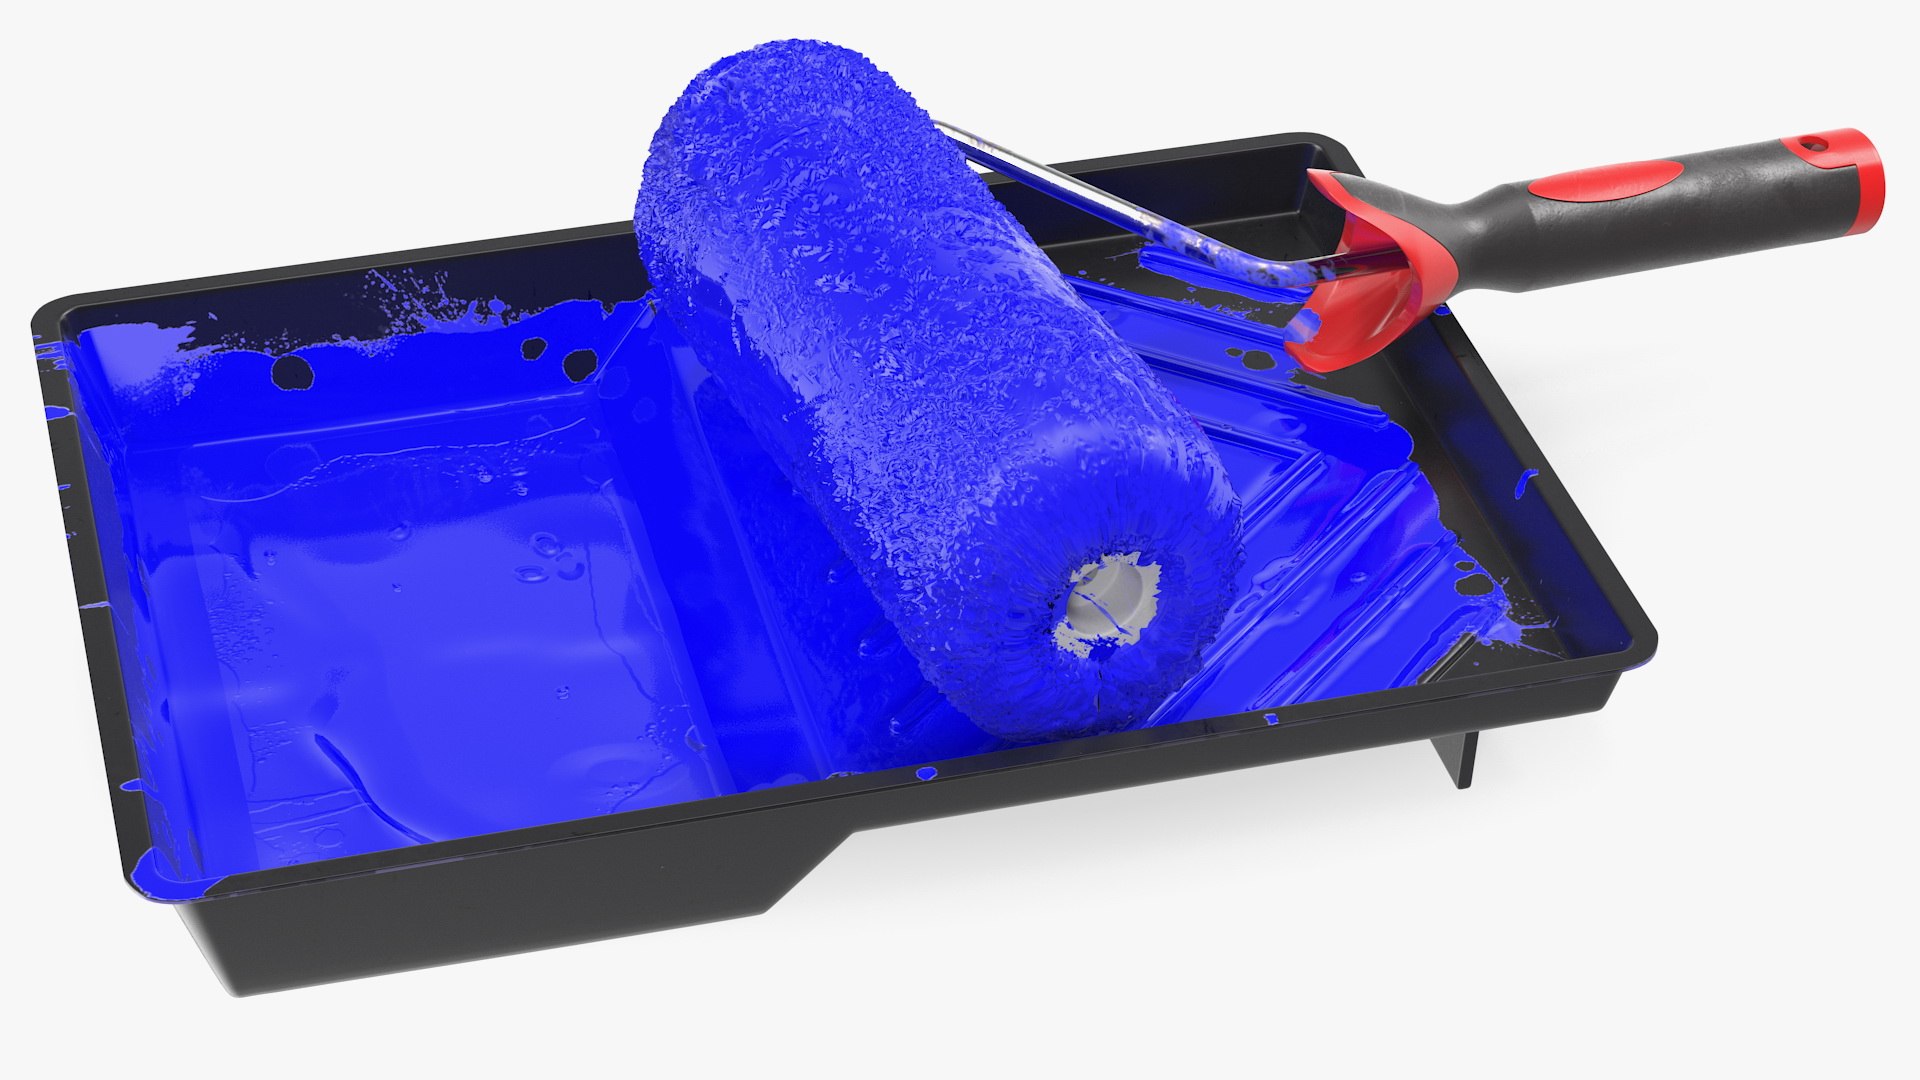
- Paint roller: The roller you used for painting.
- Bucket or sink: A container or sink large enough to hold the roller and allow for thorough rinsing.
- Warm water: Use warm water to help loosen the paint and make cleaning easier.
- Roller cleaner or gentle soap: You can use a specific roller cleaner available in the market, or opt for a gentle soap, such as dish soap or hand soap.
- Brush or sponge: A cleaning brush or sponge with soft bristles or fibers will help in scrubbing away any paint residue.
- Towels or rags: Have some towels or rags ready for drying the roller.
- Storage method: Decide on a suitable storage method for your paint roller, such as a plastic bag or roller cover, to keep it protected between uses.
Once you have gathered all the necessary tools and materials, you are ready to begin the process of cleaning your paint roller effectively.
Step 1: Remove Excess Paint from the Roller
Before you begin the cleaning process, it’s essential to remove any excess paint from the roller. This step will make the cleaning process more manageable and prevent excess paint from entering the water supply.
Here’s how you can remove excess paint from your roller:
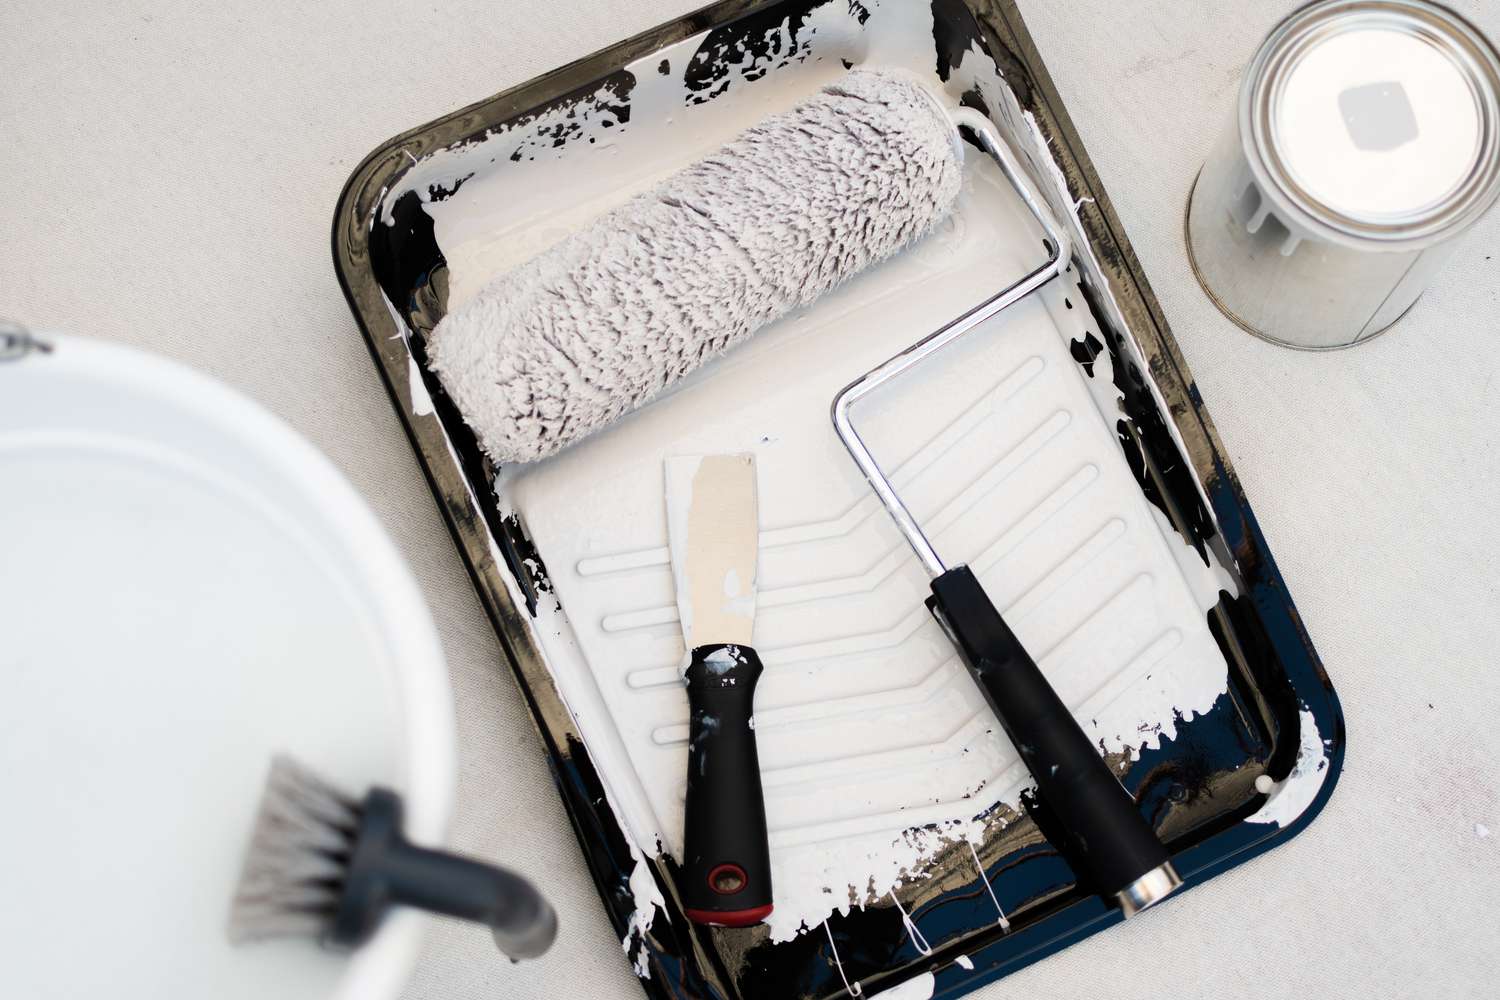
- Scrape off excess paint: Use a putty knife or a paint scraper to remove any excess paint from the roller. Gently scrape the roller in a downward motion, allowing the excess paint to fall into a disposable container or newspaper.
- Squeeze the roller: While wearing gloves, hold the roller firmly and use your other hand to squeeze it, starting from the top and moving towards the bottom. This will help remove any remaining paint trapped within the roller fibers. Continue squeezing the roller until no more paint drips off.
- Blot with a cloth: Take a clean cloth or paper towel and blot the roller to absorb any additional paint. Press down firmly on the roller to squeeze out as much paint as possible.
By following these steps, you ensure that most of the excess paint is removed before moving on to the cleaning process. This will make the subsequent steps more effective and simplify the overall cleaning process.
Step 2: Rinse the Roller with Warm Water
Once you have removed the excess paint from the roller, it’s time to give it a thorough rinse. Rinsing the roller with warm water will help loosen any remaining paint and prepare it for the cleaning process.
Follow these steps to rinse the roller with warm water:
- Prepare a basin or sink: Fill a basin or sink with warm water. Make sure the water level is enough to submerge the roller completely.
- Submerge the roller: Place the roller in the basin or sink, ensuring that it is fully submerged in the warm water. Allow it to soak for a few minutes to help soften the paint.
- Swirl and agitate: Gently swirl and agitate the roller in the warm water. This will help dislodge any remaining paint particles and allow the water to penetrate the roller fibers.
- Repeat if necessary: If the water becomes heavily discolored or there is still visible paint residue on the roller, drain the water and refill the basin or sink with clean warm water. Repeat the process until the water runs clear and the roller appears clean.
Rinsing the roller with warm water is an important step in removing any lingering paint and preparing it for the next phase of the cleaning process. Once the roller is thoroughly rinsed, it will be ready for the next step of using a roller cleaner or gentle soap.
Read more: How To Store Paint Rollers
Step 3: Use a Roller Cleaner or Gentle Soap
After rinsing the roller with warm water, it’s time to apply a roller cleaner or gentle soap to ensure a deep and thorough clean. These cleaning agents work to break down any remaining paint particles and remove any stubborn stains.
Follow these steps to use a roller cleaner or gentle soap:
- Choose a roller cleaner or gentle soap: You have two options here – a specific roller cleaner available in the market or a gentle soap like dish soap or hand soap. Choose whichever option you prefer or have readily available.
- Apply the cleaner or soap: Take a small amount of the roller cleaner or gentle soap and apply it directly to the roller. Ensure that you cover the roller evenly with the cleaner or soap.
- Work the cleaner into the roller: Use your fingers or a soft brush to work the cleaner or soap into the roller, ensuring that it reaches all the fibers. Gently massage the cleaner or soap into the roller to help loosen any remaining paint and stains.
- Allow it to sit: Once the cleaner or soap is applied and worked into the roller, let it sit for a few minutes. This will give the cleaner or soap time to penetrate and break down any lingering paint.
- Rinse with warm water: After the cleaner or soap has had time to work, rinse the roller thoroughly under warm water. The warm water will help wash away the cleaning agent along with any loosened paint and stains.
Using a roller cleaner or gentle soap helps tackle tough paint residue and ensures a deep clean for your roller. Make sure to rinse the roller well after using the cleaner or soap to remove any remaining cleaning agent before moving on to the next step.
After using a paint roller, rinse it thoroughly with warm soapy water until the water runs clear. Then, spin the roller to remove excess water and allow it to air dry completely before storing it in a plastic bag to keep it in top condition.
Step 4: Scrub the Roller Using a Brush or Sponge
Now that you’ve applied a roller cleaner or gentle soap and rinsed off any remaining cleaning agent, it’s time to give your paint roller a thorough scrub. Scrubbing the roller helps remove any stubborn paint or residue that may still be clinging to the fibers.
Follow these steps to scrub the roller using a brush or sponge:
- Select a brush or sponge: Choose a brush or sponge with soft bristles or fibers. This will help prevent damage to the roller fibers while effectively scrubbing away any remaining paint.
- Dip the brush or sponge in warm water: Wet the brush or sponge with warm water. This will help create a lubricating effect, making it easier to scrub the roller.
- Scrub the roller: Take the wet brush or sponge and gently scrub the roller in a back-and-forth motion. Focus on areas where paint residue or stains are still present. Apply gentle pressure to avoid damaging the roller fibers.
- Continue until clean: Keep scrubbing the roller until it appears clean and free of any remaining paint. You may need to rinse the roller and repeat this step if necessary.
Scrubbing the roller using a brush or sponge helps ensure a thorough cleaning by targeting any stubborn paint or residue. Take your time and be patient throughout this process to achieve the best results.
Step 5: Rinse the Roller Thoroughly
After scrubbing the roller to remove any remaining paint or residue, it’s crucial to rinse it thoroughly to ensure all traces of cleaning agents and loosened paint are removed. This step helps in preparing the roller for drying and storage.
Follow these steps to rinse the roller thoroughly:
- Hold the roller under running water: Hold the roller under a stream of warm water, ensuring that the water thoroughly covers the entire surface of the roller. This step will help wash away any remaining cleaning agents, loosened paint, and debris.
- Rotate the roller: As the water streams over the roller, rotate it to expose all sides and ensure that every part of it is rinsed. This rotation will help remove any paint or residue that might be hiding in the crevices or between the roller fibers.
- Continue rinsing until the water runs clear: Keep rinsing the roller under warm water until the water runs clear and no traces of paint or cleaning agents are visible. This ensures that the roller is thoroughly cleansed and ready for drying and storage.
Rinsing the roller thoroughly is crucial to remove any remaining residue and ensure a clean surface. Take your time during this step to ensure that every part of the roller is rinsed properly.
Step 6: Dry the Roller Properly
After rinsing the roller thoroughly, it’s important to dry it properly to prevent the growth of mold or mildew and ensure that it is ready for future use.
Follow these steps to dry the roller properly:
- Squeeze out excess water: Hold the roller firmly and gently squeeze out any excess water. Start from the top and work your way down the roller to remove as much water as possible. Avoid twisting or wringing the roller, as this can damage the fibers.
- Pat dry with a towel or cloth: Take a clean towel or cloth and pat the roller gently to absorb any remaining moisture. Be sure to blot and pat the roller rather than rubbing, as rubbing can cause the fibers to clump together.
- Air dry in a well-ventilated area: Find a well-ventilated area, ideally outdoors or near an open window, and allow the roller to air dry completely. Ensure that the roller is placed in a horizontal position to maintain its shape as it dries.
- Avoid direct heat sources: Avoid using artificial heat sources such as hair dryers or heaters to speed up the drying process. Direct heat can cause the roller to deform or damage the fibers. It is best to let the roller air dry naturally.
Properly drying the roller is crucial to prevent any moisture-related issues and maintain its quality. Take the time to ensure that the roller is completely dry before moving on to the final step of storing it correctly.
Read more: How To Wash Paint Brushes And Rollers
Step 7: Store the Roller Correctly
Once the paint roller is properly cleaned and dried, it’s essential to store it correctly to maintain its condition and ensure it’s ready for future use. Proper storage prevents dust, debris, and damage that can affect the roller’s performance. Here’s how to store your roller correctly:
- Choose a suitable storage method: There are a few options for storing your paint roller, depending on your preference and the space available. You can use a plastic bag, a roller cover, or even a dedicated roller storage device.
- Prepare the roller for storage: Before placing the roller in storage, ensure it is completely dry to prevent any moisture buildup. Any residual moisture can lead to the growth of mold or mildew.
- Place the roller in storage: Carefully slide the roller into the storage option you have chosen. Ensure that the roller fits snugly and is protected from dust and debris. If using a plastic bag, seal it securely to keep the roller airtight.
- Label the storage: If you have multiple paint rollers, consider labeling the storage option with the type of paint, date of use, or any other relevant information. This will make it easier to identify and retrieve the roller when needed.
- Store in a cool, dry place: Find a cool, dry area to store your paint roller. Avoid areas with extreme temperatures or high humidity, as these conditions can damage the roller. A cabinet, shelf, or toolbox in your garage or storage room can be ideal.
- Regularly check stored rollers: Periodically check on your stored rollers to ensure they remain in good condition. If you notice any signs of damage, mold, or deterioration, it may be time to replace the roller.
By following these storage guidelines, you can protect your paint roller and prolong its lifespan, ensuring it’s always ready for your next painting project.
Tips for Maintaining a Paint Roller
In addition to properly cleaning and storing your paint roller, there are several tips you can follow to ensure its longevity and optimal performance. Here are some helpful tips for maintaining a paint roller:
- Remove excess paint after each use: Always remove excess paint from the roller before cleaning it. This step makes the cleaning process easier and prevents paint from drying and hardening on the roller.
- Clean the roller immediately after use: Aim to clean the roller as soon as you finish painting. Dried paint can be more challenging to remove, so cleaning it promptly will yield better results.
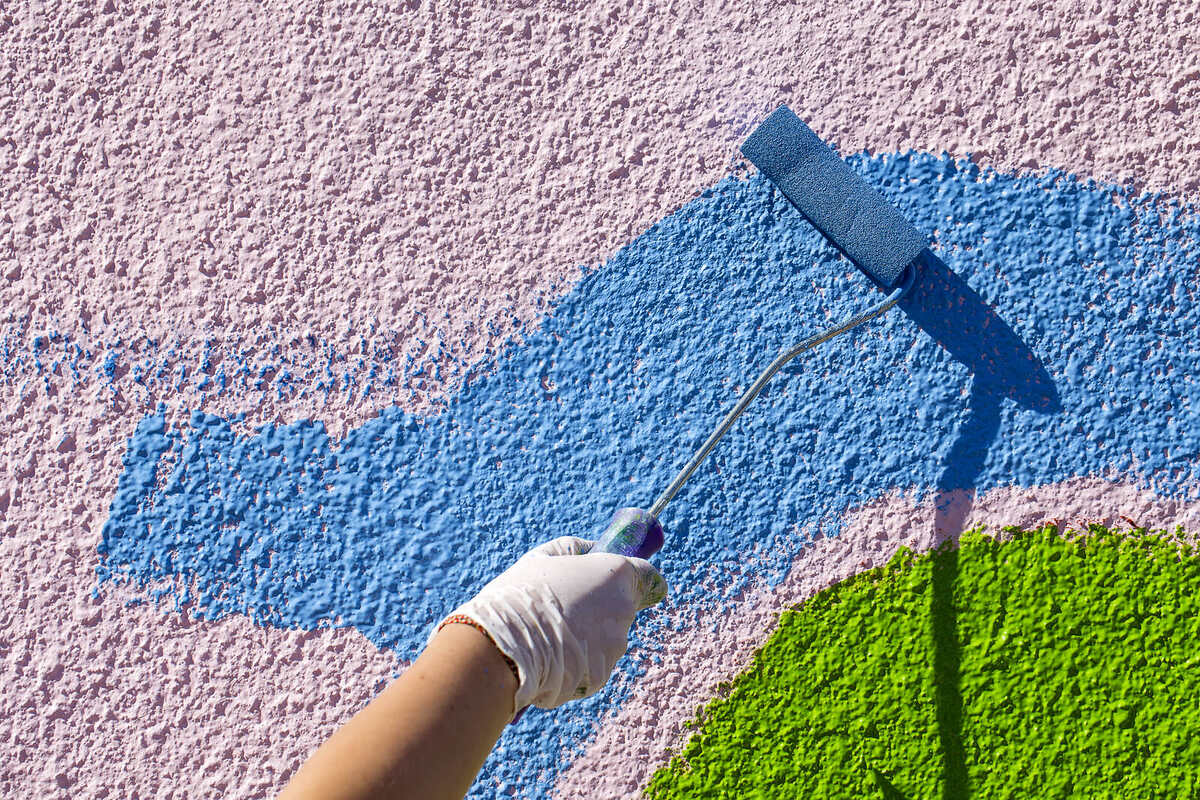
- Use the right painting technique: Proper painting techniques, such as using even pressure and avoiding excessive rolling, can help reduce paint buildup on the roller and make cleaning easier.
- Consider using a roller cover: If you frequently use the same roller for different paint colors or types, consider using a roller cover. Changing the roller cover between projects saves time on cleaning and ensures better color integrity.
- Replace roller covers when necessary: Over time, roller covers can wear out and lose their effectiveness. Inspect the roller cover periodically and replace it if you notice signs of fraying, matting, or deterioration.
- Avoid excessive squeezing or wringing: While it’s important to remove excess water after cleaning, avoid excessive squeezing or wringing of the roller. This can damage the fibers and affect its ability to apply paint evenly.
- Store rollers upright: Storing rollers upright or hanging them with the handle up helps maintain their shape and prevents flattening or deformation of the fibers.
- Inspect the roller before using: Before using a stored roller, inspect it for any signs of damage, such as bent or broken fibers. This ensures that the roller is in good condition and will produce the desired results.
- Clean and reuse roller frames: In addition to cleaning the roller cover, don’t forget to clean and reuse the roller frame. A thorough rinse under warm water with a brush or sponge is usually sufficient to remove any residual paint or debris.
- Keep rollers out of direct sunlight: Exposure to direct sunlight can cause the roller materials to deteriorate and degrade over time. Store your rollers in a shaded area to protect them from UV rays.
By following these tips, you can extend the lifespan of your paint roller and ensure optimal performance for future painting projects.
Conclusion
Cleaning and maintaining your paint roller is an essential aspect of interior design and painting projects. By taking the time to properly clean and store your roller, you can achieve superior paint application, save money on replacements, and contribute to a more sustainable approach to painting. With the step-by-step process outlined in this article, you now have the knowledge and tools to keep your paint roller in top condition.
Remember to remove excess paint, rinse the roller with warm water, use a roller cleaner or gentle soap, scrub with a brush or sponge, rinse thoroughly, dry properly, and store correctly. Following these steps will ensure that your roller remains clean, free of debris, and ready for future use.
In addition, implementing the maintenance tips provided will help prolong the lifespan of your paint roller, ensuring its optimal performance for countless painting projects to come. From removing excess paint after each use to using the right painting techniques and inspecting the roller before each use, these practices will keep your roller in excellent shape.
So, the next time you take on a paint job, don’t forget the importance of cleaning your paint roller. Maintaining this crucial tool will not only result in a smoother and more professional finish but also save you time, money, and valuable resources. By incorporating these cleaning and maintenance habits into your routine, you’ll be well-equipped to tackle any painting project with confidence and achieve outstanding results.
Frequently Asked Questions about How To Clean A Paint Roller And Keep It In Top Condition
Was this page helpful?
At Storables.com, we guarantee accurate and reliable information. Our content, validated by Expert Board Contributors, is crafted following stringent Editorial Policies. We're committed to providing you with well-researched, expert-backed insights for all your informational needs.

0 thoughts on “How To Clean A Paint Roller And Keep It In Top Condition”