Home>Articles>How To Remove Knobs From VEVOR 18L Tankless Water Heater
Articles
How To Remove Knobs From VEVOR 18L Tankless Water Heater
Modified: October 22, 2024
Learn how to easily remove knobs from the VEVOR 18L Tankless Water Heater with our informative articles. Step-by-step instructions and helpful tips included.
(Many of the links in this article redirect to a specific reviewed product. Your purchase of these products through affiliate links helps to generate commission for Storables.com, at no extra cost. Learn more)
Introduction
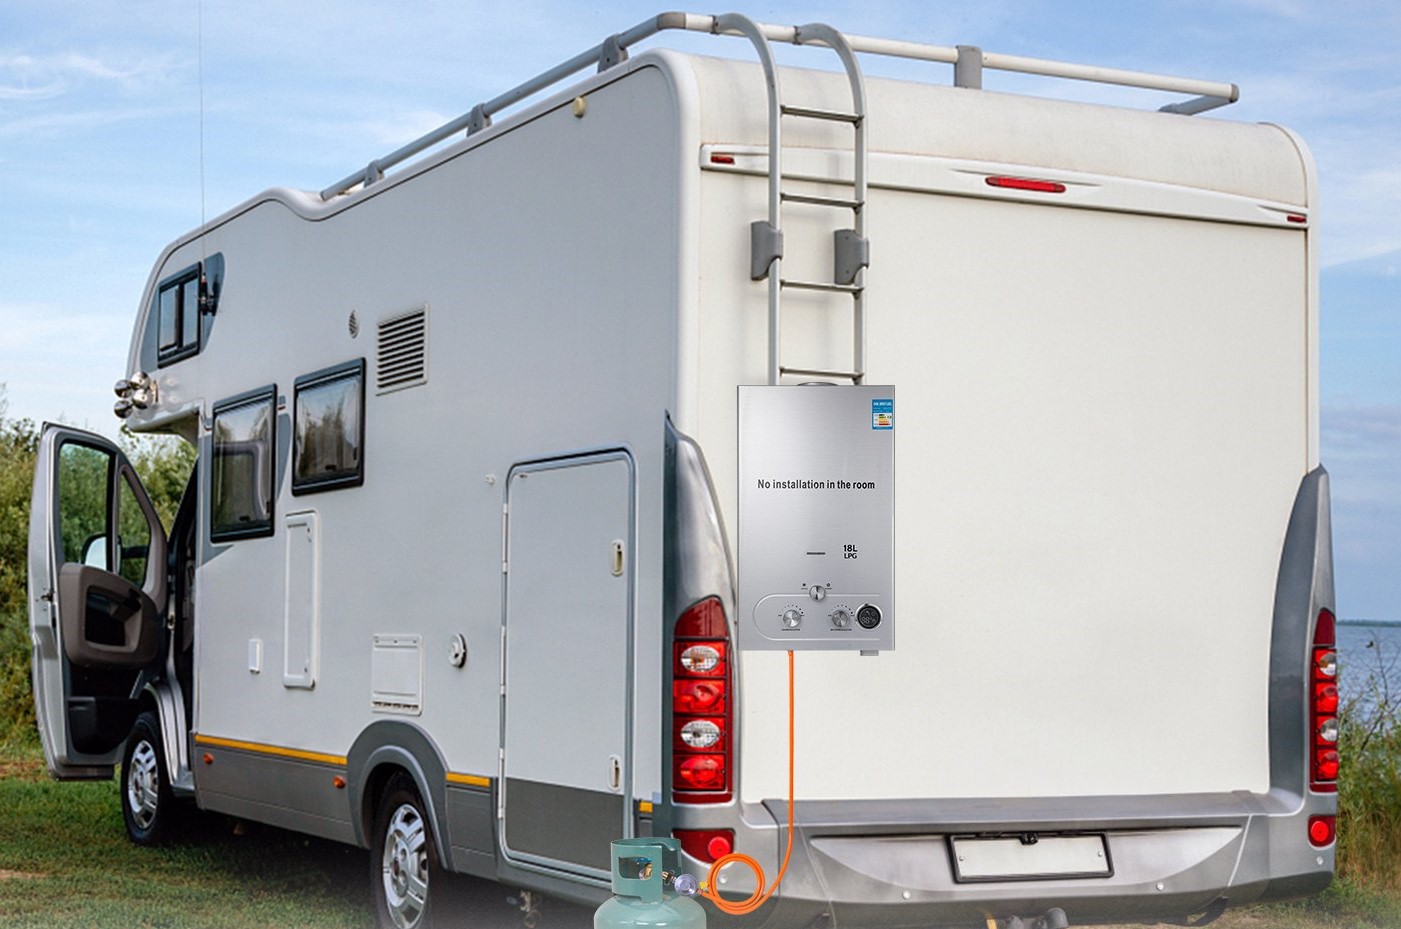
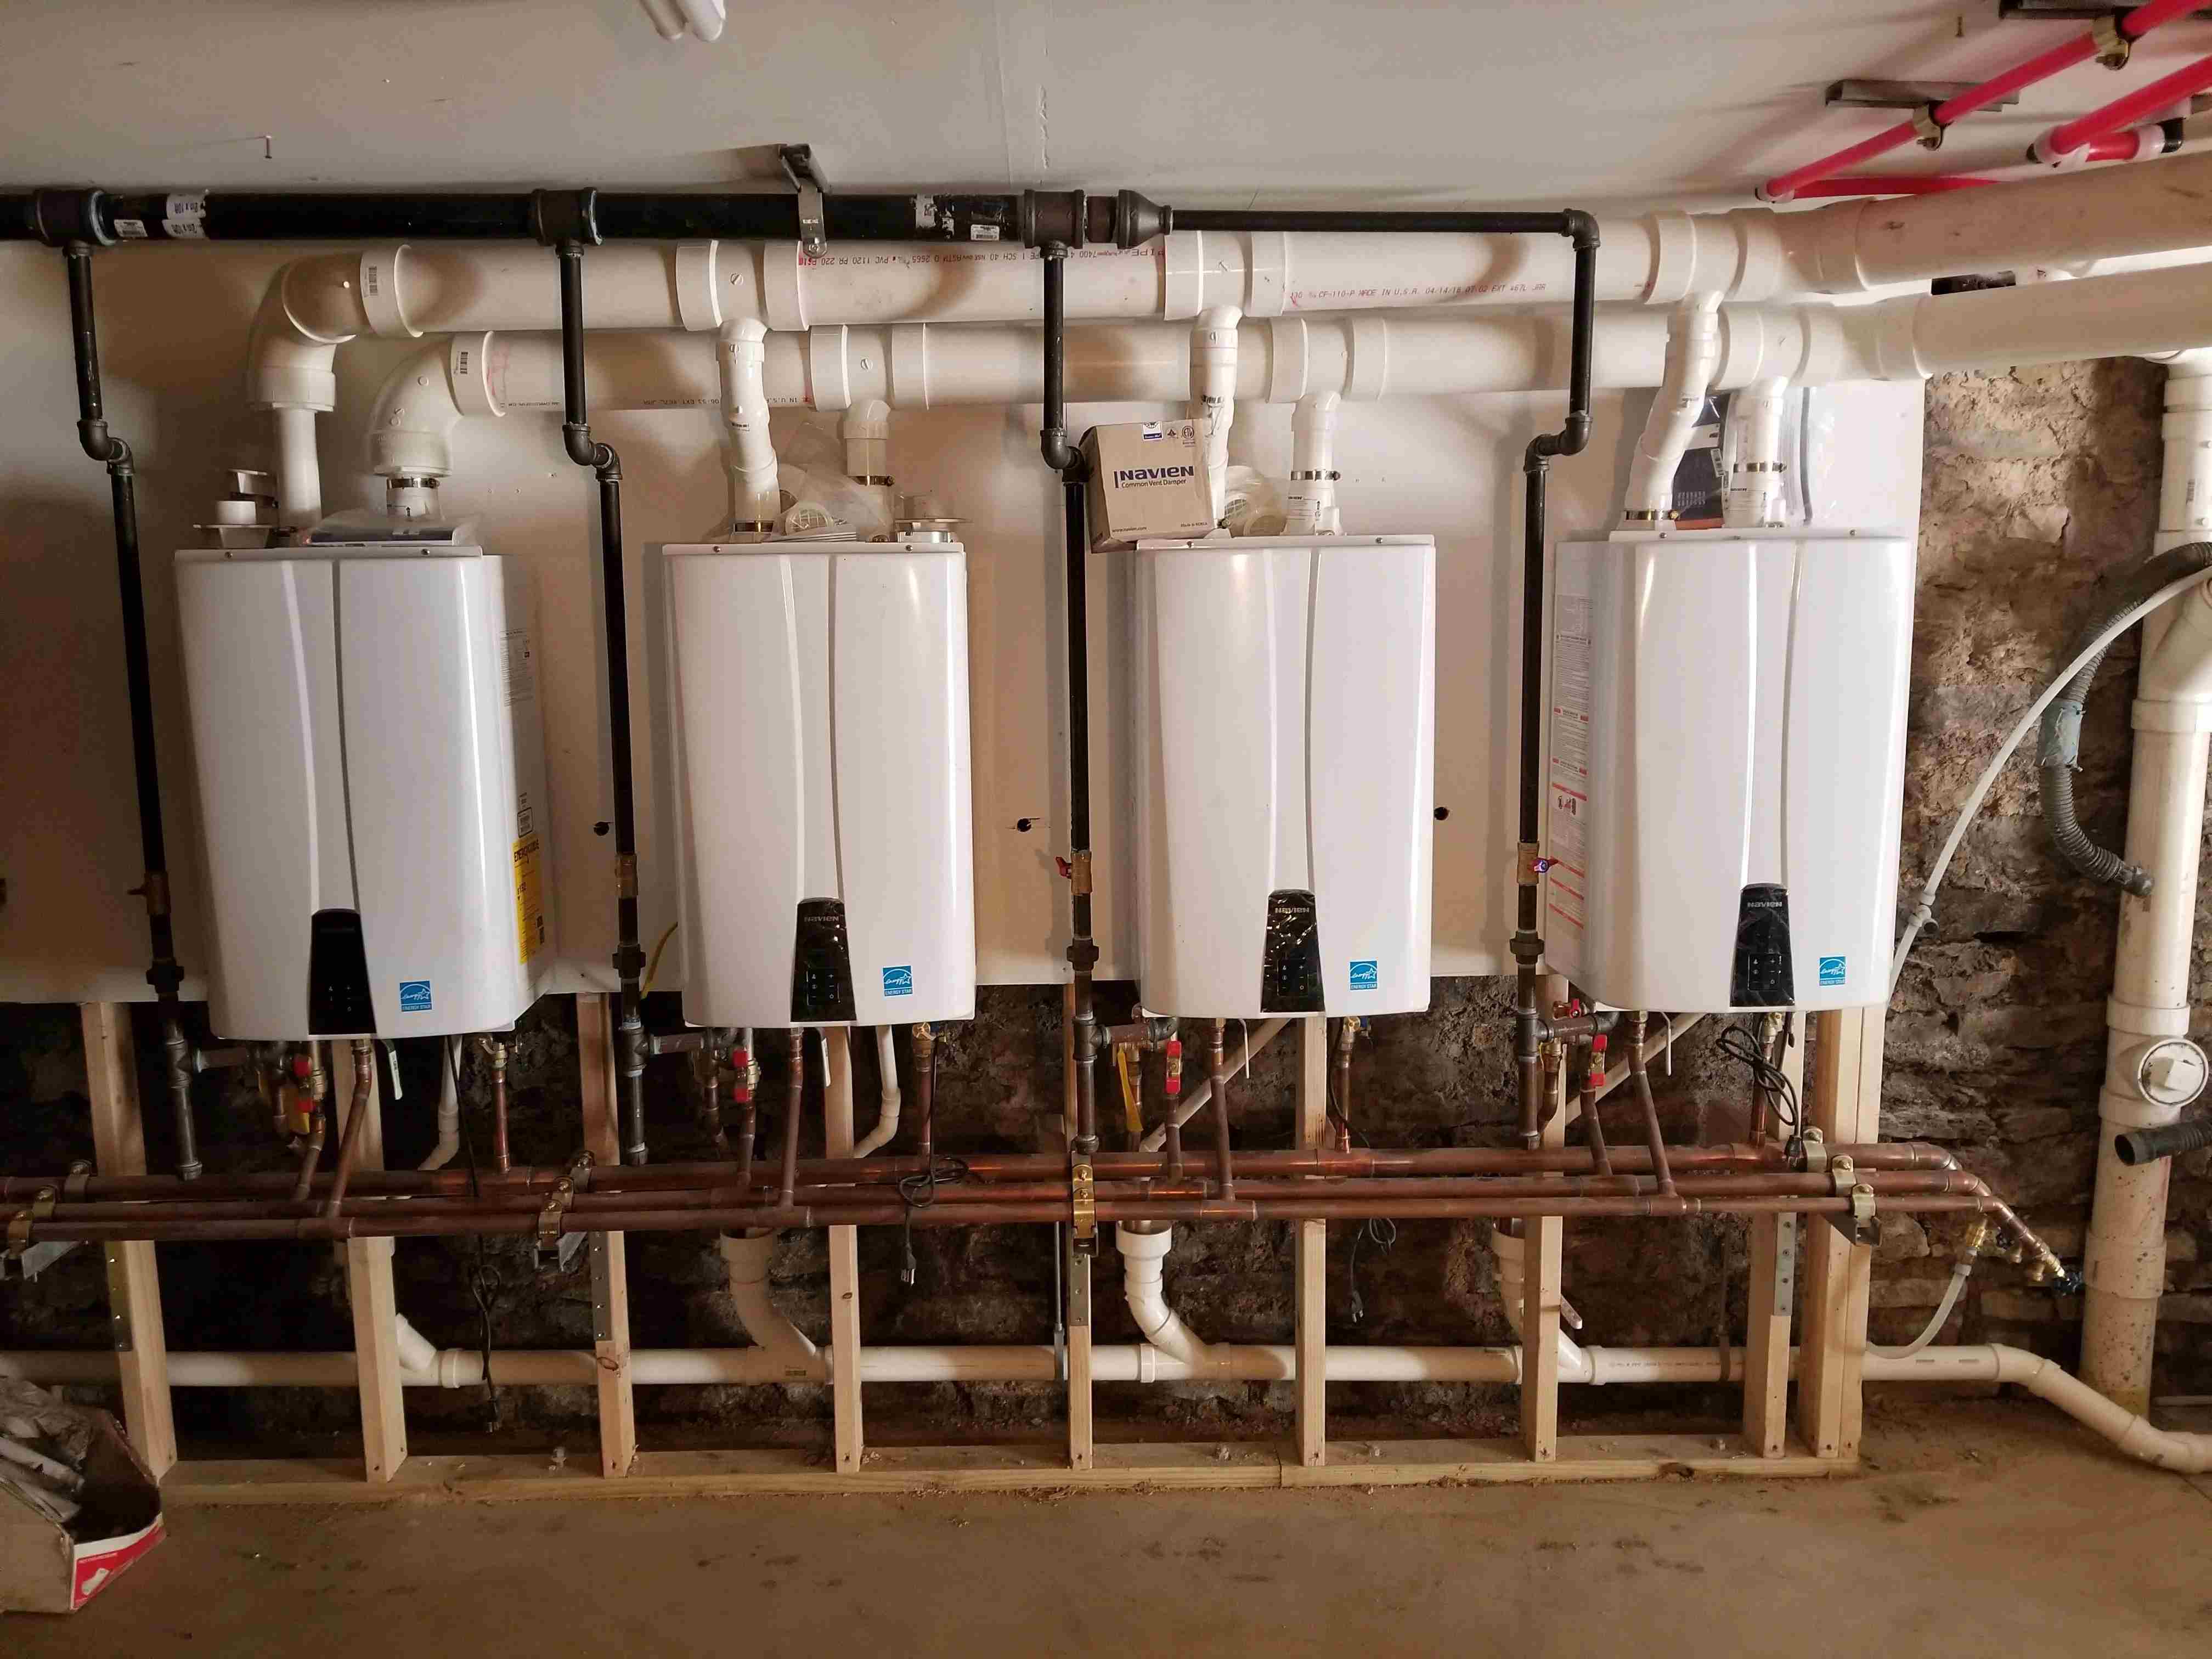
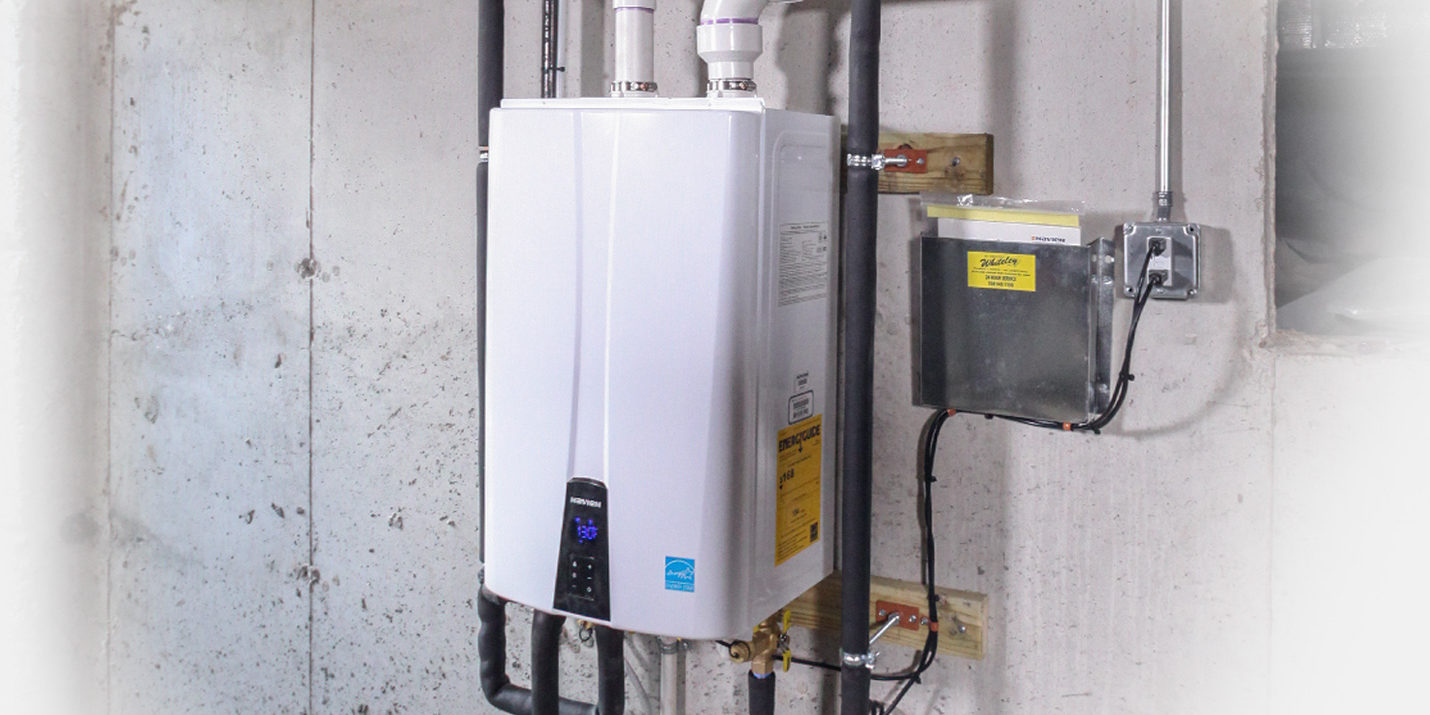
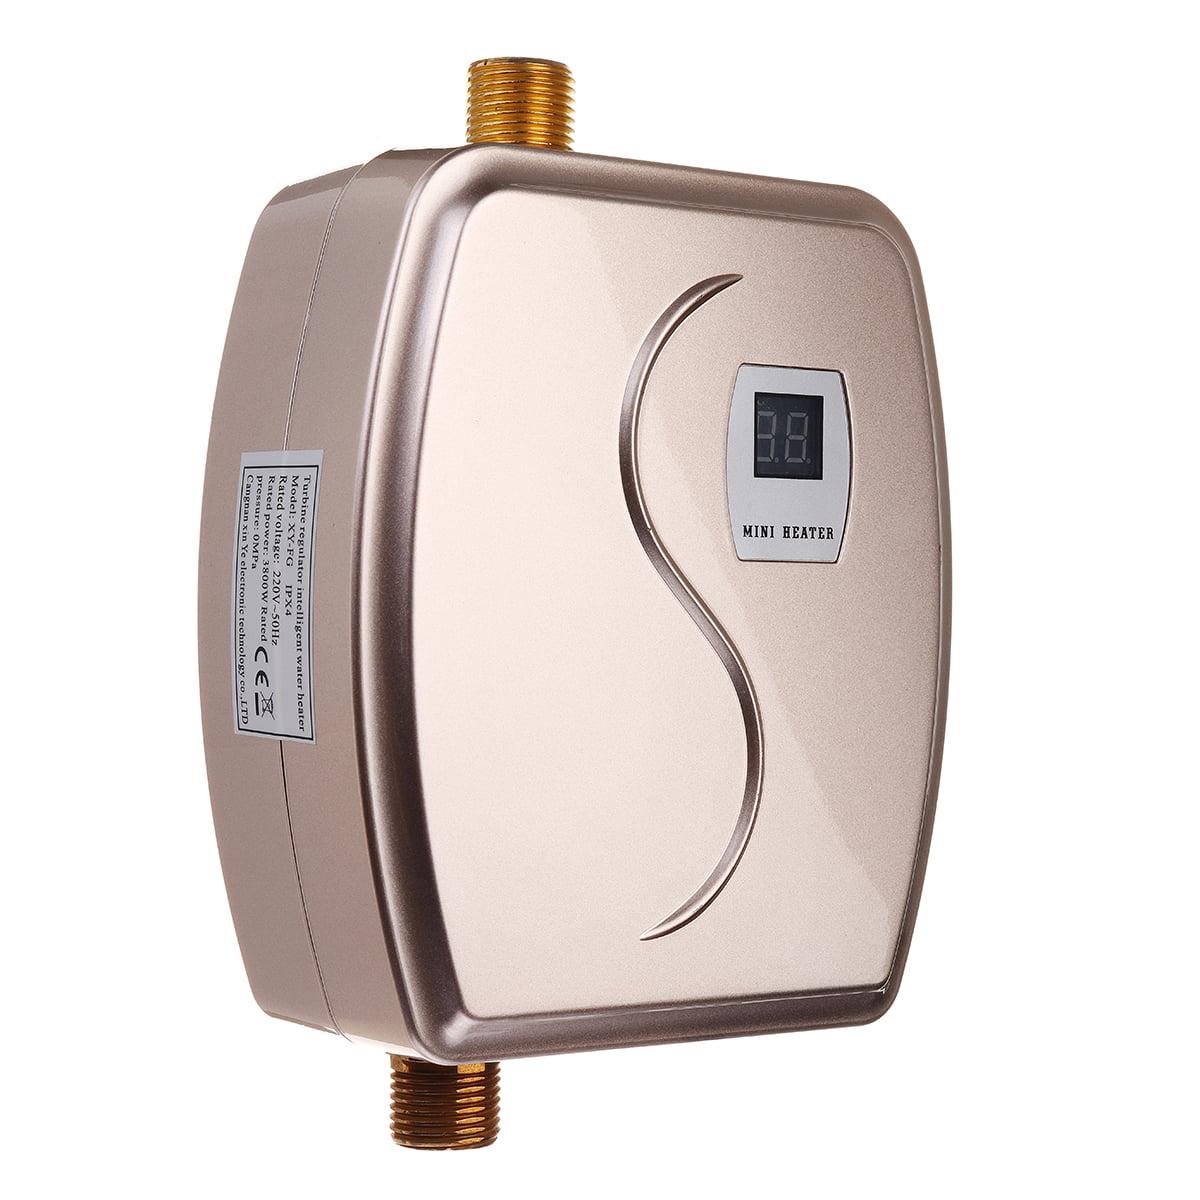
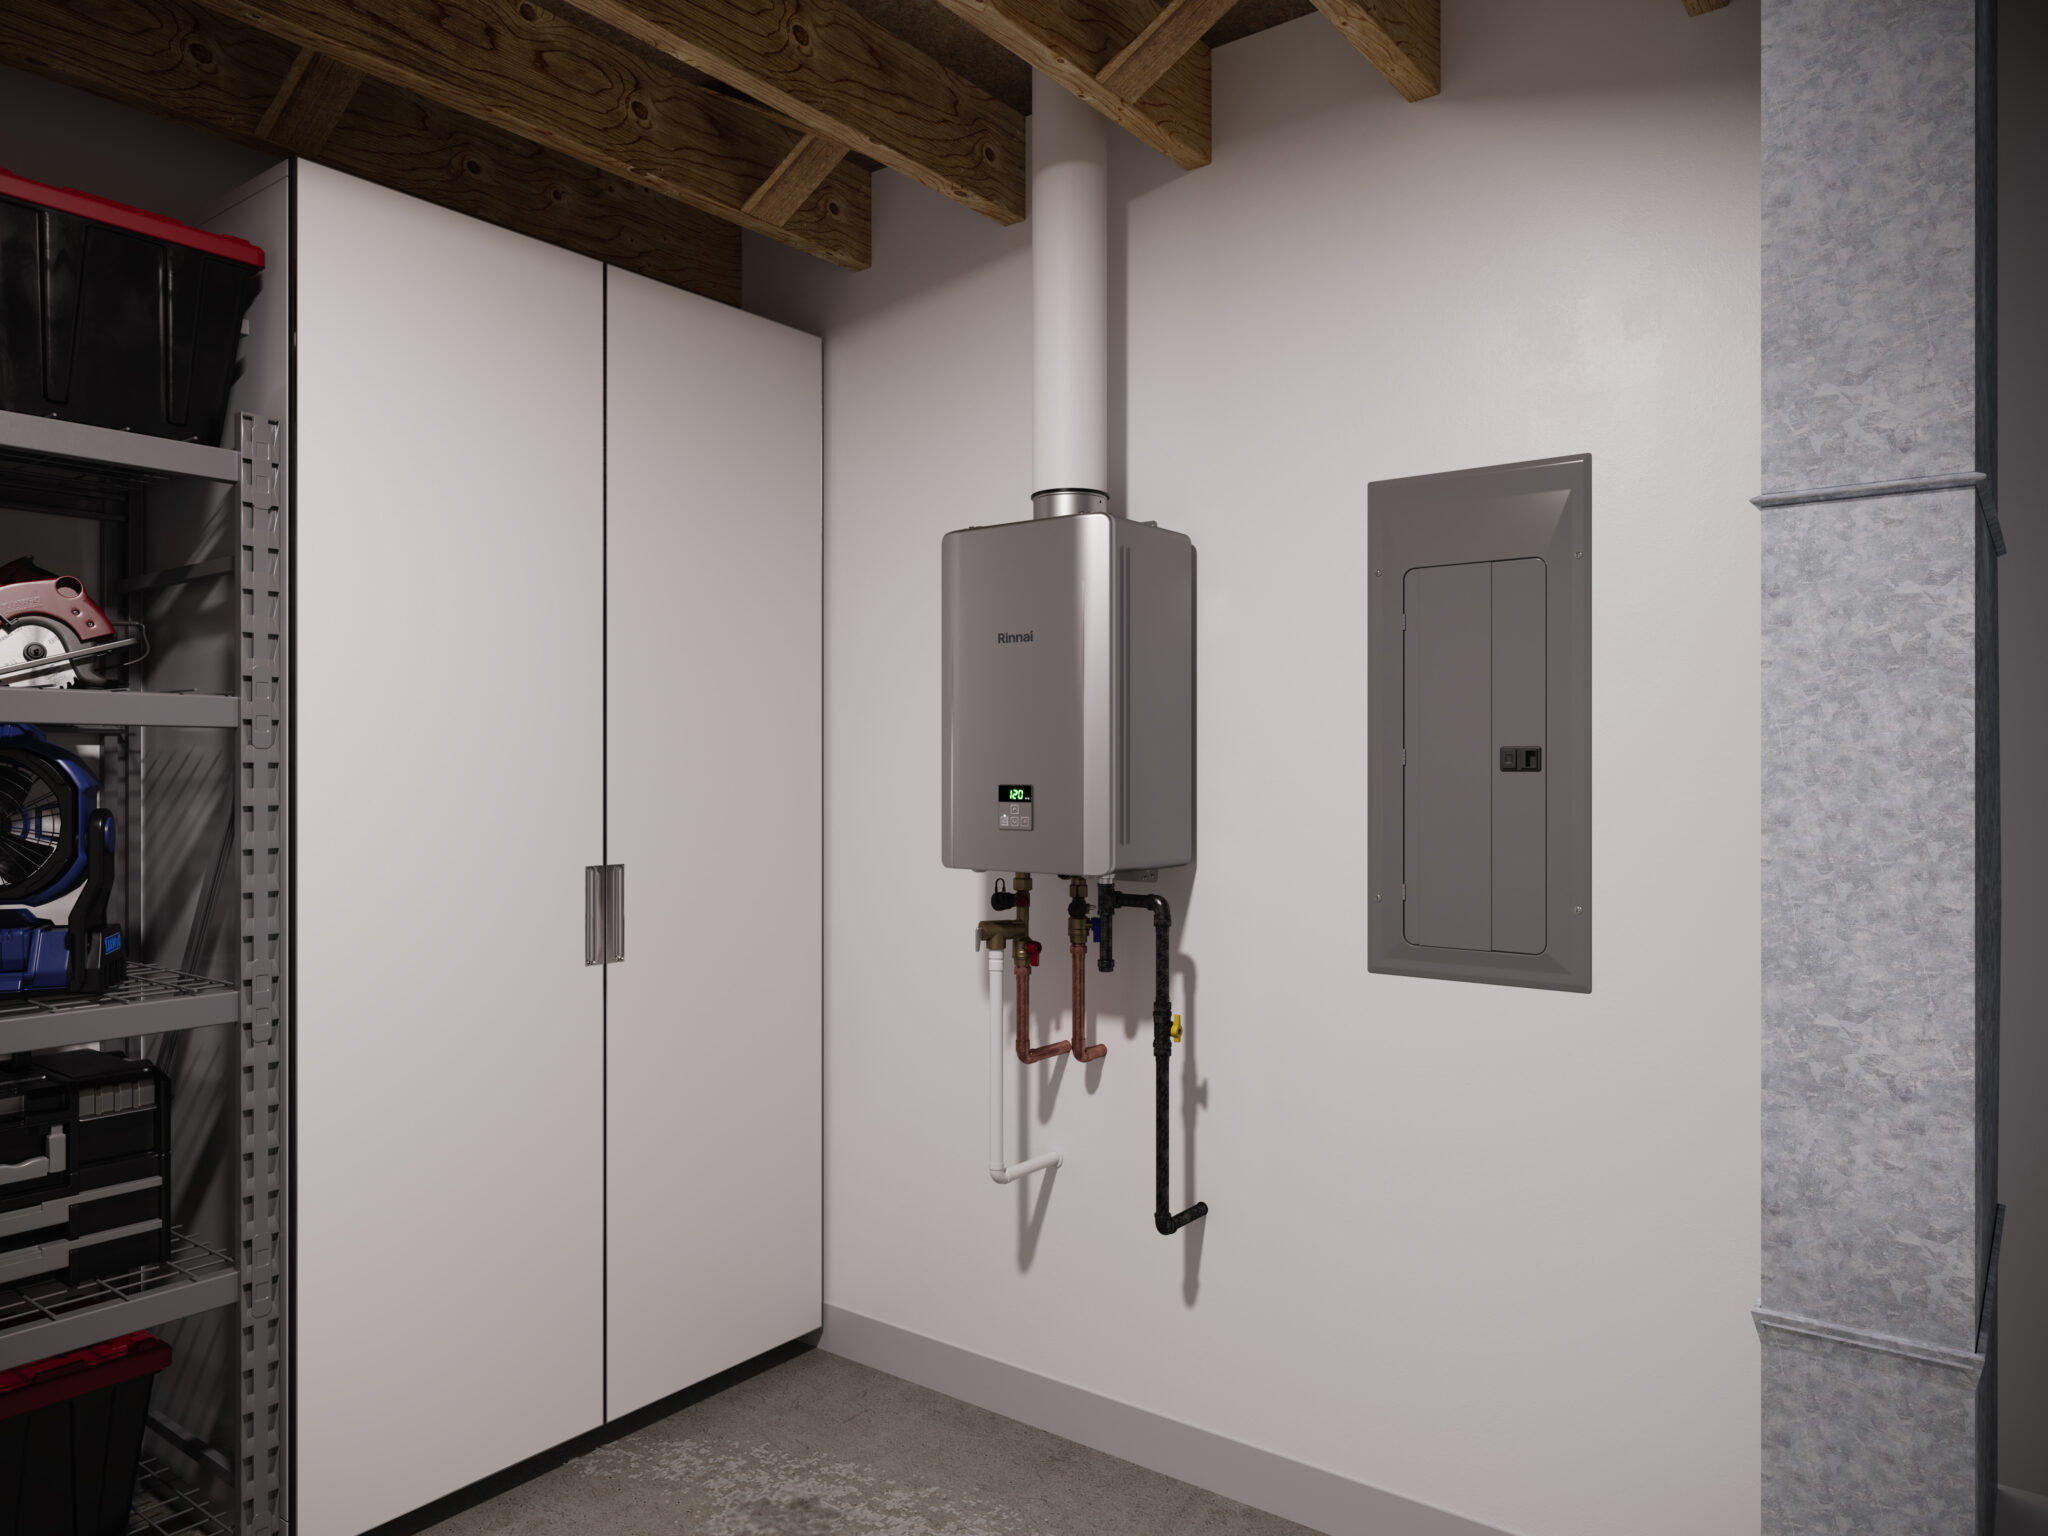
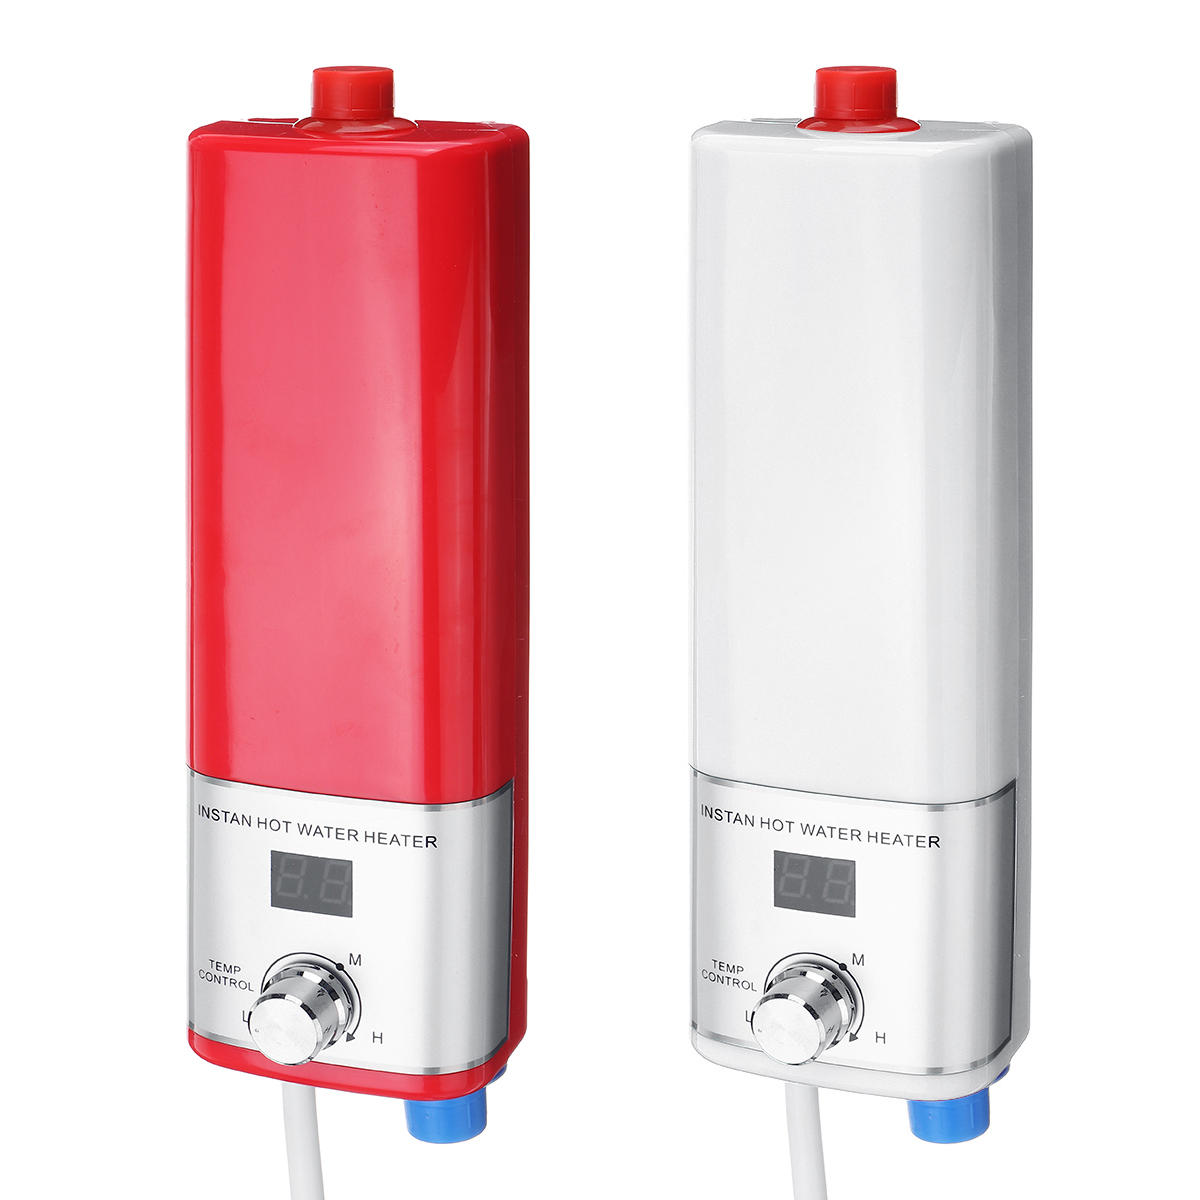
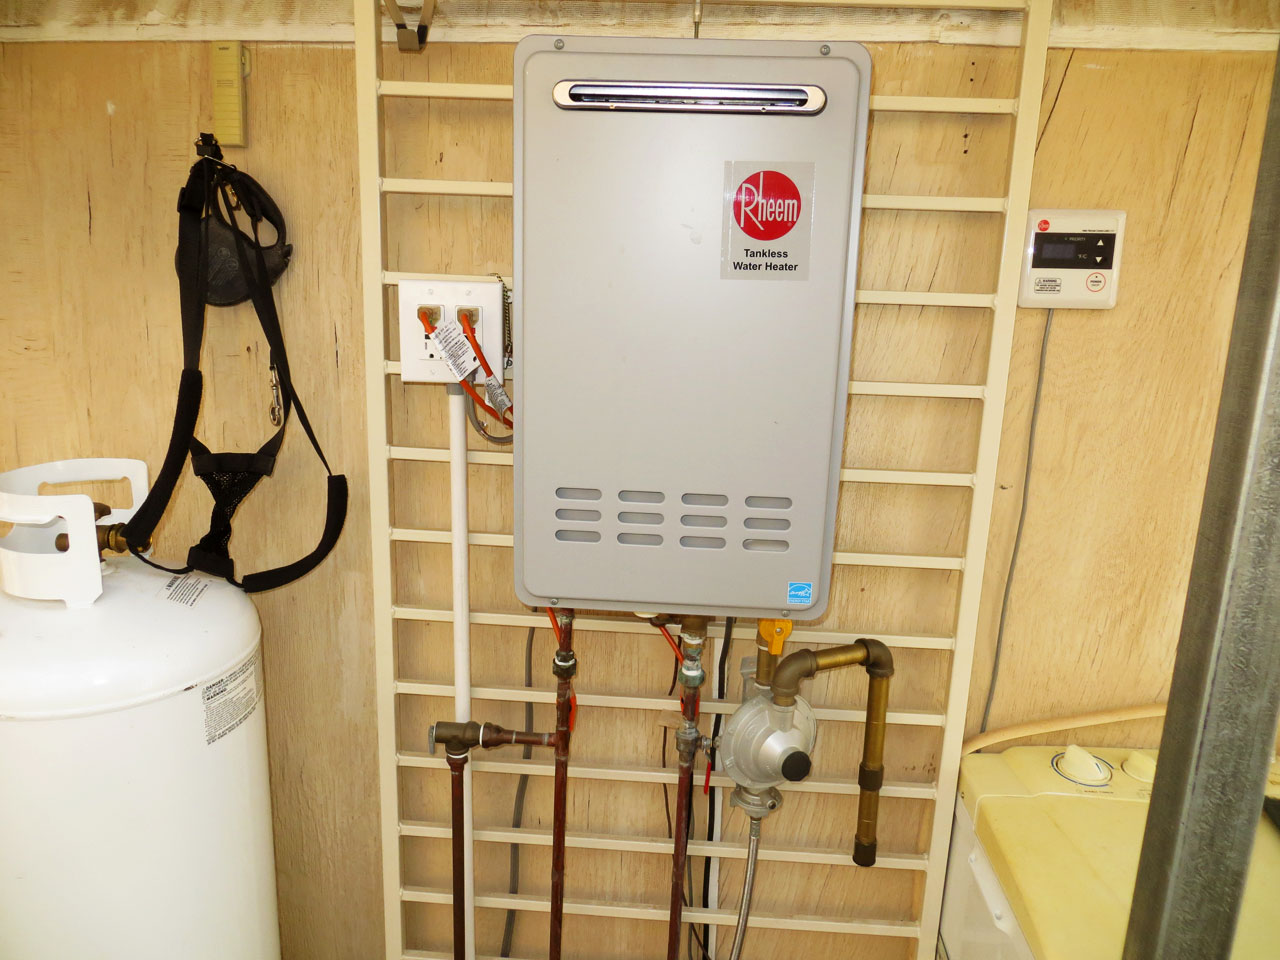
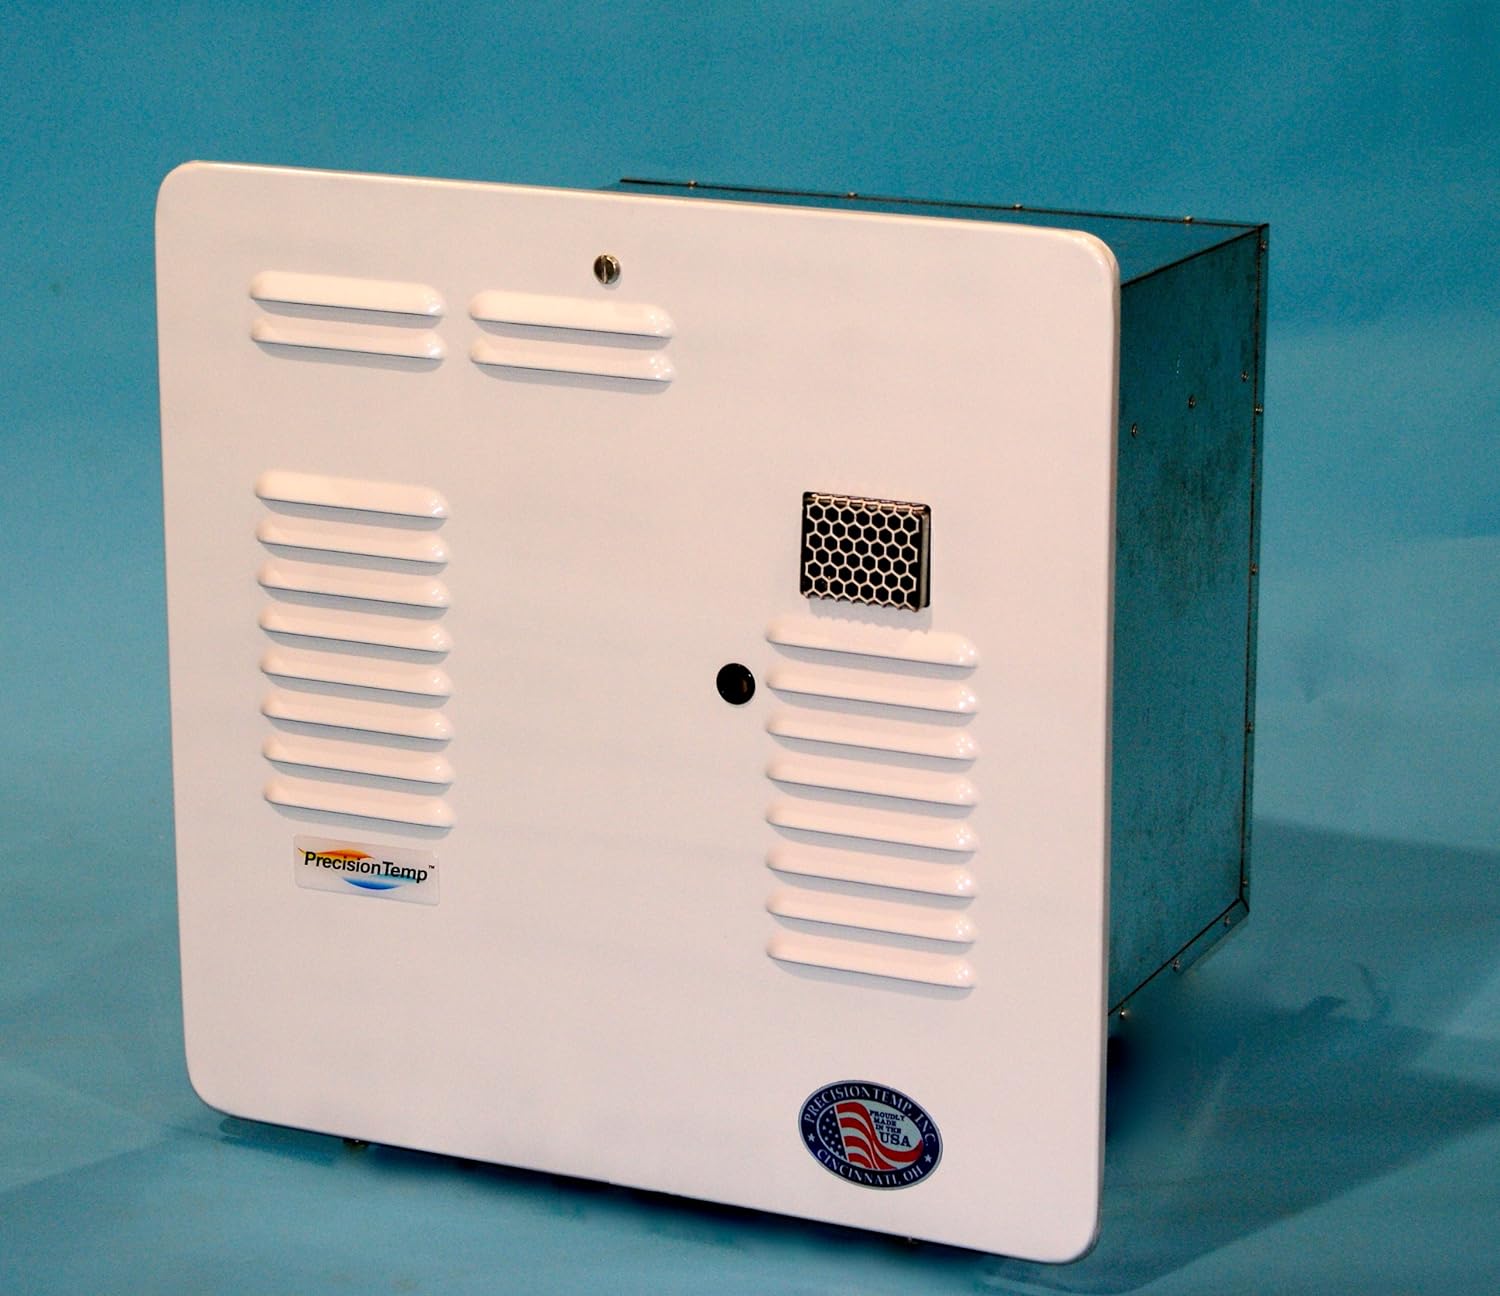
Welcome to this guide on how to remove knobs from the VEVOR 18L tankless water heater! A tankless water heater is a convenient and efficient way to provide hot water on demand. Over time, you may find that the knobs on your water heater need to be replaced or cleaned. In this article, we will walk you through the step-by-step process of removing the knobs safely and easily.
Before diving into the process, it’s important to always prioritize safety. Make sure to follow the safety precautions outlined in the next section and have the necessary tools and materials ready before getting started.
Now, let’s get started and learn how to remove the knobs from your VEVOR 18L tankless water heater.
Key Takeaways:
- Prioritize safety by following the outlined precautions, gathering the necessary tools, and shutting off power and water supply before removing and replacing the knobs on your VEVOR 18L tankless water heater. It’s a simple process with the right preparation and care.
- Regular maintenance, including inspecting and cleaning the knobs, can enhance the performance and longevity of your VEVOR 18L tankless water heater. Always refer to the manufacturer’s guidelines and seek professional assistance if needed.
Read more: How To Reset A Tankless Water Heater
Safety Precautions
Before beginning any maintenance work on your VEVOR 18L tankless water heater, it is crucial to take the following safety precautions:
- Turn off the power: Ensure that the power supply to the water heater is switched off to prevent any electrical accidents. Locate the main circuit breaker and turn it off.
- Shut off the water supply: Locate the main water supply valve and close it to prevent any water flow while working on the water heater.
- Allow the water heater to cool down: Give the water heater enough time to cool off before starting any work. Hot components can cause burns and injuries.
- Wear protective gear: It is advisable to wear safety goggles and gloves to protect yourself from any potential hazards.
- Have a fire extinguisher nearby: In case of any unexpected incidents, it is important to have a fire extinguisher close by and easily accessible.
Remember, if you are unsure about any of the steps or encounter any difficulties, it is always best to consult a professional plumber or the manufacturer’s customer support for assistance.
With the necessary safety measures in place, you can proceed with confidence to remove the knobs from your VEVOR 18L tankless water heater.
Tools and Materials Needed
Before you start removing the knobs from your VEVOR 18L tankless water heater, gather the following tools and materials:
- Screwdriver: You will need a screwdriver (either flathead or Phillips, depending on the type of screws) to remove the cover panel.
- Adjustable wrench: An adjustable wrench will be necessary to disconnect the wiring and loosen the knobs.
- Container or bucket: Prepare a container or bucket to catch any water that may drain from the water heater.
- Protective gloves: It is important to wear protective gloves to shield your hands from any sharp edges or hot components.
- Safety goggles: Safety goggles will protect your eyes from any debris or particles that may be dislodged during the process.
- Replacement knobs (optional): If you plan to replace the old knobs, make sure to have the new ones ready before starting the removal process.
By having these tools and materials on hand, you will be equipped to carry out the procedure smoothly and efficiently.
Once you have gathered all the necessary tools and materials, you are ready to move on to the next steps and remove the knobs from your VEVOR 18L tankless water heater.
Step 1: Shut off the Power and Water Supply
Before you begin working on your VEVOR 18L tankless water heater, the first step is to shut off the power and water supply to ensure your safety. Follow these instructions:
- Locate the main circuit breaker in your home’s electrical panel and switch it off to cut off power to the water heater. This will prevent any accidental electrical shocks during the removal process.
- Next, locate the main water supply valve that connects to the water heater. Turn it off by turning the valve clockwise until it is fully closed. This will stop the flow of water into the heater while you work on the knobs.
- To be extra cautious, open a nearby faucet to release any pressure or residual water in the lines. This will help prevent any leaks or accidents during the removal process.
Ensuring that the power and water supply are completely turned off will minimize the risk of electrical shock or water damage during the knob removal process. Take a moment to double-check that both the power and water supply are shut off before proceeding to the next step.
With the power and water supply safely turned off, you are now ready to move on to the next step of removing the knobs from your VEVOR 18L tankless water heater.
Step 2: Drain the Water Heater
After shutting off the power and water supply, the next step is to drain the water heater. Here’s how to do it:
- Locate the drain valve at the bottom of the water heater. It is usually a small faucet-like valve.
- Place a container or bucket beneath the drain valve to catch the water as it drains out.
- Using an adjustable wrench, slowly turn the drain valve counterclockwise to open it. Be cautious as the water may be hot.
- Allow the water to flow out completely until there is no more water coming out of the drain valve.
- Once the water has fully drained, close the drain valve by turning it clockwise.
Draining the water heater removes any excess water from the tank and prevents any water leakage during the knob removal process. It is important to wait until all the water has drained out before proceeding further.
Once you have successfully drained the water heater, you are now ready to move on to the next step of removing the cover panel of your VEVOR 18L tankless water heater.
Read more: How To Choose A Tankless Water Heater
Step 3: Remove the Cover Panel
With the water heater drained, the next step is to remove the cover panel. Follow these steps:
- Locate the screws that secure the cover panel onto the water heater. They are typically found along the sides or at the top and bottom of the panel.
- Using a screwdriver that matches the type of screws, whether flathead or Phillips, carefully unscrew and remove each screw.
- Once all the screws are removed, gently pull the cover panel away from the water heater. It may be snug, so use caution to avoid damaging any components.
Once the cover panel is removed, you will have access to the internal components of the water heater, including the knobs that you want to remove or replace.
Place the cover panel in a safe location, away from any areas where it may be damaged, and ensure that the screws are kept securely together for later reassembly.
Now that you have successfully removed the cover panel, you can proceed to the next step and disconnect the wiring from the knobs.
Step 4: Locate and Disconnect the Wiring
After removing the cover panel, the next step is to locate and disconnect the wiring connected to the knobs. Follow these instructions:
- Take a close look at the back of the knobs to identify the wiring connections. There should be wires or connectors attached to the back of each knob.
- Using a screwdriver or pliers, carefully loosen the screws or connectors holding the wires in place. Ensure that you remember the appropriate placement of each wire for reassembly later.
- Gently pull the wires or connectors away from the knobs, detaching them completely. Take note of any labels or markings on the wires to ensure proper reattachment.
It’s important to handle the wiring with care to avoid damaging any electrical components or causing any disconnections. Take your time and be mindful of the connections as you disconnect the wiring.
Once the wiring is disconnected from the knobs, set it aside in a safe place, ensuring that it doesn’t get tangled or damaged. With the wiring detached, you can now move on to the next step of loosening and removing the knobs themselves.
Before attempting to remove the knobs from the VEVOR 18L Tankless Water Heater, make sure to turn off the power and water supply to the unit to avoid any accidents. Use the appropriate tools and follow the manufacturer’s instructions for safe removal.
Step 5: Loosen and Remove the Knobs
With the wiring disconnected, it’s time to loosen and remove the knobs from your VEVOR 18L tankless water heater. Follow these simple steps:
- Inspect the base of each knob to locate the retaining screws or fasteners.
- Using an appropriate screwdriver or wrench (depending on the type of screws or fasteners), carefully loosen the screws, turning them counterclockwise.
- Once the screws are loosened, gently pull the knobs away from the control panel. Be sure to apply even pressure and avoid using excessive force to prevent any damage to the knobs or control panel.
- If the knobs seem stuck or resistant, you may need to wiggle them slightly while pulling to loosen them further.
As you remove the knobs, be careful not to lose the retaining screws or fasteners. Set them aside in a secure location for later use.
Once all the knobs are removed from the control panel, inspect them for any signs of wear or damage. If necessary, clean or replace them with new knobs before proceeding further.
Congratulations! You have successfully loosened and removed the knobs from your VEVOR 18L tankless water heater. Now, you can either install new knobs (if desired) or continue with reassembling the existing ones.
Step 6: Install the New Knobs (optional)
If you have chosen to replace the old knobs with new ones, this step will guide you through the installation process. Follow these steps:
- Ensure that you have the new knobs ready for installation. Check that they are compatible with your VEVOR 18L tankless water heater.
- Align the new knobs with the corresponding holes on the control panel. Make sure they are positioned correctly and securely.
- Insert the retaining screws or fasteners through the holes in the control panel and into the base of each knob.
- Using a screwdriver or wrench, tighten the screws or fasteners clockwise to secure the knobs in place. Be careful not to overtighten, as it may cause damage to the knobs or control panel.
Once the new knobs are securely installed, give them a gentle test to ensure they rotate smoothly and operate properly. If everything is functioning as expected, move on to the next step of reconnecting the wiring.
Remember, if you choose not to install new knobs, you can skip this step and proceed to Step 7.
With the new knobs installed or the existing ones ready for reassembly, you’re now ready to reconnect the wiring.
Read more: How To Vent Tankless Water Heater
Step 7: Reconnect the Wiring
After installing the new knobs or preparing the existing ones, it’s time to reconnect the wiring to ensure proper functioning of your VEVOR 18L tankless water heater. Follow these steps:
- Refer to the labels or markings on the wires that you disconnected earlier to identify their proper placement.
- Align the wires or connectors with their corresponding terminals on the back of each knob.
- Gently push the wires or connectors onto the terminals, making sure they are securely attached.
- Using a screwdriver or pliers, tighten the screws or connectors clockwise to firmly hold the wires in place.
It’s crucial to make sure that each wire is connected to the correct terminal on the knobs. Double-check the wiring connections to avoid any potential issues or malfunctions.
Once you have successfully reconnected the wiring to the knobs, you are ready to move on to the next step of replacing the cover panel.
Step 8: Replace the Cover Panel
Now that the wiring is reconnected, it’s time to replace the cover panel on your VEVOR 18L tankless water heater. Follow these simple steps:
- Align the cover panel with the corresponding slots or holes on the water heater. Make sure it is positioned correctly and evenly.
- Gently push the cover panel towards the water heater, ensuring that all edges align properly.
- Using a screwdriver, reinsert and tighten the screws into their respective holes to secure the cover panel in place.
Be careful not to overtighten the screws, as it may damage the cover panel or the water heater housing.
Once the cover panel is securely in place, check that it is properly aligned and fits tightly against the water heater. This ensures that it provides proper protection for the internal components.
Congratulations! You have successfully replaced the cover panel of your VEVOR 18L tankless water heater. Now, it’s time to move on to the final step of turning on the power and water supply.
Step 9: Turn on the Power and Water Supply
With the cover panel securely in place, it’s time to turn on the power and water supply to your VEVOR 18L tankless water heater. Follow these steps:
- Locate the main circuit breaker and switch it back on to restore power to the water heater.
- Next, locate the main water supply valve and turn it back on by turning the valve counterclockwise.
- Allow a few moments for the water heater to pressurize and fill with water.
- Check for any leaks around the knobs or cover panel. If you notice any leaks, immediately shut off the water supply and consult a professional plumber.
- Once you are sure there are no leaks, test the knobs by turning them on and off to ensure they are functioning properly.
Monitor the water heater for a few minutes to ensure proper functioning and observe any signs of leaks, irregularities, or malfunctions.
Congratulations! You have successfully turned on the power and water supply to your VEVOR 18L tankless water heater, and the knob removal process is complete.
It is recommended to regularly inspect and clean the knobs to maintain their functionality and prolong their lifespan. Always refer to the manufacturer’s guidelines for proper maintenance and troubleshooting.
Thank you for following this guide. We hope it has helped you in safely removing and replacing the knobs on your VEVOR 18L tankless water heater.
If you have any further questions or need assistance, don’t hesitate to contact a professional plumber or the manufacturer’s customer support.
Conclusion
Removing knobs from your VEVOR 18L tankless water heater is a simple process that can be done with the right tools, knowledge, and safety precautions. By following the steps outlined in this guide, you can confidently remove and replace the knobs to ensure the proper functioning of your water heater.
Remember to always prioritize safety by shutting off the power and water supply before beginning any maintenance work. Wear protective gear and handle the components with care to avoid accidents or damages.
Whether you are cleaning, replacing, or upgrading the knobs, taking the time to perform this maintenance task can help improve the overall performance and efficiency of your VEVOR 18L tankless water heater.
If you encounter any difficulties or are unsure about any step of the process, it is always recommended to seek assistance from a professional plumber or contact the manufacturer’s customer support for guidance.
Regularly inspecting and maintaining your water heater, including its knobs, will help ensure its longevity and keep it running smoothly for years to come.
Thank you for following this guide, and we hope it has been helpful in removing the knobs from your VEVOR 18L tankless water heater. Enjoy the reliable hot water supply provided by your well-maintained water heater!
Frequently Asked Questions about How To Remove Knobs From VEVOR 18L Tankless Water Heater
Was this page helpful?
At Storables.com, we guarantee accurate and reliable information. Our content, validated by Expert Board Contributors, is crafted following stringent Editorial Policies. We're committed to providing you with well-researched, expert-backed insights for all your informational needs.
0 thoughts on “How To Remove Knobs From VEVOR 18L Tankless Water Heater”