Articles
How To Remove Hot Water Heater
Modified: October 20, 2024
Learn how to remove a hot water heater with our comprehensive articles. Follow our step-by-step guide to safely replace your old unit and ensure a smooth installation process.
(Many of the links in this article redirect to a specific reviewed product. Your purchase of these products through affiliate links helps to generate commission for Storables.com, at no extra cost. Learn more)
Introduction
Welcome to our comprehensive guide on how to remove a hot water heater. Whether you’re looking to replace your old unit with a more energy-efficient model or need to make repairs, knowing the proper steps to remove your hot water heater is essential. Removing a hot water heater can be a complex task, so it’s important to take the necessary safety precautions and gather the proper tools and materials before getting started.
In this article, we will walk you through the step-by-step process of removing a hot water heater. From shutting off the power and water supply to disconnecting the water lines and gas or electric connections, we will provide you with all the information you need to successfully remove your hot water heater.
Before we dive into the specifics, it’s important to note that removing a hot water heater can be a challenging and potentially dangerous task. If you are uncomfortable or unsure about any part of the process, it’s always best to consult a professional plumber. Safety should be your top priority throughout the entire removal process.
So, if you’re ready to learn how to remove your hot water heater, let’s get started with the necessary safety precautions.
Key Takeaways:
- Safety should always be the top priority when removing a hot water heater. Follow proper precautions, gather necessary tools, and seek professional help if unsure.
- Properly installing a new hot water heater involves careful handling, following manufacturer’s instructions, and testing for leaks to ensure efficient functioning.
Read more: How To Maintain Hot Water Heater
Safety Precautions
When it comes to removing a hot water heater, safety should always be your primary concern. Before you begin the removal process, make sure to follow these important safety precautions:
- Turn off the power: Before you start working on your hot water heater, turn off the power supply at the circuit breaker. This will help prevent any potential electrical accidents.
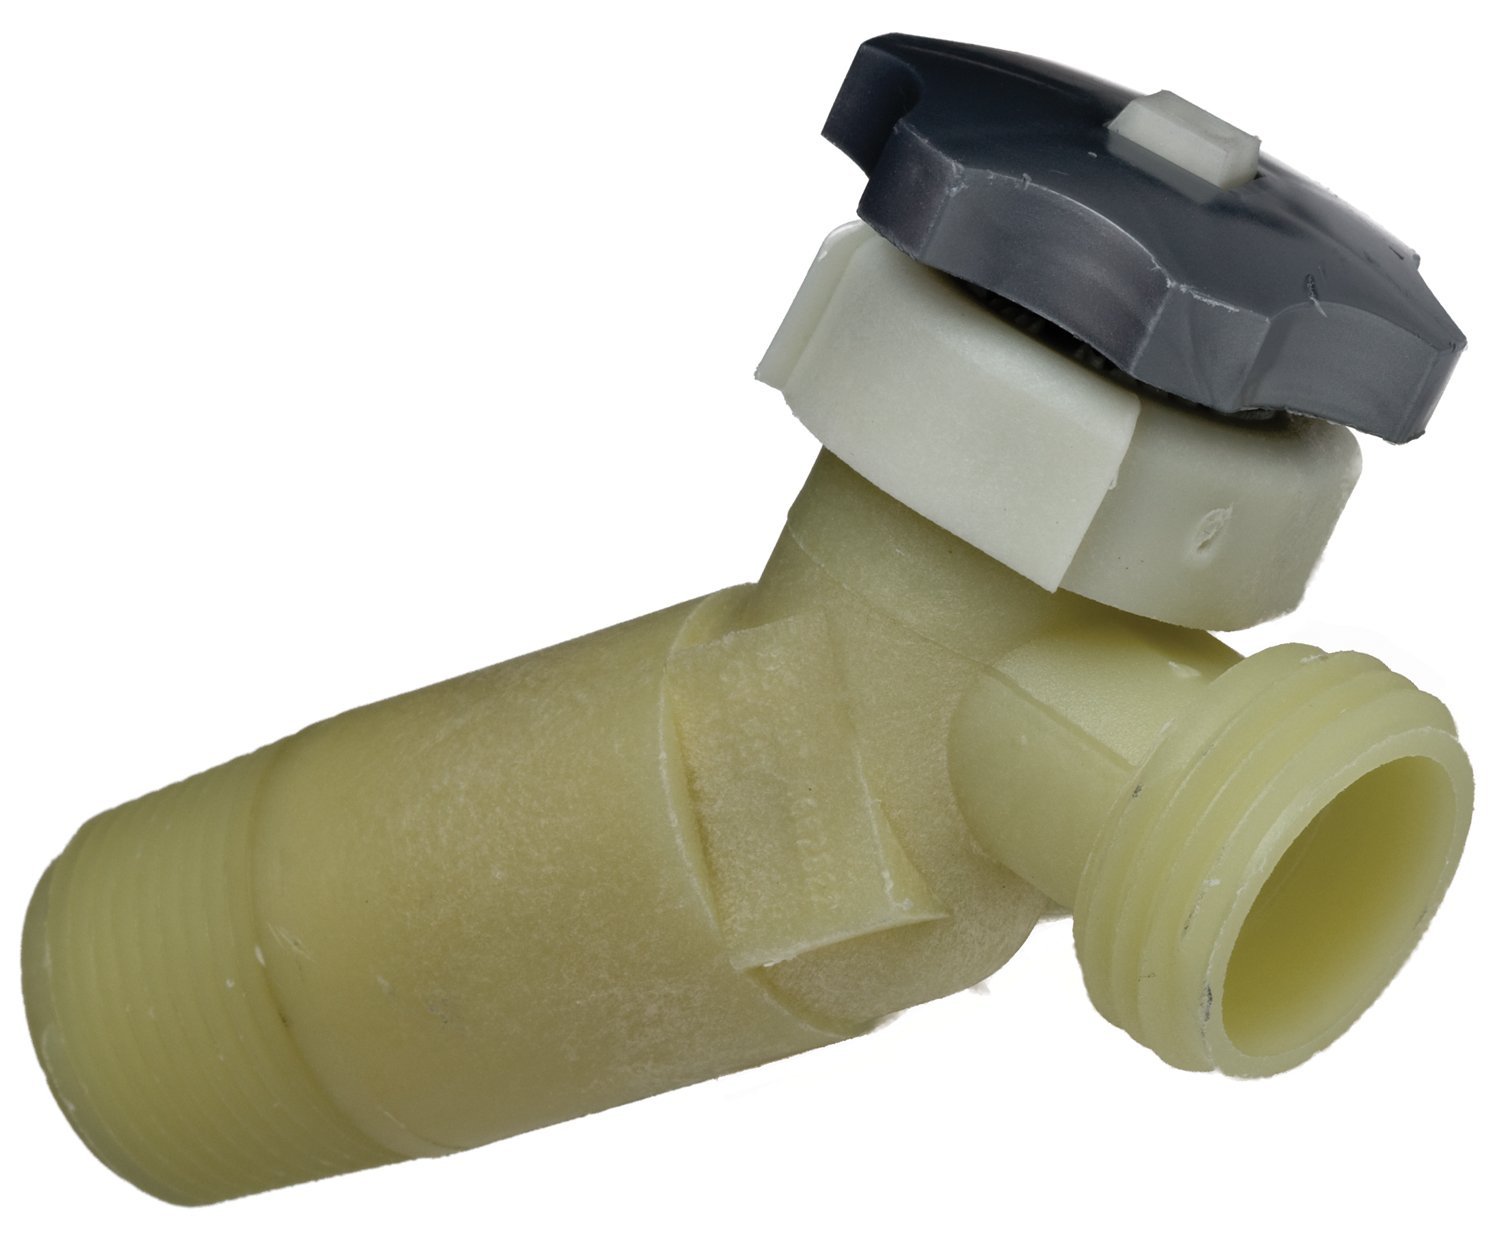
- Shut off the water supply: Locate the shut-off valve for the hot water supply and turn it off. This will prevent any water from flowing into the tank during the removal process.
- Allow the water heater to cool down: Hot water heaters reach high temperatures, so it’s crucial to allow the unit to cool down for several hours before attempting to remove it. This will prevent any potential burns or injuries.
- Wear protective gear: When working with plumbing and electrical systems, it’s important to protect yourself by wearing safety gloves, goggles, and appropriate clothing. This will help prevent any injuries or accidents.
- Have a fire extinguisher on hand: Hot water heaters can be connected to gas lines, so it’s a good idea to have a fire extinguisher nearby in case of any gas leaks or emergencies.
- Take note of the surroundings: Before starting the removal process, make sure the area around the hot water heater is clear of any obstacles or debris. This will provide you with a safe and unobstructed work area.
It’s crucial to follow these safety precautions to ensure your safety and the proper removal of the hot water heater. If you have any concerns or are unsure about any step of the process, hire a professional plumber to assist you.
Gathering Necessary Tools and Materials
Before you begin the process of removing your hot water heater, it’s important to gather all the necessary tools and materials. Having these items on hand will make the removal process smoother and more efficient. Here are the essential tools and materials you’ll need:
- Adjustable wrench: You’ll need an adjustable wrench to loosen and tighten various nuts and bolts during the removal process.
- Pipe wrench: A pipe wrench is necessary for disconnecting and removing the water lines connected to the hot water heater.
- Screwdrivers: Both flat-head and Phillips-head screwdrivers will come in handy for removing any screws or fasteners on the unit.
- Tubing cutter: If you have copper pipes connected to your hot water heater, you’ll need a tubing cutter to cut through the pipes.
- Bucket or drain pan: To catch any water that may still be in the tank or pipes, have a bucket or drain pan ready.
- Plumber’s tape: Plumber’s tape, also known as Teflon tape, is essential for creating a watertight seal when reconnecting the water lines.
- Gas shut-off valve (if applicable): If your hot water heater is connected to a gas supply, you’ll need to have a gas shut-off valve.
- Electrical safety tools (if applicable): If you have an electric hot water heater, ensure that you have insulated gloves and other electrical safety tools.
- New hot water heater (if necessary): If you’re replacing your old hot water heater, make sure you have the new unit ready for installation.
By gathering these tools and materials before you begin, you’ll be well-prepared to handle the removal process. It’s always better to have everything you need readily available to avoid delays or complications.
Once you’ve collected all the necessary tools and materials, it’s time to move on to the next step: shutting off the power and water supply.
Shutting Off the Power and Water Supply
Before you proceed with removing your hot water heater, it’s crucial to shut off the power and water supply to ensure your safety. Here’s how to do it:
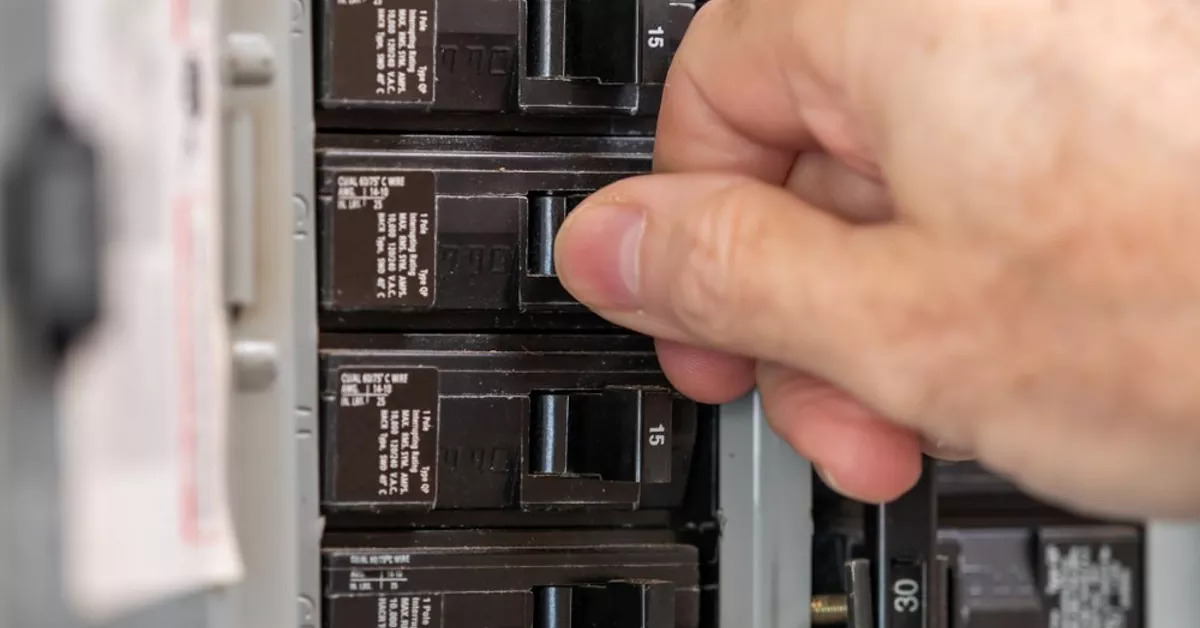
- Step 1: Locate the circuit breaker: Find the circuit breaker panel in your home or building and identify the breaker that controls power to the hot water heater.
- Step 2: Turn off the power: Switch off the circuit breaker that corresponds to the hot water heater. This will prevent any electrical accidents or shocks while you work on the unit.
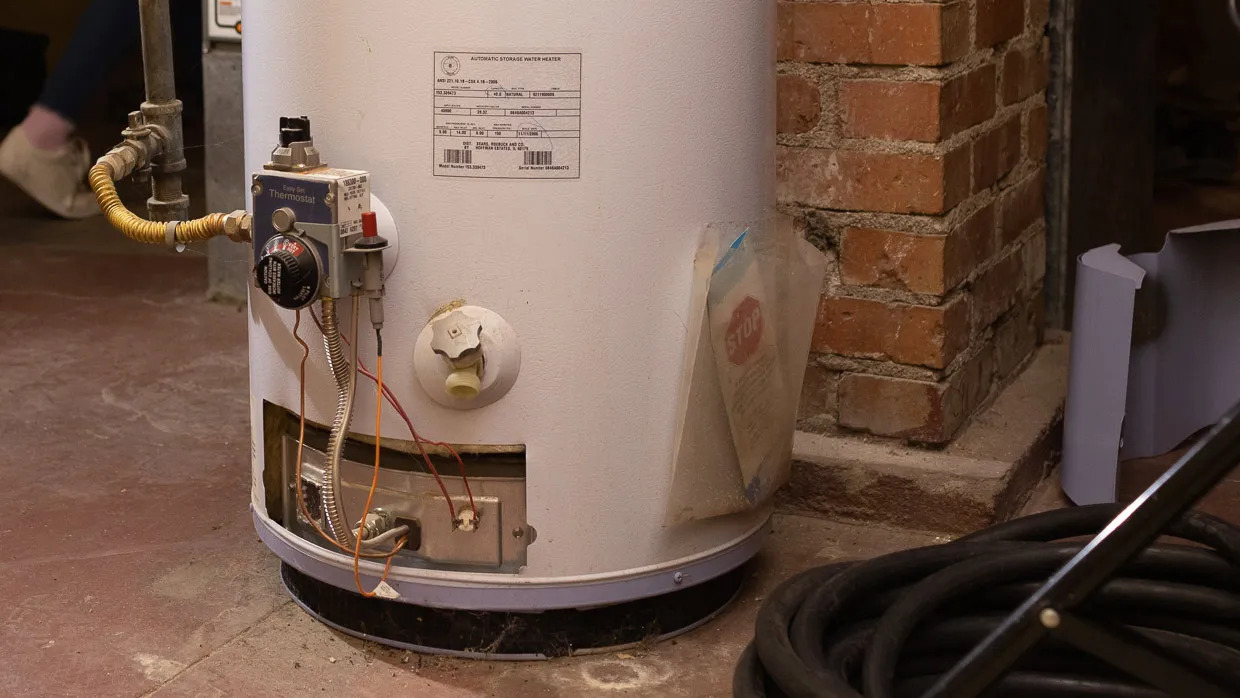
- Step 3: Locate the water supply shut-off valve: Look for the valve that controls the water flow to the hot water heater. It is typically located near or on the unit.
- Step 4: Turn off the water supply: Rotate the valve clockwise to shut off the water supply to the hot water heater. This will prevent any water from entering the tank and causing leaks during the removal process.
- Step 5: Open a nearby faucet: To relieve any pressure in the pipes, open a hot water faucet located near the hot water heater. This will allow any remaining water in the tank to drain out more easily.
Once you’ve successfully shut off the power and water supply, it’s essential to wait for the hot water heater to cool down before proceeding further. This can take several hours, so be patient and prioritize your safety.
Now that the power and water supply are safely turned off, it’s time to drain the hot water heater. This step is necessary to prevent any water from leaking and causing damage during the removal process.
Draining the Hot Water Heater
Now that you’ve shut off the power and water supply to your hot water heater, the next step is to drain the tank to remove any remaining water. Here’s how to do it:
- Step 1: Prepare the drainage area: Position a bucket or drain pan directly beneath the drain valve of the hot water heater. This will catch the water as it drains out.
- Step 2: Open the drain valve: Locate the drain valve near the bottom of the hot water heater tank. Attach a hose to the valve if necessary and open it to allow the water to flow out into the bucket or drain pan.
- Step 3: Open the pressure relief valve: To speed up the draining process, open the pressure relief valve at the top of the hot water heater. This will allow air to enter the tank, which helps facilitate a faster flow of water.
- Step 4: Wait for the tank to empty: Depending on the size of your hot water heater and the amount of water in the tank, it may take a while for it to fully drain. Be patient and allow the water to empty completely.
- Step 5: Close the drain valve: Once the tank is empty, close the drain valve tightly to prevent any water from entering the tank during the removal process.
By draining the hot water heater, you’ll ensure that there’s no water remaining in the tank or pipes that could cause leaks or spills while removing the unit. It’s important to note that the water drained from the hot water heater may be hot, so exercise caution to avoid burns.
With the tank fully drained, you’re ready to move on to the next step: disconnecting the water lines.
Read more: How To Fill A Hot Water Heater
Disconnecting the Water Lines
Now that you’ve successfully drained the hot water heater, it’s time to disconnect the water lines connected to the unit. Here are the steps to follow:
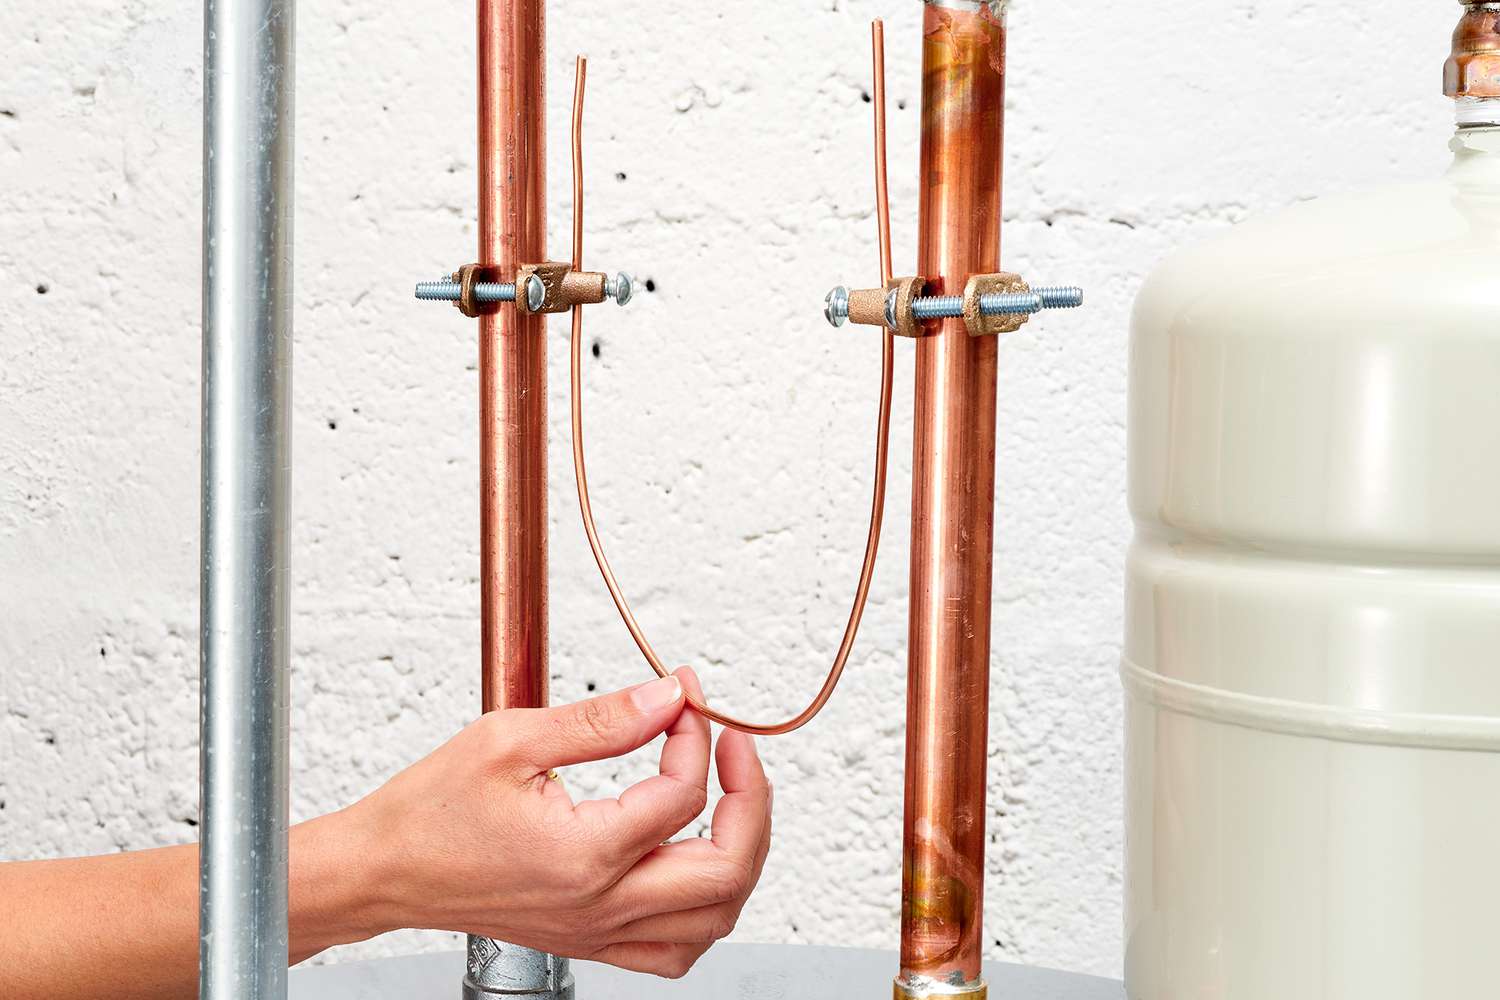
- Step 1: Locate the water inlet and outlet pipes: Identify the water inlet and outlet pipes that are connected to the hot water heater. These pipes are usually located on the top of the unit.
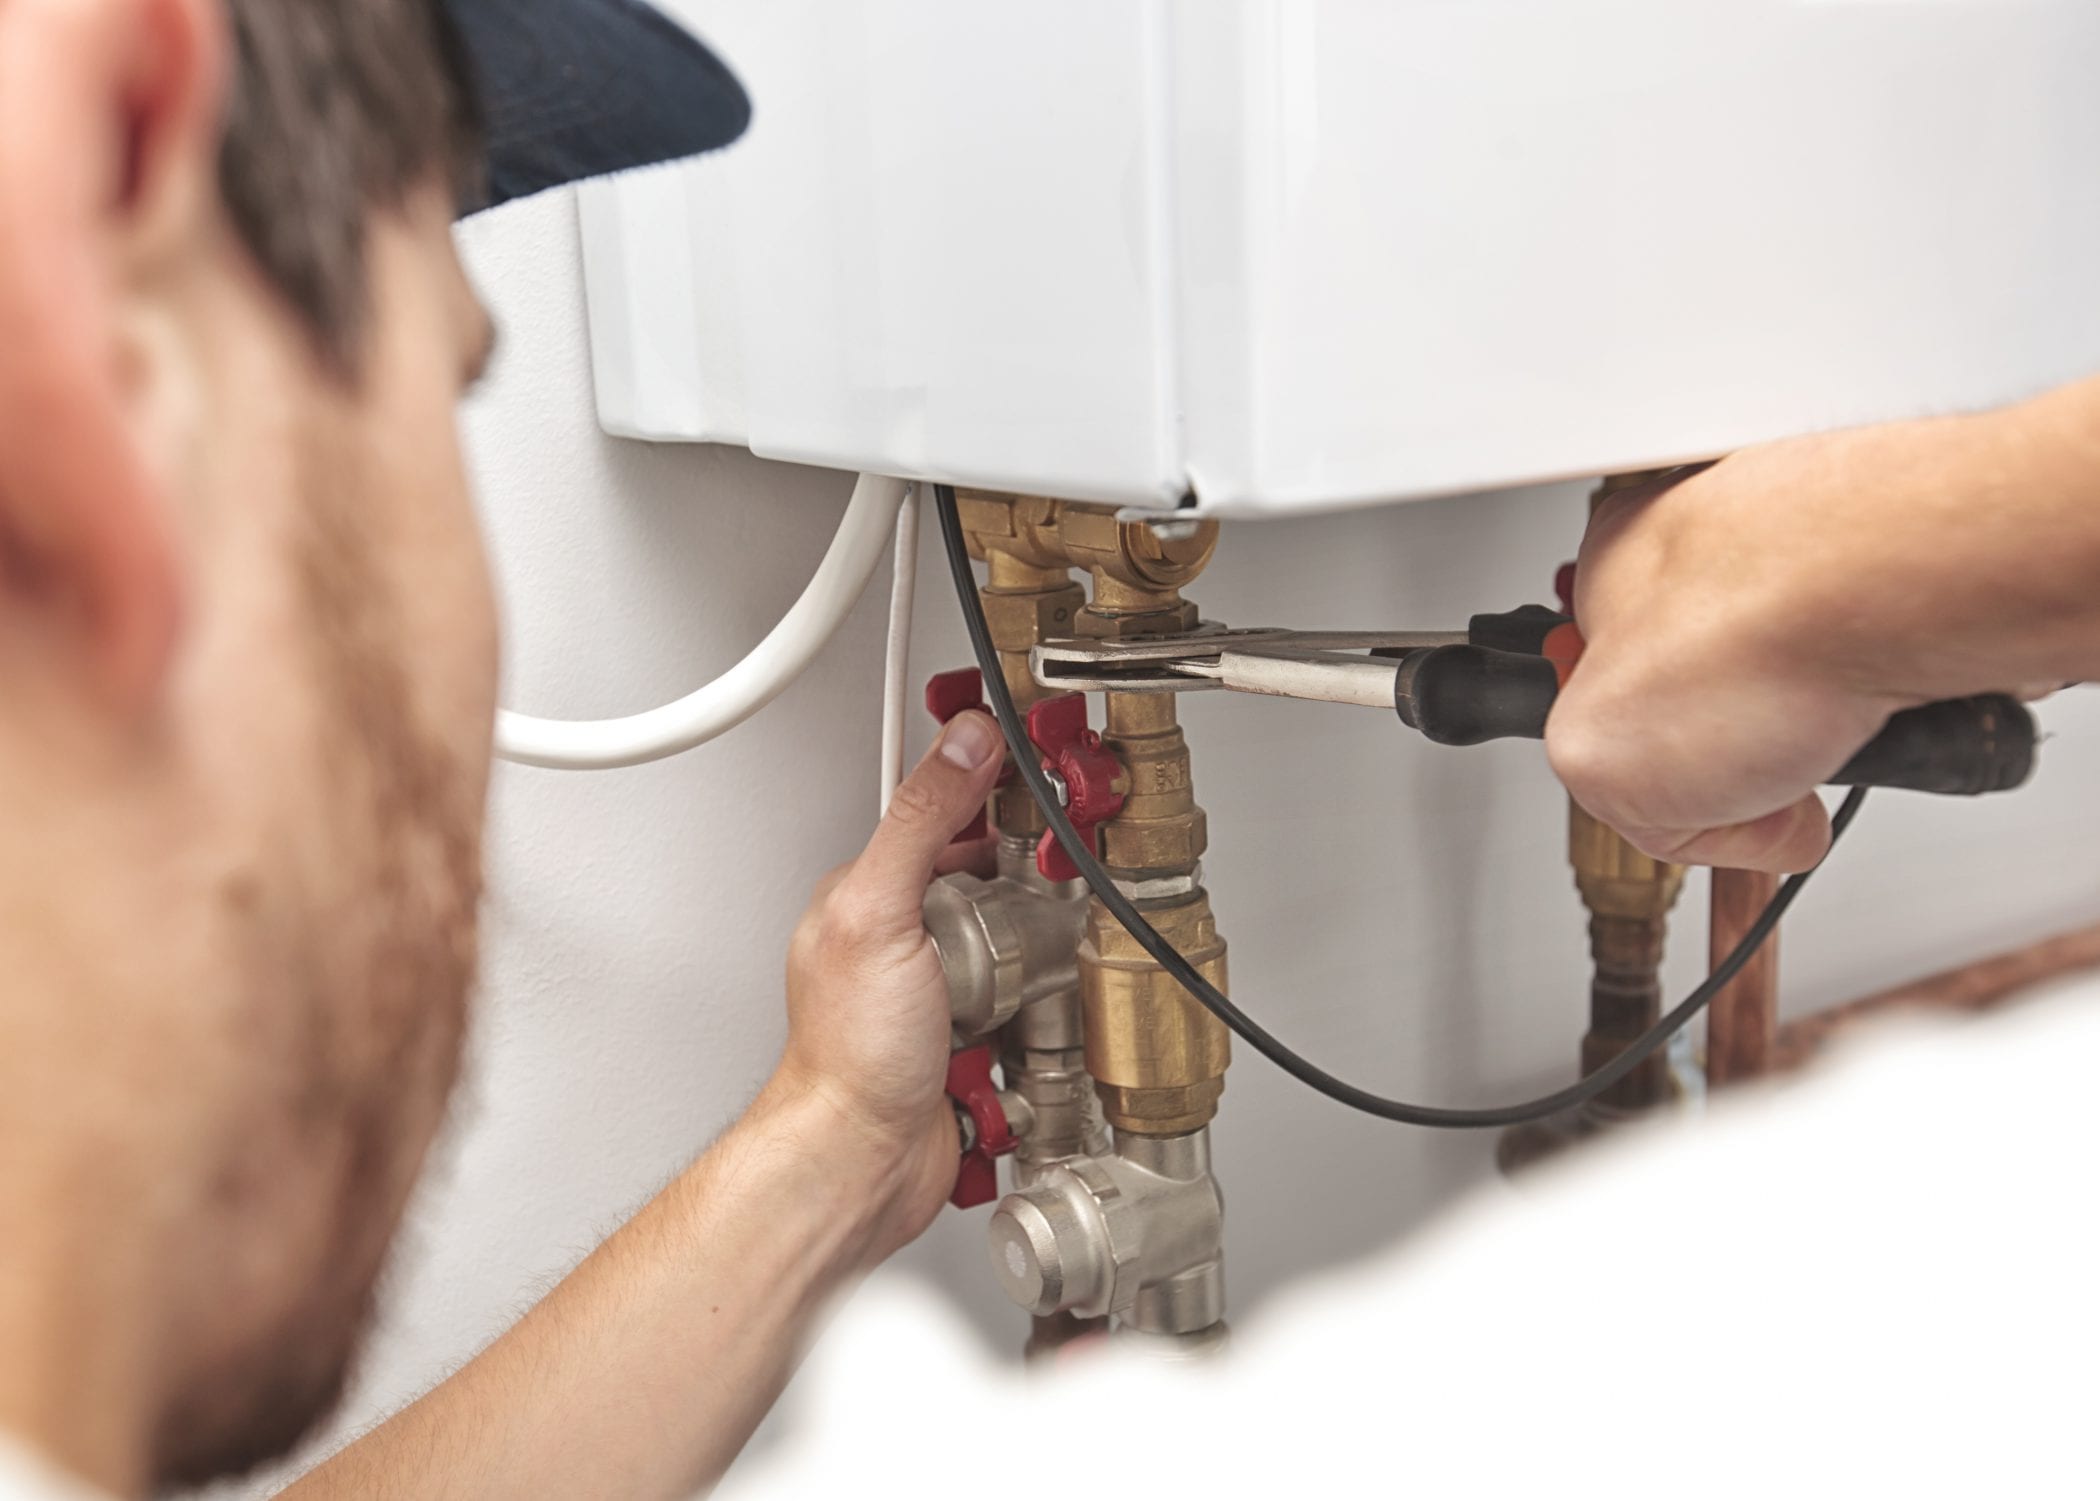
- Step 2: Loosen the pipe fittings: Using a pipe wrench or adjustable wrench, loosen the fittings connecting the water lines to the hot water heater. Turn the fittings counterclockwise to loosen them.
- Step 3: Remove the water lines: Once the fittings are loose, carefully remove the water lines from the hot water heater. Be cautious of any remaining water in the pipes and have a bucket or towel ready to catch any spills.
- Step 4: Inspect the water lines: Take a moment to inspect the water lines for any signs of damage or corrosion. If necessary, replace the water lines before installing the new hot water heater.
- Step 5: Apply plumber’s tape (optional): If you’re reusing the existing water lines, it’s a good idea to wrap plumber’s tape around the threaded ends of the fittings to create a watertight seal when reconnecting them.
By disconnecting the water lines, you’re now one step closer to removing the hot water heater completely. Be sure to handle the water lines with care and avoid any excessive force that could cause damage.
Next, we’ll explore how to detach the gas or electric connections from the hot water heater, depending on the type of unit you have.
Before removing a hot water heater, make sure to turn off the power and water supply. Drain the tank completely to avoid any water spillage during the removal process. Disconnect the pipes and carefully remove the heater from its location.
Detaching the Gas or Electric Connections
Depending on the type of hot water heater you have, you’ll need to detach either the gas or electric connections before removing the unit. Here’s how to do it:
- For Gas Hot Water Heaters:
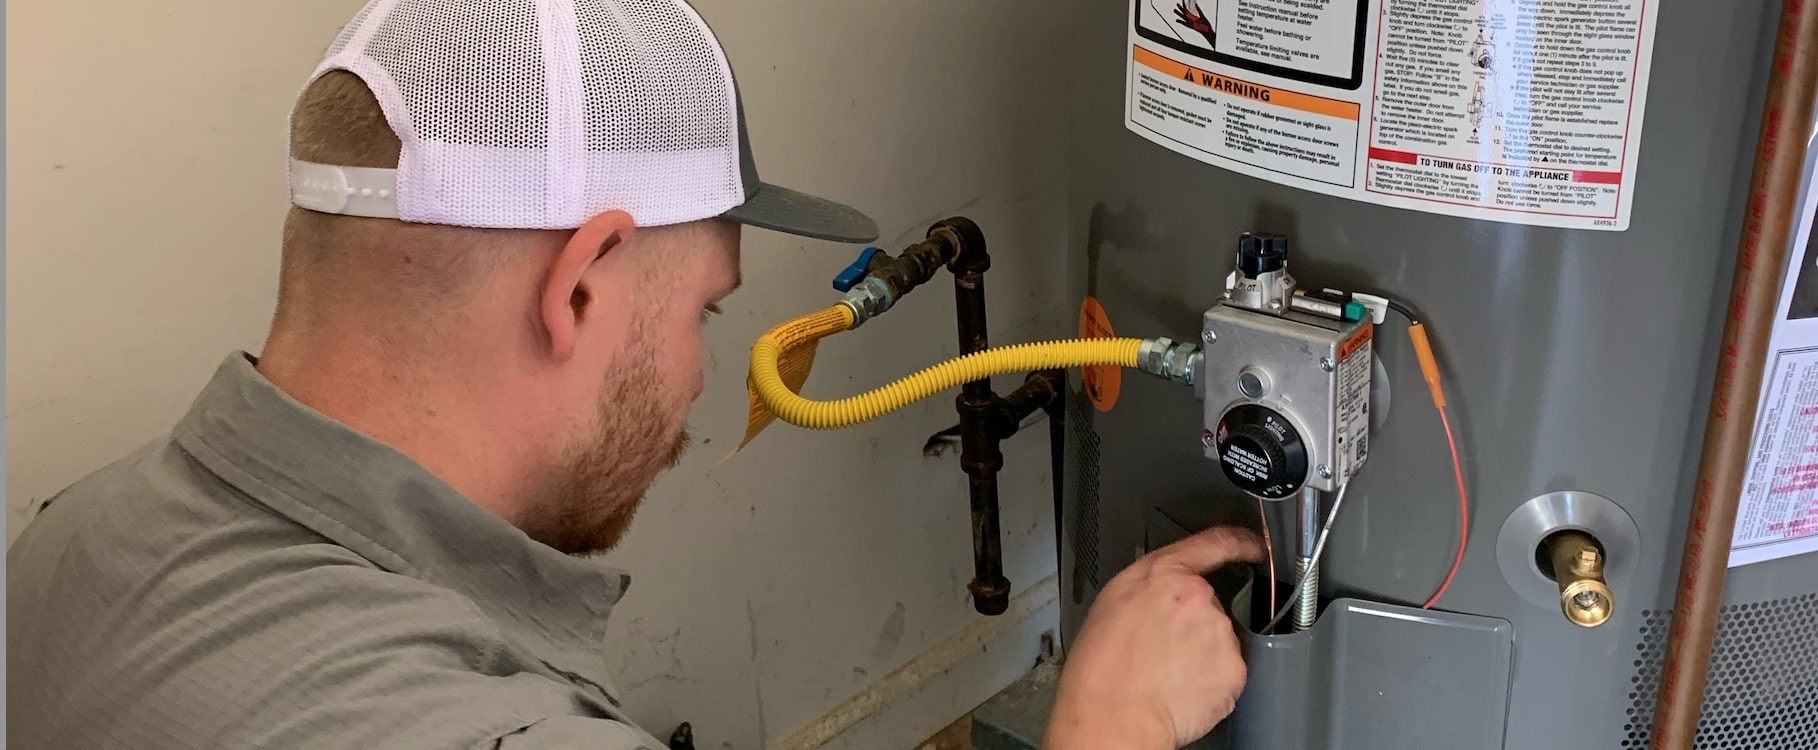
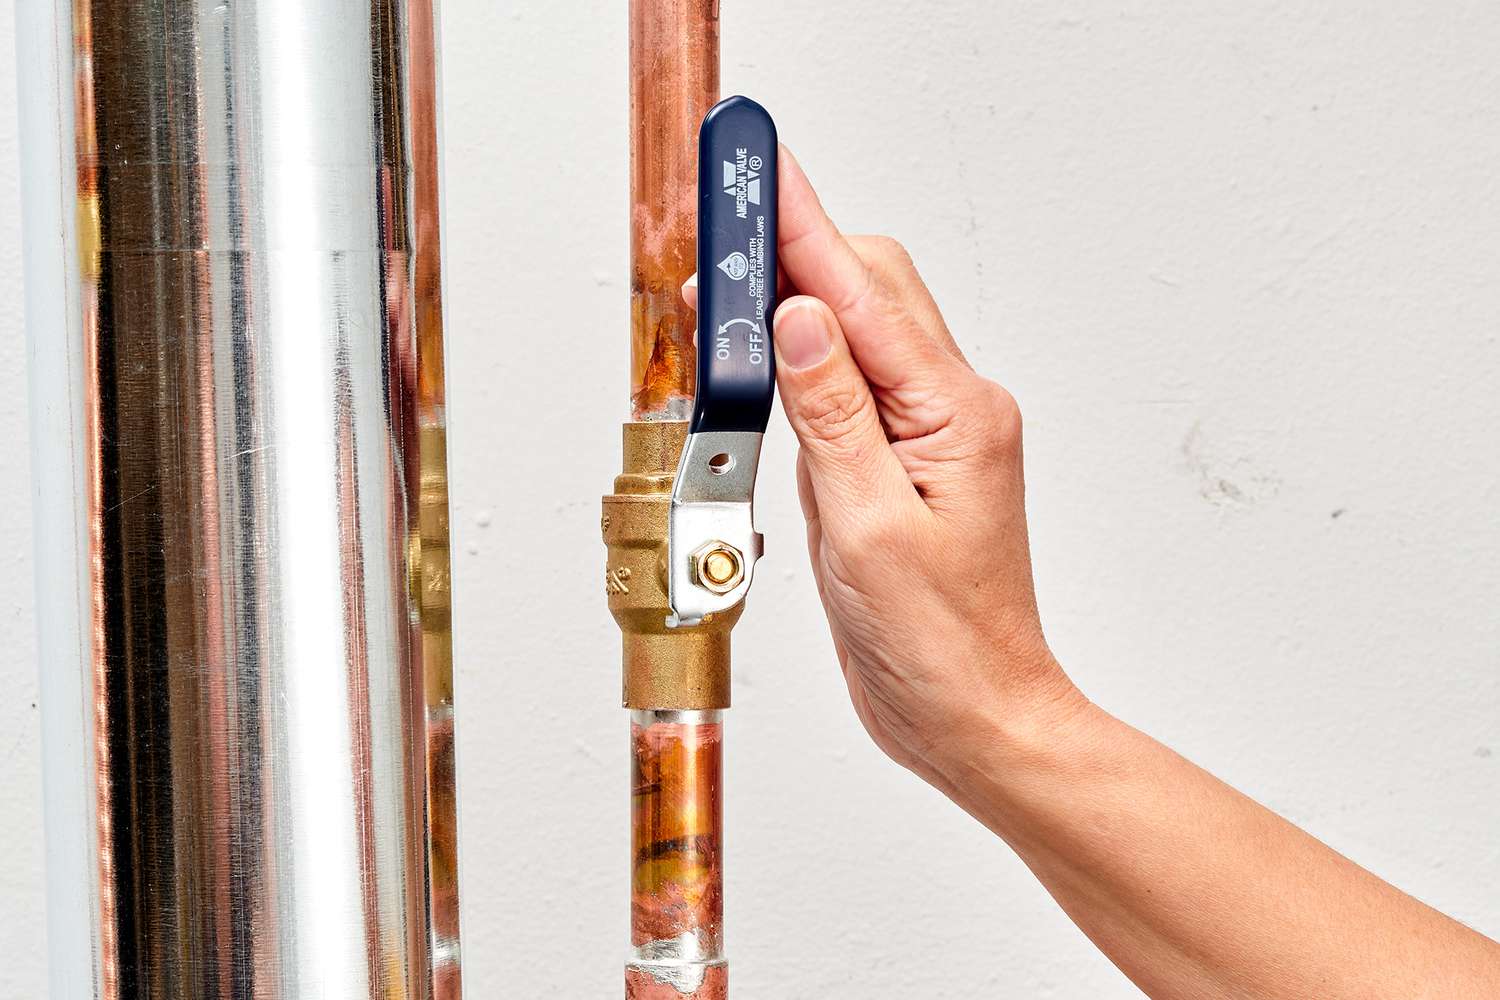
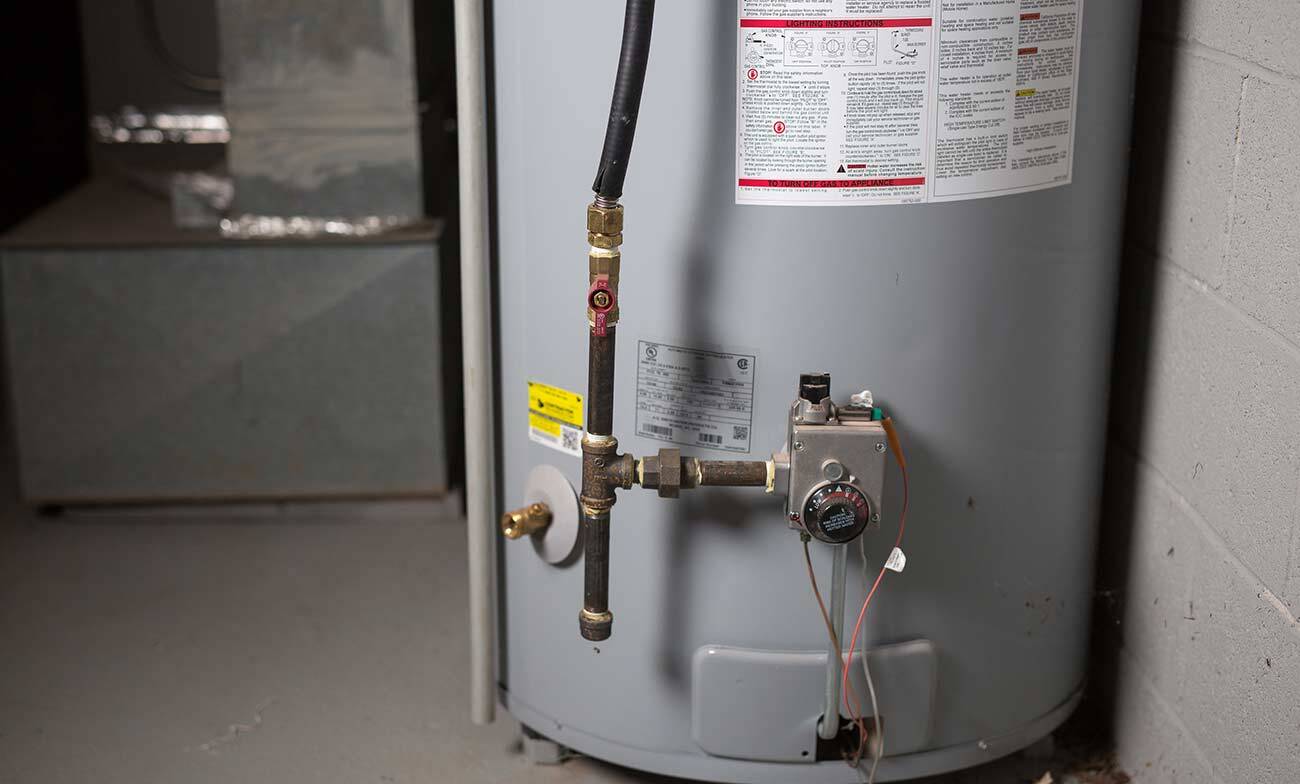
- Step 1: Locate the gas shut-off valve: Find the gas shut-off valve located near the hot water heater. Typically, it’s a lever or knob that can be turned to stop the flow of gas.
- Step 2: Turn off the gas supply: Using a wrench or pliers, turn the gas shut-off valve clockwise to shut off the gas supply to the hot water heater.
- Step 3: Disconnect the gas line: With the gas supply off, carefully disconnect the gas line from the hot water heater. Use an adjustable wrench to loosen the fittings connecting the gas line to the unit.
- Step 4: Inspect the gas line: Take a moment to inspect the gas line for any signs of damage or leakage. If you notice any issues, it’s important to address them before installing the new hot water heater.
- For Electric Hot Water Heaters:
- Step 1: Turn off the power supply: Double-check that the power to the hot water heater is still turned off at the circuit breaker to prevent any electrical accidents.
- Step 2: Disconnect the electrical connections: Carefully remove the access panel to reveal the electrical connections. Depending on the specific model, you may need to unscrew the panel or use a screwdriver to remove any screws.
- Step 3: Disconnect the electrical wires: Using a screwdriver, loosen the screws or nuts that secure the electrical wires to the hot water heater. Disconnect the wires carefully, making note of their locations.
By detaching the gas or electric connections, you’re preparing the hot water heater for complete removal. Remember to exercise caution and follow safety protocols when dealing with gas or electrical components.
With the gas or electric connections disconnected, it’s time to move on to the next step: removing the hot water heater from its current location.
Removing the Hot Water Heater
Now that you’ve completed the necessary steps to disconnect the water lines and gas or electric connections, it’s time to remove the hot water heater from its current location. Here’s how you can do it:
- Step 1: Enlist another person’s help: Hot water heaters can be heavy and bulky, so it’s advisable to have another person assist you with the removal process. This will make it easier and safer to handle the unit.
- Step 2: Disconnect the vent pipes (if applicable): If your hot water heater is vented, you’ll need to disconnect the vent pipes from the top of the unit. Loosen any clamps or screws holding the vent pipes in place and remove them carefully.
- Step 3: Clear the area around the hot water heater: Ensure that the immediate area around the unit is clear of any obstacles, such as furniture or storage items. This will provide you with the necessary space to maneuver and remove the hot water heater.
- Step 4: Lift and remove the hot water heater: With the assistance of another person, carefully lift the hot water heater and move it out of its current location. Make sure to lift with your legs, not your back, to avoid any strain or injuries.
When removing the hot water heater, it’s important to be mindful of its weight and size. Take your time and communicate with your helper to ensure a smooth and safe removal process. If necessary, use dollies or other moving equipment to aid in transportation.
With the hot water heater successfully removed, you can now proceed to clean the area and prepare for the installation of a new hot water heater.
Next, we’ll cover the steps for cleaning the area and installing a new hot water heater.
Cleaning the Area
After removing the old hot water heater, it’s important to clean the area to ensure a fresh and debris-free space for the installation of the new unit. Here are the steps to clean the area:
- Step 1: Remove any debris: Clear away any dirt, dust, or debris that may have accumulated around the previous hot water heater. Sweep or vacuum the area to ensure a clean surface.
- Step 2: Wipe down the surrounding surfaces: Use a damp cloth or sponge to wipe down the walls, floor, and nearby surfaces. This will remove any stains or marks left behind by the old unit.
- Step 3: Check for water damage: Inspect the area for any signs of water damage, such as mold or mildew. If you notice any issues, it’s important to address them before proceeding with the installation of the new hot water heater.
- Step 4: Ensure proper ventilation: If your hot water heater is vented, check that the venting system is clean and unobstructed. Clear away any debris or blockages to ensure proper ventilation and safety.
By cleaning the area, you create a clean and organized space for the installation of the new hot water heater. It’s essential to start with a clean slate to ensure the proper functioning and longevity of the new unit.
With the area cleaned, you’re now ready to install the new hot water heater. Follow the manufacturer’s instructions and any local building codes to ensure a successful installation.
Next, we’ll guide you through the steps of installing a new hot water heater.
Read more: How To Relight A Hot Water Heater
Installing a New Hot Water Heater
Now that you have successfully removed the old hot water heater and cleaned the area, it’s time to install a new unit. Here’s a step-by-step guide on how to install a new hot water heater:
- Step 1: Position the new hot water heater: Carefully position the new hot water heater in the designated area. Make sure it is level and stable to prevent any accidents or damage.
- Step 2: Connect the water lines: Attach the water lines to the appropriate fittings on the new hot water heater. Use a pipe wrench to tighten the connections, making sure they are secure but not over-tightened.
- Step 3: Reconnect the gas or electric connections: If you have a gas hot water heater, reconnect the gas line using an adjustable wrench. If you have an electric hot water heater, reattach the electrical wires according to the manufacturer’s instructions.
- Step 4: Install new venting (if applicable): If your new hot water heater requires venting, install the appropriate vent pipes and secure them in place. Ensure that the venting system complies with local building codes.
- Step 5: Open the water supply valve: Once all the connections are secure, turn on the water supply valve to allow water to flow into the new hot water heater. Check for any leaks and make sure the water is flowing properly.
- Step 6: Check for gas or electrical leaks (if applicable): If you have a gas hot water heater, check for any gas leaks using a gas leak detector or a mixture of soap and water. If you have an electric hot water heater, ensure that the electrical connections are secure and properly tightened.
- Step 7: Follow the manufacturer’s instructions: Consult the manufacturer’s instructions for any specific steps or requirements related to the installation of your particular hot water heater model.
It’s crucial to follow the manufacturer’s instructions and local building codes when installing a new hot water heater. If you are unsure about any step of the process, it’s best to consult a professional plumber to ensure proper installation and safety.
With the new hot water heater successfully installed, it’s time to move on to the final step: testing the new unit to ensure it’s functioning correctly.
Testing the New Hot Water Heater
After installing a new hot water heater, it’s essential to test the unit to ensure that it’s functioning properly and providing hot water efficiently. Here’s how you can test the new hot water heater:
- Step 1: Turn on the power: If you have an electric hot water heater, turn on the power supply at the circuit breaker. For gas hot water heaters, ensure that the gas supply is turned on at the shut-off valve.
- Step 2: Wait for the unit to heat up: Give the hot water heater some time to heat up the water. This may take a while, especially if it’s the first time using the new unit.
- Step 3: Check for leaks: While the hot water heater is heating up the water, inspect all the connections, pipes, and fittings for any signs of leaks. Ensure that there are no water or gas leaks present.
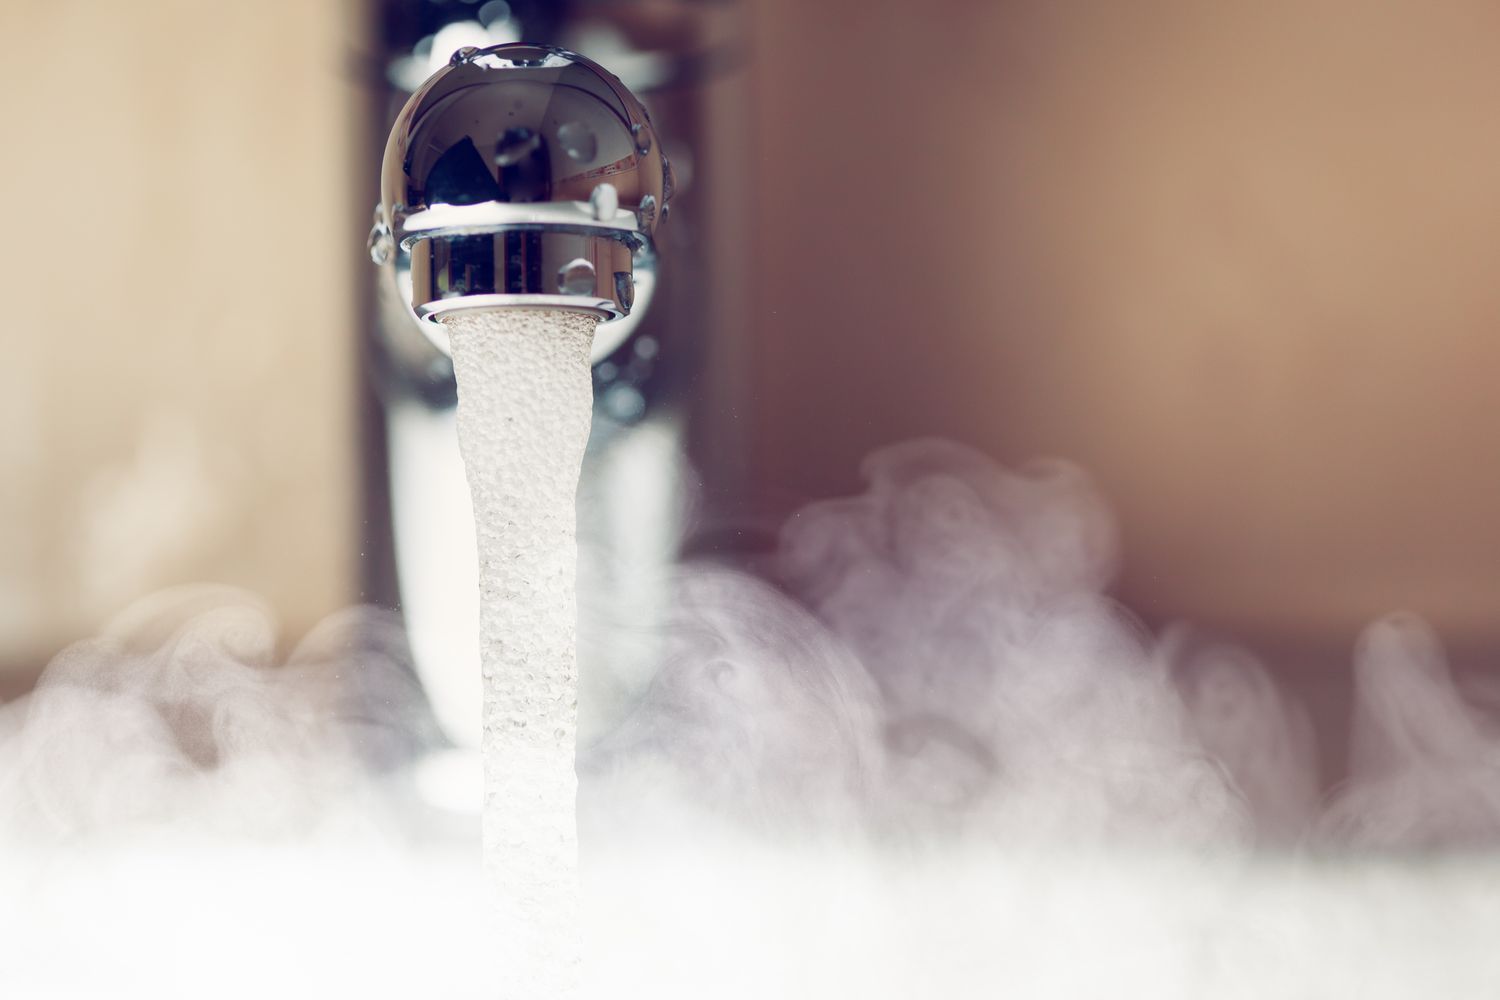
- Step 4: Test the hot water: Turn on a hot water faucet in your home and let it run for a few minutes. Check if the water is coming out hot and if there are any fluctuations in temperature.
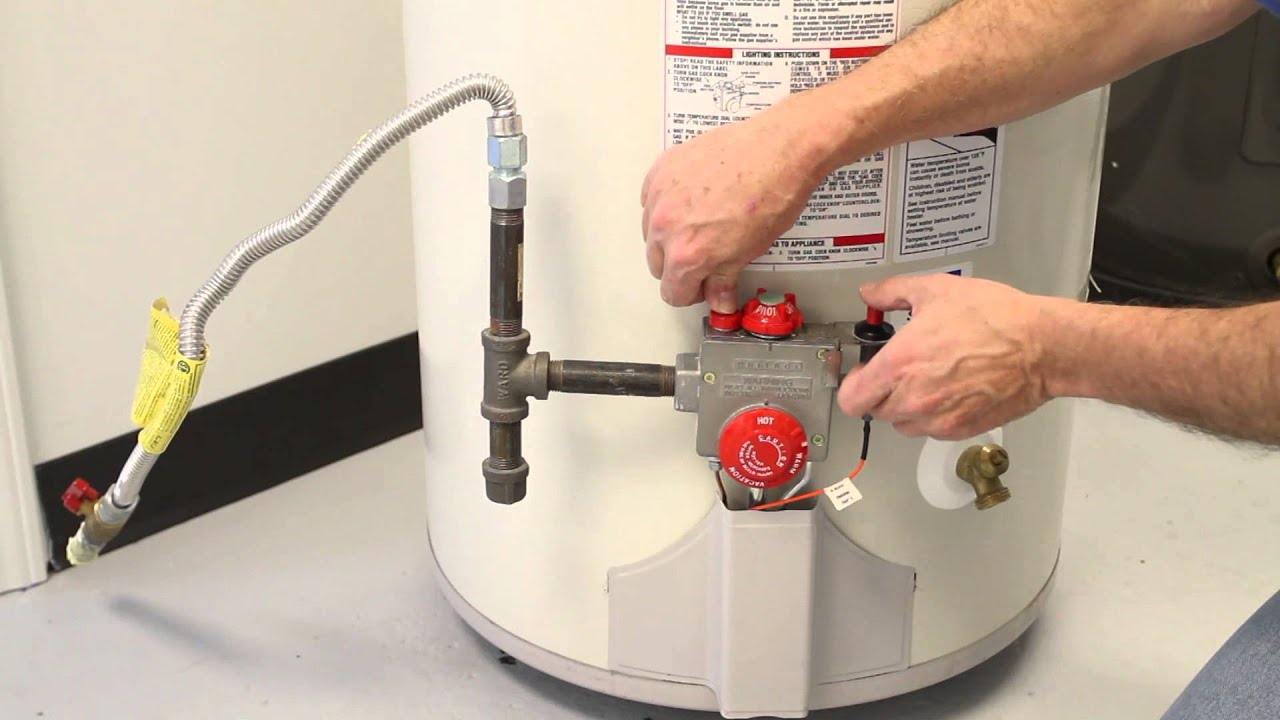
- Step 5: Adjust the temperature setting (if necessary): If the water is either too hot or not hot enough, adjust the temperature setting on the hot water heater according to the manufacturer’s instructions.
- Step 6: Monitor for proper functionality: Pay attention to the hot water heater’s performance over the next few days. Ensure that it consistently provides hot water and operates without any unusual noises or issues.
Testing the new hot water heater is crucial to ensure its proper functioning and to address any potential problems early on. Keep in mind that it may take a while for the water to heat up initially, but it should maintain a consistent temperature once heated.
If you encounter any issues or suspect a malfunction with the new hot water heater, it’s advisable to contact the manufacturer or consult a professional plumber for assistance.
Congratulations! You have successfully tested the new hot water heater. Now you can enjoy reliable and hot water for your daily needs.
Final Thoughts and Conclusion
Removing and replacing a hot water heater can be a complex task, but by following the proper steps and taking necessary safety precautions, you can successfully complete the process. Here are some final thoughts and key takeaways:
Safety should always be your top priority when working with hot water heaters. Shutting off the power and water supply, wearing protective gear, and exercising caution throughout the process is crucial.
Gathering all the necessary tools and materials beforehand will save you time and ensure that you have everything you need for the removal and installation process.
Draining the hot water heater completely is important to prevent any water leaks or spills during the removal process.
Disconnecting the water lines, gas or electric connections, and vent pipes (if applicable) requires careful handling and attention to detail.
When removing the hot water heater, it’s helpful to have another person assist you to ensure a safe and smooth process.
Cleaning the area after removing the old hot water heater provides a clean and organized space for the installation of the new unit.
Properly installing the new hot water heater involves following the manufacturer’s instructions, connecting the water lines and gas or electric connections securely, and ensuring proper ventilation.
After installation, testing the new hot water heater and checking for leaks is necessary to ensure its proper functioning and efficiency.
If you encounter any issues or are unsure about any step of the process, it’s best to consult a professional plumber for assistance.
By following these steps and guidelines, you can remove and replace your hot water heater with confidence, ensuring reliable hot water for your household needs. Remember, if you’re not comfortable with any part of the process, it’s always wise to seek professional help to ensure a safe and successful installation.
We hope this comprehensive guide has been helpful in guiding you through the process of removing a hot water heater. Good luck with your project!
Frequently Asked Questions about How To Remove Hot Water Heater
Was this page helpful?
At Storables.com, we guarantee accurate and reliable information. Our content, validated by Expert Board Contributors, is crafted following stringent Editorial Policies. We're committed to providing you with well-researched, expert-backed insights for all your informational needs.

0 thoughts on “How To Remove Hot Water Heater”