Home>Articles>How To Remove Moss From Your Roof And Stop It From Growing Back

Articles
How To Remove Moss From Your Roof And Stop It From Growing Back
Modified: October 20, 2024
Learn effective techniques to remove moss from your roof and prevent it from regrowing with our informative articles.
(Many of the links in this article redirect to a specific reviewed product. Your purchase of these products through affiliate links helps to generate commission for Storables.com, at no extra cost. Learn more)
Introduction
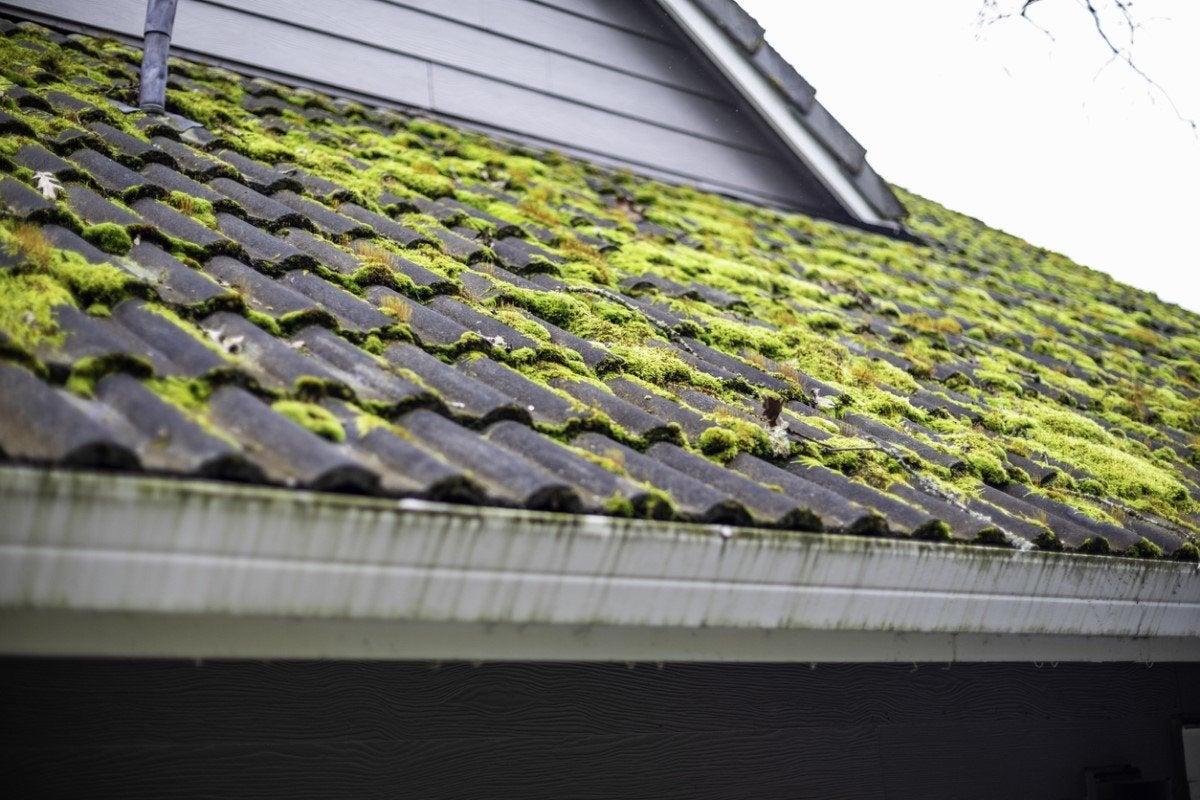
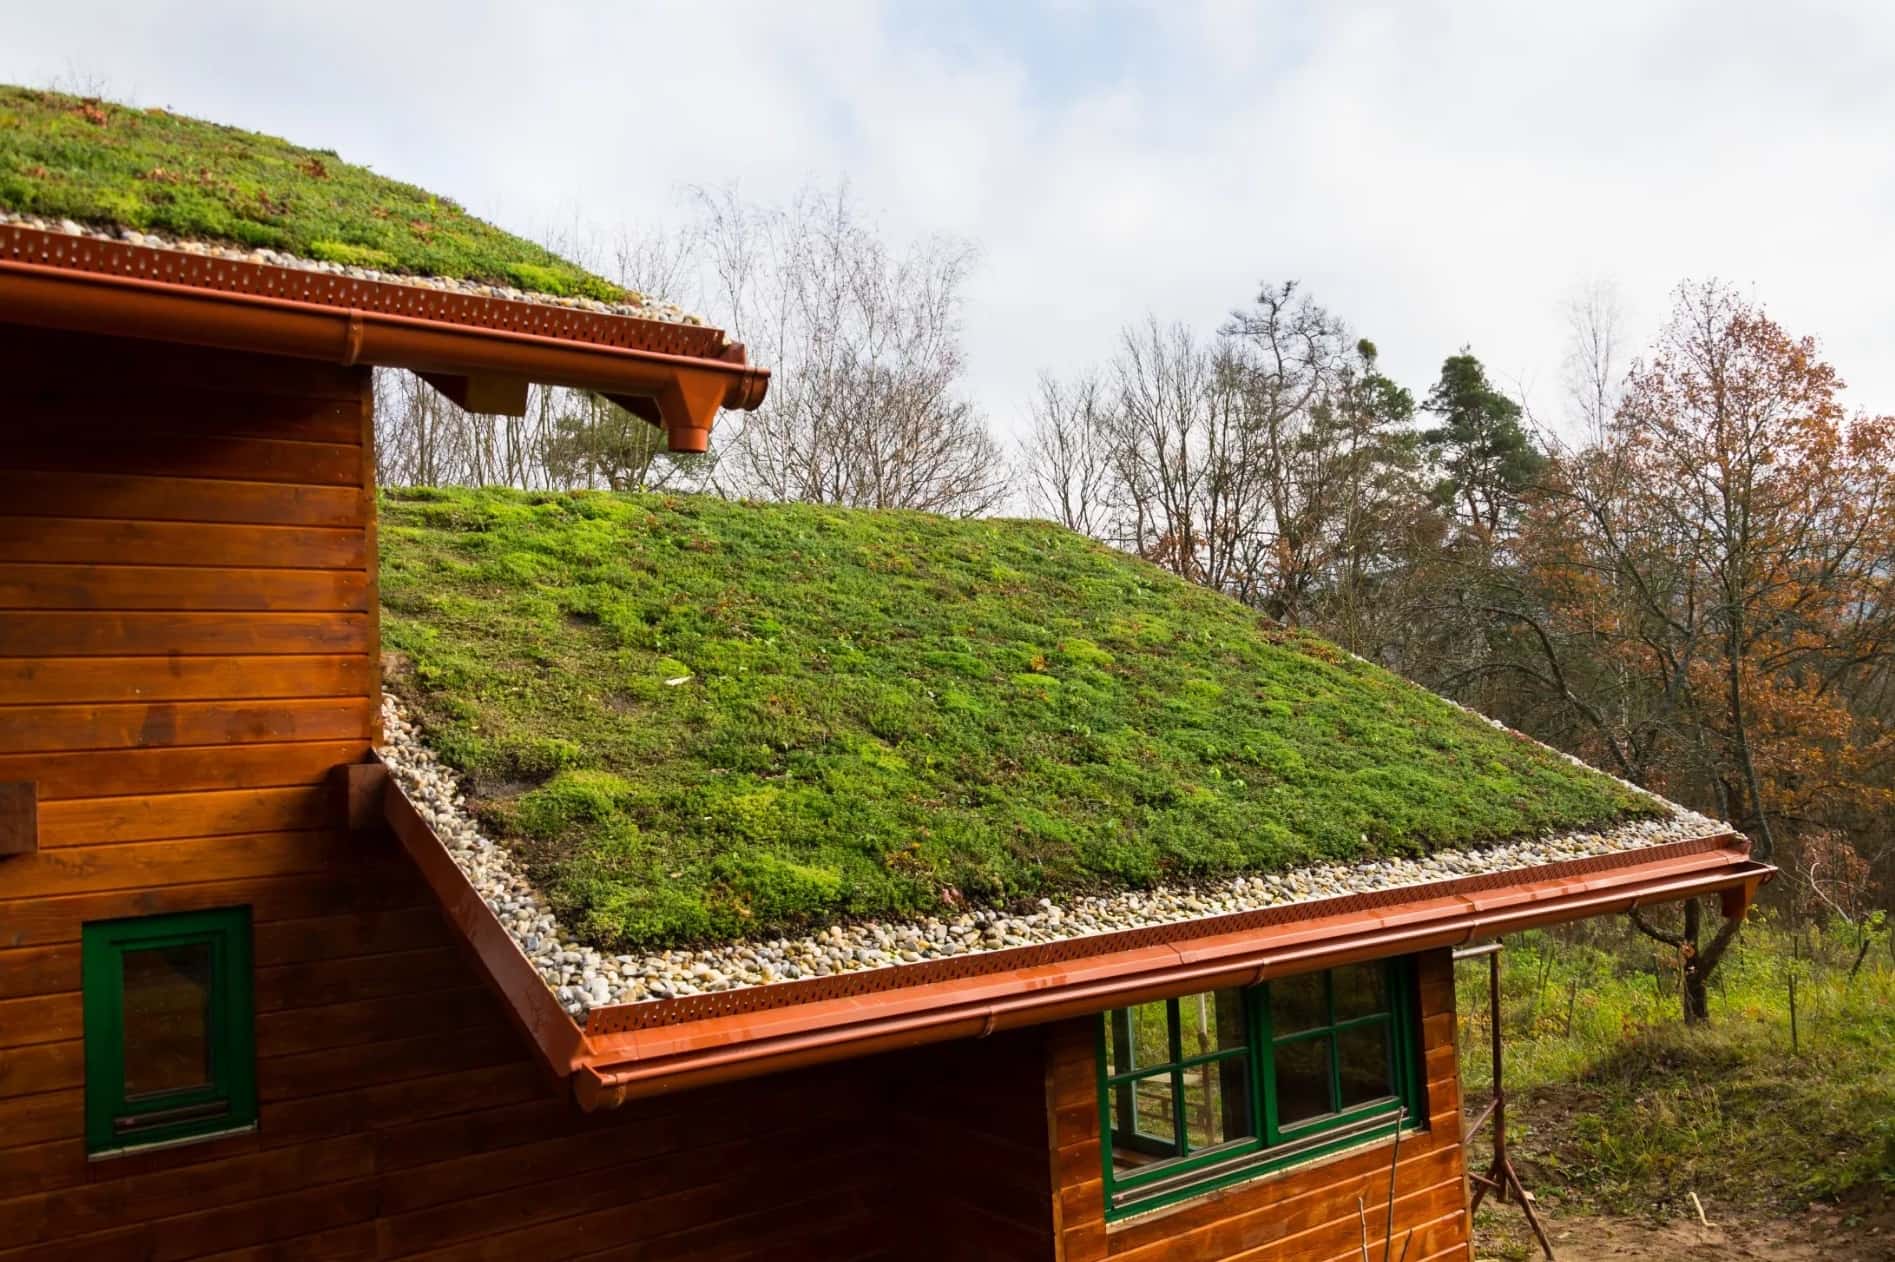
Having a roof covered in lush green moss may seem picturesque, but it can actually be a cause for concern. Moss on your roof holds moisture against the shingles, which can lead to the growth of mold and algae, causing damage to the roofing materials. Additionally, the roots of the moss can work their way into the crevices and seams of the roof, potentially resulting in leaks and further deterioration.
Removing moss from your roof is not only important for the overall health and lifespan of your roof, but it also helps to enhance the aesthetic appeal of your home. Fortunately, with the right tools and techniques, you can safely and effectively remove moss from your roof and prevent it from growing back.
However, before you start tackling the moss on your roof, it’s important to consider safety precautions. Walking on a moss-covered roof can be hazardous, as the surface can be slippery. It is highly recommended to utilize proper safety equipment, such as harnesses, non-slip shoes, and safety ropes, to minimize the risk of accidents.
In this article, we will guide you through the step-by-step process of removing moss from your roof and provide tips on preventing its regrowth. Whether you’re a homeowner looking to maintain your roof’s integrity or a DIY enthusiast ready to take on this project, we’ve got you covered.
Key Takeaways:
- Safely remove moss from your roof using proper tools and techniques, preventing damage and enhancing your home’s aesthetic appeal. Prioritize safety and follow the step-by-step process for effective moss removal.
- Prevent moss regrowth by maintaining proper ventilation, clearing gutters, and considering professional treatments. Take proactive measures to safeguard your roof and preserve the beauty and value of your home.
Read more: How To Remove Moss From Grass
Why Moss on Your Roof is a Problem
While moss may appear harmless, it can actually cause significant damage to your roof if left unchecked. Here are a few reasons why moss on your roof is a problem:
- Moisture Retention: Moss has the ability to hold moisture against the surface it grows on. When moss covers your roof, it traps moisture beneath its surface, preventing it from properly drying out. This constant moisture can lead to the deterioration of roofing materials over time.
- Rot and Decay: The trapped moisture caused by moss can lead to the rotting and decay of your roof’s materials. This includes the shingles, underlayment, and even the roof decking. As the moss grows and spreads, it can lift and loosen shingles, exposing your roof to potential water damage.
- Increased Weight: Moss can add significant weight to your roof, especially when it becomes saturated with water. The added weight can put stress on the structure of your roof, potentially leading to sagging or even collapse in extreme cases.
- Algae and Mold Growth: The damp environment created by moss on your roof is a prime breeding ground for algae and mold. These organisms can further deteriorate your roof and pose health risks to you and your family.
- Aesthetic Concerns: In addition to the potential structural damage, moss-covered roofs detract from the curb appeal of your home. It gives the impression of neglect and can lower the overall value of your property.
By understanding the problems associated with moss on your roof, you can take proactive steps to remove it and prevent its regrowth, ensuring the longevity and beauty of your home.
Safety Considerations Before Removing Moss
Before you start removing moss from your roof, it’s essential to prioritize safety. Working on a roof can be dangerous, especially when dealing with moss, which creates a slippery surface. Here are some safety considerations to keep in mind:
- Use Proper Safety Gear: Wear appropriate safety gear to protect yourself from potential falls and injuries. This includes sturdy shoes with good traction, a safety harness or rope, and a hard hat to shield your head from any falling debris.
- Choose the Right Weather Conditions: Avoid working on your roof during wet or windy weather conditions, as this increases the risk of accidents. Choose a dry and calm day for your moss removal project.
- Secure a Stable Ladder: Ensure that your ladder is in good condition and securely positioned on a level surface. Use ladder stabilizers or have someone hold the ladder for added stability and safety.
- Be Mindful of Electrical Hazards: Be cautious of nearby power lines when working on your roof. Keep a safe distance to avoid any electrical hazards, and if necessary, contact a professional to deal with moss near power lines.
- Work with a Partner: It’s always safer to have someone with you when working on a roof. A partner can assist with ladder stability, fetch tools, and provide help in case of an emergency.
- Take Breaks and Hydrate: Roof work can be physically demanding, so make sure to take regular breaks and stay hydrated. This will help you maintain focus and prevent fatigue-related accidents.
Remember, safety should always be your top priority when working at heights. If at any point you feel uncomfortable or unsure about the task, it’s best to consult a professional roofing contractor who has the expertise and equipment to handle the job safely.
By following these safety considerations, you can minimize the risk of accidents and ensure a safer working environment while removing moss from your roof.
Tools and Materials You’ll Need
Now that you’re aware of the safety considerations, let’s gather the necessary tools and materials to effectively remove moss from your roof. Here’s a list of what you’ll need:
Tools:
- Safety harness or rope
- Ladder
- Garden hose
- Roof brush with stiff bristles
- Pressure washer (optional)
- Bucket
- Garden sprayer
- Gloves
- Goggles
- Dust mask
Read more: How To Stop Google Home From Talking Back
Materials:
- Moss killer or roof cleaner
- Water
- Bleach (optional)
- Biodegradable soap
- Moss scraper or garden trowel
- Roof sealant or preservative (optional)
- Protective covering for plants and landscaping (if necessary)
It’s important to note that depending on the size and condition of your roof, you may need additional tools or materials. Assess the requirements of your specific project and adjust the list accordingly.
When choosing a moss killer or roof cleaner, opt for environmentally friendly options that are safe for your roof and surrounding vegetation. The use of bleach is optional and can be effective in eliminating stubborn moss; however, take precautions to protect your eyes, skin, and plants from its potentially harmful effects. Biodegradable soap can also be used in the cleaning process to remove dirt and grime alongside moss.
Additionally, make sure to have a moss scraper or garden trowel on hand for removing any stubborn moss patches. The use of a pressure washer can be considered for larger areas, but exercise caution to avoid damaging the roof surface.
If you plan to apply a roof sealant or preservative after removing the moss, ensure you have the appropriate product and follow the manufacturer’s instructions for application.
Lastly, to protect any plants or landscaping around your home, consider using a tarp or other protective covering to prevent any damage from the cleaning solution or debris.
Gathering the necessary tools and materials before starting the moss removal process will ensure a smooth and efficient project.
Step 1: Cleaning the Roof Surface
Before you can effectively remove moss from your roof, it’s crucial to start with a clean surface. Here’s a step-by-step guide on how to clean the roof surface:
- Prepare the area: Clear any debris or loose branches from the roof surface using a roof brush or broom. This will allow for better access and visibility during the cleaning process.
- Protect plants and landscaping: If you have plants, shrubs, or landscaping near your home, cover them with a tarp or plastic sheeting to shield them from any cleaning solution or debris that may run off the roof.
- Wet the roof: Using a garden hose or a pressure washer on a low setting, wet the roof surface thoroughly. This helps to dampen the moss and makes it easier to remove later on.
- Mix a cleaning solution: In a bucket or garden sprayer, mix a solution of water and a roof cleaner or moss killer. Follow the manufacturer’s instructions for the appropriate dilution ratio.
- Apply the cleaning solution: Working in small sections, apply the cleaning solution to the roof surface using a garden sprayer or brush. Ensure even coverage and be careful not to oversaturate the roof.
- Scrub the roof: Using a roof brush with stiff bristles, gently scrub the roof surface to loosen any dirt, moss, or algae. Work in a back-and-forth motion, applying moderate pressure to remove stubborn buildup.
- Rinse off the cleaning solution: Once you’ve scrubbed the roof, rinse off the cleaning solution with a garden hose or pressure washer on a low setting. Start from the top and work your way down, ensuring all traces of the cleaning solution are thoroughly rinsed away.
- Inspect for remaining moss: After the roof has dried, inspect the surface for any lingering patches of moss. Note the areas that may require further attention in the next steps.
By following these steps, you will have effectively cleaned the roof surface in preparation for the next stage of removing the moss. Cleaning the roof surface not only aids in the removal of moss but also helps to improve the overall appearance of your roof.
Step 2: Applying a Moss Killer
Once you have cleaned the roof surface, it’s time to apply a moss killer to eliminate any remaining moss and prevent its regrowth. Here’s a step-by-step guide on how to apply a moss killer:
- Choose a moss killer: Select a moss killer specifically designed for roofs. Look for products that are effective in killing and preventing the regrowth of moss. Follow the manufacturer’s instructions regarding dilution, application methods, and safety precautions.
- Mix the moss killer solution: In a bucket or garden sprayer, mix the moss killer solution according to the manufacturer’s instructions. Dilute the product with water as directed.
- Apply the moss killer: Using a garden sprayer, evenly apply the moss killer solution to the roof surface. Start from the top and work your way down, ensuring thorough coverage of the affected areas.
- Pay attention to problem spots: Focus on areas where moss growth is particularly dense or persistent. Apply a little extra moss killer to these spots to ensure effective treatment.
- Allow the moss killer to work: Leave the moss killer solution on the roof surface for the recommended time specified by the product’s instructions. This allows the moss killer to penetrate and kill the moss effectively.
- Avoid direct sunlight: If possible, try to apply the moss killer on a cloudy day or avoid direct sunlight. Direct sunlight can cause the moss killer to dry up too quickly, reducing its effectiveness.
- Follow safety precautions: Wear protective gloves, goggles, and a dust mask when applying the moss killer to protect yourself from any potential chemical irritants.
- Dispose of the solution properly: After applying the moss killer, dispose of any leftover solution in accordance with local regulations. Avoid draining it directly into storm drains or areas where it can harm the environment.
Applying a moss killer is an important step in the moss removal process, as it helps to eliminate the moss and prevents its regrowth. Follow the manufacturer’s instructions carefully and take the necessary safety precautions to ensure a successful treatment.
Regularly trim back overhanging tree branches to allow more sunlight to reach your roof, as moss thrives in shady, damp areas.
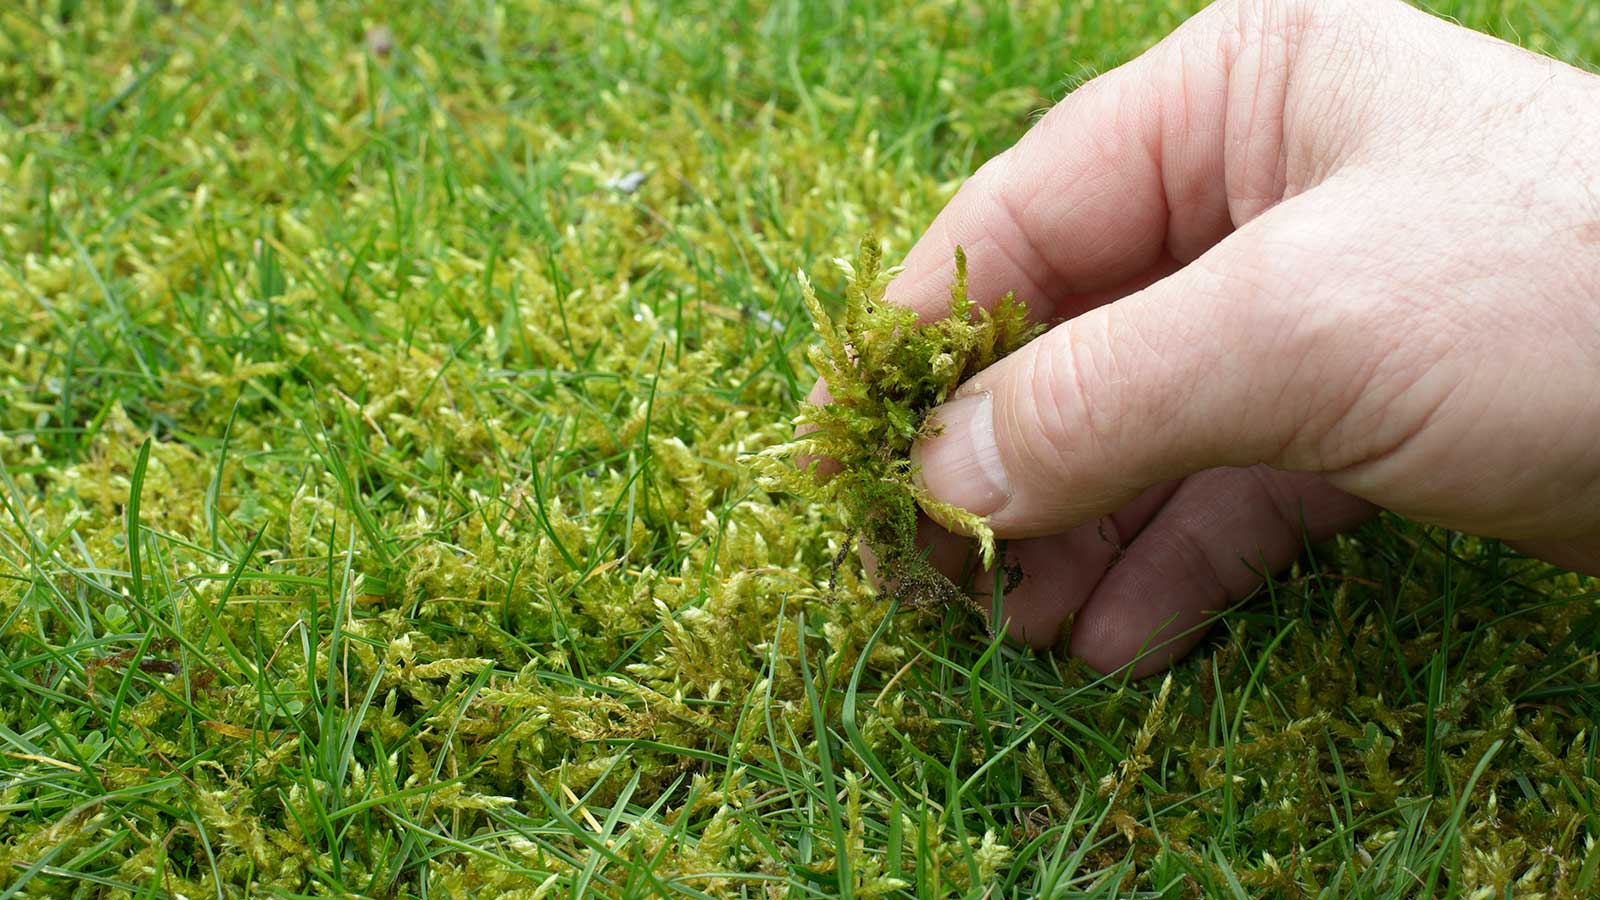
Step 3: Removing Dead Moss
After the moss killer has had time to work, it’s time to remove the dead moss from your roof. Here’s a step-by-step guide on how to effectively remove dead moss:
- Prepare the roof surface: Ensure that the roof surface is dry before attempting to remove the dead moss. This will make the process easier and prevent any potential slipping hazards.
- Equip yourself with the right tools: Use a moss scraper, garden trowel, or a roof brush with stiff bristles to gently dislodge the dead moss from the roof. Avoid using metal tools that can damage the roof surface.
- Work in small sections: Divide the roof into manageable sections and focus on one area at a time. This allows you to clean each section thoroughly and prevents the dead moss from spreading to other areas.
- Scrape horizontally: Start at the top of the roof and scrape horizontally using gentle, sweeping motions. Be careful not to scrape too forcefully, as this can damage the shingles or other roofing materials.
- Collect the debris: As you remove the dead moss, collect it in a bucket or bag to prevent it from falling back onto the roof or the ground. This makes clean-up easier and reduces the risk of moss regrowth in the future.
- Dispose of the debris: Properly dispose of the collected moss debris in accordance with local regulations. You can usually compost the moss or dispose of it as green waste if allowed in your area.
- Inspect for any remaining moss: After removing the dead moss, carefully inspect the roof surface for any remaining patches. Use a moss scraper or brush to remove any lingering moss that may have been missed during the initial cleaning.
- Regularly maintain your roof: To prevent future moss growth, make it a habit to regularly inspect and maintain your roof. Clear any debris, trim overhanging tree branches, and keep the roof surface clean to discourage moss from taking hold.
By following these steps, you will effectively remove the dead moss from your roof. Remember to work carefully and avoid damaging the roof surface in the process. Proper removal of dead moss is essential to prevent further damage and promote the health and longevity of your roof.
Read more: How To Remove Shingles From Roof
Step 4: Preventing Moss from Growing Back
After removing the moss from your roof, it’s important to take preventative measures to inhibit its regrowth. Here’s a step-by-step guide on how to prevent moss from growing back:
- Trim overhanging tree branches: Moss thrives in shady and moist environments, so it’s essential to keep your roof well-ventilated and exposed to sunlight. Trim any branches that hang over your roof to minimize shade and allow sunlight to reach the roof surface.
- Clean gutters and downspouts: Clogged gutters can lead to water accumulation, which creates a favorable environment for moss growth. Regularly clean your gutters and downspouts, removing any debris or leaves that can block the flow of water.
- Install zinc or copper strips: Consider installing zinc or copper strips along the ridgeline of your roof. When it rains, these metals release trace amounts of chemicals that inhibit moss growth. Over time, they create a protective barrier that keeps the roof surface moss-free.
- Apply a moss inhibitor: Use a moss inhibitor product specifically designed for roofs. These inhibitors can be applied after moss removal and help to prevent moss from returning. Follow the manufacturer’s instructions for application and reapplication intervals.
- Maintain proper air circulation: Ensure that your attic or roof space is adequately ventilated. Good air circulation helps to keep the roof surface dry and discourages moss growth. Consider adding ridge vents, soffit vents, or attic fans if your roof lacks proper ventilation.
- Regularly inspect your roof: Check your roof periodically for any signs of moss regrowth. Catching and addressing moss growth early can prevent it from spreading and causing extensive damage. If you notice any new patches of moss, promptly remove it using the appropriate methods.
- Consider professional treatments: If moss growth persists despite preventative measures, it may be beneficial to consult a professional roofing contractor. They can apply specialized treatments and provide expert advice on long-term moss prevention strategies specific to your roof.
By following these preventative steps, you can significantly reduce the likelihood of moss regrowth on your roof. Regular maintenance and vigilance are key to safeguarding your roof against moss and ensuring its longevity.
Conclusion
Removing moss from your roof is crucial for maintaining its integrity, preventing further damage, and enhancing the overall appearance of your home. By following the steps outlined in this guide, you can effectively remove moss from your roof and take preventative measures to inhibit its regrowth.
Start by understanding why moss on your roof is a problem, as it holds moisture, promotes rot and decay, increases weight, and negatively affects the aesthetics of your home. Safety should be your top priority throughout the process, so take the necessary precautions before stepping onto your roof.
Gather the appropriate tools and materials to clean the roof surface thoroughly. Apply a moss killer to eliminate any remaining moss and prevent future growth. Remove the dead moss carefully using the right tools, and inspect the roof surface for any remaining patches.
To prevent moss from growing back, keep your roof well-ventilated, clear any debris from gutters and downspouts, and consider installing zinc or copper strips. Apply moss inhibitors and maintain proper air circulation in your attic or roof space. Regularly inspect your roof and promptly address any new growth.
Remember, if you’re unsure or uncomfortable with the moss removal process, it’s always wise to consult a professional roofing contractor who can provide expert guidance and assistance.
Maintaining a moss-free roof not only helps to protect your investment but also preserves the beauty and value of your home. By following the steps in this guide and staying vigilant in your roof maintenance efforts, you can enjoy a moss-free and well-protected roof for years to come.
Frequently Asked Questions about How To Remove Moss From Your Roof And Stop It From Growing Back
Was this page helpful?
At Storables.com, we guarantee accurate and reliable information. Our content, validated by Expert Board Contributors, is crafted following stringent Editorial Policies. We're committed to providing you with well-researched, expert-backed insights for all your informational needs.


0 thoughts on “How To Remove Moss From Your Roof And Stop It From Growing Back”