Home>Articles>How To Remove And Replace Old Windows With Common Tools

Articles
How To Remove And Replace Old Windows With Common Tools
Modified: October 18, 2024
Learn how to remove and replace old windows with common tools in this detailed article. Increase your home's energy efficiency and give it a fresh look!
(Many of the links in this article redirect to a specific reviewed product. Your purchase of these products through affiliate links helps to generate commission for Storables.com, at no extra cost. Learn more)
Introduction
Welcome to our comprehensive guide on how to remove and replace old windows with common tools. If you’re looking to upgrade your windows or if you have damaged or outdated ones that need replacement, this article is for you. Replacing windows can not only improve the aesthetics of your home but also enhance energy efficiency and reduce outside noise.
Before we dive into the step-by-step process, it’s important to note that window replacement can be a challenging task that requires careful planning and attention to detail. However, with the right tools, materials, and guidance, you can successfully tackle this project on your own.
Throughout this guide, we will provide you with detailed instructions and tips to help you remove your old windows and install new ones confidently. Furthermore, we will discuss the safety precautions you should take, as well as the tools you’ll need to complete the job.
So, if you’re ready to embark on this home improvement journey, let’s get started!
Key Takeaways:
- Prioritize safety by wearing protective gear, working with a partner, and following manufacturer’s guidelines. Properly measuring, ordering, and preparing the work area are crucial for a successful window replacement project.
- From removing old windows to sealing and insulating new ones, attention to detail and thorough testing ensure optimal performance. Completing the project with a tidy cleanup and disposal process sets the stage for enjoying the benefits of newly installed windows.
Safety Precautions
Before you begin any window removal and replacement project, it’s crucial to prioritize safety. Working with tools and handling glass can potentially be hazardous, so taking the necessary precautions is essential to protect yourself and others involved. Here are some safety tips to keep in mind:
- Wear appropriate safety gear: Make sure to wear safety goggles, gloves, and protective clothing to shield yourself from any potential injuries or flying debris.
- Use a sturdy ladder: If you’re working on upper-level windows, use a high-quality ladder that is properly stabilized and placed on a secure surface. Always follow proper ladder safety guidelines.
- Work with a partner: Window removal and installation can be physically demanding and require assistance. Enlist the help of a friend or family member to ensure a smoother and safer process.
- Turn off power sources: If your windows are equipped with electrical components, such as built-in blinds or motors, ensure that you turn off the power supply before starting the removal process. This will reduce the risk of electric shock.
- Be cautious with glass: Broken or cracked glass can cause serious injuries. Handle glass with care during removal and disposal. Wear thick gloves and eye protection when dealing with broken glass shards.
- Use proper lifting techniques: Windows can be heavy, so it’s important to remember proper lifting techniques. Bend your knees and lift with your legs, rather than your back, to avoid strain or injury.
- Follow manufacturer’s guidelines: Always refer to the window manufacturer’s installation instructions and guidelines. Each window may have specific requirements and recommendations for safe and proper installation.
- Take note of building codes: Familiarize yourself with local building codes and regulations regarding window replacements. Adhere to these codes to ensure compliance and safety.
- Take breaks when needed: Window replacement can be physically demanding. Take breaks as necessary to avoid fatigue and burnout, especially if the project spans multiple days.
- Be mindful of weather conditions: Avoid working in extreme weather conditions, such as high winds or heavy rain. These conditions can pose additional risks during window removal or installation.
By keeping these safety precautions in mind throughout your project, you can minimize the risk of accidents and complete your window replacement with confidence and peace of mind.
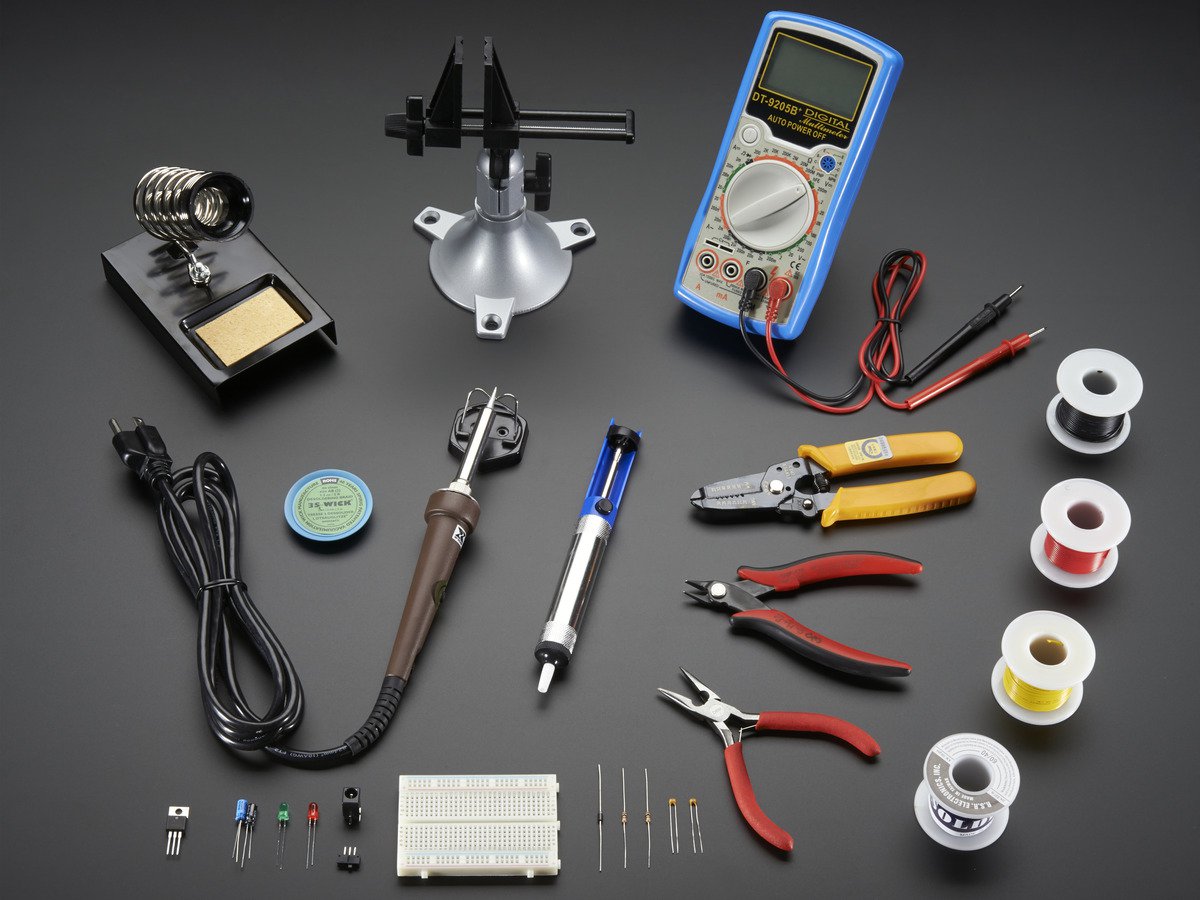
Step 1: Gather Necessary Tools
Before you begin the window removal and replacement process, it’s important to gather all the necessary tools. Having the right tools on hand will make the job easier and more efficient. Here are the common tools you’ll need:
- Measuring tape: A measuring tape will be essential for accurately measuring your windows and ordering the correct size replacements.
- Utility knife: A utility knife will come in handy for cutting through any existing caulking or seals around the windows.
- Pry bar: A pry bar will assist you in removing trim, sashes, and any other components holding the old window in place.
- Screwdriver: Depending on the type of windows you have, you may need a screwdriver to remove screws and hardware.
- Hammer: A hammer is useful for tapping in wedges or nails, as well as gently removing any stubborn parts of the old window.
- Caulk gun: A caulking gun is necessary for applying new caulk or sealant around the replacement window to ensure a tight and weatherproof seal.
- Putty knife: A putty knife is helpful for removing old putty or adhesive from the window frame.
- Window cleaner: Use a quality window cleaner and microfiber cloths to clean the window frame and glass before installation.
- Level: A level will help ensure that the replacement window is installed straight and level.
- Safety goggles and gloves: Protect your eyes and hands by wearing safety goggles and gloves throughout the process.
It’s recommended to have these tools readily available before you start removing your old windows. This will save you time and prevent any unnecessary interruptions or delays during the installation process.
Step 2: Measure and Order Replacement Windows
Accurate measurements are crucial when it comes to ordering replacement windows. Before you can proceed with the installation, you’ll need to measure the existing window openings to ensure that you order the correct size replacements. Follow these steps to measure your windows:
- Measure the width: Measure the width of the window opening at the top, middle, and bottom. Take the smallest measurement as your width.
- Measure the height: Measure the height of the window opening on the left, right, and center. Again, take the smallest measurement as your height.
- Measure the depth: Measure the depth of the window jamb by measuring from the interior trim to the exterior trim. This measurement will help ensure that your replacement windows fit properly within the existing frame.
Once you have obtained accurate measurements, it’s time to order your replacement windows. Contact window retailers or manufacturers to inquire about available options and provide them with the measurements you’ve taken. They can typically assist you in selecting the appropriate window style and material based on your needs and preferences.
It’s crucial to double-check all measurements and specifications before finalizing your order to avoid any sizing errors. Window manufacturers often have specific guidelines on how to measure for replacement windows, so be sure to follow their instructions for optimal results.
Additionally, when ordering replacement windows, take into consideration any desired features, such as energy-efficient glass or special coatings that can enhance insulation and reduce noise transmission. These add-ons can provide long-term benefits and savings.
After placing your order, confirm the estimated delivery date so you can plan your window replacement project accordingly. Having the replacement windows on hand before starting the removal will prevent unnecessary delays in the installation process.
By taking accurate measurements and ordering the correct replacement windows, you’ll ensure a seamless and successful installation process.
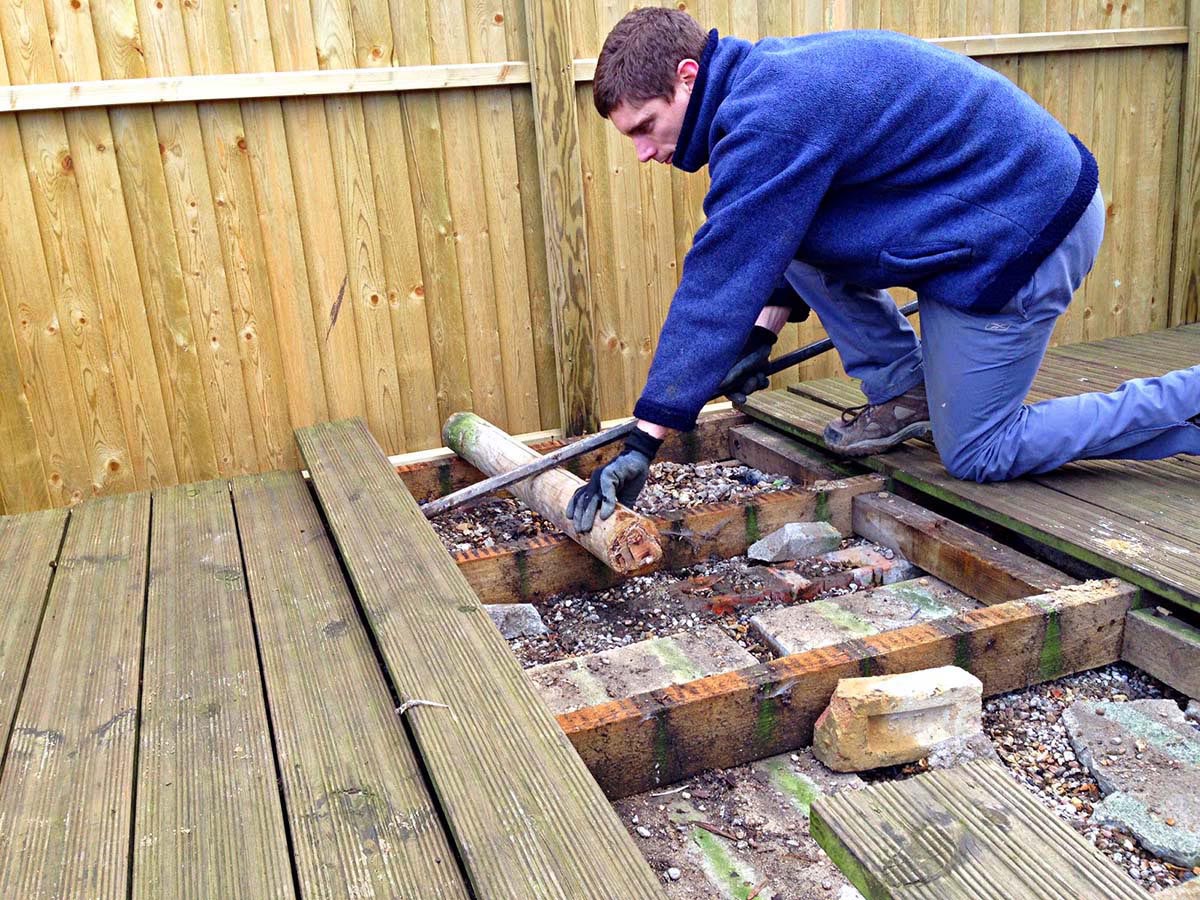
Step 3: Prepare the Work Area
Before you start removing the old windows, it’s important to prepare the work area to ensure a smooth and efficient installation process. Follow these steps to get your work area ready:
- Clean the surroundings: Clear the area around the windows both inside and outside. Remove any furniture, curtains, blinds, or obstacles that may obstruct your access to the windows. This will provide you with ample space to work and move around.
- Protect the floor: Lay down drop cloths or plastic sheeting to protect the floor from any dirt, debris, or accidental spills during the window replacement process. This will make cleanup much easier.
- Cover adjacent surfaces: Use painter’s tape and plastic sheeting to cover adjacent walls, trim, and surfaces that are near the windows. This will prevent any damage or splattering of debris or paint during the installation.
- Ensure proper ventilation: Provide adequate ventilation by opening windows in other rooms or using fans. This will help to dissipate any dust, fumes, or odors that may be generated during the removal and installation process.
- Secure pets and children: Keep pets and children away from the work area to ensure their safety and prevent any accidental injuries.
- Check for lead paint: If your home was built before 1978, there is a possibility of lead-based paint. Consult with a professional to test for lead and take the necessary precautions if it is present.
- Organize tools and materials: Set up a designated area to keep your tools and materials within easy reach. This will improve efficiency and prevent any unnecessary delays or frustration during the installation process.
Preparing the work area before starting the window replacement project will help you work more efficiently and protect your home from potential damage. By taking the time to complete these preparations, you’ll create a safe and organized space to carry out the removal and installation with ease.
Read more: How To Remove Old Landscaping
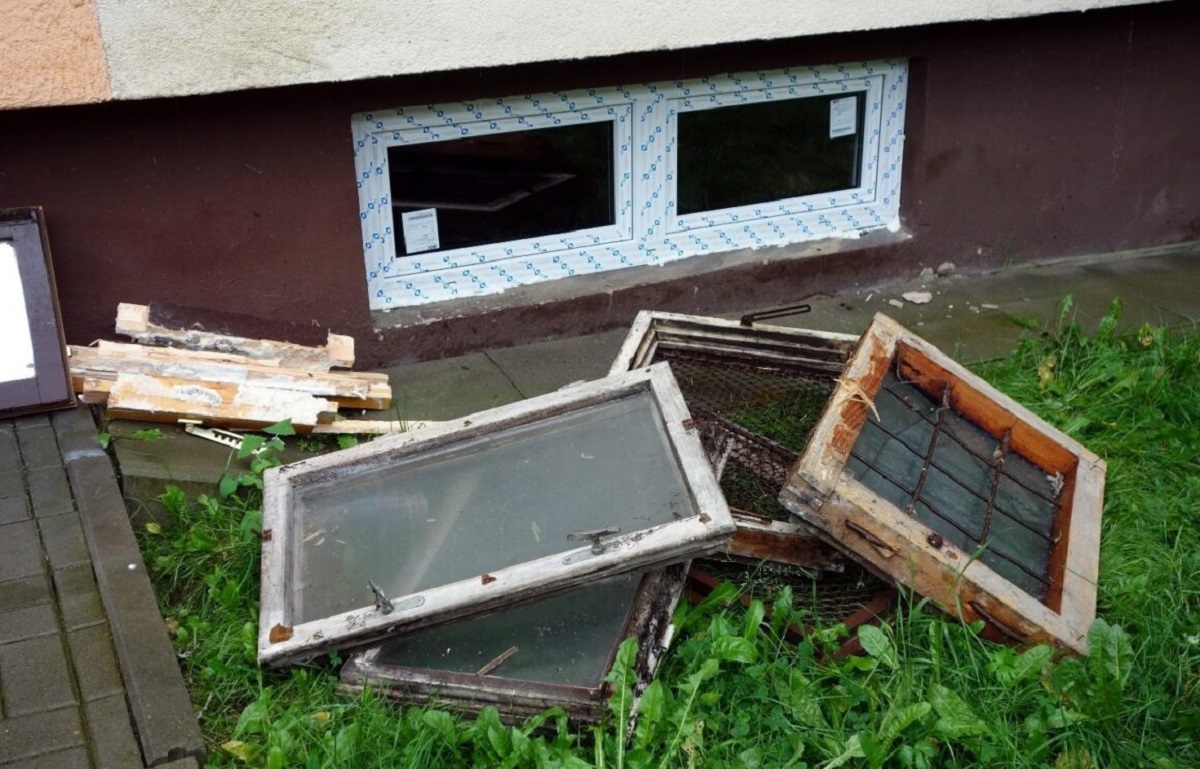
Step 4: Remove Old Windows
Now that the work area is prepared, it’s time to remove the old windows. Follow these steps to safely and effectively remove the old windows:
- Inspect the window: Begin by examining the existing window for any signs of damage or rot. Take note of any areas that may require repair or replacement before proceeding further.
- Remove the window coverings: Take down any blinds, curtains, or window coverings to provide clear access to the window frame.
- Remove the trim: Using a pry bar and hammer, carefully remove the window trim by inserting the pry bar between the trim and the wall. Gently pry the trim away from the wall to release it from the nails or adhesive securing it in place. Set the trim aside for reuse or replacement.
- Detach the sashes or panels: If your windows have sashes, remove them by lifting them up or sliding them sideways, depending on the window type. Some windows may have removable glass panels that need to be unscrewed or detached.
- Loosen nails or screws: Use a pry bar or screwdriver to loosen any nails, screws, or fasteners securing the window frame to the wall. Take caution not to damage the surrounding wall or frame during this process.
- Gently remove the window frame: With the help of a partner, carefully lift and remove the old window frame from the opening. Take your time to ensure you don’t strain yourself or damage the surrounding area.
- Clean the window opening: Remove any loose debris, nails, or old caulking from the window opening using a vacuum or brush. Clean the opening thoroughly to prepare it for the installation of the new window.
- Inspect for any necessary repairs: Take this opportunity to inspect the window opening for any signs of damage or rot. Repair any issues before proceeding with the installation of the new window.
It’s important to handle the old window and its components with care during removal to prevent any injuries or damage. Remember to wear safety goggles and gloves throughout this process.
Once the old window and frame have been removed, you’re now ready to move on to the next step: installing the new windows.
When removing old windows, be sure to wear gloves and eye protection to protect yourself from any sharp edges or debris.
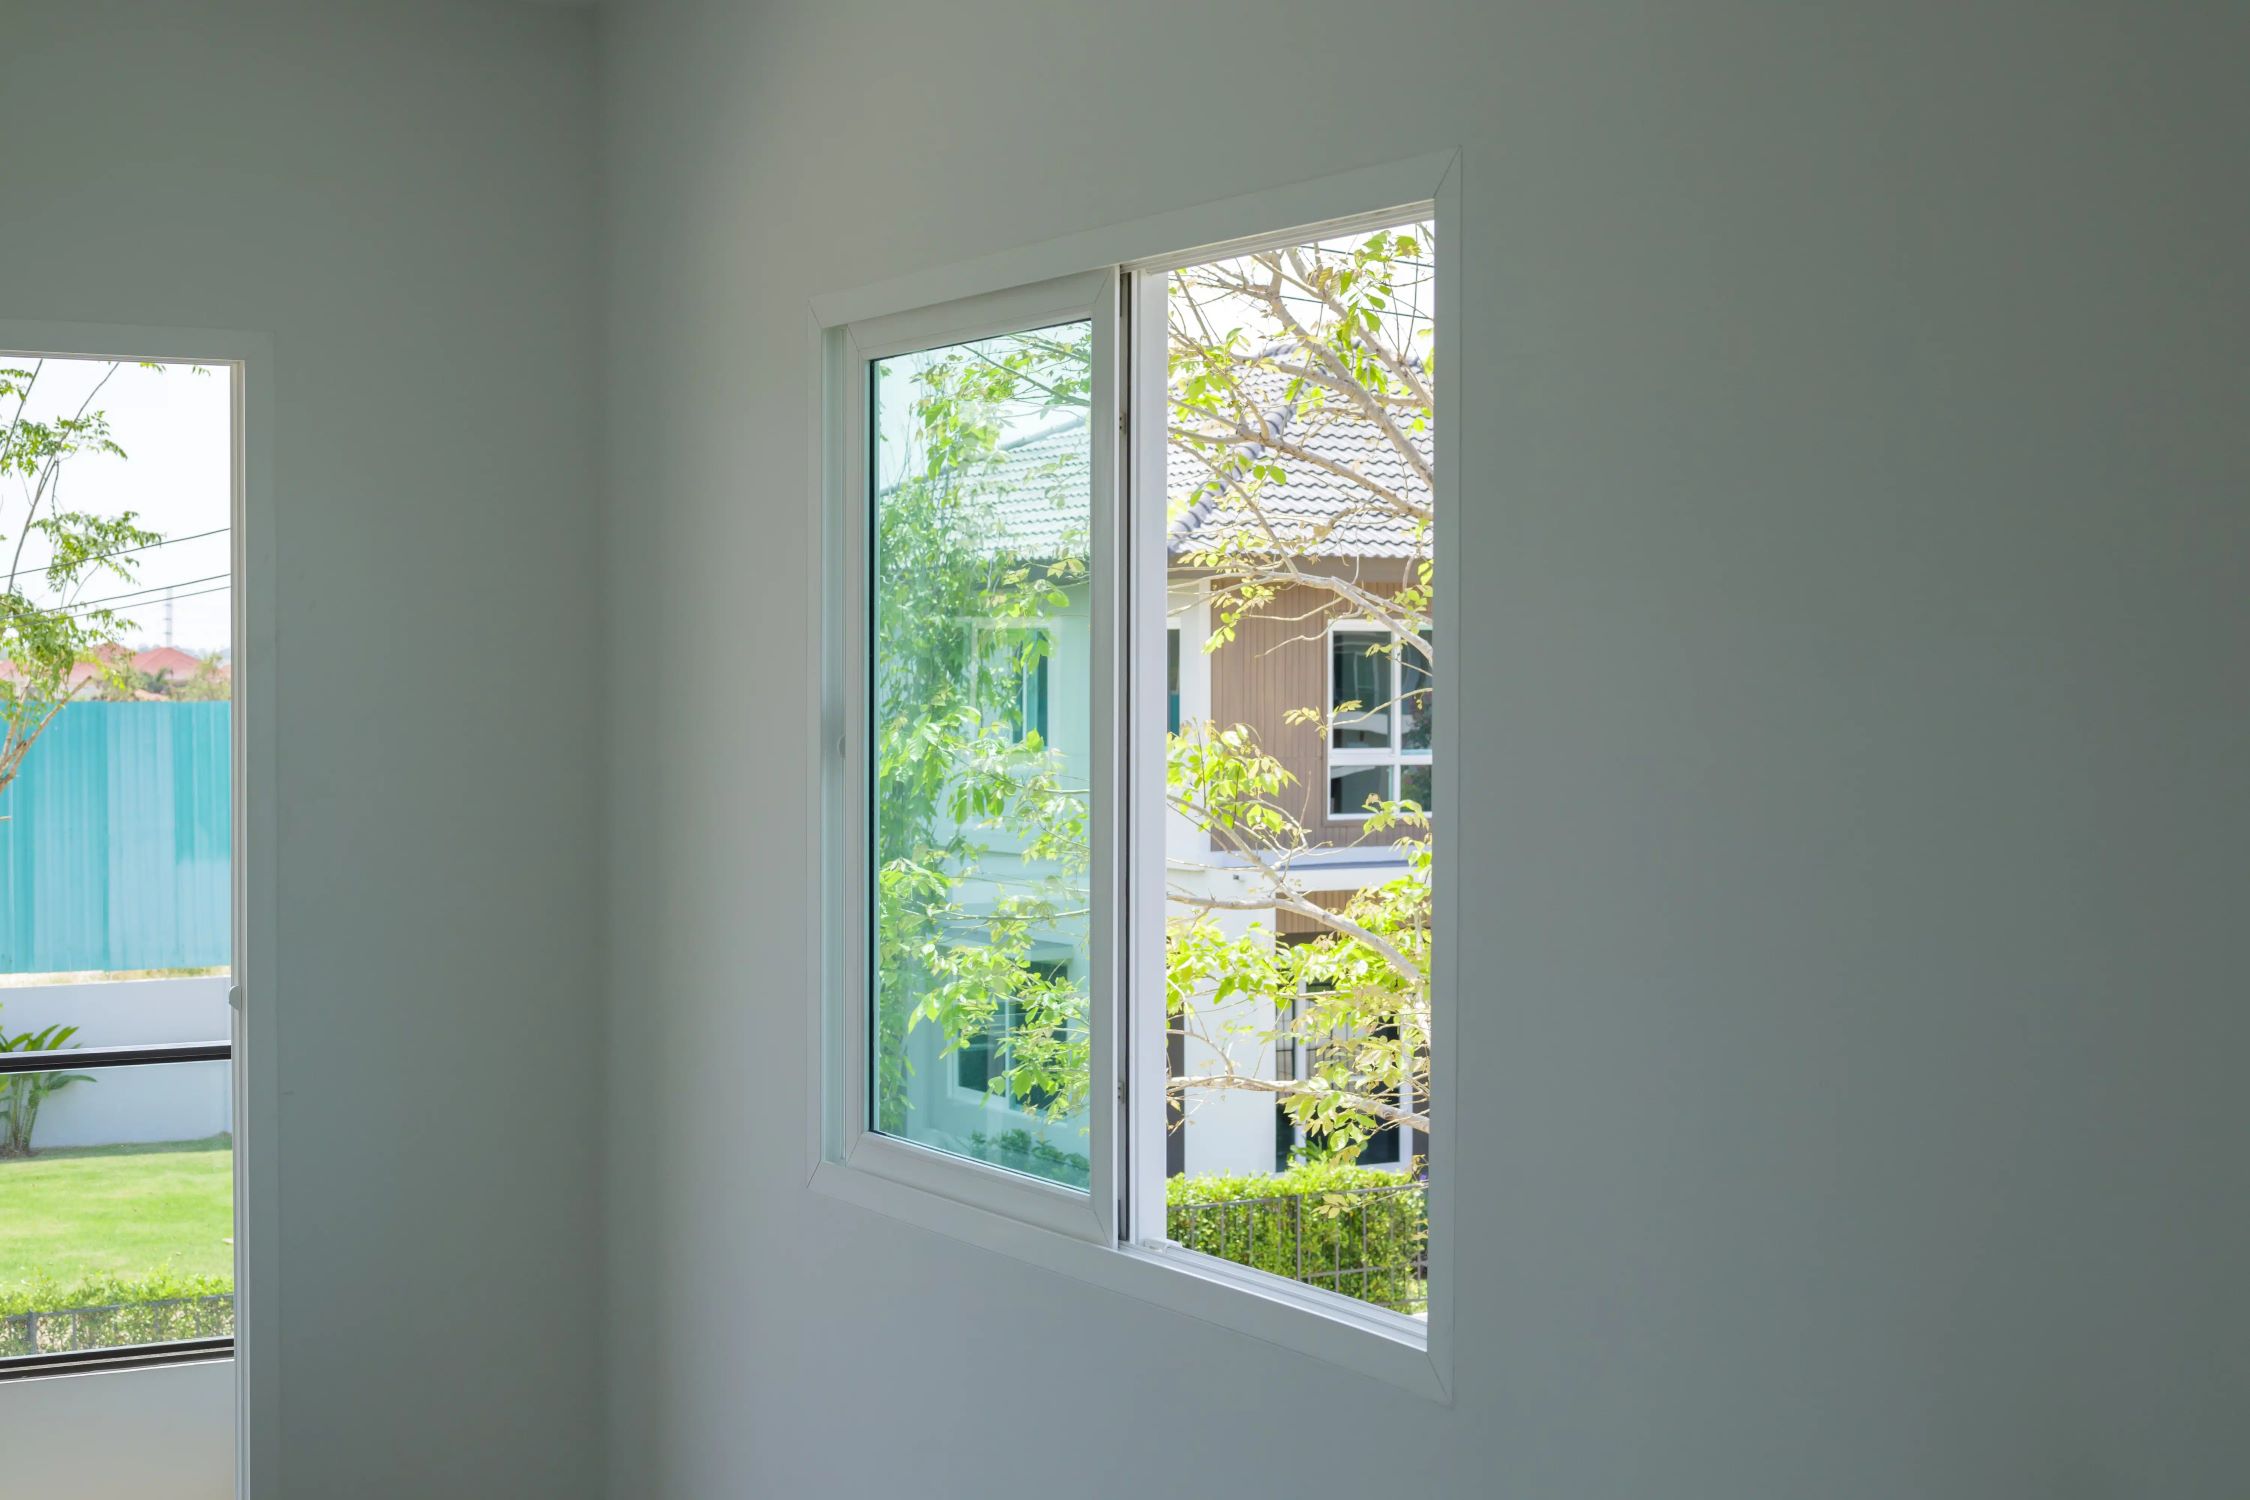
Step 5: Install New Windows
With the old windows removed and the window opening prepped, it’s time to install the new windows. Follow these steps to ensure a successful installation:
- Prepare the window opening: Clean the window opening thoroughly and make sure it is free from debris. Apply a bead of caulk around the inside perimeter of the opening to create a moisture barrier.
- Position the new window: With the help of a partner, carefully lift the new window into the opening. Position the window so that it is centered and level within the opening.
- Secure the window: Screw the window into place using the pre-drilled holes or brackets provided by the manufacturer. Ensure the window is plumb and level as you secure it to the opening.
- Check for proper operation: Open and close the window to ensure proper operation. Make any necessary adjustments to the installation if the window does not operate smoothly.
- Insulate around the window: Apply a layer of insulating foam or fiberglass insulation around the perimeter of the window frame. This will help improve energy efficiency and provide additional insulation.
- Seal around the window: Apply a bead of caulk around the exterior edges of the window where it meets the siding or exterior finish. This will create a weatherproof seal and prevent any water or air infiltration.
- Install exterior trim: If needed, install new exterior trim around the window to provide a finished look. Secure the trim using appropriate screws or nails and caulk the edges for added protection.
- Install interior trim: Finally, install the interior trim that was removed earlier. Nail or screw it back into place and ensure it is aligned and securely attached.
It’s important to follow the manufacturer’s installation instructions and guidelines for your specific window model. Each window may have slightly different installation requirements, so be sure to refer to the provided documentation.
Take your time during the installation process to ensure the window is properly aligned and securely in place. A well-installed window will provide optimal performance and longevity.
Once the new window is installed, you can move on to the next step: sealing and insulating the windows.
Step 6: Seal and Insulate the Windows
After installing the new windows, it’s important to seal and insulate them properly to ensure maximum energy efficiency and weatherproofing. Follow these steps to seal and insulate your windows:
- Apply weatherstripping: Weatherstripping is essential for creating a tight seal between the window frame and sash. Apply self-adhesive weatherstripping along the edges of the movable parts of the window to prevent drafts and improve energy efficiency.
- Seal gaps with caulk: Inspect the exterior and interior of the window for any gaps or cracks. Use a high-quality exterior caulk to fill in these gaps, ensuring a complete seal between the window frame and the wall. Smooth the caulk with a caulking tool or your finger for a neat finish.
- Insulate with expanding foam: If there are any significant gaps or spaces around the window frame, you can use expanding foam insulation. Carefully apply the foam in small amounts to fill the gaps, allowing it to expand and harden. Trim off any excess foam once it has fully cured.
- Install window film: Consider applying window film to further improve insulation and reduce heat transfer. Window film can block harmful UV rays and provide additional insulation during the colder months. Follow the manufacturer’s instructions for proper installation.
- Check for proper operation: After sealing and insulating the windows, test their operation to ensure there are no restrictions or interference caused by the weatherstripping or caulking. Make any necessary adjustments to ensure smooth opening and closing.
Properly sealing and insulating your windows not only helps to keep your home comfortable but also reduces your energy consumption and lowers utility bills. It also prevents outside elements from entering your home, such as dust, allergens, and noise.
Take the time to carefully seal and insulate each window in your home for the best results. This will ensure that your new windows perform optimally and provide long-lasting benefits.
With the windows sealed and insulated, you’re almost done. The next step is to test and adjust the windows.
Step 7: Test and Adjust the Windows
After sealing and insulating the windows, it’s important to test and adjust them to ensure proper functioning and a secure fit. Follow these steps to test and adjust your newly installed windows:
- Open and close the windows: Test each window by opening and closing it several times. Pay attention to any sticking, misalignment, or difficulty in operation. Note any issues that need to be addressed.
- Check for gaps: Inspect the windows for any noticeable gaps when closed. Gaps can indicate a poor fit or improper installation. If you notice gaps, adjust the window or consult a professional for assistance.
- Test the locks and latches: Ensure that the locks and latches on your windows are functioning properly. They should securely hold the windows in place when closed and provide a tight seal.
- Check for drafts: On a windy day, hold a candle or lighter near the window edges and sashes. If you notice any flickering or movement of the flame, it indicates the presence of drafts. Seal any gaps or cracks with additional caulk or weatherstripping.
- Inspect the window operation: Test the window’s tilt, slide, or crank mechanisms, depending on the type of window you have. Ensure that they operate smoothly and without any obstructions.
- Adjust as needed: If you encounter any issues during the testing process, such as sticking, misalignment, or poor operation, consult the manufacturer’s instructions or contact a professional to help with adjustments. Proper window operation is essential for optimal performance.
By thoroughly testing and adjusting your windows, you can address any issues early on and ensure that they function properly. This step is crucial to guaranteeing your windows provide the desired comfort, security, and energy efficiency for your home.
In the next and final step, we will discuss cleaning up and disposing of old materials to complete the window replacement project.
Read more: How To Replace Plumbing In Old House
Step 8: Clean Up and Dispose of Old Materials
Congratulations on completing your window replacement project! However, before you can fully enjoy your new windows, it’s important to clean up and properly dispose of the old materials. Follow these steps to ensure a tidy finish:
- Clean the work area: Start by cleaning up any debris, dust, or dirt that accumulated during the installation process. Use a broom, vacuum, or a damp cloth to wipe down surfaces and remove any remaining particles.
- Dispose of old windows and frames: If the old windows are still in good condition, you may consider donating them to a charity or building materials reuse center. However, if they are damaged or no longer usable, contact your local waste management facility to inquire about proper disposal methods.
- Recycle materials: Check if any of the old window materials, such as glass or metal frames, can be recycled. Research local recycling centers or programs that accept these materials and dispose of them accordingly.
- Recycle or dispose of packaging: Dispose of any new window packaging materials, such as cardboard boxes or plastic wrap, responsibly. Look for recycling symbols or consult your local recycling guidelines for proper disposal methods.
- Clean the new windows: Use a mild window cleaning solution or a mixture of vinegar and water to clean the glass and frames of your new windows. Wipe them down with a soft cloth or squeegee to remove any smudges or residue.
- Remove protective coverings: If your new windows came with protective film or coverings, carefully remove them once the windows are clean and dry. Dispose of the coverings as instructed by the manufacturer.
- Inspect and touch up: Take a final look at your newly installed windows and inspect them for any imperfections or areas that may need touch-ups. Make any necessary adjustments or repairs to ensure a flawless appearance.
By completing this final step, you’ll have a clean and clutter-free space, ensuring that your window replacement project is truly finished. Now, you can sit back, relax, and enjoy the benefits of your newly installed windows!
Remember to keep any warranty information or documentation provided by the manufacturer for future reference. This will come in handy if you encounter any issues or require assistance down the line.
Thank you for following this comprehensive guide on how to remove and replace old windows with common tools. We hope this information has been helpful and that your window replacement project was a success!
Conclusion
Congratulations on completing your window replacement project! By following this comprehensive guide, you have learned how to remove and replace old windows using common tools. With your new windows, you can enjoy improved energy efficiency, enhanced aesthetics, and a more comfortable living space.
Throughout the process, we emphasized the importance of safety precautions, gathering the necessary tools, measuring and ordering replacement windows, preparing the work area, removing old windows, installing new windows, sealing and insulating, testing and adjusting, and finally, cleaning up and disposing of old materials.
Remember, safety should always be a top priority when working on any home improvement project. Take the time to gather the right tools and follow best practices to ensure a successful and safe window replacement experience.
Whether you tackled this project on your own or with the help of professionals, the result is a transformed space that offers increased energy efficiency, improved comfort, and a more appealing appearance. Your new windows will not only enhance the aesthetics of your home but also provide numerous benefits, such as better insulation, noise reduction, and increased home value.
We hope this guide has provided you with the knowledge and confidence to embark on your window replacement project. Remember to refer back to manufacturer instructions and guidelines specific to your windows for the best results.
Thank you for joining us on this journey to remove and replace old windows. We wish you success and enjoyment with your newly installed windows for years to come!
Frequently Asked Questions about How To Remove And Replace Old Windows With Common Tools
Was this page helpful?
At Storables.com, we guarantee accurate and reliable information. Our content, validated by Expert Board Contributors, is crafted following stringent Editorial Policies. We're committed to providing you with well-researched, expert-backed insights for all your informational needs.


0 thoughts on “How To Remove And Replace Old Windows With Common Tools”