Articles
How To Remove Driveway Sealer From Concrete
Modified: October 28, 2024
Learn effective methods for removing driveway sealer from concrete in this informative article. From DIY solutions to professional techniques, discover the best strategies to restore your concrete surface.
(Many of the links in this article redirect to a specific reviewed product. Your purchase of these products through affiliate links helps to generate commission for Storables.com, at no extra cost. Learn more)
Introduction
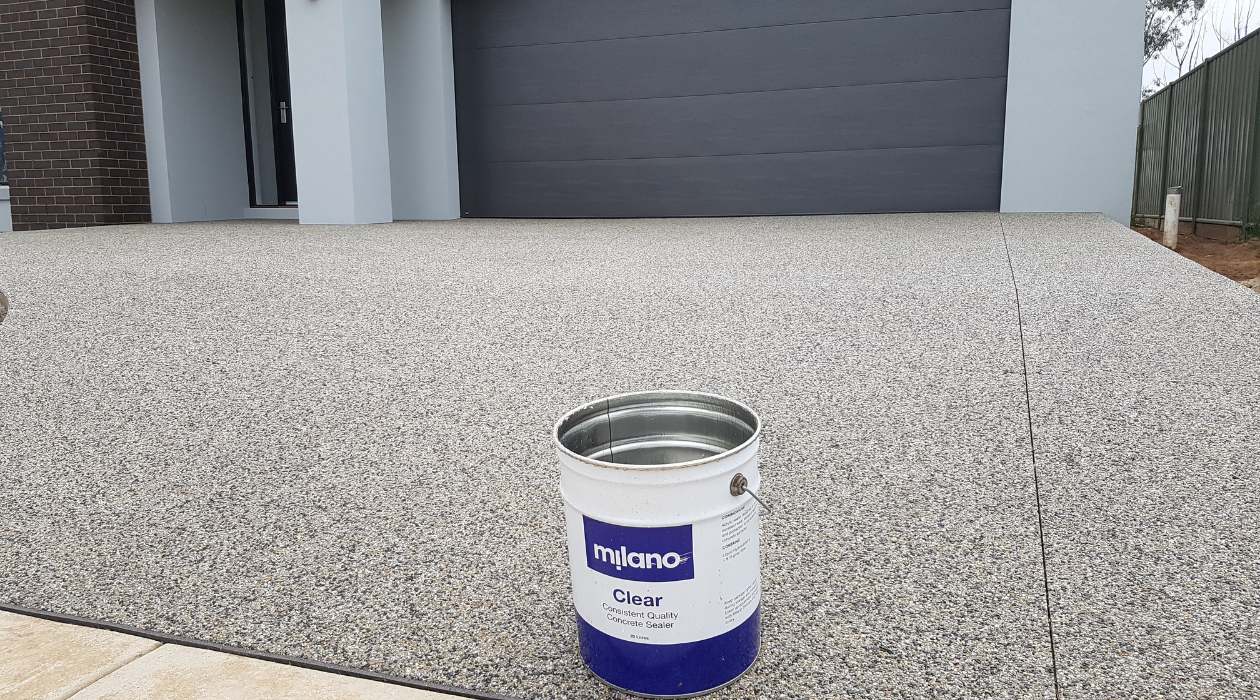
Welcome to our comprehensive guide on how to remove driveway sealer from concrete. Driveway sealer is commonly applied to protect and enhance the appearance of concrete driveways, providing a protective barrier against harsh weather conditions, oil spills, and other substances that can stain or damage the surface. However, there may come a time when you need to remove the sealer, whether it is due to a failed or deteriorated sealer, or simply because you want to change the look of your driveway. In this article, we will provide you with step-by-step instructions on how to effectively remove driveway sealer from concrete, ensuring a clean and refreshed surface.
Key Takeaways:
- Proper preparation, including clearing the area, pre-treating stains, and wearing protective gear, is crucial for effectively removing driveway sealer from concrete. Softening the sealer, scrubbing, and thorough rinsing are essential steps for achieving a clean and refreshed surface.
- Safety precautions, such as wearing protective gear, working in a well-ventilated area, and following product instructions, are vital during the sealer removal process. Thoroughly inspecting the area for any remaining sealer and disposing of waste responsibly are key final steps for a successful outcome.
Understanding Driveway Sealer
Before diving into the process of removing driveway sealer, it’s important to have a clear understanding of what driveway sealer is and how it works. Driveway sealer is a protective coating specifically formulated for use on concrete driveways. It is typically made of a combination of polymers, resins, solvents, and additives that work together to create a durable and water-resistant layer on the surface of the concrete.
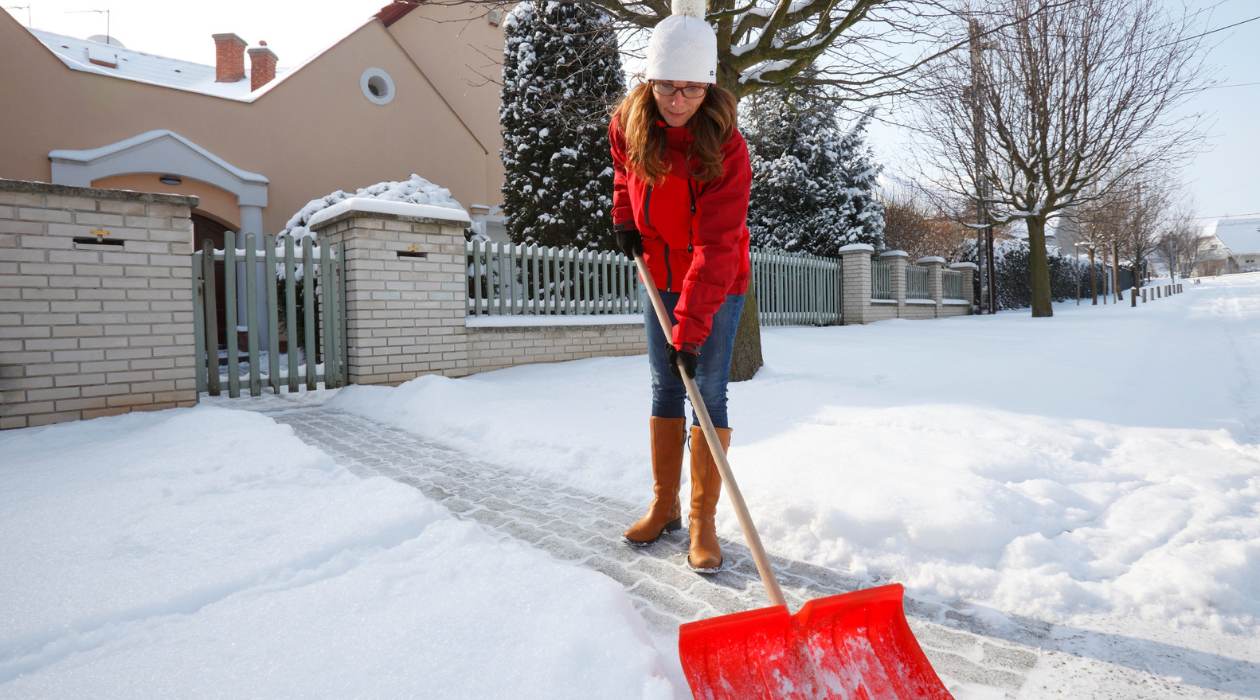
The primary function of driveway sealer is to protect the concrete from damage caused by exposure to sunlight, freeze-thaw cycles, and chemical spillage. It also helps to prevent the growth of mold, mildew, and weed, keeping the driveway looking clean and well-maintained. Additionally, driveway sealers can enhance the color and appearance of the concrete, giving it a glossy, finished look.
There are different types of driveway sealers available on the market, including acrylic-based sealers, solvent-based sealers, and water-based sealers. Each type has its own advantages and disadvantages, so it’s important to select the right sealer for your specific needs.
Acrylic-based sealers are popular due to their ease of application and ability to enhance the appearance of the concrete by adding a glossy finish. Solvent-based sealers provide excellent protection and durability, making them suitable for high-traffic areas. Water-based sealers are environmentally friendly and offer good protection against stains and UV damage.
It’s important to note that driveway sealer is not permanent and will eventually wear off over time due to exposure to the elements and wear and tear from vehicles. When the sealer starts to deteriorate or becomes unsightly, it’s necessary to remove it and apply a new layer to maintain the integrity and aesthetics of the concrete surface.
Reasons for Removing Driveway Sealer from Concrete
There are several reasons why you may need to remove driveway sealer from concrete. Here are some common scenarios that may warrant the removal of the sealer:
- To reapply a new layer: Over time, driveway sealers can wear off or become unevenly distributed on the surface of the concrete. This can result in areas that are unprotected and vulnerable to damage. By removing the old sealer, you can ensure a clean and even surface for the application of a new layer of sealer, restoring its protective qualities.
- To change the appearance: If you’re looking to update the look of your driveway, removing the existing sealer is necessary. Whether you want to change the color, texture, or finish of the concrete, removing the old sealer is the first step towards achieving your desired aesthetic.
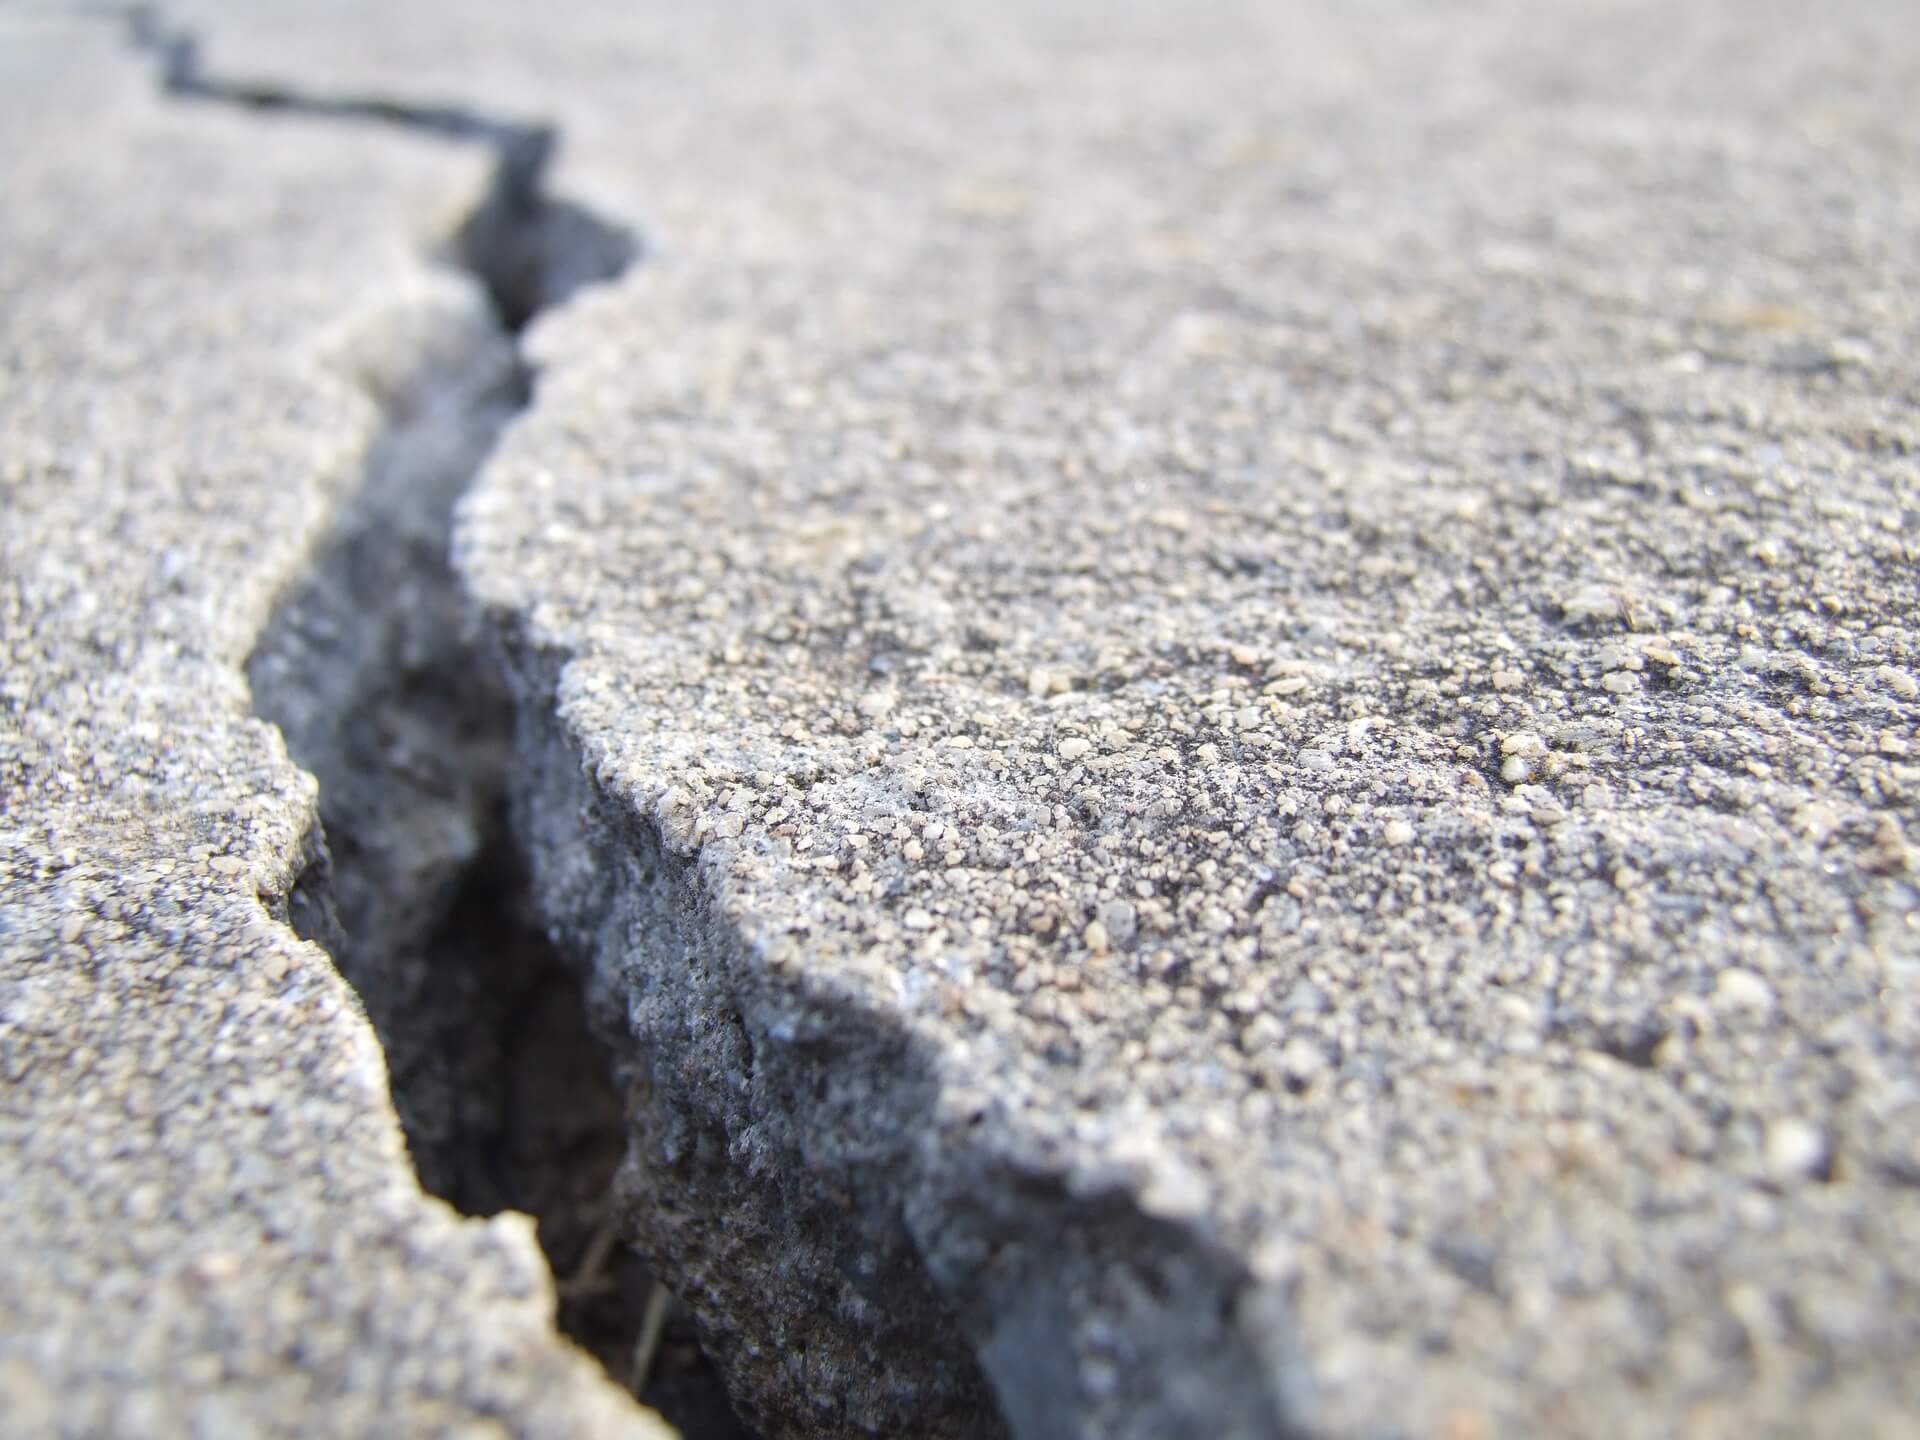
- To repair damaged areas: If your driveway has sustained cracks, stains, or other forms of damage, removing the sealer can facilitate the repair process. By removing the sealer, you can assess the extent of the damage and properly address the underlying issues, such as filling cracks or removing stubborn stains.
- To improve traction: Some driveway sealers can create a slippery surface, especially when wet. This can pose a safety hazard, particularly for vehicles and pedestrians. Removing the sealer can help improve traction and reduce the risk of accidents or slips on your driveway.
- To prepare for other treatments: If you plan to apply other treatments to your driveway, such as concrete staining or etching, it is necessary to remove the existing sealer. Other treatments may not adhere properly to a sealed surface, resulting in ineffective or inconsistent results. Removing the sealer ensures proper adhesion of subsequent treatments.
These are just a few of the reasons why you may need to remove driveway sealer from concrete. By understanding the specific reasons for removing the sealer, you can approach the task with clarity and achieve the desired results.
Tools and Materials Needed
Before you begin the process of removing driveway sealer from concrete, it is essential to gather all the necessary tools and materials. Having the right equipment will make the task more efficient and ensure the best possible results. Here’s a list of tools and materials you will need:
- Protective Gear: It is important to prioritize safety while working with chemicals and abrasive materials. Make sure to wear proper protective gear, including safety goggles, gloves, and a face mask, to protect yourself from fumes and any potential hazards.
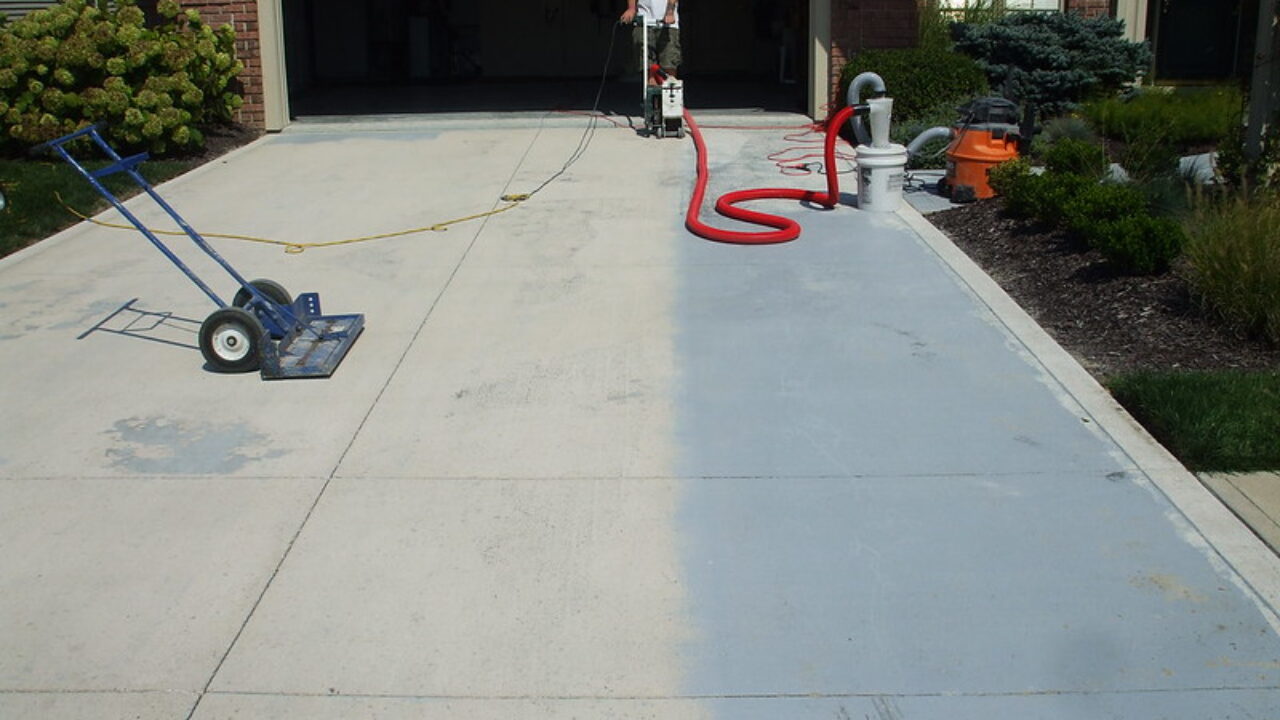
- Pressure Washer: A pressure washer is a crucial tool for effectively removing driveway sealer from concrete. It uses a high-pressure jet of water to strip away the sealer and any accumulated dirt or grime. Make sure to choose a pressure washer with suitable power and nozzle options to adjust the intensity of the water stream.
- Scrub Brush: A stiff-bristle scrub brush is necessary to scrub away the softened sealer and any stubborn spots. It is recommended to use a brush with nylon or wire bristles, depending on the severity of the sealer buildup.
- Chemical Sealer Stripper: You may need a chemical sealer stripper to aid in the removal process, especially if the sealer is heavily built up or has multiple layers. Choose a stripper specifically designed for concrete and driveway sealers. Read and follow the manufacturer’s instructions carefully when using chemical products.
- Paint Scraper or Putty Knife: A paint scraper or putty knife can be useful for carefully scraping away any loose or flaking sealer from the surface of the concrete. These tools are particularly effective for removing sealer around edges or on vertical surfaces, such as walls or curbs.
- Broom or Vacuum: You will need a broom or vacuum cleaner to sweep or vacuum up any loose debris, dust, or sealer remnants from the concrete surface before and after the removal process.
- Clean Water Source: You will require a clean water source, such as a hose or bucket, for rinsing the concrete and cleaning the surface after the sealer removal is complete.
- Soap or Concrete Cleaner: Depending on the condition of the concrete, you may need a mild detergent or concrete cleaner to pre-treat the surface before removing the sealer. This will help to loosen dirt and grime, making the removal process more effective.
Make sure to have all the necessary tools and materials ready before you start the sealer removal process. This will help you avoid any delays and ensure that you can complete the task efficiently and effectively.
Safety Precautions
When it comes to removing driveway sealer from concrete, safety should always be a top priority. Here are some important safety precautions to keep in mind before and during the sealer removal process:
- Wear Protective Gear: Before starting any work, make sure to wear appropriate protective gear, including safety goggles, gloves, and a face mask. These will protect you from any potential hazards, such as chemical fumes or flying debris.
- Work in a Well-Ventilated Area: Ensure that the area where you are working is well-ventilated to minimize exposure to fumes from chemical strippers or cleaning agents. If working indoors, open windows and doors or use fans to improve air circulation.
- Read Product Labels: When using chemical strippers or cleaning agents, thoroughly read and follow the instructions and safety precautions provided by the manufacturer. Use these products in accordance with their intended purpose and recommended application method.
- Avoid Skin Contact: Chemical strippers can be harsh on the skin. To protect your skin, wear long sleeves, pants, and closed-toe shoes. In case of accidental contact, immediately rinse the affected area with water and seek medical attention if needed.
- Be Cautious with Pressure Washers: When using a pressure washer, exercise caution and follow the manufacturer’s instructions. Ensure that the pressure washer is set at an appropriate and safe level of pressure to avoid damaging the concrete or causing injury.
- Protect Surrounding Areas: Cover nearby plants or delicate surfaces to prevent them from getting damaged by any chemical strippers or high-pressure water spray. Use drop cloths or tarps to protect surrounding areas and minimize cleanup.
- Dispose of Chemicals Properly: Follow proper disposal guidelines for any chemicals or waste materials used during the sealer removal process. Do not pour chemicals down drains or into the environment. Check local regulations for specific disposal instructions.
- Work in Small Sections: To ensure thorough and controlled removal, work on the sealer removal process in small sections. This will help you manage the task more efficiently and maintain better control over the intensity of the process.
- Take Breaks: Sealer removal can be a physically demanding task. Take regular breaks to rest and hydrate, especially if you are working for an extended period of time. It’s important to listen to your body and avoid overexertion.
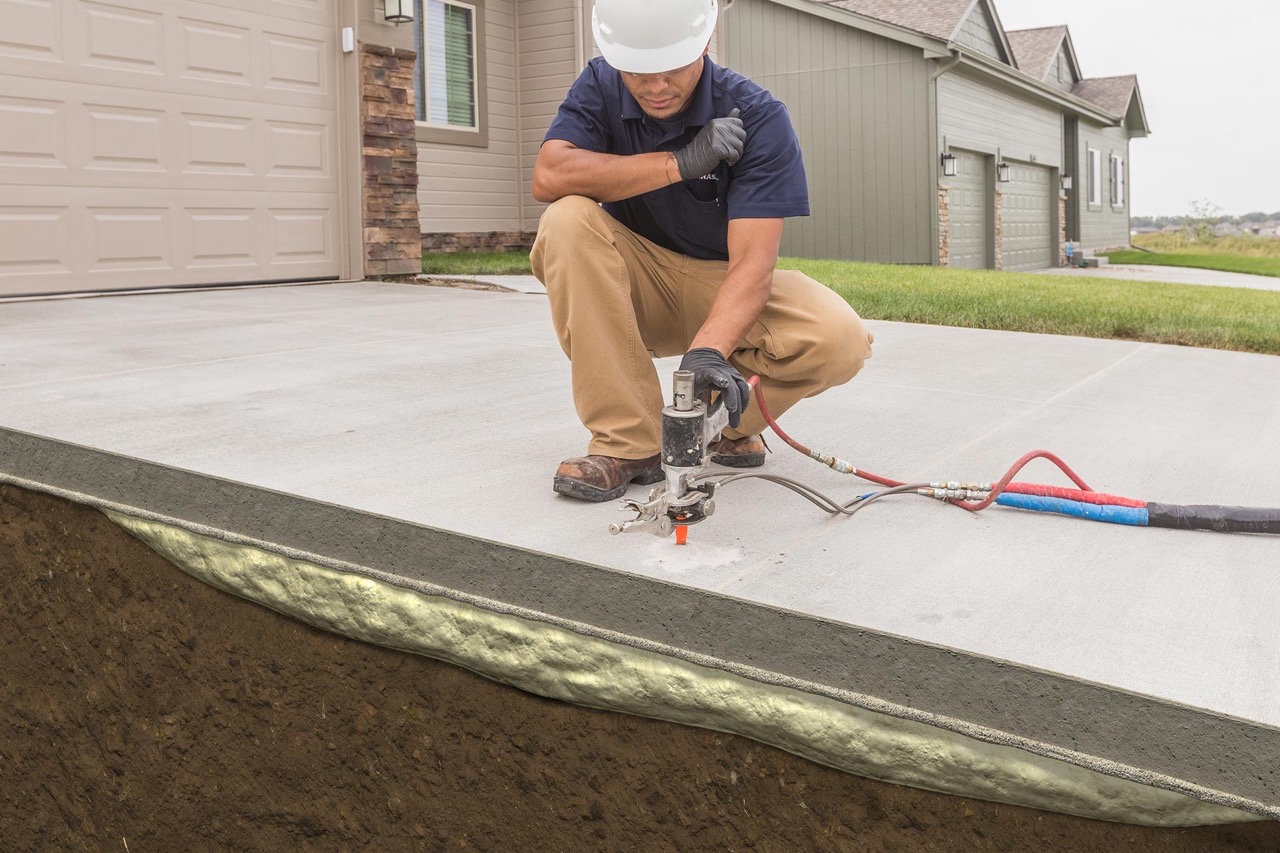
- Seek Professional Help if Needed: If you are unsure about any aspect of the sealer removal process or if you are dealing with a large area or stubborn sealer buildup, it may be best to seek professional assistance. Professionals have the proper equipment and experience to handle the task safely and effectively.
By following these safety precautions, you can minimize the risk of accidents, injuries, and negative health effects during the driveway sealer removal process. It’s important to always prioritize safety for yourself, others around you, and the environment.
Read more: What Is The Best Concrete Driveway Sealer
Step 1: Preparation
Before you begin the process of removing driveway sealer from concrete, it’s important to properly prepare the area and gather all the necessary tools and materials. Follow these steps to ensure a smooth and successful sealer removal process:
- Clear the Area: Start by removing any obstacles, such as vehicles, furniture, or debris, from the area. This will provide you with a clear and accessible workspace.
- Sweep or Vacuum the Surface: Use a broom or vacuum cleaner to remove loose debris, dust, or dirt from the surface of the concrete. This will help prevent any debris from interfering with the sealer removal process.
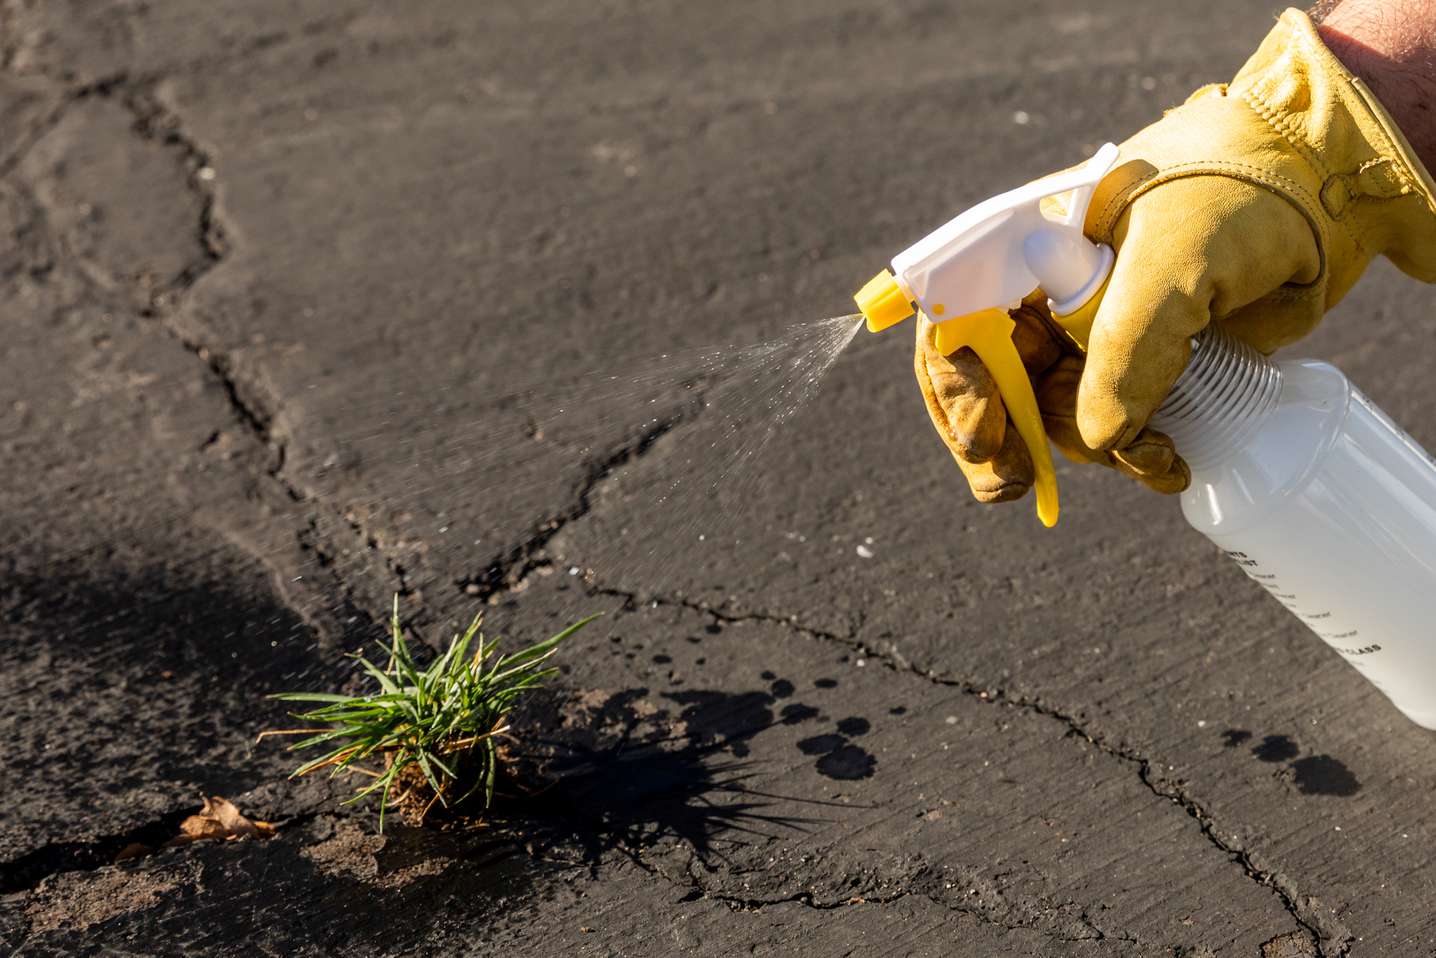
- Pre-Treat Stains or Spots: If there are any visible stains or spots on the concrete, pre-treat them with a mild detergent or concrete cleaner. Follow the manufacturer’s instructions to apply the cleaner and use a scrub brush to scrub the affected areas gently. Rinse the area thoroughly with clean water and allow it to dry completely.
- Read the Instructions: Carefully read and understand the instructions provided by the manufacturer of the sealer stripper or chemical product you will be using. Follow their recommendations on application, dwell time, and safety precautions.
- Protect Surrounding Areas: Cover any nearby plants, grass, or delicate surfaces with tarps or drop cloths to protect them from any potential splashes or drips from the sealer stripper or cleaning agents.
- Put on Protective Gear: Put on the necessary protective gear, including safety goggles, gloves, and a face mask, to protect yourself from any fumes, chemicals, or debris during the sealer removal process.
By taking the time to properly prepare the area and gather all the necessary tools and materials, you will set yourself up for a more efficient and effective sealer removal process. Now that you’re ready, it’s time to move on to the next step: softening the sealer.
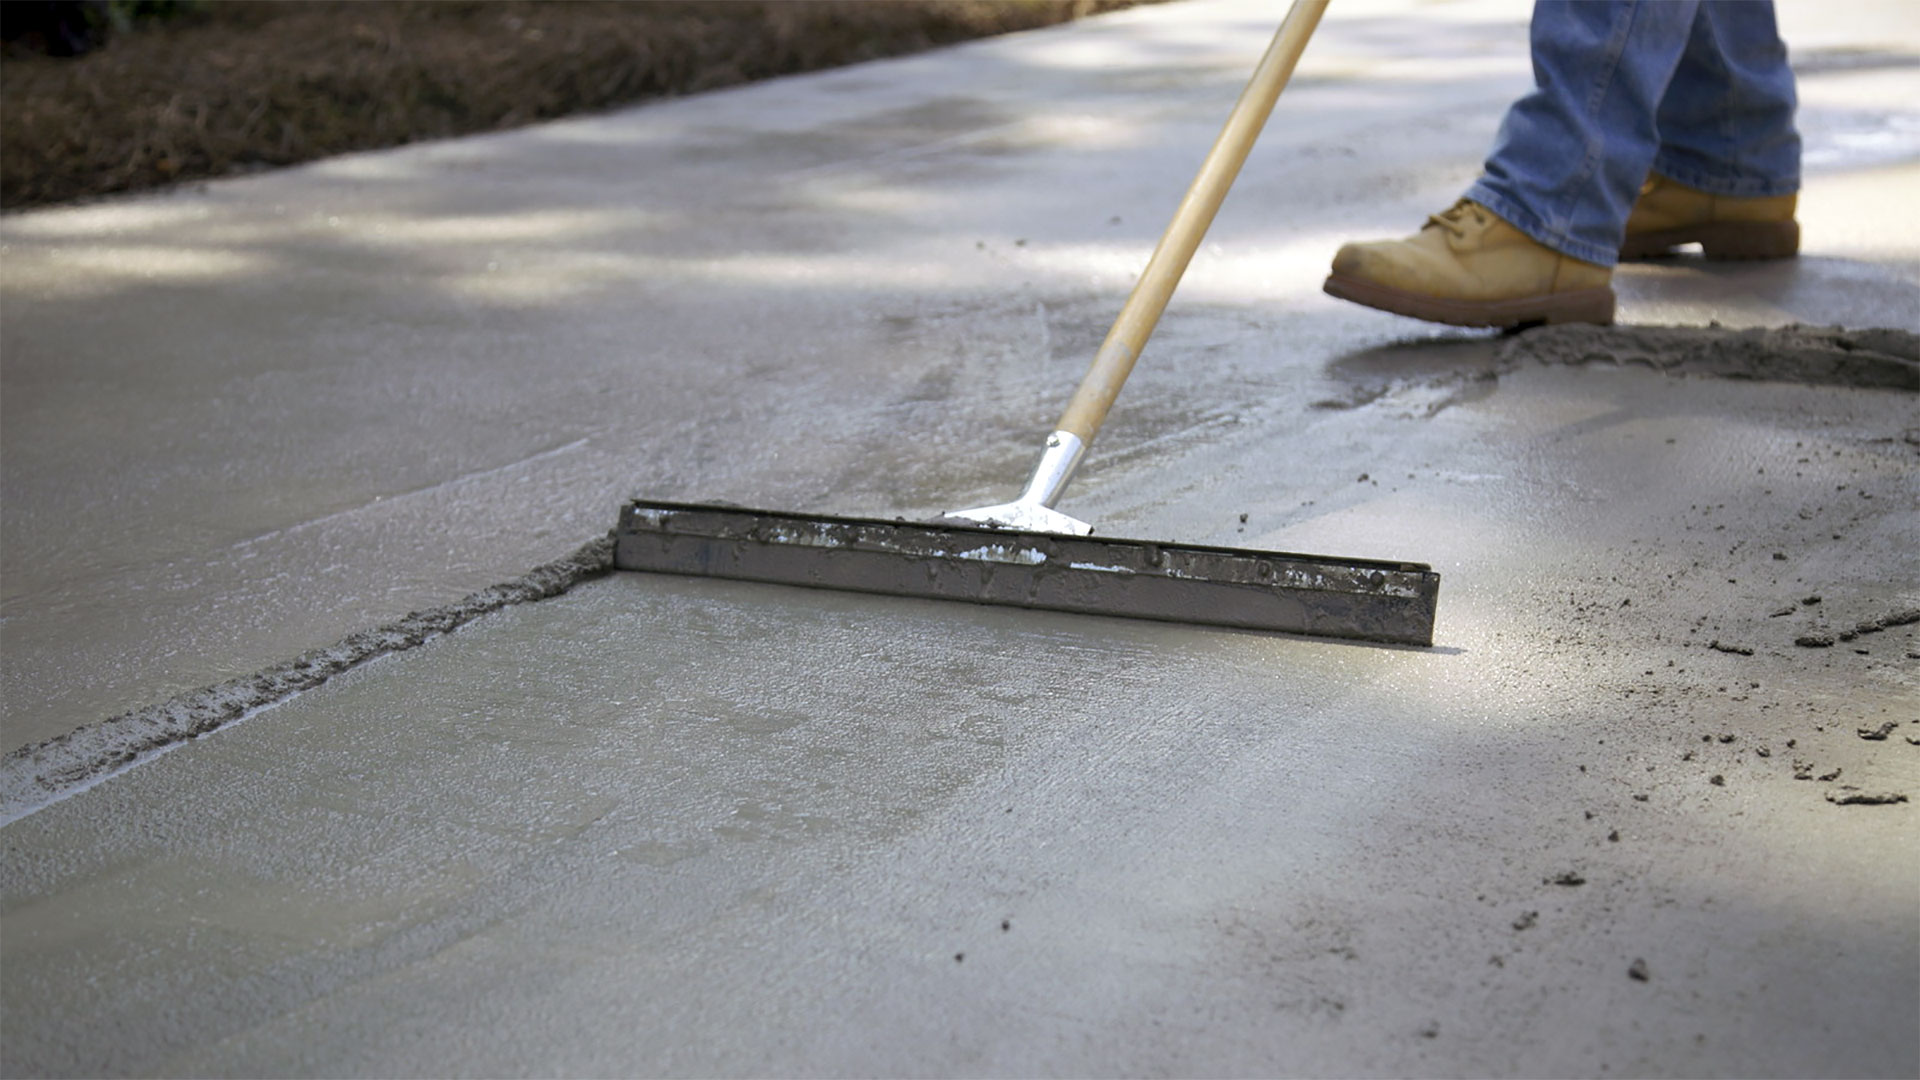
Use a pressure washer with a high-pressure nozzle to remove driveway sealer from concrete. Start at a low pressure and gradually increase as needed, being careful not to damage the concrete.
Step 2: Softening the Sealer
Once you have prepared the area and gathered all the necessary tools and materials, it’s time to soften the driveway sealer. This step is crucial as it helps to break down the sealer, making it easier to remove. Follow these steps to effectively soften the sealer:
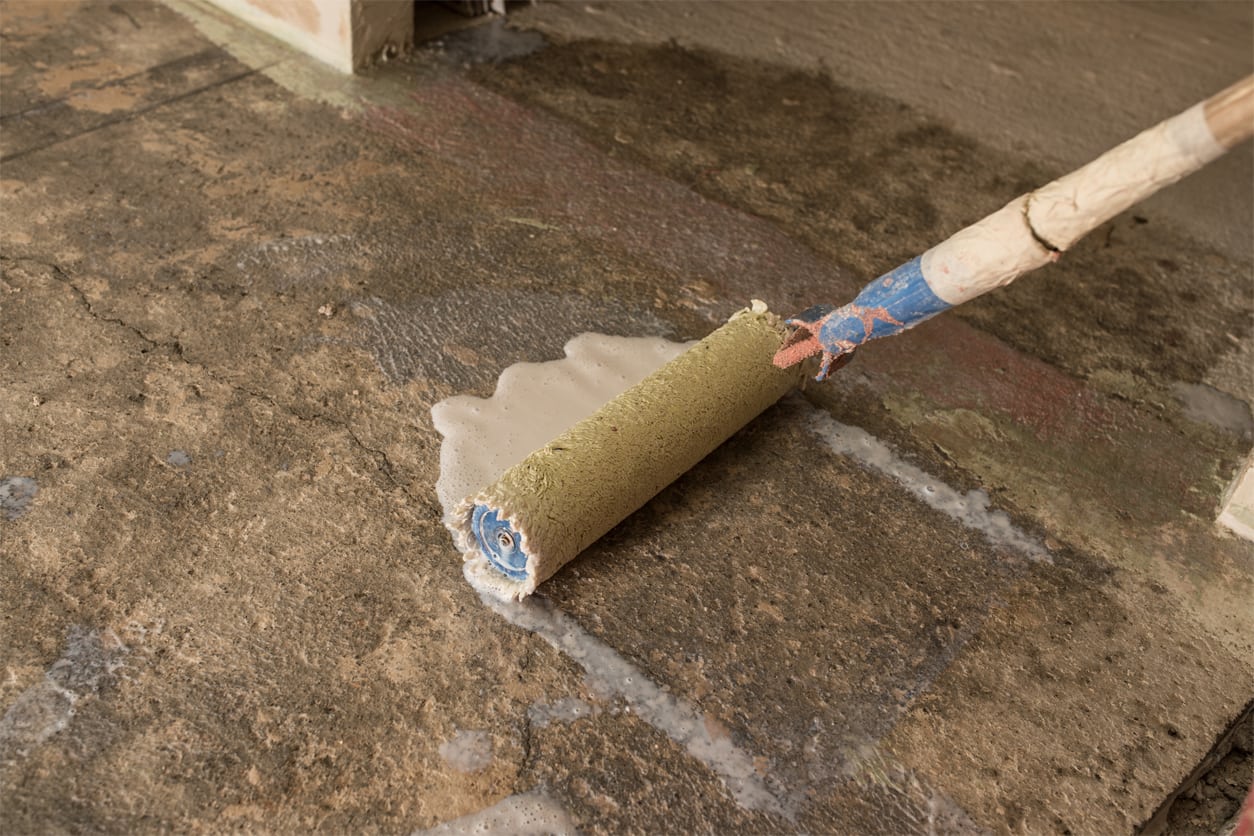
- Apply the Sealer Stripper: Carefully apply the sealer stripper or chemical product onto the surface of the driveway, following the manufacturer’s instructions. Use a brush or roller to ensure an even and generous application. Make sure to work in small sections, starting from one end of the driveway and moving towards the other.
- Allow Dwell Time: After applying the sealer stripper, give it sufficient time to penetrate and soften the sealer. The dwell time can vary depending on the product, so refer to the manufacturer’s instructions for the recommended duration. Typically, it may take anywhere from 15 minutes to a few hours.
- Check for Effectiveness: Once the dwell time is complete, check the surface of the driveway to see if the sealer has softened. You can perform a test by scraping a small area with a paint scraper or putty knife. If the sealer easily comes off or flakes away, it means the softening process is successful. If not, you may need to reapply the sealer stripper and give it more dwell time.
- Avoid Drying Out: While waiting for the sealer stripper to work, it’s important to prevent it from drying out. If the product starts to dry, mist it with a little water to keep it moist. This will ensure that the product remains active and continues to soften the sealer.
Softening the sealer is a critical step in the sealer removal process. It allows the sealer to break down and become more pliable, which will make it easier to scrub and remove in the next step. Ensure that the sealer is adequately softened before proceeding to the next step for best results. Now that the sealer is ready, let’s move on to step 3: scrubbing and removing the sealer.
Step 3: Scrubbing and Removing the Sealer
With the sealer successfully softened, it’s time to proceed with scrubbing and removing the sealer from the concrete surface. Follow these steps to effectively remove the sealer:
- Scrub the Surface: Use a stiff-bristle scrub brush to vigorously scrub the softened sealer on the concrete surface. Begin scrubbing from one end of the driveway and work your way towards the other end in small sections. Apply firm pressure and scrub in circular motions to loosen the sealer and lift it from the concrete.
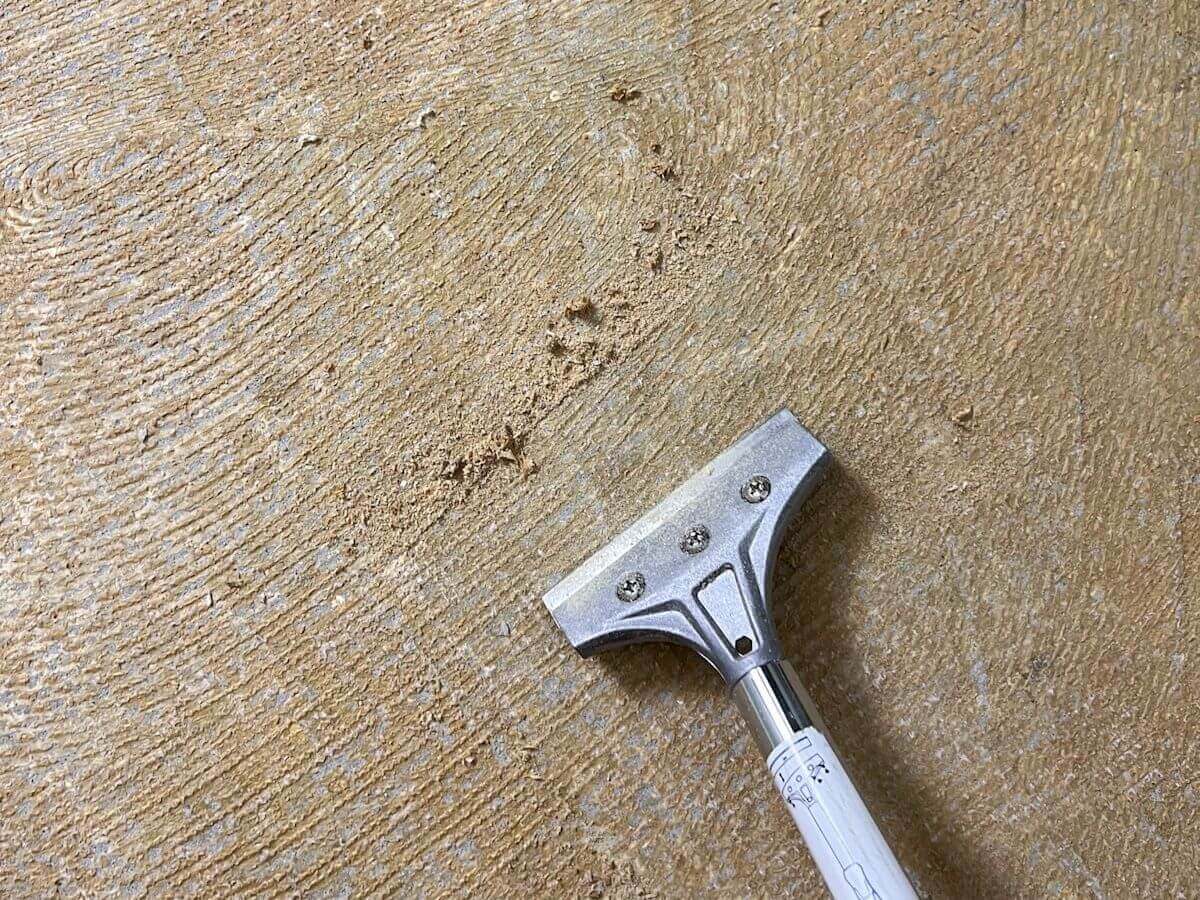
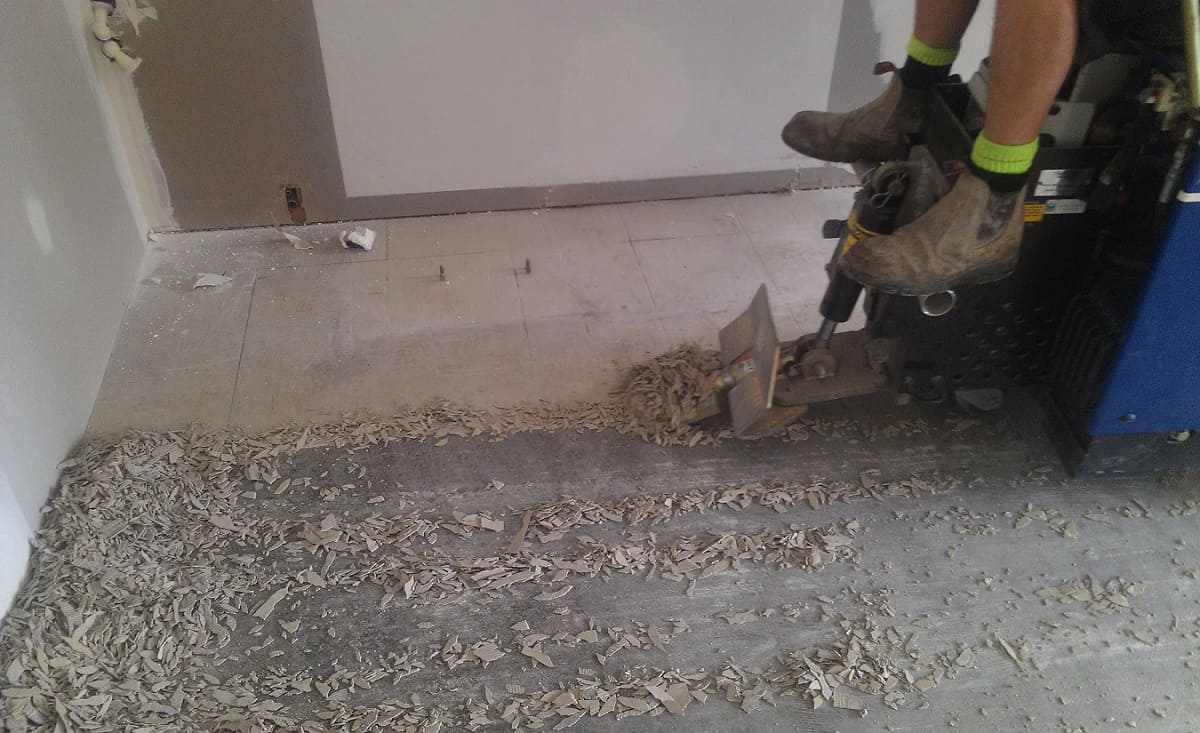
- Scrape with Paint Scraper or Putty Knife: For any stubborn or hard-to-reach areas, use a paint scraper or putty knife to carefully scrape off the remaining sealer. Hold the scraper at a shallow angle to avoid damaging the concrete. Be patient and cautious to prevent scratching or gouging the surface.
- Collect the Removed Sealer: As you scrub and scrape off the sealer, collect the removed sealer and debris using a dustpan or a vacuum cleaner. Dispose of the collected material according to local regulations.
- Repeat as Needed: Depending on the extent of the sealer buildup and the effectiveness of the sealer stripper, you may need to repeat the scrubbing and scraping process in certain areas. Ensure that all the sealer is thoroughly removed before proceeding to the next step.
It’s important to note that removing the sealer may require significant physical effort, especially if the sealer has built up over time or if multiple layers need to be removed. Take breaks as needed to avoid overexertion and fatigue.
Once you have completed the scrubbing and removal process, you’re ready to move on to step 4: rinsing the concrete surface to remove any remaining residue.
Step 4: Rinsing the Concrete
After scrubbing and removing the sealer from the concrete surface, it’s crucial to thoroughly rinse the area to remove any remaining residue and chemical stripper. Follow these steps to effectively rinse the concrete:
- Prepare Your Water Source: Ensure you have access to a clean water source, such as a hose with a spray nozzle or buckets of water. This will be used for rinsing the concrete surface.
- Begin the Rinsing Process: Start rinsing the concrete surface from one end of the driveway, working your way towards the other end. Use a gentle stream of water to avoid accidentally creating puddles or washing away loose soil beneath the concrete.
- Pay Attention to Corners and Edges: Pay extra attention to corners, edges, and any hard-to-reach areas. Thoroughly rinse these areas to remove any leftover sealer or residue.
- Rinse Multiple Times if Necessary: Depending on the condition of the concrete and the effectiveness of the rinsing process, you may need to rinse the area multiple times to ensure complete removal of the residue. Continue rinsing until the water runs clear, indicating that all the residue has been washed away.
- Allow the Concrete to Dry: After rinsing, allow the concrete surface to dry completely before proceeding to the next step. This may take several hours or even overnight, depending on weather conditions and the size of the area.
Rinsing the concrete is an important step to remove any leftover residue and ensure a clean and pristine surface. A thorough rinse will also help prepare the concrete for any additional treatments or coatings that may be applied in the future.
Now that the concrete is rinsed and dried, let’s move on to the final step: cleaning and inspecting the area for any remaining sealer.
Step 5: Final Cleaning and Inspection
After rinsing the concrete surface and allowing it to dry completely, it’s time to perform the final cleaning and inspection. This step will ensure that all traces of the sealer have been removed and that the surface is ready for further treatments or coatings. Follow these steps to complete the process:
- Clean the Surface: Use a broom or a vacuum cleaner to remove any remaining debris or dust on the concrete surface. This will help ensure a clean and smooth surface for inspection.
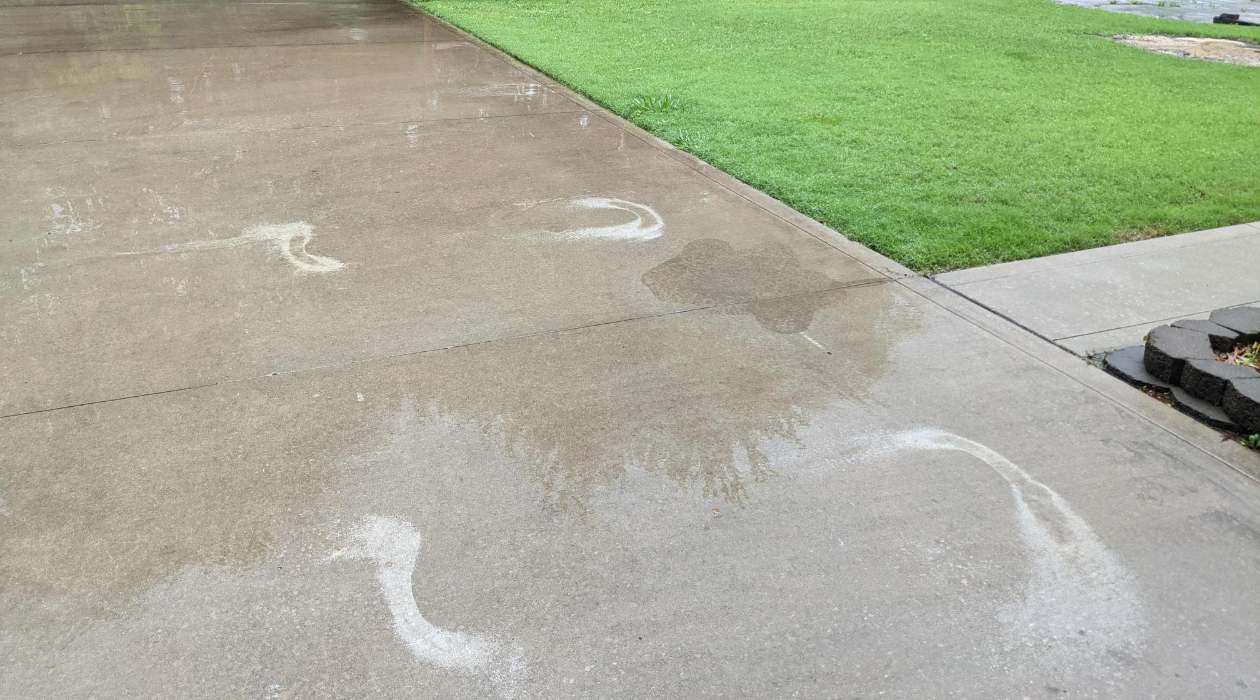
- Inspect for Remaining Sealer: Carefully examine the concrete surface to check for any remaining sealer. Look for areas with a glossy film or spots that appear darker than the surrounding concrete. These are indications that some sealer may still be present.
- Remove any Residual Sealer: For any spots or areas where the sealer remains, you can repeat the scrubbing and scraping process or use a specified sealer remover. Follow the instructions provided by the manufacturer for the best results.
- Rinse and Dry Again (if needed): After removing any residual sealer, rinse the area once more with clean water to ensure all the residue is gone. Allow the concrete to dry completely before moving on to any further treatments or coatings.
- Dispose of Waste Properly: Dispose of any waste materials, such as collected debris or chemical products, according to local regulations. It’s essential to follow environmentally responsible practices and dispose of waste safely.
By performing a thorough final cleaning and inspection, you can ensure that the concrete surface is free from any remaining sealer and ready for the next steps, whether it’s applying a new sealer, staining the concrete, or leaving it in its natural state.
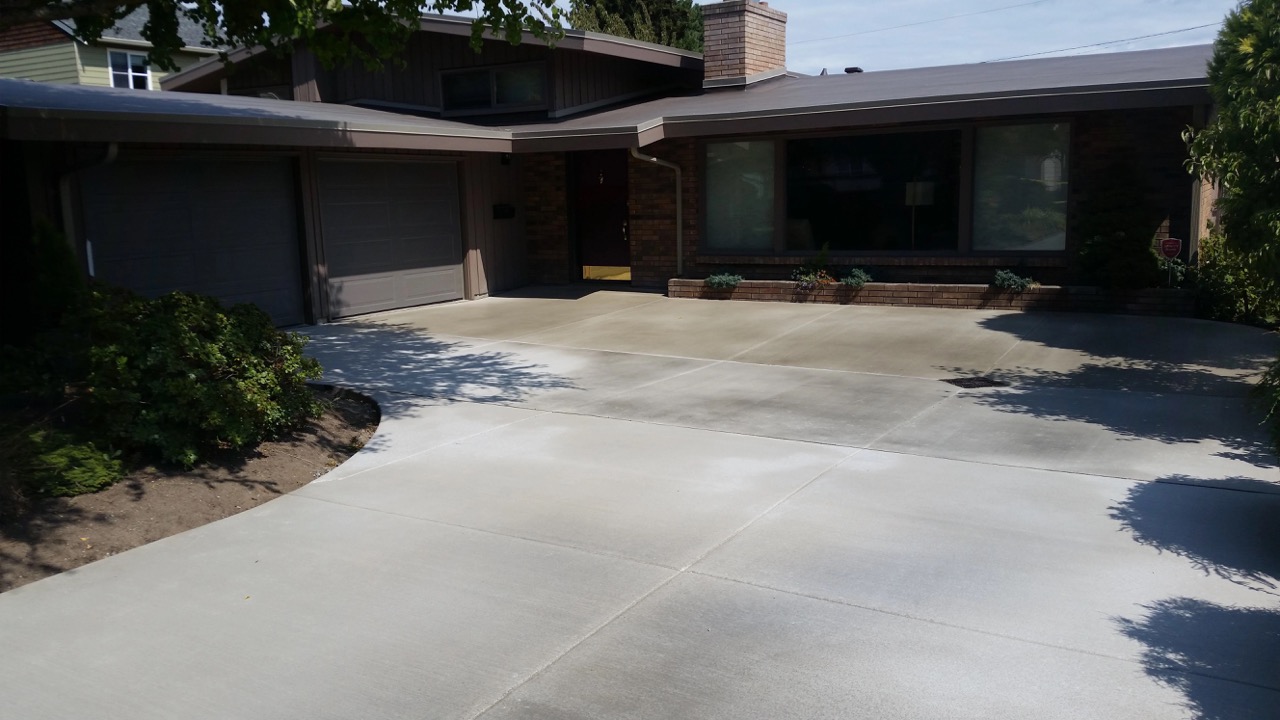
Congratulations! You have successfully removed the driveway sealer from the concrete surface. Remember, proper maintenance and regular reapplication of a quality sealer can help prolong the lifespan and appearance of your driveway. If you’re unsure about any aspect of the sealer removal process or prefer professional help, don’t hesitate to seek assistance from experts in the field.
With your clean and refreshed driveway, you can enjoy a revitalized and beautiful concrete surface for years to come.
Conclusion
Removing driveway sealer from concrete can be a challenging but necessary task when you want to restore the appearance of your driveway or prepare it for a new sealer application. By following the step-by-step process outlined in this guide, you can effectively remove the sealer and achieve a clean and refreshed concrete surface.
We began by understanding what driveway sealer is and its purpose in protecting and enhancing concrete driveways. We then explored the various reasons why you may need to remove the sealer, such as reapplication, changing the appearance, repair, improving traction, or preparing for other treatments.
To successfully remove the sealer, proper preparation is crucial. This involves clearing the area, sweeping or vacuuming the surface, pre-treating stains or spots, and wearing the necessary protective gear. The next step is softening the sealer using a sealer stripper or chemical product, allowing it sufficient dwell time to penetrate and break down the sealer. After softening the sealer, the scrubbing and removal process begins, utilizing a scrub brush and a paint scraper or putty knife for stubborn areas.
Once the sealer is scrubbed and removed, the concrete surface needs to be thoroughly rinsed to remove any remaining residue or chemical stripper. Multiple rinses may be necessary to ensure all residue is gone. After rinsing, the surface needs to dry completely before conducting a final cleaning and inspection. This step involves inspecting for any remaining sealer, removing it if necessary, and ensuring the area is free of debris and ready for further treatments or coatings.
By following these steps with care and attention, you can achieve a clean and refreshed concrete surface, ready to be enjoyed for years to come. Remember to adhere to safety precautions throughout the process and dispose of waste materials responsibly.
Finally, if you ever feel unsure or overwhelmed with the sealer removal process, it is always wise to seek professional assistance. They can provide expertise, specialized tools, and ensure the best possible results for your driveway.
We hope this comprehensive guide has been informative and helpful in guiding you through the process of removing driveway sealer from concrete. Enjoy your clean and revitalized driveway!
Additional Tips and Recommendations
As you embark on the journey of removing driveway sealer from concrete, here are some additional tips and recommendations to enhance your success and ensure a smooth process:
- Test in a Small Area: Before applying any sealer stripper or chemical product, it’s a good idea to test it in a small, inconspicuous area of the driveway. This will help you assess its effectiveness and compatibility with the concrete surface without causing any major damage or discoloration.
- Work in Optimal Conditions: Choose a day with mild temperatures and low humidity to carry out the sealer removal process. Extreme heat or cold can affect the performance of the sealer stripper and make the task more challenging.
- Follow Manufacturer’s Instructions: Read and follow the instructions provided by the manufacturer of the sealer stripper, chemical products, or any other tools you use during the process. Adhering to the instructions will ensure you achieve the best results and avoid any adverse effects.
- Consider Professional Assistance: If you have a large area to tackle, multiple layers of sealer, or if you’re unsure about any aspect of the sealer removal process, it may be worth seeking professional help. Professionals have the experience, expertise, and equipment necessary for efficient and effective sealer removal.
- Maintain and Reapply Sealer Regularly: To prolong the lifespan and appearance of your driveway, it is recommended to properly maintain and reapply sealer at regular intervals. This will help protect the concrete from damage caused by weather, stains, and daily wear and tear.
- Take Breaks and Stay Hydrated: Sealer removal can be physically demanding, so it’s important to take regular breaks and stay hydrated throughout the process. Listen to your body and avoid overexertion.
- Properly Dispose of Chemicals: Ensure you follow local regulations and guidelines for disposing of any chemicals or waste materials used during the sealer removal process. Improper disposal can have harmful effects on the environment.
- Inspect and Clean Tools: After completing the sealer removal process, thoroughly clean and inspect your tools. This will ensure they are ready for future use and prevent any residual sealer from affecting future projects.
- Consider Alternative Methods: If you prefer not to use chemical strippers, there are alternative methods of removing sealer, such as grinding or sandblasting. However, these methods may require professional assistance and additional tools.
By following these additional tips and recommendations, you can further enhance your sealer removal process and achieve optimal results. Good luck and enjoy your renewed concrete driveway!
Frequently Asked Questions about How To Remove Driveway Sealer From Concrete
Was this page helpful?
At Storables.com, we guarantee accurate and reliable information. Our content, validated by Expert Board Contributors, is crafted following stringent Editorial Policies. We're committed to providing you with well-researched, expert-backed insights for all your informational needs.


0 thoughts on “How To Remove Driveway Sealer From Concrete”