Articles
How To ReplACe AC Condenser
Modified: September 2, 2024
Learn step-by-step instructions on how to replace your AC condenser with helpful articles. Improve your air conditioning system and stay cool all summer.
(Many of the links in this article redirect to a specific reviewed product. Your purchase of these products through affiliate links helps to generate commission for Storables.com, at no extra cost. Learn more)
Introduction
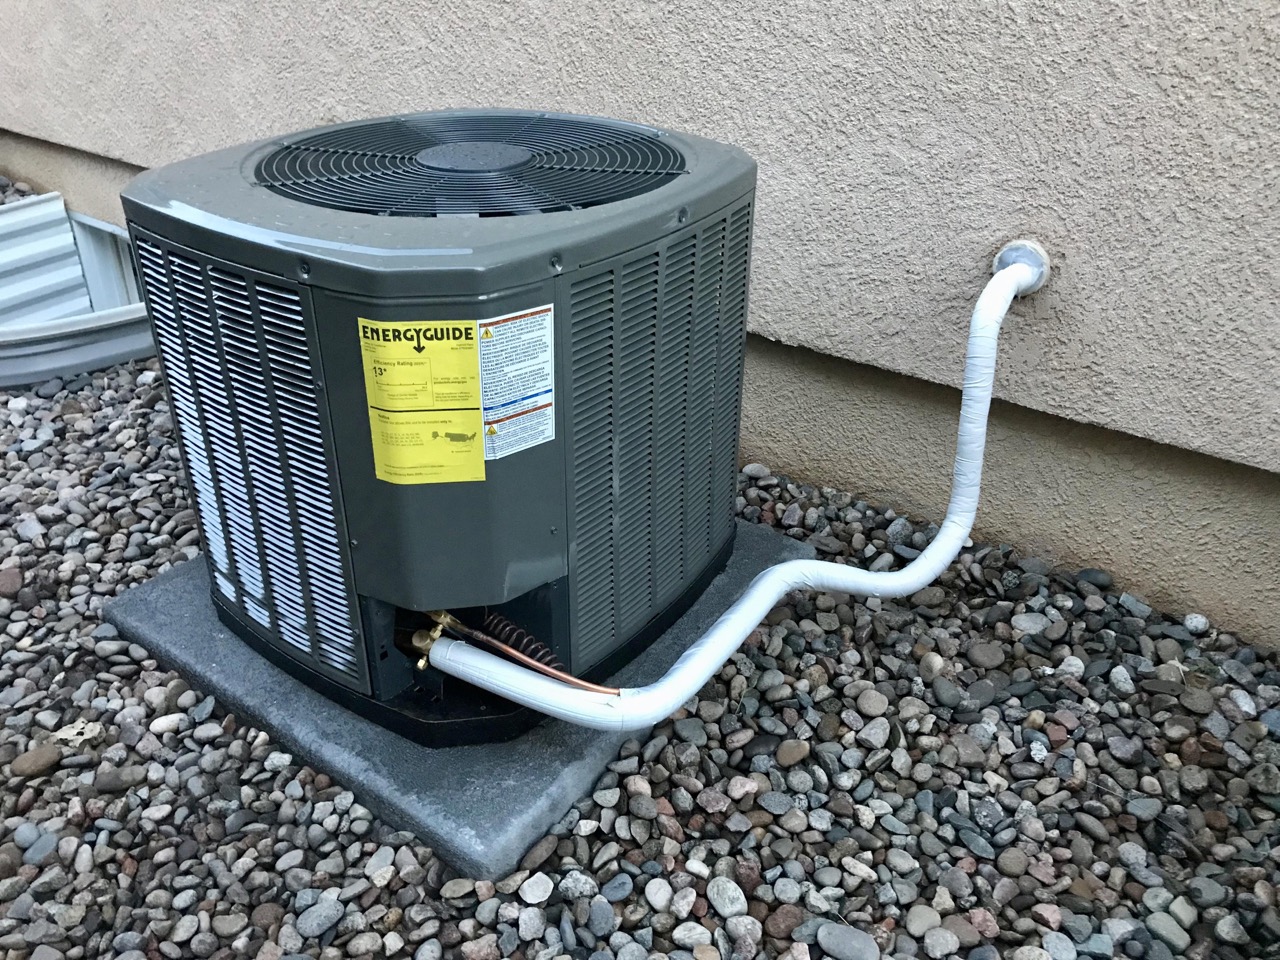
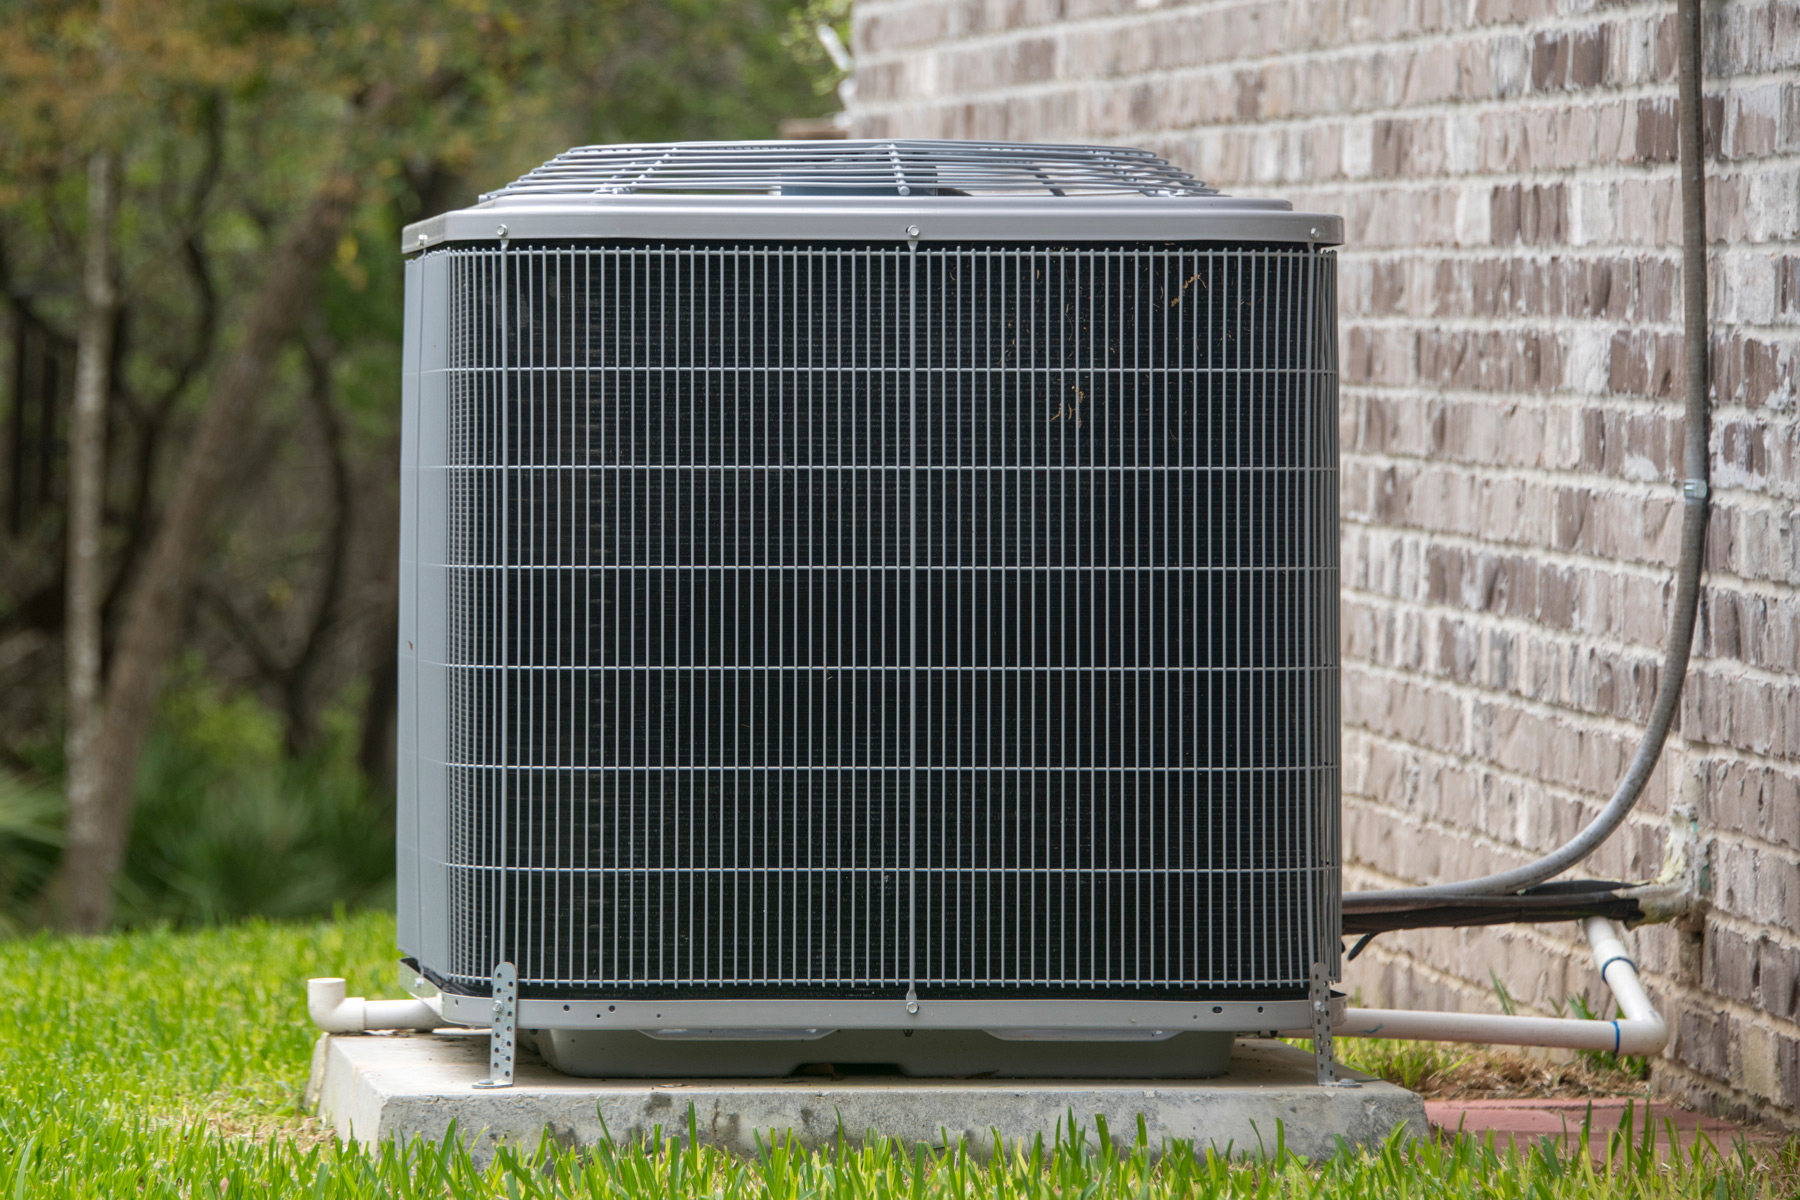
The AC condenser is a crucial component of your air conditioning system that helps to dissipate heat from the refrigerant, allowing your AC unit to cool the air effectively. Over time, the condenser can deteriorate and become less efficient, resulting in poor cooling performance and higher energy bills. In such cases, it becomes necessary to replace the old condenser with a new one.
While you can hire a professional HVAC technician to replace your AC condenser, it is also a project that can be accomplished by confident DIYers. This guide will provide you with step-by-step instructions on how to replace the AC condenser yourself, saving you money on professional fees.
Before you begin the replacement process, it is important to ensure that you have the necessary tools and materials at your disposal. This will help you work efficiently and avoid any unnecessary delays.
Key Takeaways:
- DIY AC condenser replacement can save money and restore cooling efficiency. Prioritize safety, gather tools, disconnect power, remove old condenser, install new unit, reconnect power, and test for optimal performance.
- Replacing the AC condenser enhances energy efficiency and indoor comfort. Regular maintenance and professional guidance can extend the system’s lifespan, reduce utility bills, and ensure a cool home environment.
Read more: How To Clean Car AC Condenser
Step 1: Gather necessary tools and materials
Before starting the AC condenser replacement process, it’s important to gather all the necessary tools and materials. This will help you work efficiently and ensure that you have everything you need to complete the task.
Here is a list of tools and materials that you will need:
- Adjustable wrench
- Screwdriver set
- Socket set
- Pliers
- Allen wrench set
- Protective gloves and goggles
- Voltage tester
- Replacement AC condenser
- Refrigerant
Make sure to have these items readily available before you begin the AC condenser replacement process. It is also important to note that certain tools or materials may vary depending on the specific model of your AC unit. Refer to the manufacturer’s instructions or consult with a professional if you are unsure about the requirements for your particular system.
Now that you have gathered all the necessary tools and materials, you can proceed with the AC condenser replacement process. Remember to always prioritize safety and follow proper procedures when working with electrical equipment.
Step 2: Disconnect power to the AC unit
Before you start working on the AC condenser, it’s crucial to ensure that the power to the AC unit is disconnected. This will help prevent any accidental electrical shocks or injuries during the replacement process.
Here’s how you can safely disconnect the power:
- Locate the electrical panel in your home. It’s usually found in the garage, utility room, or basement.
- Open the electrical panel and locate the circuit breaker labeled for the AC unit. It’s typically marked as “AC” or “Air Conditioner.”
- Switch off the circuit breaker for the AC unit by flipping it to the “Off” position.
- Use a voltage tester to ensure that there is no electricity flowing to the AC unit. This is an important safety step to verify that the power is completely disconnected.
Once you have confirmed that the power is disconnected, it’s safe to proceed with the AC condenser replacement. Keep in mind that if you’re unsure about any of the steps or feel uncomfortable working with electrical components, it’s best to consult with a professional HVAC technician.
Remember, safety should always be your top priority when working with electrical systems. By following the proper procedures to disconnect the power, you can minimize the risk of accidents and ensure a safe working environment.
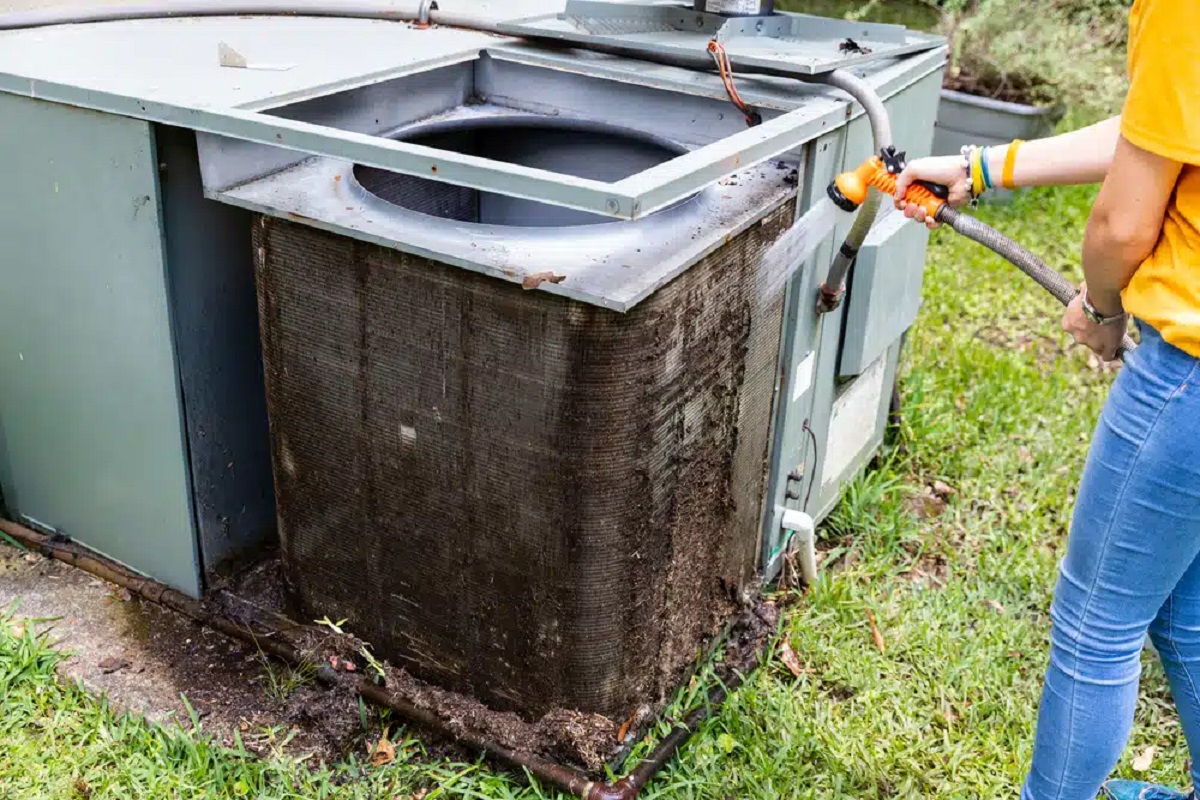
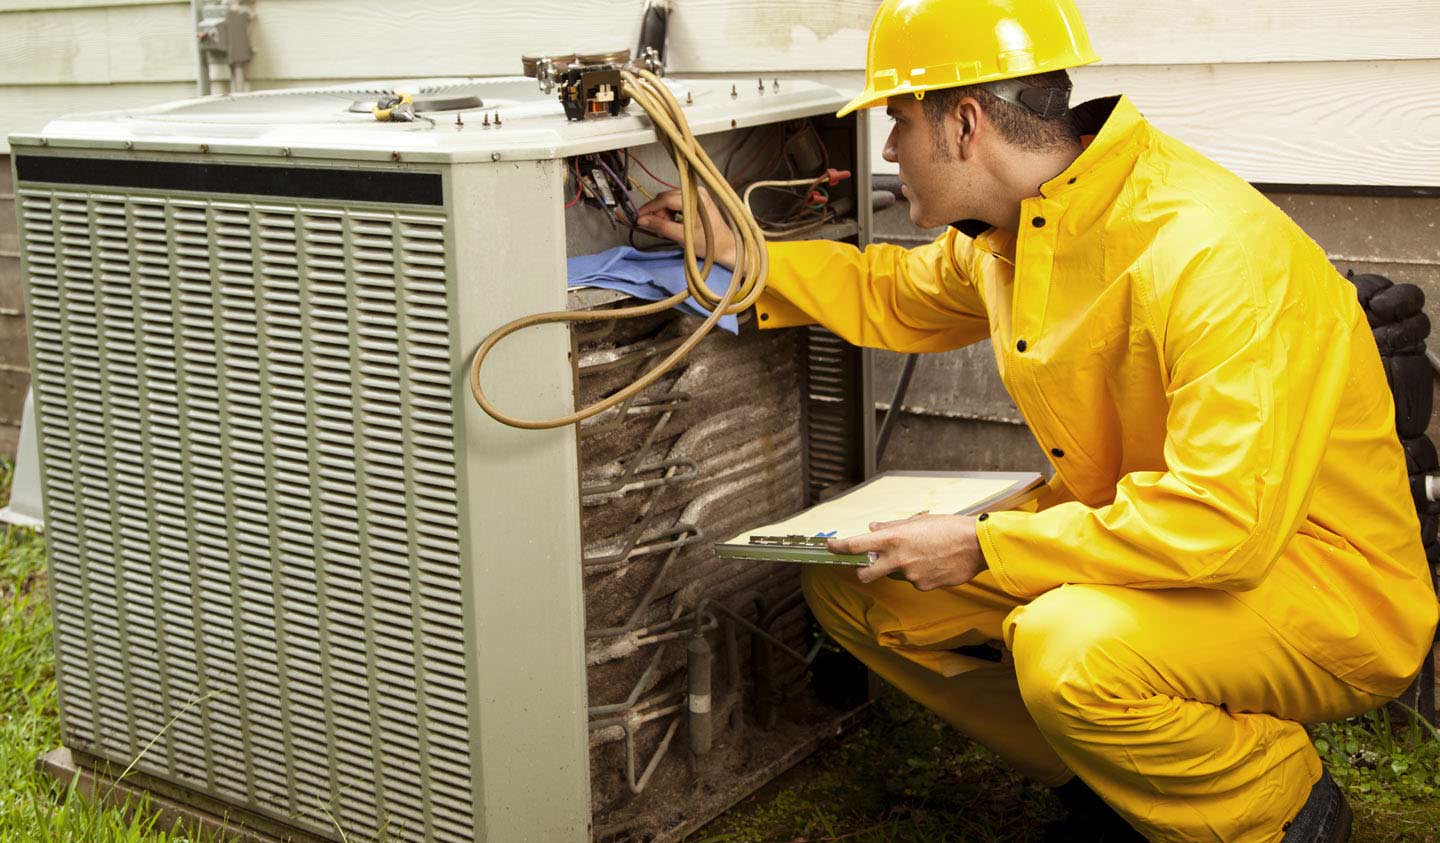
Step 3: Remove the old AC condenser
Now that the power to the AC unit is disconnected, you can proceed with removing the old AC condenser. This step involves disconnecting the refrigerant lines and electrical connections to safely remove the unit.
Follow these steps to remove the old AC condenser:
- Put on protective gloves and goggles to protect yourself from any potential leaks or debris.
- Locate the refrigerant lines that connect the condenser unit to the air handler or evaporator coil. These lines are typically located near the bottom of the unit.
- Using an adjustable wrench or pliers, carefully loosen the fittings on the refrigerant lines. Place a bucket or towel underneath to catch any refrigerant that may leak during the disconnection process.
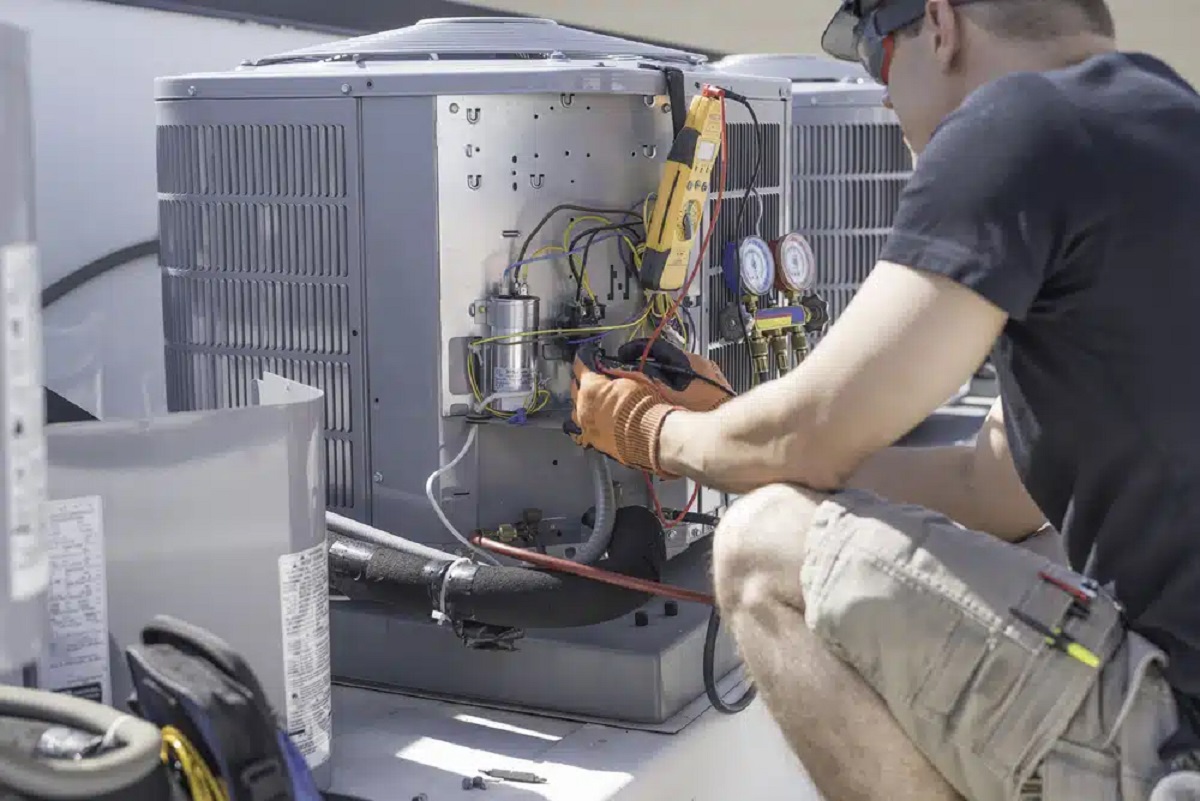
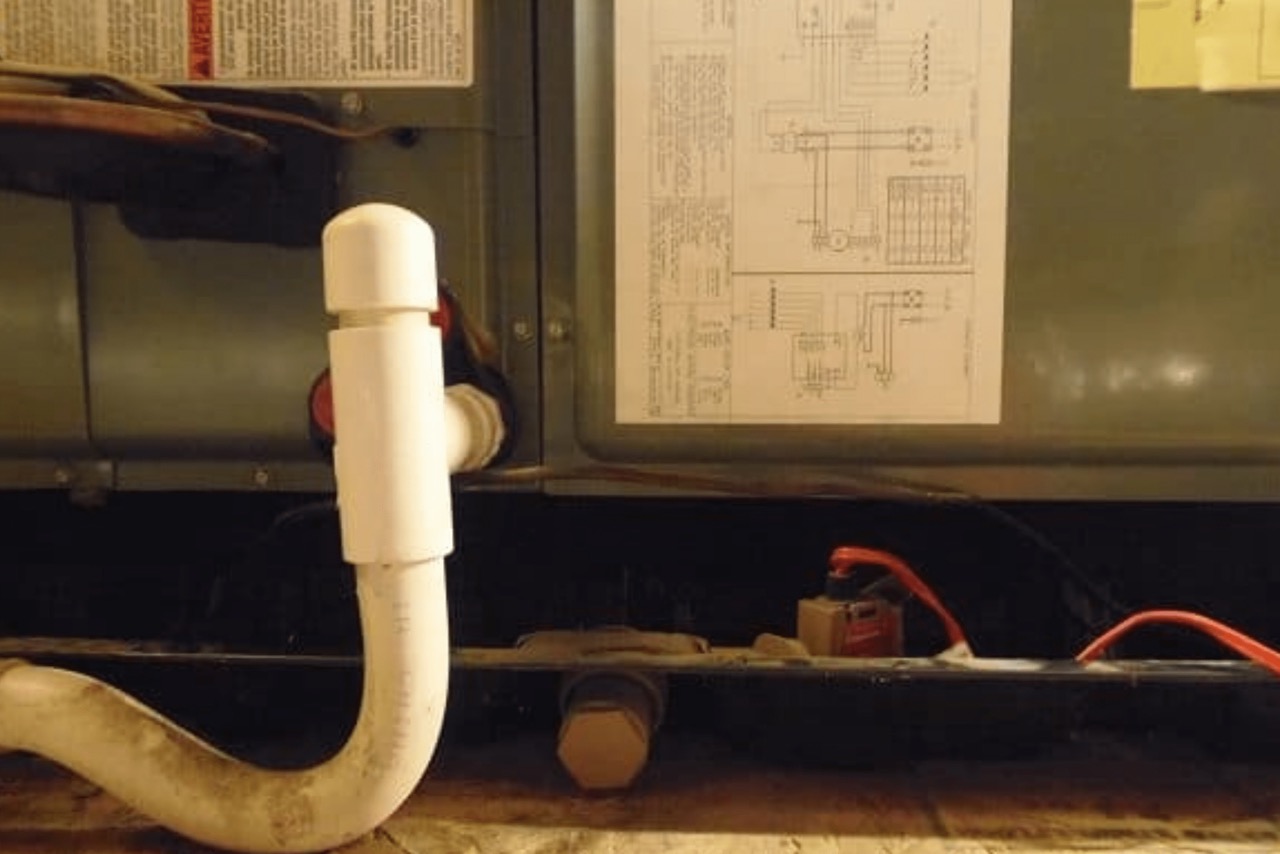
- Once the refrigerant lines are disconnected, locate the electrical connections on the condenser unit. These connections include the main power cable and control wires.
- Using a screwdriver or socket set, remove the screws or bolts that secure the electrical connections.
- Gently pull out the electrical connections, making sure not to damage the wires.
- With the refrigerant lines and electrical connections disconnected, carefully lift and remove the old AC condenser from its mounting brackets.
It’s important to handle the old AC condenser with care and avoid any unnecessary damage. Keep in mind that the unit may be heavy, so it’s advisable to have someone assist you during the removal process.
Once you have successfully removed the old AC condenser, you can proceed to the next step of installing the new unit.
When replacing an AC condenser, make sure to properly disconnect the power supply and discharge any remaining refrigerant to avoid any safety hazards. Always follow the manufacturer’s instructions and use the correct tools for the job.
Step 4: Install the new AC condenser
After removing the old AC condenser, it’s time to install the new unit. Proper installation is crucial to ensure optimal performance and efficiency of your air conditioning system. Follow these steps to install the new AC condenser:
- Position the new AC condenser on the mounting brackets. Make sure it is aligned properly and sits securely in place.
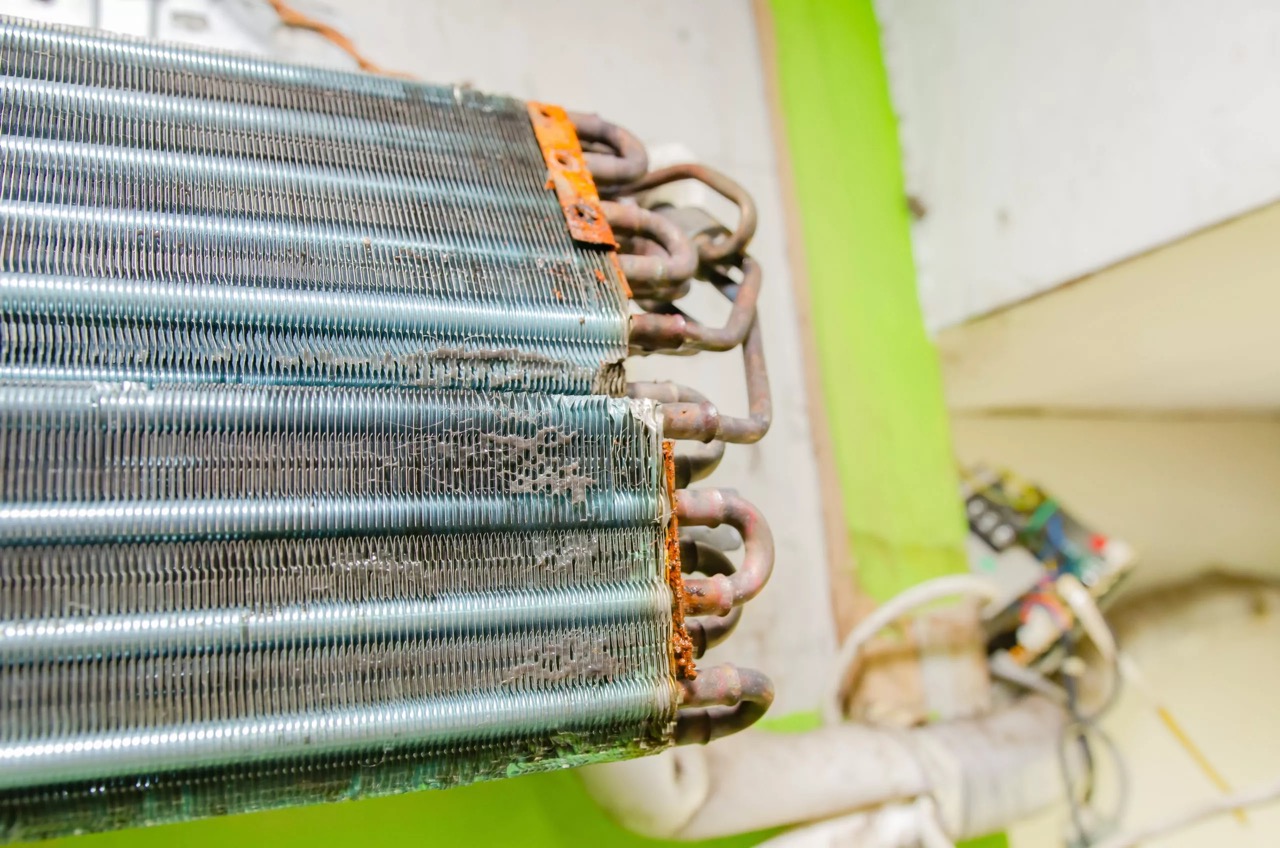
- Connect the refrigerant lines to the appropriate fittings on the new condenser. Use an adjustable wrench or pliers to tighten the fittings securely, but avoid over-tightening.
- Next, connect the electrical connections to the new condenser. Match the wires to their corresponding terminals and use a screwdriver or socket set to tighten the screws or bolts.
- Ensure that the electrical connections are securely fastened and there is no loose wiring.
- Check the manufacturer’s instructions for any additional steps specific to your AC unit model.
It’s worth noting that handling refrigerant requires special knowledge and licensing. If you are not certified to handle refrigerant, it is best to consult a professional for this task.
Once the new condenser is properly installed, take a moment to double-check all the connections and ensure everything is securely fastened. This will help prevent any issues during operation and ensure the longevity of the new AC condenser.
At this stage, you have successfully installed the new AC condenser. The next step is to reconnect the power and test the unit to ensure it is working correctly.
Read also: 14 Amazing AC Condenser Cover for 2025
Step 5: Reconnect power to the AC unit
Now that you have installed the new AC condenser, it’s time to reconnect the power to the unit. Restoring power is essential to test the functionality of the new condenser and ensure that it is operating properly.
Follow these steps to reconnect power to the AC unit:
- Go to the electrical panel and locate the circuit breaker that controls the AC unit.
- Flip the circuit breaker to the “On” position to restore power to the AC unit. You may hear a click or see the breaker shift back to its original position.
- Wait for a few moments to allow the system to stabilize.
As the power is restored, the new AC condenser should start functioning and cooling the air. Take note of any unusual noises or issues that may indicate a problem with the installation.
It’s important to mention that after reconnecting the power, you should wait for a few minutes before turning on the AC system. This allows the refrigerant to properly circulate within the system and prevents any potential damage to the compressor.
With the power reconnected, you are ready to move on to the final step of testing the new AC condenser.
Step 6: Test the new AC condenser
After successfully reconnecting the power to the AC unit, it’s crucial to test the new condenser to ensure that it is operating properly and providing efficient cooling. Testing will help you identify any potential issues or performance problems that may need to be addressed.
Follow these steps to test the new AC condenser:
- Set your thermostat to a lower temperature setting than the current room temperature. This will trigger the AC system to start cooling.
- Listen for the sound of the AC unit turning on. You should hear the compressor humming and the fan running.
- Feel the air coming from the vents to ensure that it is cooling and circulating properly.
- Monitor the cooling performance over a period of time to see if the desired temperature is reached and maintained consistently.
- Check for any unusual noises, vibrations, or odors that may indicate a problem with the new AC condenser.
- If you notice any issues or are not receiving proper cooling, it is recommended to contact a professional HVAC technician to diagnose and resolve the problem.
By testing the new AC condenser, you can ensure that it is functioning correctly and providing efficient cooling. Identifying and addressing any problems early on can help prevent further damage and ensure long-term performance.
Once you have tested the new AC condenser and are satisfied with its performance, you can enjoy the benefits of a properly functioning and energy-efficient cooling system in your home.
Conclusion
Replacing the AC condenser is a task that can be accomplished with proper knowledge and tools. By following the step-by-step instructions outlined in this guide, you can successfully replace your AC condenser and restore the functionality of your air conditioning system.
Remember to prioritize safety throughout the process and take necessary precautions when working with electrical components. If you are unsure about any step or do not have the required expertise, it is always better to consult a professional HVAC technician who can guide you through the process and ensure a successful installation.
The replacement of the AC condenser is a great opportunity to improve the efficiency and performance of your cooling system. A new condenser can help reduce energy consumption, lower utility bills, and provide comfortable indoor temperatures during hot summer months.
Regular maintenance and care of your AC system, including the condenser, can also extend its lifespan and prevent potential breakdowns. It is recommended to schedule annual maintenance appointments with a professional to keep your system in optimal condition.
In conclusion, with the right tools, materials, and knowledge, you can replace the AC condenser yourself and enjoy the benefits of a well-functioning air conditioning system. By following the steps provided in this guide, you can successfully complete the replacement process and ensure a cool and comfortable home environment for years to come.
Now that you've mastered replacing your AC condenser, why stop there? Keeping your air conditioning system in top shape doesn't have to be a hassle. For those looking to ensure their AC units are functioning optimally, our comprehensive guide on AC repair offers invaluable insights and practical advice. Don't let a malfunctioning system ruin your comfort during the hot months—stay cool and confident with expert tips on maintaining and repairing air conditioners.
Frequently Asked Questions about How To ReplACe AC Condenser
Was this page helpful?
At Storables.com, we guarantee accurate and reliable information. Our content, validated by Expert Board Contributors, is crafted following stringent Editorial Policies. We're committed to providing you with well-researched, expert-backed insights for all your informational needs.


0 thoughts on “How To ReplACe AC Condenser”