Articles
How To Hide Window AC Unit Inside
Modified: October 28, 2024
Learn how to hide your window AC unit inside your home with these helpful articles. Create a more aesthetically pleasing space while keeping your home cool and comfortable.
(Many of the links in this article redirect to a specific reviewed product. Your purchase of these products through affiliate links helps to generate commission for Storables.com, at no extra cost. Learn more)
Introduction
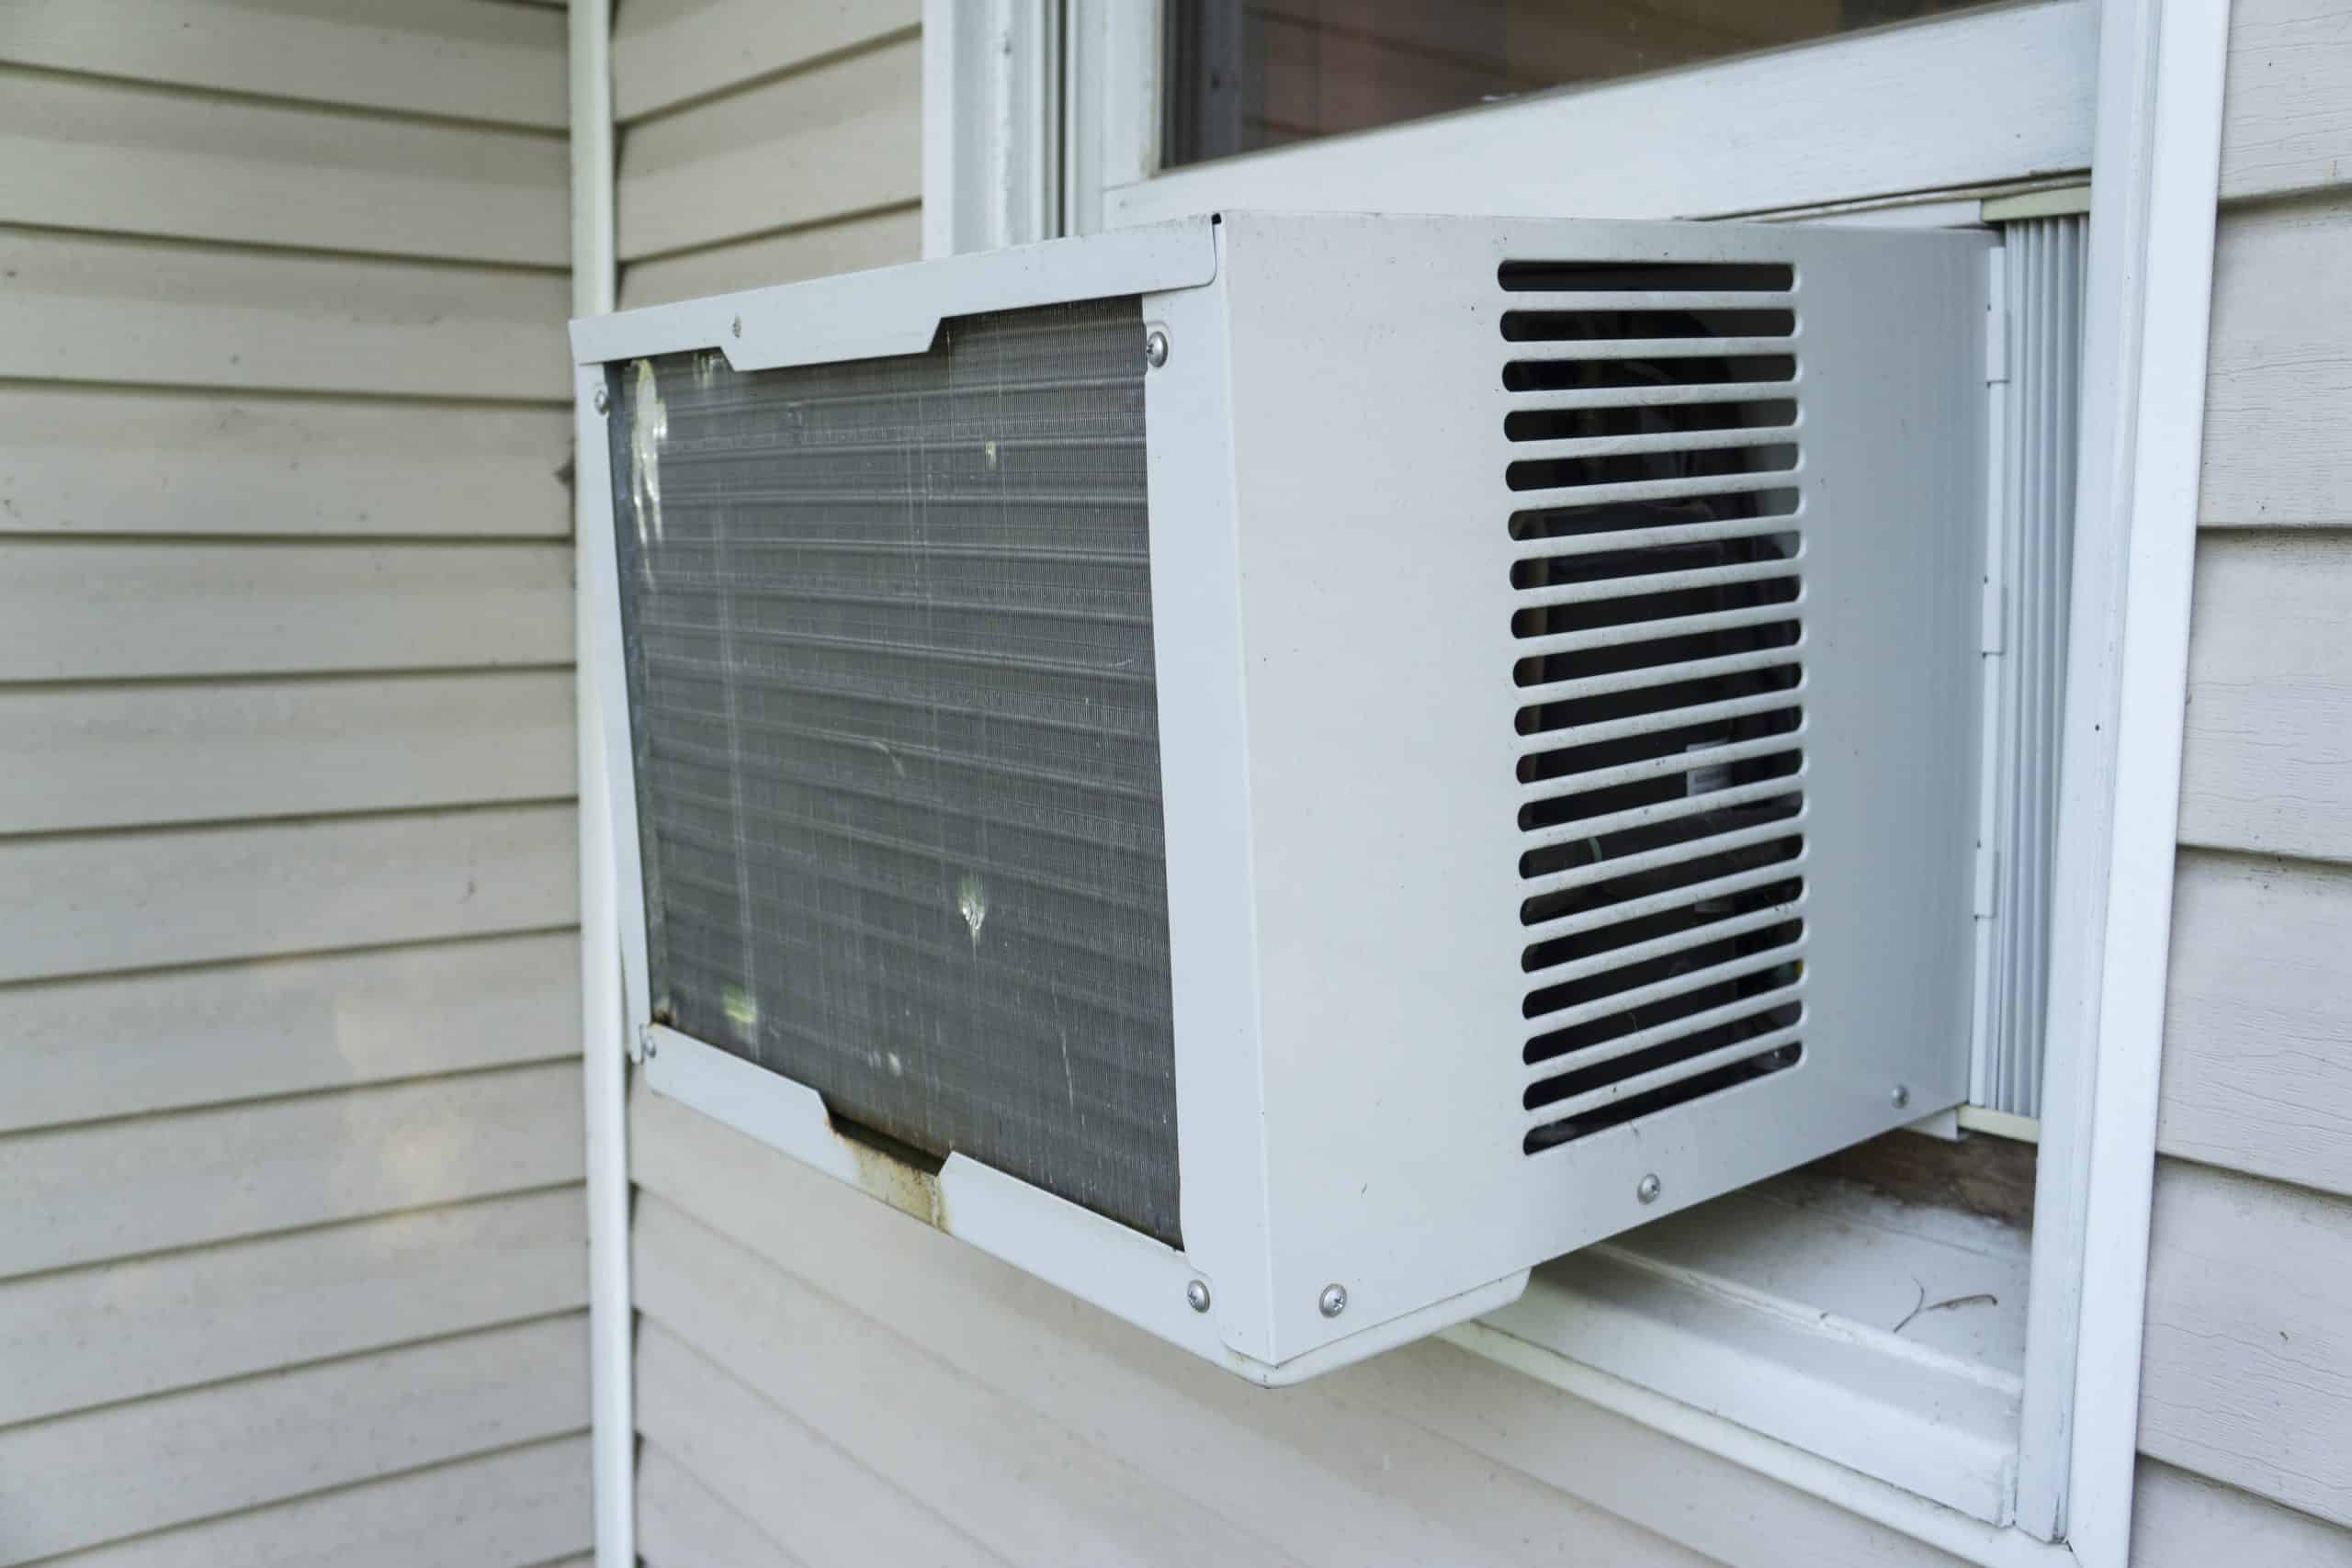
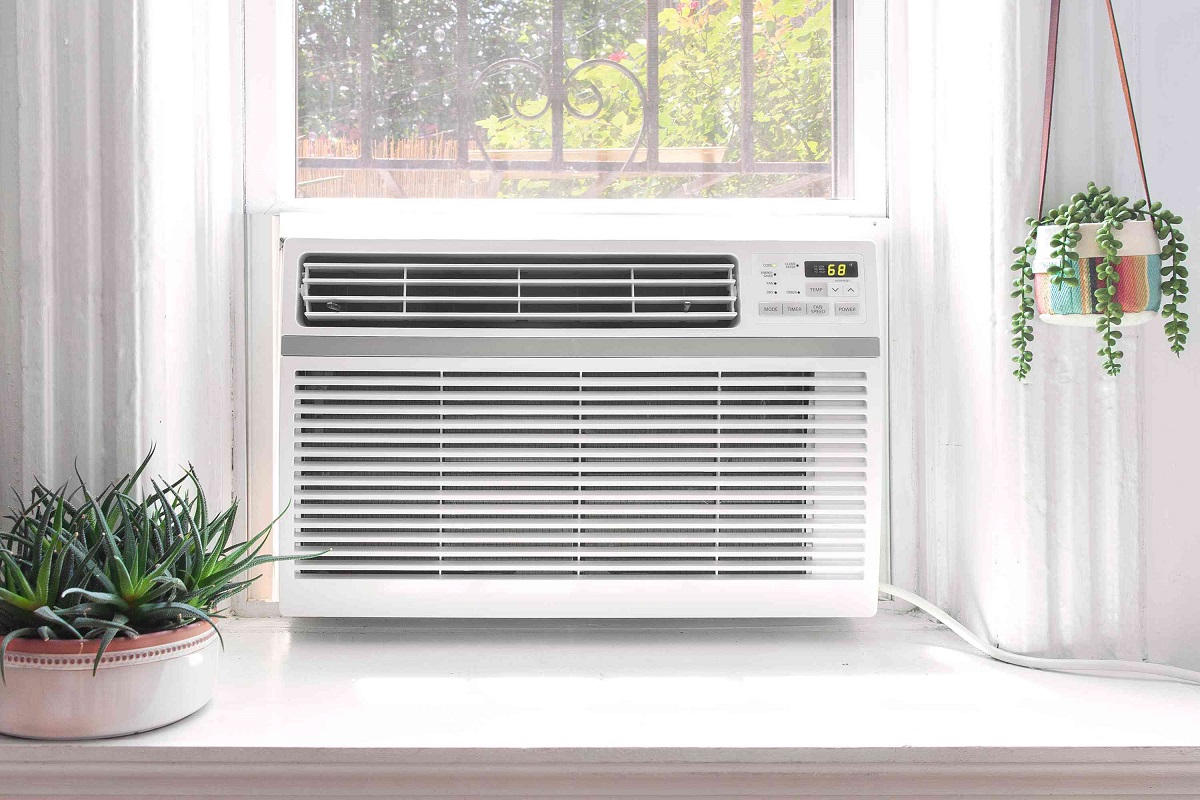
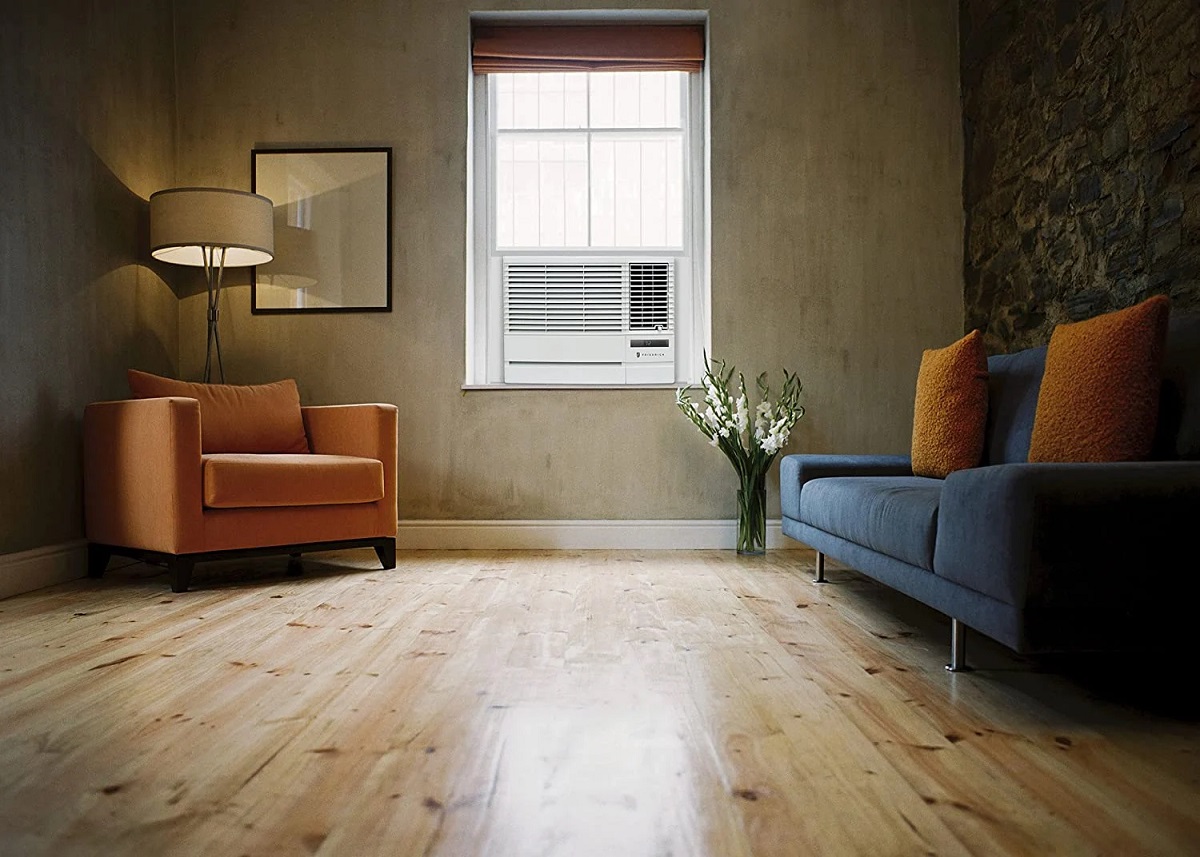
Window air conditioning units provide a convenient and cost-effective way to cool a room or small space. However, their bulky appearance and obstruction of natural light through the window can be an aesthetic challenge for some. Whether you simply prefer a cleaner look or need a creative solution to hide your window AC unit, there are various methods to consider.
In this article, we will explore several options for hiding a window AC unit inside your home. We will discuss different techniques that range from building custom enclosures to utilizing decorative screens, installing built-in wall units, creating window seats or built-in bookshelves, using window film or curtains, and camouflaging the unit with artwork or a wall mural. We will also explore the possibility of retrofitting the unit into an existing wall or removing and reinstalling it each season.
Before diving into the various methods, it is important to consider a few factors. First, check the manufacturer’s guidelines for your specific AC unit model. Some units require a specific amount of clearance for proper airflow, so be sure to adhere to these specifications to avoid potential damage or inefficiency.
Next, consider the layout and design of the room where the AC unit is located. Take note of the available space, wall configurations, and the general style you want to achieve. This will help you determine the best method for hiding the unit.
Lastly, think about the maintenance and accessibility of the AC unit. It is essential to ensure easy access for regular cleaning, filter replacements, and any necessary repairs. Keep this in mind when choosing a hiding method, as it should not compromise the unit’s functionality or impede its maintenance.
Now, let’s explore the different methods for hiding a window AC unit inside your home and find the perfect solution that suits your needs and preferences.
Key Takeaways:
- Transform your window AC unit into a seamless part of your room’s design with creative methods like custom enclosures, decorative screens, or built-in wall units. Consider aesthetics, maintenance, and airflow for a stylish and functional solution.
- Explore unique options such as window film, indoor plants, or artwork to effectively hide your window AC unit while adding visual appeal to your space. From temporary solutions to permanent integrations, find the perfect method that suits your style and budget.
Read more: How To Seal Window AC Unit
Considerations Before Hiding a Window AC Unit
Before embarking on the task of hiding a window AC unit, there are a few important considerations to keep in mind. These factors will help you make informed decisions and ensure that your chosen hiding method is both practical and effective.
1. Clearance and Airflow: Window AC units require proper airflow to operate efficiently. Before hiding your unit, be sure to check the manufacturer’s guidelines for the recommended clearance around the unit. Some units may require a specific distance from walls or other objects to maintain optimal airflow. Blocking the airflow can reduce the unit’s efficiency and potentially lead to damage.
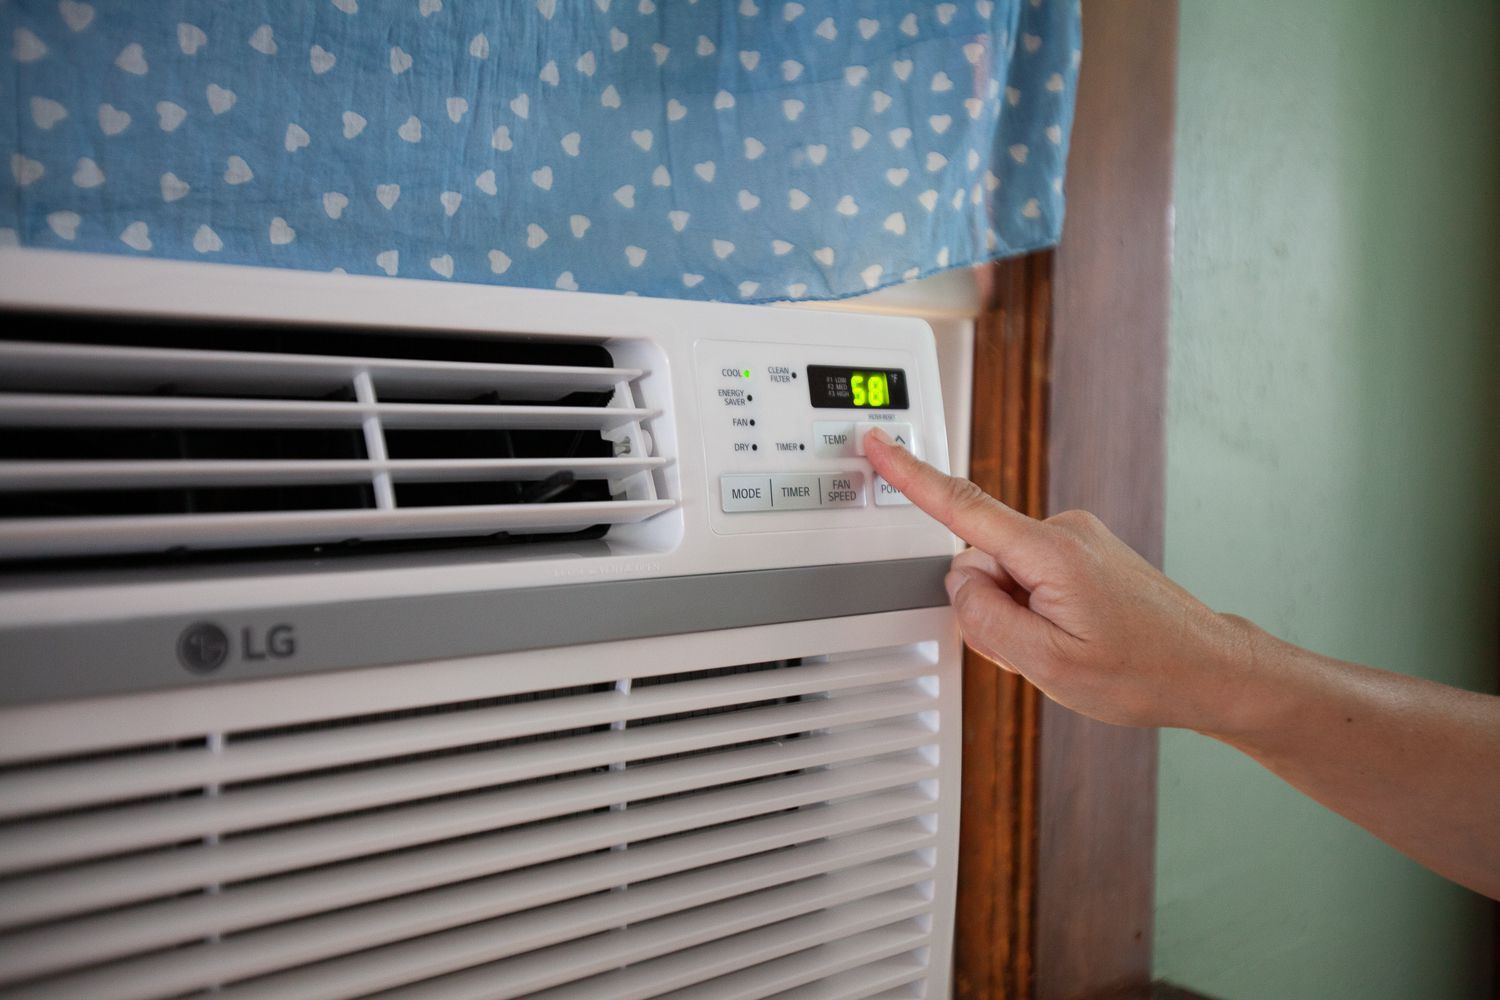
2. Accessibility for Maintenance: Regular maintenance and cleaning are necessary to keep your window AC unit in good working condition. When choosing a hiding method, consider how easily you can access the unit for routine maintenance tasks like cleaning the filters or removing debris. Ensure that your chosen hiding method does not hinder or impede accessibility.
3. Heat Dissipation: Window AC units generate heat during operation, and proper heat dissipation is crucial. If you plan to hide your AC unit, make sure that your chosen hiding method does not trap or restrict the heat it generates. Inadequate heat dissipation can cause the unit to overheat and lead to decreased performance or potential damage.
4. Fire Safety: When hiding a window AC unit, it is essential to consider fire safety regulations. Ensure that your hiding method does not obstruct any emergency exits or interfere with a clear path in case of fire. Consult local fire codes and guidelines to ensure compliance and safety.
5. Aesthetics: Your chosen hiding method should align with the overall aesthetics and style of the room. Consider factors such as color, texture, and design when selecting materials or decorative elements to conceal the AC unit. The goal is to create a seamless and visually pleasing integration of the unit into the room’s decor.
6. Cost and Complexity: Different hiding methods vary in terms of cost and complexity. Consider your budget and skill level when selecting a method. Some methods require professional installation, while others can be accomplished through DIY projects. Choose a method that suits your budget and comfort level with home improvement tasks.
By carefully considering these factors, you can choose a hiding method that not only conceals your window AC unit effectively but also ensures optimal performance and functionality. Now, let’s explore the various methods you can use to hide your window AC unit inside your home.
Methods for Hiding a Window AC Unit Inside
There are several creative methods you can utilize to hide your window AC unit inside your home. Each method offers its own unique benefits and can be tailored to match your specific aesthetic preferences and room layout. Let’s explore some of these methods:
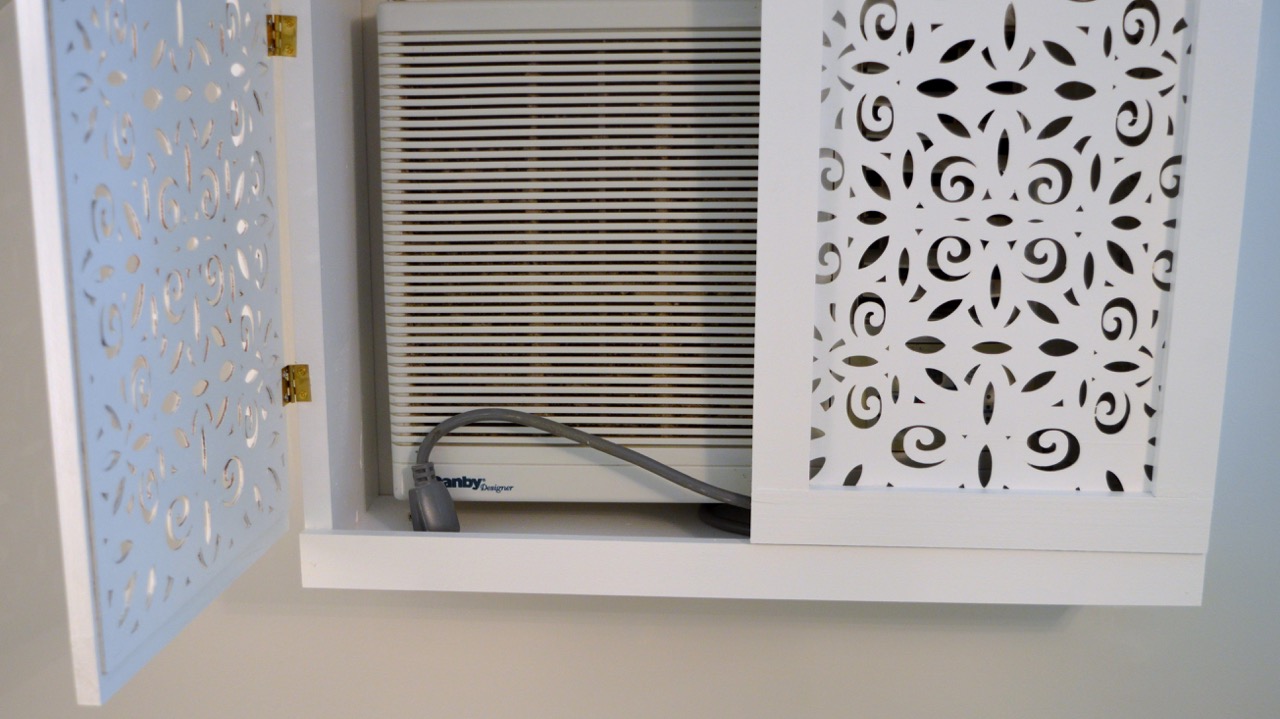
- Building a Custom Enclosure: One popular option is to build a custom enclosure around the AC unit. This can be done using various materials such as plywood, MDF, or even reclaimed wood. The enclosure can be designed to blend seamlessly with the room’s decor, with options for adding shelves or incorporating the unit into a larger built-in cabinet.
- Utilizing a Decorative Screen or Room Divider: Another creative way to hide a window AC unit is by using a decorative screen or room divider. These screens come in various designs and styles, allowing you to match the overall aesthetic of your room. By strategically placing the screen in front of the AC unit, you can effectively conceal it while still maintaining airflow and easy access for maintenance.
- Installing a Built-in Wall Unit: If you have the budget and wall space available, consider installing a built-in wall unit. This involves removing the window AC unit from the window and mounting it inside a custom-built wall cavity. This option provides a seamless integration into the room’s architecture, hiding the unit completely and allowing for more design flexibility.
- Creating a Window Seat or Built-in Bookshelf around the AC Unit: Another innovative way to hide a window AC unit is by incorporating it into a window seat or built-in bookshelf design. By utilizing the space around the unit, you can create a functional and visually appealing feature in the room. Adding cushions or shelves can provide additional seating or storage options, making the most of the available space.
- Using Window Film or Curtains to Conceal the AC Unit: For a more straightforward and cost-effective solution, consider using window film or curtains to conceal the AC unit. Window film can be applied directly to the windowpane, obscuring the view of the unit from the outside. Alternatively, curtains can be hung in front of the unit, allowing you to easily open or close them as desired.
- Placing Indoor Plants or Decorative Objects in Front of the AC Unit: Another way to hide a window AC unit is by placing indoor plants or decorative objects in front of it. This approach adds a natural and visually appealing element to your room while effectively disguising the unit. Make sure to select plants that thrive indoors and are tolerant of the temperature changes caused by the AC unit.
- Camouflaging the AC Unit with Artwork or a Wall Mural: If you are looking for a creative and artistic solution, consider camouflaging the AC unit with artwork or a wall mural. Choose a design that complements the rest of the room and create a custom piece that seamlessly incorporates the AC unit into the overall composition. This method not only hides the unit but can also become a standout feature in the room.
- Retrofitting the AC Unit into an Existing Wall: In certain circumstances, it may be possible to retrofit the AC unit into an existing wall. This involves removing a section of the wall, placing the AC unit inside, and then securing it in place. This method requires professional expertise to ensure proper installation and may involve additional costs, but it offers a seamless and integrated hiding solution.
- The Option of Removing and Reinstalling the AC Unit Each Season: If none of the above methods are feasible or suitable for your situation, you can opt to remove and reinstall the AC unit each season. This is a temporary solution that allows you to hide the unit effectively during the colder months when air conditioning is not necessary.
Each of these methods offers a unique approach to hide a window AC unit inside your home. Consider your specific requirements, budget, and aesthetic preferences to choose the method that best suits your needs. With a little creativity and planning, you can successfully conceal your AC unit while maintaining a stylish and functional living space.
Building a Custom Enclosure
Building a custom enclosure is a popular method for hiding a window AC unit inside your home. This option allows you to create a tailored solution that seamlessly integrates the unit into your room’s design while providing easy access for maintenance. Here’s how you can go about building a custom enclosure:
1. Measure and plan: Start by measuring the dimensions of your window AC unit and the available space in the room where you want to hide it. This will help you determine the size and design of the enclosure. Consider factors such as airflow requirements, clearance from walls, and accessibility for maintenance.
2. Choose materials: Select the materials for your custom enclosure based on your style preferences and budget. Common options include plywood, MDF (medium-density fiberboard), and reclaimed wood. Keep in mind that the materials should be sturdy and able to withstand the weight and vibrations of the AC unit.
3. Design the enclosure: Sketch out a design for your custom enclosure, taking into account the overall aesthetic of the room. You can choose to build a simple box-shaped enclosure or get creative with more elaborate designs. Consider adding shelves or incorporating the unit into a larger built-in cabinet for additional functionality and storage.
4. Construct the enclosure: Once you have your design finalized, gather the necessary tools and materials and begin constructing the enclosure. Start by cutting the pieces of wood according to your measurements. Use screws or nails to assemble the structure, ensuring stability and durability. Reinforce the corners and joints for added strength.
5. Install ventilation: Proper airflow is essential for the efficient operation of the AC unit. To ensure sufficient ventilation, incorporate vents or slots into the enclosure design. These openings will allow air to circulate freely, preventing overheating and maintaining optimal performance. You can also consider adding a fan to improve airflow if necessary.
6. Paint or finish: Once the enclosure is built, sand down any rough edges and surfaces. Apply a coat of paint or finish that matches the room’s decor to create a seamless integration. Consider using a paint that is resistant to moisture and heat, as the AC unit can generate both during operation.
7. Install and secure: Carefully position the custom enclosure around the window AC unit, ensuring a proper fit. Use screws or brackets to secure the enclosure to the surrounding walls or floor, ensuring stability and preventing any accidental movement or tipping. Double-check that the unit is properly aligned and securely installed.
8. Access and maintenance: It is crucial to ensure easy access to the AC unit for maintenance and cleaning. Design the enclosure with removable panels or hinged doors that can be easily opened and closed as needed. This will allow you to clean the filters, remove debris, and perform any necessary repairs without hindrance.
A custom enclosure offers a practical and visually appealing solution for hiding a window AC unit. By following these steps and investing some time and effort, you can create a seamless integration within your room’s design and enjoy a cooler, aesthetically pleasing living space.
Utilizing a Decorative Screen or Room Divider
Utilizing a decorative screen or room divider is a clever and versatile method to hide a window AC unit inside your home. This approach not only conceals the unit but also adds a decorative element to the room. Here’s how you can effectively utilize a decorative screen or room divider:
1. Choose a decorative screen: Start by selecting a decorative screen or room divider that matches the style of your room. Consider the material, color, pattern, and size of the screen. You can find a wide variety of options, including wooden screens, metal screens, fabric screens, or even customized screens with unique designs.
2. Optimize positioning: Determine the optimal positioning for the decorative screen or room divider in relation to the window and AC unit. It should be placed in front of the unit while allowing enough space for adequate airflow and easy access to the unit for maintenance purposes. Ensure that the screen is stable and securely positioned.
3. Create airflow openings: To maintain proper airflow, consider creating openings in the decorative screen or room divider. This can be achieved by using a laser-cut screen, choosing a design with perforations, or strategically placing gaps between the panels of a room divider. These openings will allow the AC unit to receive the needed airflow while partially concealing it.
4. Coordinate with the room’s decor: Ensure that the design and style of the decorative screen or room divider coordinate with the rest of the room’s decor. Whether you prefer a screen that blends in or one that becomes a focal point, select a design that complements the overall aesthetics of the space. This will help create a cohesive and visually appealing environment.
5. Enhance with additional elements: Consider enhancing the overall look by adding additional elements around the decorative screen. For instance, you can place potted plants, artwork, or decorative objects in front of the screen to create a visually pleasing arrangement. This will not only conceal the AC unit but also enhance the overall ambiance of the room.
6. Accessibility for maintenance: It is important to ensure that the screen or room divider does not hinder access for maintenance and cleaning of the AC unit. Choose a design that allows for easy removal or folding of the screen when necessary. This will enable you to perform routine maintenance tasks on the AC unit without any inconvenience.
7. Flexibility and versatility: One of the advantages of using a decorative screen or room divider is its flexibility. If you decide to rearrange the room or relocate the AC unit, you can easily adapt the placement of the screen accordingly. This versatility allows you to change the layout and design of the space without major renovations.
Utilizing a decorative screen or room divider provides an elegant and practical solution to hide a window AC unit inside your home. It allows you to blend the unit seamlessly into the room’s decor while maintaining airflow and accessibility. With a wide range of design options available, you can find the perfect screen or divider to suit your style and create a visually appealing living environment.
Read more: How To Remove A Window AC Unit
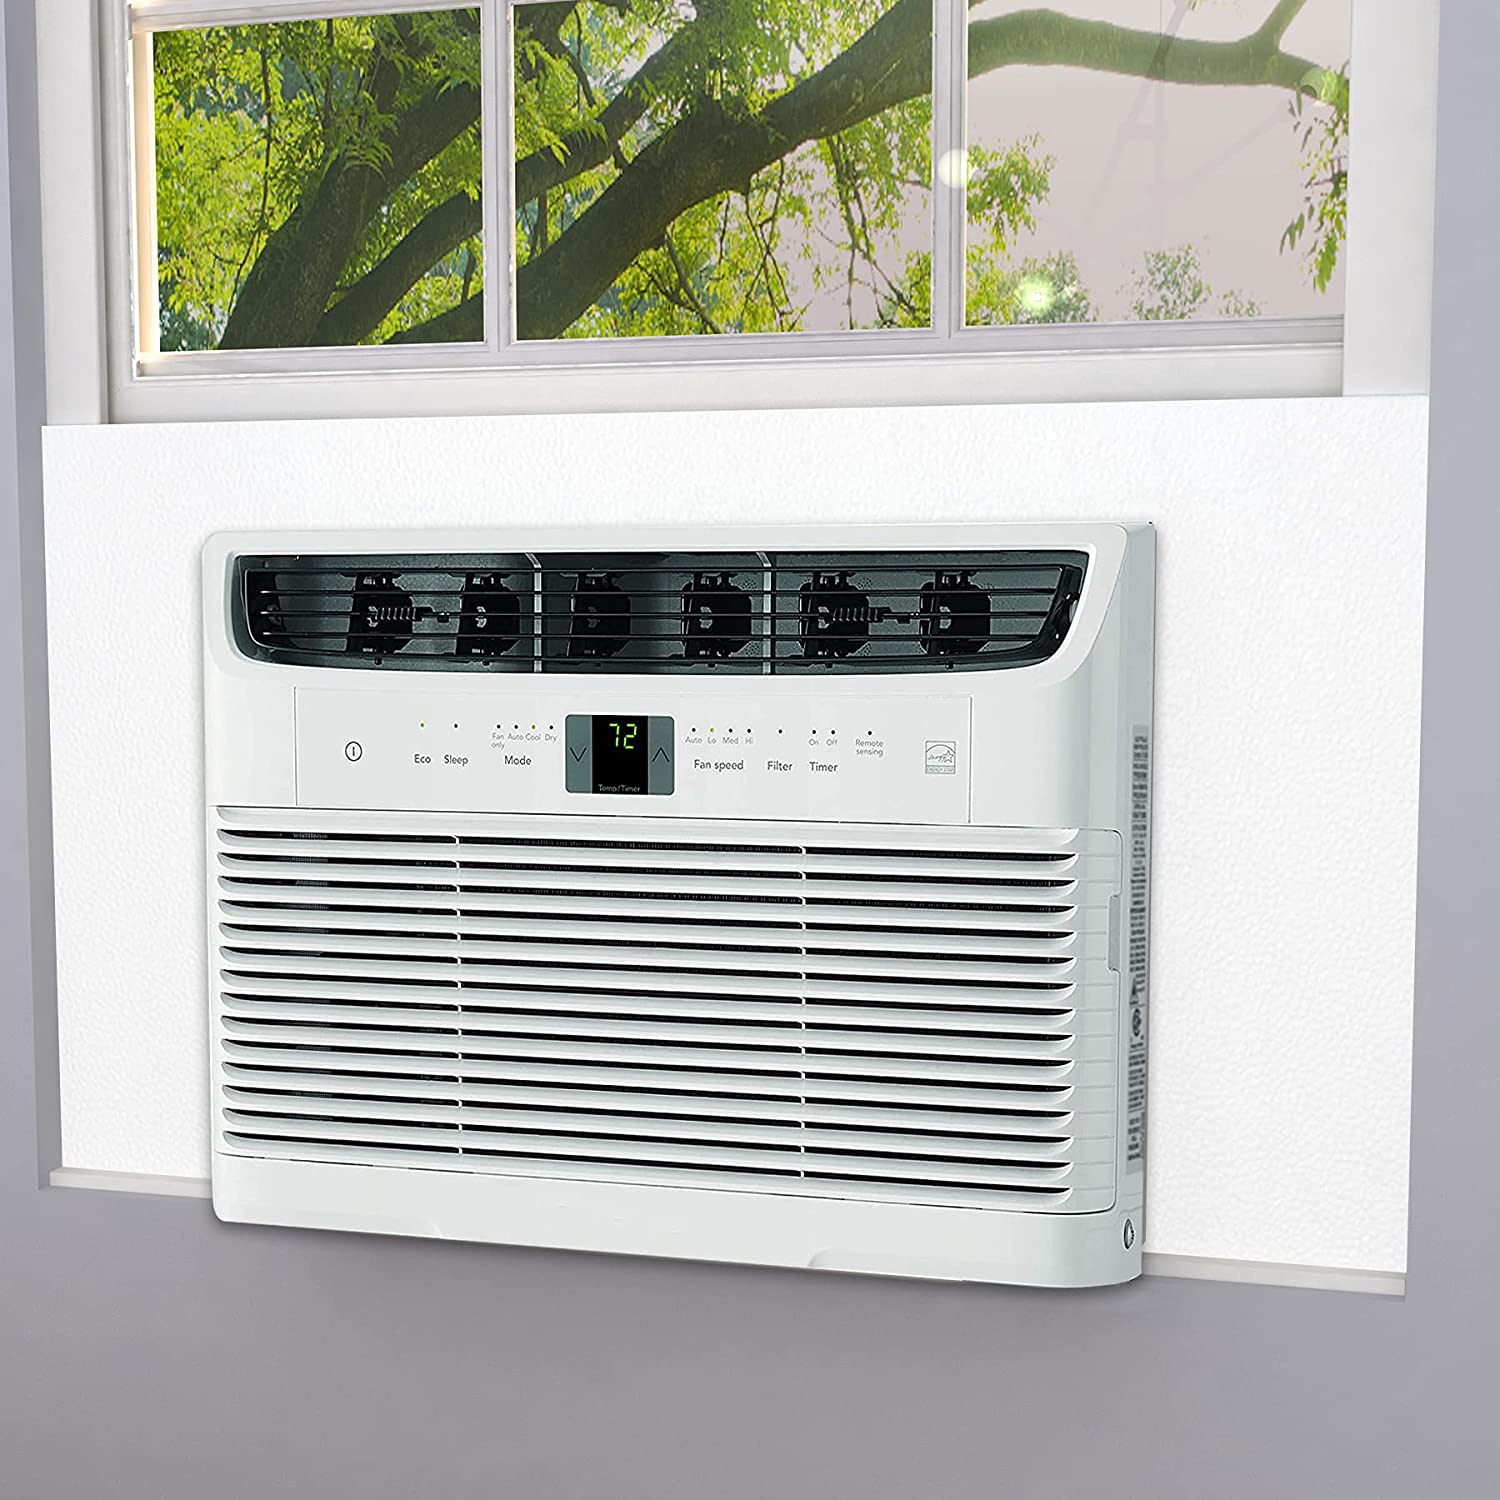
Installing a Built-in Wall Unit
If you are looking for a seamless and permanent solution to hide your window AC unit, installing a built-in wall unit is a great option. This method involves removing the AC unit from the window and mounting it inside a custom-built wall cavity. Here’s how you can install a built-in wall unit:
1. Assess the feasibility: Before proceeding with this method, consider if your specific room layout and wall construction allow for the installation of a built-in wall unit. Consult with a professional contractor or handyman to ensure that your walls can accommodate the necessary modifications and prevent any structural issues.
2. Prepare the wall: Once you have determined the feasibility, prepare the wall by removing any existing drywall or plaster in the designated area. This will create space for the AC unit and the necessary framing. Ensure that the area is free of any electrical or plumbing lines that may interfere with the installation.
3. Frame the wall cavity: Construct a frame for the wall cavity using studs and beams. The size and structure of the frame should match the dimensions of the AC unit and provide adequate support. Secure the frame to the existing walls and floor, ensuring stability and rigidity. Consider adding insulation to improve energy efficiency.
4. Install the AC unit: Carefully position the AC unit within the wall cavity, making sure that it aligns with the frame. Secure the unit to the frame using screws or brackets, ensuring a sturdy attachment. Follow the manufacturer’s instructions for proper installation and connection to electrical and ventilation systems.
5. Seal and insulate: To prevent any air leaks and ensure efficient operation, seal the gaps between the AC unit and the wall cavity. Use insulation or weatherstripping to minimize heat transfer and maintain a consistent temperature inside the room. Additionally, seal any gaps or openings in the wall around the unit to prevent drafts.
6. Finish the wall: Once the AC unit is securely installed, replace the surrounding wall with new drywall or plaster. Ensure a smooth and seamless finish by properly mudding, sanding, and painting the wall. Choose a paint color that matches the overall aesthetics of the room to achieve a cohesive look.
7. Maintain accessibility: It is important to consider future maintenance and servicing of the AC unit. Incorporate access panels or removable sections into the wall design to allow easy access for cleaning, filter replacement, and any necessary repairs. These access points should be discreetly integrated into the wall and blend with the surrounding finish.
8. Seek professional assistance: Installing a built-in wall unit can be a complex task, especially if it involves structural modifications. It is recommended to seek the assistance of a professional contractor or handyman to ensure proper installation, adherence to building codes, and safety standards.
Installing a built-in wall unit offers a seamless and integrated hiding option for your window AC unit. It eliminates the need for the unit to occupy your window space, providing a more aesthetically pleasing and functional living environment. With proper planning and professional assistance, you can enjoy the benefits of a hidden AC unit that blends seamlessly with your room’s design.
Creating a Window Seat or Built-in Bookshelf around the AC Unit
One creative and functional way to hide a window AC unit inside your home is by incorporating it into a window seat or built-in bookshelf design. This method not only conceals the unit but also utilizes the space around it for additional storage or seating. Here’s how you can create a window seat or built-in bookshelf around your AC unit:
1. Assess the available space: Start by assessing the space around the window where the AC unit is located. Determine if there is enough space to build a window seat or a bookshelf without obstructing the AC unit or impeding its airflow. Take accurate measurements to ensure a proper fit.
2. Design the window seat: If you choose to create a window seat, design a comfortable and functional seating area that integrates the AC unit. Consider the height, length, and depth of the seat, ensuring that it provides ample space for relaxation. Include storage compartments beneath the seat, allowing you to keep books, blankets, or other items neatly organized.
3. Design the built-in bookshelf: If you prefer a built-in bookshelf, design a unit that surrounds the AC unit and complements your room’s decor. Consider the number of shelves, their height and width, and any additional features such as sliding doors or decorative elements. Plan the placement of the shelves to incorporate the AC unit seamlessly.
4. Build the structure: Once you have the design finalized, gather the necessary materials and build the window seat or built-in bookshelf structure. If you are not comfortable with carpentry tasks, consider hiring a professional contractor or handyman to ensure the construction is done accurately and securely.
5. Incorporate the AC unit: As the structure comes together, carefully position the AC unit within the designated space. Ensure that it is securely in place and allows for proper airflow and accessibility. You may need to make adjustments to the structure or create openings in the shelving for ventilation and maintenance purposes.
6. Finishing touches: Once the structure is complete and the AC unit is integrated, it’s time to add the finishing touches. Paint or stain the window seat or built-in bookshelf to match the room’s decor. Consider adding cushions and pillows to the window seat for added comfort and style.
7. Access for maintenance: To ensure easy access for maintenance tasks, such as cleaning the AC unit or changing filters, incorporate removable panels or hinged doors into the design. These features will allow you to conveniently reach the AC unit without dismantling the entire structure.
8. Final touches: Once everything is in place, take a step back and assess the overall look. Add decorative elements such as plants, artwork, or personal touches to enhance the aesthetic appeal of the window seat or built-in bookshelf. Arrange books, accessories, or display items on the shelves to create a visually appealing display.
Creating a window seat or built-in bookshelf not only hides the window AC unit but also utilizes the space effectively. Whether you choose to create a cozy seating area or a functional storage solution, incorporating the AC unit seamlessly into the design will enhance the overall look of your room while providing practical benefits.
Consider using a decorative room divider or a folding screen to hide the window AC unit. This can help to conceal the unit while still allowing for proper air circulation.
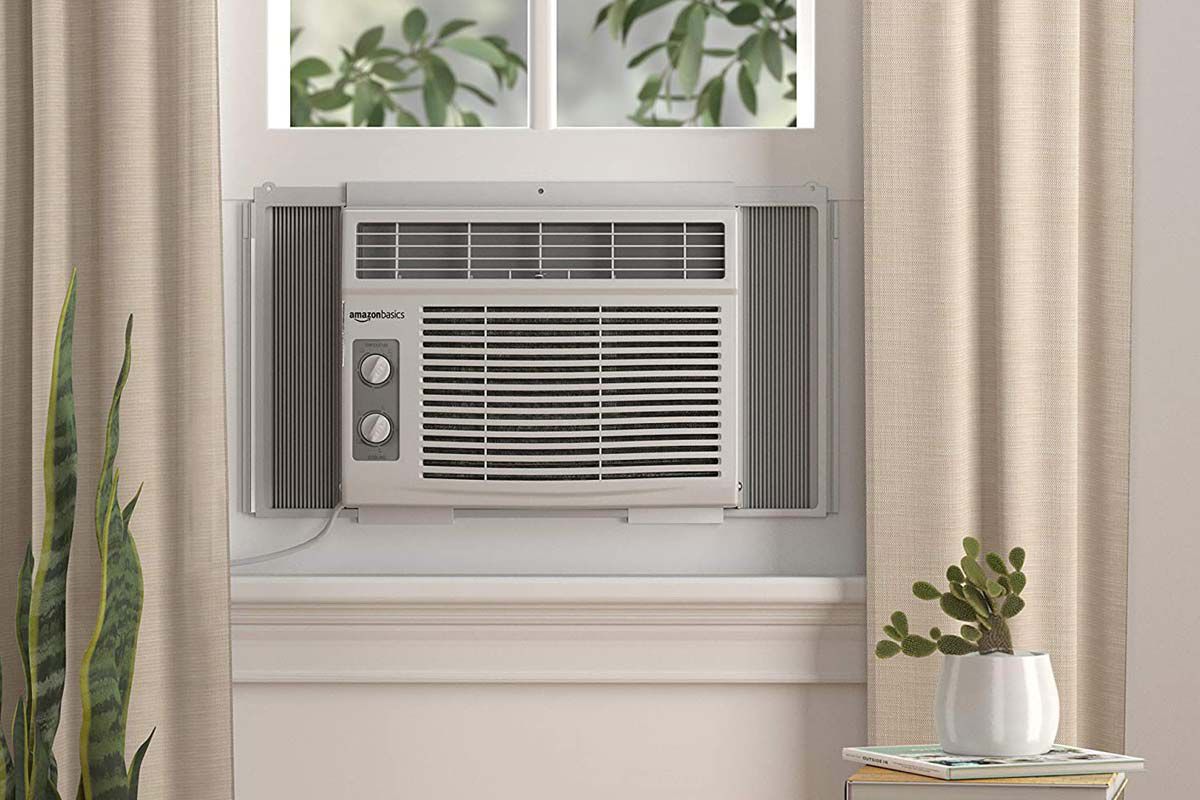
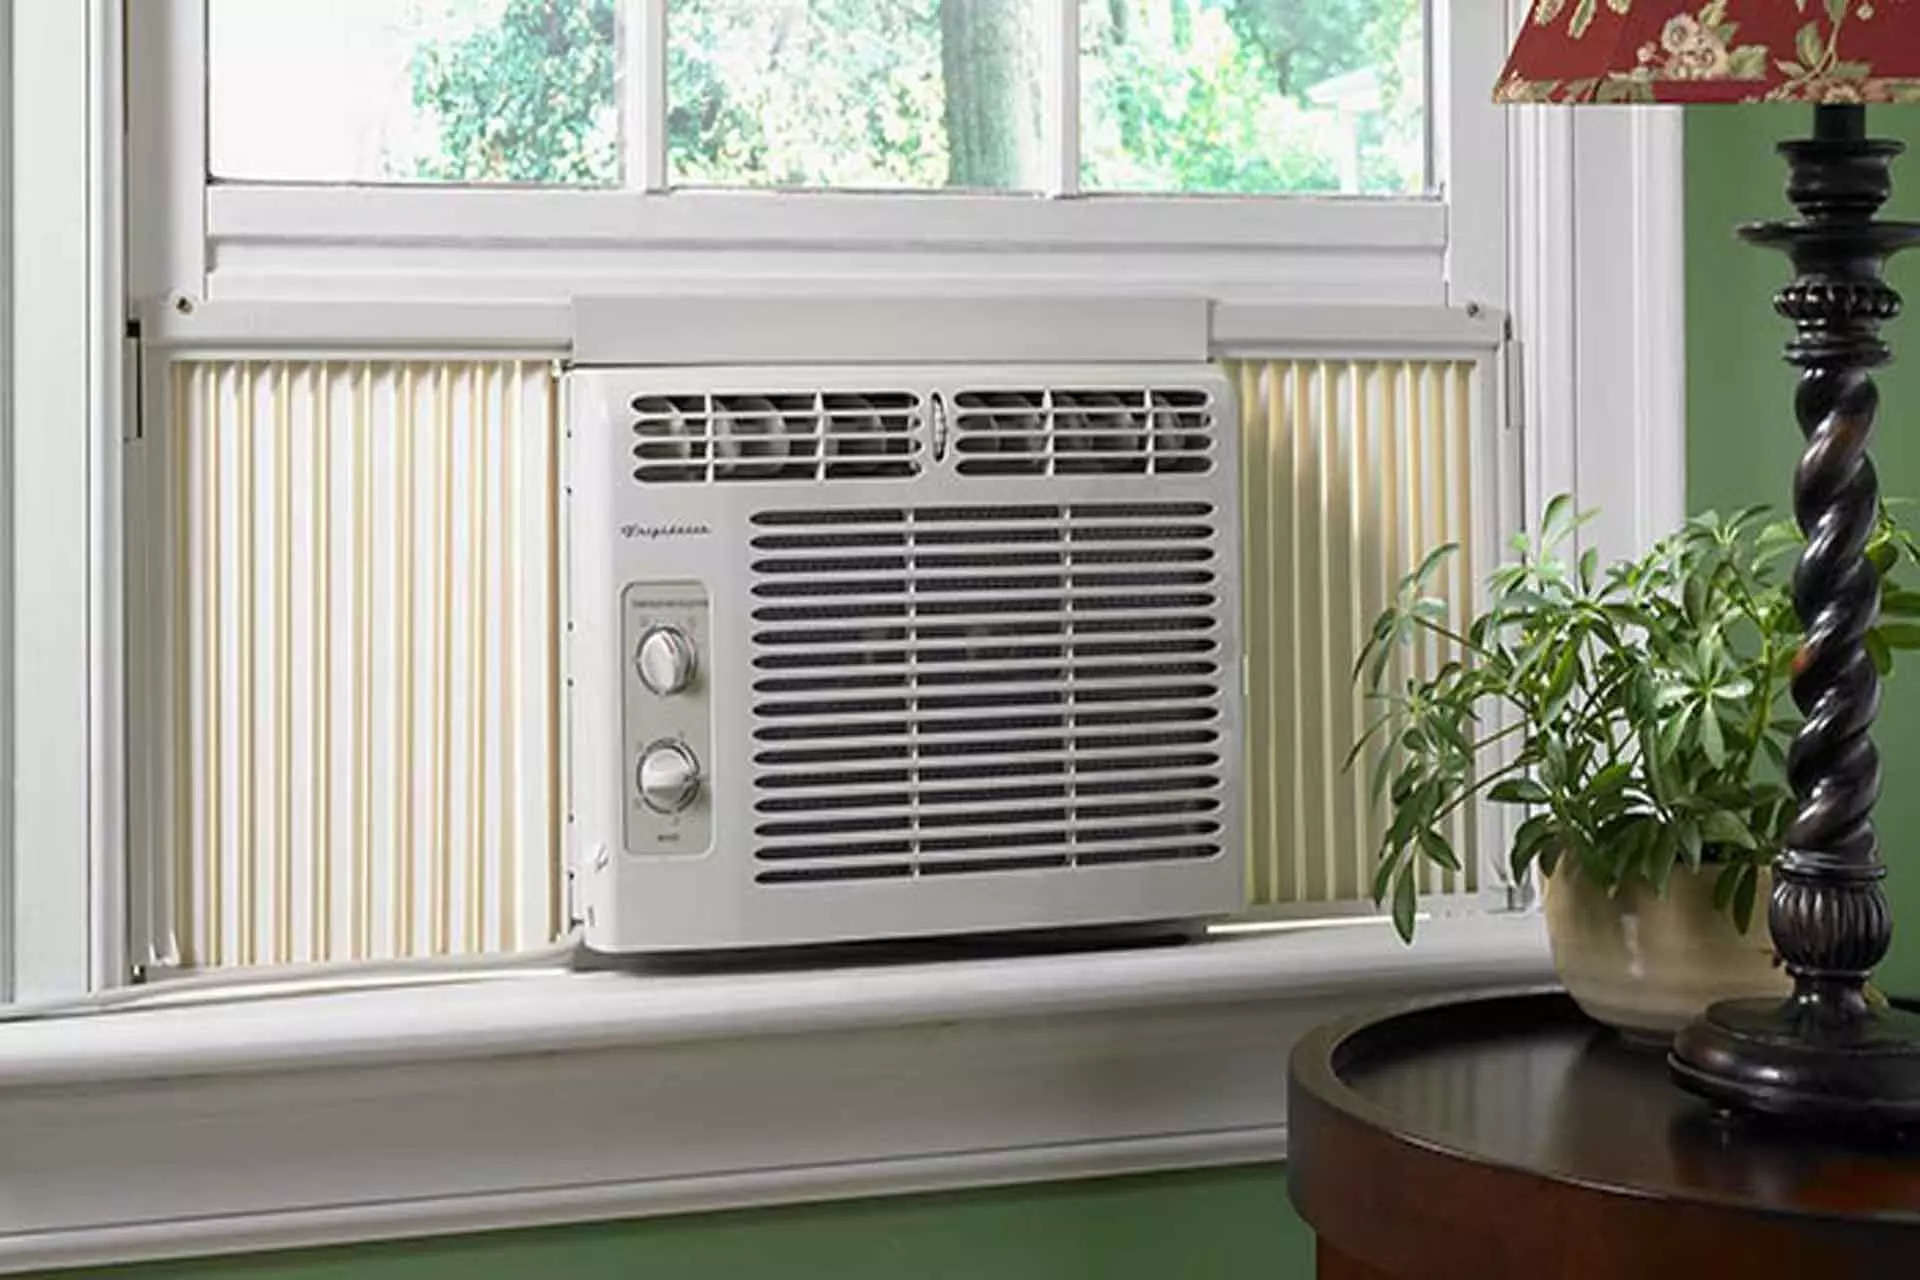
Using Window Film or Curtains to Conceal the AC Unit
If you’re looking for a simple and budget-friendly solution to conceal your window AC unit, using window film or curtains can be an effective option. With a variety of window films and curtains available, you can easily find a style that suits your taste and complements your room’s decor. Here’s how you can use window film or curtains to hide your AC unit:
1. Window Film:
a. Choose the right type of film: Select a window film that has an opaque or frosted finish to obscure the view of the AC unit from the outside. You can find a range of window films with different patterns and designs to match your aesthetic preferences.
b. Measure and cut the film: Measure the dimensions of your window and cut the film accordingly, leaving some extra margin on each side. Make sure to clean the window thoroughly before applying the film to ensure a smooth surface and optimal adhesion.
c. Apply the film: Peel off the backing of the window film and carefully apply it to the window. Start from the top and slowly smooth it down, ensuring there are no air bubbles or wrinkles. Use a squeegee or a credit card to press out any remaining bubbles.
d. Trim the excess film: Once the film is applied, trim off the excess film using a utility knife or sharp scissors. Take your time to achieve clean and precise cuts. Be careful not to damage the window or the film in the process.
e. Enhance with additional treatments: To further enhance the appearance and functionality, consider adding a decorative window film border or window trim. These additional treatments can add a touch of elegance and help integrate the concealed AC unit into your room’s design.
2. Curtains:
a. Select the right curtains: Choose curtains that are long enough to cover the entire window, including the AC unit. Opt for thicker, opaque fabrics that can effectively hide the unit from view.
b. Install curtain rods: Install curtain rods above and on either side of the window. Ensure they are securely fastened to support the weight of the curtains. Choose a curtain rod style that complements the room’s decor.
c. Hang the curtains: Slide the curtain rings onto the curtain rod and hang the curtains in place. Make sure the curtains are wide enough to completely cover the window and the AC unit when closed. Adjust the length of the curtains if needed.
d. Enhance with additional treatments: Consider adding curtain tiebacks or decorative curtain accessories to enhance the overall look. These additional elements can add style and functionality to your curtains while keeping them neatly in place when the AC unit is in use.
e. Accessibility and maintenance: Ensure that the curtains can be easily opened and closed to allow access to the AC unit for maintenance and cleaning. Avoid any obstructions that may make it challenging to reach the unit when necessary.
Using window film or curtains is a simple and practical way to conceal your window AC unit. Whether you choose the sleek look of window film or the versatility of curtains, both options can effectively hide the unit while adding a touch of style to your room. Experiment with different designs and materials to find the perfect solution that matches your personal taste and decor preferences.
Placing Indoor Plants or Decorative Objects in Front of the AC Unit
If you’re looking for a natural and visually appealing way to conceal your window AC unit, consider placing indoor plants or decorative objects in front of it. This method not only hides the unit but also adds a touch of greenery or decorative flair to your space. Here’s how you can effectively utilize indoor plants or decorative objects to hide your AC unit:
1. Choose the right plants or objects: Select indoor plants that thrive in the conditions provided by the AC unit, such as low-light or moderate humidity. Opt for plants with bushy foliage or larger leaves to effectively camouflage the AC unit. Alternatively, choose decorative objects like statues, vases, or wall art that complement your room’s decor.
2. Position the plants or objects: Place the selected plants or objects strategically in front of the AC unit to create a natural barrier. Consider the size and shape of the plants or objects to ensure they adequately conceal the unit while allowing for proper airflow and access for maintenance.
3. Grouping and arrangement: Group multiple plants or objects together to create a cohesive display. Experiment with different arrangements and heights to achieve an aesthetically pleasing look. By clustering the plants or objects, you can create a focal point that draws attention away from the AC unit.
4. Select appropriate containers: Choose containers or pots that enhance the overall look of the display. Consider the style, material, and color of the containers to complement your room’s decor. Make sure the containers have proper drainage to avoid any water accumulation near the AC unit.
5. Consider maintenance and accessibility: When placing plants or objects in front of the AC unit, ensure easy access for maintenance tasks such as cleaning, filter replacement, or repairs. Opt for containers or objects that can be easily moved or lifted to access the unit. Keep in mind that plants may need watering and occasional pruning, so consider their location in relation to the AC unit.
6. Enhance with additional elements: Add decorative accents such as pebbles, moss, or fairy lights to further enhance the visual appeal of the display. These additions can add texture, depth, and a touch of whimsy to the arrangement, making it even more captivating.
7. Maintaining the plants or objects: Regularly care for the plants or objects by watering, cleaning, and dusting them as needed. Keep an eye on the health of the plants and make adjustments to the arrangement as they grow. Replace or rotate decorative objects periodically to keep the display fresh and interesting.
The use of indoor plants or decorative objects is an effective way to hide your window AC unit while adding natural beauty or decorative flair to your space. This method not only conceals the unit but also brings life and personality to your room. Experiment with different plants, objects, and arrangements to create a visually stunning display that seamlessly incorporates the AC unit into your room’s decor.
Read more: How To Recharge Window AC Unit
Camouflaging the AC Unit with Artwork or a Wall Mural
If you’re looking for a creative and artistic solution to hide your window AC unit, consider camouflaging it with artwork or a wall mural. This method allows you to transform the unit into a visually stunning piece that seamlessly blends with your room’s decor. Here’s how you can effectively camouflage your AC unit:
1. Choose the artwork or design: Select artwork or a wall mural that complements your room’s aesthetic and style. Consider the colors, theme, and size of the artwork or mural in relation to the AC unit and the overall dimensions of the wall. Choose a design that can effectively conceal the unit while adding visual interest to the space.
2. Positioning and sizing: Determine the optimal position and size for the artwork or wall mural in relation to the AC unit. Consider the dimensions of the AC unit and plan accordingly to ensure the unit is fully covered or integrated into the design. This can involve centering the artwork or mural around the unit or incorporating it into a larger scene.
3. Consult a professional artist or muralist: If you’re not confident in your artistic abilities, consider hiring a professional artist or muralist to create a custom design that camouflages the AC unit. Collaborate with the artist to discuss your vision, the desired level of camouflage, and any specific elements or themes you want to incorporate.
4. Coordinate with the room’s decor: Ensure that the artwork or mural complements the existing decor and color palette of the room. Coordinate the colors, styles, and motifs of the design with the furniture, flooring, and other decorative elements in the space. This will create a cohesive look that seamlessly integrates the AC unit into the overall ambiance.
5. Ensure proper installation: Properly install the artwork or mural to ensure a seamless and long-lasting camouflage. Follow the artist’s or manufacturer’s instructions for installation. Depending on the size and type of artwork, this could involve hanging it like a traditional painting or applying a wall mural with adhesive or wallpaper paste.
6. Maintenance and accessibility: Consider how the artwork or mural installation may affect the accessibility and maintenance of the AC unit. Ensure that the artwork does not obstruct any necessary access points for cleaning, filter replacement, or repairs. Plan for removable sections or panels that can be easily opened or lifted when needed.
7. Regular upkeep: Take care to regularly clean and maintain the artwork or mural to ensure its longevity and visual impact. Dust the surface gently and use appropriate cleaning methods based on the materials used. Avoid getting cleaning solutions or excessive moisture on the artwork to prevent any damage or discoloration.
The use of artwork or a wall mural to camouflage your AC unit is a creative and unique solution. It transforms the unit into a captivating feature of the room, while seamlessly blending it with the rest of your decor. Take the time to plan the design, consult professionals if needed, and maintain the artwork or mural to enjoy a truly visually stunning and hidden AC unit.
Retrofitting the AC Unit into an Existing Wall
Retrofitting your window AC unit into an existing wall is a more involved solution, but it provides a seamless integration and a hidden appearance for your cooling system. This method involves removing a section of the wall and securely mounting the unit within the space. Here’s how you can retrofit your AC unit into an existing wall:
1. Assess the feasibility: Determine if your existing wall is suitable for retrofitting. Consult with a professional contractor or handyman to evaluate the wall’s structure, the location of electrical and plumbing lines, and any potential obstacles that may hinder the retrofitting process.
2. Plan the location: Decide on the ideal location within the wall to install your AC unit. Consider factors such as proximity to electrical outlets, access for maintenance, and the airflow requirements specified by the manufacturer. Determine the dimensions of the opening needed to accommodate the unit.
3. Mark and cut the opening: Use a level and tape measure to mark the dimensions of the opening on the wall. Use a reciprocating saw or a sawzall to carefully cut out the marked section of the wall. Take precautions to protect yourself and the surrounding area by wearing safety goggles and covering furniture and flooring.
4. Prepare the opening: Remove any debris or protruding nails from the cutout section. Check the opening for any electrical or plumbing lines that may need to be relocated or rerouted by a professional electrician or plumber. Ensure the opening is clean, level, and smooth.
5. Mount the AC unit: Position the AC unit within the wall opening, making sure it aligns properly. Secure the unit using brackets or a mounting kit according to the manufacturer’s instructions. Ensure a snug fit and that the unit is level and stable. Follow electrical connections and safety protocols to avoid any hazards.
6. Seal the opening: Apply weatherproof sealing material or caulk around the edges of the unit to prevent air leaks and improve insulation. Properly seal any gaps or cracks to maintain energy efficiency and keep the unit hidden from view. Choose a sealing material that is compatible with the construction materials used in your wall.
7. Finish the wall: Replace the surrounding wall sections with new drywall or plaster. Smooth out the surface and apply joint compound or plaster to create an even finish. Allow the compound to dry, then sand and paint the area to match the rest of the wall. Consider using a paint color that seamlessly blends with the surrounding walls.
8. Accessibility and maintenance: Ensure easy access to the AC unit for maintenance tasks such as filter replacement and cleaning. Incorporate access panels or removable sections within the wall design to allow convenient access. These access points should be discreetly integrated into the wall and blend seamlessly with the overall design.
It’s important to note that retrofitting an AC unit into an existing wall requires proper planning, expertise, and in some cases, professional assistance. Consult with professionals to ensure the retrofitting is performed safely, adheres to building codes, and maintains the integrity of your home’s structure.
Retrofitting your AC unit into an existing wall allows you to achieve a truly hidden and integrated cooling solution. With careful planning and the help of professionals, you can enjoy the benefits of a concealed AC unit while maintaining a seamless and aesthetically pleasing living space.
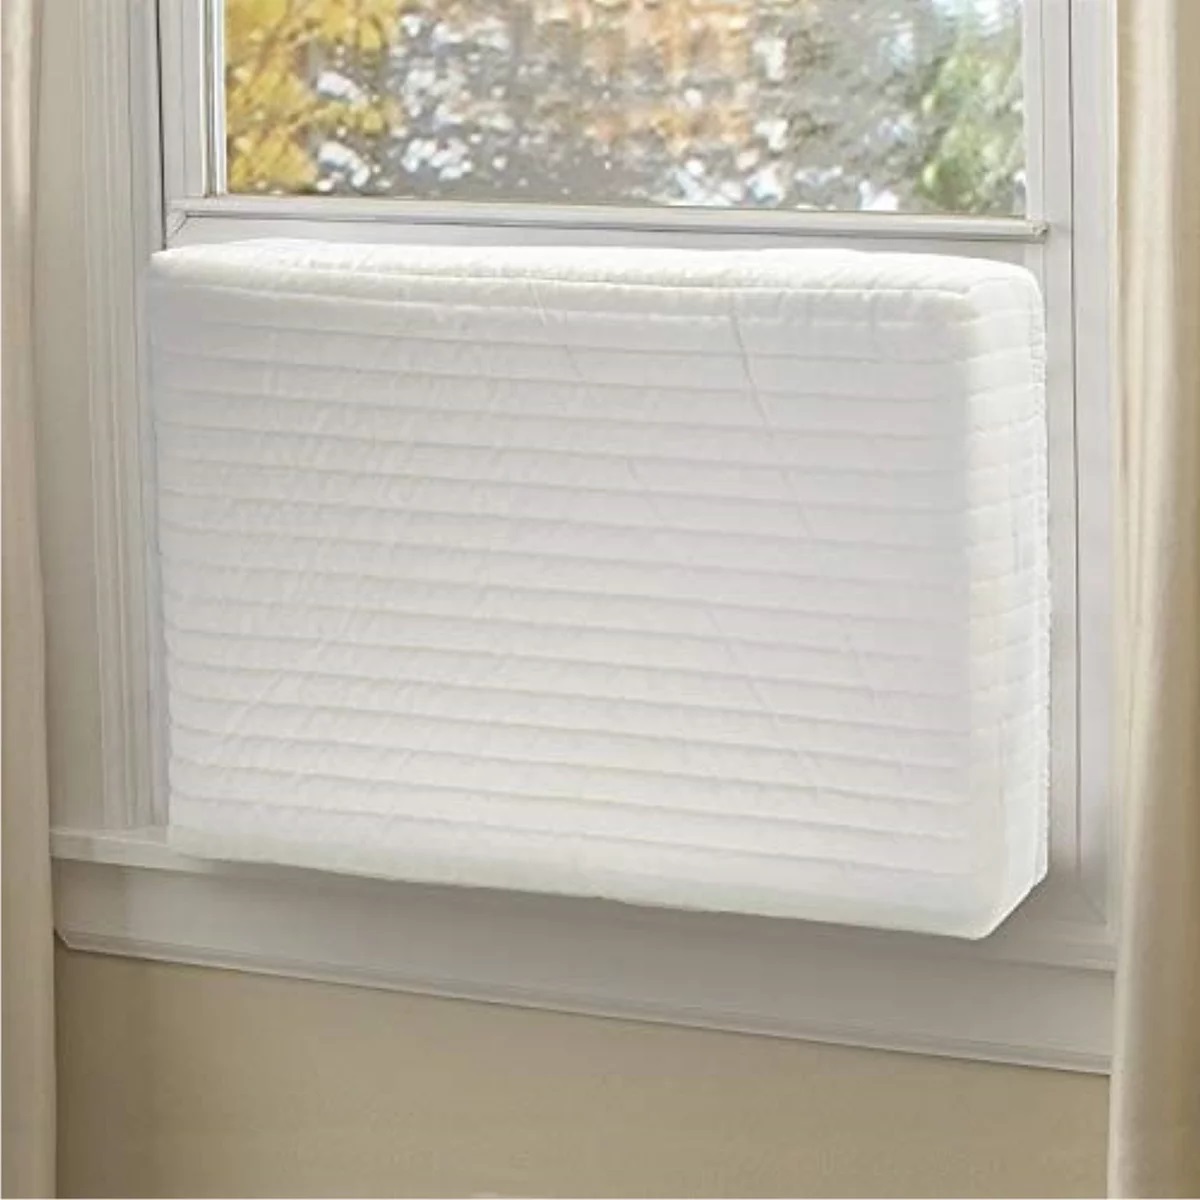
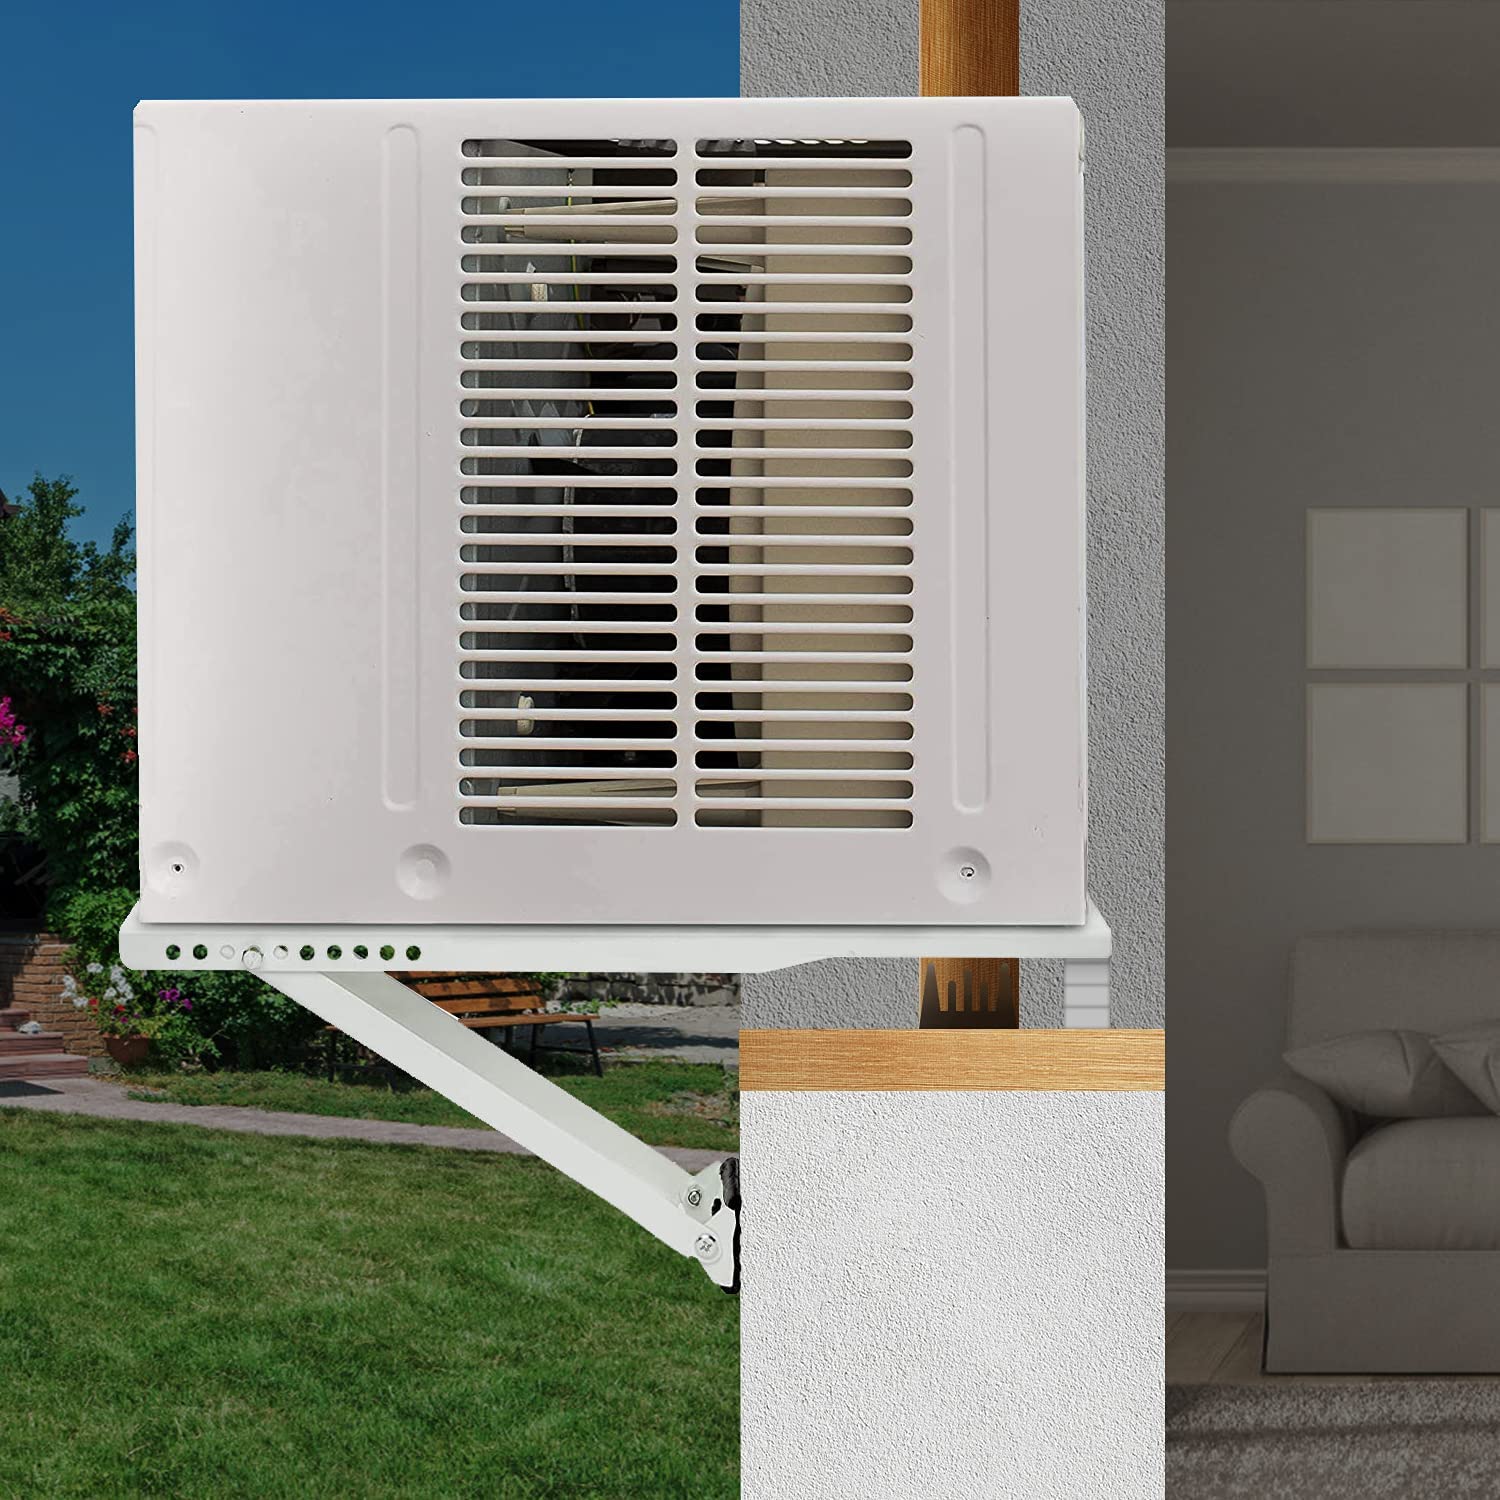
The Option of Removing and Reinstalling the AC Unit Each Season
If you prefer a more flexible and temporary solution for hiding your window AC unit, you have the option of removing and reinstalling the unit each season. This method allows you to maintain a clean and unobstructed view of your window during colder months when the AC is not in use. Here’s what you need to know:
1. Assess the feasibility: Consider the weight and size of your AC unit and evaluate if it’s manageable to remove and reinstall each season. Assess the condition of the window and frame to ensure they can withstand the process without any damage. Consult the manufacturer’s guidelines for instructions on safe removal and installation.
2. Gather the necessary tools: Ensure you have the right tools on hand to safely remove and reinstall the AC unit each season. These may include a sturdy ladder, screwdrivers, pliers, adjustable wrenches, and any additional tools specific to your unit’s installation requirements.
3. Prepare your window: Prior to removal, clean the window, frame, and surrounding area to avoid introducing any dirt or debris into your living space. Make sure to disconnect any power supply to the AC unit before starting the removal process.
4. Safely remove the AC unit: Follow the manufacturer’s instructions for safely removing the AC unit from the window. Typically, this involves disconnecting power, loosening or removing any screws or brackets securing the unit, and carefully sliding it out of the window frame.
5. Store the AC unit: Find a suitable storage space for your AC unit during the months when it’s not in use. Ensure the space is clean, dry, and free from extreme temperatures that may damage the unit. Consider covering the unit with a protective cover or wrapping it in a moisture-resistant material to prevent dust buildup and protect it from potential damage.
6. Prepare the window for the off-season: Once the AC unit is removed, clean and inspect the window and frame for any damage or wear. Seal any gaps or cracks, ensuring proper insulation to prevent drafts and heat loss. Consider using insulation kits or temporary window insulation film to maintain energy efficiency during the colder months.
7. Reinstall the AC unit: When the warmer months approach, carefully reinstall the AC unit by reversing the removal process. Clean the window and frame prior to installation, and ensure a secure fit by following the manufacturer’s instructions. Double-check for any gaps or air leaks that could affect the unit’s efficiency.
8. Regular maintenance: While the AC unit is removed, take the opportunity to clean and inspect the unit itself. Clean the filters, remove any debris, and check for any signs of damage or wear. Follow the manufacturer’s guidelines for maintenance and consult professionals if necessary.
9. Considerations for energy efficiency: If you choose to remove and reinstall your AC unit each season, it’s essential to be mindful of energy efficiency. Consider alternatives such as window treatments or temporary fans during the off-season to maintain a comfortable indoor climate while minimizing energy consumption.
The option of removing and reinstalling your AC unit each season gives you the flexibility to enjoy an unobstructed view during cooler months. However, it does require additional effort and considerations for proper storage and maintenance. By following the manufacturer’s instructions and practicing regular upkeep, you can seamlessly transition between seasons while ensuring the longevity and efficiency of your AC unit.
Conclusion
Hiding a window AC unit inside your home doesn’t have to be a challenge. With a variety of methods available, you can effectively conceal the unit while maintaining a stylish and functional living space. Throughout this article, we have explored various options, including building a custom enclosure, utilizing decorative screens or room dividers, installing a built-in wall unit, creating a window seat or built-in bookshelf, using window film or curtains, placing indoor plants or decorative objects, camouflaging with artwork or a wall mural, retrofitting into an existing wall, and the option of removing and reinstalling the unit each season.
Each method offers its own unique advantages and considerations. Custom enclosures provide a tailored solution, while decorative screens or room dividers add versatility. Built-in wall units offer a seamless integration, and window seats or built-in bookshelves maximize space utility. Window film or curtains provide a simple and affordable option, while indoor plants or decorative objects add a natural touch. Artwork or wall murals allow for creative camouflage, retrofitting into an existing wall provides a hidden appearance, and removing and reinstalling each season offers flexibility.
When choosing a method, it’s essential to consider factors such as clearance and airflow requirements, accessibility for maintenance, heat dissipation, fire safety regulations, aesthetics, cost, and complexity. By taking these considerations into account, you can select the most suitable method that aligns with your preferences and room layout.
Remember, the goal is to seamlessly integrate the AC unit into your room’s design while maximizing its functionality and efficiency. Whether you opt for a permanent solution like building a custom enclosure or a temporary option like using window film or removing and reinstalling the unit, the result will be a cooler, more visually appealing space.
Choose a method that suits your budget, style preferences, and comfort level with home improvement tasks. If needed, consult professionals for guidance and assistance to ensure proper installation and adherence to safety standards.
With the right approach and a touch of creativity, you can successfully hide your window AC unit inside your home and enjoy a comfortable and aesthetically pleasing living environment all year round.
Frequently Asked Questions about How To Hide Window AC Unit Inside
Was this page helpful?
At Storables.com, we guarantee accurate and reliable information. Our content, validated by Expert Board Contributors, is crafted following stringent Editorial Policies. We're committed to providing you with well-researched, expert-backed insights for all your informational needs.


0 thoughts on “How To Hide Window AC Unit Inside”