Articles
How To ReplACe AC Compressor In Car
Modified: October 19, 2024
Learn how to replace the AC compressor in your car with our informative articles. Gain the knowledge and confidence to tackle the job yourself.
(Many of the links in this article redirect to a specific reviewed product. Your purchase of these products through affiliate links helps to generate commission for Storables.com, at no extra cost. Learn more)
Introduction
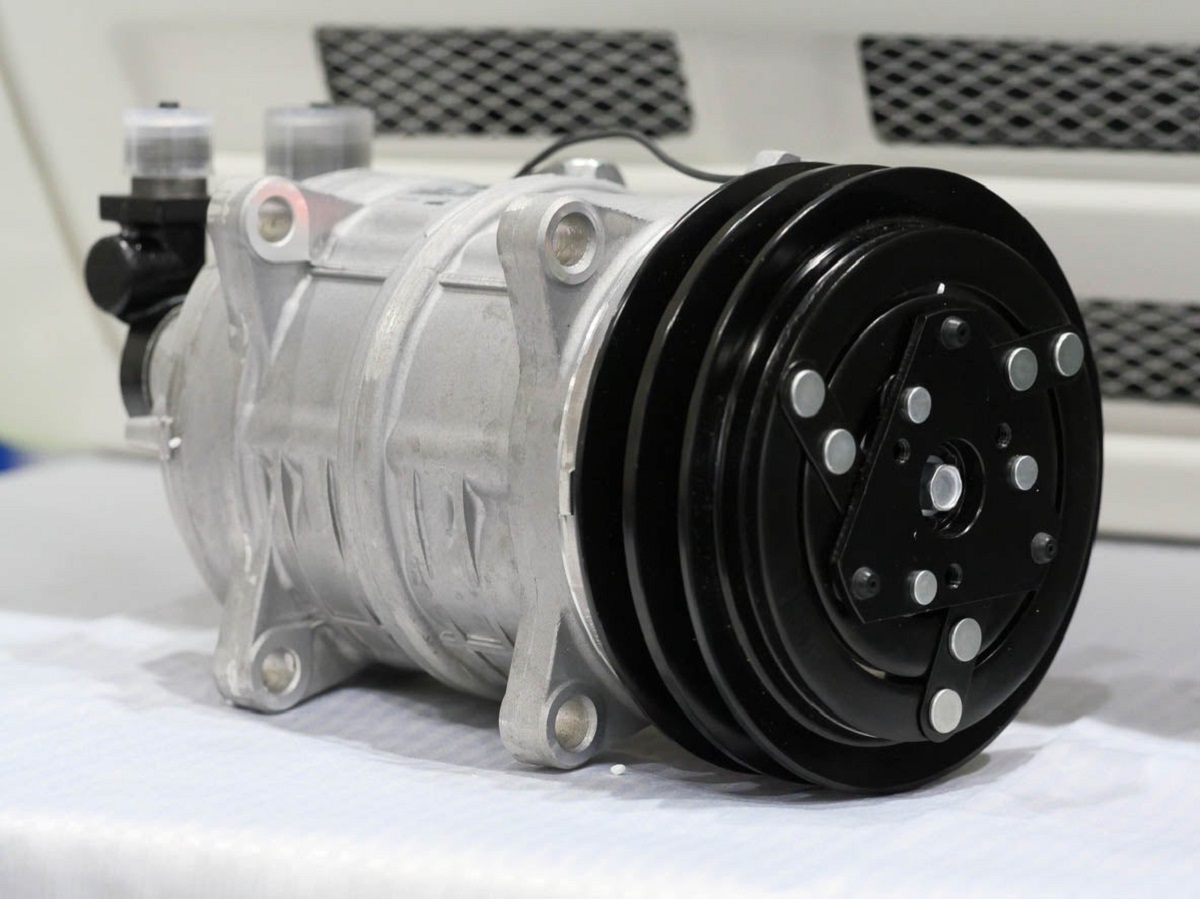
Replacing the AC compressor in a car is an essential repair for maintaining a comfortable and efficient cooling system. The AC compressor plays a vital role in the refrigeration process, compressing the refrigerant gas and circulating it through the system to produce cool air. Over time, however, the AC compressor may fail due to wear and tear, damage, or issues with other components in the AC system.
While replacing the AC compressor may seem like a daunting task, with the right tools and knowledge, it can be done successfully. This article will guide you through the step-by-step process of replacing the AC compressor in your car, ensuring that you have a properly functioning and efficient cooling system.
Before we begin, it’s important to note that working with the AC system requires specialized knowledge and precautions. If you are not comfortable or experienced with automotive repairs, it is recommended to seek professional assistance. Safety should always be your top priority when working on any vehicle.
Now that we have the groundwork laid, let’s dive into the step-by-step process of replacing the AC compressor in your car.
Key Takeaways:
- Replacing the AC compressor in your car requires careful attention to detail and adherence to proper procedures. Safety should always be a top priority, and if unsure, seek professional assistance to ensure a successful replacement.
- Gathering the necessary tools and supplies, disconnecting the negative battery cable, draining the refrigerant, installing the new AC compressor, recharging the AC system, and testing the new compressor are crucial steps for a reliable and efficient cooling system.
Step 1: Gather necessary tools and supplies
Before you begin the process of replacing the AC compressor in your car, it’s essential to gather all the necessary tools and supplies. Having everything you need at hand will make the job easier and more efficient. Here are some common tools and supplies you’ll require:
- Socket set
- Wrenches
- Ratchet and extension
- AC manifold gauge set
- Vacuum pump
- Refrigerant recovery machine
- Zip ties
- New AC compressor
- New O-rings and seals
- AC compressor oil
- Refrigerant
- Protective gloves and eyewear
Having these tools and supplies ready before starting the job will save you time and prevent any delays or interruptions along the way.
It’s also important to ensure that you have the correct replacement AC compressor for your specific car make and model. Consult with your vehicle’s manual, research online, or speak with a knowledgeable professional to ensure compatibility.
Once you have gathered all the necessary tools and supplies, you are ready to move on to the next step.
Step 2: Disconnect the negative battery cable
When working with any electrical component in your car, it’s important to disconnect the power source to prevent electrical shocks or damage. In the case of replacing the AC compressor, the first step is to disconnect the negative battery cable. Here’s how:
- Locate the negative battery terminal, which is usually marked with a “-” symbol.
- Using a wrench, loosen the bolt or nut securing the negative cable to the terminal.
- Once loosened, carefully remove the negative cable from the terminal.
By disconnecting the negative battery cable, you ensure that the electrical system of your car is powered off, minimizing the risk of any short circuits or accidents. It also allows you to work on the AC compressor and associated components without any electrical interference.
Remember to handle the battery cable with care and avoid coming into contact with any metal parts of the car to prevent accidental grounding or electrical discharge.
With the negative battery cable safely disconnected, you can now proceed to the next step of removing the old AC compressor from your car.
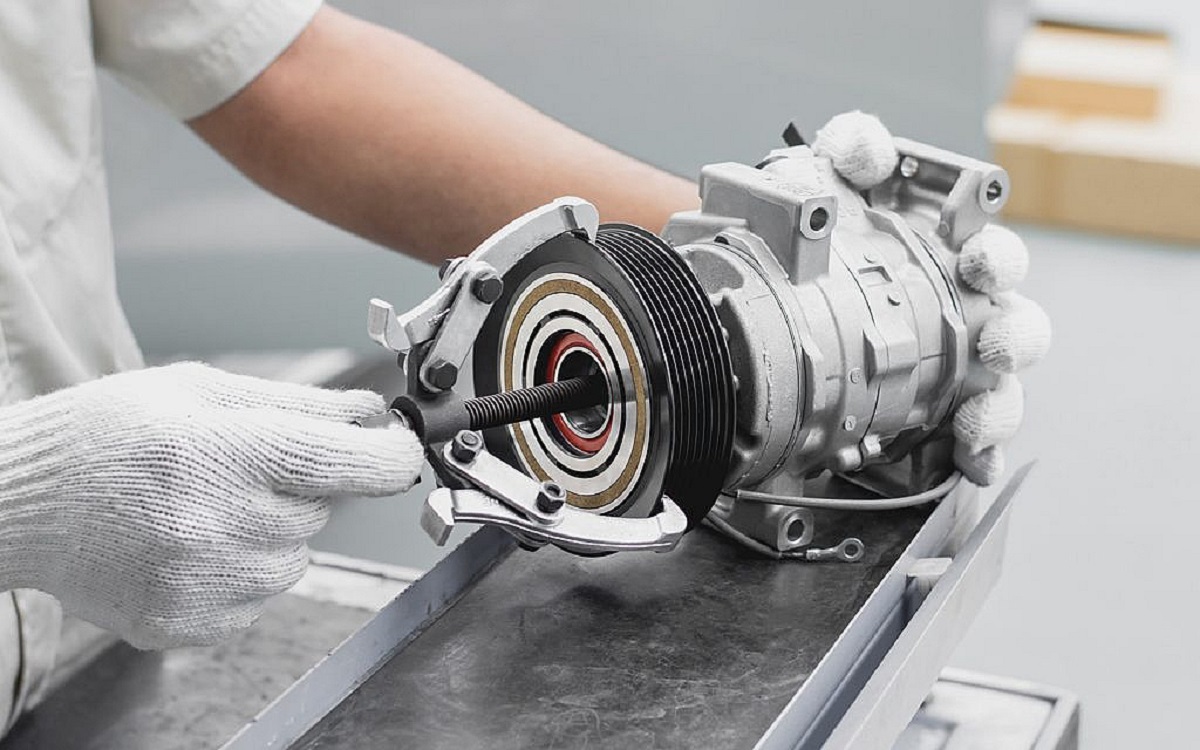
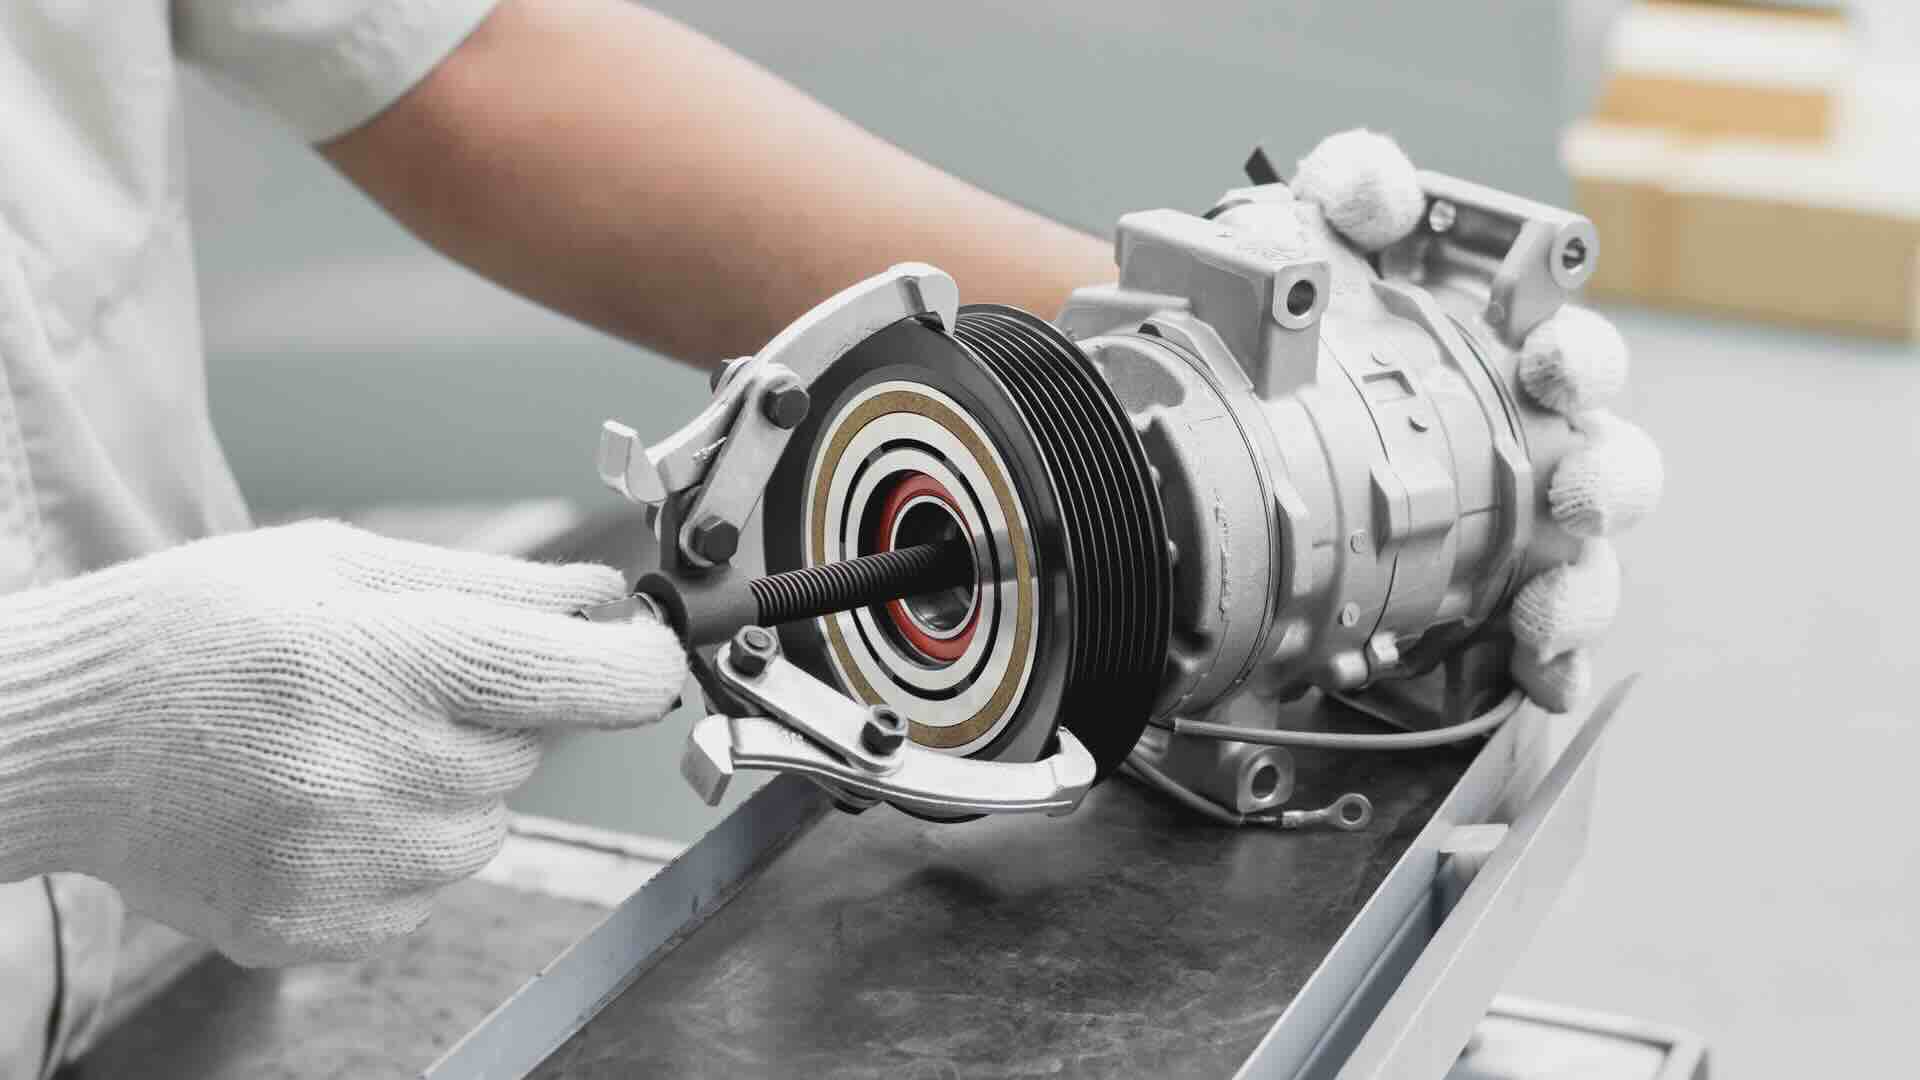
Step 3: Locate and remove the old AC compressor
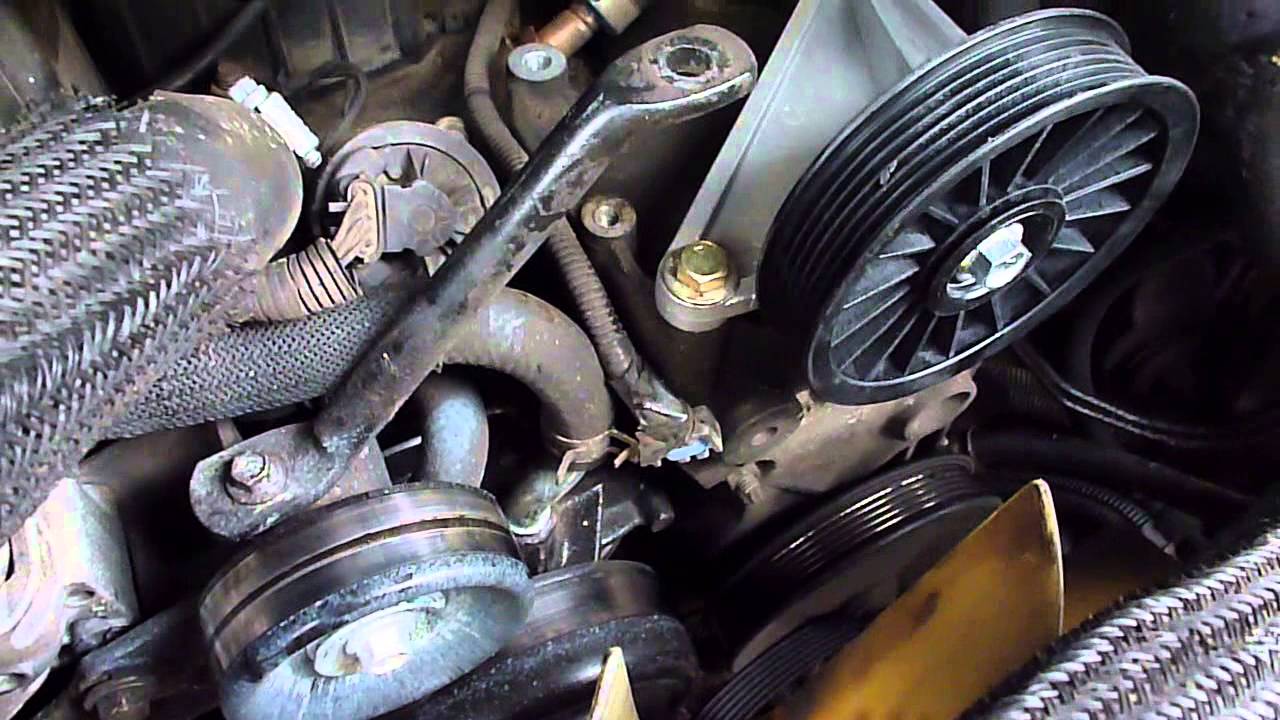
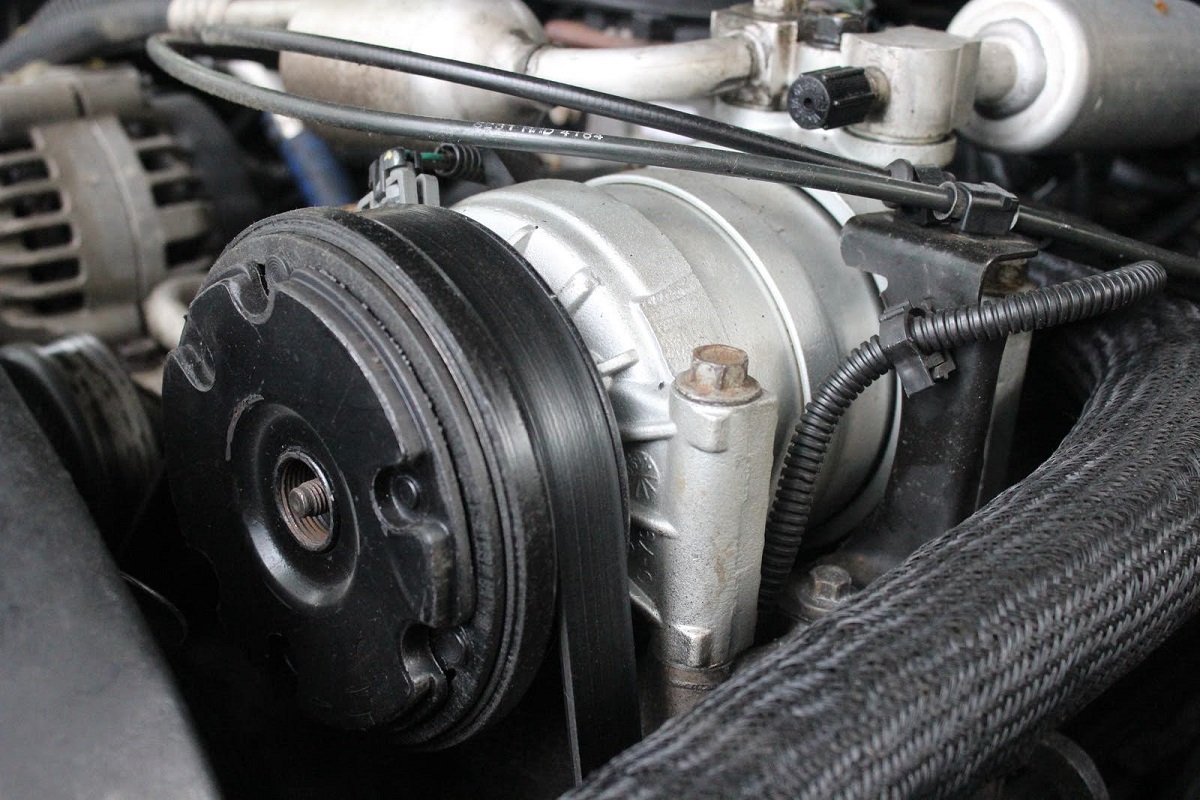
Now that the negative battery cable is disconnected, it’s time to locate and remove the old AC compressor from your car. The AC compressor is typically located near the front of the engine, usually on the side or bottom. Follow these steps to identify and remove the old AC compressor:
- Refer to your vehicle’s manual or consult online resources to locate the AC compressor’s position in your specific car model.
- Once you have located the AC compressor, inspect the surrounding components and take note of their positions. This will help with reassembly later.
- Use a socket set and wrenches to remove any necessary bolts or brackets securing the AC compressor to the engine or other parts of the AC system.
- Take care to support the weight of the AC compressor as you remove the last bolt or bracket to avoid any damage or injury.
- Once all connections are removed, carefully pull the old AC compressor away from the engine, ensuring that no other components are being damaged in the process.
It’s important to handle the old AC compressor with care, as it may contain residual refrigerant or oil. Avoid tilting or jolting the compressor to prevent any leaks or spills.
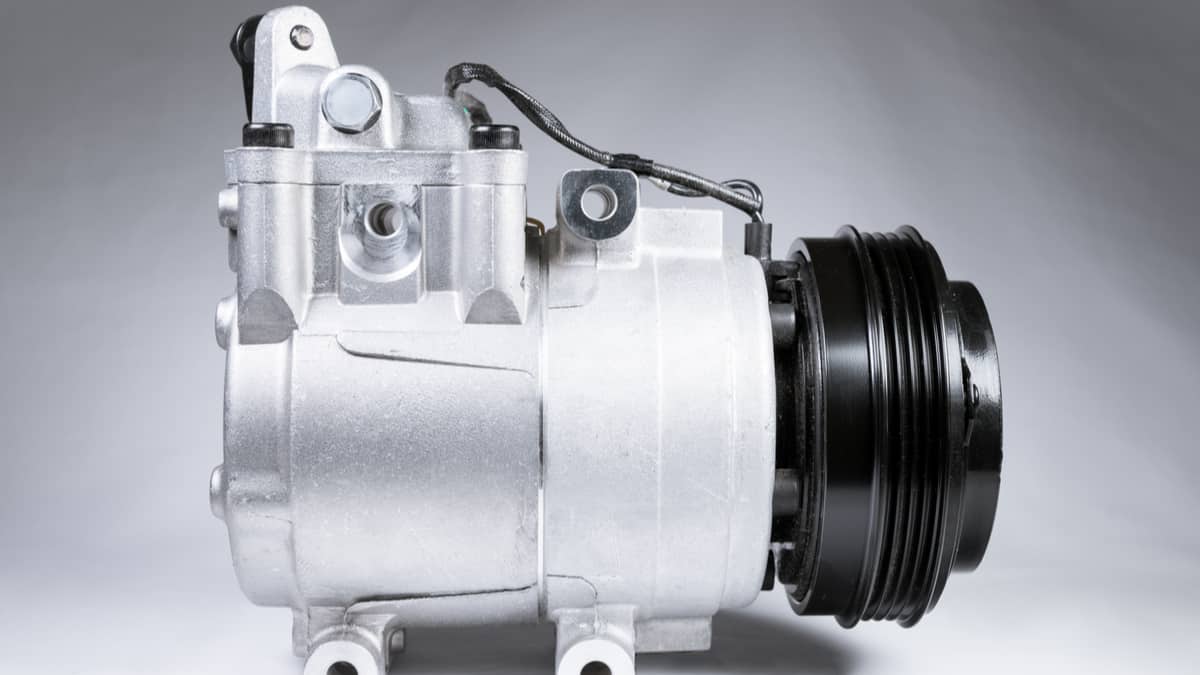
Inspect the old AC compressor for any signs of damage or wear, such as a seized pulley or leaking seals. This will help determine the cause of the failure and ensure that it is properly addressed during the replacement process.
With the old AC compressor removed, you can now move on to the next step of draining the refrigerant from the system.
Step 4: Drain the refrigerant from the system
Before you can install the new AC compressor, you need to drain the refrigerant from the system to avoid any leaks or damage. Draining the refrigerant can be done using an AC manifold gauge set and a refrigerant recovery machine. Follow these steps to drain the refrigerant:
- Put on protective gloves and eyewear to ensure your safety during this process.
- Attach the AC manifold gauge set to the service ports on the AC system. The service ports are typically located on the high and low-pressure lines of the AC system.
- Consult the gauge set instructions to determine the correct procedure for connecting and operating the gauges.
- Start the engine and switch on the AC system to allow the refrigerant to circulate.
- Observe the pressure readings on the gauge set. Once you confirm that the pressure is stable, turn off the engine.
- Connect the refrigerant recovery machine to the AC system following the manufacturer’s instructions.
- Activate the recovery machine to extract the refrigerant from the system. This process may take a few minutes.
- Once the refrigerant is fully drained, turn off the recovery machine and disconnect it from the AC system.
- Dispose of the recovered refrigerant properly in accordance with local regulations.
Draining the refrigerant ensures that there are no leaks or residual refrigerant left in the system, allowing for a clean and efficient installation of the new AC compressor. It is important to follow proper safety procedures and dispose of the recovered refrigerant responsibly.
With the refrigerant drained, you are now ready to move on to the next step of installing the new AC compressor in your car.
When replacing the AC compressor in your car, make sure to properly evacuate the refrigerant from the system before starting the replacement process. This will prevent any potential hazards and ensure a smooth replacement.
Read more: How To Know If Car AC Compressor Is Bad
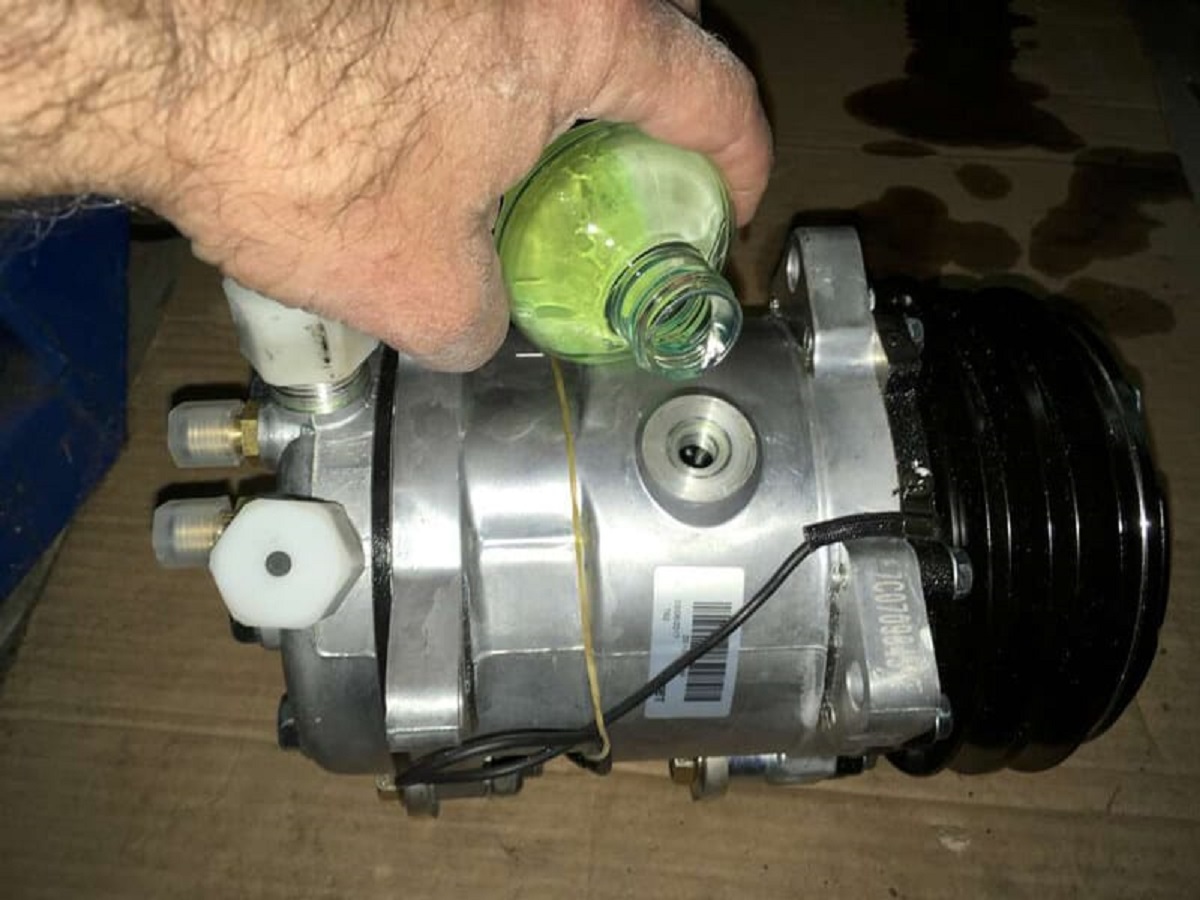
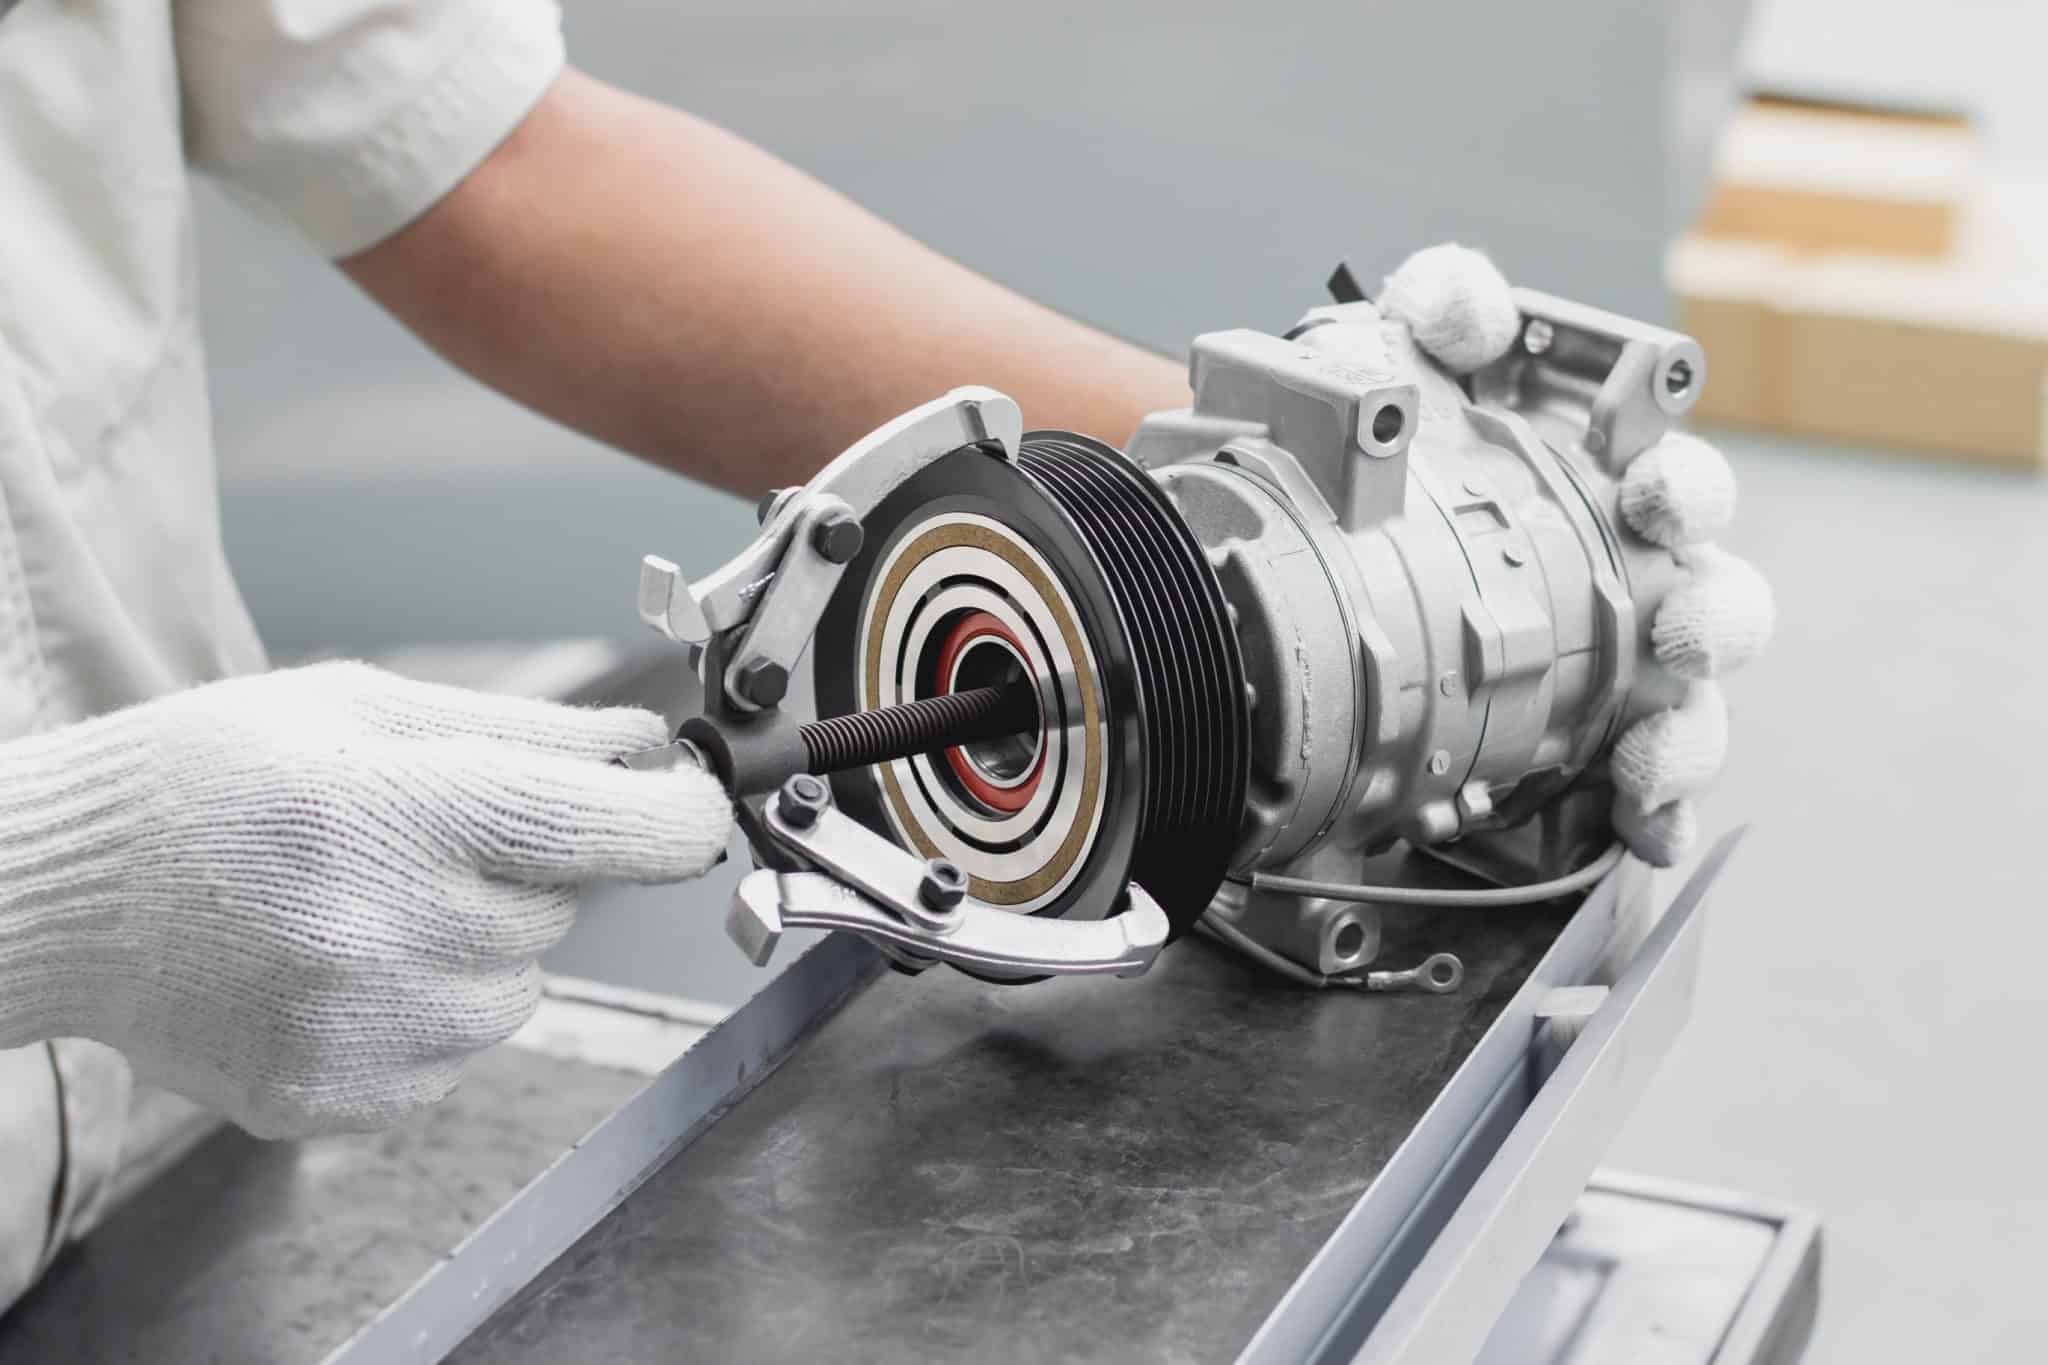
Step 5: Install the new AC compressor
Now that the old AC compressor has been removed and the refrigerant has been drained from the system, it’s time to install the new AC compressor. Follow these steps to ensure a successful installation:
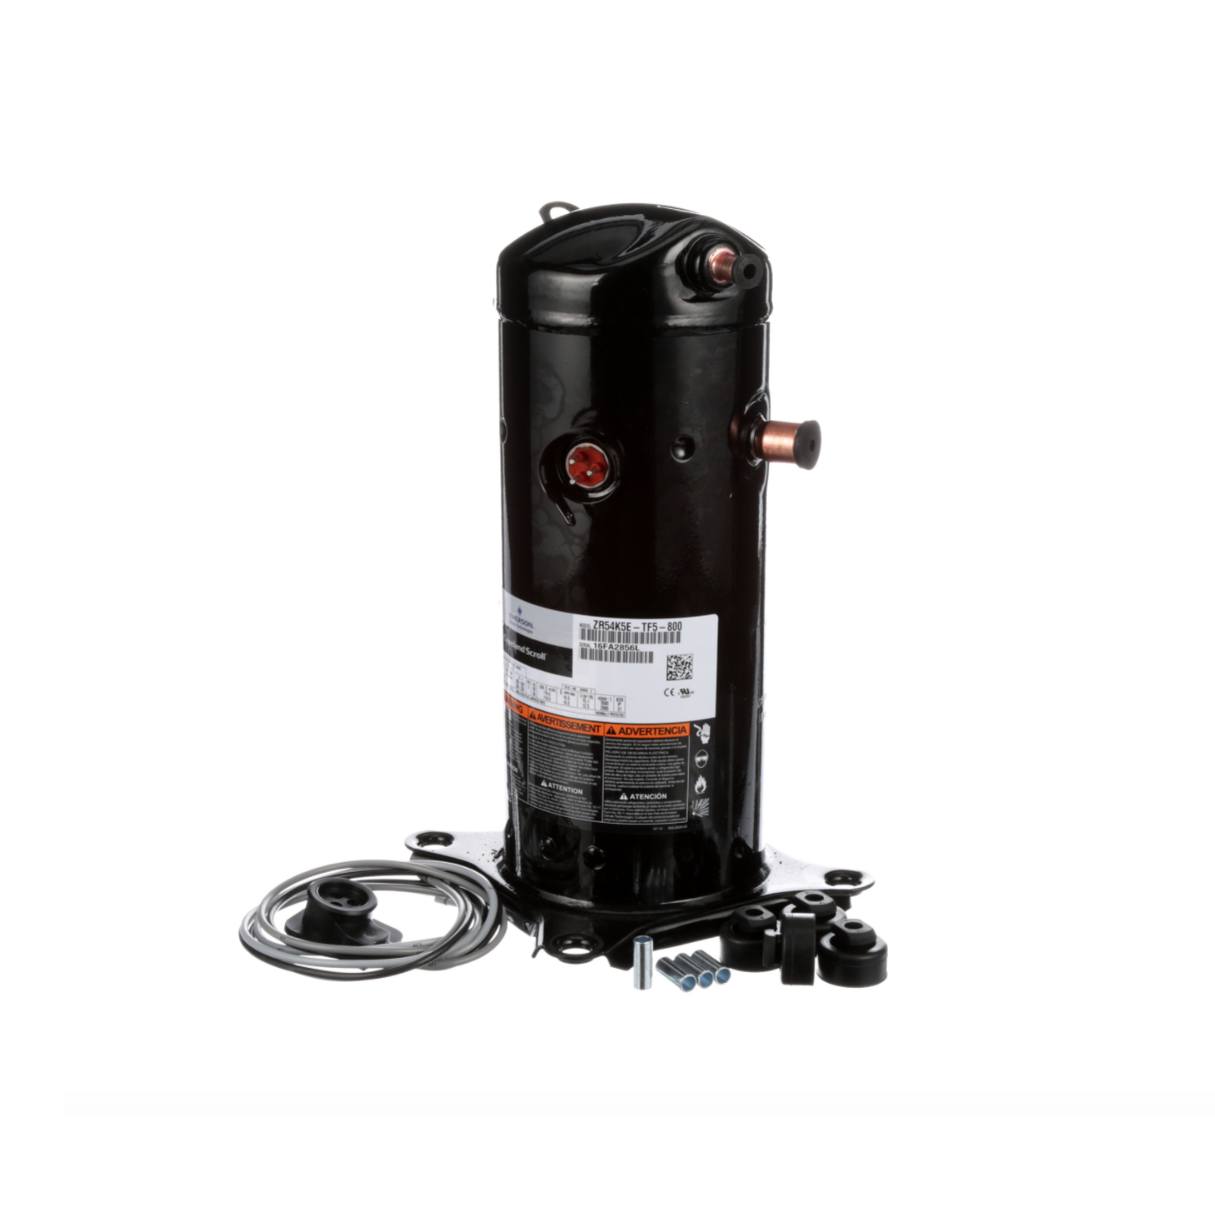
- Inspect the new AC compressor and compare it with the old one to ensure they are identical in size, shape, and mounting points.
- Apply a thin layer of AC compressor oil to the O-rings and seals of the new compressor to ensure proper lubrication and sealing.
- Carefully position the new AC compressor in place, aligning it with the mounting points and ensuring that no wires or hoses are obstructing the installation.
- Secure the compressor in place by tightening the bolts or brackets using a socket set and wrenches. Take care not to overtighten to avoid damage to the compressor or surrounding components.
- Reconnect any electrical connections, hoses, or lines that were detached during the removal process. Ensure they are firmly secured and properly aligned.
- Refer to your vehicle’s manual or consult online resources to determine the correct torque specifications for tightening the bolts or brackets.
During the installation process, pay attention to the proper orientation and alignment of the new AC compressor. Double-check that all connections are secure and properly tightened to prevent any leaks or malfunctions in the future.
With the new AC compressor successfully installed, you are ready to move on to the next step of recharging the AC system with refrigerant.
Step 6: Recharge the AC system with refrigerant
After installing the new AC compressor, it’s time to recharge the AC system with refrigerant. Properly charging the system is crucial for its optimal performance. Here’s how you can recharge the AC system:
- Ensure that the AC manifold gauge set is properly connected to the service ports on the AC system.
- Attach the refrigerant canister or tank to the gauge set using the supplied hose or adapter.
- Open the valves on the gauge set to allow the refrigerant to flow into the system.
- Start the engine and switch on the AC system to operate it at its maximum cooling capacity.
- Monitor the pressure readings on the gauge set and compare them to the manufacturer’s specifications for your specific car model.
- If the pressure readings are low, continue adding refrigerant to the system in small increments while observing the pressure. Be sure not to overcharge the system. Consult the vehicle’s manual or other reliable sources for the recommended refrigerant capacity.
- As you add refrigerant, check for any visible signs of leaks around the connections and components. If any leaks are detected, shut off the system and address the issue.
- Once the pressure readings are within the recommended range, close the valves on the gauge set and disconnect the refrigerant canister or tank.
It’s important to follow the manufacturer’s instructions for the specific type of refrigerant being used, as different refrigerants may have different charging procedures and pressure specifications.
Recharging the AC system ensures that it has the proper amount of refrigerant to achieve its optimal cooling performance. It’s recommended to have a professional technician check the system for any leaks or irregularities to ensure its safety and efficiency.
With the AC system successfully recharged, you are now ready to move on to the final step of testing the new AC compressor.
Step 7: Test the new AC compressor
After completing the installation and recharging the AC system, it’s important to test the new AC compressor to ensure it is functioning properly. Follow these steps to perform a thorough test:
- Start the engine and turn on the AC system to its maximum cooling setting.
- Observe the operation of the AC compressor, listening for any unusual noises like grinding or squealing.
- Ensure that the air coming from the vents is cool and consistent, indicating proper refrigerant flow and temperature regulation.
- Check the AC system’s performance by evaluating the cooling output both at idle and while driving. Pay attention to any fluctuations or inconsistencies.
- Monitor the pressure readings on the gauge set to ensure they remain within the recommended range for your specific car model.
- If you notice any issues or abnormalities during the test, such as insufficient cooling or irregular compressor operation, it may indicate a problem with the installation or other components of the AC system. It’s advised to seek professional assistance to diagnose and rectify the issue.
Completing a thorough test of the new AC compressor ensures that it is functioning optimally and delivering the desired cooling performance. It gives you peace of mind knowing that the AC system is in proper working condition.
Remember to periodically inspect and maintain your AC system to prevent any potential issues in the future. Regularly checking for refrigerant leaks, cleaning or replacing air filters, and scheduling routine maintenance can help extend the lifespan of your AC compressor and maintain efficient cooling performance.
With the new AC compressor successfully tested and the AC system functioning properly, you have successfully completed the replacement process. Enjoy the cool and comfortable air in your car!
Conclusion
Replacing the AC compressor in your car is a task that requires careful attention to detail and adherence to proper procedures. By following the step-by-step guide outlined in this article, you can successfully replace the AC compressor and restore the functionality of your car’s cooling system.
Remember, safety should always be a top priority when working on any vehicle. If you feel unsure or uncomfortable performing the AC compressor replacement yourself, it is recommended to seek the assistance of a professional mechanic or technician.
Gathering the necessary tools and supplies, disconnecting the negative battery cable, locating and removing the old AC compressor, draining the refrigerant from the system, installing the new AC compressor, recharging the AC system with refrigerant, and testing the new AC compressor are all crucial steps in this process.
By carefully following these steps and paying attention to proper techniques, you can ensure a successful AC compressor replacement that will result in a reliable and efficient cooling system for your vehicle.
Regular maintenance and timely repairs are important for the longevity and performance of your car’s AC system. Be sure to schedule routine inspections and address any issues promptly to prevent further damage and costly repairs in the future.
With a properly functioning AC compressor, you can enjoy comfortable and cool rides even during the hottest summer days. Take care of your car’s AC system, and it will take care of you.
Frequently Asked Questions about How To ReplACe AC Compressor In Car
Was this page helpful?
At Storables.com, we guarantee accurate and reliable information. Our content, validated by Expert Board Contributors, is crafted following stringent Editorial Policies. We're committed to providing you with well-researched, expert-backed insights for all your informational needs.


0 thoughts on “How To ReplACe AC Compressor In Car”