Articles
How To Replace A Dishwasher Heating Element
Modified: September 2, 2024
Learn how to replace a dishwasher heating element with this step-by-step guide. Find expert articles and tips for a smooth DIY experience.
(Many of the links in this article redirect to a specific reviewed product. Your purchase of these products through affiliate links helps to generate commission for Storables.com, at no extra cost. Learn more)
Introduction
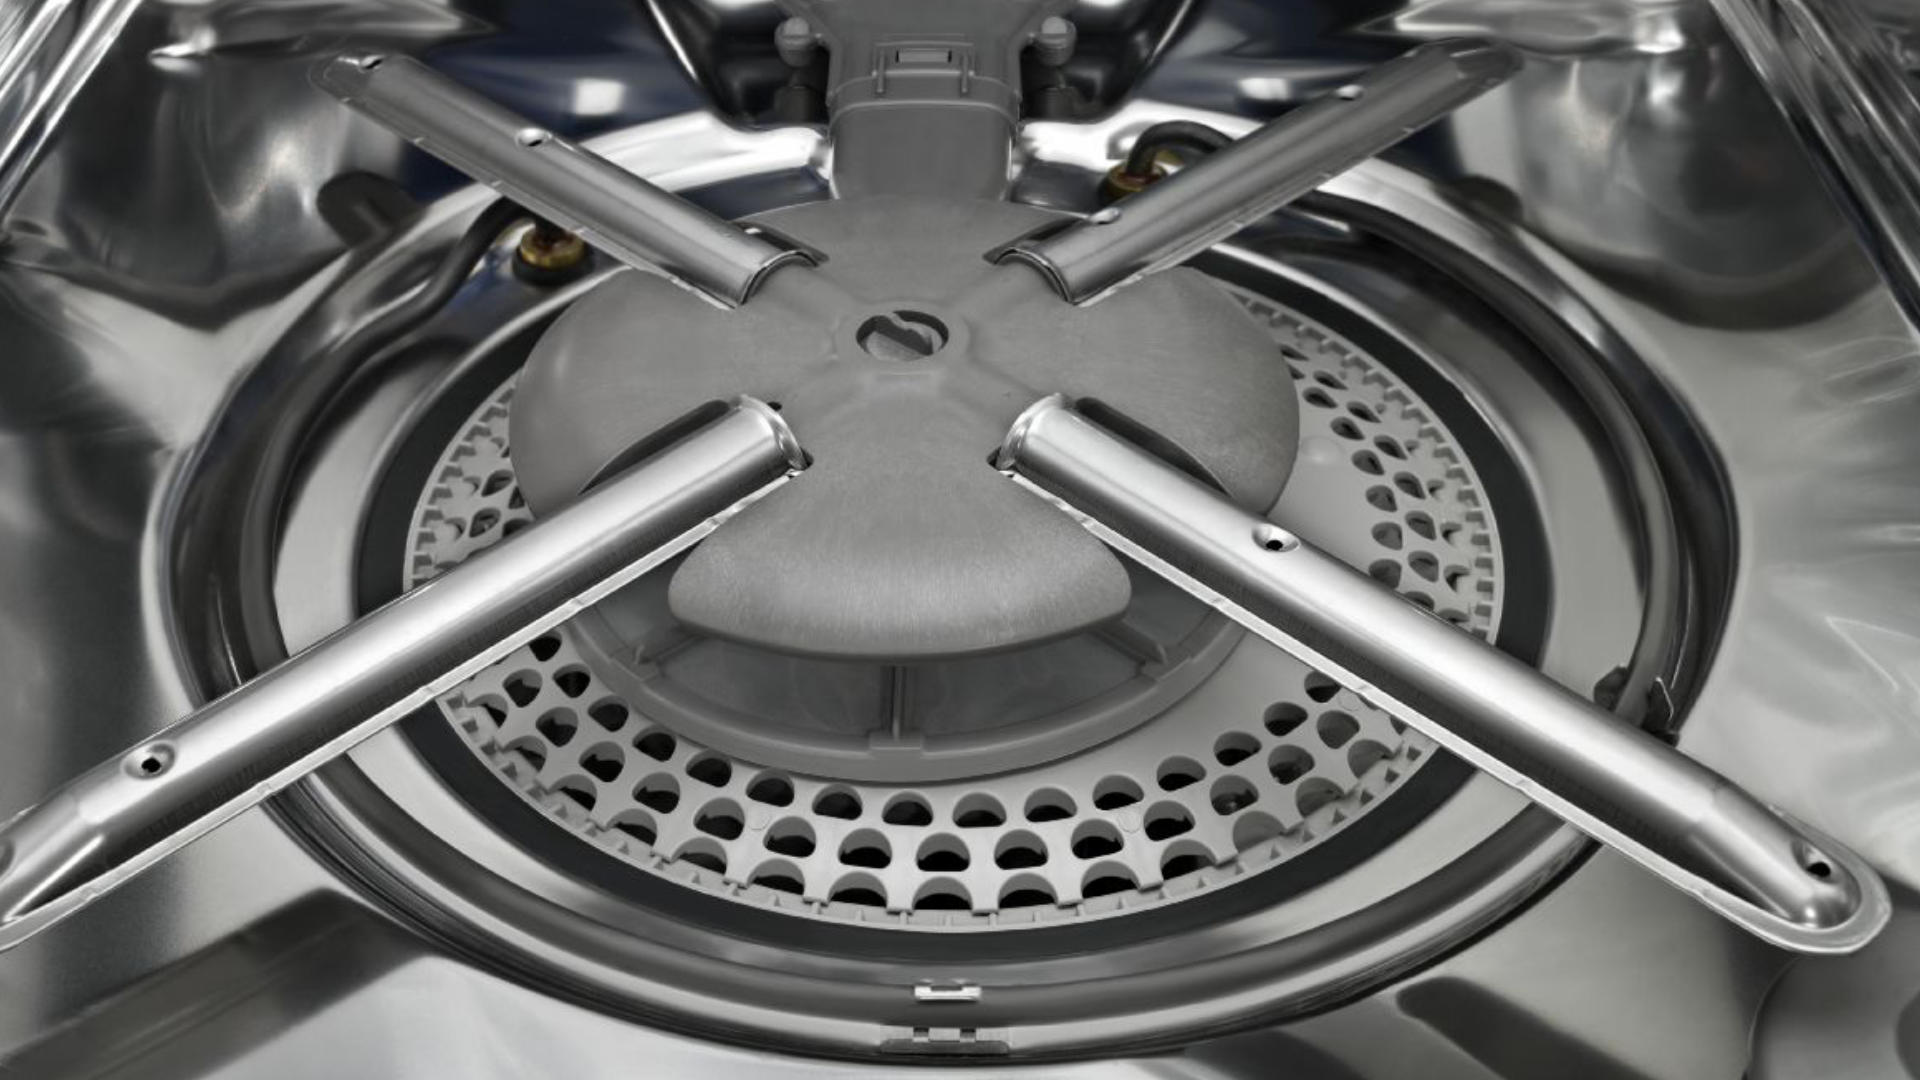
Replacing a dishwasher heating element is a necessary task that may need to be done at some point in the lifespan of your appliance. The heating element is responsible for heating the water in the dishwasher, ensuring optimal cleaning and sanitization of your dishes. Over time, the heating element may become faulty or worn out, leading to ineffective performance or even complete failure.
In this article, we will guide you through the step-by-step process of replacing a dishwasher heating element. Whether you’re a seasoned DIY enthusiast or a novice looking to learn a new skill, this guide will provide you with the knowledge and confidence to successfully complete the task.
Before we dive into the process of replacing the heating element, it’s important to note that safety should always be your top priority. Make sure to disconnect the power supply to the dishwasher before starting any work and take adequate precautions to avoid any electrical or physical hazards.
Now let’s gather our materials and get started on replacing your dishwasher’s heating element.
Key Takeaways:
- Replacing a dishwasher heating element is a manageable DIY repair that ensures optimal cleaning and sanitization. Prioritize safety, gather materials, and follow step-by-step instructions for a successful replacement.
- Properly functioning heating elements are essential for dishwashers. By following safety precautions and the step-by-step guide, you can enjoy the benefits of a fully functional appliance and clean, sanitized dishes.
Read more: How To Replace Maytag Dryer Heating Element
Step 1: Gather your materials
Before you begin the process of replacing a dishwasher heating element, it’s essential to gather all the required materials to ensure a smooth and efficient repair. Here’s a list of commonly used tools and supplies you’ll need:
1. Replacement heating element: Make sure to purchase a heating element that is compatible with your specific dishwasher model. Consult the dishwasher’s user manual or do some research to find the correct replacement part.
2. Screwdriver: Depending on the type of fasteners used to secure the heating element, you may need a Phillips or flat-head screwdriver. Have both on hand to be prepared for any situation.
3. Wire cutters and wire strippers: These tools will be necessary for disconnecting and reconnecting the electrical connections to the heating element. Ensure they are in good working condition to avoid any difficulties during the repair process.
4. Electrical tape: This is used to secure and insulate the electrical connections once they are reconnected. It helps to prevent any accidental contact and protects against electrical hazards.
5. Safety gloves and goggles: It’s always recommended to wear safety gloves and goggles when working on any electrical appliance. This provides protection from potential injuries and ensures a safe working environment.
6. Owner’s manual: Although not a physical material, having the owner’s manual of your dishwasher handy will help you better understand the layout and components of the machine, ensuring a more efficient repair process.
By gathering these materials before starting the repair, you’ll have everything you need within reach, minimizing the chances of interruptions or delays during the process. Once you have the materials ready, you can move on to the next step of the repair process: turning off the power supply.
Step 2: Turn off the power supply
Before you begin any work on your dishwasher, it’s crucial to ensure your safety by turning off the power supply. Dishwashers are connected to the electrical circuit, and working on them without cutting off the power can be extremely hazardous. Follow these steps to turn off the power supply:
- Locate the circuit breaker: The circuit breaker panel is typically located in the basement, utility room, or garage. Look for a metal box with multiple switches or breakers.
- Identify the breaker for the dishwasher: Look for the breaker that corresponds to the dishwasher. The breakers are usually labeled, or you can refer to the circuit diagram on the inside of the breaker panel door.
- Switch off the breaker: Once you’ve located the correct breaker, switch it to the “Off” position. You may hear a click or see the corresponding indicator switch down. This will cut off the power supply to the dishwasher.
- Double-check the power supply: To ensure your safety, verify that the power supply has been successfully turned off. Attempt to turn on the dishwasher or use a voltmeter to check for any electrical current. If no power is detected, you can proceed with the repair process confidently.
It’s important to remember that electrical safety is paramount when working on any appliance. Taking the time to properly turn off the power supply will protect you from potential electric shocks and ensure a secure working environment. Once you’ve confirmed that the power supply is disconnected, you can move on to the next step of removing the lower access panel.
Step 3: Remove the lower access panel
Now that you’ve turned off the power supply, it’s time to remove the lower access panel of your dishwasher. This panel is typically located at the bottom front of the appliance and provides access to various components, including the heating element. Follow these steps to remove the lower access panel:
- Locate the screws: Look for the screws securing the lower access panel to the dishwasher. They are usually located at the bottom edge of the panel.
- Use a screwdriver: Take your screwdriver (either a Phillips or flat-head, depending on the type of screw) and start by removing the screws one by one. Set the screws aside in a safe place to avoid misplacing them.
- Gently detach the panel: Once all the screws are removed, you can gently pull the lower access panel away from the dishwasher. Be cautious as the panel may still be connected by wires or clips.
- Disconnect any wires or clips: If you encounter any wires or clips attached to the lower access panel, carefully detach them before fully removing the panel. Use your fingers or a small pair of pliers to release the clips or unplug the wires, if necessary.
- Set aside the panel: Once all connections are detached, set the lower access panel aside in a safe location. This will give you clear access to the interior components of the dishwasher.
By following these steps, you’ll be able to remove the lower access panel of your dishwasher, providing easy access to the heating element and other components. With the lower access panel out of the way, you can proceed to the next step: disconnecting the electrical connections to the heating element.
Step 4: Disconnect the electrical connections
With the lower access panel removed, you can now proceed to disconnect the electrical connections to the heating element. It’s essential to disconnect the power supply completely before working on any electrical components. Follow these steps to safely disconnect the electrical connections:
- Identify the electrical connections: Locate the wires that are connected to the heating element. These wires are usually attached to terminals or connectors on the element itself.
- Use wire cutters or strippers if necessary: Depending on the type of connectors, you may need wire cutters or strippers to disconnect the wires. If the wires are connected with screws or clamps, use a screwdriver or pliers to loosen and remove them.
- Disconnect the wires: Carefully detach the wires from the heating element. Take note of which wire corresponds to each terminal or connector. You may choose to label them for reference later.
- Secure the disconnected wires: To prevent any accidental contact or damage, use electrical tape to secure the loose ends of the wires. This will help to keep them in place during the repair process.
It’s crucial to be extra cautious when working with electrical connections. Double-check that the power supply is still off before proceeding. If you have any doubts or concerns about handling the electrical connections, consult a professional or refer to the dishwasher’s owner’s manual for guidance.
With the electrical connections successfully disconnected, you can now move on to the next step: removing the old heating element.
Step 5: Remove the old heating element
Now that you have disconnected the electrical connections, it’s time to remove the old heating element from your dishwasher. The heating element is usually located at the bottom of the dishwasher tub or in the sump area. Follow these steps to remove the old heating element:
- Inspect the area: Take a moment to inspect the heating element and its surroundings. Look for any screws, clips, or brackets that may be securing the element in place.
- Remove the securing devices: Using the appropriate tools, such as a screwdriver or pliers, carefully remove any screws, clips, or brackets that are holding the heating element in place. Set aside the securing devices in a safe location for reinstallation later.
- Gently pull out the heating element: With the securing devices removed, you can now gently pull the old heating element out from its position. It may require a slight wiggle or twist to dislodge it from any remaining connections.
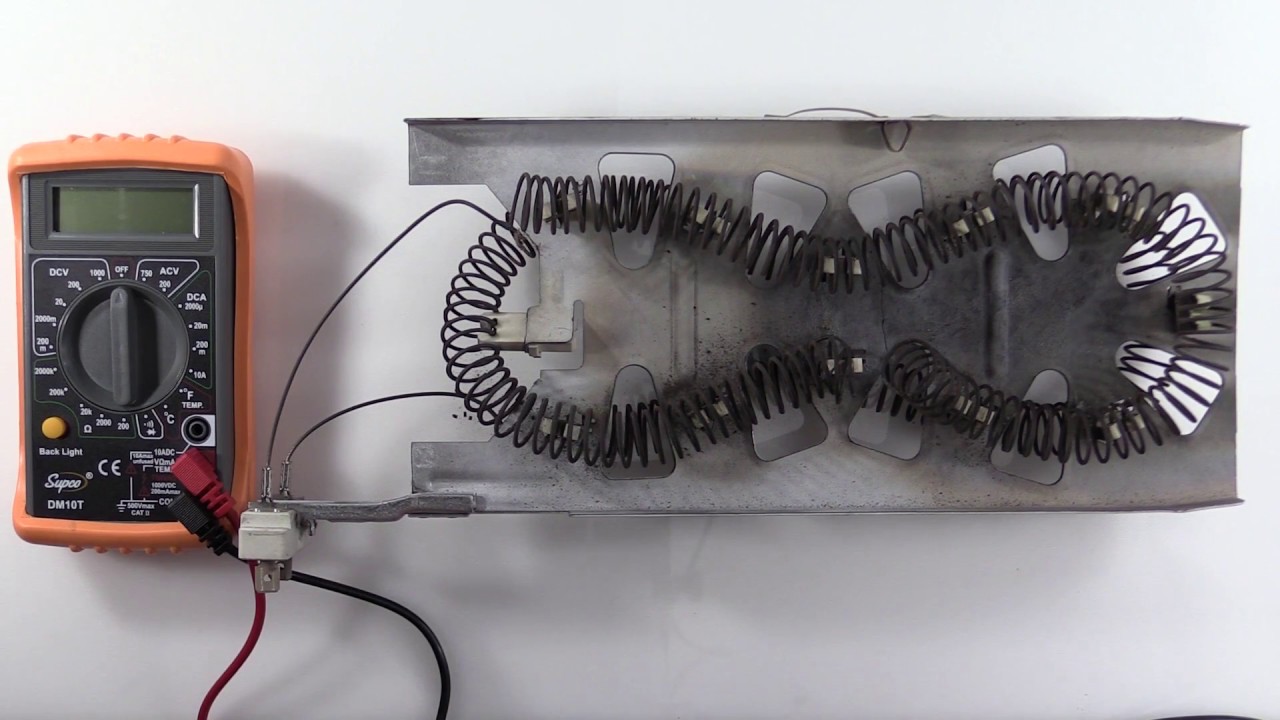
- Inspect the old heating element: Take a moment to inspect the old heating element for any signs of damage, such as corrosion, cracks, or burn marks. This can help determine if the element needs replacing or if there were other underlying issues causing the malfunction.
- Set aside the old heating element: Once removed, set aside the old heating element in a safe area. It’s a good practice to dispose of it properly according to local regulations or guidelines.
It’s important to be gentle when removing the old heating element to avoid causing any damage to the surrounding components or the dishwasher itself. If you encounter any difficulties or are unsure about any steps, refer to the dishwasher’s owner’s manual or consult a professional for assistance.
Now that the old heating element has been removed, you’re ready to move on to the next step: installing the new heating element.
Before replacing the dishwasher heating element, make sure to disconnect the power supply and water source to avoid any accidents. Always refer to the manufacturer’s instructions for specific guidance.
Step 6: Install the new heating element
With the old heating element removed, it’s time to install the new one in your dishwasher. Make sure you have the correct replacement part that is compatible with your specific dishwasher model. Follow these steps to install the new heating element:
- Position the new heating element: Take the new heating element and position it in the same location where the old one was removed. Make sure it is aligned properly and sits securely in place.
- Reattach any securing devices: If there were any screws, clips, or brackets that were used to secure the old heating element, reinstall them to hold the new element in place. Use the proper tools to tighten them securely, but be careful not to overtighten and cause damage.
- Connect the electrical wires: Refer to the labels or notes you made earlier to ensure the proper reconnection of the electrical wires. Attach each wire to its respective terminal or connector on the new heating element. If necessary, use wire strippers to remove any insulation and expose a fresh section for a secure connection.
- Secure the electrical connections: Once the wires are connected, use electrical tape to wrap around each wire’s connection point. This will provide insulation and prevent any accidental contact or short circuits.
Take your time and ensure all connections are secure before proceeding. It’s crucial to double-check that the power supply is still off to prevent any electrical accidents during the installation process.
After successfully installing the new heating element, you’re ready to move on to the next step: reconnecting the electrical connections.
Step 7: Reconnect the electrical connections
With the new heating element securely installed, it’s time to reconnect the electrical connections in your dishwasher. Properly reconnecting the wires ensures the safe and efficient operation of the heating element. Follow these steps to reconnect the electrical connections:
- Identify the electrical wires: Locate the electrical wires that were previously disconnected from the old heating element. Ensure that they are in good condition and free from any damage.
- Align the wires: Match each wire to its corresponding terminal or connector on the new heating element. Check for any marks or labels made during the disconnection process to ensure the correct alignment.
- Attach the wires: Carefully attach each wire to its respective terminal or connector. Follow proper wiring practices, ensuring a secure and tight connection. If necessary, use wire strippers to remove any insulation and expose a fresh section of wire.
- Secure the connections: After attaching the wires, use electrical tape to wrap around each wire’s connection point. This helps to insulate the connections and prevent any accidental contact or short circuits.
Make sure all connections are secure and properly insulated before proceeding. Once you have successfully reconnected the electrical connections, you’re one step closer to completing the repair process.
Now that the electrical connections are safely reconnected, you can move on to the next step: replacing the lower access panel.
Step 8: Replace the lower access panel
After successfully reconnecting the electrical connections, it’s time to replace the lower access panel of your dishwasher. This panel helps to protect the internal components and provides a clean and finished look to the appliance. Follow these steps to replace the lower access panel:
- Align the panel: Position the lower access panel in the correct location at the bottom front of the dishwasher. Make sure it aligns properly with the rest of the appliance.
- Reconnect any wires or clips: If there were any wires or clips that were previously disconnected from the lower access panel, carefully reattach them to their respective locations. Ensure that the connections are secure and properly fastened.
- Secure the panel: Once the panel is aligned and all connections are made, start by inserting the screws back into their respective holes. Use a screwdriver to tighten them, ensuring they are snug but not overtightened.
- Double-check the panel: After securing the screws, give the lower access panel a gentle tug to ensure that it is properly in place. Verify that it is securely fastened and there are no loose or hanging parts.
Take your time to ensure that the lower access panel is securely replaced. This will help prevent any potential issues and maintain the overall integrity of the dishwasher. With the panel back in place, you can move on to the final step: restoring the power supply.
Read more: How To Clean Steamer Heating Element
Step 9: Restore power supply
With the lower access panel replaced, the final step of the dishwasher heating element replacement process is restoring the power supply. Follow these steps to safely restore the power supply to your dishwasher:
- Locate the circuit breaker panel: Identify the circuit breaker panel in your home where the dishwasher’s power supply is controlled. It is usually located in the basement, utility room, or garage.
- Find the corresponding breaker: Locate the breaker that corresponds to the dishwasher. Refer to the labels or the circuit diagram inside the breaker panel to ensure you’re working with the correct breaker.
- Switch on the breaker: Once you’ve identified the correct breaker, switch it back to the “On” position. You may hear a click or see the corresponding indicator switch up.
- Verify power supply: To ensure a safe working environment, double-check that the power supply has been successfully restored. You can use a voltmeter to test for any electrical current or attempt to turn on the dishwasher.
It’s essential to be cautious when restoring the power supply. Always prioritize your safety and ensure the power is off before working on any electrical components. By following these steps, you can confidently restore the power supply and proceed with using your newly replaced dishwasher heating element.
Congratulations! You’ve successfully replaced your dishwasher’s heating element. Taking the time to perform this repair will ensure the optimal performance of your dishwasher and help prolong its lifespan.
Remember, if you ever feel unsure or uncomfortable handling any electrical components, it’s always best to consult a professional technician to ensure a successful and safe repair.
Thank you for following this step-by-step guide. Enjoy your fully functioning dishwasher!
Conclusion
Replacing a dishwasher heating element may seem like a daunting task, but with the right guidance and tools, it can be a manageable DIY repair. In this comprehensive guide, we have walked you through the step-by-step process from gathering the materials to restoring the power supply. By following these steps and taking necessary safety precautions, you can successfully replace a faulty or worn out heating element in your dishwasher.
Remember, safety is crucial throughout the repair process. Always disconnect the power supply before working on any electrical components and take the necessary precautions to protect yourself from potential hazards.
By replacing the heating element, you can ensure that your dishwasher continues to provide efficient and thorough cleaning of your dishes. A properly functioning heating element is essential for sanitization and optimal performance of your appliance.
If you encounter any difficulties or are unsure about any steps, don’t hesitate to consult the owner’s manual of your dishwasher or seek assistance from a professional technician. They have the expertise and knowledge to guide you through the process effectively.
With the completion of this repair, you can now enjoy the benefits of a fully functional dishwasher. Say goodbye to dishes that are not clean or properly sanitized.
Thank you for following this guide. We hope it has been informative and helpful in your dishwasher heating element replacement journey.
Frequently Asked Questions about How To Replace A Dishwasher Heating Element
Was this page helpful?
At Storables.com, we guarantee accurate and reliable information. Our content, validated by Expert Board Contributors, is crafted following stringent Editorial Policies. We're committed to providing you with well-researched, expert-backed insights for all your informational needs.

0 thoughts on “How To Replace A Dishwasher Heating Element”