Articles
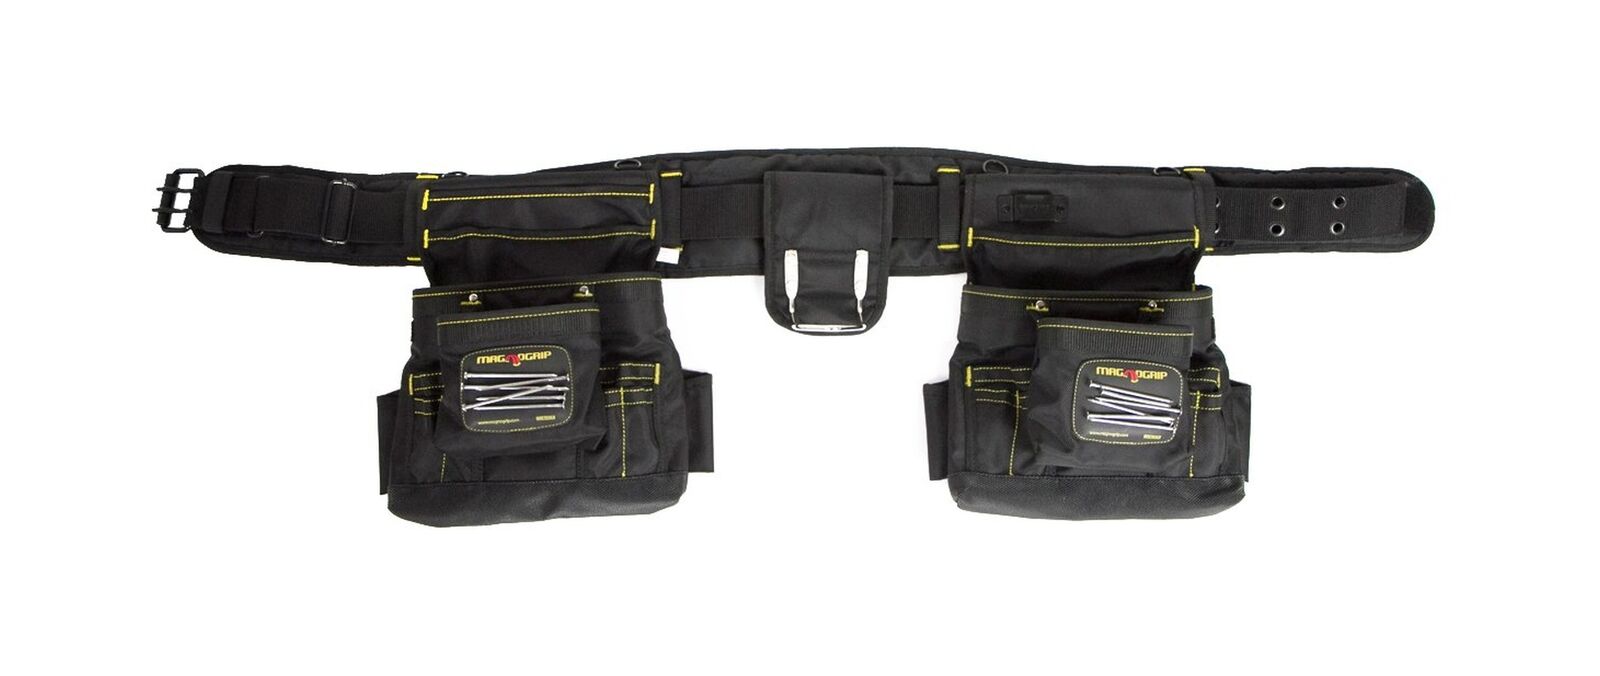
How To Put Bucket Tool Belt On
Modified: August 31, 2024
Learn how to put on a bucket tool belt and stay organized while working on construction projects. Browse our collection of informative articles for helpful tips and step-by-step guides.
(Many of the links in this article redirect to a specific reviewed product. Your purchase of these products through affiliate links helps to generate commission for Storables.com, at no extra cost. Learn more)
Introduction
When it comes to working on construction sites or engaging in outdoor projects, having easy access to your tools is essential. One effective solution is using a bucket tool belt, which allows you to conveniently carry your tools while keeping them within reach. Whether you are a professional tradesperson or a DIY enthusiast, knowing how to properly put on a bucket tool belt is crucial for maximizing efficiency and ensuring safety.
In this article, we will guide you through the step-by-step process of putting on a bucket tool belt. We will cover everything from gathering the necessary tools and materials to securing the belt for comfort and safety. By following these instructions, you will be able to comfortably wear your bucket tool belt and have quick access to all your essential tools.
Key Takeaways:
- Efficiently wear a bucket tool belt by gathering necessary tools, adjusting the belt for comfort, attaching buckets securely, arranging tools logically, and ensuring a comfortable, safe fit. Maximize productivity and convenience for construction and outdoor projects.
- Prioritize safety and convenience by learning to properly wear a bucket tool belt. Organize tools, secure attachments, and adjust the belt for comfort to enhance work efficiency and accessibility.
Read more: How To Put A Mop Bucket Together
Step 1: Gathering the Necessary Tools and Materials
Before you begin putting on your bucket tool belt, it’s important to gather all the tools and materials you will need. This will ensure a smooth and efficient process. Here’s what you’ll need:
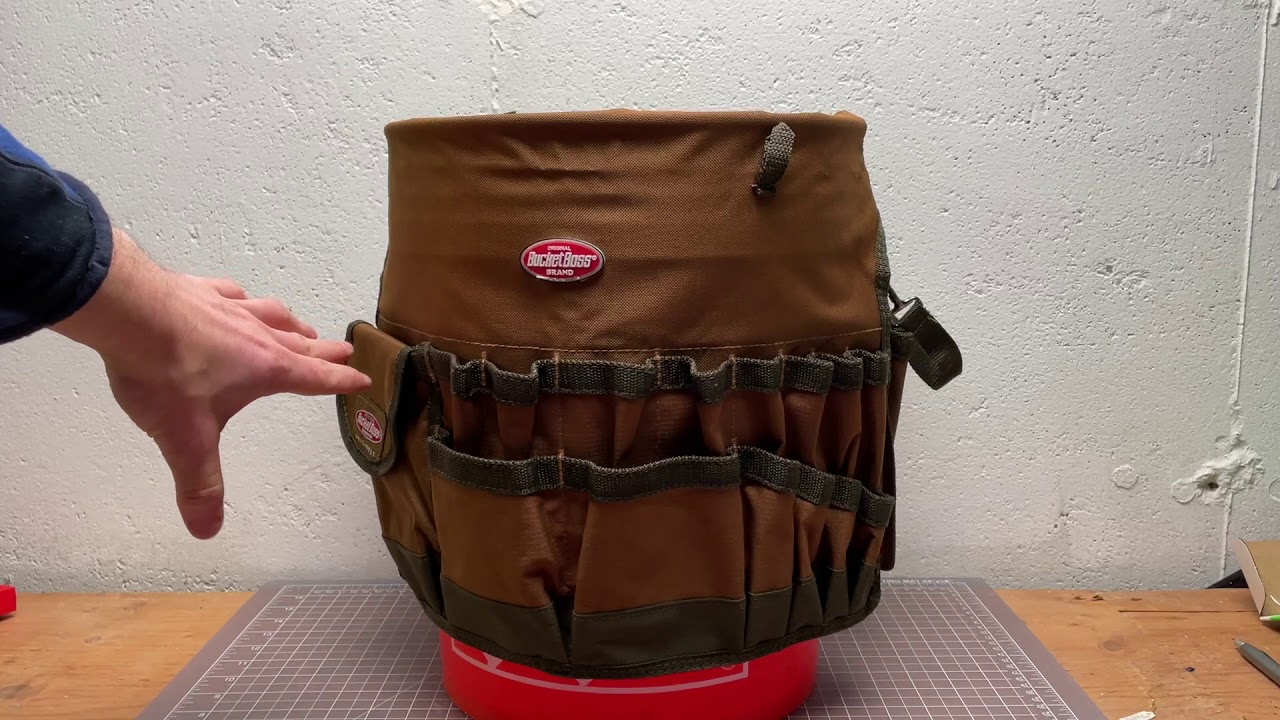
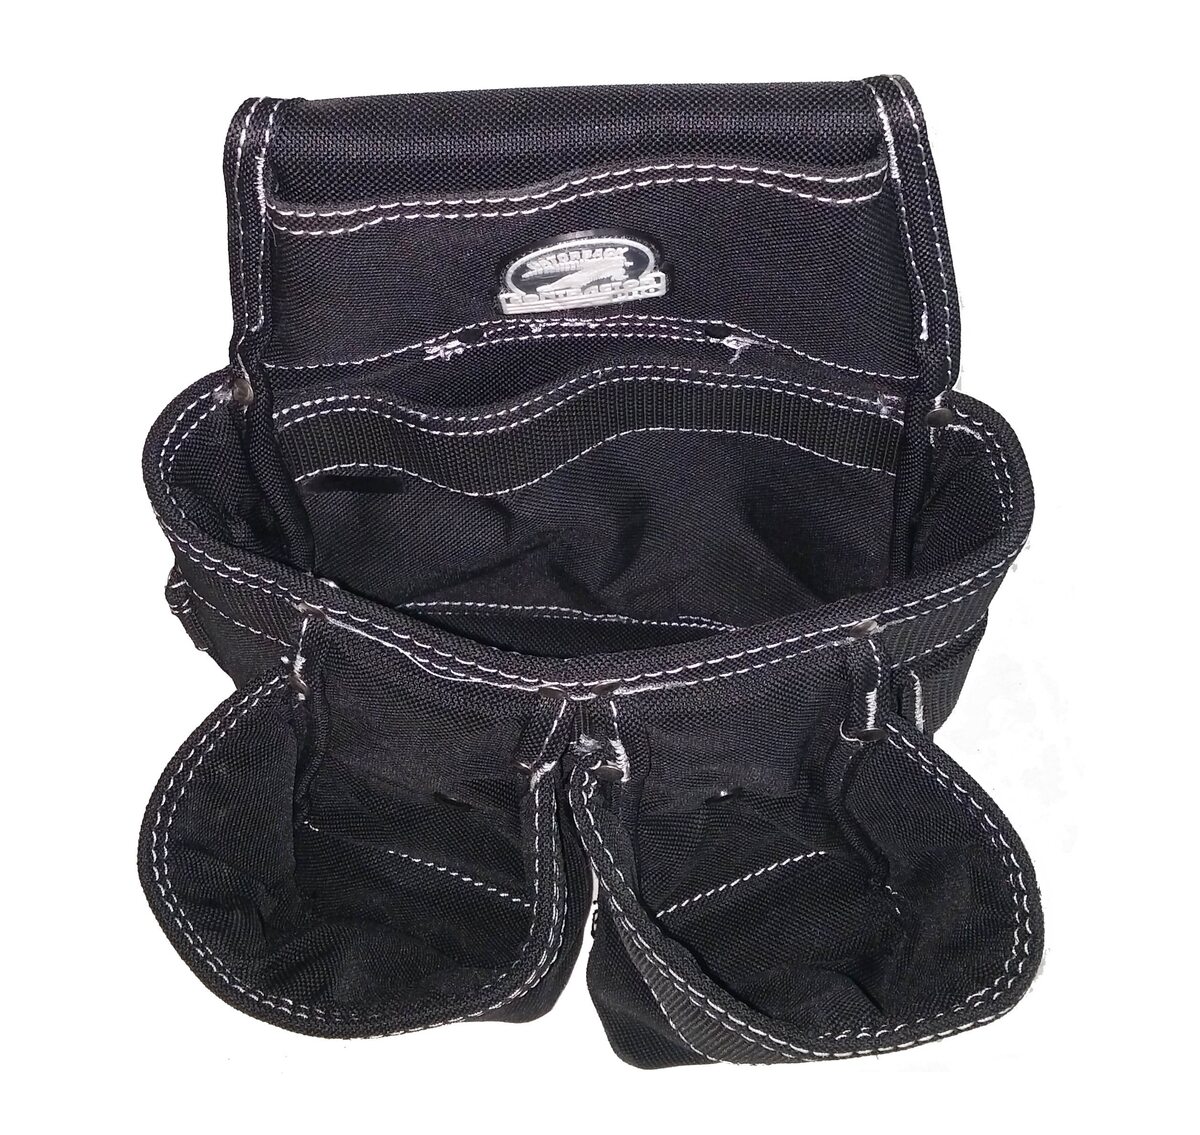
- A bucket tool belt (with multiple compartments)
- A sturdy waist belt or harness belt
- Tool organizers such as hooks or clips
- A variety of tools for your specific project (hammers, screwdrivers, pliers, etc.)
Make sure your bucket tool belt has enough compartments to accommodate all the tools you will be carrying. It should have different-sized pockets and loops to hold a variety of tools securely.
Additionally, check that the waist belt or harness belt is sturdy and comfortable to wear for extended periods. It should have adjustable straps to ensure a proper fit.
Tool organizers, such as hooks or clips, are useful for hanging larger tools from the belt. This will keep them easily accessible and free up space in the compartments for smaller tools.
Gather the specific tools you will need for your project and organize them in a way that makes sense to you. This will make it easier to place them in the compartments of your bucket tool belt later on.
Once you have gathered all the necessary tools and materials, you are ready to move on to the next step: adjusting the belt for a proper fit.
Step 2: Adjusting the Belt for Proper Fit
Now that you have gathered all the necessary tools and materials, it’s time to adjust the belt for a proper fit. Follow these steps to ensure the belt fits comfortably:
- Put on the waist belt or harness belt and fasten it securely around your waist. Make sure it is snug but not too tight, allowing for proper movement and flexibility.
- If your belt has adjustable straps, ensure that they are properly tightened to prevent any slipping or sagging during use. Adjust the straps according to your waist size for a secure fit.
- Once the waist belt is securely fastened, position the bucket tool belt in front of you, ensuring it is centered and aligned with your body.
- If your bucket tool belt has multiple compartments, arrange them in a way that suits your workflow. Keep frequently used tools and items within easy reach. You may also want to arrange the compartments based on tool size or function.
- Experiment with the tightness of the waist belt and the placement of the bucket tool belt to find the most comfortable and balanced position. Take a moment to walk around and perform some light movements to ensure the belt stays in place and does not cause any discomfort.
Remember, it’s important to find the right balance between a snug fit and freedom of movement. A well-adjusted belt will allow you to work efficiently and comfortably without hindering your mobility.
Once you have adjusted the belt for a proper fit, you are ready to move on to the next step: attaching the buckets to the belt.
Step 3: Attaching the Buckets to the Belt
After adjusting the belt to fit properly, it’s time to attach the buckets to the belt. Follow these steps for secure attachment:
- Place the empty buckets on a stable surface within reach.
- Start by selecting the bucket with the largest compartment as your main tool holder. This will be the bucket closest to your dominant hand for easy access to your frequently used tools.
- Hold the selected bucket with its open side facing towards you and the compartment facing up.
- Insert the attachment hooks or clips on the back of the bucket into the corresponding loops or rings on the belt. Ensure that they are securely fastened before moving on to the next bucket.
- If your belt has additional compartments or pockets, attach the remaining buckets in a way that provides easy access to your tools while maintaining a balanced distribution of weight.
- Double-check the attachment points to ensure that the buckets are securely fastened to the belt. Give them a gentle tug to make sure they are stable and won’t come loose during use.
Once the buckets are securely attached to the belt, you are ready to move on to the next step: arranging the tools in the buckets.
When putting on a bucket tool belt, make sure to adjust the belt to fit comfortably around your waist. Secure the buckle tightly to prevent the belt from slipping while you work.
Step 4: Arranging the Tools in the Buckets
Now that the buckets are securely attached to the belt, it’s time to arrange your tools in an organized manner. Follow these steps to efficiently arrange your tools:
- Take a moment to assess the tools you will be placing in each bucket. Group similar tools together, such as all screwdrivers in one bucket and all pliers in another bucket.
- Place frequently used tools in the front compartments of the bucket tool belt for easy access. This can include tools like hammers, tape measures, or utility knives.
- Use the smaller compartments or pockets of the bucket tool belt to hold smaller tools, fasteners, or accessories. This helps to keep them organized and prevents them from getting lost in the larger compartments.
- If your belt has hooks or clips on the sides, utilize them to hang larger tools such as drills or saws. This frees up space in the compartments and keeps the tools easily accessible.
- Consider arranging the tools in a way that makes sense to you and your workflow. This could be based on tool size, frequency of use, or project-specific requirements.
- Ensure that the tools are securely placed within the compartments to prevent them from falling out or becoming loose during use. Give the belt a gentle shake to test the stability of the tools.
Remember, the goal is to organize your tools in a way that allows for easy access and efficient workflow. Take some time to arrange the tools according to your preference and comfort.
Once you have arranged the tools in the buckets, you are ready to move on to the final step: securing the belt for comfort and safety.
Read more: What Do You Put In A Mop Bucket
Step 5: Securing the Belt for Comfort and Safety
Now that you have attached the buckets and arranged your tools, it’s important to ensure that the belt is secure and comfortable for extended use. Follow these steps to secure the belt:
- Make any necessary adjustments to the tightness of the waist belt or harness belt. It should fit snugly but comfortably around your waist, providing support and stability.
- If your belt has additional straps or buckles, ensure that they are properly fastened to prevent the belt from shifting or loosening during use.
- Take a moment to adjust the position of the buckets and tools on the belt. Make sure they are evenly distributed and balanced to avoid any discomfort or strain on your body.
- Check for any sharp or protruding edges on the tools or buckets and make sure they do not cause any discomfort or risk of injury. Smooth out any rough surfaces or cover them with protective materials if necessary.
- Walk around and perform some light movements to ensure that the belt stays in place and does not shift or become loose. This will also give you an opportunity to ensure that the weight distribution is comfortable and balanced.
- If you find that certain tools are causing discomfort or hindering your movement, make adjustments as needed. Rearrange tools or remove any unnecessary items to prioritize comfort and safety.
Remember, wearing the belt should not restrict your movement or cause any discomfort. It should be secure, comfortable, and allow you to work efficiently without any hindrances.
By following these steps to secure the belt, you have completed the process of putting on a bucket tool belt.
Conclusion
Congratulations! You have successfully learned how to put on a bucket tool belt and ensure a comfortable and efficient work experience. By following these steps, you can now easily carry and access your tools while working on construction sites or engaging in outdoor projects.
Remember, the key to maximizing the benefits of your bucket tool belt lies in proper adjustments, secure attachments, and organized tool arrangement. Taking the time to gather the necessary tools and materials, adjust the belt for a proper fit, attach the buckets securely, arrange your tools in a logical manner, and secure the belt for comfort and safety will greatly enhance your productivity and overall work experience.
Always prioritize safety while working with tools. Be mindful of the weight distribution and handle tools with care to avoid any accidents or injuries. Regularly check the belt and attachments to ensure they remain secure.
Now that you have acquired the knowledge and skills to effectively put on a bucket tool belt, you can enjoy the convenience and accessibility it provides. So, get out there and tackle your next project with ease and efficiency!
Frequently Asked Questions about How To Put Bucket Tool Belt On
Was this page helpful?
At Storables.com, we guarantee accurate and reliable information. Our content, validated by Expert Board Contributors, is crafted following stringent Editorial Policies. We're committed to providing you with well-researched, expert-backed insights for all your informational needs.
0 thoughts on “How To Put Bucket Tool Belt On”