Articles
How To Replace Element In Water Heater
Modified: August 24, 2024
Learn how to replace an element in your water heater with our informative articles. Find step-by-step instructions and expert tips to ensure a smooth replacement process.
(Many of the links in this article redirect to a specific reviewed product. Your purchase of these products through affiliate links helps to generate commission for Storables.com, at no extra cost. Learn more)
Introduction
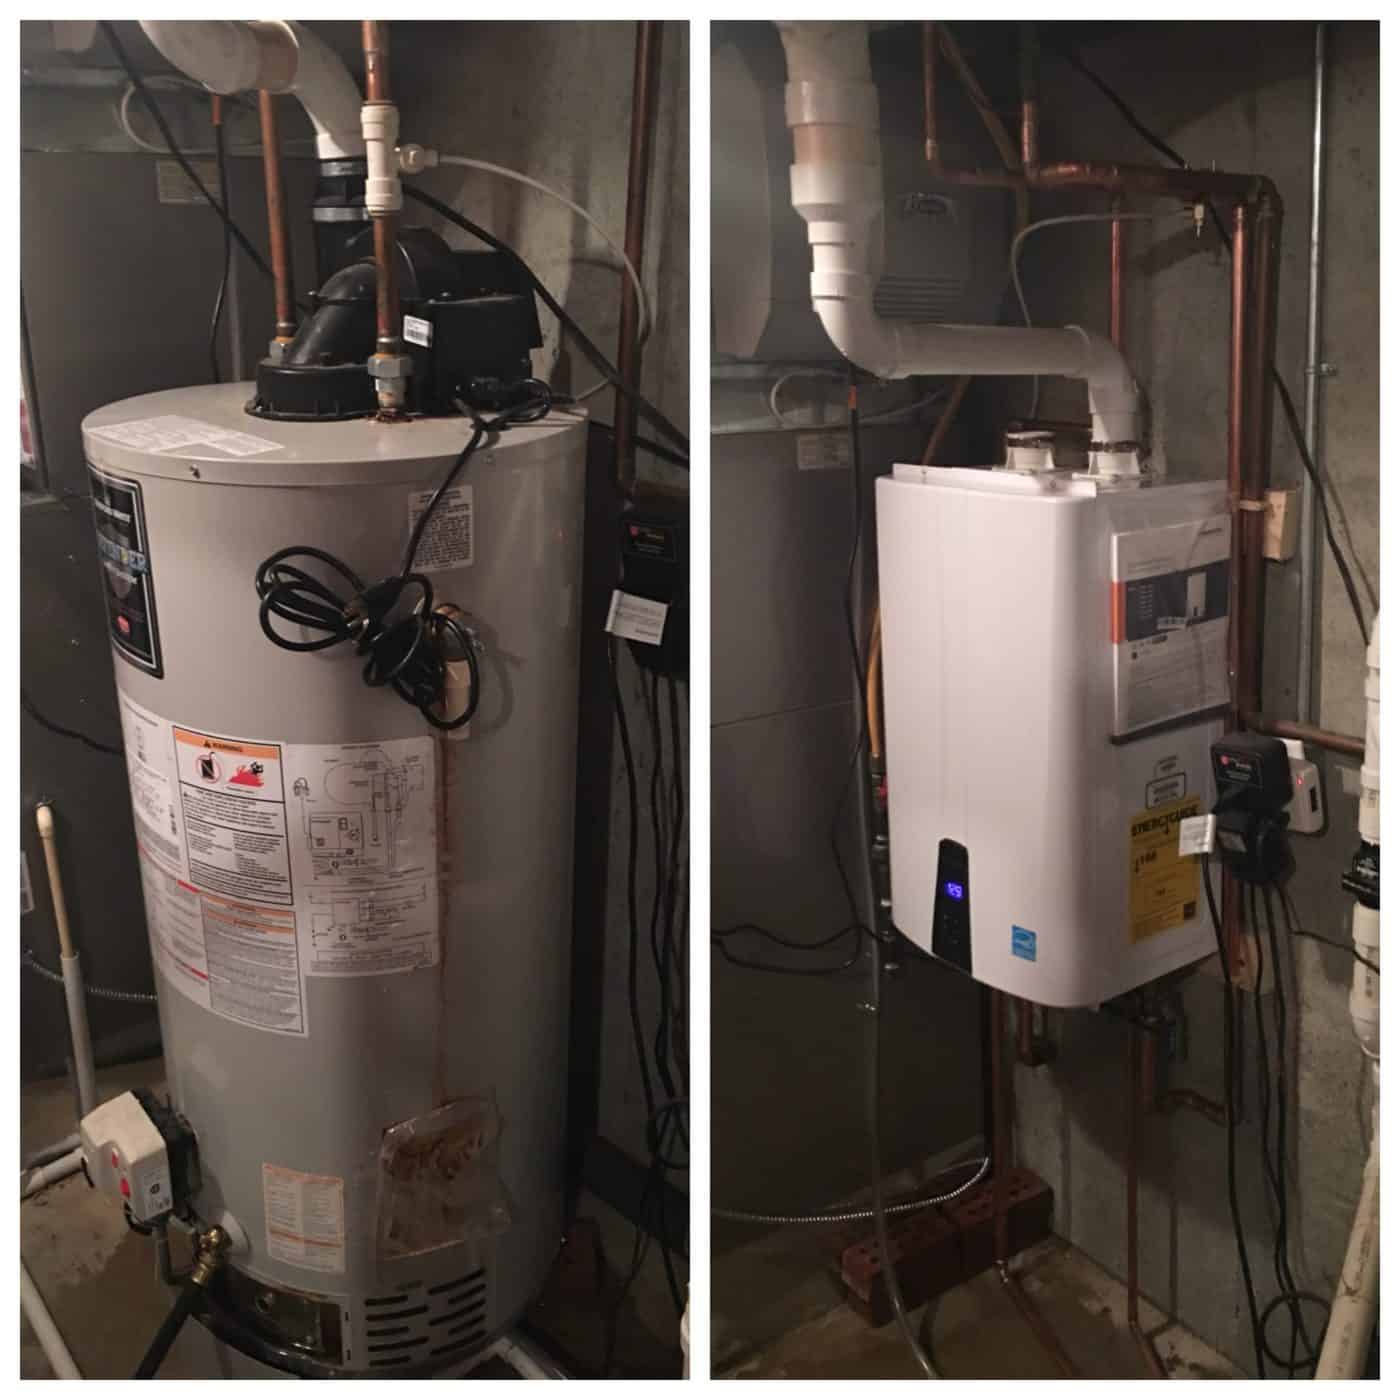
Having a properly functioning water heater is essential for our daily lives, providing us with hot water for showers, laundry, and washing dishes. However, over time, the heating element in a water heater may wear out or malfunction, resulting in insufficient or no hot water. Fortunately, replacing a faulty heating element is a relatively straightforward process that can restore the efficiency and functionality of your water heater.
In this guide, we will walk you through the step-by-step process of replacing the heating element in a water heater. With a few common tools and a little bit of time, you can save money by avoiding the need for professional help and have your water heater working efficiently again.
Before we dive into the specific steps, it’s important to note that safety should always be a top priority when working with electricity and hot water. Make sure to read through the manufacturer’s instructions for your particular water heater model and follow all safety guidelines. If you are unsure or uncomfortable with any part of the process, it is always best to consult a professional.
Now, let’s get started on replacing the heating element in your water heater!
Key Takeaways:
- DIY Water Heater Repair
Save money and restore hot water efficiency by replacing a faulty heating element in your water heater. Follow safety precautions and the step-by-step guide for a successful DIY repair. - Prioritize Safety and Maintenance
Ensure safety by turning off power and water supply before replacing the heating element. Regular maintenance and prompt attention to issues can prolong the water heater’s lifespan and prevent costly repairs.
Read more: How To Check Water Heater Element
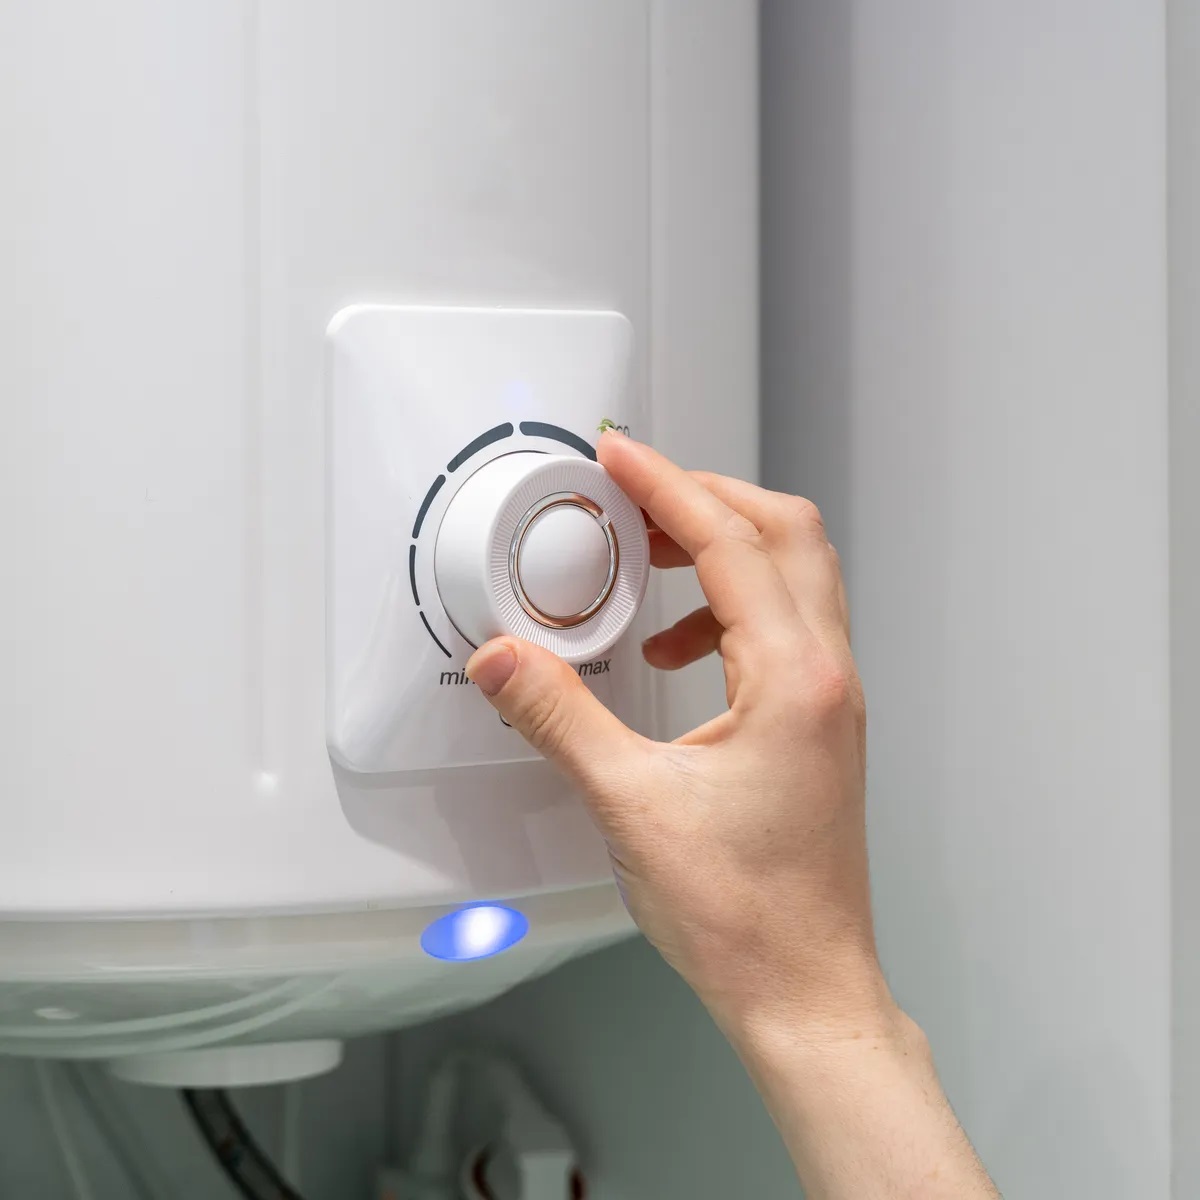
Step 1: Turn off the power supply
The first step in replacing the heating element in your water heater is to ensure that the power supply is turned off. This is essential to prevent any electrical accidents or harm during the replacement process.
Start by locating the circuit breaker or fuse box that controls the electricity to your water heater. Typically, there will be a dedicated breaker or fuse labeled specifically for the water heater. Flip the switch or remove the fuse to disconnect the power supply.
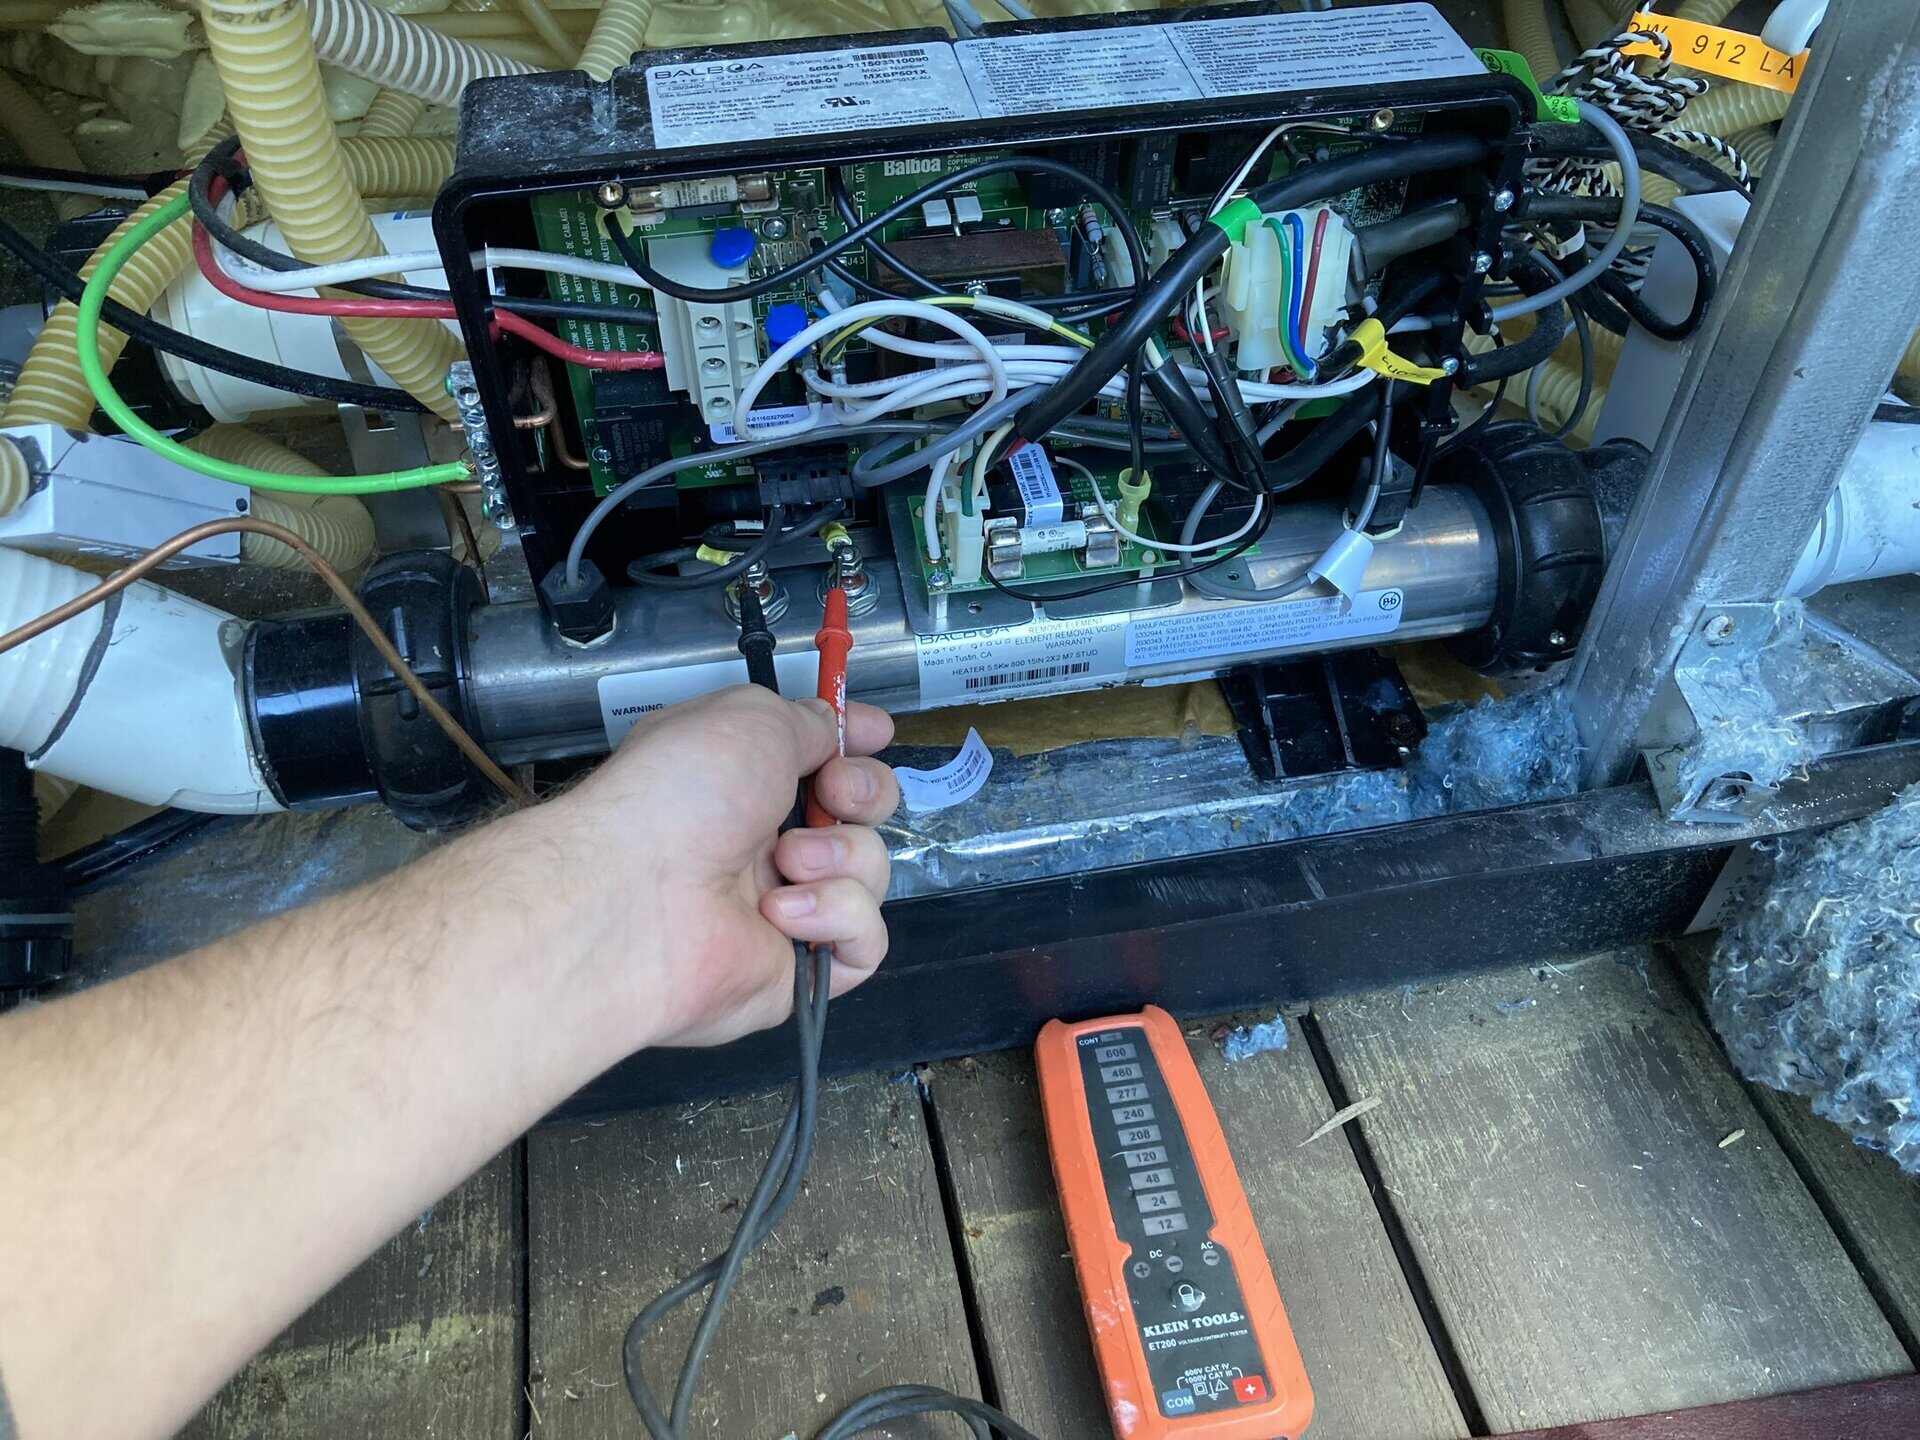
To double-check that the power is truly off, you can use a non-contact voltage tester. Hold the tester near the wiring connections or the heating element to verify that there is no electricity present. This is an important safety precaution that should not be skipped.
It is also a good practice to inform others in your household that you are working on the water heater and have shut off the power. This will prevent anyone from accidentally turning it back on while you are in the middle of the replacement process.
Once you have confirmed that the power supply is turned off, you are ready to move on to the next step.
Step 2: Shut off the water supply
After ensuring the power supply is turned off, the next step in replacing the heating element in your water heater is to shut off the water supply. This is crucial to prevent any water from flowing into the heater during the replacement process.
Locate the cold water supply valve usually located at the top of the water heater tank. Rotate the valve clockwise until it is fully closed. This will shut off the flow of water into the tank and prevent any potential leaks or spills while you work.
Once you have closed the cold water supply valve, it is advisable to open a hot water faucet in your home to relieve any pressure inside the water heater tank. This will help to drain the tank more effectively later in the process.
By shutting off the water supply, you have taken an important precaution to ensure a smooth and safe replacement of the heating element.
Step 3: Drain the water heater
Now that you have turned off the power supply and shut off the water supply, the next step in replacing the heating element in your water heater is to drain the tank. Draining the tank is necessary to remove any remaining water and ensure a dry working environment.
First, locate the drain valve at the bottom of the water heater tank. This valve is typically a small spigot-like handle or a knob. Attach a garden hose to the drain valve, making sure the other end of the hose is positioned to safely drain the water outside or into a suitable drainage area.
With the hose securely attached, open the drain valve by turning the handle counterclockwise. Allow the water to flow out of the tank until it is empty. Be cautious as the water may be hot, so make sure to use appropriate safety measures such as wearing gloves.
Once the tank is completely drained, close the drain valve by turning the handle clockwise. If you notice any sediment or debris coming out with the water, it may be a good idea to flush the tank before proceeding. To do this, you can turn on the cold water supply for a brief moment to help agitate and flush out any remaining sediment.
Draining the water heater tank ensures that you have a clean and empty space to work on when replacing the heating element.
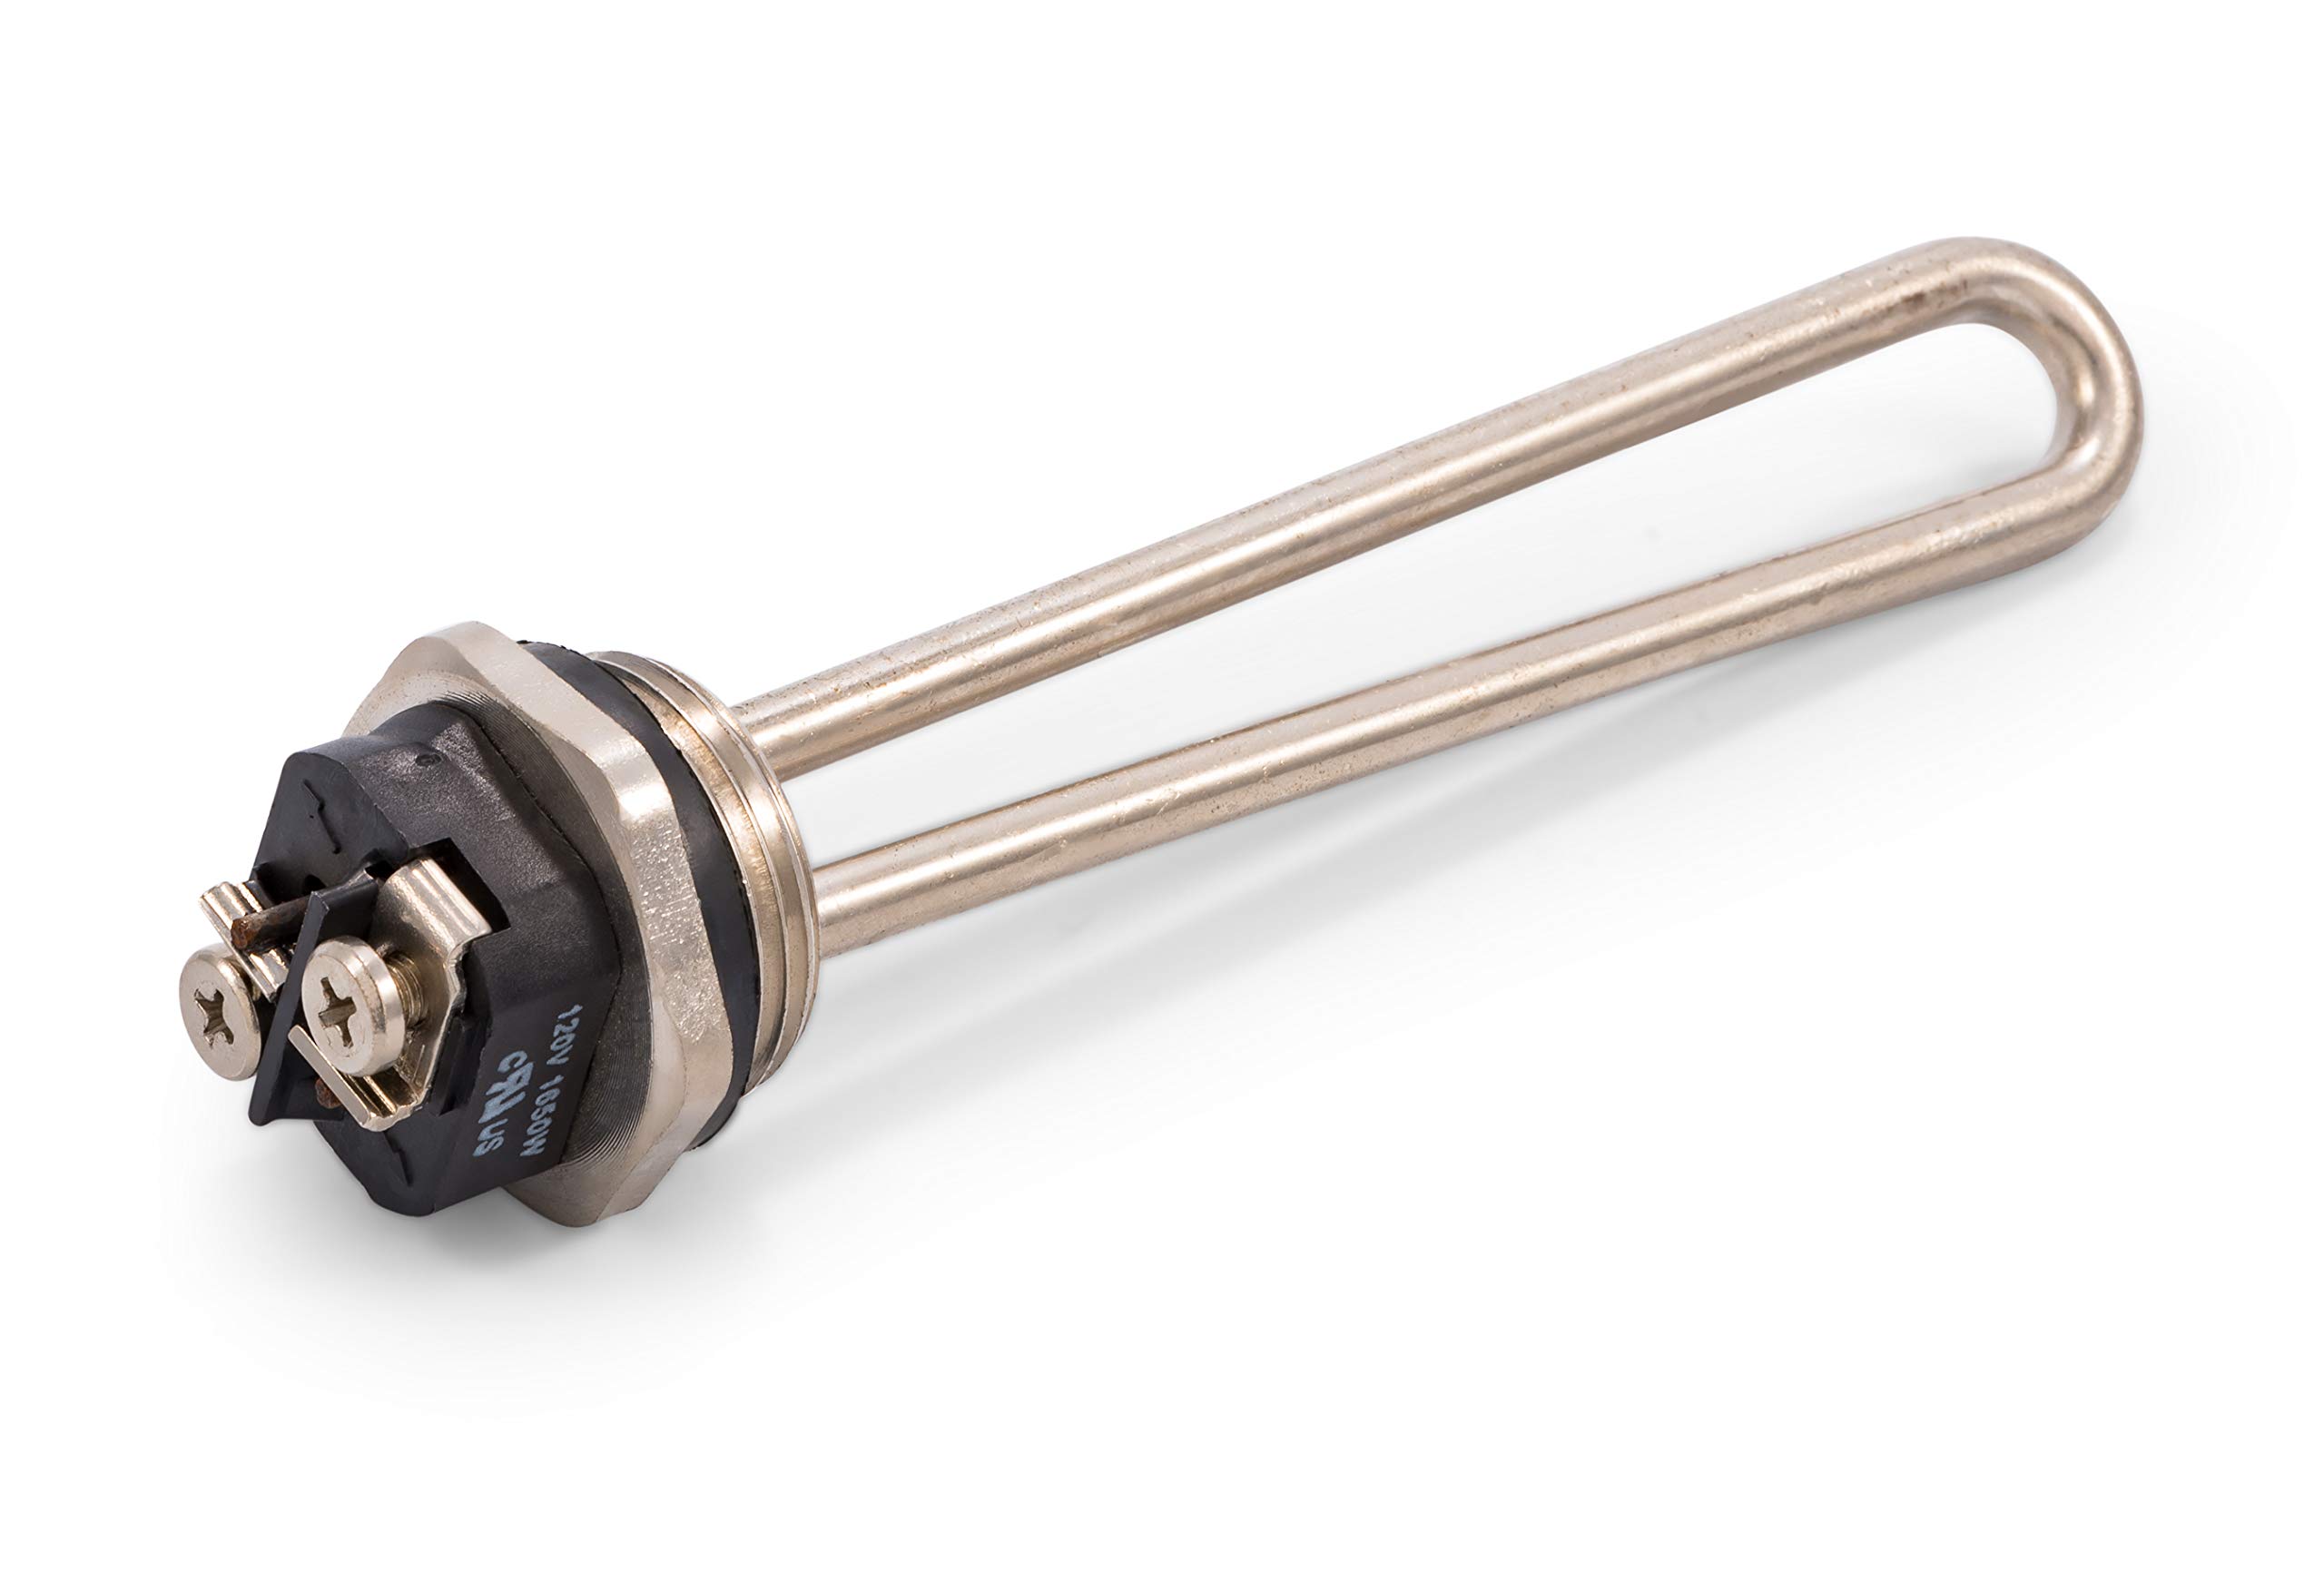
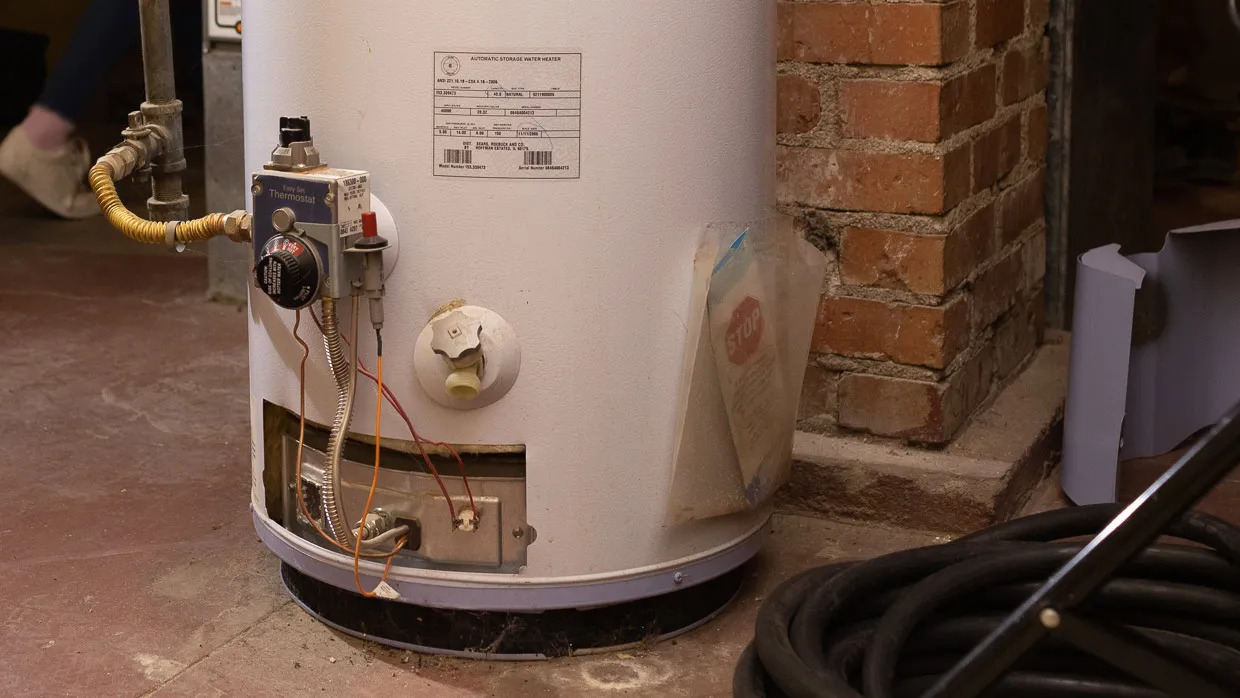
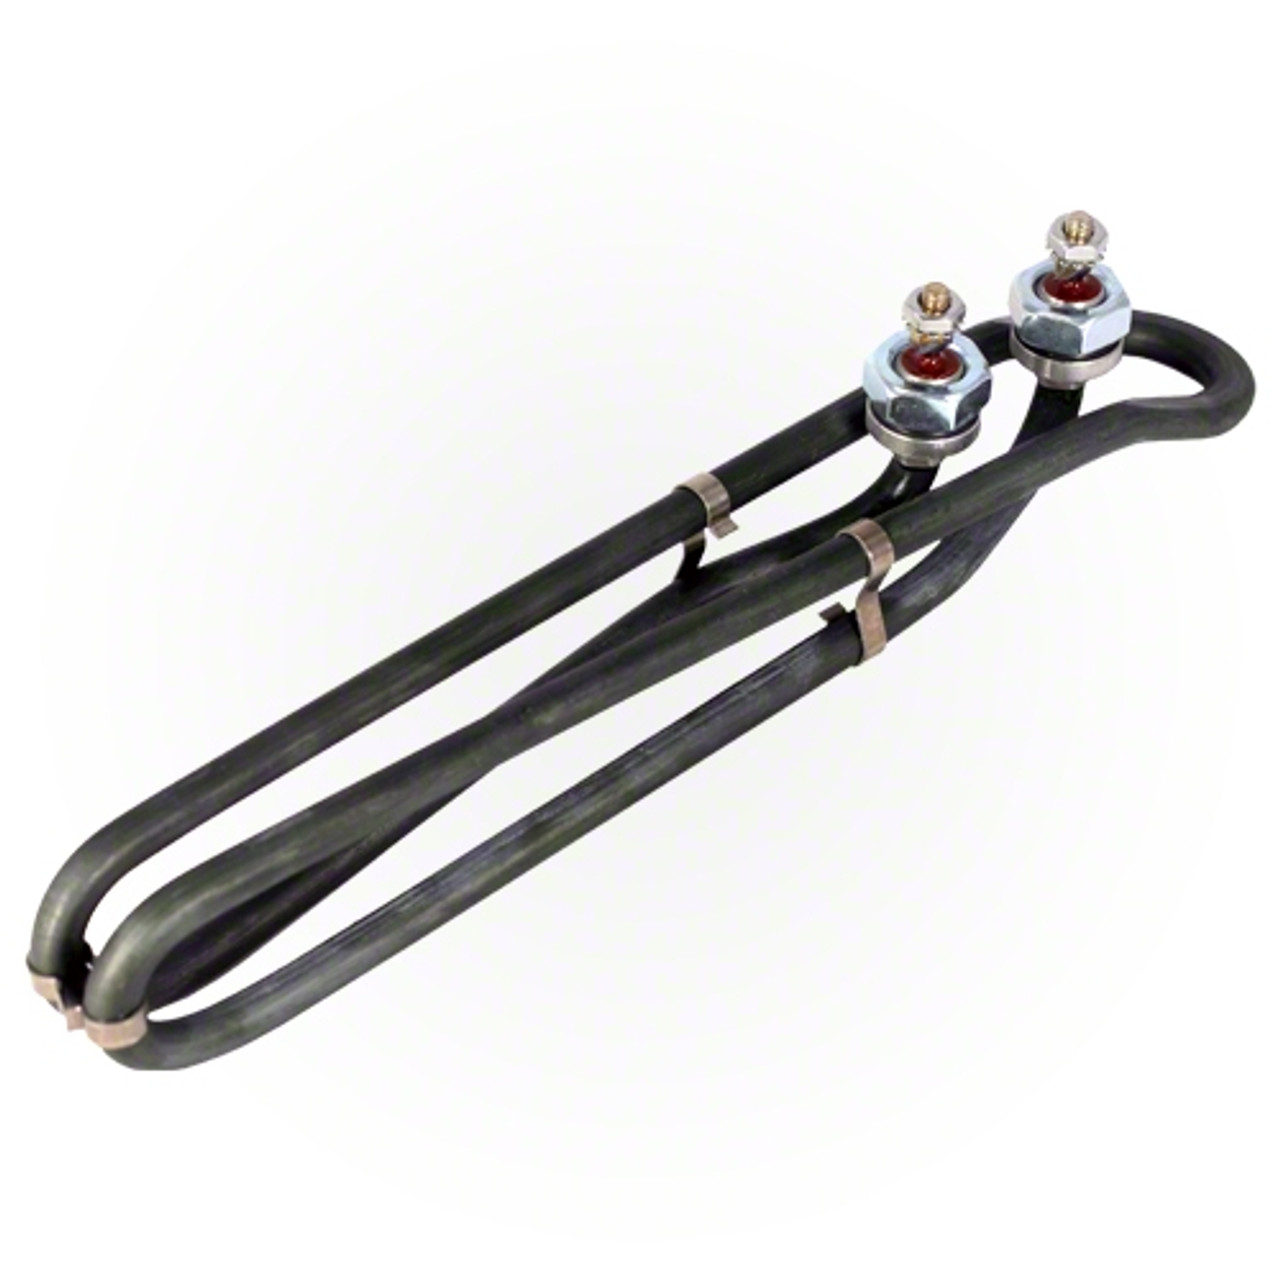
Step 4: Remove the old heating element
With the water heater tank drained, it’s time to move on to the next step: removing the old heating element. The heating element is typically located at the top or bottom of the tank, depending on the design of your water heater.
Start by locating the access panel or cover that provides access to the heating element. This panel is usually secured by screws or clips and may require a screwdriver or pliers to remove.
Once the access panel is removed, you will see the electrical connections and the heating element itself. Before proceeding, it’s important to ensure that there is no power flowing to the heating element. Double-check that the power supply is turned off and use a voltage tester to confirm that there is no electricity present.
Next, carefully disconnect the electrical wires from the heating element. You may need to use a pair of pliers or a wrench to loosen any nuts or screws that secure the connections. Take note of the specific arrangement of the wires, as you will need to reconnect the new heating element in the same way.
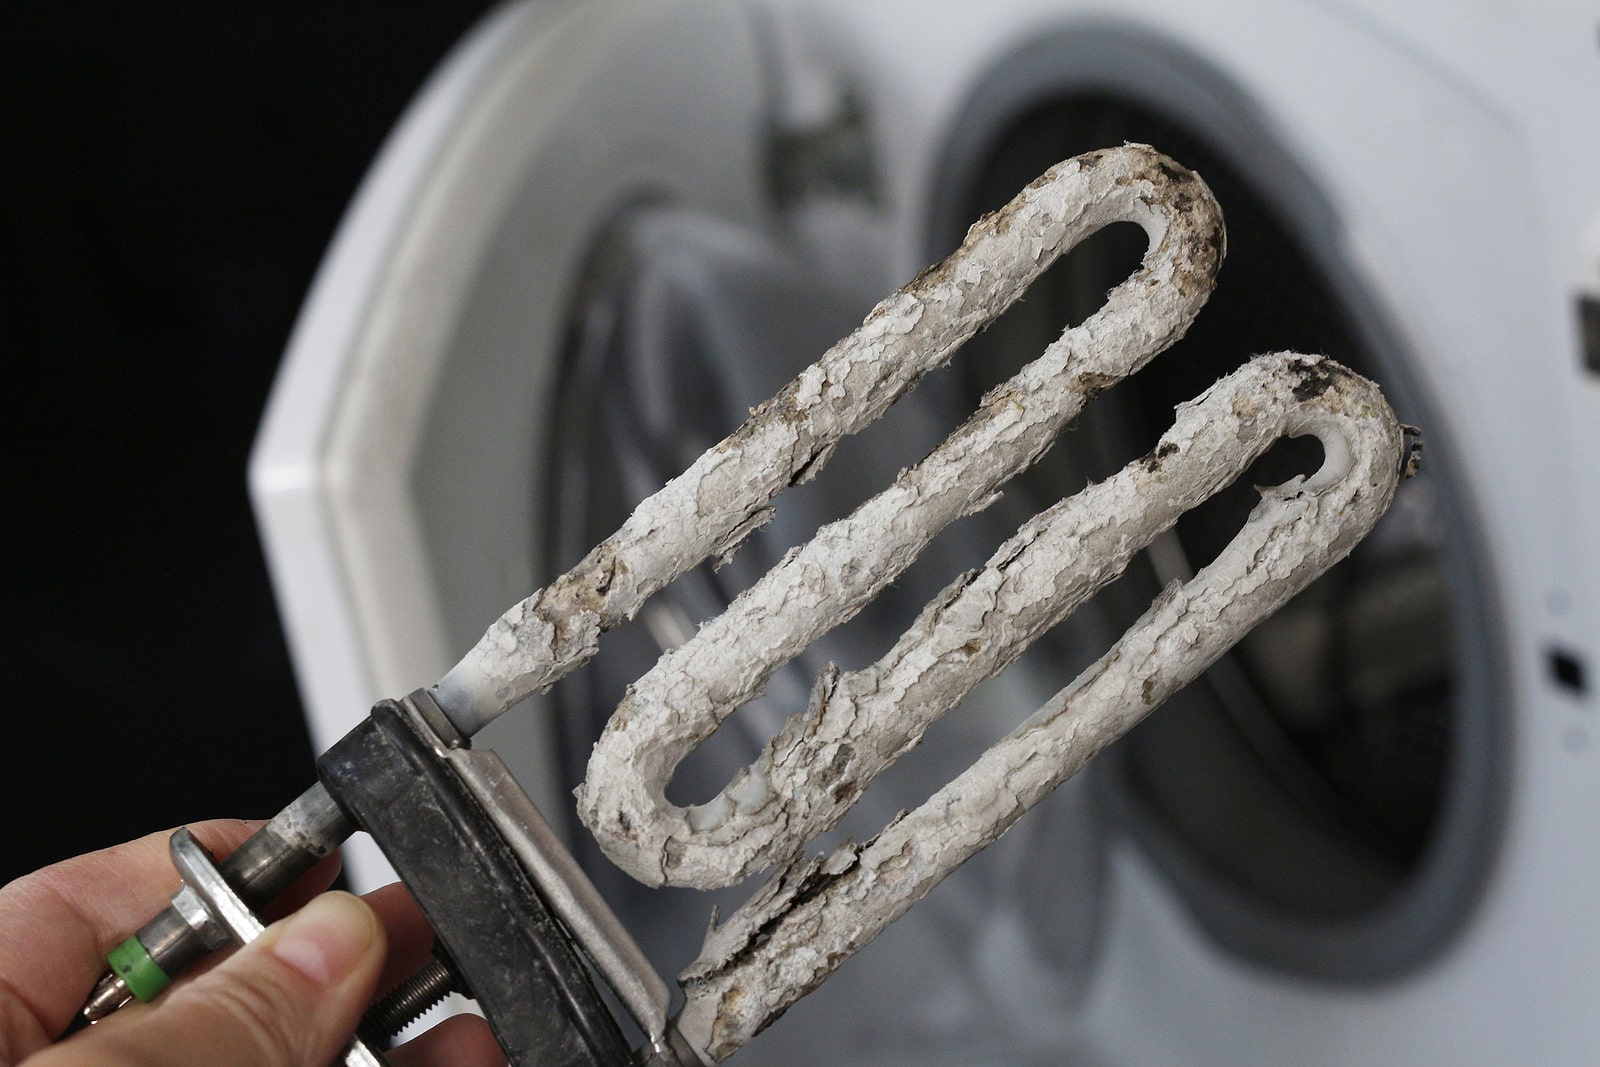
Once the electrical connections are disconnected, use an appropriate tool (such as a socket wrench or an element removal wrench) to unscrew and remove the old heating element from the tank. Be cautious as the heating element may still be hot, so it’s advisable to use protective gloves.
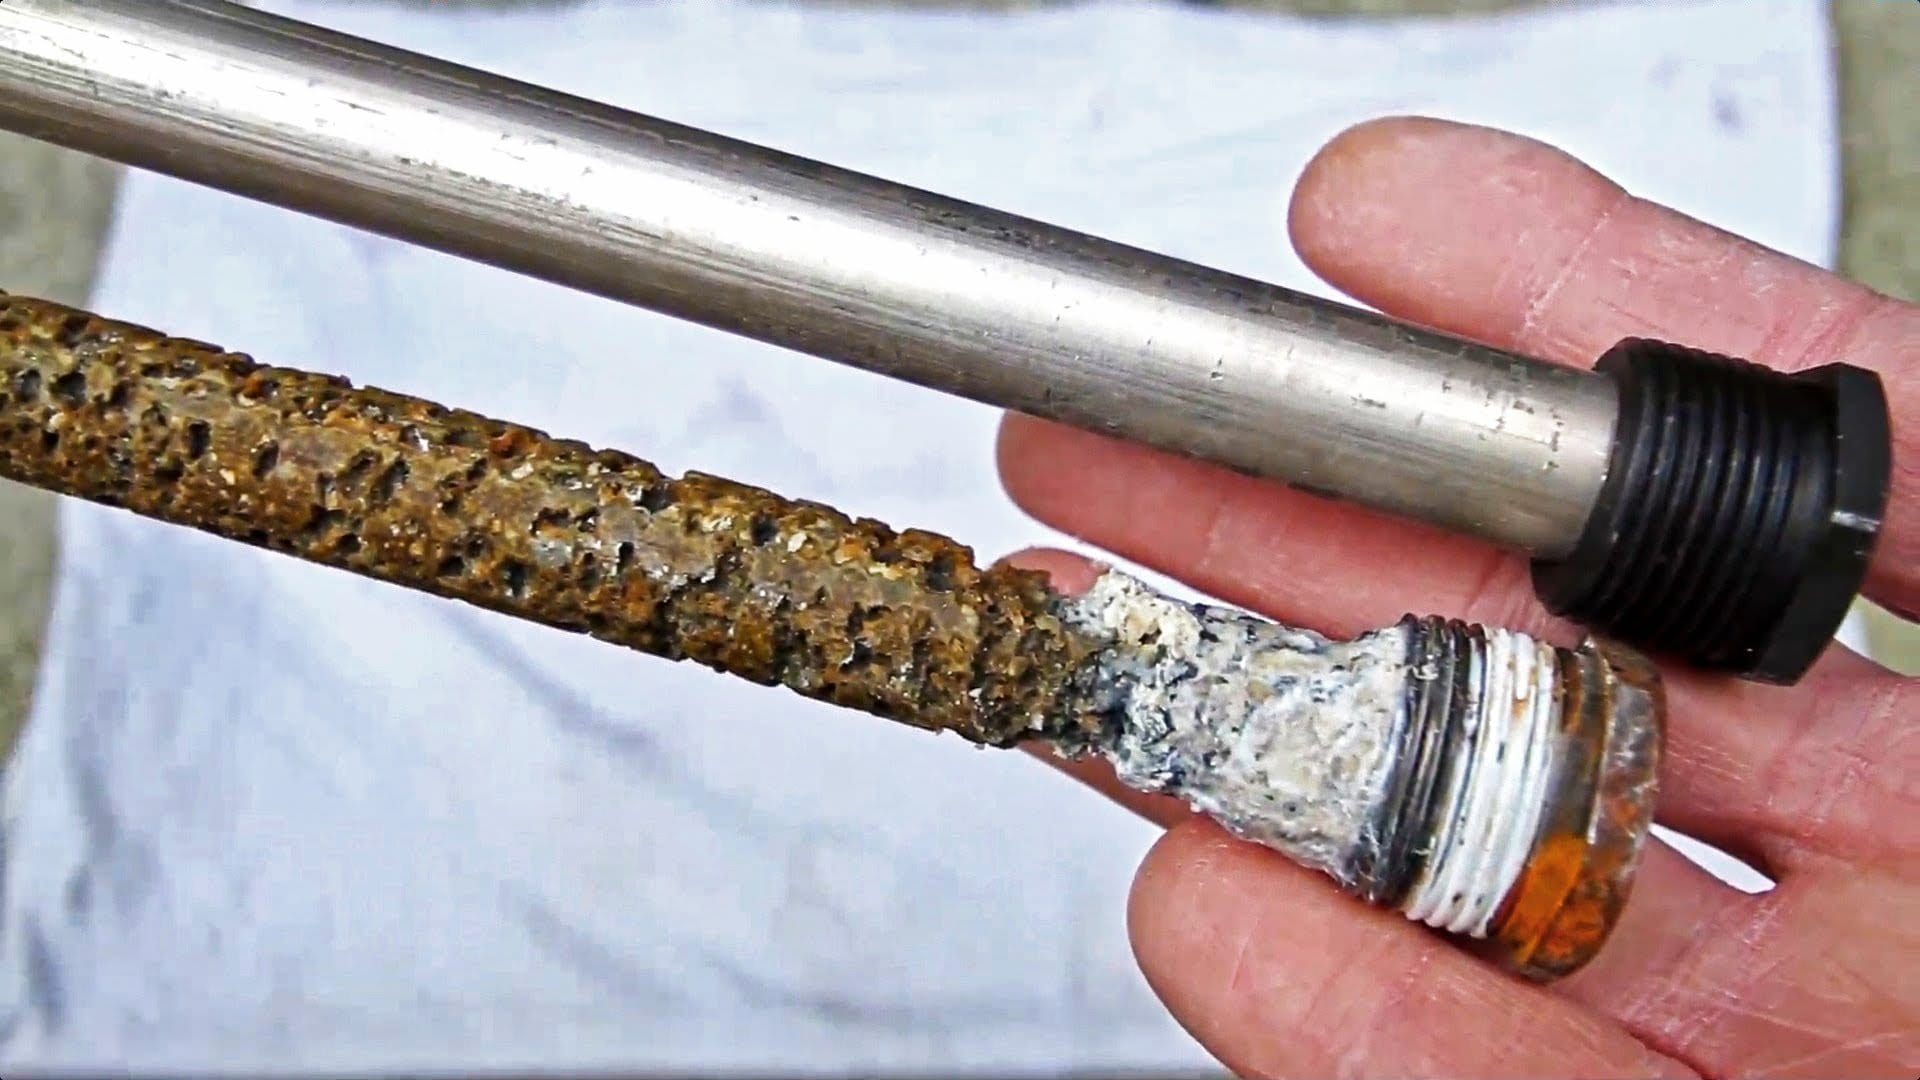
Inspect the old heating element for any signs of damage or wear. If it appears to be damaged, replacement is definitely necessary.
With the old heating element removed, you can now proceed to the next step of installing the new one.
Before replacing an element in a water heater, make sure to turn off the power and water supply to the unit. Use a proper wrench to remove the old element and apply plumber’s tape to the threads of the new element before installing.
Read more: What Size Socket Is A Water Heater Element
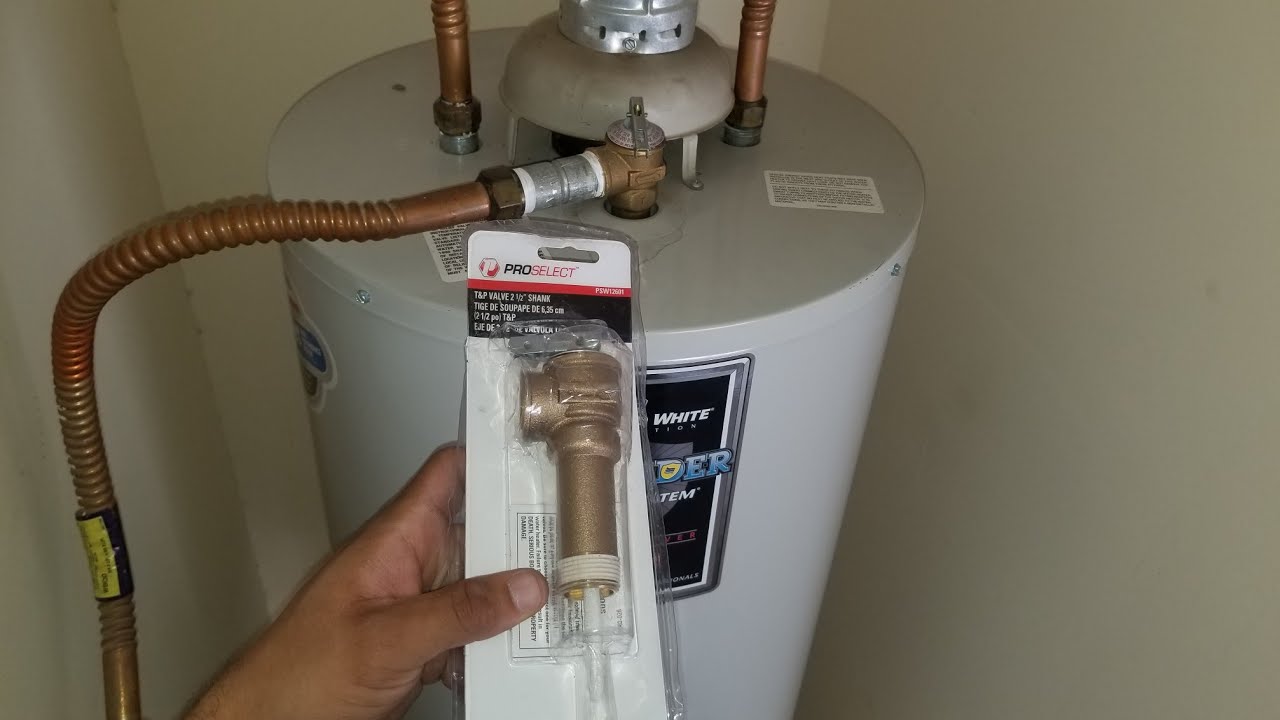
Step 5: Install the new heating element
Now that the old heating element has been removed, it’s time to install the new one. Installing a new heating element is a straightforward process, but it requires careful attention to ensure a secure and proper connection.
Begin by taking the new heating element and inspecting it for any defects or damage. Ensure that it matches the specifications of your water heater and is compatible with the electrical system.
Start by applying a thin layer of plumber’s tape or pipe joint compound to the threads of the heating element. This will help create a watertight seal when it is installed.
With the tape or compound applied, carefully thread the new heating element into the opening on the water heater tank. Use an appropriate tool, such as a socket wrench or element installation wrench, to tighten it securely. Be careful not to overtighten, as this could damage the threads or the heating element.
Next, reattach the electrical connections to the new heating element. Follow the same arrangement that was observed when disconnecting the old heating element. Tighten any nuts or screws to ensure a secure and proper connection.
Double-check all connections to make sure they are tight and secure. If necessary, refer to the manufacturer’s instructions for proper installation and torque specifications.
Once the new heating element is securely installed and the electrical connections are reattached, you can proceed to the next step of refilling the water heater.
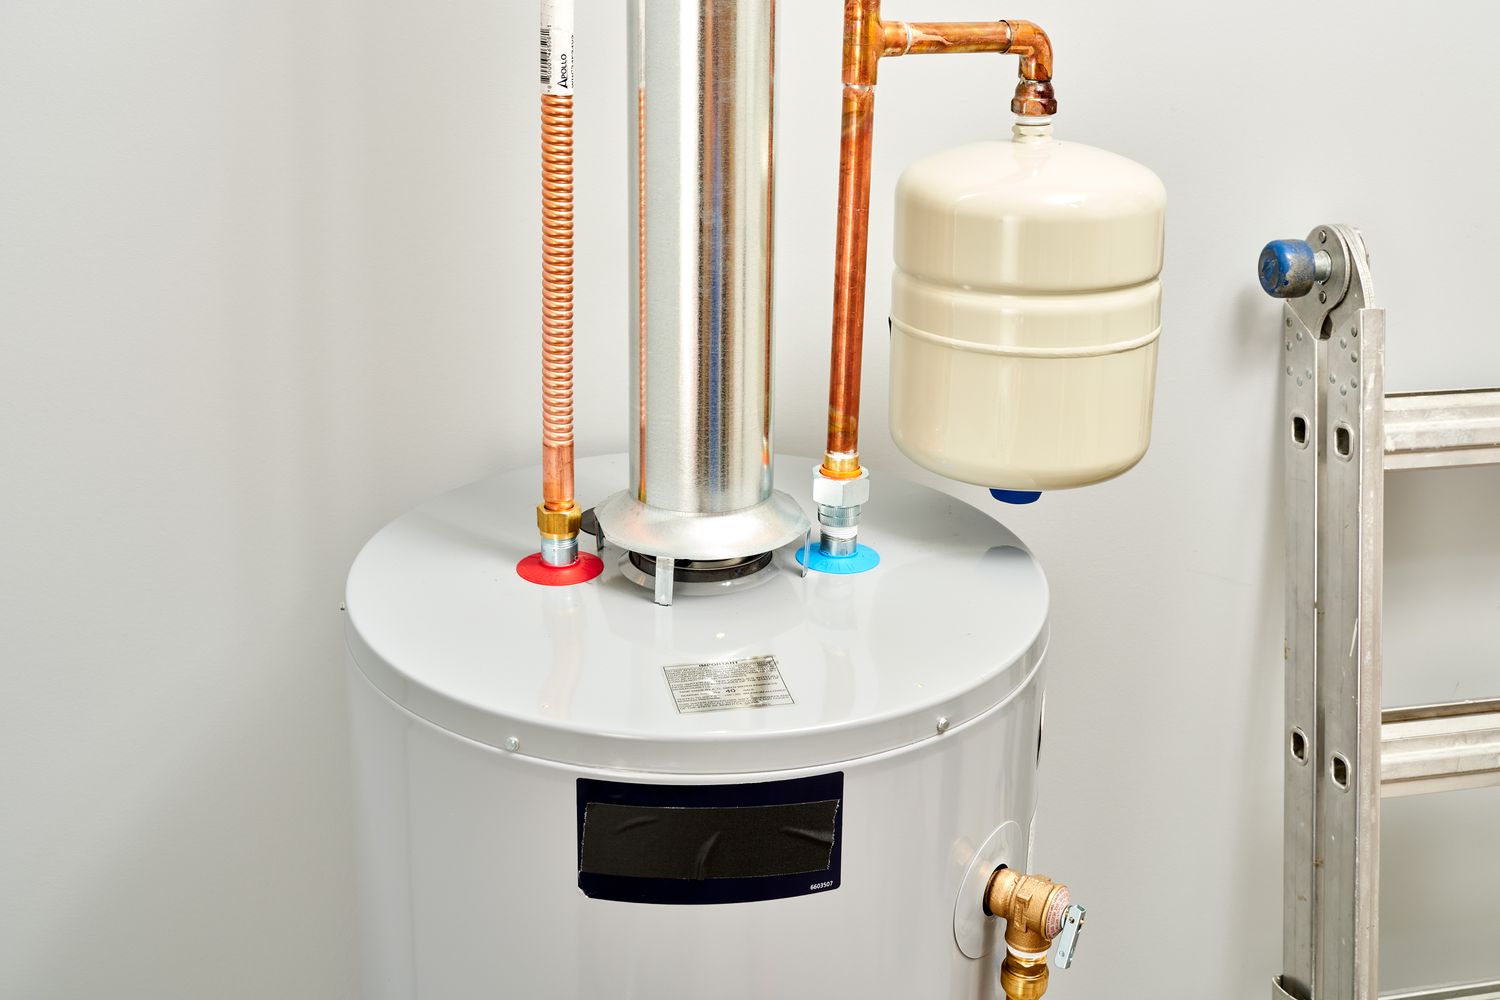
Step 6: Refill the water heater
With the new heating element installed, it’s time to refill the water heater tank. Properly refilling the tank is crucial to ensure the longevity and efficiency of the water heater.
Start by closing the drain valve that was opened during the draining process. Ensure that it is tightly closed to prevent any water leakage.
Next, open the cold water supply valve that was previously shut off. This will allow new water to flow into the tank and fill it up. Keep an eye on the open hot water faucet that was used to relieve pressure earlier. Once a steady stream of water flows from the faucet, it indicates that the tank is filling, and air is being vented out.
Continue to let the water run until it flows smoothly and without any sputtering or air bubbles. This indicates that the tank is full and ready for use. At this point, close the hot water faucet.
While the tank is filling, it is also a good time to check for any leaks around the newly installed heating element or any other connections. Carefully inspect the areas around the element and the access panel to ensure there are no signs of water leakage.
If you notice any leaks, it’s important to address them immediately. Tighten any loose connections or consult a professional if necessary. Water leaks can cause damage to the water heater and surrounding areas if left unrepaired.
Once you have confirmed that there are no leaks and the tank is filled, you can proceed to the final step of turning on the power supply.
Step 7: Turn on the power supply
The final step in replacing the heating element in your water heater is to turn on the power supply. This step will bring the water heater back to full operation and allow it to start heating the water.
If you have followed the safety precautions and properly completed all the previous steps, turning on the power supply should be a relatively simple process.
Start by locating the circuit breaker or fuse box that controls the electricity to your water heater. Flip the switch or insert the fuse to reconnect the power supply. It’s important to ensure that the power to the water heater is the only thing turned on at this point.
Once the power supply is turned on, you should hear the water heater activate. The heating element will start to heat up the water in the tank, and you may hear some initial sounds of water movement or slight bubbling.
After a while, check the hot water faucet to see if hot water is flowing consistently. It may take some time for the water in the tank to reach the desired temperature, especially if it was completely drained during the replacement process.
While the water heater is heating up, take a moment to ensure that all access panels or covers are securely in place and that there are no signs of water leakage from any connections.
If everything seems to be in order and the water is heating up properly, congratulations! You have successfully replaced the heating element in your water heater.
It’s worth noting that it may take some time for the water heater to reach its maximum heating capacity, so be patient if the water takes a while to heat up initially.
Remember to keep an eye on the water heater’s performance in the coming days to ensure that it is functioning properly. If you notice any issues or experience a significant drop in performance, it may be necessary to consult a professional for further inspection.
By following these steps and taking the necessary precautions, you can maintain a well-functioning water heater and enjoy a reliable supply of hot water in your home.
Conclusion
Replacing the heating element in a water heater is a task that can be accomplished by homeowners with a bit of DIY know-how and the right tools. By following the step-by-step process outlined in this guide, you can successfully replace a faulty heating element and restore your water heater’s functionality.
Remember to prioritize safety throughout the process. Always turn off the power supply and shut off the water supply before beginning any work on the water heater. Use caution when draining the tank and ensure proper electrical disconnection before removing the old heating element. Take care when installing the new heating element and double-check all connections and seals to prevent any potential leaks. Lastly, carefully refill the tank and check for leaks before turning on the power supply.
Regular maintenance of your water heater, including periodic checks on the heating element, can help prolong its lifespan and ensure it operates efficiently. Keep an eye out for signs of wear or malfunction, such as a lack of hot water or unusual noises, and address any issues promptly to avoid costly repairs or further damage.
However, if you feel unsure or uncomfortable performing the replacement yourself, it is always best to seek the assistance of a professional plumber or technician. They have the knowledge and expertise to handle the task safely and efficiently.
By taking proper care of your water heater and addressing any heating element issues promptly, you can enjoy a reliable supply of hot water for your daily needs.
Remember, safety first, and happy water heater maintenance!
Now that you've mastered replacing a heating element, why stop there? Keeping your home in tip-top shape is easy with our practical advice on regular home upkeep. From cleaning gutters to checking smoke detectors, our guide on home maintenance has all the savvy tips you need. And if you're considering an upgrade, check out our reviews of the latest electric water heaters set to hit the market in 2024. Perfect for those planning ahead, this list will help ensure you choose the best model for your household needs.
Frequently Asked Questions about How To Replace Element In Water Heater
Was this page helpful?
At Storables.com, we guarantee accurate and reliable information. Our content, validated by Expert Board Contributors, is crafted following stringent Editorial Policies. We're committed to providing you with well-researched, expert-backed insights for all your informational needs.

0 thoughts on “How To Replace Element In Water Heater”