
Articles
How To Reset Hotpoint Washer
Modified: October 18, 2024
Learn how to reset your Hotpoint washer with these helpful articles. Get expert tips and tricks to troubleshoot and fix common issues.
(Many of the links in this article redirect to a specific reviewed product. Your purchase of these products through affiliate links helps to generate commission for Storables.com, at no extra cost. Learn more)
Introduction
Welcome to our guide on how to reset your Hotpoint washer! If you’re having issues with your washer’s performance or experiencing error codes, performing a reset can often resolve the problem. Resetting your Hotpoint washer is a simple process that can be done at home without the need for professional assistance.
Hotpoint washers are known for their reliable performance and advanced features, but like any appliance, they can encounter occasional glitches. Whether your washer is not starting, not draining, or displaying error codes, a reset can help restore it to its optimal condition and get it back up and running smoothly.
Before we dive into the steps of resetting your Hotpoint washer, it’s important to note that not all models have the exact same process. While the general steps are similar, there may be slight variations depending on the specific model you own. Always refer to the user manual or specific instructions provided by Hotpoint for your particular washer model.
In this guide, we will provide you with a general overview of the reset process for Hotpoint washers. Please keep in mind that safety is essential during any maintenance or repair procedure. Make sure to follow all safety precautions and guidelines outlined by Hotpoint and disconnect the power supply before attempting any reset or troubleshooting steps.
Now, let’s get started and learn how to reset your Hotpoint washer!
Key Takeaways:
- Safety first! Before resetting your Hotpoint washer, prioritize safety by unplugging the machine, draining water, and following all manufacturer guidelines. Familiarize yourself with the control panel and always wear protective gloves.
- Successfully resetting your Hotpoint washer involves entering service mode, initiating the reset, and exiting service mode. After the reset, plug the washer back in, test its performance, and contact Hotpoint customer support for further assistance if needed.
Read more: How To Reset A Hotpoint Washing Machine
Safety Precautions
Before attempting to reset your Hotpoint washer, it’s essential to prioritize safety. By following these precautionary measures, you can avoid potential accidents and ensure a secure environment:
- Turn off the power: Before initiating any reset or troubleshooting, unplug your Hotpoint washer from the power outlet. This action will prevent electrical shocks or other hazardous situations.
- Wait for the washer to cool down: If you have been using your washer recently, allow it to cool down before attempting any reset. The interior components can become hot during operation and may cause burns if handled immediately.
- Protect your hands: Wear protective gloves when accessing the control panel or any internal components of your washer. This will safeguard your hands from sharp edges, hot surfaces, or electrical parts.
- Read the user manual: Familiarize yourself with the specific instructions and safety guidelines provided in your Hotpoint washer’s user manual. Each model may have unique features and reset processes, so it’s important to understand the manufacturer’s recommendations.
- Ensure proper ventilation: When working on your washer, make sure you have sufficient airflow in the area. Good ventilation helps dissipate any potential fumes or odors that may arise during the reset process.
- Avoid using excessive force: When handling your washer’s control panel or buttons, gently press or release them as necessary. Applying excessive force can damage the components or cause them to malfunction further.
- Keep children and pets away: During the reset process, make sure your children and pets are at a safe distance. This precaution prevents accidental operation of the washer and avoids any potential injuries.
By adhering to these safety precautions, you can minimize the risks associated with resetting your Hotpoint washer and maintain a secure environment for yourself and those around you.
Step 1: Unplug the Washer
The first step in resetting your Hotpoint washer is to disconnect it from the power supply. Unplugging the washer ensures your safety throughout the reset process.
Locate the power cord of your Hotpoint washer, usually found at the back of the machine or along the side. Carefully pull the plug out of the electrical outlet, ensuring a clean and firm removal.
If your washer is hard-wired into the electrical system, you may need to switch off the circuit breaker dedicated to the washer. Locate the breaker panel in your home and find the switch associated with your washer. Switch it to the “Off” position to cut off the power supply.
By disconnecting the washer from the power source, you eliminate the risk of electric shock while working on the reset process. It also allows the washer’s internal components to fully power down and reset before you proceed to the next steps.
Take a moment to check the power cord for any visible damage. If you notice any frayed wires or exposed parts, it is crucial to replace the power cord before proceeding. Continuing with a damaged power cord could pose a safety hazard.
Once you have unplugged the washer or switched off the circuit breaker, give it a few minutes to ensure that any residual electrical charge is dissipated. This waiting period allows the washer to fully reset before you move on to the next step.
Now that your Hotpoint washer is safely disconnected, you’re ready to proceed with the following steps to reset it and resolve any performance issues you may be experiencing.
Step 2: Drain the Water
Before performing a reset on your Hotpoint washer, it is important to ensure that there is no water remaining in the machine. Draining the water helps prevent any potential leaks or spills during the reset process.
If your washer has a visible drainage hose, locate it at the back of the machine. Ensure that the hose is placed over a suitable drainage area, such as a floor drain or a large basin. Before removing the hose, have a towel or bucket ready to catch any excess water that may come out.
Once you are prepared, carefully remove the drainage hose from its connection point. Be cautious as there may be some water inside the hose or residual water dripping from the connection point. Allow the water to drain completely into the designated area.
If your Hotpoint washer does not have a visible drainage hose, you can check the user manual for specific instructions on how to drain the water. Some models may have a built-in drain pump that you can activate to remove excess water.
After the water has drained, take a moment to examine the drainage hose for any clogs or blockages. Clear any debris if necessary to ensure optimal water flow during future wash cycles.
It’s important to note that if you have recently run a cycle or if your washer is displaying an error code related to water draining, you may need to address the underlying issue before proceeding with the reset. In such cases, refer to the user manual or contact Hotpoint customer support for assistance in troubleshooting and resolving the drainage problem.
With the water drained from your Hotpoint washer, you’re now ready to move on to the next step of accessing the control panel to perform the reset.
Step 3: Access the Control Panel
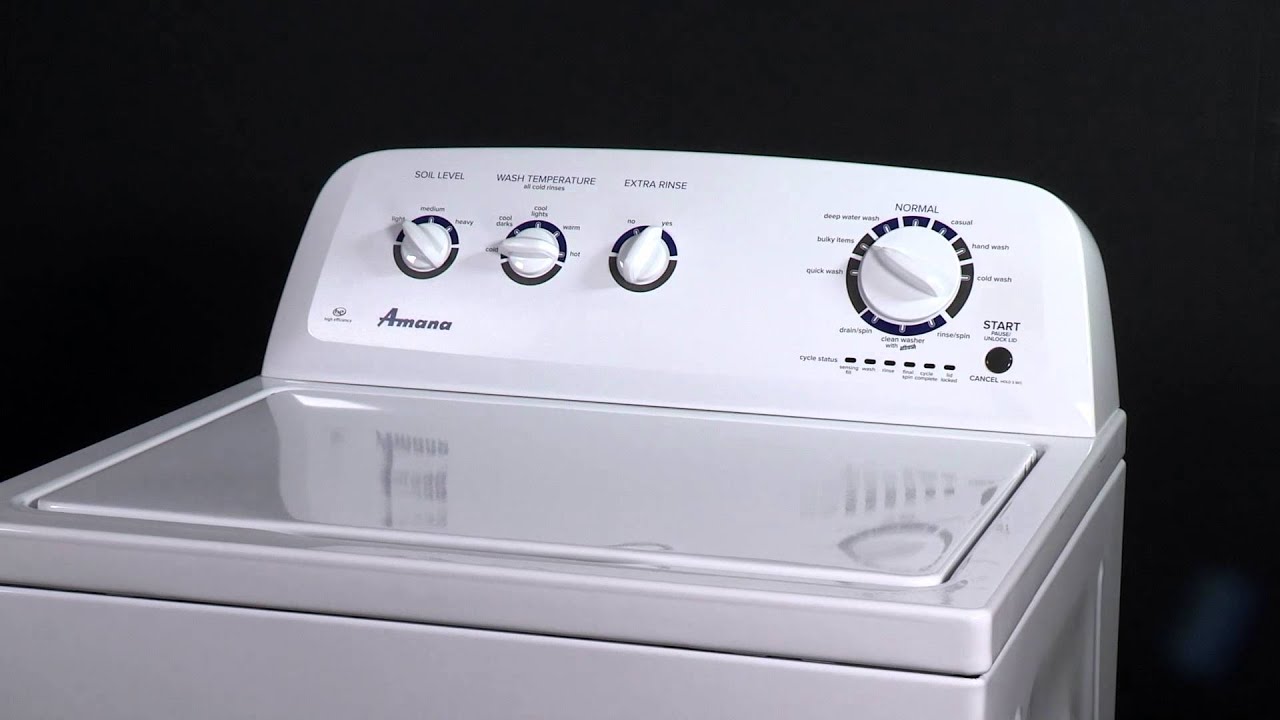
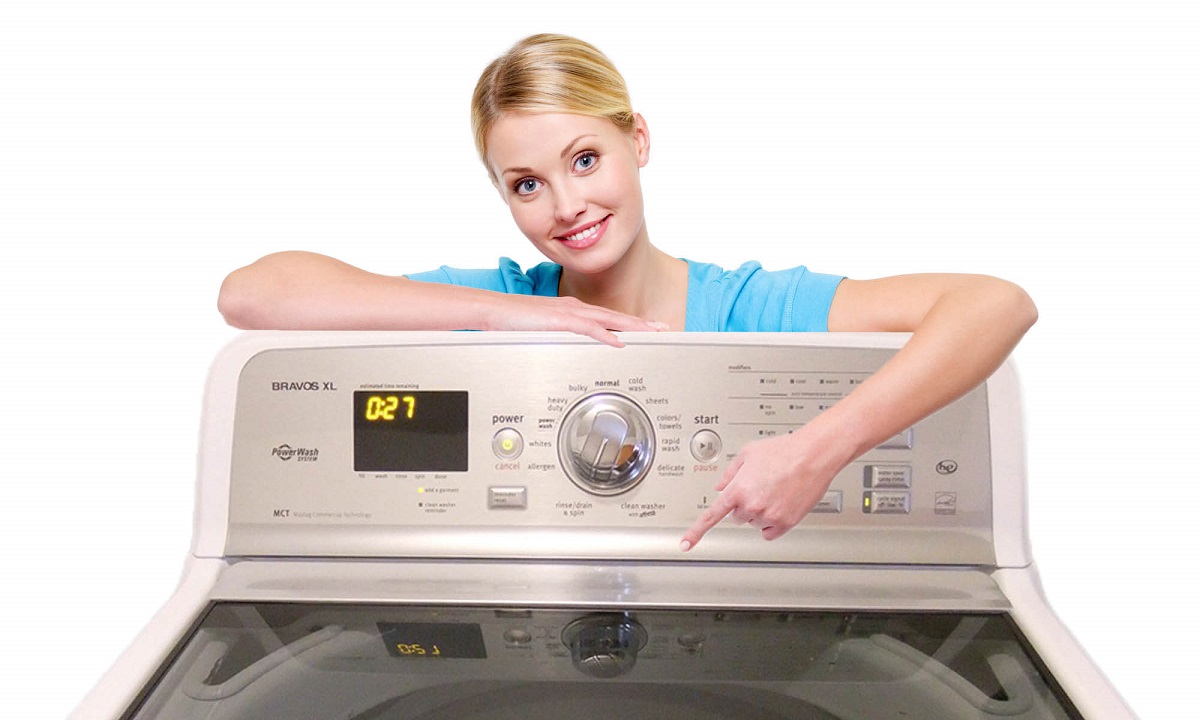
In order to reset your Hotpoint washer, you need to access the control panel. The control panel is where you can initiate the reset process and make necessary adjustments to the washer’s settings.
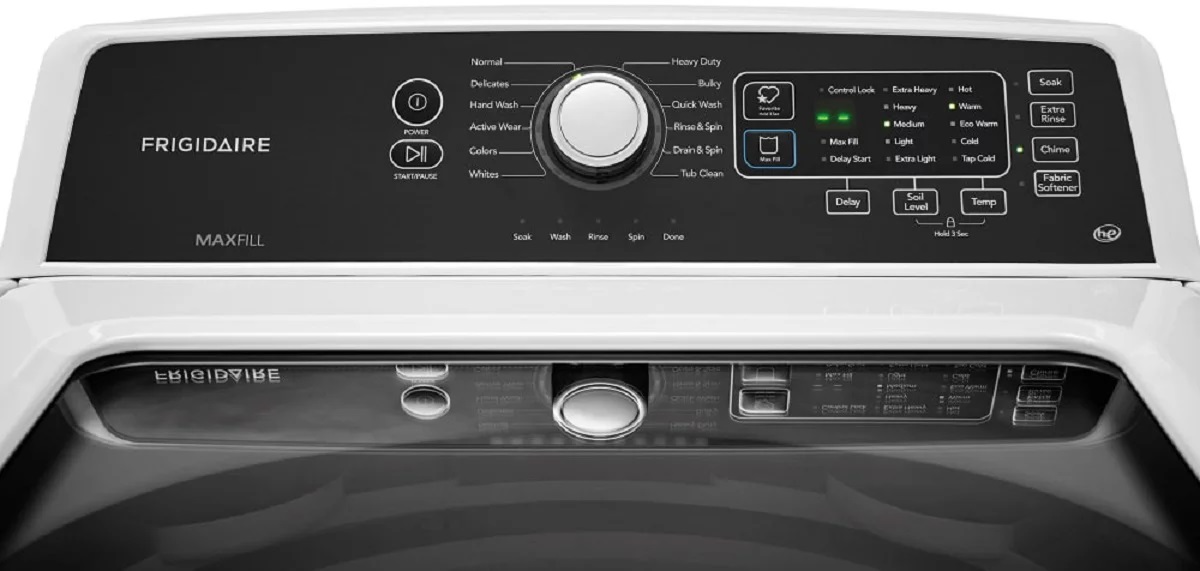
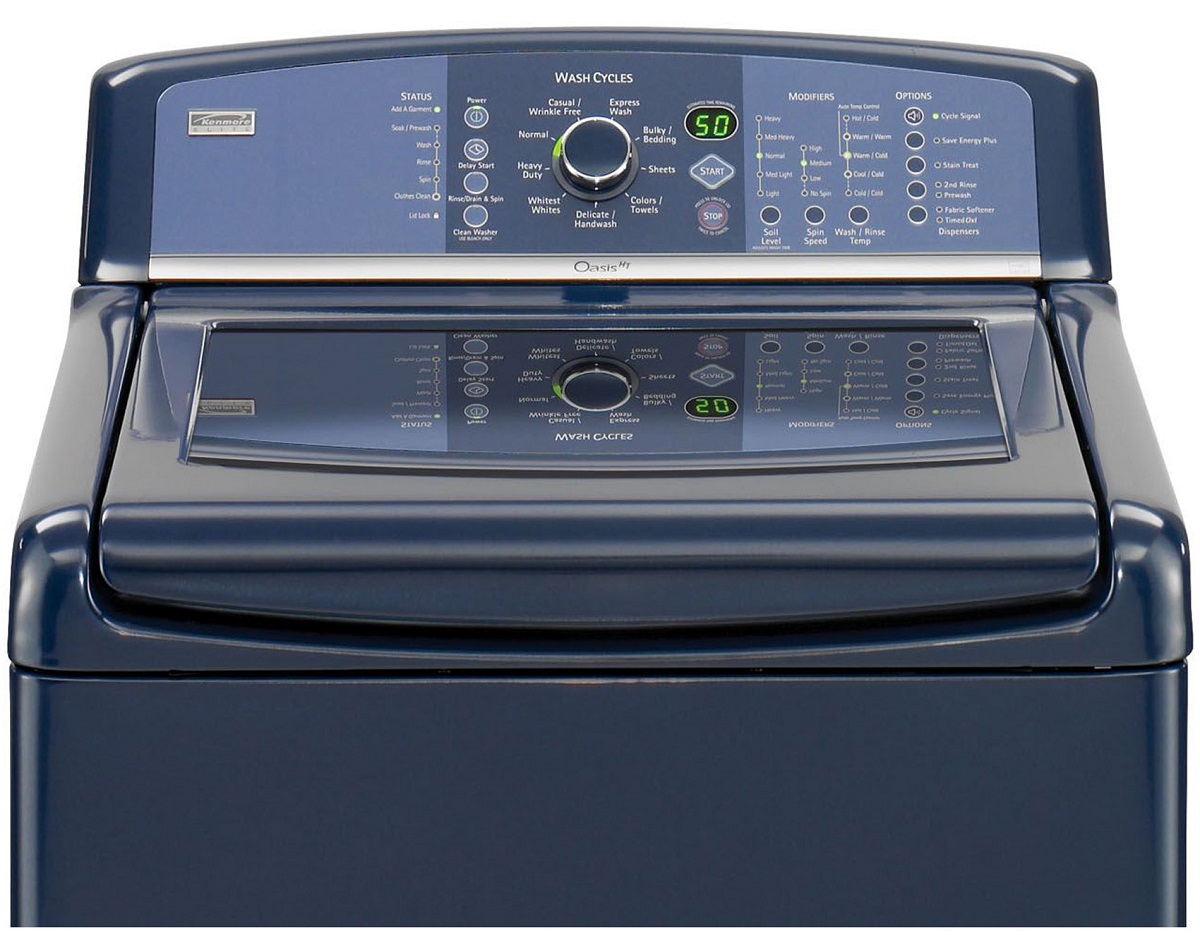
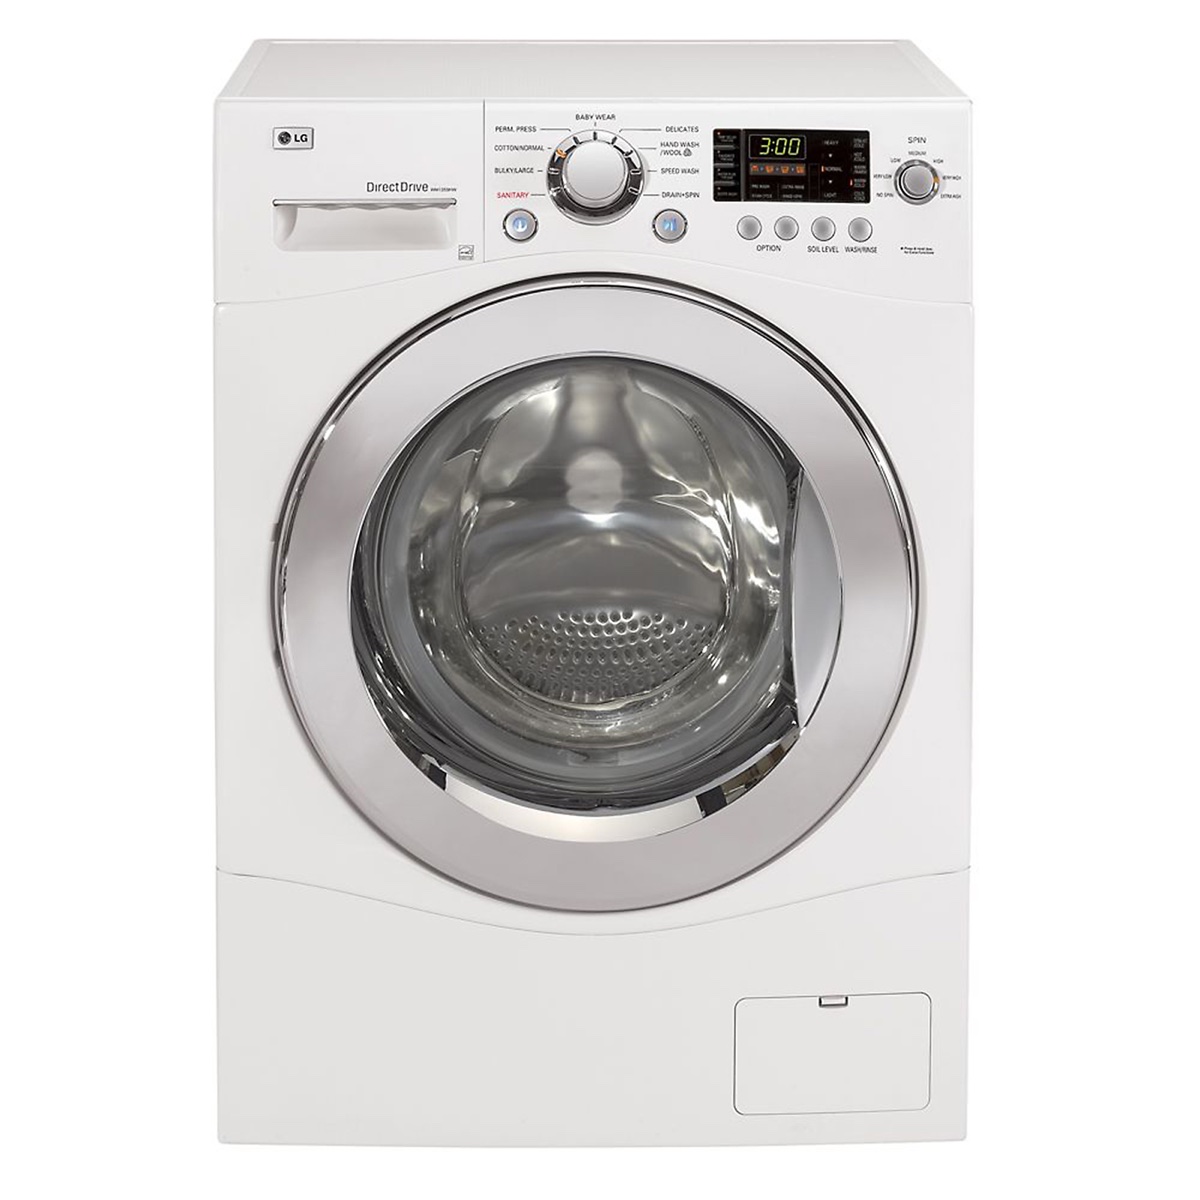
The location and design of the control panel may vary depending on the specific model of your Hotpoint washer. However, most models have a visible control panel located at the top or front of the machine.
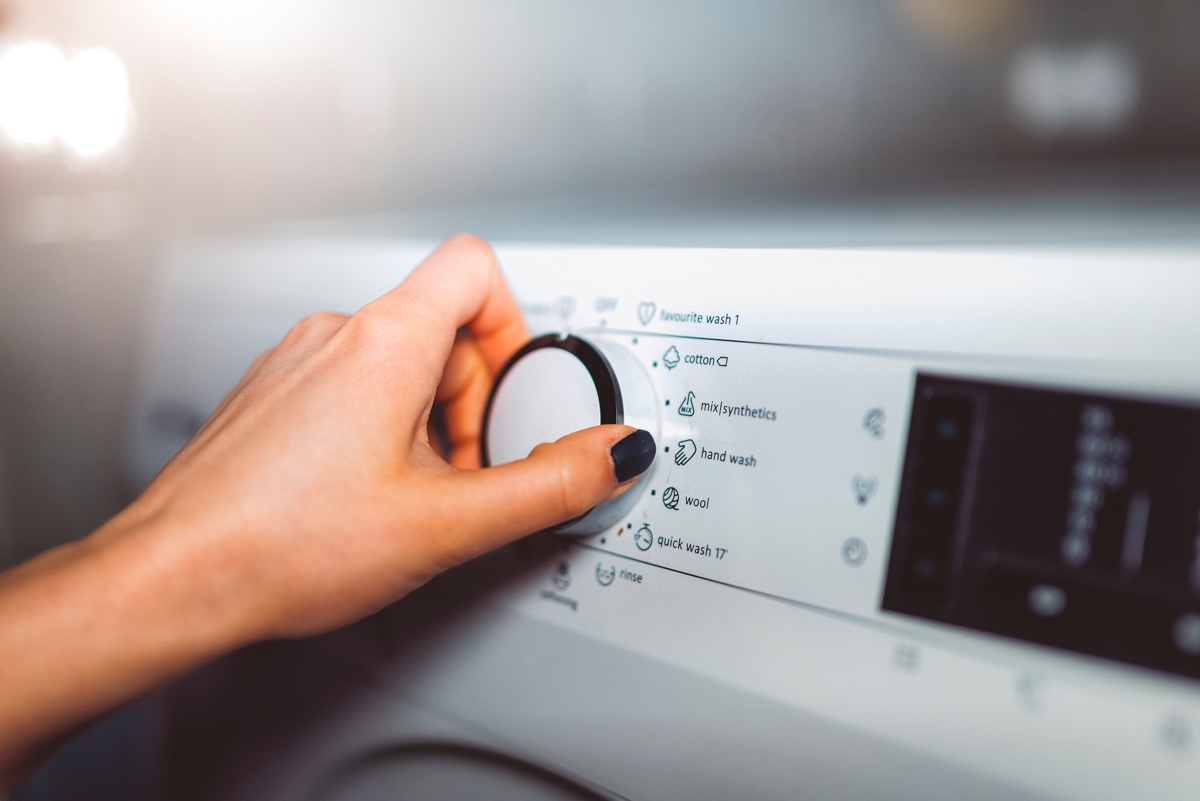
Start by examining the control panel to locate the buttons and display screen. The buttons on the control panel typically consist of various options, settings, and cycles that can be selected to customize your wash experience.
Take a moment to familiarize yourself with the different buttons and their corresponding functions. This understanding will help you navigate the control panel more effectively during the reset process.
If your Hotpoint washer has a digital display screen, pay attention to any error codes or messages that may be displayed. Error codes can provide valuable information about the specific issue your washer is experiencing, which can help guide you in the troubleshooting and resetting process.
Make sure the control panel is clean and free from any dirt, debris, or moisture that may interfere with its functionality. Use a mild detergent or a damp cloth to gently clean the surface if necessary. Avoid using excessive water or abrasive chemicals that may damage the control panel.
Keep in mind that some models may require you to remove a cover or lid to access the control panel. Refer to your Hotpoint washer’s user manual for specific instructions on how to remove any covers or lids safely.
Now that you have accessed the control panel and familiarized yourself with its functions, you’re ready to move on to the next step of entering service mode to perform the reset.
To reset a Hotpoint washer, unplug the machine for 1-2 minutes, then plug it back in. Press and hold the start button for 3-5 seconds to reset the washer.
Read more: Who Makes Hotpoint Washer And Dryers
Step 4: Enter Service Mode
In order to reset your Hotpoint washer, you’ll need to enter the service mode. Service mode allows you to access additional settings and functionalities that are typically not available during regular operation.
Entering service mode may vary depending on the specific model of your Hotpoint washer. However, the general process involves a combination of button presses on the control panel.
Refer to your Hotpoint washer’s user manual for detailed instructions on the specific button sequence to enter service mode. The manual should provide clear guidance on which buttons to press and in what order.
Once you have located the correct buttons, follow the instructions provided in the manual to initiate service mode. Typically, this involves pressing a series of buttons in a specific pattern or holding down a combination of buttons for a certain duration.
As you enter service mode, you may notice changes on the control panel display or hear a audible signal indicating that you have successfully entered the mode. The display may show service codes or other indicators specific to service mode.
It’s important to note that service mode is a sensitive area where you have access to advanced settings and features of your washer. Be cautious and avoid making any unintended changes or adjustments that may affect the washer’s normal operation.
In service mode, you may be able to view and modify various parameters and settings. However, for performing a reset, you’ll likely need to navigate to the reset option within the service mode menu.
Refer to your user manual or online resources specific to your Hotpoint washer model for information on how to locate and select the reset option in service mode. This will guide you through the necessary steps to reset your washer and resolve any performance issues.
Now that you have entered service mode, you’re ready to proceed to the next step: resetting your Hotpoint washer.
Step 5: Reset the Washer
Now that you have entered service mode on your Hotpoint washer, it’s time to initiate the reset process. Resetting the washer will restore its default settings and configurations, resolving any performance issues or error codes you may have encountered.
Refer to your Hotpoint washer’s user manual or the information specific to your model for instructions on how to perform the reset within service mode. The manual should provide clear guidance on which options to select and buttons to press.
Typically, within service mode, you will find a “Reset” or “Factory Reset” option. Select this option to initiate the reset process. Confirm your selection if prompted by pressing the appropriate button or following the on-screen instructions.
During the reset process, your Hotpoint washer may display various indicators or messages on the control panel. This is normal and part of the reset procedure as the washer reconfigures its settings to the default values.
Keep in mind that the reset process may take a few minutes to complete. Be patient and let the washer finish the reset before moving on to the next step.
Once the washer has finished resetting, it may automatically exit service mode and return to its normal operating state. You may hear a chime or see an indication on the control panel indicating that the reset was successful.
After completing the reset, it’s a good idea to double-check the washer’s display screen for any error codes that were previously present. If the reset was successful, these error codes should be cleared, indicating that the issue has been resolved.
Now that you have successfully reset your Hotpoint washer, you can proceed to the next step to exit the service mode and finalize the reset process.
Step 6: Exit Service Mode
After completing the reset process on your Hotpoint washer, it’s important to properly exit the service mode to ensure the washer returns to its normal operating state. Exiting service mode will allow you to resume regular use of your washer without any advanced settings or functionalities enabled.
To exit service mode, refer to your Hotpoint washer’s user manual or the information specific to your model. The manual should provide instructions on how to safely exit service mode and return the washer to its normal operating mode.
In most cases, exiting service mode involves pressing a specific combination of buttons on the control panel. Follow the instructions provided in the manual to initiate the exit process.
During the exit process, you may notice changes on the control panel display or hear an audible signal indicating that you have successfully exited service mode. The display may revert to its normal settings, and the washer will be ready for regular use.
It’s important to note that some Hotpoint washer models may have a specific button or sequence dedicated to exiting service mode. If this is the case for your washer, be sure to follow the instructions provided in the user manual to exit service mode correctly.
Once you have successfully exited service mode, take a moment to check that the control panel is displaying the usual settings and options for regular operation. This confirms that the washer has returned to its standard functionality.
If you encounter any issues or notice any abnormal behavior after exiting service mode, consult your Hotpoint washer’s user manual or contact Hotpoint customer support for further assistance. They will be able to provide guidance on troubleshooting the issue or any additional steps that may be required to ensure your washer is operating correctly.
Now that you have successfully exited service mode, you can proceed to the final step of plugging your Hotpoint washer back in and resuming normal usage.
Step 7: Plug the Washer Back In
Now that you have completed the reset process and exited service mode on your Hotpoint washer, it’s time to reconnect it to the power supply. Plugging the washer back in will allow you to resume normal use and take advantage of its refreshed settings.
Locate the power cord of your Hotpoint washer and ensure it is free from any damage or frayed wires. If you had disconnected the power cord from the electrical outlet earlier, carefully insert the plug back into the outlet.
Make sure the power cord is securely connected and pushed in all the way. Verify that the plug is oriented correctly and fits tightly into the outlet to ensure a strong electrical connection.
If your Hotpoint washer was hard-wired into the electrical system and you had switched off the circuit breaker, now is the time to switch it back on. Locate the circuit breaker dedicated to the washer and flip it to the “On” position.
Before powering up the washer, double-check that the control panel is displaying the usual settings and options. This confirms that the reset was successful and the washer is ready for use.
Once you have confirmed everything is in order, give the washer a moment to power up. You may hear a brief sound or see lights on the control panel indicating that the washer is receiving power.
Now, it’s time to test the washer to ensure that the reset has resolved any performance issues or error codes you were experiencing. Start by selecting a regular cycle and letting the washer run through a complete cycle.
Observe the washer during the cycle to ensure that it operates smoothly and without any further issues. Pay attention to any error codes or unusual behavior that may occur. If you notice any new issues, refer to the user manual or contact Hotpoint customer support for further assistance.
With the washer plugged back in and functioning properly, you can now enjoy clean and hassle-free laundry once again.
Congratulations! You have successfully reset your Hotpoint washer and have completed the entire process.
If you encounter any ongoing issues or have further questions about your Hotpoint washer, don’t hesitate to reach out to Hotpoint customer support for additional guidance and assistance.
Thank you for following this guide, and we hope that your Hotpoint washer now operates flawlessly!
Read more: How To Reset A Washer
Conclusion
Resetting your Hotpoint washer can be a straightforward solution to resolve performance issues, error codes, and restore its optimal functionality. By following the steps outlined in this guide, you can safely and effectively reset your washer at home without the need for professional assistance.
We began by emphasizing the importance of safety precautions, ensuring that you unplug the washer, drain the water, and follow all guidelines outlined by Hotpoint before proceeding with the reset process. Safety should always be a top priority when working with any appliance.
Next, we walked you through the step-by-step process of resetting your Hotpoint washer. From accessing the control panel to entering service mode, resetting the washer, and ultimately exiting service mode, each step was explained in detail to guide you through the process.
Remember to consult your Hotpoint washer’s user manual for specific instructions related to your particular model, as there may be slight variations in the reset process.
Throughout the guide, we emphasized the importance of familiarizing yourself with the control panel’s buttons and functions, as well as the significance of proper drainage and caution when working with electrical components.
After completing the reset, it is crucial to plug the washer back in and test it to ensure that the issues have been resolved. If any further problems arise or if you have ongoing concerns, contact Hotpoint customer support for additional assistance.
We hope that this guide has been helpful in guiding you through the process of resetting your Hotpoint washer. By following the steps outlined in this guide and prioritizing safety, you can restore your washer’s performance and continue to enjoy its efficient and reliable operation.
Remember, regular maintenance and care for your Hotpoint washer can help prevent future issues. Consult the user manual for maintenance tips and recommendations to keep your washer running smoothly for years to come.
Thank you for using this guide, and we wish you successful and trouble-free laundry days ahead with your refreshed Hotpoint washer!
Frequently Asked Questions about How To Reset Hotpoint Washer
Was this page helpful?
At Storables.com, we guarantee accurate and reliable information. Our content, validated by Expert Board Contributors, is crafted following stringent Editorial Policies. We're committed to providing you with well-researched, expert-backed insights for all your informational needs.

0 thoughts on “How To Reset Hotpoint Washer”