
Articles
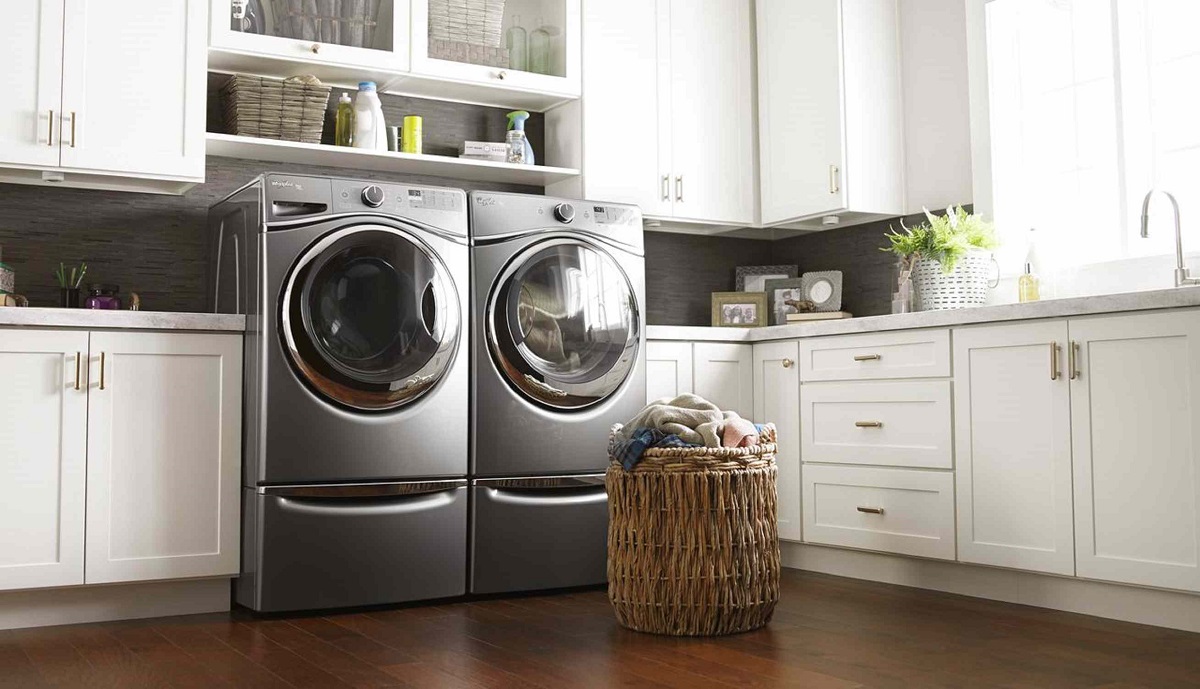
How To Reset A Washer
Modified: September 1, 2024
Learn how to reset a washer with helpful articles and step-by-step guides. Get expert tips and tricks to troubleshoot and fix common washer problems.
(Many of the links in this article redirect to a specific reviewed product. Your purchase of these products through affiliate links helps to generate commission for Storables.com, at no extra cost. Learn more)
Introduction
Welcome to our guide on how to reset a washer. If you’re experiencing issues with your washer, such as it not starting or not functioning properly, a simple reset may help resolve the problem. Resetting your washer can clear any errors or glitches in the control panel and allow the machine to reset to its default settings. In this article, we will provide step-by-step instructions on how to reset a washer safely and effectively.
Before we begin, it’s important to note that the specific reset process may vary depending on the make and model of your washer. Therefore, we recommend consulting your washer’s user manual or reaching out to the manufacturer for specific instructions. However, the steps outlined in this guide are generally applicable to most washers.
Additionally, it’s important to prioritize your safety when working with any electrical appliances. Make sure to follow the safety precautions mentioned in your washer’s user manual and practice caution throughout the reset process. If you’re unsure or uncomfortable performing any of the steps, it’s best to consult a professional technician.
Now, let’s dive into the step-by-step process of resetting your washer!
Key Takeaways:
- Prioritize safety by unplugging the washer, turning off the water supply, and wearing protective gear. Cleaning the exterior and resetting the control panel can help resolve common issues and restore functionality.
- After reconnecting the power and water supply, test the washer to ensure the reset was successful. If problems persist, consult the user manual or a professional technician for further assistance.
Read more: How To Reset Frigidaire Washer
Safety Precautions
Before attempting to reset your washer, it’s crucial to prioritize your safety. Here are some important safety precautions to keep in mind:
- Unplug the washer: Before performing any maintenance or reset procedures, always remember to disconnect the washer from its power source. This will help prevent any accidents or electrical shocks.
- Turn off the water supply: If your washer is connected to a water supply, such as a faucet or waterline, make sure to turn off the water supply before attempting any reset. This will prevent any potential leaks or flooding.
- Wear protective gear: To protect yourself from any potential hazards, it is recommended to wear gloves and safety goggles while working on your washer. This will safeguard you from any sharp edges, moving parts, or cleaning agents.
- Read the user manual: Familiarize yourself with your washer’s user manual before attempting a reset. The manual will provide specific safety instructions and guidelines that are unique to your washer’s make and model.
- Avoid excessive force: While performing the reset, avoid applying excessive force or pressure on any components of the washer. This can cause damage or result in further malfunctions. Follow the instructions carefully and proceed with gentle movements.
- Consult a professional: If you encounter any difficulties or are unsure about any step of the reset process, it’s always best to consult a professional technician. They have the expertise and knowledge to handle complex issues and ensure your safety.
By adhering to these safety precautions, you can mitigate the risk of accidents and ensure a secure and smooth process while resetting your washer.
Step 1: Unplug the Washer
The first step in resetting your washer is to unplug it from the power source. This ensures your safety and prevents any electrical mishaps while performing the reset procedure.
To unplug the washer, locate the power cord at the back of the machine. Follow the cord until you find the plug that is connected to the wall outlet. Firmly grasp the plug and gently pull it out of the socket. Make sure to hold onto the plug itself and not the cord to avoid any damage.
It is important to give the washer a few moments to completely power down. This will allow any residual electrical current to dissipate. Wait for at least 5 minutes before proceeding to the next step.
During this time, you can also take the opportunity to assess the washer’s physical condition. Look for any signs of damage or loose connections that may be causing the issue. If you notice any visible damage, it is advisable to contact a professional technician for assistance.
Keep the washer unplugged until the reset process is complete. This will ensure that any changes made during the reset are properly implemented. Failure to unplug the washer may result in the reset not being effective.
Once you have completed the necessary troubleshooting or maintenance, you can proceed with plugging the washer back in. Simply reconnect the power cord to the wall outlet and ensure it is securely inserted. The washer will then be ready for the next steps in the reset process.
Now that you have successfully unplugged the washer and ensured your safety, let’s move on to the next step: turning off the water supply.
Step 2: Turn off the Water Supply
Before proceeding with the reset process, it is important to turn off the water supply to your washer. This step is crucial to prevent any potential leaks or water-related issues during the reset.
The location of the water supply valve may vary depending on the setup of your washer. In most cases, you’ll find the valve behind the washer or adjacent to the water line that connects to the machine.
To turn off the water supply, follow these steps:
- Locate the water supply valve: Look for a small lever or knob near the water line connected to the back of the washer. It may be labeled as “Hot” and “Cold” for machines with both hot and cold water connections.
- Turn off the valve: Depending on the type of valve, either turn the lever clockwise or twist the knob until it is fully closed. This will shut off the flow of water to the washer.
- Confirm that the valve is closed: To ensure that the water supply is completely turned off, check that the lever or knob is in the fully closed position. You can also run a quick test by turning on the washer to see if it fills with water. If it doesn’t, you have successfully turned off the water supply.
Turning off the water supply is essential to avoid any potential water leaks or flooding during the reset process. It will also help protect the internal components of the washer from water damage. Make sure to keep the water supply valve closed until you have completed the reset procedure.
With the water supply turned off, you can now move on to the next step: cleaning the washer’s exterior.
Step 3: Clean the Washer’s Exterior
Before proceeding with the reset process, it is a good idea to clean the exterior of your washer. Over time, dirt, dust, and debris can accumulate on the surface, which may affect the overall performance and appearance of the machine.
Follow these steps to clean the washer’s exterior:
- Gather cleaning supplies: Prepare a bucket of warm water and add a mild detergent or cleaning solution. You can also use a non-abrasive cleaner or a mixture of vinegar and water for a natural alternative.
- Dampen a cloth: Dip a cloth or sponge into the cleaning solution, making sure it’s not dripping wet.
- Gently wipe the exterior: Start by wiping down the control panel, knobs, and buttons with the damp cloth. Be careful not to get any liquid into the control panel or other sensitive areas.
- Wipe the sides and top: Move on to the sides and top surface of the washer, removing any dirt or stains. Pay extra attention to areas that are prone to fingerprints or spills.
- Clean the door or lid: If your washer has a door or lid, clean it thoroughly inside and out. Use a soft cloth or sponge to remove any grime or residue.
- Dry with a clean cloth: After cleaning, use a dry cloth to wipe down the exterior surfaces, ensuring that no moisture remains.
Cleaning the exterior of your washer not only improves its appearance but also helps maintain its longevity. By removing dirt and debris, you reduce the risk of these particles finding their way into the internal parts of the machine, which can potentially cause issues down the line.
Once you have thoroughly cleaned the washer’s exterior, you can move on to the next step: resetting the washer’s control panel.
To reset a washer, unplug it for a few minutes, then plug it back in. Press and hold the start button for 3-5 seconds to reset the machine.
Read more: How To Reset Kenmore Washer
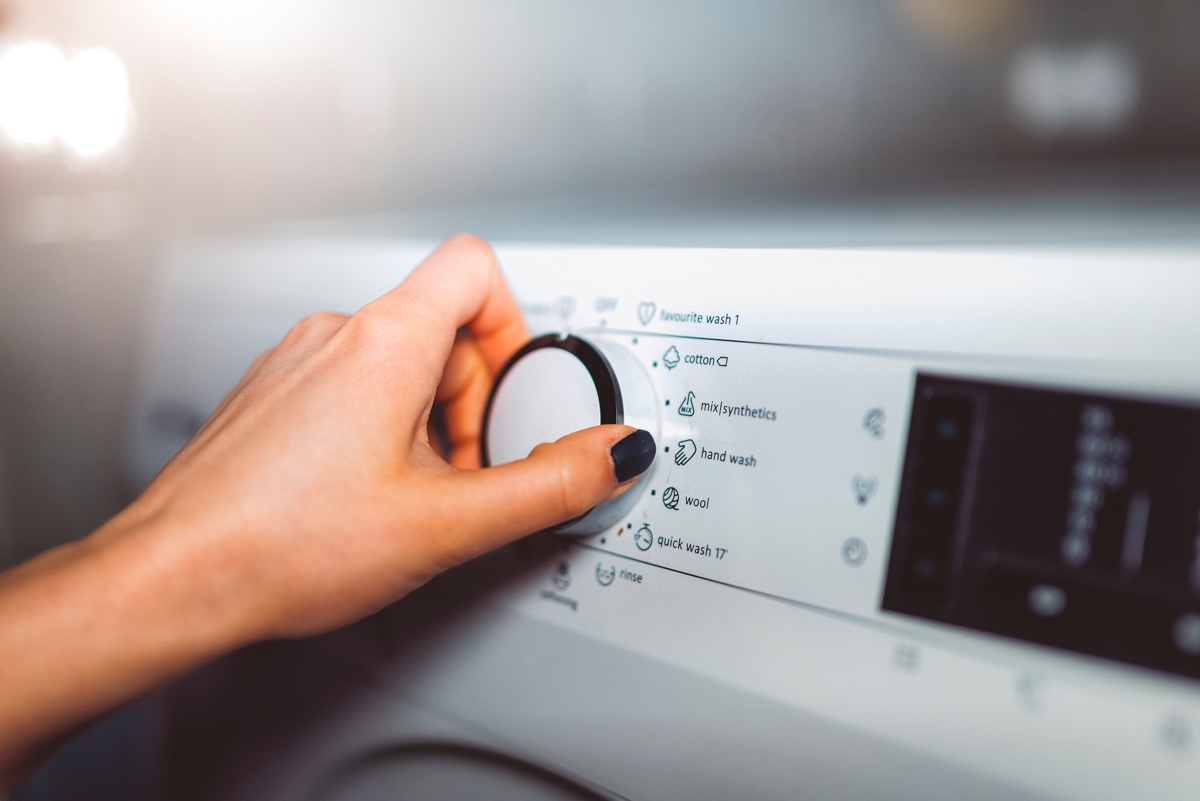
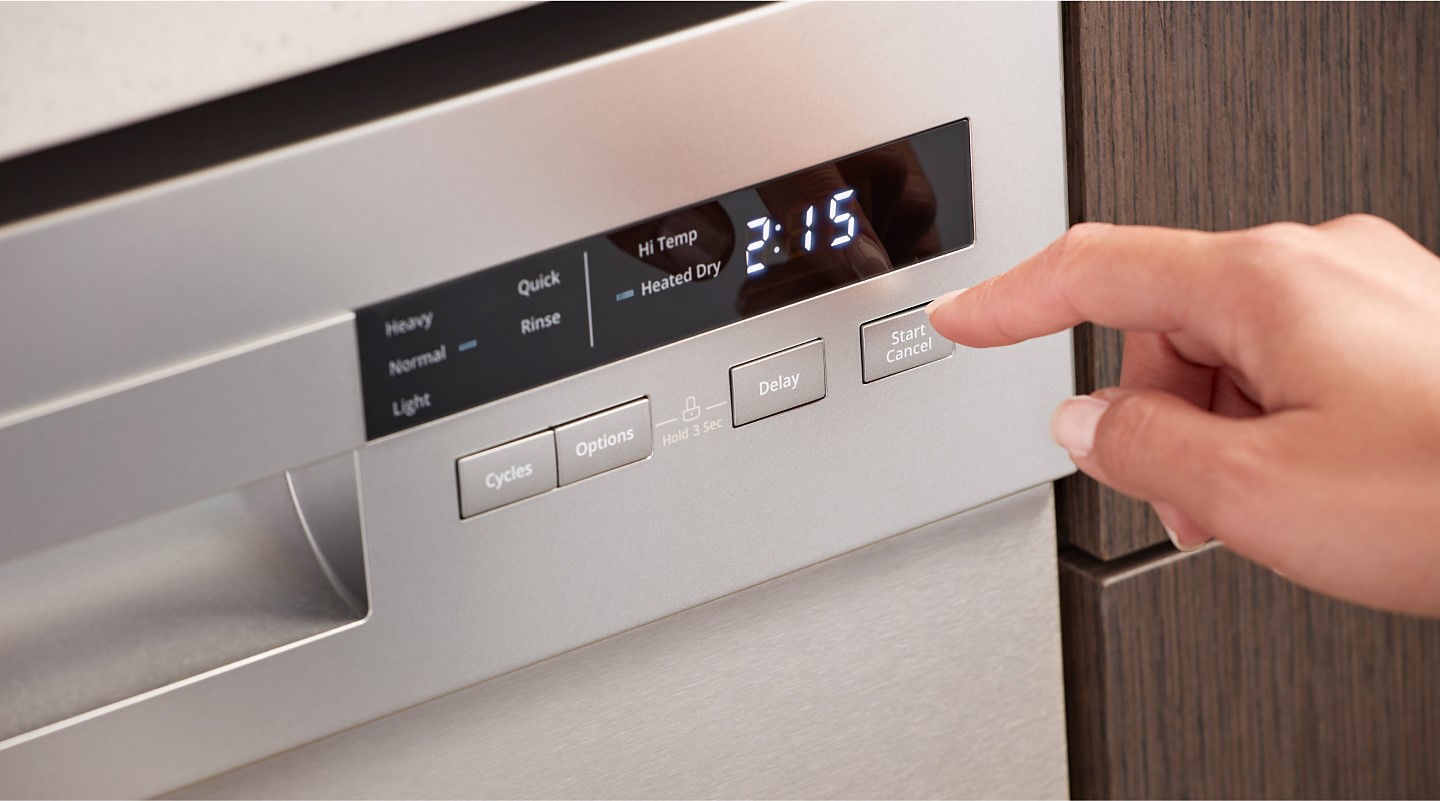
Step 4: Reset the Washer’s Control Panel
Resetting the control panel of your washer can help clear any errors or glitches that may be causing issues with its functionality. Follow these steps to reset the washer’s control panel:
- Locate the reset button: Depending on the make and model of your washer, the reset button may be located on the control panel or inside the washer’s compartment.
- Press and hold the reset button: With the washer unplugged, firmly press and hold the reset button for about 10-15 seconds. You may need to use a small pointed object, such as a pen tip or paperclip, to access the reset button.
- Release the reset button: After holding the reset button for the specified time, release it. This will initiate the reset process.
- Wait for the reset to complete: Allow the washer a few moments to complete the reset process. You may notice the control panel flashing or going blank during this time, which is normal.
Note: The specific steps to reset the control panel may vary depending on your washer’s make and model. Therefore, we recommend consulting your washer’s user manual for precise instructions on how to perform a control panel reset.
Resetting the control panel is an effective way to clear any minor software issues that may be affecting the washer’s performance. It can help restore the washer to its default settings and resolve common problems such as the washer not starting or certain functions not working.
After completing the control panel reset, it’s time to move on to the next step: reconnecting the power and water supply.
Step 5: Reconnect the Power and Water Supply
Now that you have reset the washer’s control panel, it’s time to reconnect the power and water supply. Follow these steps to ensure a proper reconnection:
- Plug in the washer: Take the power cord and insert it firmly into the wall outlet. Make sure the plug is securely connected.
- Turn on the water supply: Locate the water supply valve that you turned off earlier. Turn the valve counterclockwise or open it fully to allow water to flow into the washer.
- Check for leaks: After turning on the water supply, carefully inspect all connections and hoses for any signs of leaks. If you notice any leaks, tighten the connections or replace faulty hoses before proceeding.
Ensure that both the power and water supply are fully restored before proceeding to the next step. This will ensure that the washer has all the necessary resources to function properly.
By reconnecting the power and water supply, you’re enabling the washer to resume its normal operations. However, before testing the washer, it’s essential to perform one final step: testing the machine to ensure the reset was successful.
Now that you have successfully reconnected the power and water supply, let’s move on to the next step: testing the washer.
Step 6: Test the Washer
After resetting the washer and reconnecting the power and water supply, it’s time to test the machine to ensure that the reset was successful. Testing the washer will help you confirm if the issues you were experiencing have been resolved.
- Close the washer’s door or lid: Ensure that the door or lid of the washer is securely closed before proceeding.
- Select a test cycle: Choose a test cycle on the control panel that closely aligns with your laundry needs. For example, you can select a regular wash cycle or a quick wash cycle.
- Add a small load of laundry: Place a small load of laundry inside the washer, following the manufacturer’s guidelines on load capacity and proper loading techniques.
- Adjust settings if needed: Depending on your preferences, adjust any additional settings such as water temperature, spin speed, or wash time.
- Start the cycle: Press the start button on the control panel to initiate the selected wash cycle. Observe the washer as it begins to fill with water and agitate the load.
- Monitor the cycle: Pay close attention to the washer’s performance throughout the cycle. Look for any unusual sounds, error codes, or malfunctions.
- Complete the cycle: Allow the washer to complete the selected wash cycle. Once the cycle finishes, observe the results and check if the laundry is clean and properly washed.
If the washer completes the test cycle without any issues and your laundry comes out clean and well-washed, it indicates that the reset was successful. The previous problems you were experiencing should now be resolved.
However, if you notice any recurring problems or the issues persist, it’s recommended to consult the washer’s user manual or reach out to a professional technician for further assistance. They will be able to diagnose and address any complex issues that may require specialized knowledge or expertise.
By thoroughly testing the washer, you can ensure that it is functioning as intended and enjoy its optimal performance for your laundry needs.
Now that you have tested the washer and confirmed the reset, you can proceed with your regular laundry routine with confidence.
Conclusion
Resetting a washer can be a simple and effective way to resolve common issues and restore its functionality. By following the step-by-step guide outlined in this article, you can safely reset your washer and potentially fix problems such as the machine not starting or malfunctioning controls.
Throughout the reset process, it is crucial to prioritize safety and adhere to the precautions mentioned in the washer’s user manual. Unplugging the washer, turning off the water supply, and wearing protective gear will help ensure a secure environment during the reset.
Cleaning the washer’s exterior is also an essential step, as it helps maintain the machine’s performance and appearance. Removing dirt and debris reduces the risk of these particles causing future issues.
Resetting the washer’s control panel can eliminate errors or glitches that may be impacting its functionality. Pressing and holding the reset button initiates the resetting process, allowing the machine to restore its default settings.
Reconnecting the power and water supply is the next step, ensuring that the washer has the necessary resources to function properly. Testing the machine by running a small load of laundry will validate if the reset was successful and whether the previous issues have been resolved.
If problems persist or reoccur after the reset, it is advisable to consult the washer’s user manual or seek professional assistance. Technicians have the expertise to diagnose complex issues and provide the necessary solutions.
By following these steps and incorporating safety precautions, you can effectively reset your washer and enjoy its optimal performance once again. With a properly reset washer, you can continue with your laundry routine without any interruptions or worries.
Frequently Asked Questions about How To Reset A Washer
Was this page helpful?
At Storables.com, we guarantee accurate and reliable information. Our content, validated by Expert Board Contributors, is crafted following stringent Editorial Policies. We're committed to providing you with well-researched, expert-backed insights for all your informational needs.

0 thoughts on “How To Reset A Washer”