Articles
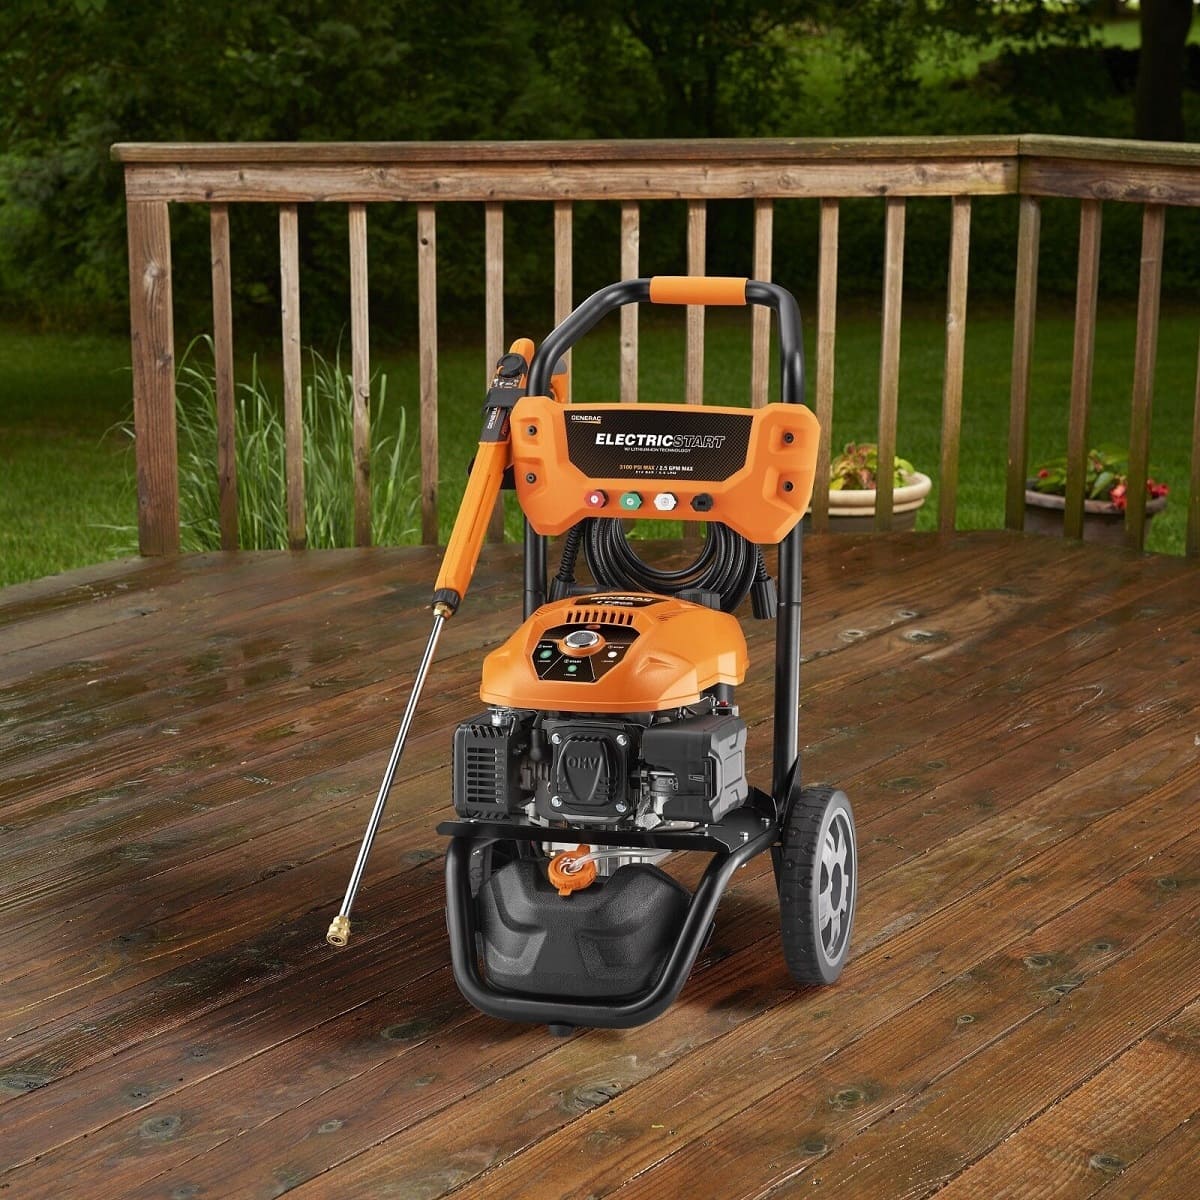
How To Start A Generac Power Washer
Modified: May 6, 2024
Learn how to start a Generac power washer with our informative articles. Get step-by-step instructions and expert tips for optimal cleaning results.
(Many of the links in this article redirect to a specific reviewed product. Your purchase of these products through affiliate links helps to generate commission for Storables.com, at no extra cost. Learn more)
Introduction
Welcome to this comprehensive guide on how to start a Generac power washer. Whether you’re a seasoned DIYer or a beginner looking to tackle your first outdoor cleaning project, learning how to properly start and use a power washer is essential. Generac power washers are renowned for their durability, reliability, and performance, making them a popular choice among homeowners and professionals alike.
A power washer, also known as a pressure washer, is a versatile tool that uses a high-pressure stream of water to clean various surfaces. It can be used to remove dirt, grime, mold, mildew, and even stubborn stains from driveways, decks, fences, vehicles, and more. With the right techniques and equipment, you can transform the look of your outdoor spaces and make them shine like new.
In this guide, we will take you step by step through the process of starting a Generac power washer. From assembly to proper shutdown and storage, we will cover everything you need to know to safely and effectively operate this powerful cleaning tool. So, without further ado, let’s dive in and get started!
Key Takeaways:
- Proper assembly, water source preparation, and pressure adjustment are crucial for effectively starting and using a Generac power washer. Following these steps ensures optimal performance and safe operation.
- Safely shutting down and storing your Generac power washer after use is essential for maintaining its longevity and performance. Proper maintenance and storage prolong the lifespan of this powerful cleaning tool.
Read also: 13 Superior Generac Pressure Washer For 2025
Step 1: Assemble Your Generac Power Washer
Before you can start using your Generac power washer, you’ll need to assemble it properly. Don’t worry, the process is relatively straightforward, and Generac provides clear instructions in the user manual. Here’s a step-by-step guide to help you with the assembly process:
- Begin by finding a well-ventilated outdoor area to work in. Assemble your power washer on a flat surface, away from any flammable materials or obstructions.
- Take out all the components from the packaging and ensure that you have everything you need. The main parts typically include the power washer body, motor, handle, wheels, hoses, nozzles, and accessories.
- Attach the handle to the designated area on the power washer body. Use the provided screws and a screwdriver if necessary to secure it in place. Make sure it is tight and stable.
- Next, attach the wheels to the bottom of the power washer. Align them with the wheel brackets and use the provided screws or clips to fasten them securely.
- Now, it’s time to connect the hoses. Locate the water inlet and outlet connections on the power washer body. Attach the water inlet hose to the water inlet connection and tighten it with a wrench. Connect the other end of the hose to a reliable water source, such as a garden hose faucet.
- Take the pressure hose and connect one end to the water outlet connection on the power washer body. Ensure it is securely attached. The other end of the pressure hose will connect to the spray gun in the following steps.
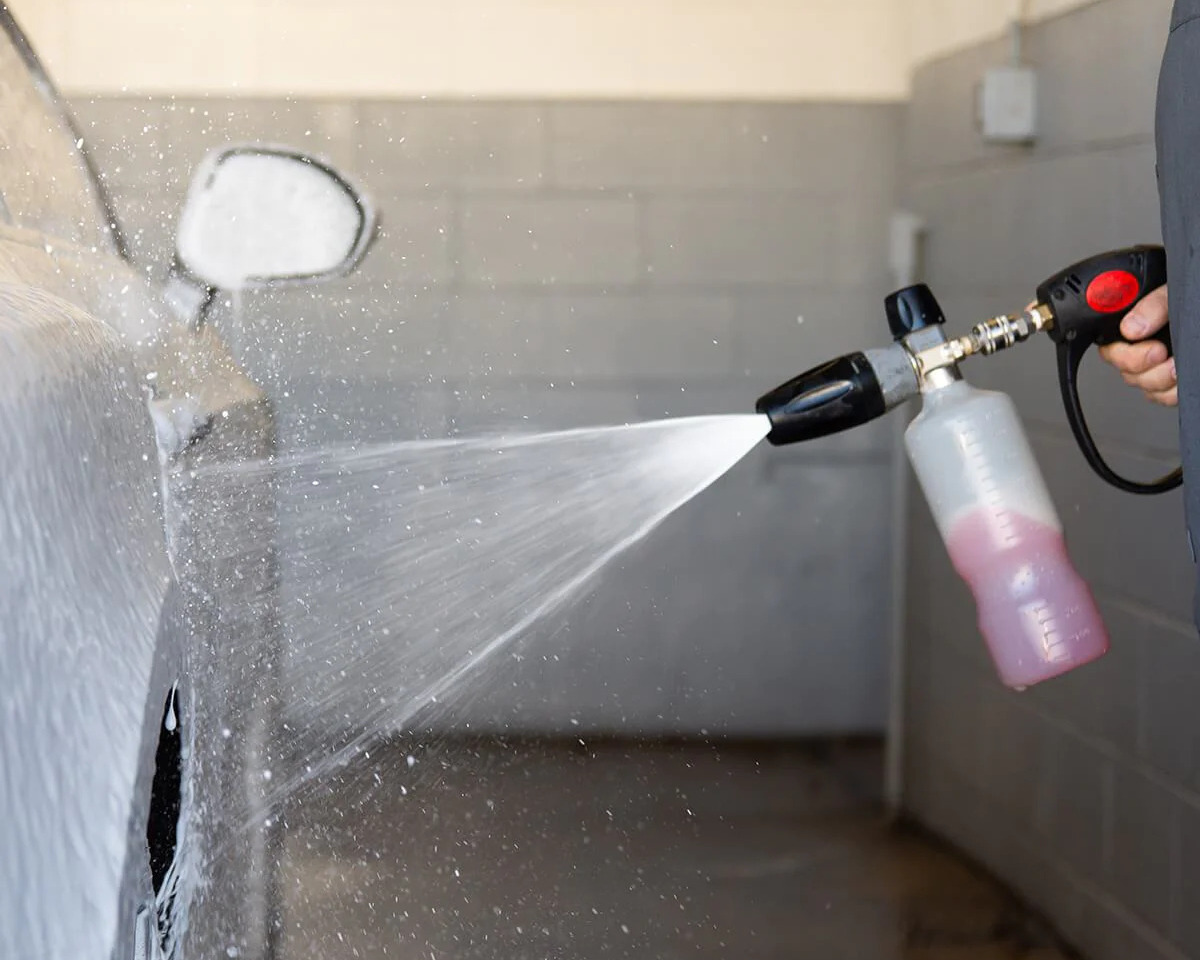
- If your Generac power washer has a detergent tank, fill it with the recommended cleaning solution. Refer to the user manual for specific instructions on filling and using the detergent tank.
- Lastly, attach the spray gun to the end of the pressure hose. Insert the spray gun lance or wand into the spray gun and twist it clockwise to secure it in place. Check that it is tight and properly aligned.
Once you have completed these steps, your Generac power washer should be fully assembled and ready for use. It’s important to note that the assembly process may vary slightly depending on the specific model of your power washer, so always refer to the user manual for detailed instructions.
With your power washer properly assembled, you’re now ready to move on to the next step: preparing the water source.
Step 2: Prepare the Water Source
Preparing the water source is a crucial step to ensure the proper functioning of your Generac power washer. Here’s what you need to do:
- Locate a water source that can provide a constant flow of water to your power washer. This can be a garden hose faucet or a water outlet specifically designed for outdoor use.
- Ensure that the water source is turned on and that there are no kinks or blockages in the hose. You need a steady and uninterrupted flow of water to power your power washer.
- If there is a water filter or screen attached to the water inlet hose, check it for debris or blockages. Clean or replace the filter if necessary to prevent any clogging that could affect the water flow.
- Inspect the water source for any leaks or damaged connections. It’s important to address any issues before starting your power washer to avoid water leakage or pressure loss during operation.
- Make sure the water source and hose are compatible with the power washer’s water inlet connector. Generac power washers typically have standard-sized connectors, but it’s always a good idea to double-check to ensure a proper fit.
- Position the water source hose in an area where it won’t get tangled or obstructed during use. You may want to use a hose reel or hose guide to keep it organized and prevent any accidents or tripping hazards.
By properly preparing the water source, you can ensure that your Generac power washer receives a consistent flow of clean water, allowing it to perform at its best. Now that your water source is ready, let’s move on to connecting the water inlet and outlet hoses in the next step.
Step 3: Connect the Water Inlet and Outlet Hoses
Connecting the water inlet and outlet hoses is an important step in setting up your Generac power washer. Follow these steps to ensure a secure and proper connection:
- Locate the water inlet and outlet connections on your power washer. The water inlet is where you will connect the hose from the water source, while the water outlet is where the pressure hose will be attached.
- Take the water inlet hose and attach it to the water inlet connection on the power washer. Ensure that it is securely tightened using a wrench or pliers. Make sure the connection is watertight to avoid any leaks.
- If your power washer has a built-in detergent tank, there may be a separate hose for dispensing the cleaning solution. Connect this hose to the designated connector on the power washer, following the instructions in your user manual.
- Next, take the pressure hose and connect one end to the water outlet connection on the power washer. Again, tighten it securely using a wrench or pliers. Ensure that the connection is snug to prevent any leaks or pressure loss.
- If your power washer has quick-connect fittings, align the tabs on the fittings and push them together until they snap into place. This will ensure a secure connection between the pressure hose and power washer.
- Inspect the connections for any signs of leakage. If you notice any water dripping or spraying from the connections, tighten them further or replace any faulty components.
Once you have connected the water inlet and outlet hoses, you have successfully set up the plumbing aspect of your Generac power washer. In the next step, we will guide you on how to set up the pressure hose and spray gun for optimum performance.
Step 4: Set Up the Pressure Hose and Spray Gun
Setting up the pressure hose and spray gun is an essential step in getting your Generac power washer ready for use. Follow these steps to ensure a smooth and effective setup:
- Take the pressure hose and connect the other end to the spray gun. Align the connectors and push them together until they lock into place. Ensure a secure and tight connection to prevent any leaks during operation.
- If your spray gun has an adjustable nozzle, choose the appropriate nozzle for your cleaning task. Generac power washers usually come with different nozzle options, including a 0-degree, 15-degree, 25-degree, and 40-degree spray pattern.
- Attach the selected nozzle to the end of the spray gun. Twist it clockwise until it is securely in place.
- Once the pressure hose, spray gun, and nozzle are connected, ensure that all connections are tightened properly. Check for any signs of leakage or loose fittings.
- If your spray gun has a safety lock, engage it to prevent accidental spraying during startup. This will ensure your safety and the safety of those around you.
With the pressure hose and spray gun set up, your Generac power washer is almost ready to go. In the next step, we will guide you on how to fill the fuel tank to ensure uninterrupted operation.
Read also: 15 Amazing Generac Power Washer For 2025
Step 5: Fill the Fuel Tank
Before you can start using your Generac power washer, you need to fill the fuel tank. Here are the steps to follow:
- Locate the fuel tank on your power washer. It is typically located at the rear of the unit.
- Open the fuel tank cap by twisting it counterclockwise. Make sure to do this in a well-ventilated area to prevent the buildup of fumes.
- Using a funnel, carefully pour the recommended type of fuel into the tank. Refer to your power washer’s user manual for the specific fuel type and capacity.
- Avoid overfilling the fuel tank. Leave some space to accommodate the expansion of the fuel as it heats up during operation.
- Once the fuel tank is filled, securely tighten the fuel cap by twisting it clockwise. Ensure that it is tightly sealed to prevent any fuel leakage.
- Dispose of any spilled fuel properly and clean up any spills to prevent accidents and environmental damage.
It’s important to use the recommended fuel type for your Generac power washer. Using the wrong fuel can cause engine damage and affect the performance of your power washer. Refer to the user manual for the specific fuel requirements.
With the fuel tank filled, you’re one step closer to powering up your Generac power washer. In the next step, we will guide you on how to engage the engine and get ready to start washing.
Before starting your Generac power washer, make sure to check the oil and fuel levels, as well as the water supply. Also, inspect the spray wand and nozzle for any blockages or damage.
Step 6: Engage the Engine
Engaging the engine is the next crucial step in starting your Generac power washer. Follow these steps to ensure a smooth engine startup:
- Locate the engine control panel on your Generac power washer. It is usually located near the handle or on top of the unit.
- Check that the fuel valve, typically located on the engine control panel, is in the “ON” position. This allows fuel to flow from the tank to the engine.
- If your power washer has a choke, set it to the “CHOKE” position. This helps with cold engine startup by providing a richer fuel mixture for easier ignition.
- Locate the engine start switch or button on the control panel. Depending on your power washer model, this could be a switch that needs to be flipped or a button that needs to be pressed.
- Press or flip the engine start switch to initiate the engine startup sequence.
- If your engine has a recoil starter, pull the starter grip firmly and briskly to crank the engine. If your power washer has an electric start, simply press the start button.
- As the engine starts, listen for any unusual sounds or vibrations. If you notice any issues, such as excessive noise or a rough idle, immediately shut off the engine and investigate the problem.
- Allow the engine to warm up for a few minutes before you start using the power washer. This will ensure optimal performance and prevent any potential engine damage.
It’s essential to follow the manufacturer’s instructions for starting the engine on your specific Generac power washer model. Refer to the user manual for any specific guidelines or safety precautions.
With the engine engaged, you’re almost ready to start washing. In the next step, we will guide you on how to adjust the pressure settings for your cleaning task.
Step 7: Adjust the Pressure Settings
Adjusting the pressure settings on your Generac power washer is important to ensure that you have the appropriate amount of pressure for your cleaning task. Follow these steps to adjust the pressure settings:
- Locate the pressure adjustment knob or control on your power washer. It is typically located on the engine control panel or near the spray gun.
- Consult your user manual or the markings on the pressure adjustment control to understand how the settings are calibrated. Some power washers have a numbered scale, while others have symbols representing different pressure levels.
- Determine the desired pressure level for your cleaning task. This will depend on factors such as the surface you’re cleaning and the level of dirt or grime present.
- Turn the pressure adjustment knob or control to the appropriate setting. Start with a lower pressure and gradually increase it if needed. This will prevent damage to delicate surfaces and allow you to find the optimal pressure for efficient cleaning.
- If your power washer has multiple spray nozzles, each nozzle may have a different pressure rating. Choose the nozzle that corresponds to your desired pressure setting and attach it to the spray gun.
- Test the pressure and spray pattern by squeezing the trigger on the spray gun. Adjust the pressure setting if necessary until you achieve the desired results.
It’s important to note that higher pressure settings are not always better. Using excessive pressure can damage surfaces, strip paint, or cause injury. Always use the appropriate pressure for the task at hand and be cautious when adjusting the pressure settings.
With the pressure settings adjusted, your Generac power washer is now ready for action. In the next step, we will guide you on how to start washing and effectively clean your desired surfaces.
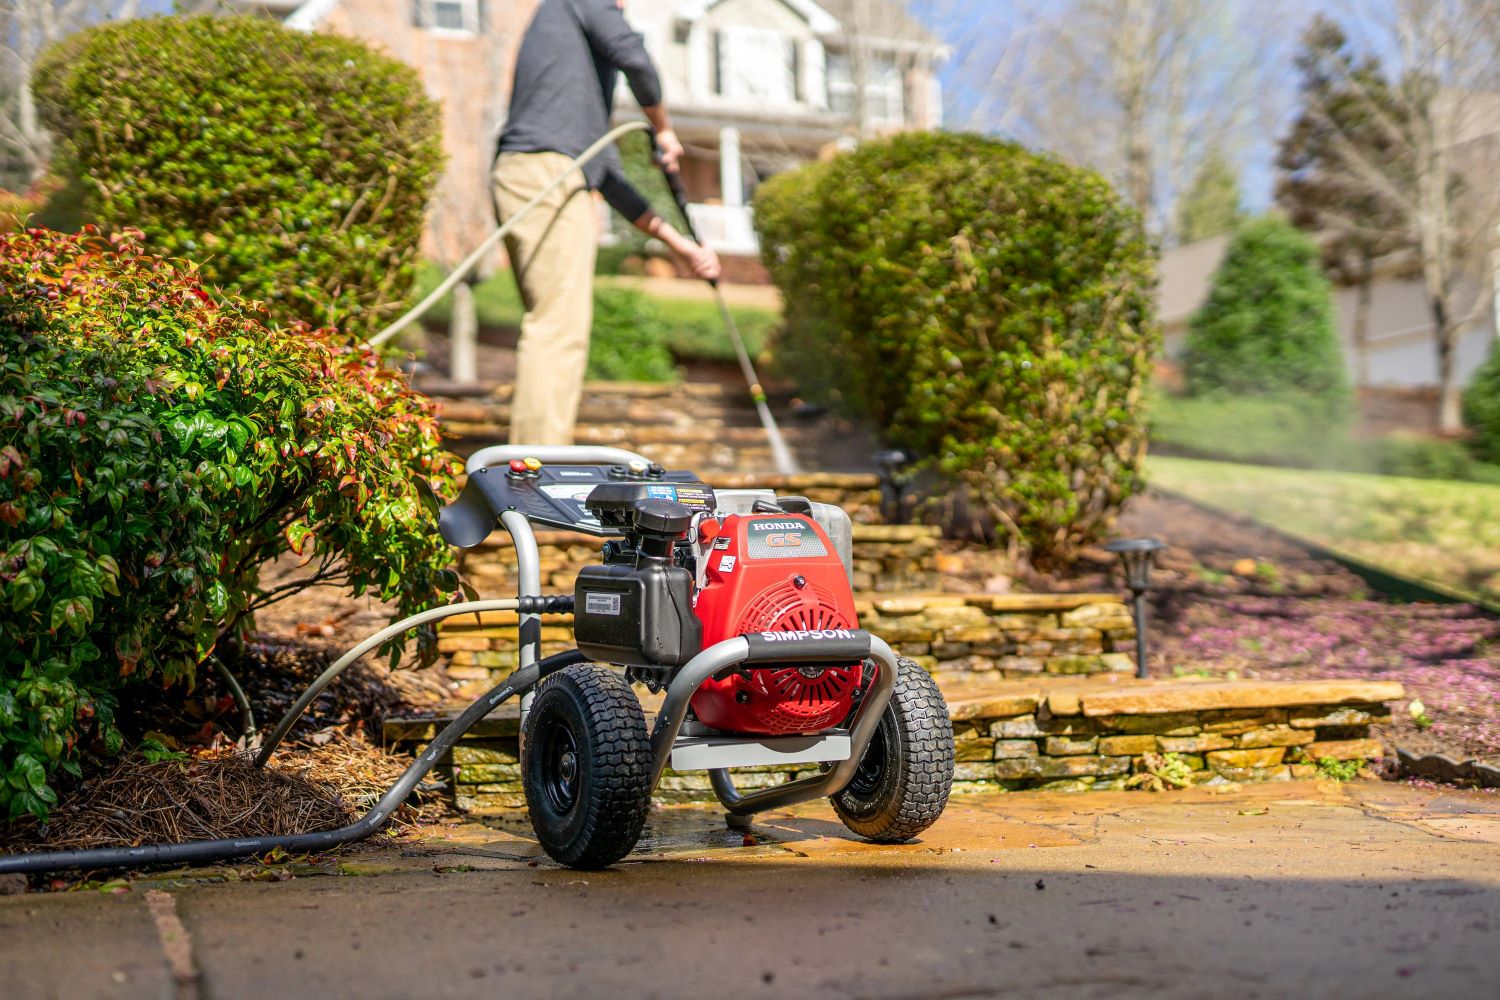
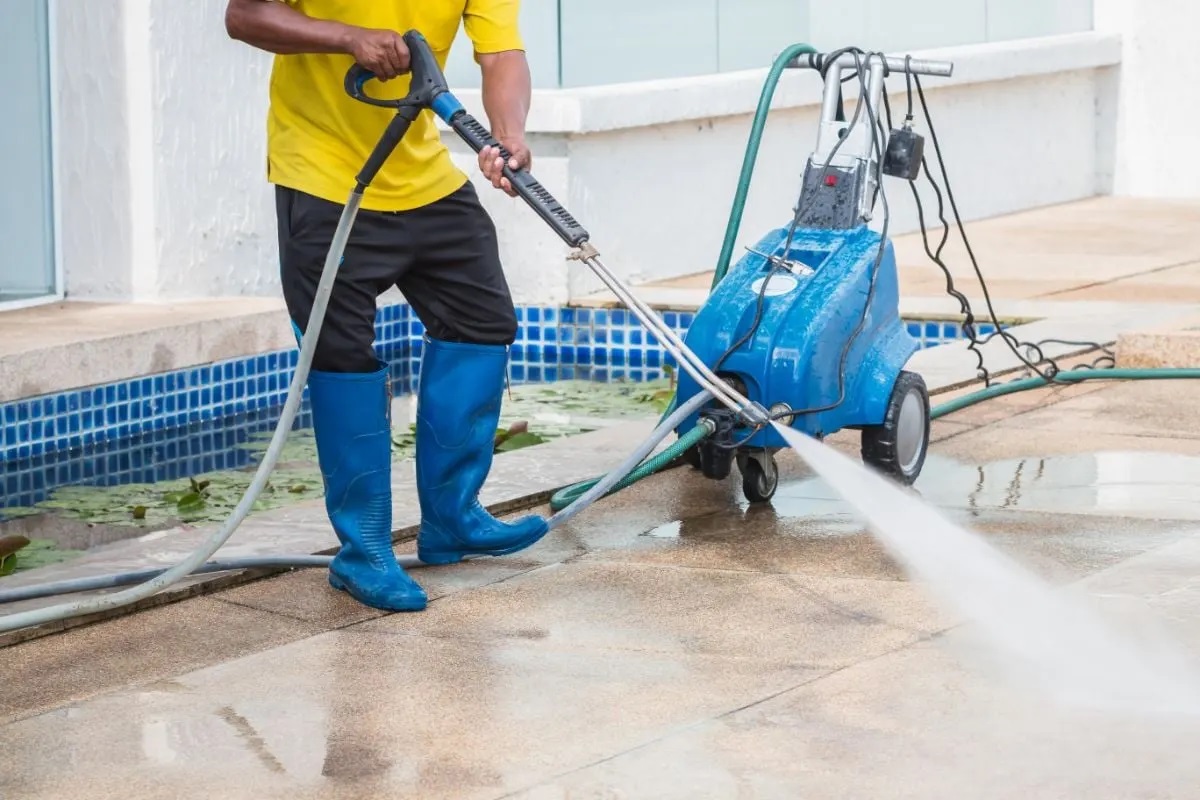
Step 8: Start Washing
Now that your Generac power washer is set up and ready, it’s time to start washing and bring your surfaces back to their sparkling clean state. Follow these steps to effectively use your power washer:
- Position yourself in a comfortable stance with a firm grip on the spray gun.
- Point the spray gun nozzle towards the surface you want to clean. Ensure that you maintain a safe distance, typically around 6 to 12 inches, to avoid damage and maximize cleaning efficiency.
- Squeeze the trigger on the spray gun to release the pressurized water. Start from a low-pressure setting and gradually increase as needed.
- Maintain a consistent and steady motion as you move the spray gun across the surface. Clean in overlapping strips or sections to ensure thorough coverage.
- Pay close attention to areas that require extra cleaning, such as stains, mildew, or stubborn dirt. Adjust the nozzle or pressure settings accordingly to tackle these tough spots.
- Keep an eye out for any potential damage to the surface. Avoid spraying directly at fragile materials or delicate objects that may get damaged by the high-pressure water stream.
- If you’re using a cleaning solution or detergent, follow the manufacturer’s instructions for application and mixing ratios. Apply the solution to the surface and let it sit for a few minutes before using the power washer to rinse it off.
- Clean in sections and regularly step back to assess your progress. This will help ensure that you’re achieving the desired results and not missing any spots.
- Take breaks as needed and stay hydrated, especially if you’re working on a large cleaning project. Power washing can be physically demanding, so pace yourself to avoid fatigue.
- Once you have completed the cleaning process, release the trigger on the spray gun to stop the flow of water. Allow the power washer to run for a few moments to release any remaining pressure before shutting it off.
Always prioritize safety while using your Generac power washer. Wear appropriate protective gear, such as safety goggles or glasses, gloves, and sturdy footwear. Avoid spraying towards electrical components or outlets and be cautious of others in the vicinity.
With these steps, you’re now ready to take full advantage of your Generac power washer and achieve pristine cleaning results. In the final step, we will guide you on how to properly shut down and store your power washer for future use.
Read more: How To Start Whirlpool Washer
Step 9: Properly Shutdown and Store Your Generac Power Washer
Once you’ve completed your cleaning task, it’s important to properly shutdown and store your Generac power washer to ensure its longevity and future usability. Follow these steps to do so:
- Release the trigger on the spray gun to stop the flow of water.
- Allow the power washer to run for a few minutes without engaging the spray gun. This will allow the engine to cool down and stabilize before shutting it off.
- Locate the engine stop switch or button on the control panel. Press or flip it to turn off the engine.
- Turn off the fuel valve to prevent fuel from flowing to the engine when not in use.
- Disconnect the pressure hose from the water outlet connection on the power washer. Drain any residual water from the hose by pointing it away from you and squeezing the trigger on the spray gun.
- Disconnect the water inlet hose from the water inlet connection and drain any excess water from it.
- Properly coil and store the pressure hose and the water inlet hose in a dry and clean area to prevent damage and ensure easy access for future use.
- If your power washer has a detergent tank, rinse it thoroughly with clean water to remove any remaining cleaning solution residue. Allow it to dry before storing.
- Inspect the power washer for any signs of damage or wear. Address any issues before storing or seek professional assistance if needed.
- Clean the exterior of the power washer, removing any dirt, grime, or debris. Ensure that all parts, including the spray gun and nozzles, are clean and free from clogs.
- Store your Generac power washer in a clean and dry area, protected from extreme temperatures, sunlight, and moisture. Make sure it is stored in an upright position to prevent any fluid leakage.
It is recommended to follow the specific instructions provided in the user manual for your particular Generac power washer model. Properly shutting down and storing your power washer will help prolong its lifespan and maintain its performance for future cleaning tasks.
Congratulations! You have successfully learned how to start, use, and store your Generac power washer. With these steps, you can confidently tackle a variety of outdoor cleaning projects and enjoy the benefits of a clean and refreshed outdoor space.
Remember to always prioritize safety and refer to the user manual for any additional guidelines or precautions specific to your power washer model. Happy cleaning!
Conclusion
Learning how to start and use a Generac power washer is essential for achieving effective and efficient cleaning results for your outdoor spaces. By following the steps outlined in this comprehensive guide, you can confidently assemble, prepare, and operate your power washer to tackle a variety of cleaning tasks.
Starting with assembling the power washer and preparing the water source, each step has been carefully outlined to ensure a smooth setup process. Connecting the water inlet and outlet hoses, setting up the pressure hose and spray gun, and filling the fuel tank are crucial steps in getting your power washer ready for action.
Engaging the engine, adjusting the pressure settings, and starting the cleaning process using the spray gun are the heart of using a power washer effectively. These steps guide you on how to control the pressure, properly clean different surfaces, and achieve the desired results without causing damage.
Finally, properly shutting down and storing your Generac power washer is vital for maintaining its longevity and performance. Taking the time to carefully shut down the engine, disconnect and drain the hoses, and clean and store the power washer in a suitable location will ensure that it’s ready for future use.
As you embark on your cleaning projects, always prioritize safety by wearing appropriate protective gear and being mindful of your surroundings. Consult your Generac power washer’s user manual for specific instructions and guidelines tailored to your model.
With the knowledge and skills gained from this guide, you can confidently and effectively use your Generac power washer to transform your outdoor spaces and keep them looking fresh and clean. So, get ready to take on your next cleaning task with your powerful and reliable Generac power washer!
Now that you've mastered starting your Generac power washer, why not broaden your cleaning and maintenance skills further? If you're curious about other models, our guide on how to kick off any power washer will surely prove handy. For those aiming to spruce up their home's exterior, our detailed instructions on using a pressure washer for siding will make the task a breeze. And don't forget, keeping your home in tip-top shape goes beyond just cleaning. Dive into our comprehensive advice on essential home maintenance tasks to keep every nook and cranny in perfect order.
Frequently Asked Questions about How To Start A Generac Power Washer
Was this page helpful?
At Storables.com, we guarantee accurate and reliable information. Our content, validated by Expert Board Contributors, is crafted following stringent Editorial Policies. We're committed to providing you with well-researched, expert-backed insights for all your informational needs.


0 thoughts on “How To Start A Generac Power Washer”