Home>Articles>How To Scribe And Break Glass Using Hand Tools Only

Articles
How To Scribe And Break Glass Using Hand Tools Only
Modified: October 19, 2024
Learn how to scribe and break glass with just hand tools in this comprehensive article. Find step-by-step instructions and expert tips to master this essential skill.
(Many of the links in this article redirect to a specific reviewed product. Your purchase of these products through affiliate links helps to generate commission for Storables.com, at no extra cost. Learn more)
Introduction
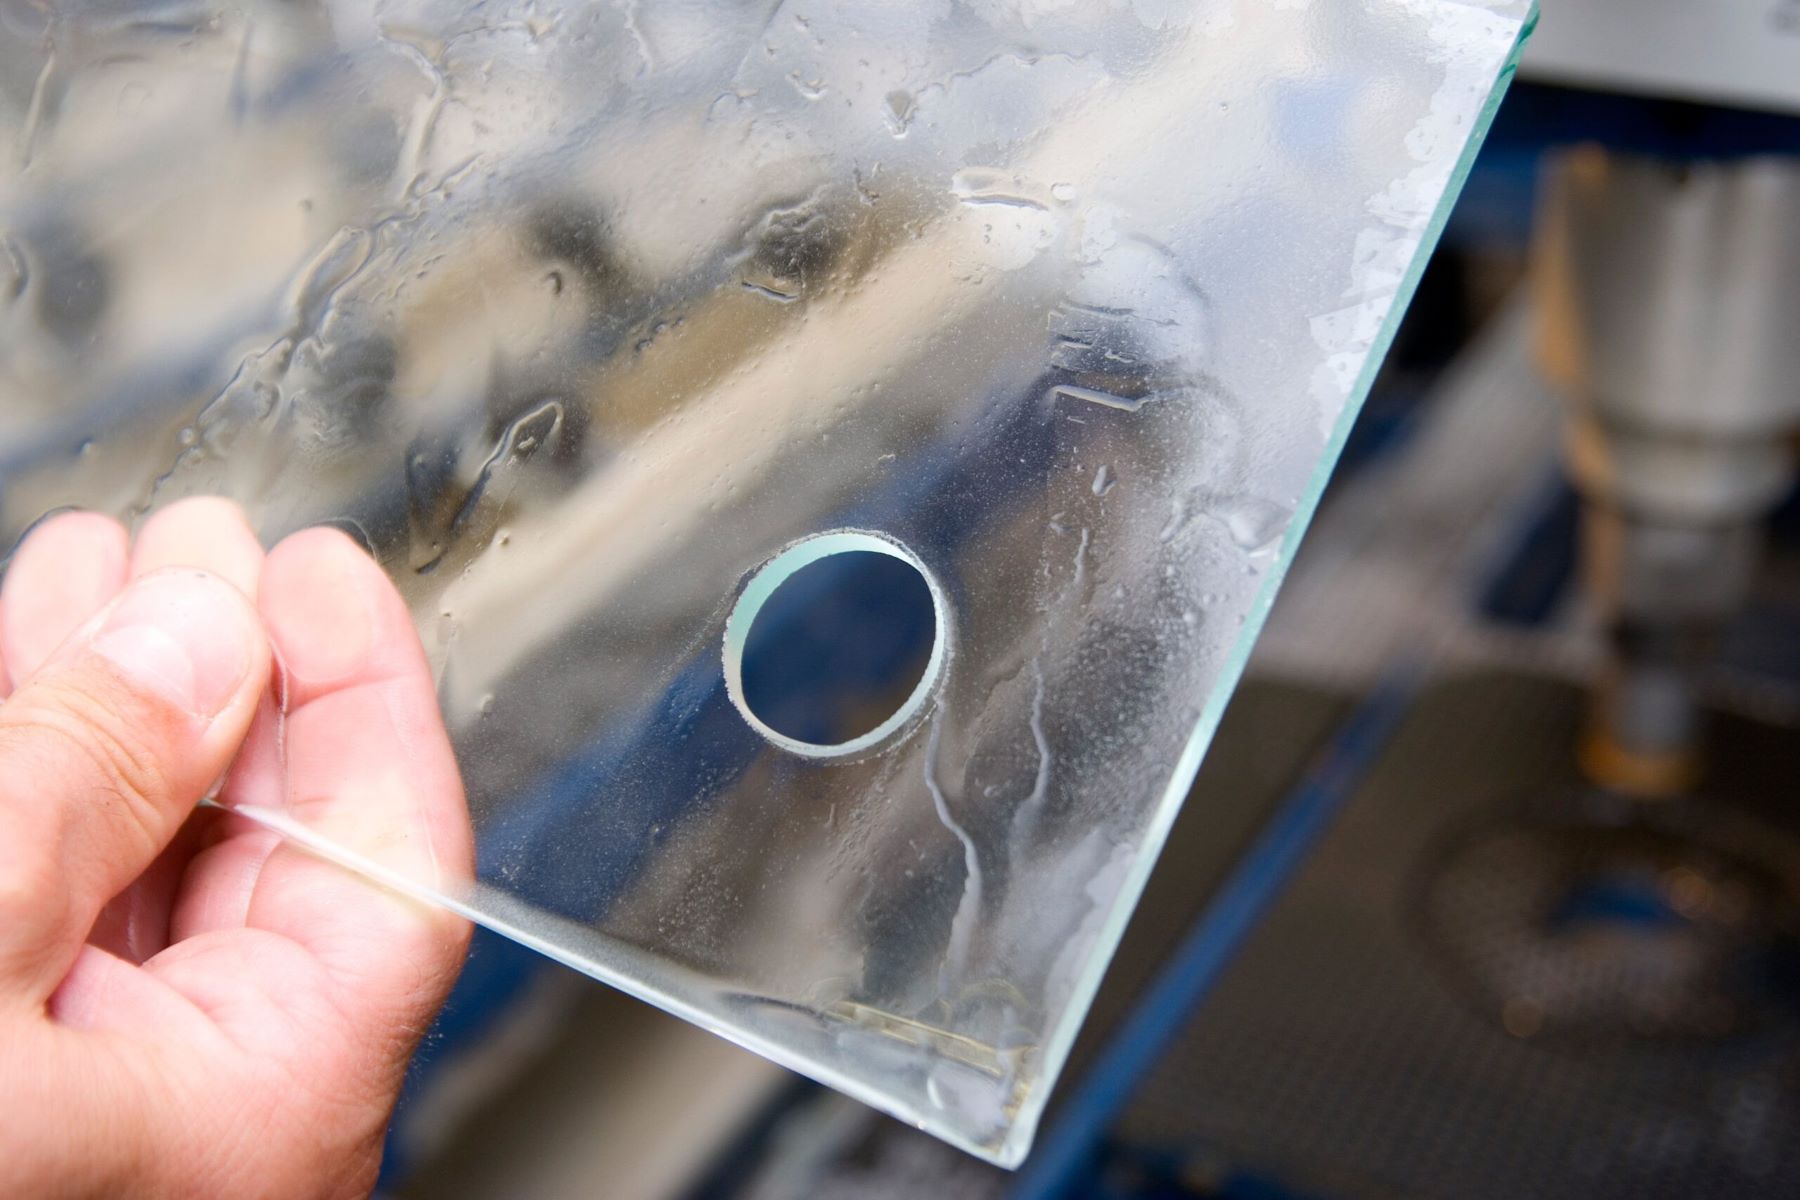
Glass is a versatile material that is used in various applications, from windows and doors to tabletops and decorative items. While glass is known for its strength and durability, there may come a time when you need to scribe and break it for a particular project or repair. Whether you are a DIY enthusiast or a professional craftsman, knowing how to scribe and break glass using hand tools can be a valuable skill.
In this article, we will guide you through the process of scribing and breaking glass using hand tools only. We will discuss the materials and tools required, safety precautions to keep in mind, and provide step-by-step instructions to ensure a successful outcome. So, put on your safety goggles and let’s get started!
Key Takeaways:
- Master the art of scribing and breaking glass using hand tools to create precise and tailored glass pieces for DIY projects or repairs. Follow safety precautions, prepare the glass, scribe, break, and smooth the edges for a successful outcome.
- With the right materials, tools, and safety measures, scribing and breaking glass using hand tools can be a valuable skill for achieving clean and controlled breaks, resulting in beautifully crafted glass pieces. Enjoy the satisfaction of mastering this art and continue to improve your skills with practice.
Read more: How To Break Up Concrete With Hand Tools
Materials and Tools Required
Before you begin scribing and breaking glass, it’s important to gather all the necessary materials and tools to ensure a smooth and efficient process. Here is a list of what you will need:
Materials:
- Glass sheet or object
- Masking tape
- Marker or glass cutter
- Breaking pliers or running pliers
- File or sandpaper
- Safety goggles
- Gloves
- Work surface or sturdy table
Tools:
- Glass cutter or diamond-tipped pen
- Straightedge or ruler
- Breaking pliers or running pliers
- File or sandpaper
Make sure you have all the materials and tools ready before you begin. This will save you time and prevent any interruptions during the process. Additionally, ensure that the glass sheet or object you are working with is the appropriate size and thickness for your project.
Remember, safety should always be a priority when working with glass. Wear safety goggles to protect your eyes from flying glass shards and use gloves to prevent any accidental cuts. Also, work on a stable and sturdy table or work surface to provide a secure foundation for the glass.
Now that you have all the necessary materials and tools, let’s move on to the next section, where we will discuss the safety precautions you should follow when scribing and breaking glass.
Safety Precautions
Working with glass can be potentially dangerous if not done with caution. Before you start scribing and breaking glass, it’s crucial to take the following safety precautions:
1. Wear Safety Gear: Protect yourself by wearing safety goggles to shield your eyes from glass fragments and gloves to safeguard your hands from potential cuts.
2. Choose a Safe Working Area: Find a well-ventilated and clutter-free space to work in. Ensure that the work surface is stable and sturdy enough to support the glass sheet or object.
3. Secure the Glass: Place the glass on a non-slip mat or use clamps to secure it in place. This will prevent it from moving as you work on it.
4. Handle with Care: Always handle glass carefully. Avoid dropping or applying excessive pressure to prevent it from shattering unexpectedly. Take your time and stay focused on the task at hand.
5. Work in a Controlled Manner: Make controlled cuts and avoid rushing the process. This will reduce the likelihood of accidents and ensure better results.
6. Protect Surrounding Areas: Clear the area around your workspace from any potential hazards or fragile objects that may get damaged if the glass accidentally breaks.
7. Properly Dispose of Glass Waste: Dispose of glass shards and waste properly to prevent injuries. Seal them in a sturdy bag or container before discarding.
8. Seek Professional Help if Needed: If you are unsure or uncomfortable with handling glass, it’s best to seek professional assistance. Some projects may require specialized tools or expertise that you may not possess.
By following these safety precautions, you can minimize the risk of accidents and ensure a safe working environment while scribing and breaking glass.
Now that you are aware of the necessary safety measures, let’s move on to the step-by-step process of scribing and breaking glass using hand tools.
Step 1: Preparing the Glass
Before you begin scribing and breaking the glass, it’s important to properly prepare it. Follow these steps:
1. Clean the Glass: Start by cleaning the surface of the glass using a glass cleaner and a lint-free cloth. This will remove any dirt, dust, or fingerprints that may interfere with the scribing process.
2. Measure and Mark: Use a measuring tape or ruler to determine the desired dimensions for the glass. Mark the measurement on the glass using a marker or a glass cutter. Make sure the marks are clear and visible.
3. Apply Masking Tape: To protect the glass and provide a straight edge for scribing, apply a strip of masking tape along the marked line. Ensure that the tape is firmly pressed against the glass and covers the entire length of the mark.
4. Align a Straightedge: Place a straightedge or ruler along the marked line. Ensure that it is securely positioned and aligned with the mark. This will guide the glass cutter and help maintain a straight and accurate scribe.
By properly preparing the glass, you ensure a clean and precise scribe line, making it easier to break the glass accurately. Once you have prepared the glass, you are ready to move on to the next step, which is scribing the glass.
When scribing glass, use a carbide or diamond-tipped glass cutter for best results. Apply even pressure and score the glass in one smooth motion. To break the glass, place a straight edge under the score line and apply pressure on either side to snap the glass cleanly.
Step 2: Scribing the Glass
Now that you have prepared the glass, it’s time to scribe it. Scribing creates a score or a shallow cut along the marked line, which will serve as a guide for breaking the glass. Follow these steps:
1. Hold the Glass Cutter: Hold the glass cutter firmly but not too tightly. Position it perpendicular to the glass surface, with the wheel or blade resting on the edge of the glass and aligned with the marked line.
2. Apply Steady Pressure: Apply gentle and even pressure as you drag the glass cutter along the marked line. Make one continuous and smooth stroke. Avoid stopping or going back over the same area to ensure a clean and consistent scribe.
3. Maintain Consistent Speed: Keep a steady and consistent speed while scribing the glass. Moving too fast or too slow may result in an uneven scribe line or a shallow score, which can lead to difficulties when breaking the glass.
4. Check the Scribe Line: Once you have scribed the entire length of the marked line, visually inspect the scribe line to ensure it is clear and uninterrupted. The scribe line should be a visible and distinct score across the surface of the glass.
5. Remove the Masking Tape: Carefully remove the masking tape from the glass surface, being cautious not to touch or disturb the scribe line. Discard the tape properly.
By following these steps, you can create a clean and accurate scribe line that will guide the glass-breaking process. Now that you have successfully scribed the glass, it’s time to move on to the next step, which is breaking the glass.
Read more: How To Start A Garden With Only Hand Tools
Step 3: Breaking the Glass
Now that you have scribed the glass, it’s time to break it along the scored line. Follow these steps to ensure a clean and controlled break:
1. Put on Safety Gear: Before you start breaking the glass, put on your safety goggles and gloves to protect yourself from potential injuries.
2. Choose Breaking Pliers: Depending on the size and thickness of the glass, choose either breaking pliers or running pliers. Breaking pliers are suitable for smaller or thinner glass sheets, while running pliers are used for larger or thicker glass sheets.
3. Position the Pliers: Hold the breaking pliers or running pliers with one hand, ensuring that the curved jaw is facing towards the waste side of the glass (the side that will be discarded). Position the pliers on the scribed line, aligning it with the score.
4. Apply Pressure: Apply gradual pressure with the pliers, squeezing them gently but firmly. Start at one end of the scribe line and slowly work your way along the score. Maintain consistent pressure as you move along the line.
5. Listen for a Crack: As you apply pressure with the pliers, listen for a distinct cracking sound. This indicates that the glass is beginning to break along the scribe line. If you don’t hear a crack, apply slightly more pressure, but be careful not to exert excessive force that could cause the glass to shatter unpredictably.
6. Break the Glass: Once you hear the crack, continue applying pressure until the glass breaks cleanly along the scribe line. Use controlled force to ensure a straight break. If the break does not follow the scribe line, stop and reassess your position and technique before continuing.
7. Remove any Rough Edges: After breaking the glass, you may notice rough or jagged edges. Use a file or sandpaper to smooth out any sharp edges and make them safe to handle.
By following these steps, you can successfully break the glass along the scribed line. Now that you have completed this step, let’s move on to the final step – smoothing the edges.
Step 4: Smoothing the Edges
After breaking the glass, it’s important to smooth out the edges to ensure a safe and polished finish. Follow these steps to achieve smooth edges:
1. Inspect the Broken Edges: Carefully examine the edges of the broken glass to identify any sharp or uneven areas that need to be smoothed out.
2. Use a File: If the edges are rough or jagged, gently run a file along the edges in a sweeping motion to smooth them. Apply even pressure and work from one end to the other. Be cautious not to apply too much pressure that could cause further damage.
3. Try Sandpaper: If the file doesn’t fully smooth out the edges, you can use sandpaper. Choose a fine-grit sandpaper and rub it along the edges in a consistent motion. This will gradually remove any roughness and create a smoother finish.
4. Remove Dust and Debris: After filing or sanding, wipe away any dust or debris from the glass edges using a clean cloth or a slightly damp paper towel. This will give you a clearer view of the smoothed edges.
5. Test the Edges: Once you have smoothed the edges, run your finger along them to ensure there are no rough or sharp spots. If you feel any discomfort or unevenness, continue filing or sanding until the edges are smooth to the touch.
6. Clean the Glass: Finally, clean the glass again to remove any residue or particles from the smoothing process. Use a glass cleaner and a lint-free cloth to bring out the shine of the glass.
By following these steps, you can achieve smooth and polished edges on the broken glass. This not only enhances the appearance of the glass but also minimizes the risk of accidental cuts or injuries.
With the edges smoothed, your glass is ready for use or further customization, depending on your project.
Now that you have completed all the steps, take a moment to admire your work and congratulate yourself for successfully scribing and breaking glass using hand tools!
Conclusion
Mastering the art of scribing and breaking glass using hand tools can be a valuable skill for DIY enthusiasts, craftsmen, and professionals alike. With the right materials, tools, and safety precautions, you can achieve clean and controlled breaks, resulting in beautifully crafted glass pieces.
In this article, we provided a comprehensive guide to scribing and breaking glass using hand tools only. We discussed the importance of proper preparation, the necessary materials and tools, and the essential safety precautions to follow. We also provided step-by-step instructions for preparing the glass, scribing it, breaking it, and smoothing the edges.
Remember, safety should always be a priority when working with glass. Wear protective gear, work in a controlled manner, and dispose of glass waste properly. By following these safety precautions, you can minimize the risk of accidents and injuries.
Whether you’re working on a custom glass project or need to repair a broken piece, the ability to scribe and break glass using hand tools allows you to create precise and tailored glass pieces that fit your specific needs.
So, put your newly acquired knowledge into practice, and enjoy the satisfaction of successfully scribing and breaking glass using hand tools. With practice, you’ll continue to improve your skills and achieve even better results. Happy glass crafting!
Frequently Asked Questions about How To Scribe And Break Glass Using Hand Tools Only
Was this page helpful?
At Storables.com, we guarantee accurate and reliable information. Our content, validated by Expert Board Contributors, is crafted following stringent Editorial Policies. We're committed to providing you with well-researched, expert-backed insights for all your informational needs.


0 thoughts on “How To Scribe And Break Glass Using Hand Tools Only”