Articles
How To Use Hand Tools To Shape Hard Wood
Modified: August 31, 2024
Learn how to shape hard wood using hand tools with our informative articles. Enhance your woodworking skills and achieve professional results.
(Many of the links in this article redirect to a specific reviewed product. Your purchase of these products through affiliate links helps to generate commission for Storables.com, at no extra cost. Learn more)
Introduction
Working with hard wood can be a challenging yet rewarding endeavor. The ability to shape and transform a solid piece of wood into a functional or decorative object is a skill that has been valued for centuries. While power tools can provide efficiency and precision, there is a unique satisfaction in using hand tools to shape hard wood.
In this article, we will explore the art of using hand tools to shape hard wood, from selecting the right tools to mastering different wood shaping techniques. We will also discuss basic safety measures and provide a step-by-step guide to help you get started. Whether you are a beginner or an experienced woodworker looking to refine your skills, this article will provide valuable insights to enhance your craftsmanship.
Key Takeaways:
- Embrace the timeless craft of shaping hard wood with hand tools by selecting high-quality tools, mastering shaping techniques, and prioritizing safety for impressive woodworking results.
- Achieve woodworking mastery by following a systematic approach, avoiding common mistakes, and incorporating smoothing and finishing techniques to elevate the beauty and longevity of hard wood projects.
Read more: How To Shape Brass With Hand Tools
Selecting the Right Hand Tools
When it comes to shaping hard wood with hand tools, having the right tools for the job is crucial. Each tool serves a specific purpose, and choosing high-quality tools will ensure precision and ease in your wood shaping process.
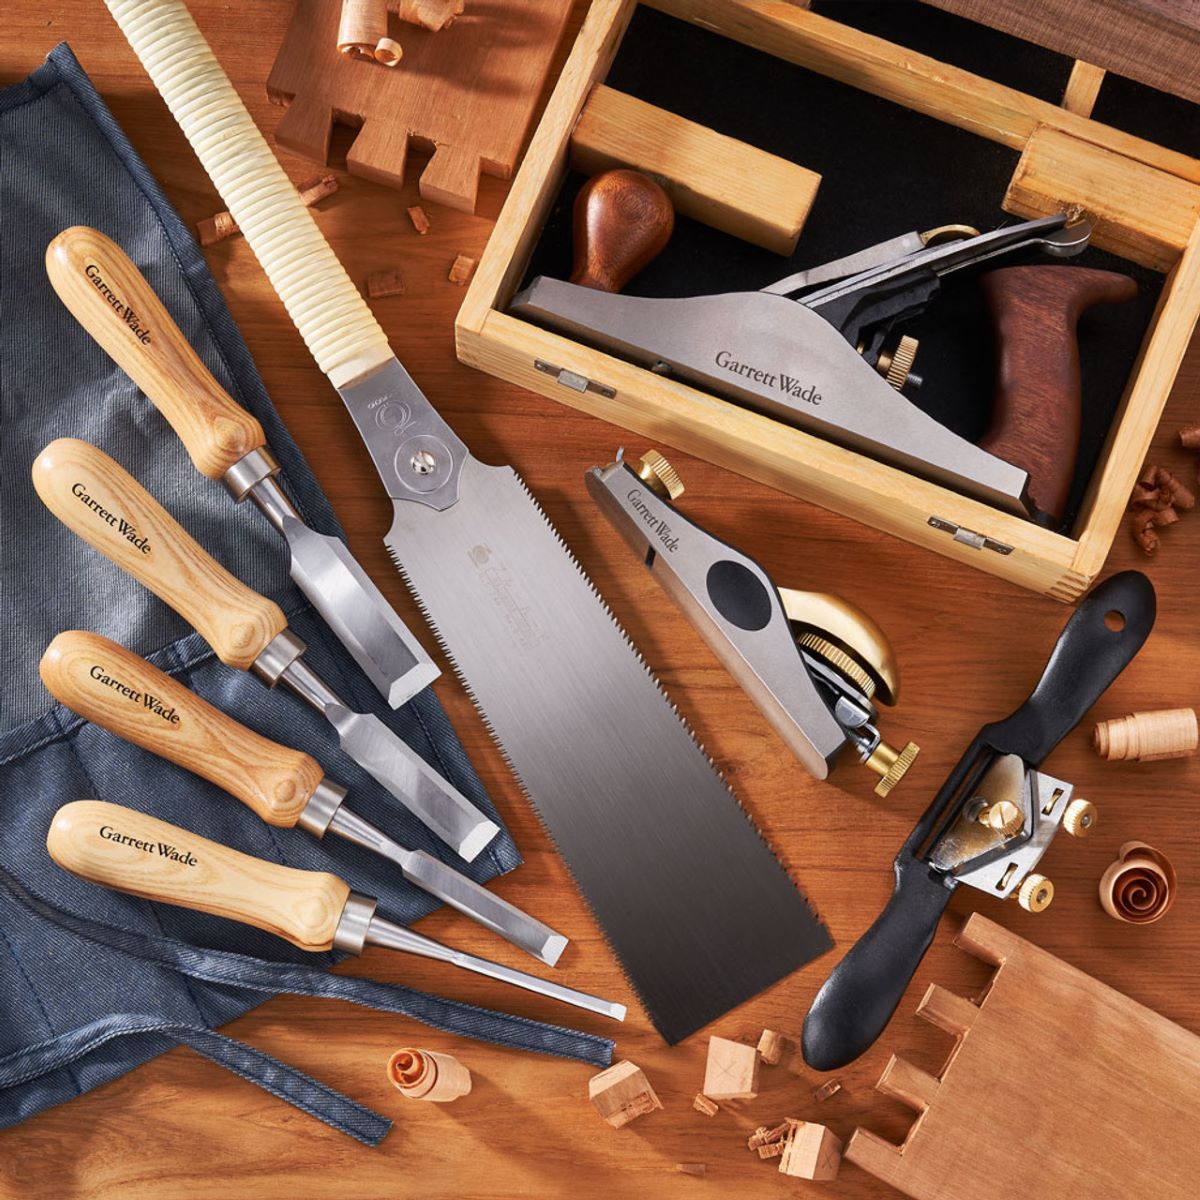
Here are some essential hand tools you should consider for shaping hard wood:
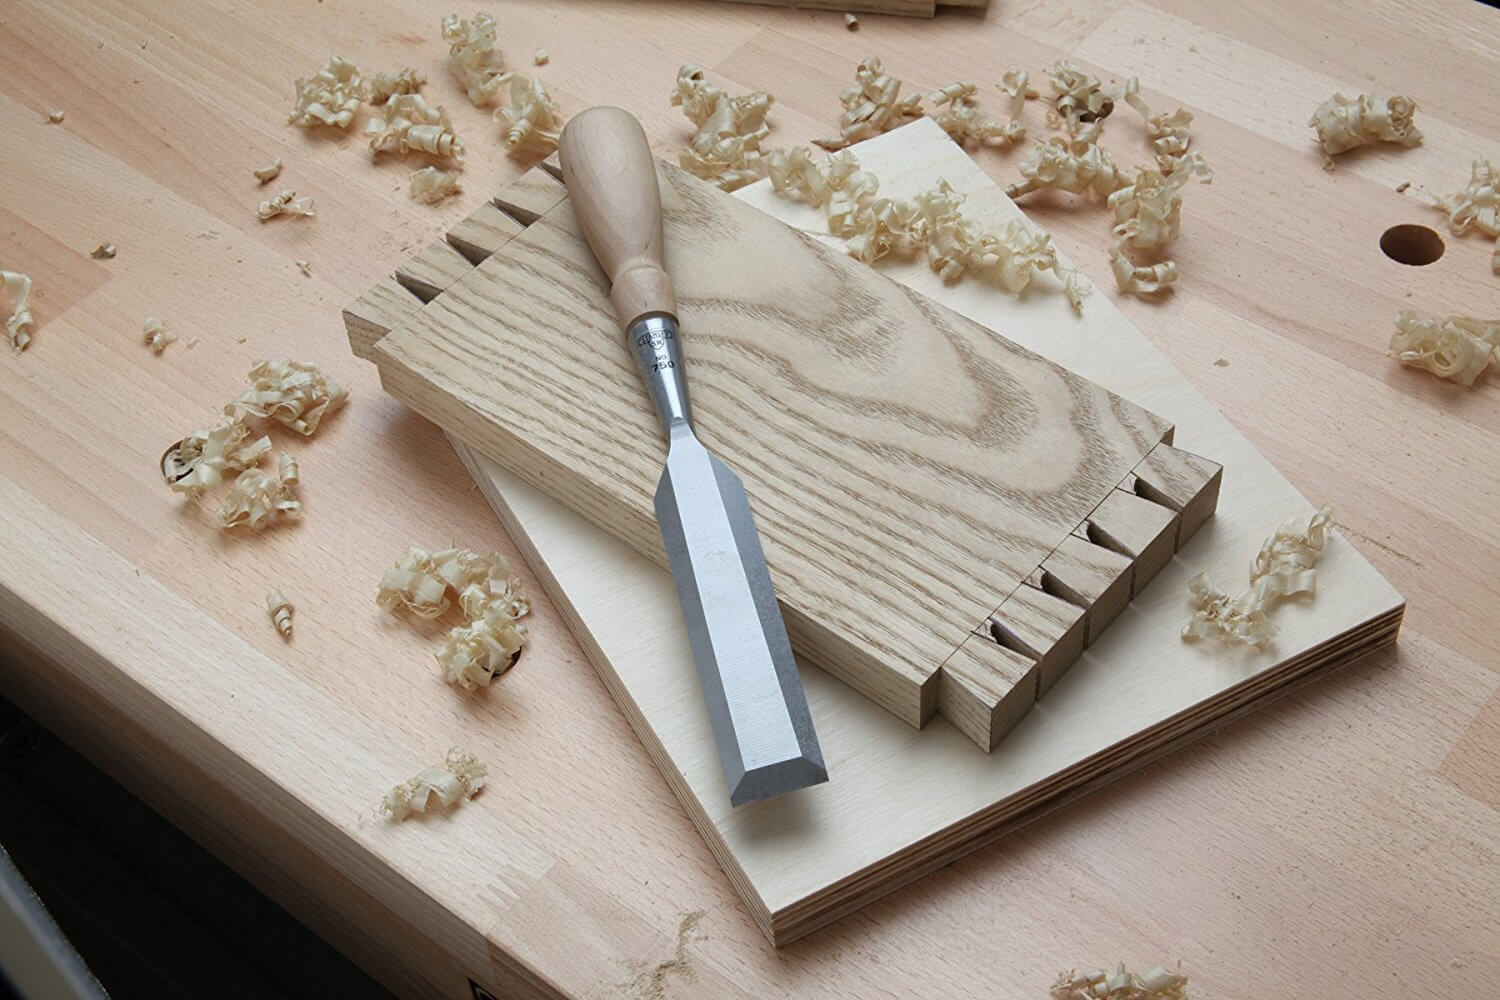
- Chisels: Chisels are versatile tools that come in various sizes and shapes. They are used for removing excess material and creating intricate detail in the wood. Look for chisels made of high-quality steel with sharp cutting edges.
- Hand Planes: A good set of hand planes is essential for flattening and smoothing the wood surface. Depending on the project, you may need a smoothing plane, a jack plane, or a block plane. Look for planes with adjustable blades and comfortable handles.
- Saws: A crosscut saw and a rip saw are essential for cutting the wood into desired shapes and sizes. Look for saws with sharp teeth and comfortable handles for better control.
- Rasps and Files: Rasps and files are used for shaping curved surfaces and removing rough edges. Look for ones with fine teeth for smooth and precise shaping.
- Clamps: Clamps are indispensable for holding the wood in place while shaping. They come in various sizes and styles, such as bar clamps, C-clamps, and pipe clamps. Consider getting a variety of clamps to accommodate different projects.
When selecting hand tools, prioritize quality over quantity. Invest in tools made by reputable manufacturers that are known for their durability and precision. It’s also important to keep your tools well-maintained by sharpening blades, oiling hinges, and storing them in a clean and dry environment.
By having the right hand tools in your arsenal, you will have better control and accuracy in shaping hard wood, leading to impressive results in your woodworking projects.
Getting Familiar with Different Wood Shaping Techniques
Shaping hard wood with hand tools requires an understanding of various techniques that can be employed to achieve desired results. Each technique serves a different purpose and can be applied depending on the project and the desired outcome.
Here are some common wood shaping techniques:
- Planing: Planing involves using a hand plane to flatten and smooth the wood surface. It is an essential technique for removing imperfections and creating a even and level surface.
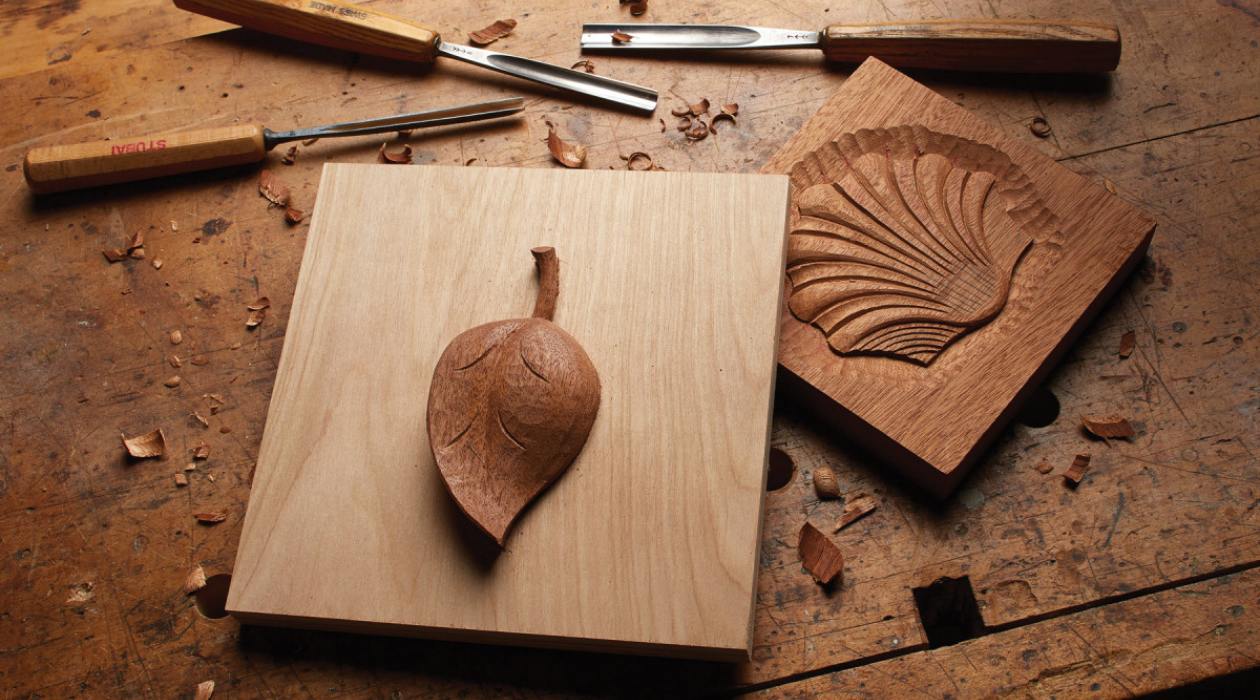
- Chiseling: Chiseling is a versatile technique that allows for precise shaping and detailing. By using chisels of different sizes and profiles, you can create cuts, grooves, and intricate designs in the wood.
- Sawing: Sawing is used to cut the wood into desired shapes and sizes. There are various types of saws that can be used, such as crosscut saws for making perpendicular cuts and rip saws for cutting with the grain.
- Rasping and Filing: Rasps and files are effective tools for shaping curved surfaces and removing rough edges. They can be used to create smooth and refined contours in the wood.
- Sanding: Sanding is the process of smoothing the wood surface using sandpaper or sanding blocks. It is typically done after rough shaping and helps to achieve a polished and smooth finish.
It’s important to practice each technique and become familiar with the proper hand movements and pressure required for efficient and precise shaping. Additionally, understanding the grain direction of the wood is crucial, as it can affect the ease of shaping and the final outcome.
Experimenting with different techniques and understanding how they interact with different types of wood will enhance your woodworking skills and allow you to create personalized and unique pieces.
Basic Safety Measures for Using Hand Tools
Working with hand tools to shape hard wood requires caution and adherence to basic safety measures to prevent accidents and injuries. By following these guidelines, you can ensure a safe and enjoyable woodworking experience:
- Wear Protective Gear: Always wear appropriate protective gear, such as safety goggles to protect your eyes from flying wood chips or debris, and ear protection to reduce noise levels when using power tools. Gloves can also provide additional protection for your hands.
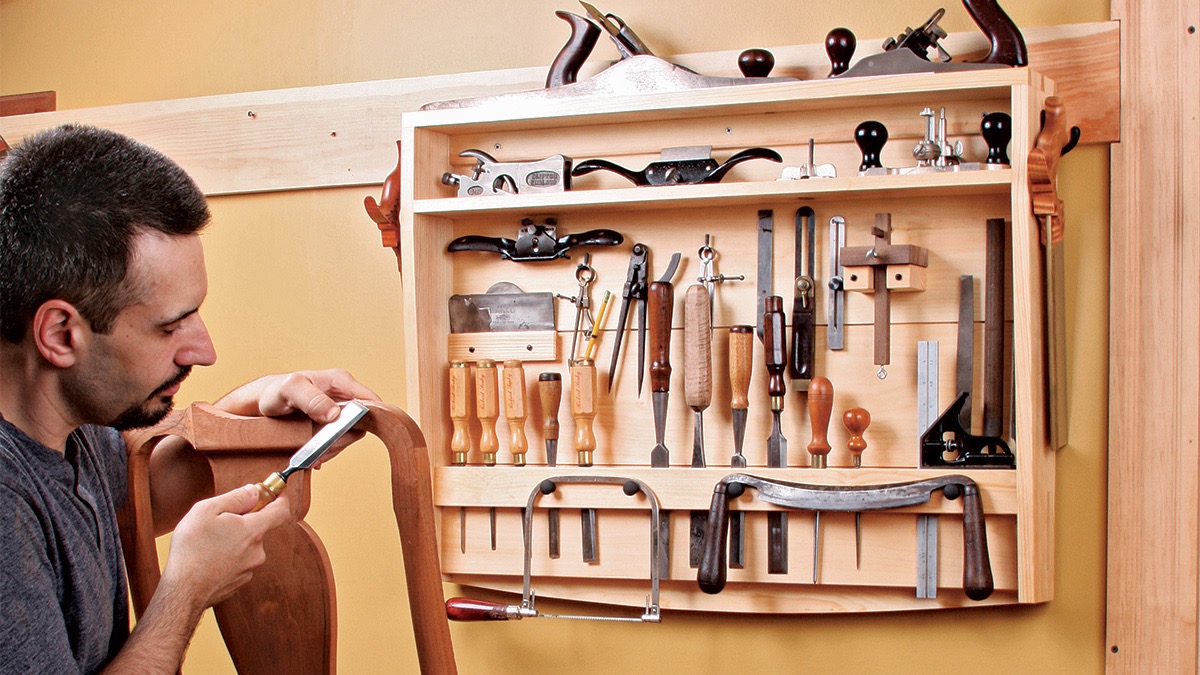
- Maintain a Clean and Organized Workspace: Keep your work area clean and free from clutter to minimize the risk of accidents. Ensure tools are properly stored when not in use and avoid leaving sharp objects or tools lying around.
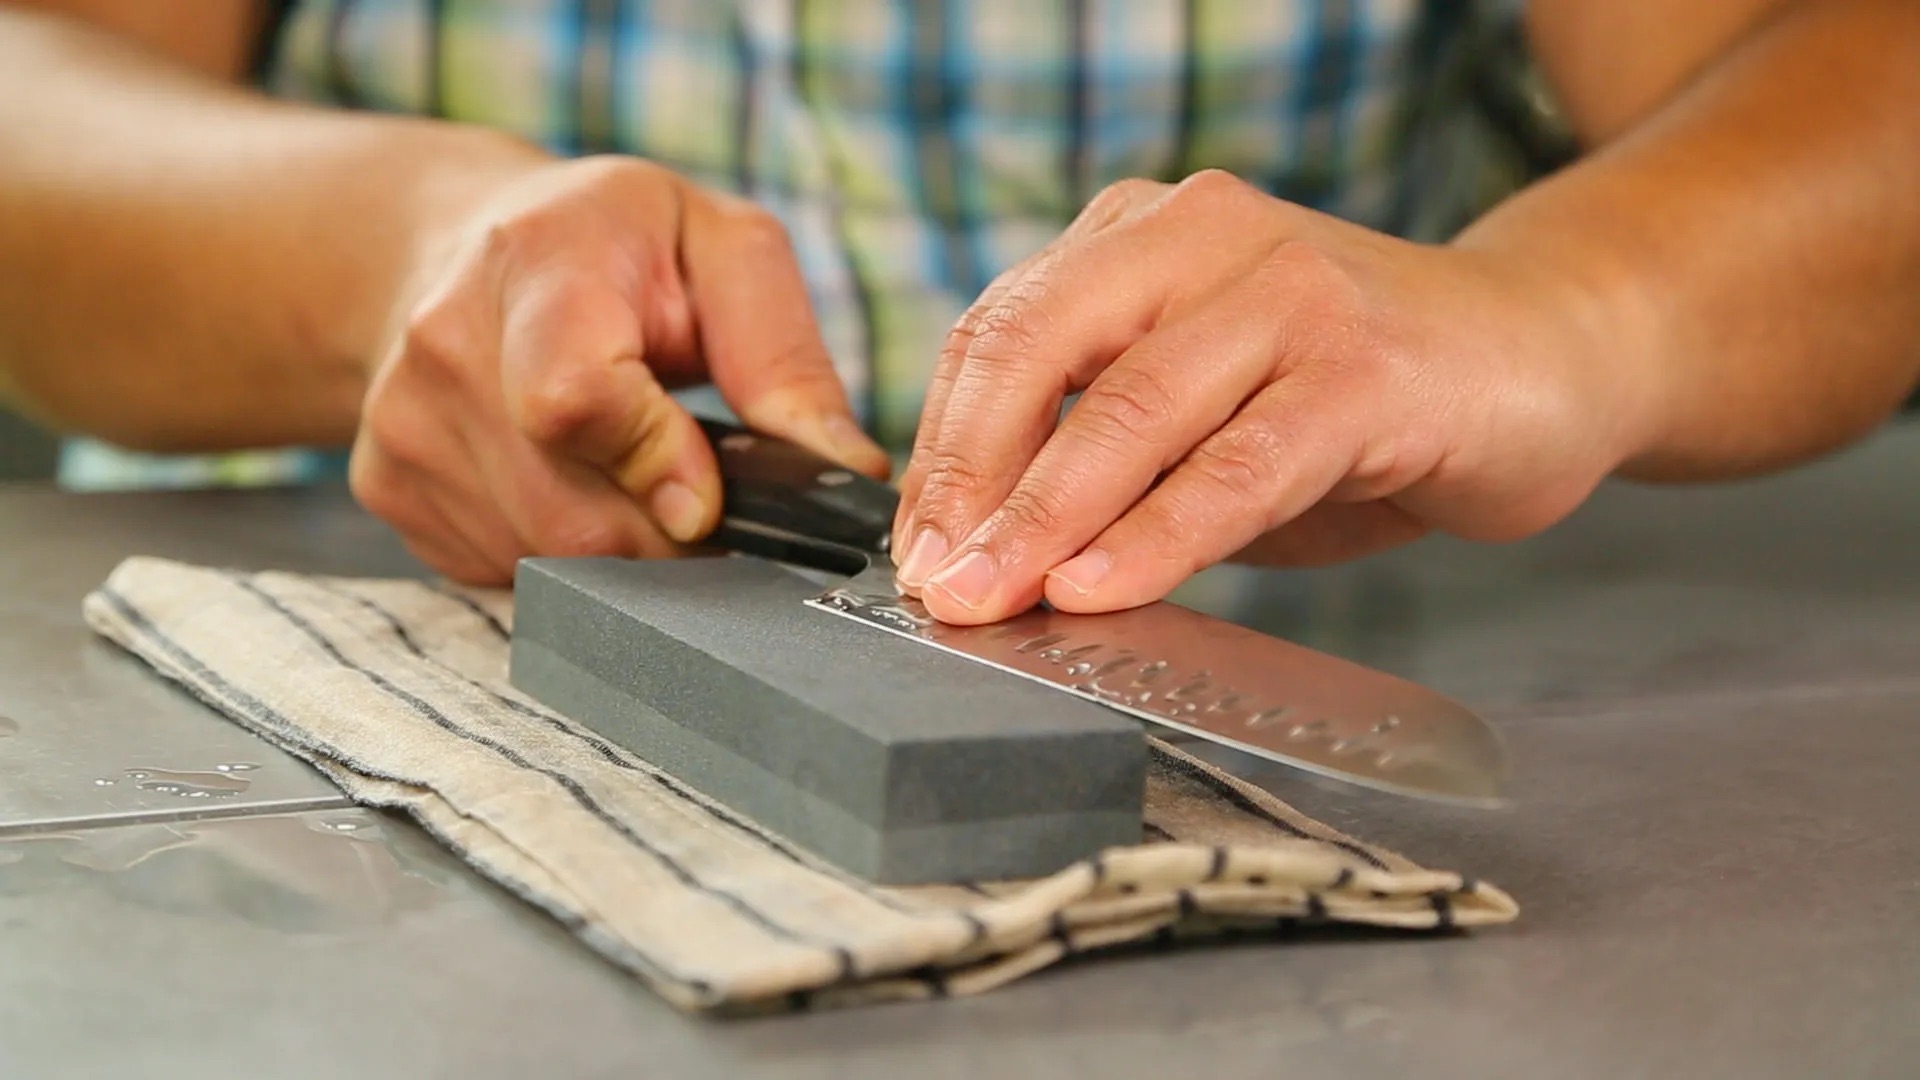
- Use Sharp Tools: Working with sharp tools can help prevent slips and unnecessary force, reducing the risk of accidents. Regularly sharpen and maintain the cutting edges of your tools to ensure optimal performance and safety.
- Secure the Wood: When shaping wood, securely clamp or fasten it to a stable work surface. This will prevent the wood from moving or shifting during the shaping process, reducing the risk of accidents and injuries.
- Practice Proper Posture and Technique: Maintain a stable and balanced posture while using hand tools. Grip them firmly but not too tightly, using your entire hand for better control and reducing strain on your muscles and joints.
- Take Breaks: Woodworking can be physically taxing. Remember to take regular breaks to avoid fatigue, as tiredness can lead to loss of focus and increased risk of accidents.
- Follow Tool-Specific Safety Guidelines: Different hand tools have specific safety considerations. Familiarize yourself with the safety guidelines provided by the manufacturer for each tool and follow them diligently.
- Work at a Suitable Pace: Avoid rushing through tasks, especially when using sharp tools. Take your time to ensure accuracy and precision, which will ultimately contribute to a safer working environment.
Remember, safety should always be your top priority when using hand tools. By taking precautions and being mindful of your surroundings, you can enjoy the art of woodworking while reducing the risk of accidents or mishaps.
When shaping hard wood with hand tools, always work with the grain to avoid splintering or tearing the wood fibers. This will result in a smoother and cleaner finish.
Step-by-Step Guide to Shaping Hard Wood with Hand Tools
Shaping hard wood with hand tools requires patience, precision, and a systematic approach. Follow this step-by-step guide to achieve the desired results:
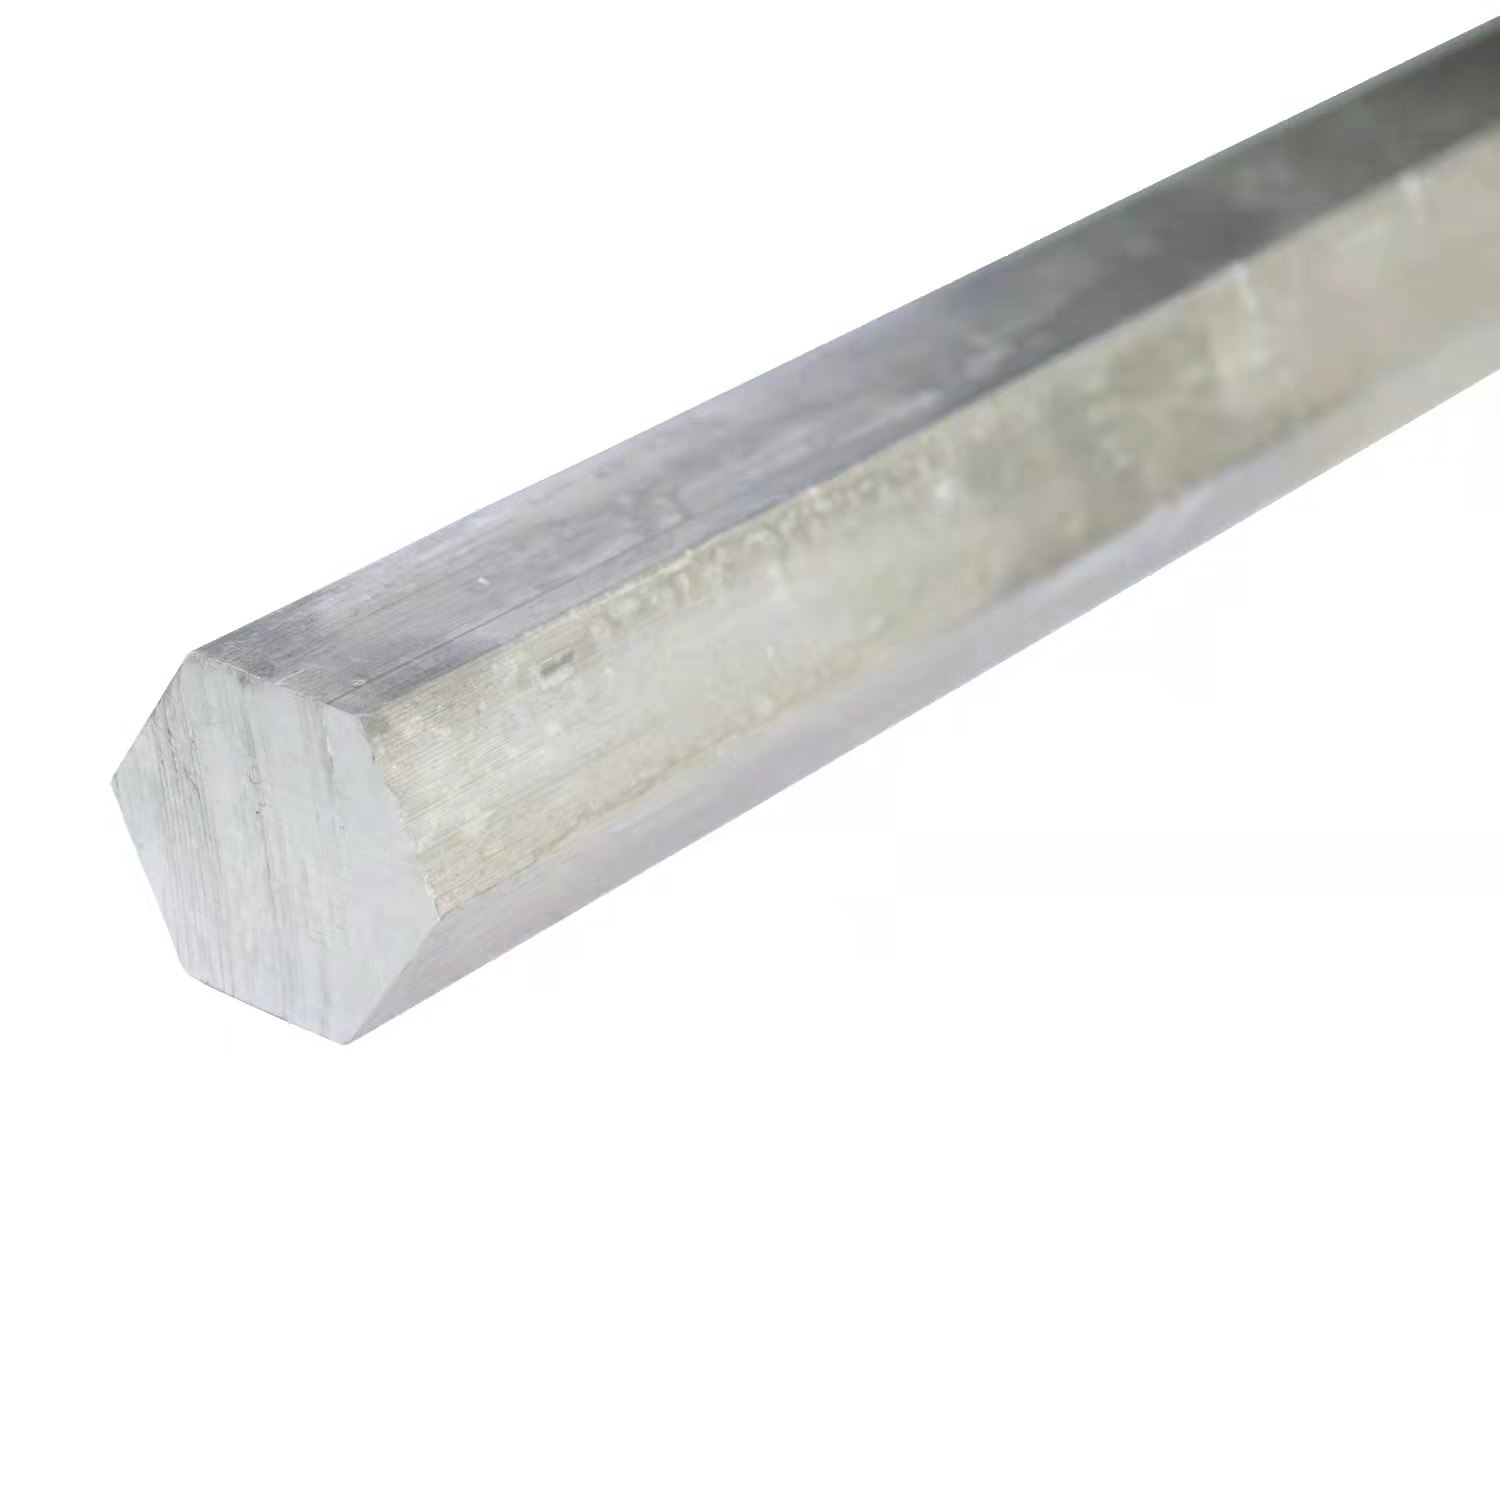
- Select the Wood: Choose a piece of hard wood that is suitable for your project. Ensure that it is properly seasoned and free from knots or defects that may affect the shaping process.
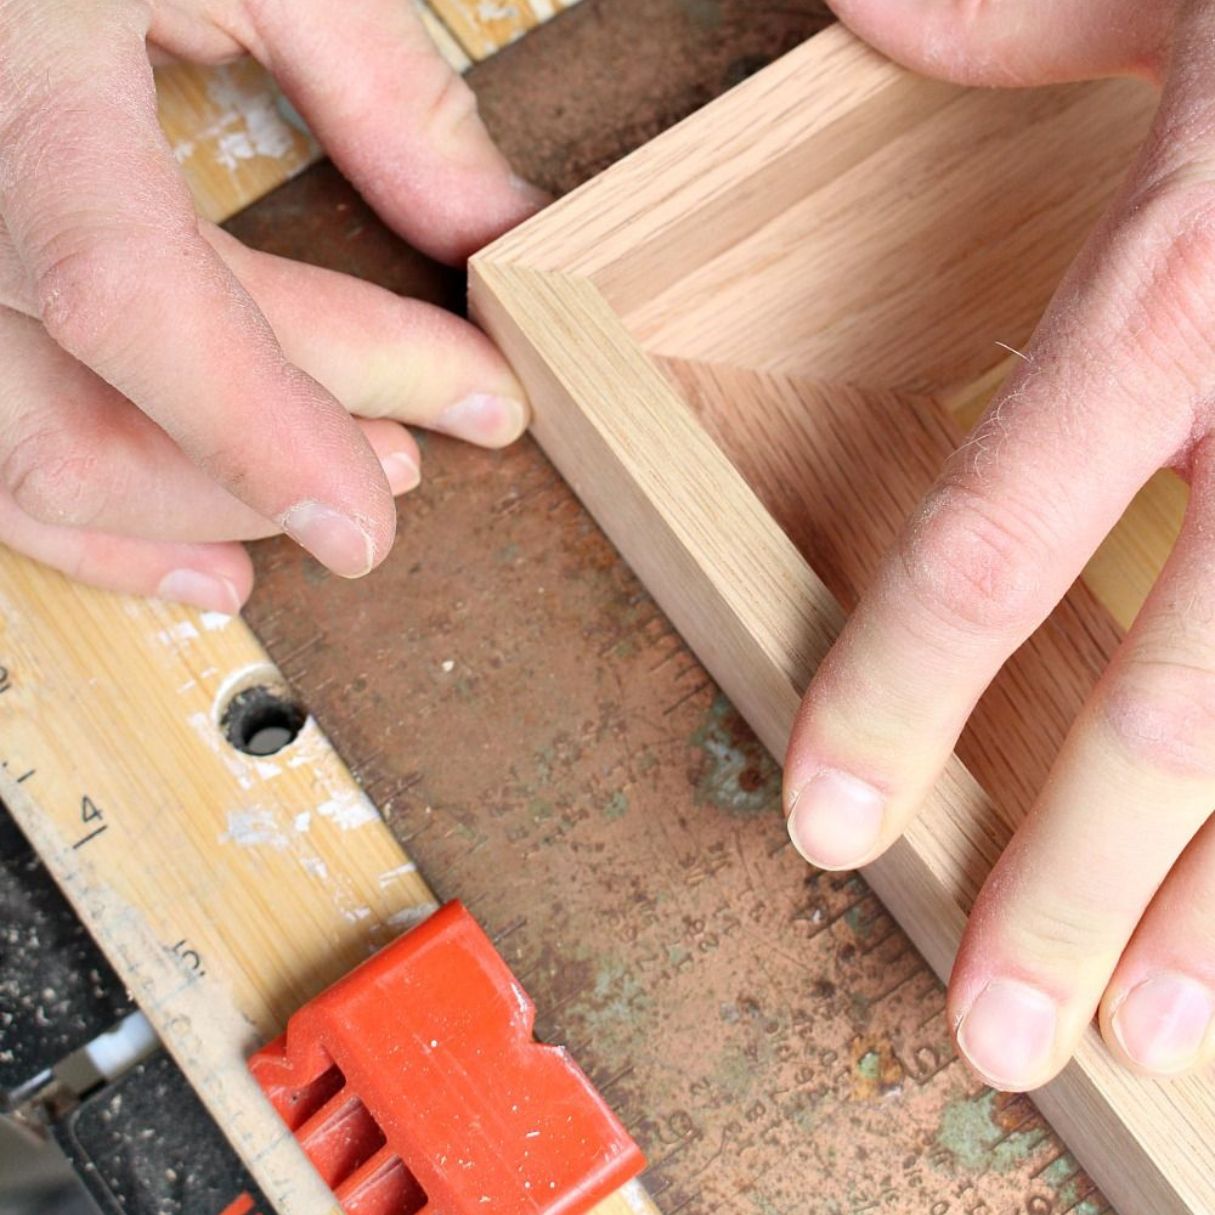
- Plan and Mark: Visualize the final shape of the wood and use a pencil or marking gauge to mark the areas that need to be removed or shaped. This will provide a guide for your shaping process.
- Secure the Wood: Clamp or secure the wood to a stable workbench or work surface to prevent it from moving during the shaping process.
- Rough Shaping: Begin by removing excess material using a saw or chisel. Work slowly and gradually, following the marked lines or contours. Take frequent breaks to check your progress and make adjustments as needed.
- Refine with Chisels and Planes: Switch to chisels and planes for more precise shaping and detailing. Use chisels to remove small portions of wood and create various cuts or designs. Use planes to flatten the surface and create smooth contours.
- Smooth and Sand: Once the desired shape is achieved, use sandpaper, starting with coarse grit and gradually moving to finer grit, to smooth the surface and remove any remaining imperfections. Sand in the direction of the wood grain for a polished finish.
- Apply a Finish: Depending on your preference, you can apply a finish to enhance the appearance and protect the wood. This can be a clear varnish, stain, or oil-based finish. Follow the manufacturer’s instructions for proper application.
- Clean and Maintain: After completing your project, clean your tools thoroughly to remove any wood chips or debris. Properly store them in a dry place, ensuring they are well-maintained and ready for future use.
Remember, practice makes perfect. The more you work with hand tools and experiment with different techniques, the better your skills will become. Embrace the process and enjoy the satisfaction of shaping hard wood with your own hands.
Read more: How To Shape Metal With Hand Tools
Smoothing and Finishing Techniques
Once the hard wood has been shaped with hand tools, it is important to focus on smoothing the surface and applying a finish to enhance the overall appearance. Here are some techniques to achieve a polished and professional finish:
- Sanding: Start by using coarse-grit sandpaper to remove any rough surfaces or imperfections. Gradually move to finer grits for a smoother finish. Sand in the direction of the wood grain to prevent scratches and maintain a consistent look.
- Burnishing: Burnishing is a technique used to create a smooth and shiny surface on the wood. It involves rubbing a hard, smooth object, such as a polished metal rod or a piece of bone, against the wood surface. This can help to bring out the natural oils in the wood and create a lustrous finish.
- Applying a Finish: Choose a suitable finish based on the desired look and purpose of your project. Options include varnish, shellac, lacquer, or oil-based finishes. Apply the finish evenly using a brush, rag, or spray, following the manufacturer’s instructions. Multiple coats may be required for a more durable and glossy surface.
- Buffing: After the finish has dried, you can enhance the shine by buffing the surface using a soft cloth or a buffing wheel attachment on a power drill. This will give the wood a smooth and reflective appearance.
- Waxing: Waxing is an additional step that can provide added protection and sheen to the wood surface. Apply a thin layer of wax using a soft cloth and allow it to dry before buffing it with a clean cloth. This can help to preserve and maintain the finish over time.
Remember to work in a well-ventilated area when applying finishes, as some products may emit fumes. It is also important to allow adequate drying time between coats and to follow the manufacturer’s recommendations for proper curing.
By incorporating these smoothing and finishing techniques into your woodworking process, you can elevate the beauty and longevity of your hard wood projects.
Common Mistakes to Avoid
When shaping hard wood with hand tools, it is important to be aware of common mistakes that can compromise the quality of your work. By avoiding these pitfalls, you can ensure the best results and improve your woodworking skills. Here are some common mistakes to watch out for:
- Not Using Sharp Tools: Working with dull tools can lead to uneven cuts, splintering, and an overall poor finish. Regularly sharpen your tools to ensure clean and precise cuts.
- Skipping the Planning Stage: Neglecting to plan and mark your wood before shaping can lead to inconsistencies and deviations from the desired outcome. Take the time to visualize and mark the areas that need to be shaped.
- Rushing the Shaping Process: Trying to speed through the shaping process can result in mistakes, uneven surfaces, and a lack of attention to detail. Take your time and work at a steady pace to achieve the best results.
- Overlooking Safety Precautions: Failing to follow safety measures can lead to accidents and injuries. Always wear protective gear, secure your workpiece, and practice proper posture and technique.
- Ignoring Grain Direction: Not considering the direction of the wood grain when shaping can yield unfavorable results. Shaping against the grain can cause tear-out and splintering. Be mindful of the grain direction and adjust your technique accordingly.
- Not Testing and Adjusting: Neglecting to constantly test and adjust your shaping techniques can lead to irreversible mistakes. Regularly check your progress, make adjustments as needed, and take breaks to reassess your work.
- Skipping the Finishing Stage: Neglecting to properly smooth and finish the wood can result in an unfinished appearance and reduce the overall durability of the piece. Take the time to sand, apply finishes, and buff the surface for a professional and polished look.
By familiarizing yourself with these common mistakes and actively avoiding them, you can improve the quality of your wood shaping projects and elevate your woodworking skills to the next level.
Conclusion
Shaping hard wood with hand tools is a timeless craft that requires skill, patience, and attention to detail. By selecting the right tools, familiarizing yourself with different shaping techniques, practicing basic safety measures, and following a step-by-step guide, you can achieve impressive results in your woodworking projects.
Remember to prioritize quality over quantity when it comes to hand tools. Invest in high-quality tools that are durable and can provide precise cuts and shaping. Take the time to sharpen and maintain your tools regularly to ensure optimal performance.
Getting familiar with different wood shaping techniques is essential for achieving desired outcomes. Practice each technique and understand how they interact with different types of wood to enhance your craftsmanship.
Always prioritize safety when working with hand tools. Wear protective gear, maintain a clean and organized workspace, and follow tool-specific safety guidelines. By taking the necessary precautions, you can minimize the risk of accidents and injuries.
Follow a step-by-step guide to shaping hard wood, ensuring that you plan and mark the wood, secure it properly, and gradually remove excess material. Additionally, focus on smoothing the surface and applying a finish to enhance the final result.
Avoid common mistakes such as using dull tools, skipping the planning stage, rushing the shaping process, and neglecting safety precautions. Regularly test and adjust your techniques and take breaks to reassess your work and make necessary adjustments.
In conclusion, shaping hard wood with hand tools is a rewarding and fulfilling craft that allows you to bring your creative vision to life. With practice, patience, and attention to detail, you can master the art of wood shaping and create beautiful, functional, and inspiring pieces that showcase your skill and craftsmanship.
Frequently Asked Questions about How To Use Hand Tools To Shape Hard Wood
Was this page helpful?
At Storables.com, we guarantee accurate and reliable information. Our content, validated by Expert Board Contributors, is crafted following stringent Editorial Policies. We're committed to providing you with well-researched, expert-backed insights for all your informational needs.


0 thoughts on “How To Use Hand Tools To Shape Hard Wood”