Articles
How To Set Timer On Flameless Candles
Modified: August 17, 2024
Learn how to set the timer on flameless candles with our informative articles. Find step-by-step instructions and tips to enhance your candle experience.
(Many of the links in this article redirect to a specific reviewed product. Your purchase of these products through affiliate links helps to generate commission for Storables.com, at no extra cost. Learn more)
Introduction
Flameless candles have become increasingly popular in recent years, providing a safe and convenient alternative to traditional candles. These innovative candles use LED lights to mimic the warm, flickering glow of a real flame without any of the associated risks, such as fire hazards or soot residue. With their realistic appearance and customizable features, flameless candles offer a versatile and beautiful option for adding ambiance to any space.
One valuable feature of flameless candles is the ability to set a timer. This allows you to effortlessly control when the candles turn on and off, saving you time and ensuring that your candles are always lit when you want them to be. Whether you’re decorating for a special occasion, creating a relaxing atmosphere, or enhancing your home’s security, knowing how to set the timer on flameless candles is a must-have skill.
In this comprehensive guide, we will walk you through the step-by-step process of setting a timer on flameless candles, as well as highlight the numerous benefits and tips for maximizing this feature. Additionally, we will address common issues that may arise when setting the timer and provide troubleshooting solutions to ensure a smooth experience.
So, let’s dive in and discover the convenience and practicality of setting a timer on flameless candles!
Key Takeaways:
- Setting a timer on flameless candles offers convenience, energy efficiency, safety, ambiance control, and security benefits, enhancing your lighting experience and creating a warm, inviting atmosphere effortlessly.
- By following a simple step-by-step guide and applying valuable tips, you can maximize the timer feature on flameless candles, troubleshoot common issues, and enjoy the beauty and practicality of these versatile lighting options.
Read more: How To Decorate With Flameless Candles
Understanding Flameless Candles
Before we delve into the intricacies of setting a timer on flameless candles, it’s essential to understand what these candles are and how they work.
Flameless candles are electronic devices designed to replicate the radiant glow and flickering effect of a real candle flame. They are typically made of wax or a wax-like material and contain a small LED light source that simulates the appearance of a burning flame. The LED light dances and flickers, creating a remarkably realistic effect that closely resembles the ambiance of a traditional candle.
One of the key advantages of flameless candles is their safety. Unlike traditional candles, flameless candles do not pose a fire risk or emit smoke. This makes them ideal for a variety of settings, including homes, events, and establishments where open flames are prohibited or impractical.
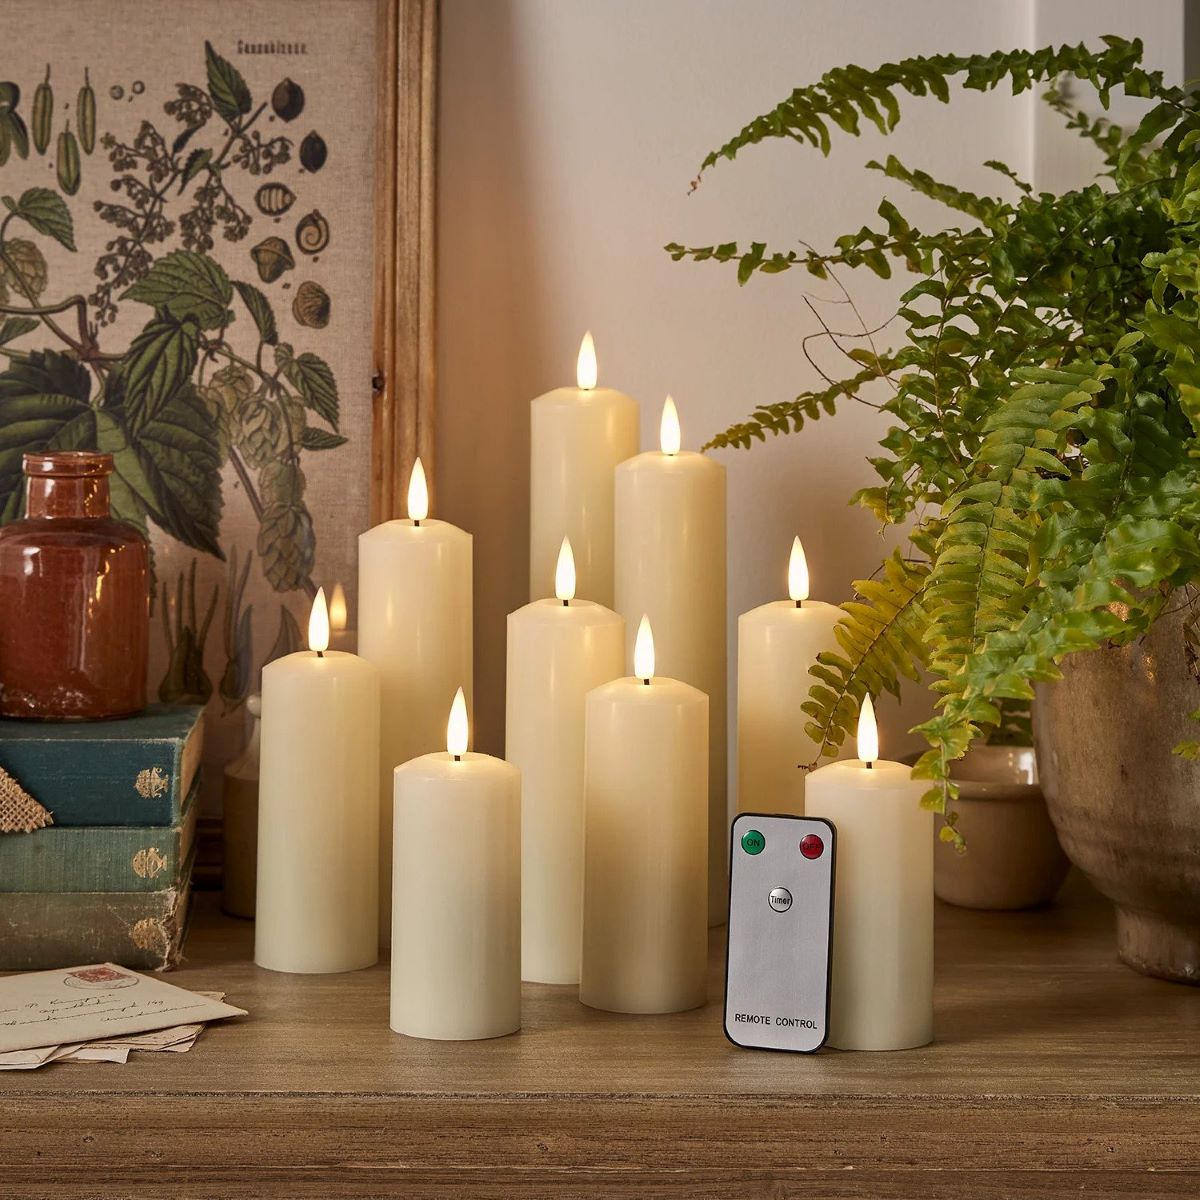
Flameless candles come in various shapes and sizes, from tea lights to taper candles and even large pillars. They can be found in an assortment of colors, allowing you to find the perfect match for your decor or theme.
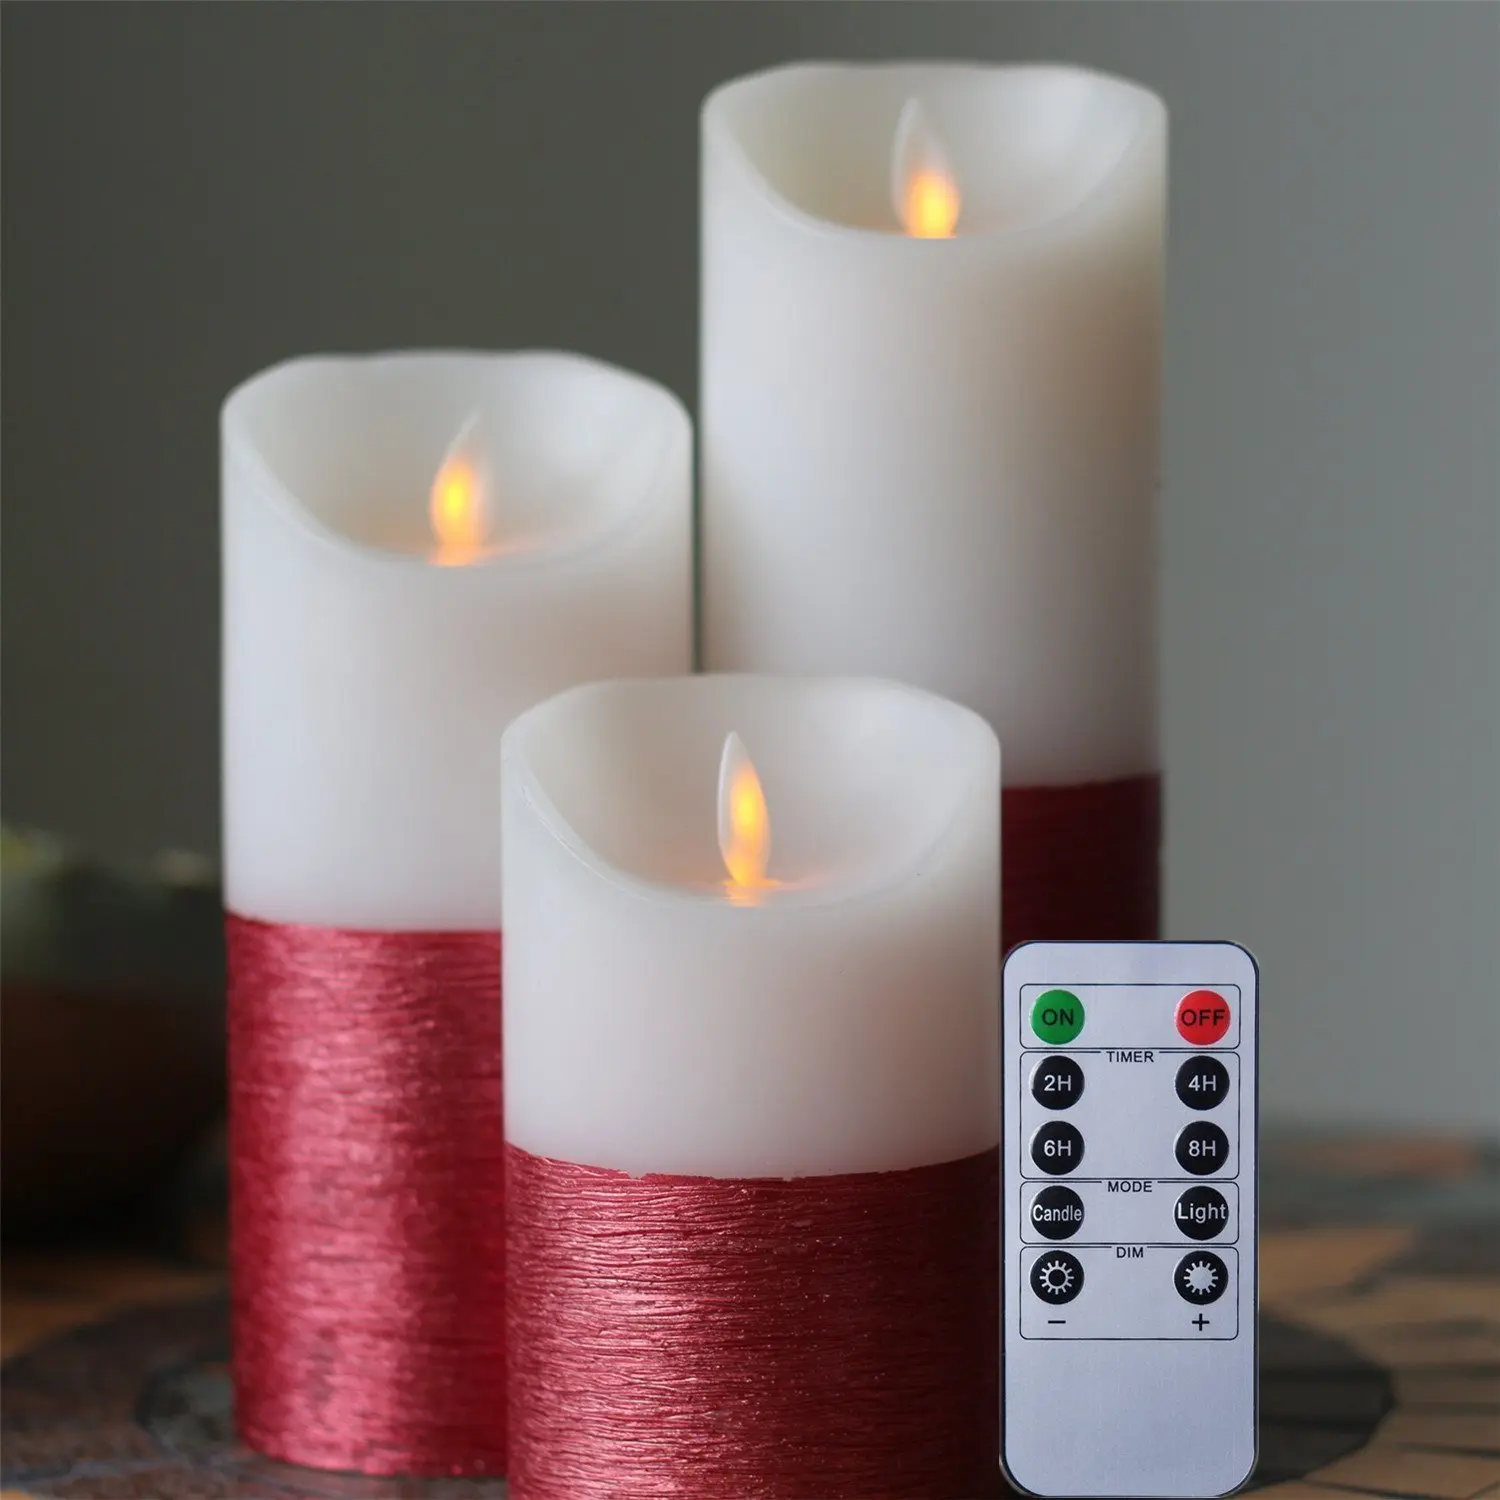
Furthermore, many flameless candles offer additional features such as remote control operation, adjustable brightness levels, and, of course, timers. These features provide you with enhanced convenience and customization options to suit your specific needs and preferences.
Thanks to their innovative design and advanced technology, flameless candles offer a long lifespan, with LED bulbs lasting for thousands of hours. This means you can enjoy the beauty and ambiance of these candles for many years without the need for constant replacement.
Overall, understanding the basics of flameless candles and their capabilities sets the foundation for utilizing the timer feature effectively.
Benefits of Setting a Timer on Flameless Candles
The timer feature on flameless candles offers numerous advantages and can greatly enhance your overall experience. Here are some key benefits of setting a timer on your flameless candles:
- Convenience: Setting a timer eliminates the need for manually turning the candles on and off. Whether you want the candles to illuminate your space every evening or for a specific duration during an event, the timer feature allows you to effortlessly achieve the desired effect without any hassle.
- Energy Efficiency: With a timer, you can optimize the energy consumption of your flameless candles. Instead of having them continuously run for extended periods, you can set the timer to ensure they only operate when needed. This not only conserves energy but also prolongs the lifespan of the LED bulbs inside the candles.
- Enhanced Safety: Flameless candles already eliminate the fire risk associated with traditional candles. However, with a timer, you can further enhance safety by ensuring the candles automatically turn off after a specific time. This is particularly valuable if you tend to forget to extinguish candles before leaving a room or going to bed.
- Ambiance Control: The timer feature allows you to have full control over the ambiance you create with your flameless candles. You can program the candles to turn on just before you arrive home, creating a welcoming atmosphere. Similarly, you can set them to turn off while you sleep, ensuring a peaceful and uninterrupted rest.
- Security: If you’re away from home, setting a timer on your flameless candles can help create the illusion of occupancy. By programming them to turn on and off at certain times, you give the impression that someone is home, deterring potential intruders.
The benefits of setting a timer on flameless candles are clear, providing you with convenience, energy efficiency, safety, ambiance control, and even security advantages. Now, let’s move on to the practical steps of how to set a timer on your flameless candles.
Step-by-Step Guide on How to Set Timer on Flameless Candles
Setting a timer on your flameless candles is a simple process that can be done in just a few easy steps. Follow this step-by-step guide to ensure you make the most of this convenient feature:
- Locate the Timer Button: Look for a small button or switch on the bottom or side of your flameless candle. This is typically the timer button that allows you to control the timer settings.
- Understand the Timer Options: Different brands and models of flameless candles may offer various timer options. Common settings include 4 hours on/20 hours off, 6 hours on/18 hours off, or 8 hours on/16 hours off. Take a look at the user manual or packaging to familiarize yourself with the specific timer options available.
- Set the Desired Timer: Once you’ve identified the timer button and understand the available options, it’s time to set the desired timer. Press or slide the button to select the timer setting you prefer. Make sure to choose a duration that suits your needs and preferences.
- Activate the Timer: To activate the timer, turn the candle on using the designated switch or button. The candle will then automatically turn off after the specified time passes. When the timer is set, the candle will continue to repeat this cycle until manually turned off or the batteries are exhausted.
- Adjust the Timer as Needed: If you want to change the timer setting or turn off the timer altogether, simply locate the timer button and make the necessary adjustments. Remember to refer to the user manual or instructions for any specific guidelines provided by the manufacturer.
- Replace Batteries as Needed: Keep in mind that flameless candles typically run on batteries. It’s essential to monitor the battery life and replace them when necessary. Low battery power may affect the performance of the timer feature.
By following these simple steps, you’ll be able to set a timer on your flameless candles and enjoy the convenience and control that this feature provides.
When setting the timer on flameless candles, make sure to switch the candle to the “timer” mode at the desired time, typically 4 or 8 hours, and the candle will automatically turn on and off at the same time every day.
Tips for Maximizing the Timer Feature on Flameless Candles
While setting a timer on your flameless candles is straightforward, there are some tips and tricks you can use to maximize the effectiveness and enjoyment of this feature. Here are some valuable tips to consider:
- Plan Ahead: Before setting the timer, think about the specific times and durations you want your candles to be lit. Consider your daily routine, events, or special occasions when determining the ideal timing for the candles to turn on and off.
- Experiment with Different Settings: Most flameless candles offer multiple timer options. Take the time to try out different settings to find the one that best suits your preferences. For example, if you want the candles to turn on every evening, try the 4 hours on/20 hours off setting.
- Coordinate with Other Lighting: If you have other lighting elements in the room, such as accent lights or overhead fixtures, coordinate the timer settings of your flameless candles to complement them. This will create a cohesive and visually pleasing environment.
- Consider Battery Life: When setting the timer, be mindful of the battery life of your flameless candles. Choose a timer setting that aligns with the expected lifespan of the batteries to ensure uninterrupted operation.
- Use Multiple Candles for Dynamic Ambiance: If you have multiple flameless candles, consider setting them on different timer settings. This will create a dynamic and ever-changing ambiance in your space.
- Keep Extras on Hand: It’s always a good idea to keep spare batteries and flameless candles on hand. This way, you can quickly replace batteries or add additional candles when needed, ensuring the timer feature can be utilized without interruption.
- Utilize Remote Control Functionality: If your flameless candles come with remote control functionality, take advantage of it to conveniently adjust the timer settings from a distance. This can be especially handy for adjusting timers during events or when placed in hard-to-reach areas.
- Regularly Clean and Maintain the Candles: To ensure optimal performance, regularly clean your flameless candles and check for any signs of wear or damage. Proper maintenance will not only extend their lifespan but also enhance the accuracy of the timer feature.
By applying these tips, you can make the most of the timer feature on your flameless candles and enjoy a tailored and hassle-free lighting experience.
Troubleshooting Common Timer Setting Issues
While setting a timer on flameless candles is generally a straightforward process, you may encounter occasional issues. Here are some common timer setting problems and troubleshooting solutions to help you resolve them:
- Candles Not Turning On or Off: If your candles are not turning on or off as expected, check the timer settings to ensure they are correctly configured. Double-check the battery connection and make sure the batteries have enough power. If the issue persists, try replacing the batteries.
- Inaccurate Timer Settings: If you find that the timer settings are not accurate, refer to the user manual or instructions for guidance on resetting the timer or calibrating the settings. It may involve holding down the timer button for a specific duration or following a series of button presses.
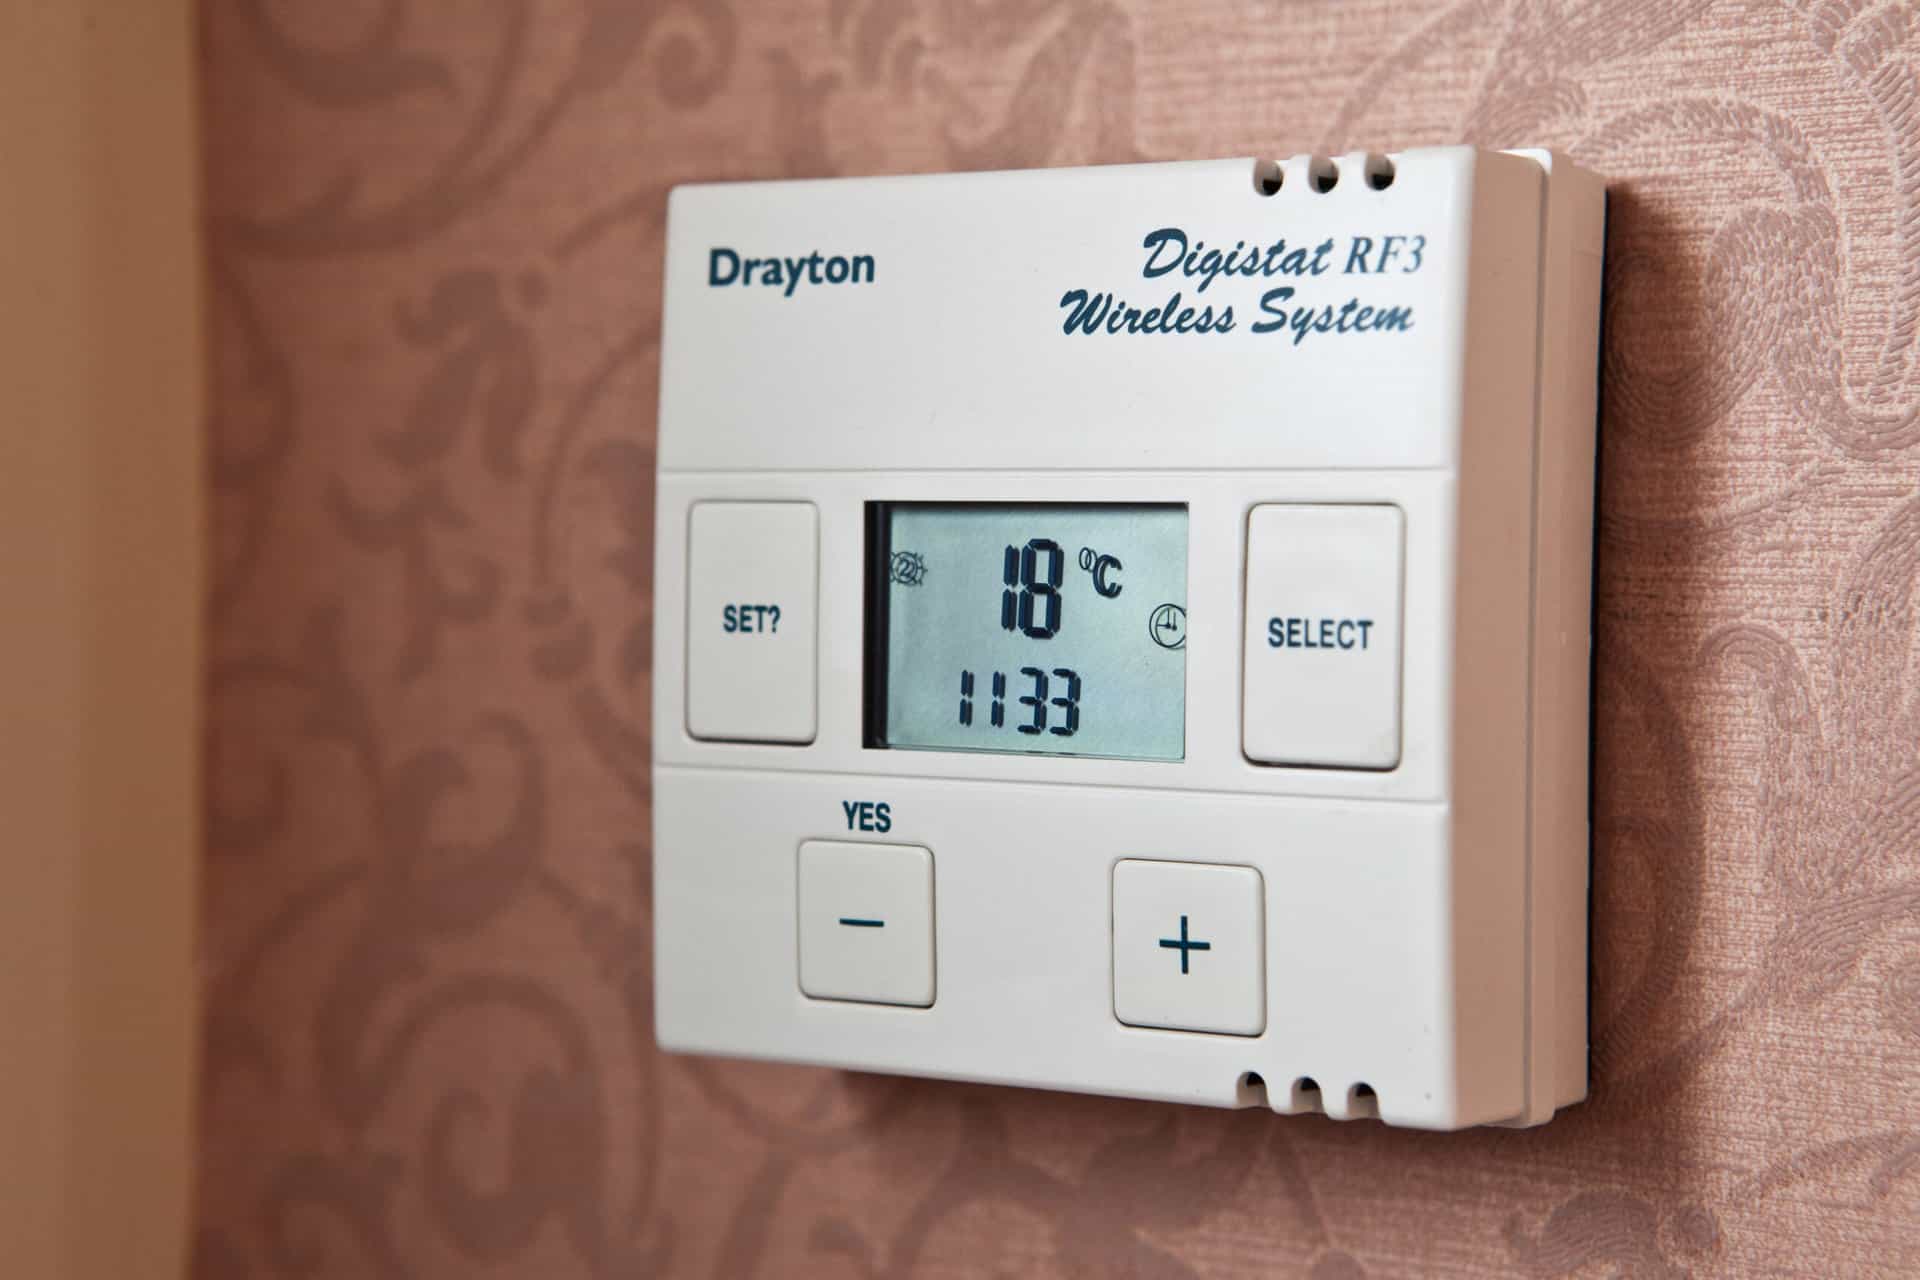
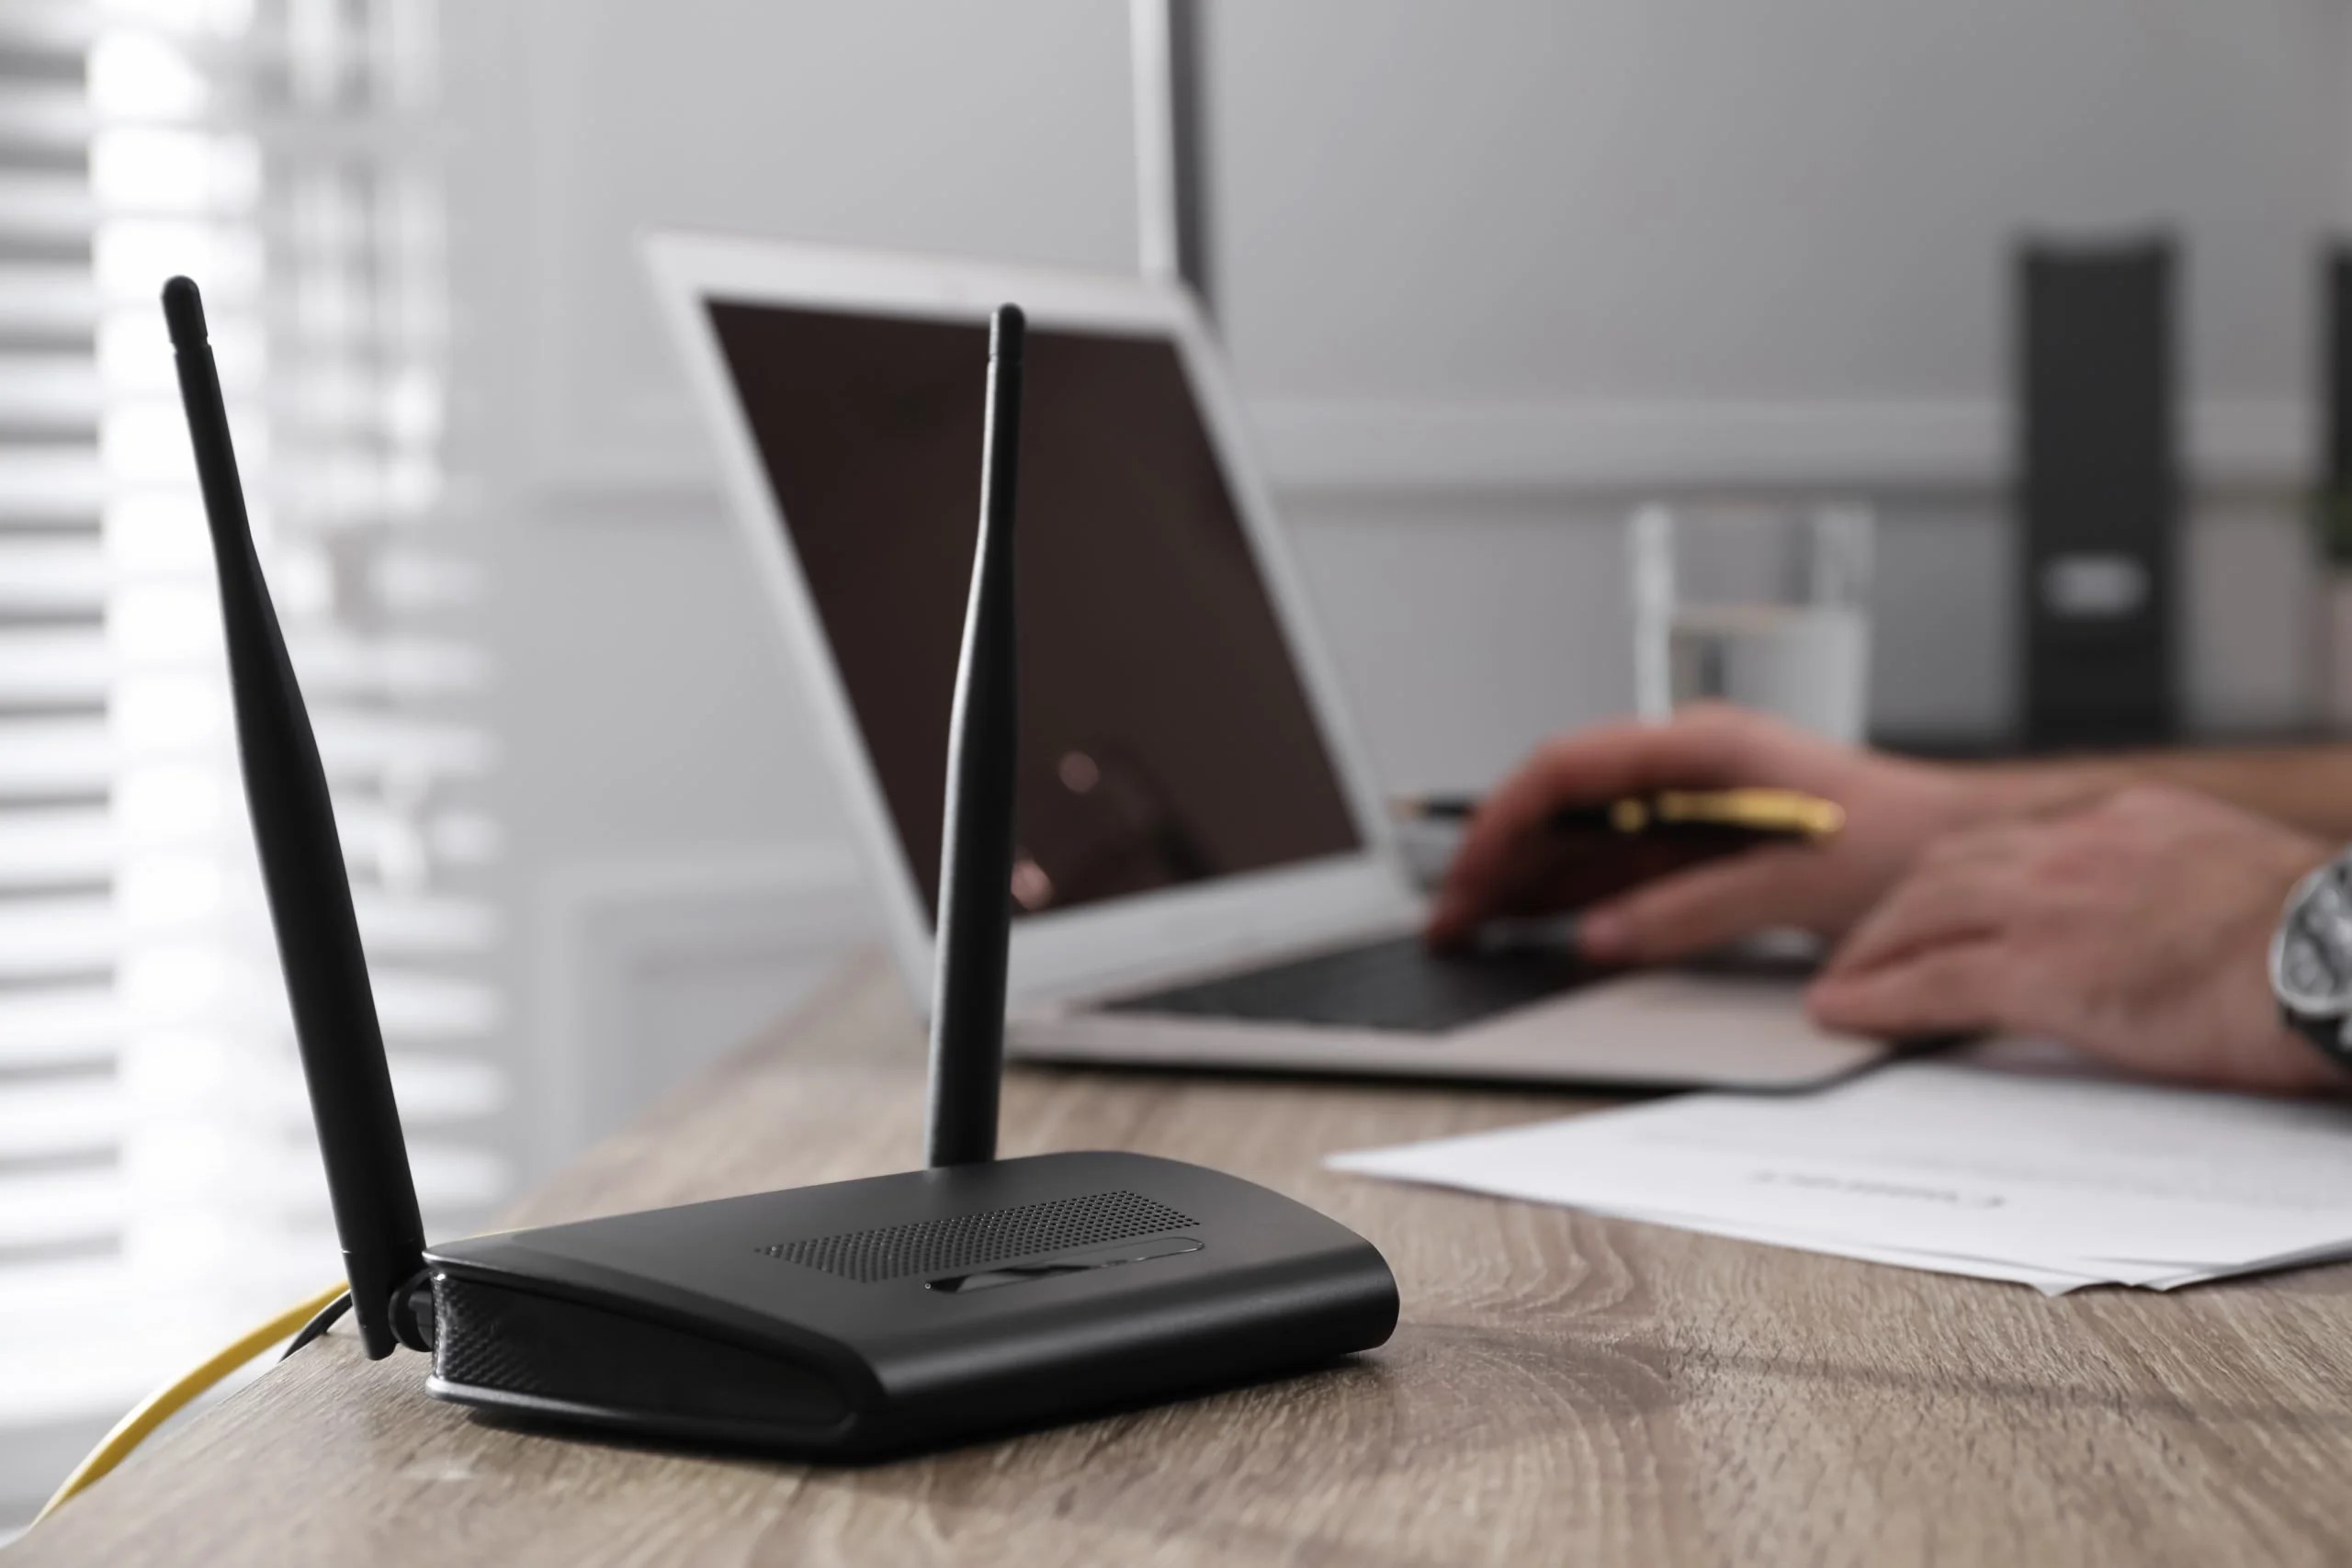
- Interference with Other Electrical Devices: Remote-controlled flameless candles or those with wireless timer features may sometimes experience interference from other electronic devices or signals. Try moving the candles away from sources of interference, such as Wi-Fi routers or TV remotes, to prevent any disruption in the timer functionality.
- Resetting the Timer: If you need to reset the timer and start fresh, look for a reset button or instructions in the user manual. This will often revert the candle back to its default timer settings, allowing you to reprogram it as needed.
- Battery Drain: If you notice that your flameless candles’ batteries are draining quickly, it may be due to the timer feature or other settings. Check for any additional features that may impact battery life, such as adjustable brightness or color-changing options, and adjust them accordingly to optimize battery usage.
- Dimming or Flickering Lights: If your flameless candles’ LED lights appear dim or flicker intermittently, it could indicate low battery power or a faulty LED bulb. Replace the batteries and check if the issue is resolved. If not, consider seeking assistance from the manufacturer for a possible replacement or repair.
- Compatibility Issues: If you’re using remote control functionality or connecting your flameless candles to a smart home system, ensure compatibility with the respective devices and protocols. Incompatibility can lead to difficulties in setting and controlling the timer feature.
If you encounter persistent issues with the timer setting on your flameless candles that cannot be resolved through troubleshooting, it is recommended to contact the manufacturer or seek professional assistance for further guidance.
Conclusion
Setting a timer on flameless candles is a convenient and practical way to enhance your lighting experience. By understanding how to utilize the timer feature effectively, you can effortlessly create a warm and inviting ambiance in your home or any other space.
We explored the basics of flameless candles, including their safety benefits and realistic design. We also discussed the numerous advantages of setting a timer on these candles, such as convenience, energy efficiency, enhanced safety, ambiance control, and security.
With the step-by-step guide provided, you can easily navigate the process of setting a timer on your flameless candles. Remember to experiment with different settings, coordinate with other lighting, and consider battery life to maximize the timer feature’s benefits. Additionally, utilize the tips and troubleshooting solutions we shared to troubleshoot any issues that may arise.
Flameless candles are a beautiful and versatile alternative to traditional candles, and with the timer feature, you can enjoy their soft glow without any worry or hassle. So, embrace the convenience and creativity that timer-controlled flameless candles bring to your space, whether it’s for everyday use, special occasions, or enhancing home security.
Now that you have a thorough understanding of how to set a timer on flameless candles, it’s time to bring the perfect ambiance to your surroundings whenever and wherever you desire. So go ahead, set the timer, sit back, and bask in the warm and cozy glow of your flameless candles.
Frequently Asked Questions about How To Set Timer On Flameless Candles
Was this page helpful?
At Storables.com, we guarantee accurate and reliable information. Our content, validated by Expert Board Contributors, is crafted following stringent Editorial Policies. We're committed to providing you with well-researched, expert-backed insights for all your informational needs.


0 thoughts on “How To Set Timer On Flameless Candles”