Articles
How To Photograph Candles
Modified: August 23, 2024
Learn how to capture stunning photos of candles with our comprehensive articles. Discover tips and techniques for achieving the perfect lighting and composition.
(Many of the links in this article redirect to a specific reviewed product. Your purchase of these products through affiliate links helps to generate commission for Storables.com, at no extra cost. Learn more)
Introduction
Welcome to the enchanting world of candle photography. Candles have a magical quality that can add warmth, ambiance, and beauty to any setting. In this article, we will explore the art of capturing the essence of candles through the lens of a camera. Whether you are a professional photographer or a beginner with a passion for photography, this guide will provide you with the essential techniques and tips to create stunning candle photographs.
Photographing candles may seem challenging at first, but with the right equipment, lighting techniques, and composition skills, you can capture the mesmerizing glow and flickering flames that make candles so captivating. So, grab your camera, gather your favorite candles, and let’s dive into the world of candle photography.
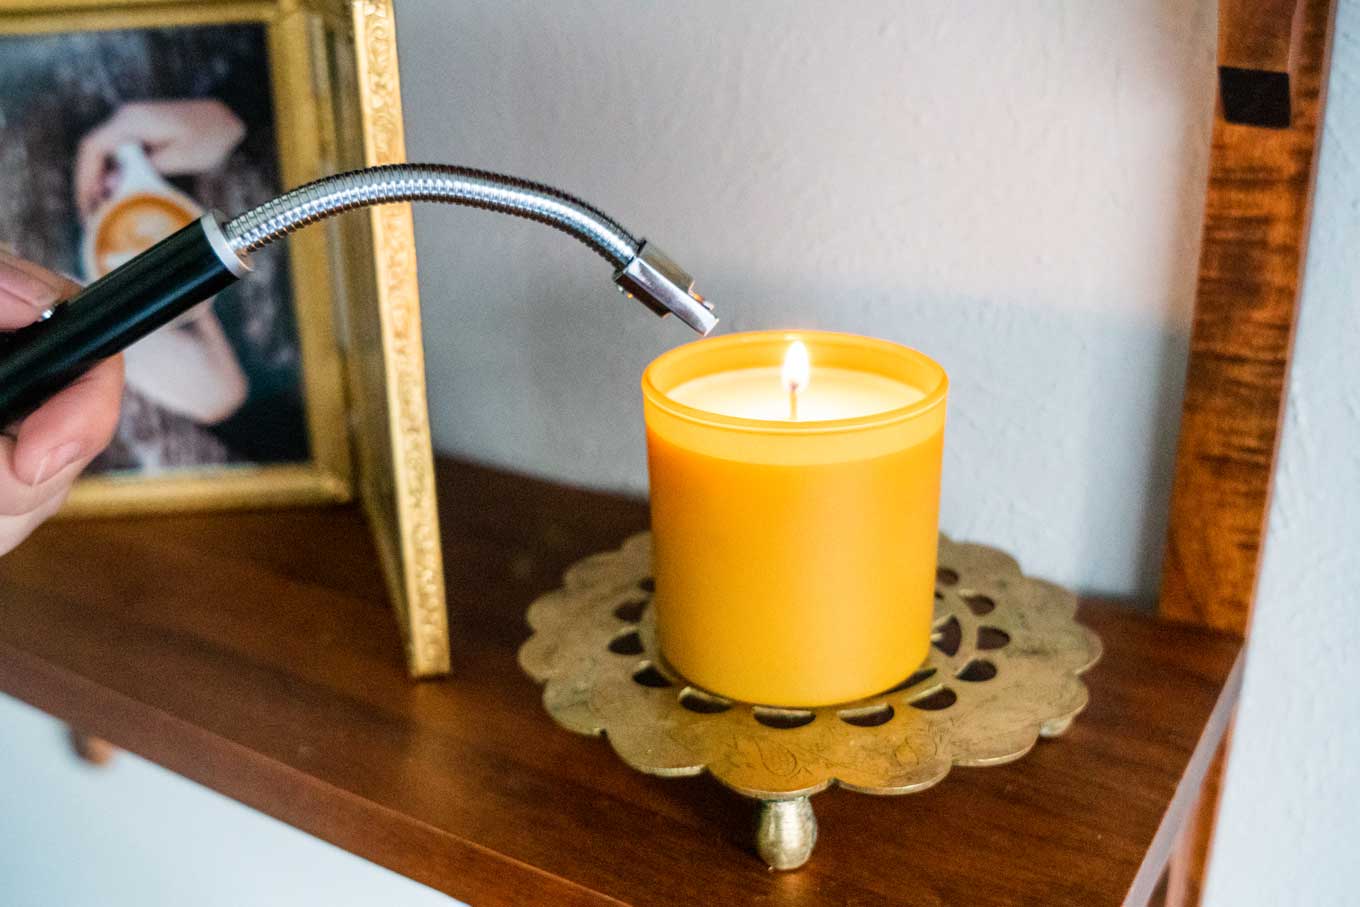
Before we begin, it’s important to note that safety should always be your top priority when working with candles. Make sure to follow safety guidelines and never leave candles unattended, especially when using them in a photography setting.
Now, let’s take a closer look at the essential equipment you’ll need to capture stunning candle photographs.
Key Takeaways:
- Capturing stunning candle photographs requires the right equipment, scene setup, lighting techniques, camera settings, and post-processing skills. Embrace creativity, patience, and attention to detail to evoke the enchanting beauty of candlelight.
- In the world of candle photography, safety is paramount. Prioritize safety guidelines when working with candles to prevent accidents or fire hazards. Let your creativity and the mesmerizing glow of candle flames guide your photography journey.
Read more: How To Photograph Through Glass
Essential Equipment
When it comes to candle photography, having the right equipment can make a significant difference in the quality of your images. Here are some essential items you should consider having in your photography toolkit:
- Camera: Use a DSLR or mirrorless camera that allows you to manually control settings such as aperture, shutter speed, and ISO. These cameras offer greater flexibility and control over your images.
- Lenses: Opt for a lens with a wide aperture, such as a 50mm f/1.8 or a 35mm f/1.4. These lenses allow more light to enter the camera, making it easier to capture the delicate glow of the candle.
- Tripod: A sturdy tripod is essential for candle photography as it helps eliminate camera shake and allows for longer exposure times. Look for a tripod that can be adjusted to different heights and angles.
- Remote Shutter Release: Using a remote shutter release or the camera’s timer function helps minimize camera shake when taking long-exposure shots. It allows you to capture sharp images without directly touching the camera.
- Reflector: A reflector can help bounce light onto the subject, reducing shadows and creating a more balanced lighting setup. Choose a white or silver reflector to achieve a soft and natural look.
- Backdrop and Props: Consider using a simple backdrop, such as a piece of fabric or a textured surface, to create an appealing background for your candle photos. Additionally, props like candle holders, flowers, or decorative elements can enhance the overall composition.
- Macro Extension Tubes or Close-Up Filters: If you want to capture close-up details of the candle flame, you may need additional accessories like macro extension tubes or close-up filters. These tools allow you to focus on subjects at a closer distance, revealing intricate details.
By having these essential tools at your disposal, you’ll be ready to embark on your candle photography journey with confidence. Now that you have the necessary equipment, let’s move on to setting up the perfect scene for your candle photographs.
Setting Up the Scene
Creating a captivating scene is crucial for successful candle photography. The right backdrop, props, and arrangement can enhance the mood and aesthetic appeal of your photographs. Here are some tips for setting up the perfect scene:
- Choose a Suitable Location: Find a quiet and well-lit space where you have control over the lighting conditions. Ideally, set up near a window to benefit from natural light or use artificial lighting for more controlled results.
- Select a Background: Decide on a background that complements the mood you want to convey. Consider using solid-colored walls, textured fabrics, or even patterned wallpapers. Avoid busy or distracting backgrounds that may take the focus away from your candles.
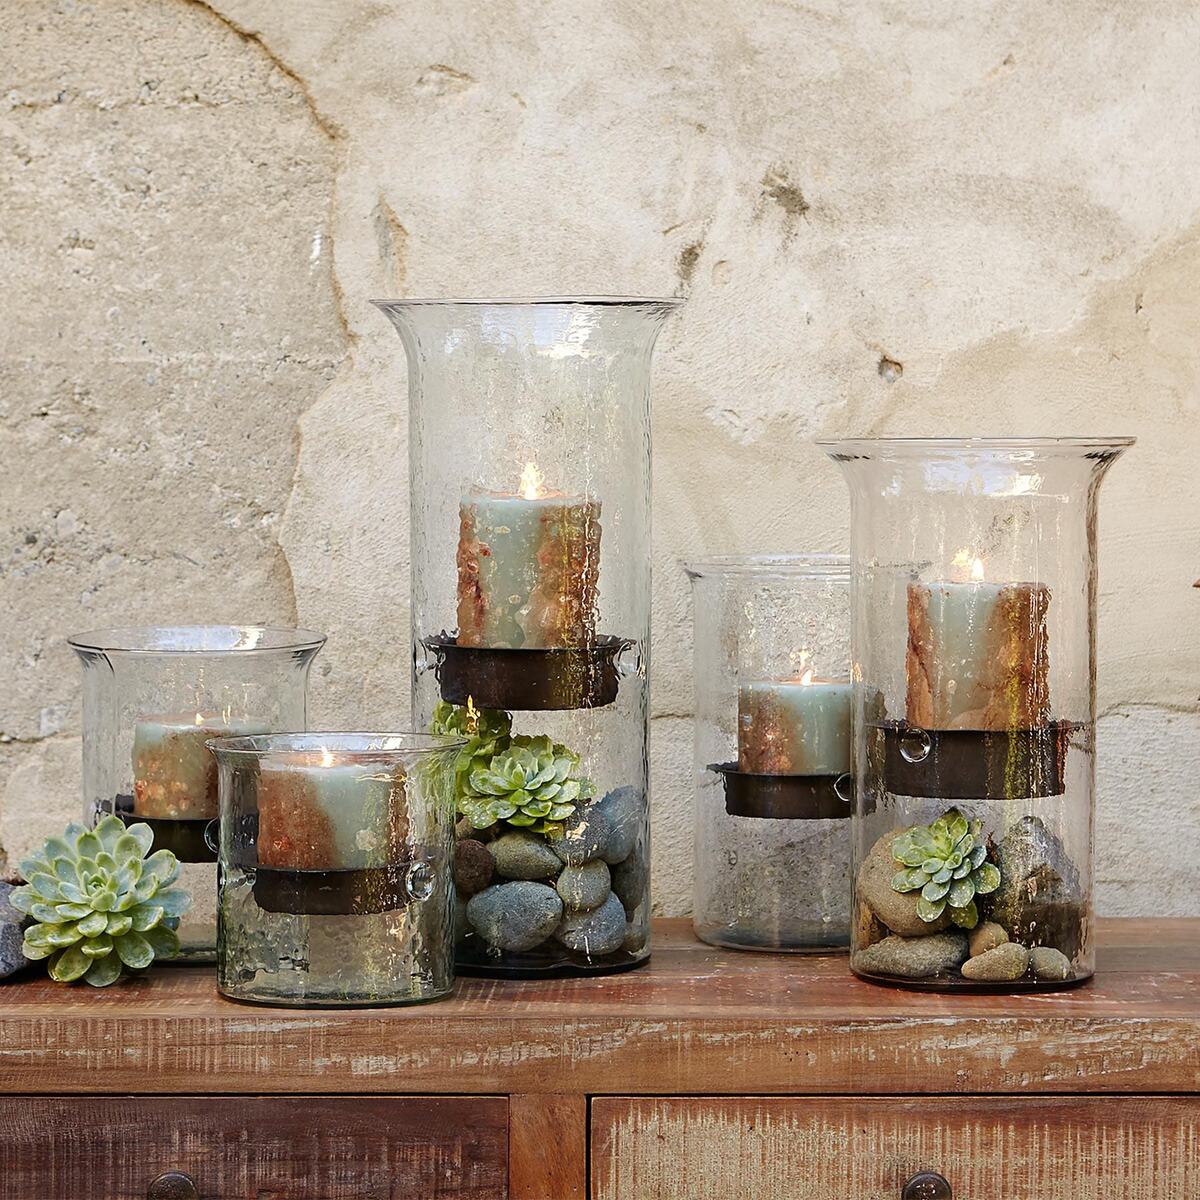
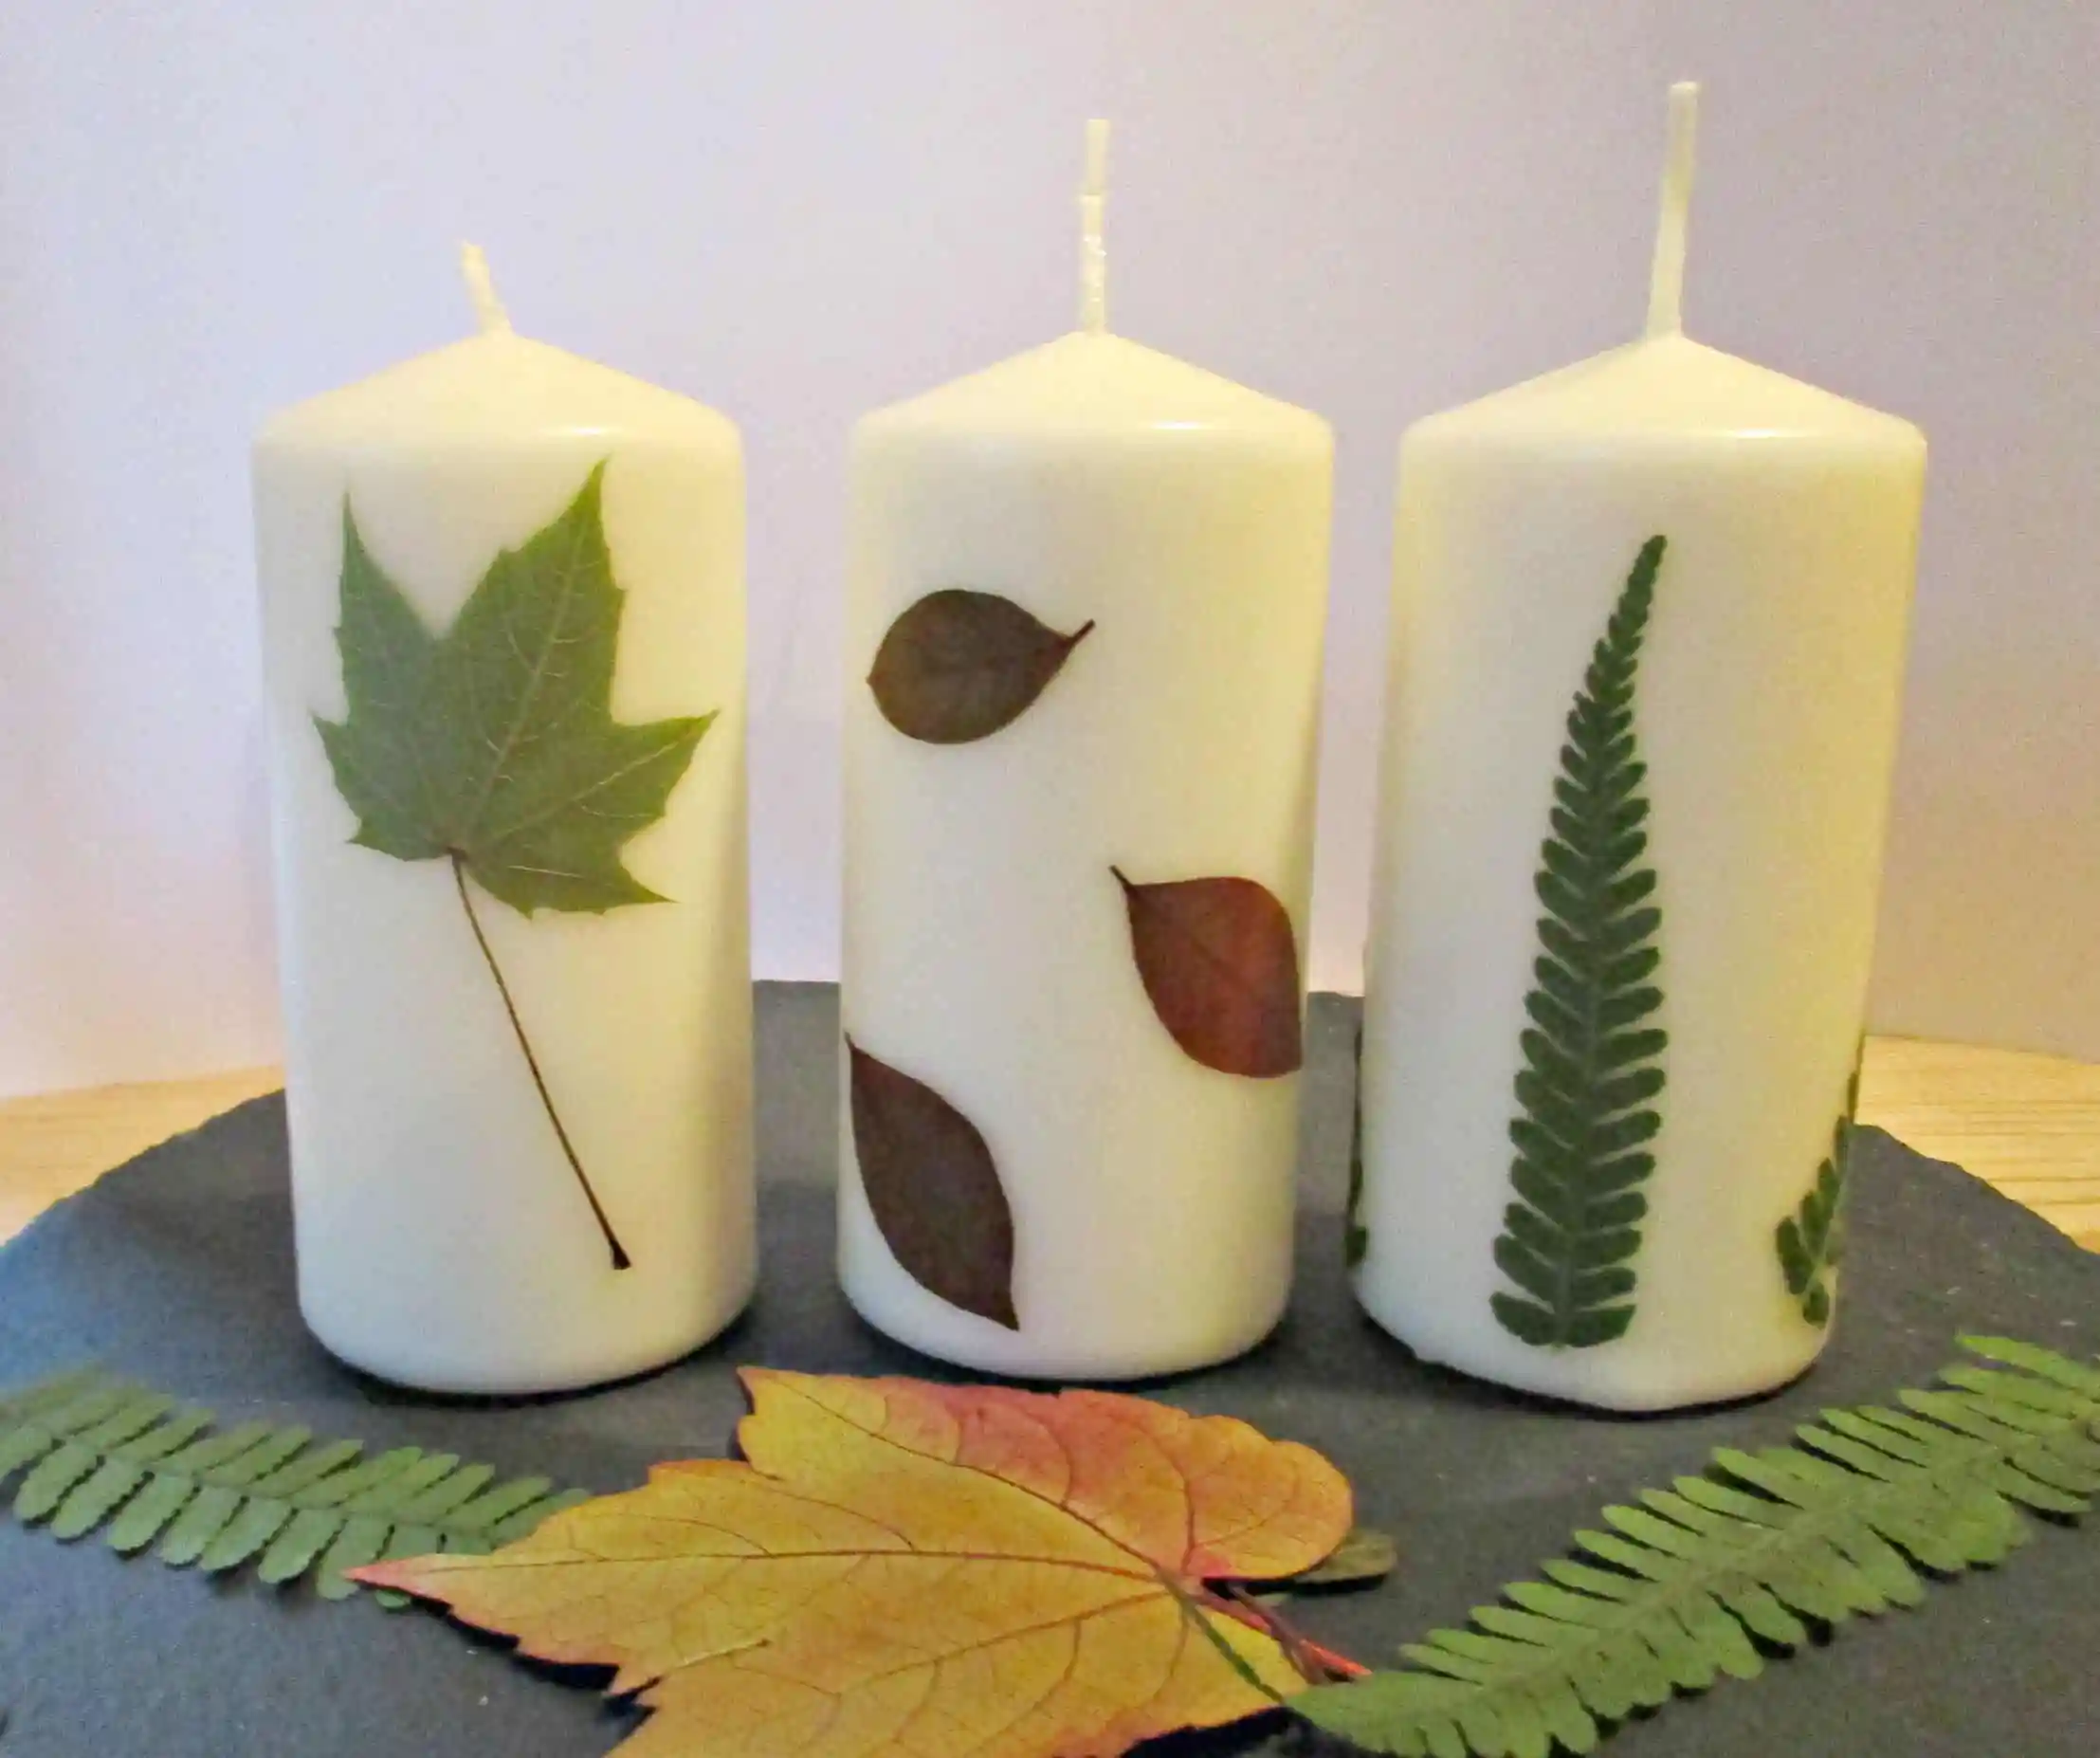
- Arrange Props and Decorations: Use candle holders, flowers, leaves, or other decorative elements to add interest and visual appeal to your scene. Experiment with different compositions and placements to find the arrangement that best complements your intended aesthetic.
- Consider the Overall Theme: Think about the overall theme or story you want your candle photographs to convey. Are you aiming for a cozy and intimate atmosphere? Or perhaps a romantic and mysterious vibe? Stay true to your vision and let it guide your scene setup.
- Alignment and Symmetry: Pay attention to the alignment and symmetry of your candles and props. These elements can help create a balanced and visually pleasing composition. Use the rule of thirds or other compositional techniques to guide your placement.
- Experiment with Different Props: Don’t be afraid to get creative and try out various props and decorations. Experiment with different colors, textures, and shapes to add depth and visual interest to your scene. Remember, the props should enhance the focal point, which is the candle itself.
Take your time to set up the scene and make adjustments as needed. Remember that the scene surrounding the candle should enhance its beauty and create a harmonious composition. Once you have created the perfect backdrop, it’s time to delve into the crucial aspect of lighting techniques for candle photography.
Lighting Techniques
Lighting plays a vital role in candle photography, as it can dramatically affect the mood and overall feel of your images. Here are some lighting techniques to help you capture stunning candle photographs:
- Natural Light: If possible, utilize natural light from a window or door to create a soft and diffused illumination. Position your candles near the light source to capture the gentle glow and enhance the ambience.
- Artificial Lighting: In situations where natural light is limited or not available, you can use artificial lighting sources like lamps, strobes, or continuous LED lights. Experiment with different angles and distances to achieve the desired lighting effect.
- Diffusion: To create a soft and even lighting effect, you can use a diffuser or a white sheet of paper to soften harsh light sources. This helps to reduce shadows and highlights the delicate details of the candle.
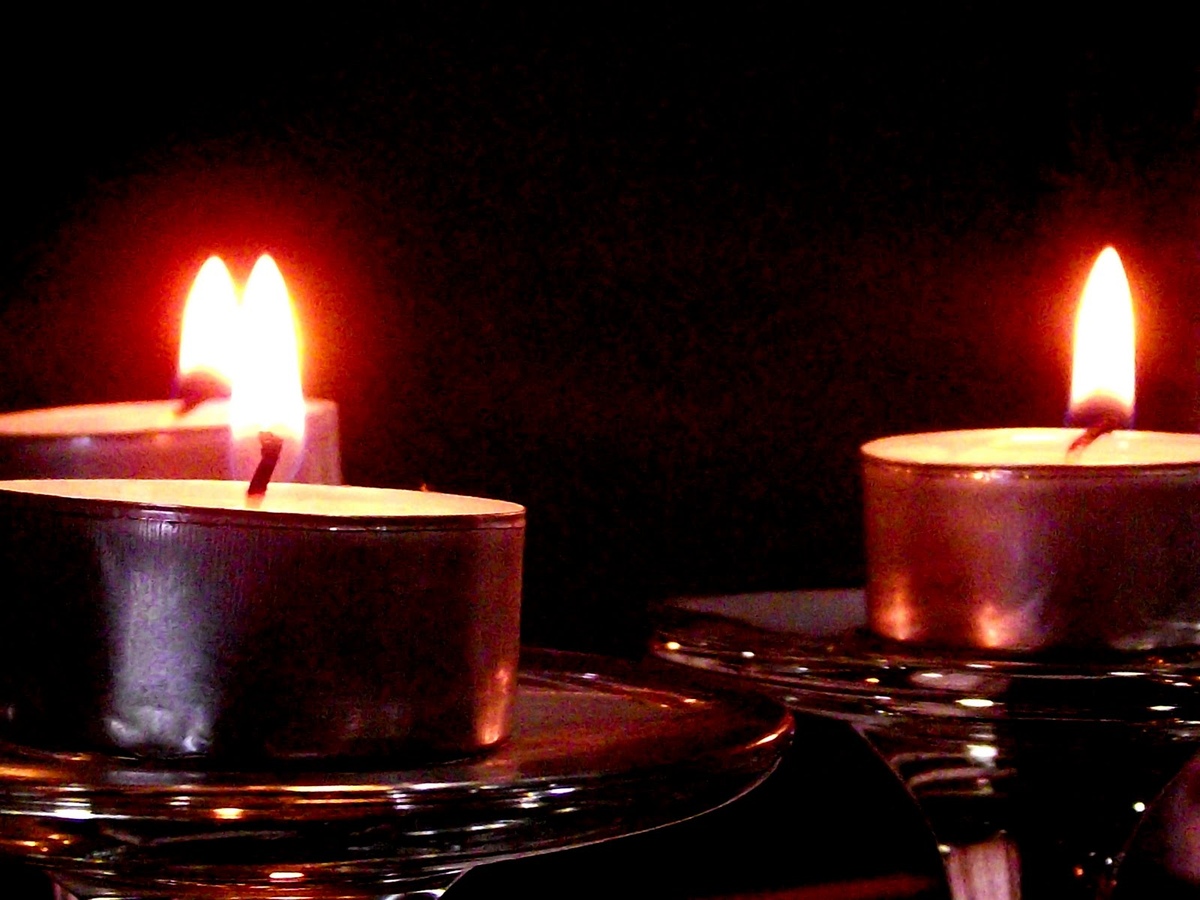
- Backlighting: Placing the candle in front of a light source can create a mesmerizing halo effect. This backlighting technique adds depth and visual interest to your photographs, emphasizing the warmth and glow of the candle flame.
- Use Reflectors: Reflectors can be utilized to bounce light back onto the subject and fill in shadows. Position a reflector opposite the main light source to create a more balanced lighting setup. A white or silver reflector works best for a natural look.
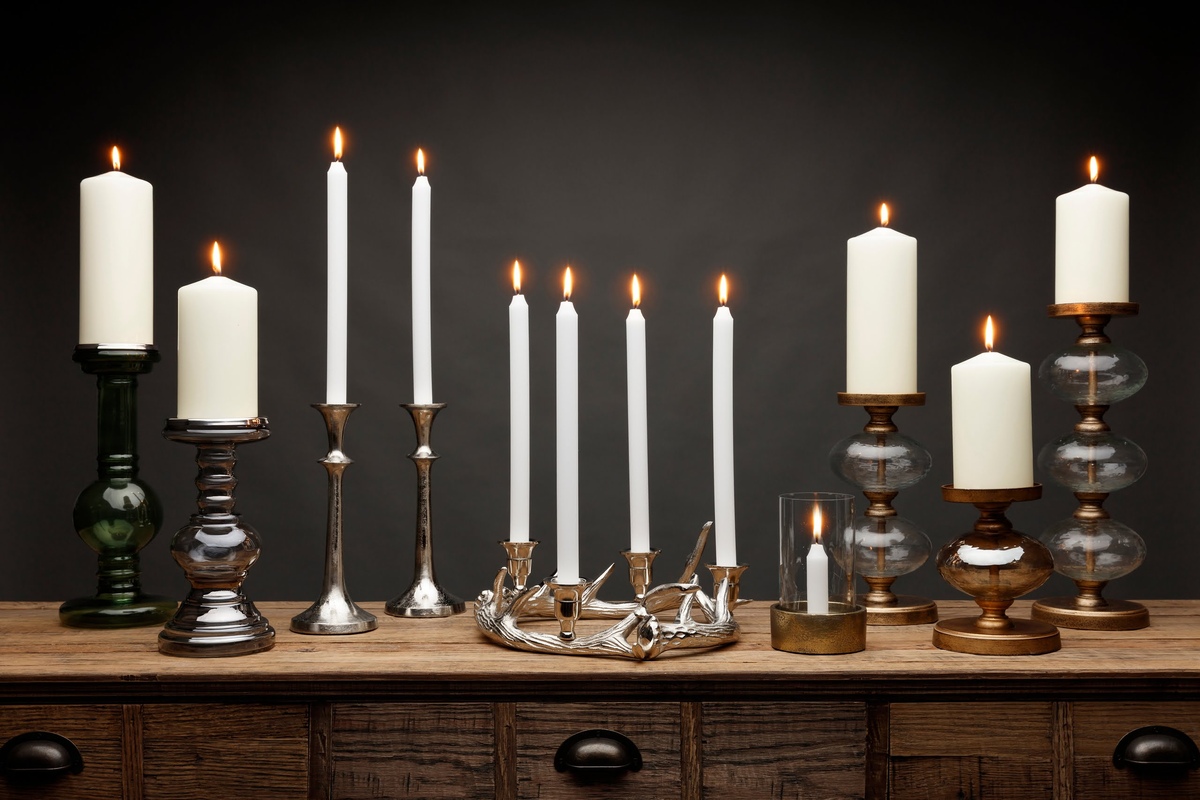
- Candle Holders: Experiment with different types of candle holders to enhance the lighting and create unique patterns and reflections. Glass or metallic holders can help amplify the flickering light and add an element of interest to your photographs.
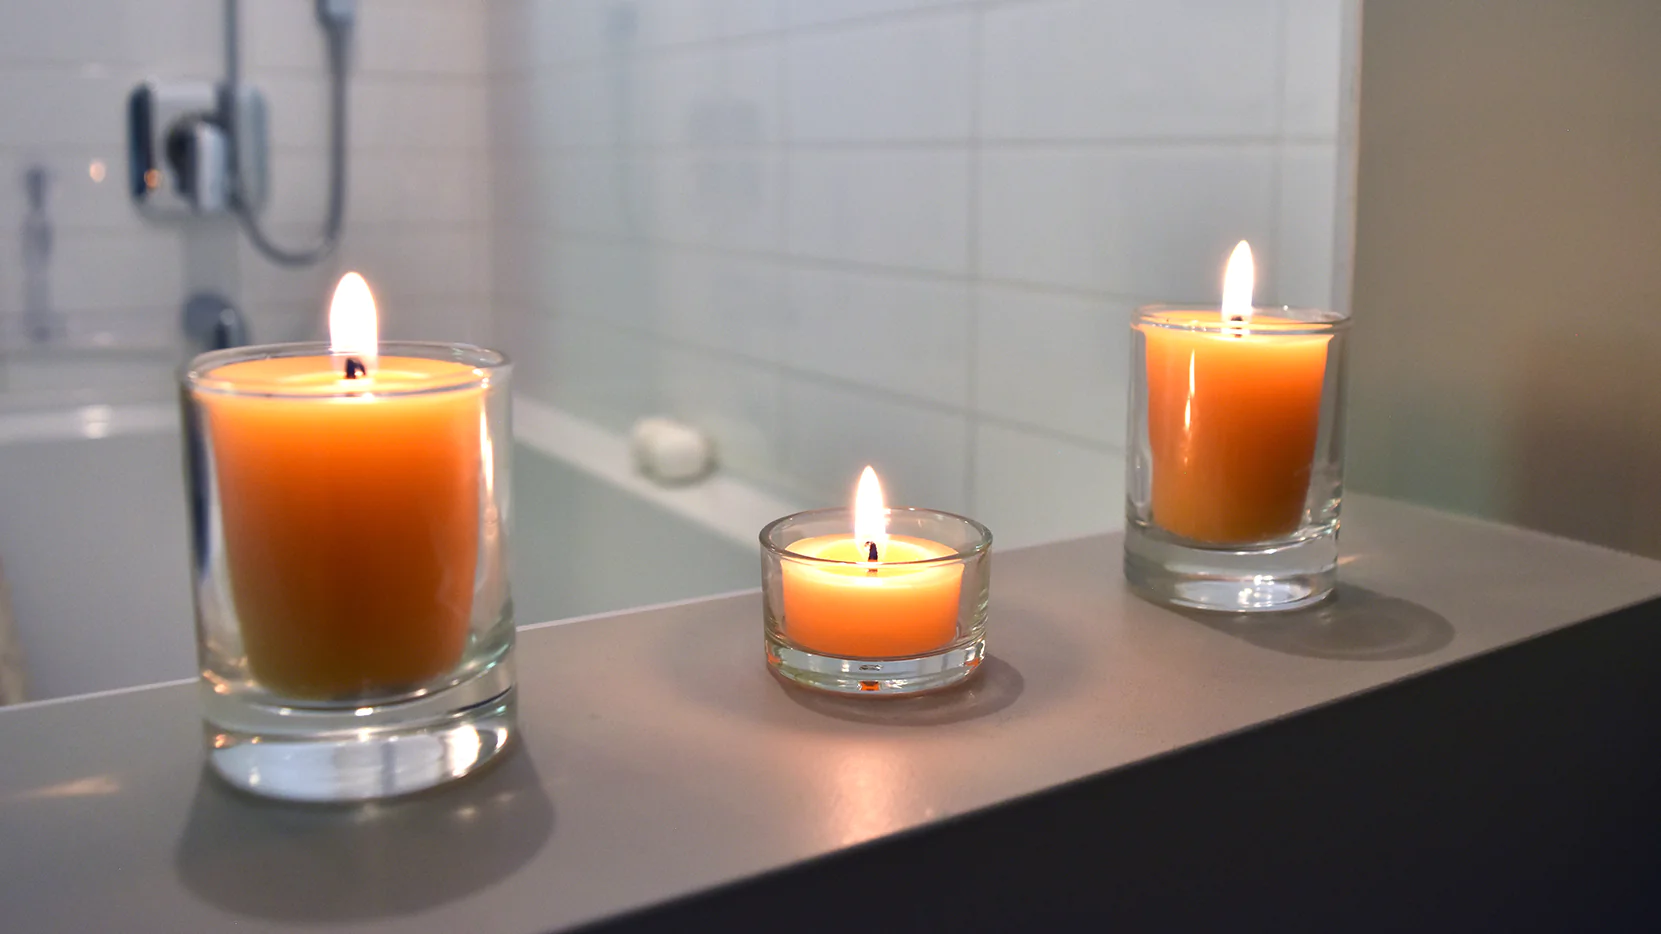
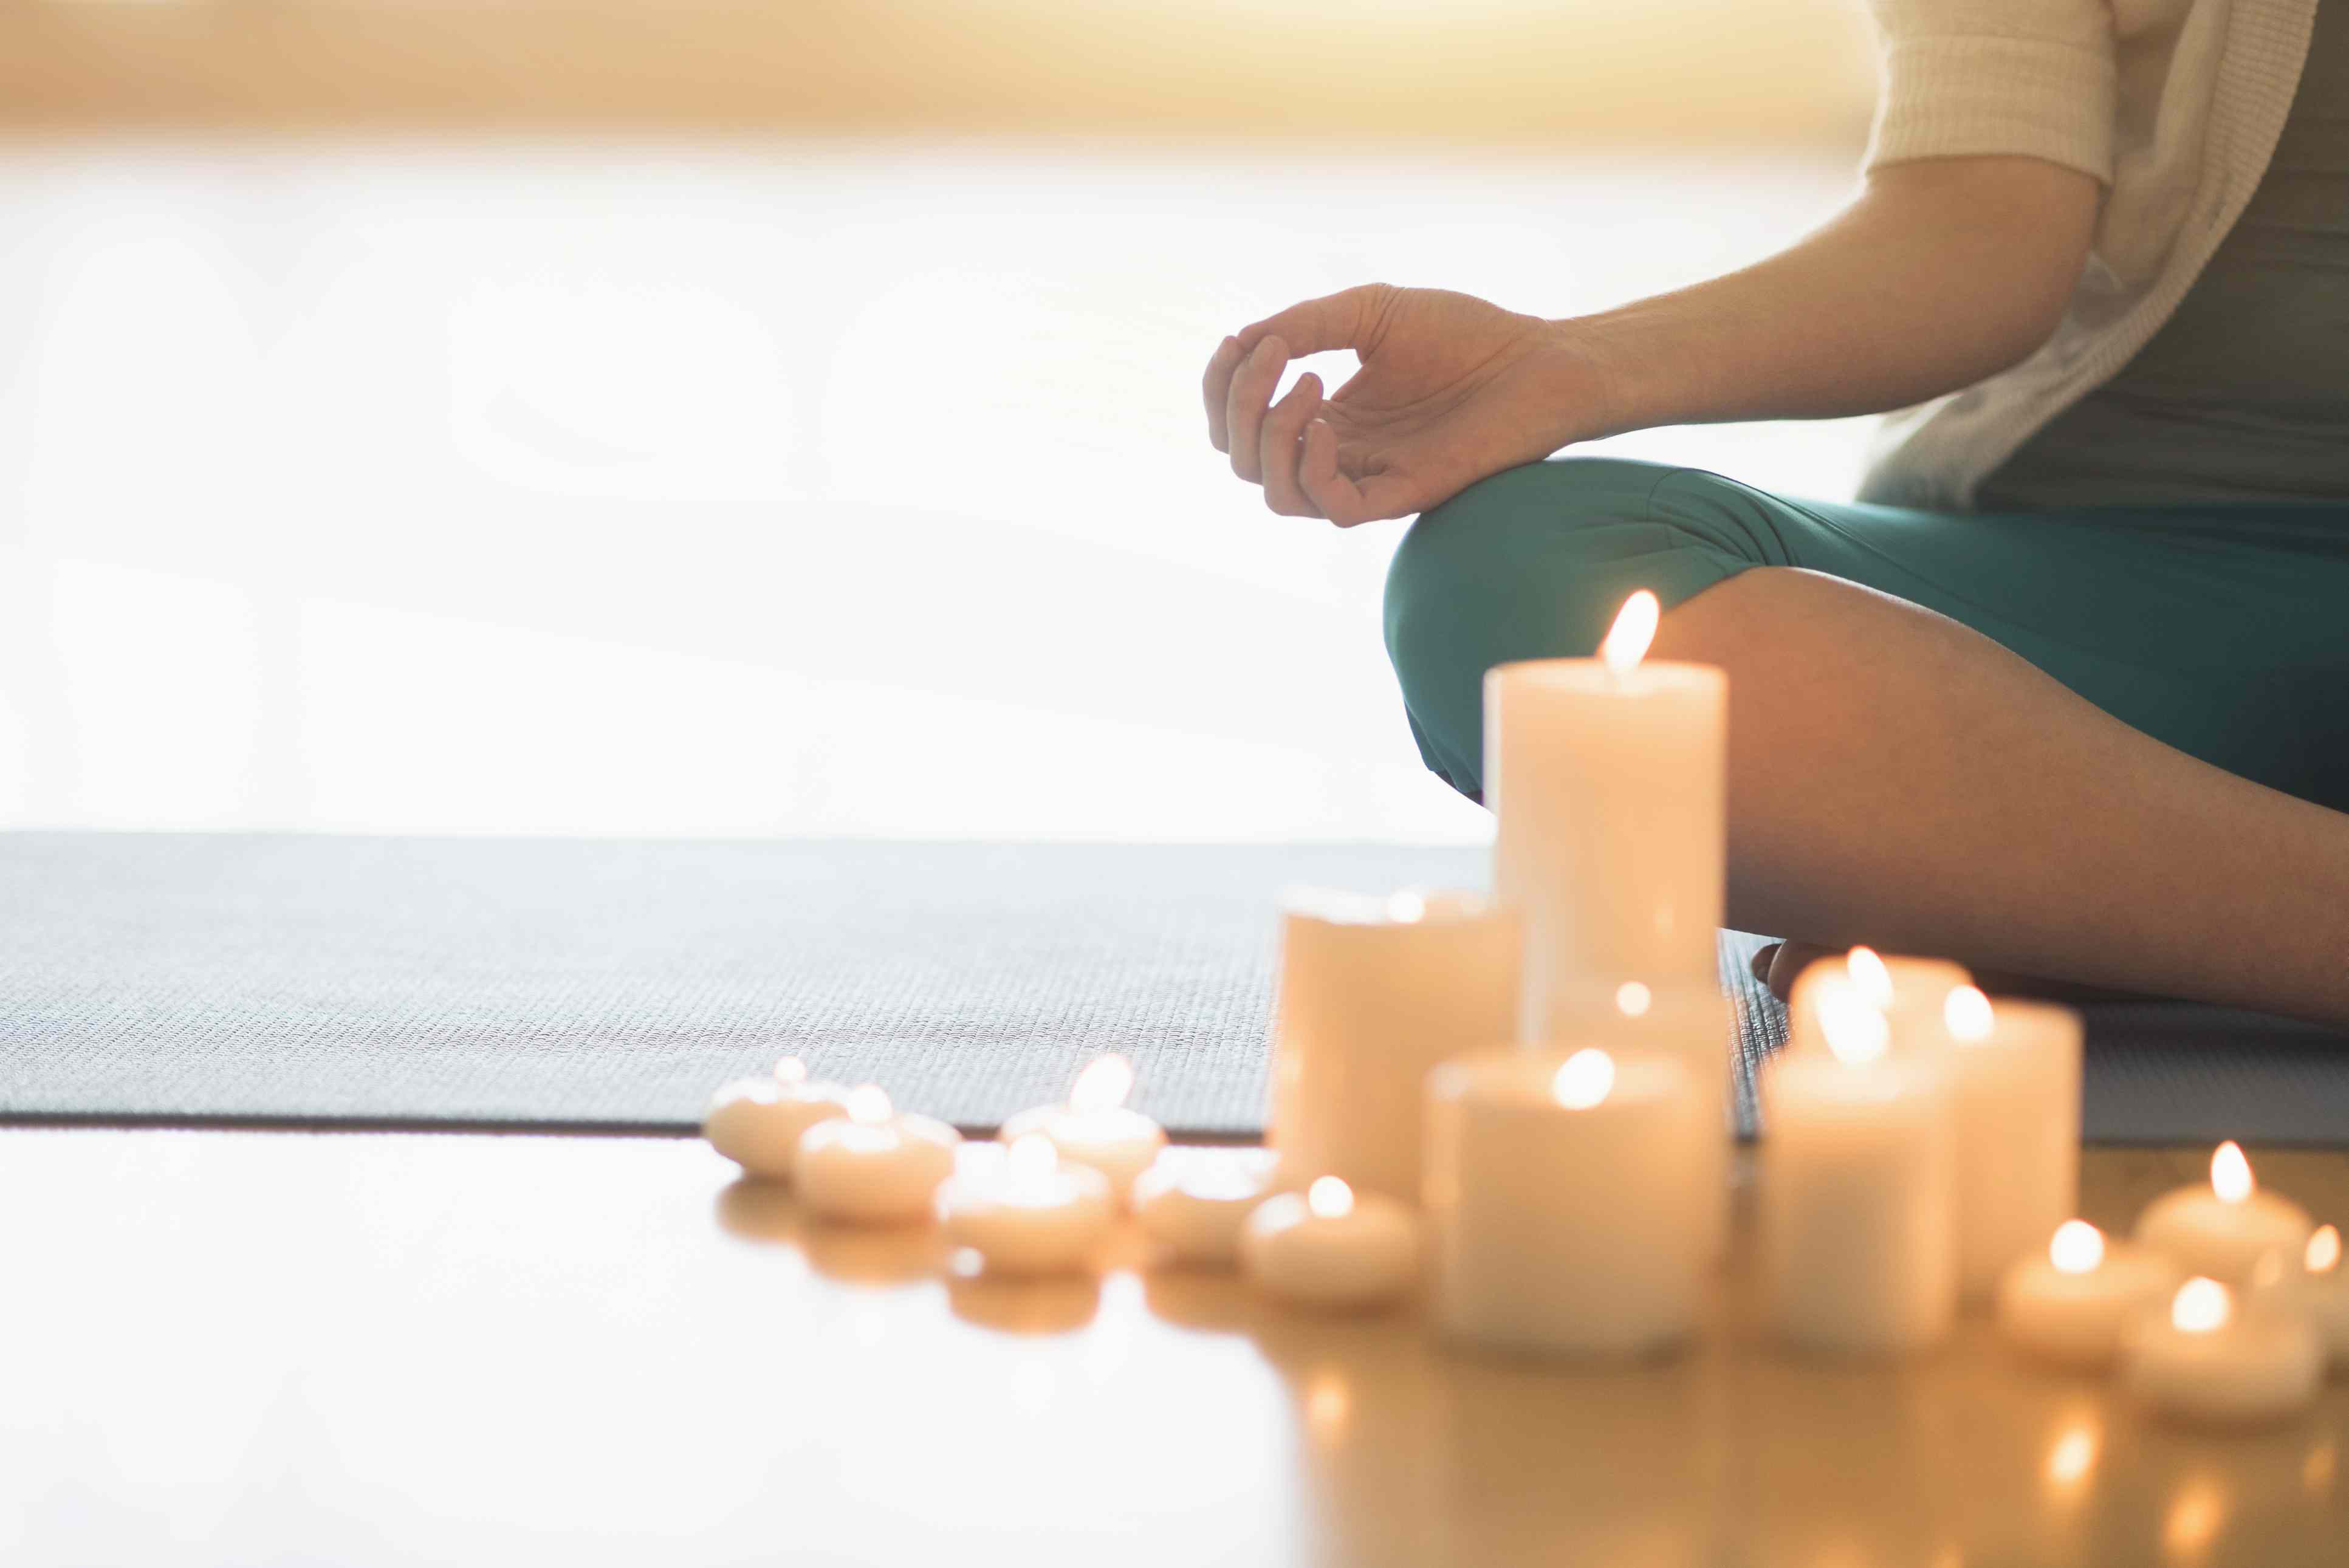
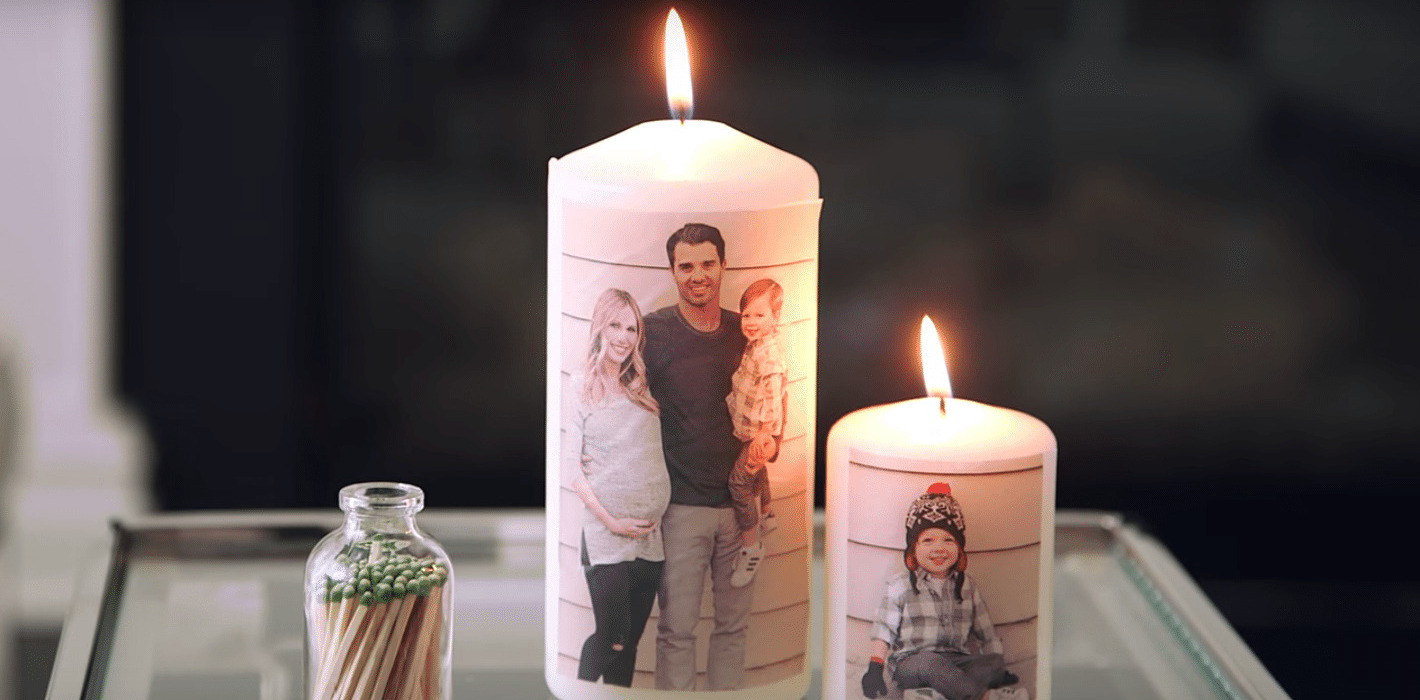
- Multiple Candles: By using multiple candles, you can create a warm and inviting atmosphere. Arrange the candles in clusters or groups to add dimension and capture a variety of lighting effects.
Remember to explore and experiment with different lighting techniques to find the one that best suits your artistic vision. Additionally, be mindful of the balance between light and shadow, as it can have a significant impact on the overall mood of your candle photographs.
Now that you’ve learned about lighting techniques, let’s move on to camera settings, which are essential for achieving optimal results in candle photography.
Camera Settings
Understanding and utilizing the proper camera settings is crucial for capturing stunning candle photographs. Here are some essential camera settings to consider:
- Shoot in Manual Mode: Switching to manual mode allows you to have full control over your camera settings, including aperture, shutter speed, and ISO. This control is essential for achieving the desired exposure and capturing the subtle details of the candles.
- Aperture: Set your aperture to a wide value (low f-number) like f/2.8 or f/4 to create a shallow depth of field. This will help isolate the candle and create a beautiful bokeh effect, while still keeping the necessary details of the flame sharp.
- Shutter Speed: Since candles emit a relatively dim light, using longer shutter speeds can help capture enough light for a well-exposed image. However, it is crucial to use a tripod or stable surface to avoid camera shake. Experiment with different shutter speeds, starting around 1/15th of a second, and adjust as needed.
- ISO: Keep your ISO as low as possible (typically around 100-400) to minimize noise and maintain image quality. However, depending on the available light, you may need to increase the ISO slightly to achieve a properly exposed image. Be mindful of the trade-off between noise and exposure.
- White Balance: Set your white balance to match the lighting conditions. If shooting in natural light, use the daylight or cloudy preset. If using artificial light, you may need to manually adjust the white balance or use a custom white balance setting.
- Focus: Set your camera to manual focus mode to have precise control over what you want to focus on. Using autofocus may struggle in low-light situations. Focus on the flame or the most prominent part of the candle for sharp and detailed results.
- Bracketing: Consider using exposure bracketing to capture a series of images at different exposures. This technique can help ensure you capture the perfect exposure range and have more flexibility during post-processing.
Remember, these suggested camera settings act as a starting point. Depending on the lighting conditions and the specific effect you want to achieve, you may need to make adjustments accordingly. Practice and experiment with different settings to find the perfect combination that suits your creative vision.
Now that we have covered essential camera settings, let’s explore the art of composition and framing to create visually appealing candle photographs.
Use a tripod to keep your camera steady and prevent blurriness. Adjust your white balance to capture the warm glow of the candles.
Read more: How To Store Old Photographs
Composition and Framing
Composition and framing play a crucial role in creating visually appealing and compelling candle photographs. Here are some composition techniques to consider:
- Rule of Thirds: Divide your frame into a 3×3 grid, and place the candle along the lines or at the intersections. This technique helps create a balanced composition and adds visual interest to your photographs.
- Leading Lines: Incorporate leading lines, such as a table edge or a candle holder, to draw the viewer’s eye towards the main subject. This technique adds depth and guides the viewer’s attention to the focal point.
- Negative Space: Leave empty space around the candle to create a sense of simplicity and focus on the main subject. Negative space can help create a more minimalist and powerful composition.
- Foreground Elements: Utilize foreground elements, such as flowers, leaves, or decorative objects, to add layers and depth to your composition. These elements can frame the candle and create a visually interesting foreground.
- Angles and Perspectives: Experiment with different angles and perspectives to add uniqueness to your candle photographs. Capture the candles from a low angle to emphasize their prominence or try a bird’s eye view for an intriguing and abstract composition.
- Symmetry: Embrace symmetry by positioning candles and props symmetrically in your frame. This technique creates a sense of balance and harmony in your composition.
- Dynamic Lighting: Capture the interplay between light and shadows to add drama and depth to your candle photographs. Experiment with different lighting angles and intensities to achieve dynamic and visually captivating results.
- Color Contrast: Consider the color palette of your scene and choose complementary or contrasting colors to create visually striking compositions. For example, pair warm candlelight with cool-toned props or backdrops for a beautiful color contrast.
Remember that these composition techniques are just suggestions, and there are no hard rules in artistic expression. Explore and experiment with different approaches, trust your instincts, and let your creativity guide you in creating unique and visually appealing compositions.
Now that you have mastered composition and framing techniques, let’s move on to the next crucial aspect: capturing the beauty of the candle flame itself.
Capturing the Candle Flame
The delicate and mesmerizing flame of a candle is often the highlight of candle photography. Capturing the essence and beauty of the flame requires careful attention to detail and a thoughtful approach. Here are some tips to help you capture stunning candle flame photographs:
- Get Close: Use a macro lens or enable the macro mode on your camera to capture close-up details of the flame. This allows you to emphasize the intricate patterns and movements of the flame.
- Focus on the Flame: Set your focus on the flame itself to ensure sharpness and clarity. Use manual focus for precise control, and consider using a narrow aperture to maintain a deep depth of field and keep the entire flame in focus.
- Shutter Speed: When photographing the flame, experiment with different shutter speeds to capture variations in motion. A shorter shutter speed freezes the motion, while a longer shutter speed can create a beautiful blur effect, emphasizing the dynamic nature of the flame.
- Exposure: Pay close attention to the exposure of the flame. The brightness and intensity of the flame can quickly overpower the rest of the image. Adjust your camera settings to properly expose the flame without losing details in the surrounding elements.
- Capture the Glow: Attempt to capture the soft, warm glow that surrounds the flame. This glow adds a magical and ethereal quality to the photograph. Experiment with different lighting techniques and camera settings to capture this luminous effect.
- Use a Candle Snuffer: For more controlled and precise flame shapes, consider using a candle snuffer to shape and manipulate the flame. This can create interesting and unique compositions in your photographs.
- Experiment with Different Angles: Move around the candle and try shooting from different angles to capture the flame in various perspectives. This can result in captivating and dynamic images that showcase the flame in a new and intriguing way.
- Play with Reflections: Incorporate reflective surfaces, such as mirrors or glass, to capture interesting reflections of the flame. This can add a touch of mystery and visual interest to your photographs.
Remember that capturing the candle flame requires patience and experimentation. Pay attention to the details, movements, and subtle variations in the flame. With practice, you will be able to capture the captivating beauty of the candle flame in your photographs.
Now that you have learned how to capture the candle flame, let’s explore some post-processing tips to enhance your candle photographs further.
Post-Processing Tips
Post-processing is an essential step in candle photography to enhance the visual impact of your images. Here are some post-processing tips to help you refine and elevate your candle photographs:
- Adjust Exposure: Use software like Adobe Lightroom or Photoshop to fine-tune the exposure of your image. Increase or decrease the exposure to achieve the desired brightness and balance between the flame and the surrounding elements.
- Enhance Colors: Experiment with adjusting the saturation and vibrance of your image to enhance the colors of the candle, the flame, and the overall mood of the scene. Be careful not to overdo it; strive for a natural and pleasing color palette.
- Sharpening and Detail: Apply selective sharpening techniques to emphasize the intricate details of the flame and other key elements in your photograph. Use tools like the sharpening filter or adjustment brush to enhance clarity and add depth.
- Remove Distractions: During the post-processing stage, remove any distracting elements or imperfections that may detract attention from the main subject. Clone stamp or healing brush tools can be used to clean up unwanted objects or blemishes.
- Crop and Straighten: Use cropping to improve the composition and eliminate any unnecessary distractions at the edges of your frame. Additionally, straighten the image if needed to align the horizons or vertical elements.
- Apply Filters and Presets: Experiment with applying filters and presets to add unique effects and enhance the overall mood of your candle photographs. There are various preset collections available that specifically cater to candlelight or low-light photography.
- Experiment with Black and White: Convert your candle photographs into black and white to create a timeless and artistic look. This can emphasize the contrast, shapes, and textures of the candles and the flame.
- Selective Dodging and Burning: Utilize dodging and burning techniques to selectively lighten or darken specific areas of your image. This can draw attention to the flame or other key elements, creating a more dramatic and balanced composition.
Post-processing should be approached as a way to enhance and refine your images, not to completely alter them. Strive for a natural and cohesive look that accurately represents the atmosphere and mood you experienced when capturing the candle photograph.
Remember, post-processing is a creative process, and there are no strict rules. Experiment with different techniques, but always trust your artistic vision and personal style when making editing decisions.
With these post-processing tips, you can bring out the full potential of your candle photographs and add that extra touch of magic. Now, let’s address some common troubleshooting issues that may arise during candle photography.
Troubleshooting Common Issues
Candle photography can present some challenges, but with a little troubleshooting, you can overcome common issues that may arise. Here are some tips to help you troubleshoot and address these challenges:
- Blown Out Highlights: If the flame appears too bright and loses detail, adjust the exposure settings accordingly. Decrease the exposure or use a narrower aperture to prevent the highlights from clipping.
- Noisy Images: In low-light situations, particularly when using a high ISO, noise can become more apparent in your photographs. To address this, utilize noise reduction techniques during post-processing. Strike a balance between reducing noise and preserving the essential details and clarity of your image.
- Unwanted Shadows: Shadows can sometimes overpower your candle photographs, hindering the overall balance of light. Experiment with reflectors or additional lighting sources to fill in the shadows and create a more even lighting setup.
- Camera Shake: The low-light conditions of candle photography can make camera shake more noticeable. Ensure you use a tripod or stable surface to eliminate any blurriness caused by hand movement. Consider using a remote shutter release or the camera’s timer function to further minimize camera shake.
- Flame Motion Blur: If you are aiming to capture a sharp flame but notice motion blur, try using a faster shutter speed. Increase the ISO or use additional lighting sources to compensate for the reduced exposure caused by the faster shutter speed.
- Uneven Flame Shape: Achieving a desirable flame shape can sometimes be challenging due to factors like air currents or inconsistent burning. Use a candle snuffer or a small fan to stabilize the flame and shape it as desired.
- Uneven Exposure: When photographing multiple candles, ensure that the exposure is consistent across all the candles. Review your camera settings and lighting setup to ensure even lighting on each candle and adjust as needed.
- Unwanted Reflections: Glass candle holders or reflective surfaces can cause unwanted reflections. To minimize reflections, adjust the angle of your camera or the position of the light sources. Additionally, consider using a polarizing filter to reduce glare and unwanted reflections.
Remember, practice and patience are key in overcoming these issues. With time, you will become more adept at troubleshooting and finding solutions to ensure beautiful and captivating candle photographs.
Now that we’ve addressed some common troubleshooting issues, let’s conclude our journey into the world of candle photography.
Conclusion
Candle photography offers a delightful and magical experience, allowing you to capture the enchanting beauty and ambiance of candlelight. Throughout this guide, we have covered essential equipment, scene setup, lighting techniques, camera settings, composition and framing, capturing the candle flame, post-processing tips, and troubleshooting common issues. Armed with this knowledge, you are ready to embark on your own candle photography adventures.
Remember, candle photography is not just about technical expertise; it is an art form that allows you to express creativity and evoke emotions through images. Practice patience, experiment with different techniques, and trust your artistic vision to create captivating and unique candle photographs.
As you explore the world of candle photography, don’t forget to prioritize safety when working with candles. Always exercise caution and follow safety guidelines to prevent accidents or fire hazards.
So, gather your favorite candles, set up a captivating scene, play with lighting, and let the candle flames guide your creative journey. Capture their gentle flicker, warmth, and ethereal glow. With attention to detail, practice, and a touch of creativity, you’ll be able to create stunning candle photographs that bring joy and enchantment to all who view them.
Now, ignite your imagination and start capturing the mesmerizing beauty of candlelight through your lens. Happy candle photography!
Frequently Asked Questions about How To Photograph Candles
Was this page helpful?
At Storables.com, we guarantee accurate and reliable information. Our content, validated by Expert Board Contributors, is crafted following stringent Editorial Policies. We're committed to providing you with well-researched, expert-backed insights for all your informational needs.


0 thoughts on “How To Photograph Candles”