Home>Home Appliances>Laundry Appliances>How To Fix A Washing Machine Timer
Laundry Appliances
How To Fix A Washing Machine Timer
Modified: August 27, 2024
Learn how to troubleshoot and repair a faulty washing machine timer with our comprehensive guide. Keep your laundry appliances running smoothly.
(Many of the links in this article redirect to a specific reviewed product. Your purchase of these products through affiliate links helps to generate commission for Storables.com, at no extra cost. Learn more)
Common Issues with Washing Machine Timers
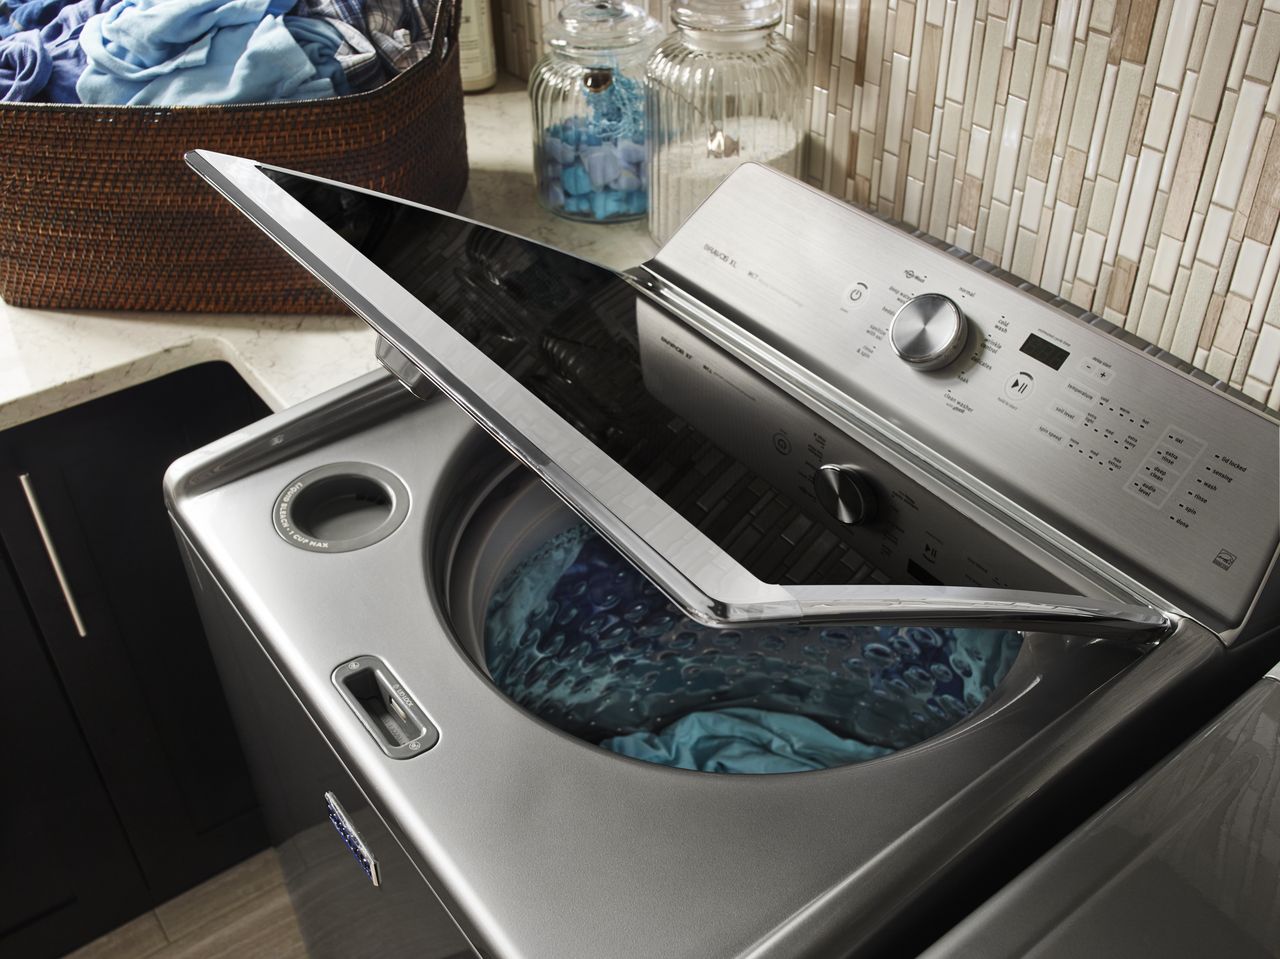
Washing machines are essential appliances in modern households, simplifying the daunting task of laundry. However, like any mechanical device, they are prone to wear and tear, with the timer being a critical component that can develop issues over time. Understanding the common problems associated with washing machine timers is crucial for maintaining the appliance's functionality.
-
Failure to Advance: One of the most prevalent issues with washing machine timers is their failure to advance through the various cycles. This can result in the machine getting stuck at a particular stage, leading to incomplete washing or prolonged cycles.
-
Inaccurate Timing: A malfunctioning timer may cause the washing machine to inaccurately time the different cycles, leading to clothes being inadequately washed or rinsed. This can result in laundry that is not properly cleaned or rinsed, affecting the overall laundry quality.
-
Complete Non-Functionality: In some cases, the washing machine timer may cease to function altogether, rendering the appliance unusable. This can be a frustrating and inconvenient issue for households relying on the washing machine for their laundry needs.
-
Erratic Behavior: Erratic behavior, such as the timer skipping cycles or abruptly stopping mid-cycle, can indicate underlying issues with the timer mechanism. This can disrupt the entire laundry process and cause inconvenience to the user.
-
Unresponsive Controls: A faulty timer may also lead to unresponsive controls, making it challenging to set the desired wash cycles and operate the washing machine effectively.
Understanding these common issues with washing machine timers is the first step in addressing potential problems and ensuring the smooth operation of the appliance. By identifying these issues early on, homeowners can take proactive measures to address the problems and prevent further complications in the functioning of their washing machines.
Key Takeaways:
- Washing machine timers can develop issues like failing to advance, inaccurate timing, and complete non-functionality. Identifying these problems early helps homeowners take proactive measures to address them and maintain the appliance’s functionality.
- To fix a washing machine timer, you’ll need tools like a screwdriver set, multimeter, pliers, wire strippers, electrical tape, replacement components, flashlight, safety gloves, and goggles. These tools empower you to diagnose, repair, and reassemble the timer effectively.
Read also: 12 Amazing Kenmore Washer Timer For 2025
Tools Needed for Fixing a Washing Machine Timer
When it comes to addressing issues with a washing machine timer, having the right tools at your disposal is essential for a successful repair process. Here are the tools you will need to effectively fix a washing machine timer:
-
Screwdriver Set: A versatile screwdriver set is indispensable for accessing the internal components of the washing machine timer. It allows you to remove the screws securing the timer in place and facilitates the disassembly process.
-
Multimeter: This electronic measuring instrument is crucial for diagnosing electrical issues within the washing machine timer. By using the multimeter to test for continuity and resistance, you can pinpoint faulty components and determine the extent of the timer's malfunction.
-
Pliers: A pair of pliers, such as needle-nose or slip-joint pliers, will aid in handling small components and wires within the timer assembly. They provide a firm grip and allow for precise maneuvering during the repair process.
-
Wire Strippers: In cases where wire connections need to be replaced or repaired, wire strippers are essential for removing insulation from the wires without causing damage. This ensures secure and reliable electrical connections within the timer.
-
Electrical Tape: Electrical tape is vital for insulating and securing wire connections after repairs or replacements. It helps prevent electrical hazards and ensures the integrity of the electrical connections within the washing machine timer.
-
Replacement Components: Depending on the specific issue with the washing machine timer, you may need replacement components such as resistors, capacitors, or relays. Having these components on hand ensures that you can promptly address any faulty parts during the repair process.
-
Flashlight: A reliable flashlight is invaluable for illuminating the internal components of the washing machine timer, especially in dimly lit areas. It aids in identifying and inspecting the various elements within the timer assembly.
-
Safety Gloves and Goggles: Prioritizing safety during the repair process is crucial. Wearing safety gloves and goggles protects your hands and eyes from potential hazards, especially when working with electrical components and wiring.
By ensuring that you have these essential tools readily available, you can approach the task of fixing a washing machine timer with confidence and precision. These tools empower you to diagnose, repair, and reassemble the timer effectively, restoring the functionality of the washing machine and prolonging its operational lifespan.
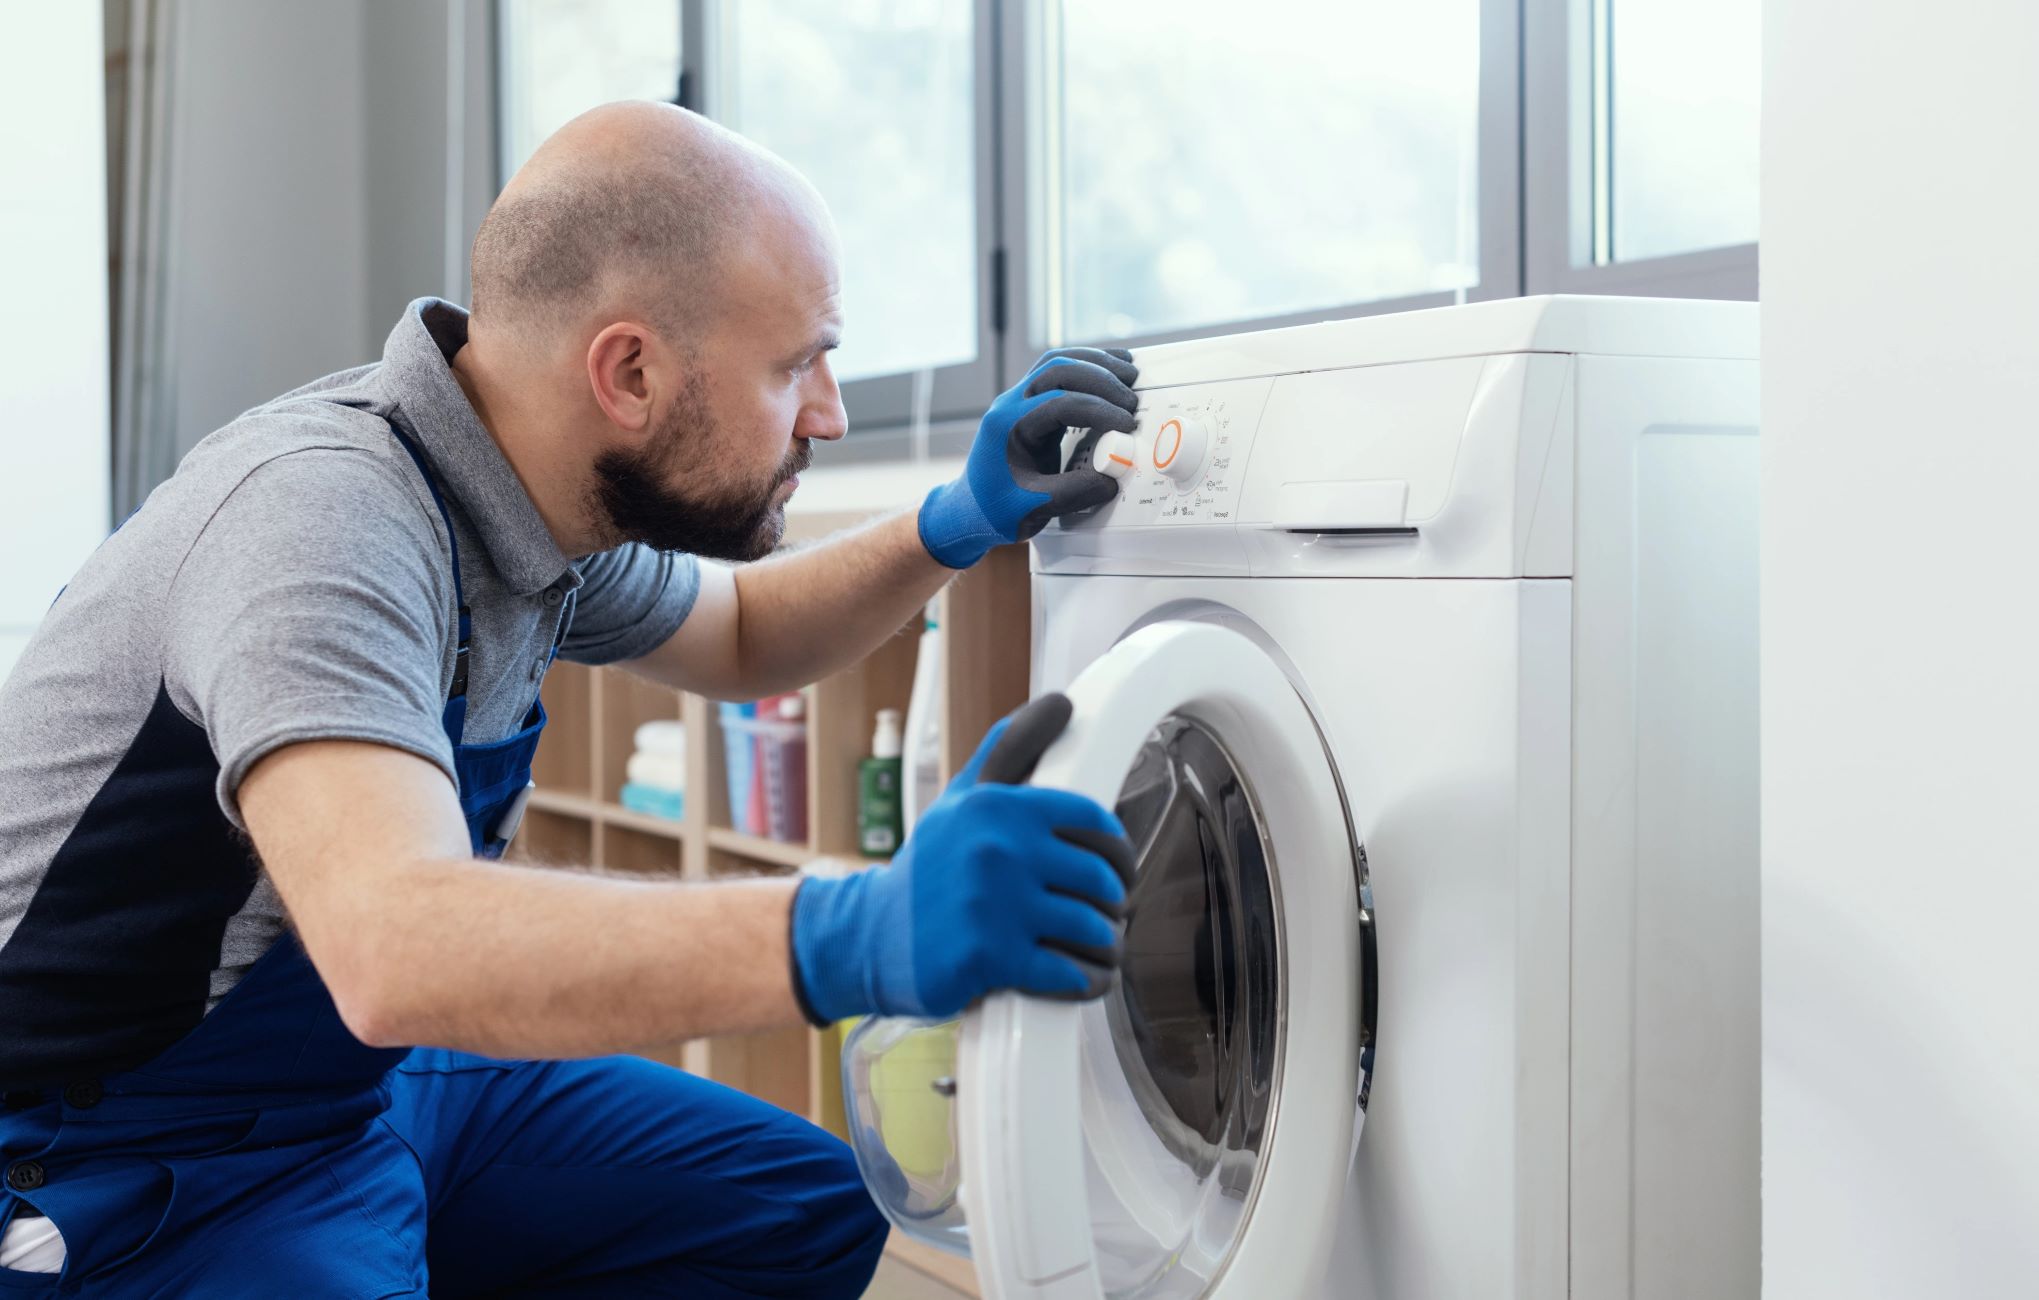
Steps to Disassemble the Washing Machine Timer
Disassembling a washing machine timer is a crucial step in the repair process, allowing access to the internal components for inspection and potential replacement. Here are the detailed steps to effectively disassemble the washing machine timer:
-
Safety Precautions: Before initiating the disassembly process, it is essential to prioritize safety. Unplug the washing machine from the power source to eliminate the risk of electrical shock. Additionally, wearing safety gloves and goggles is advisable to protect against potential hazards during the disassembly.
-
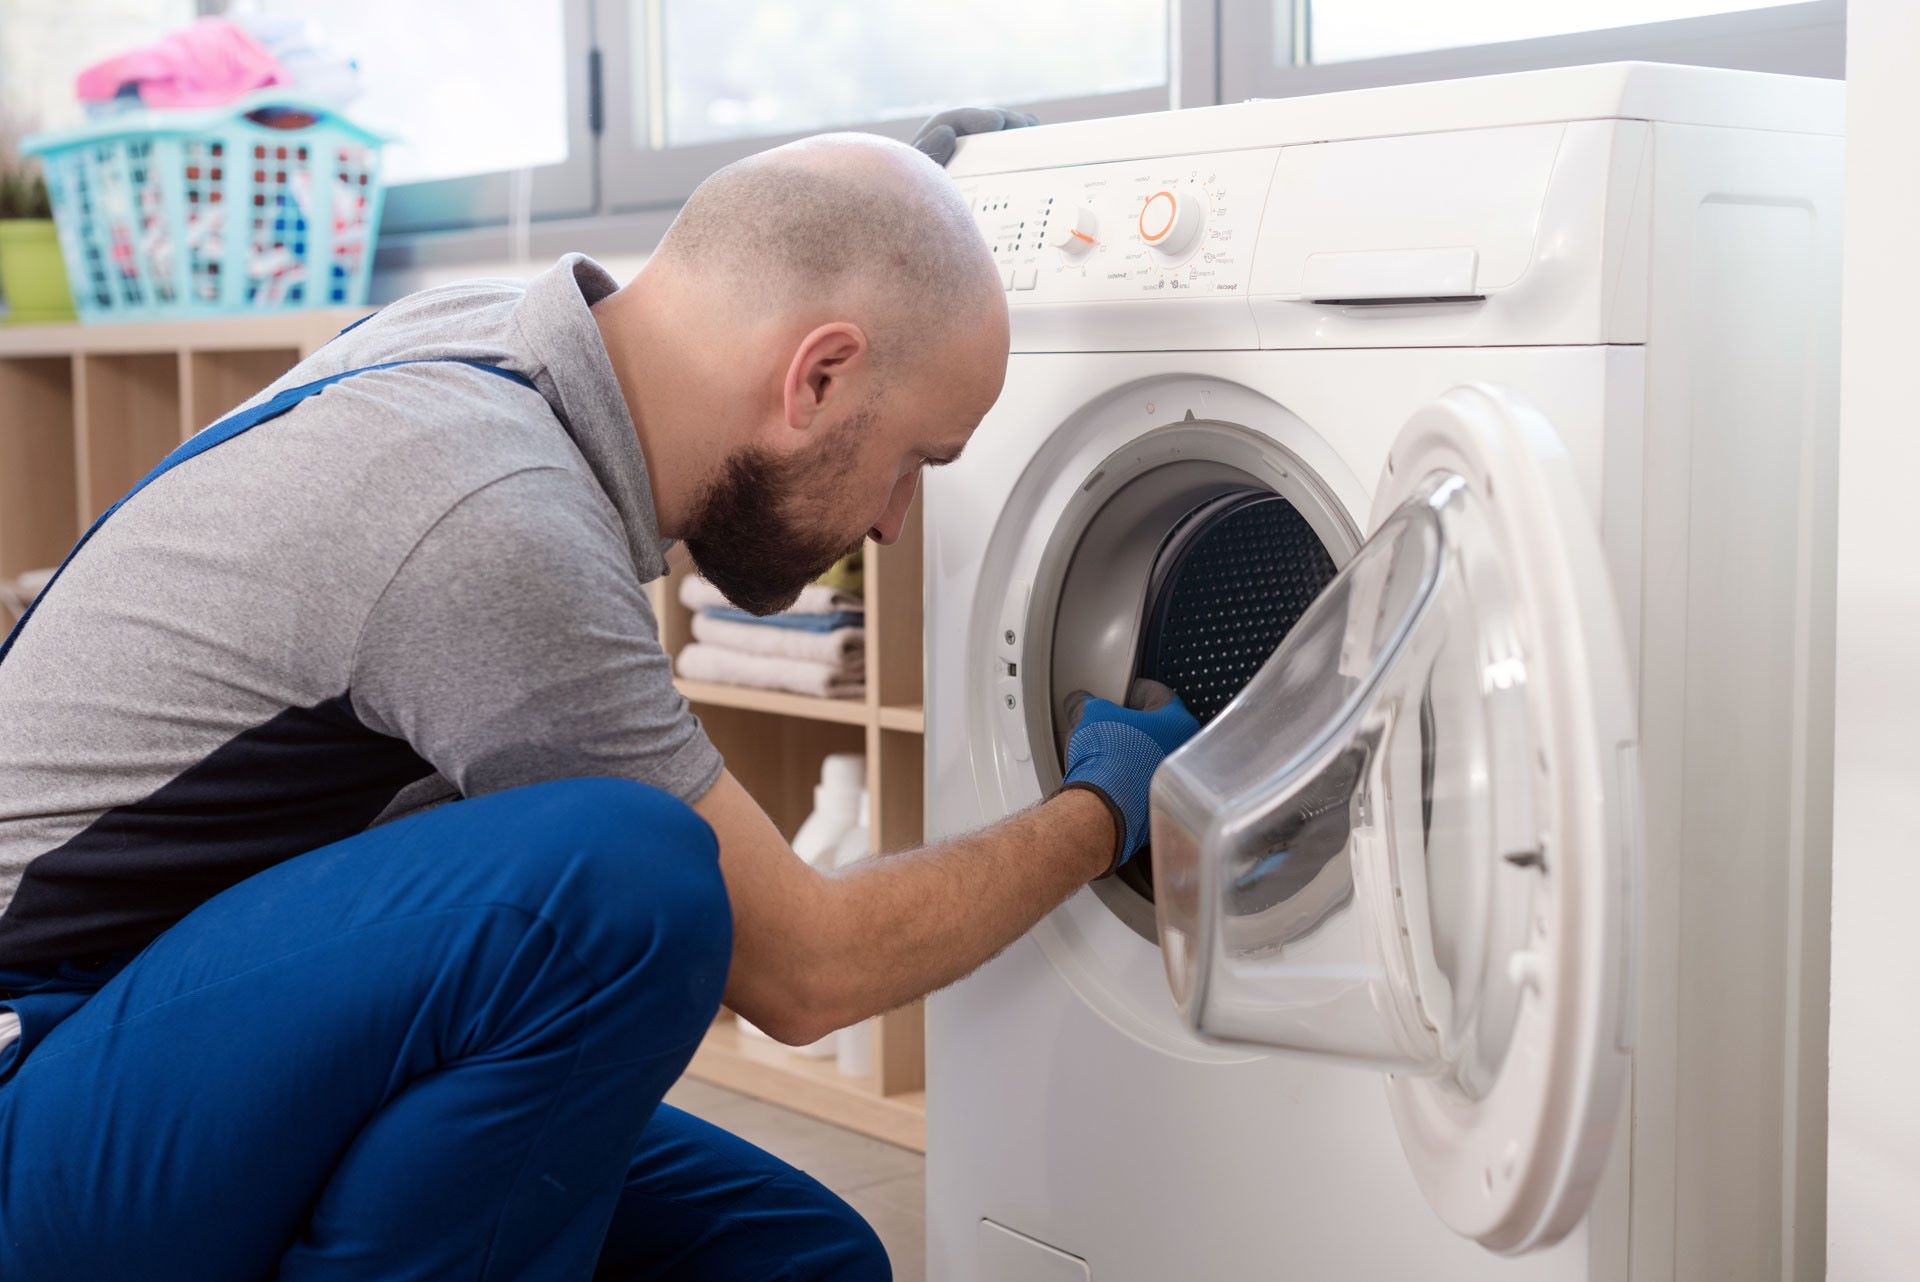
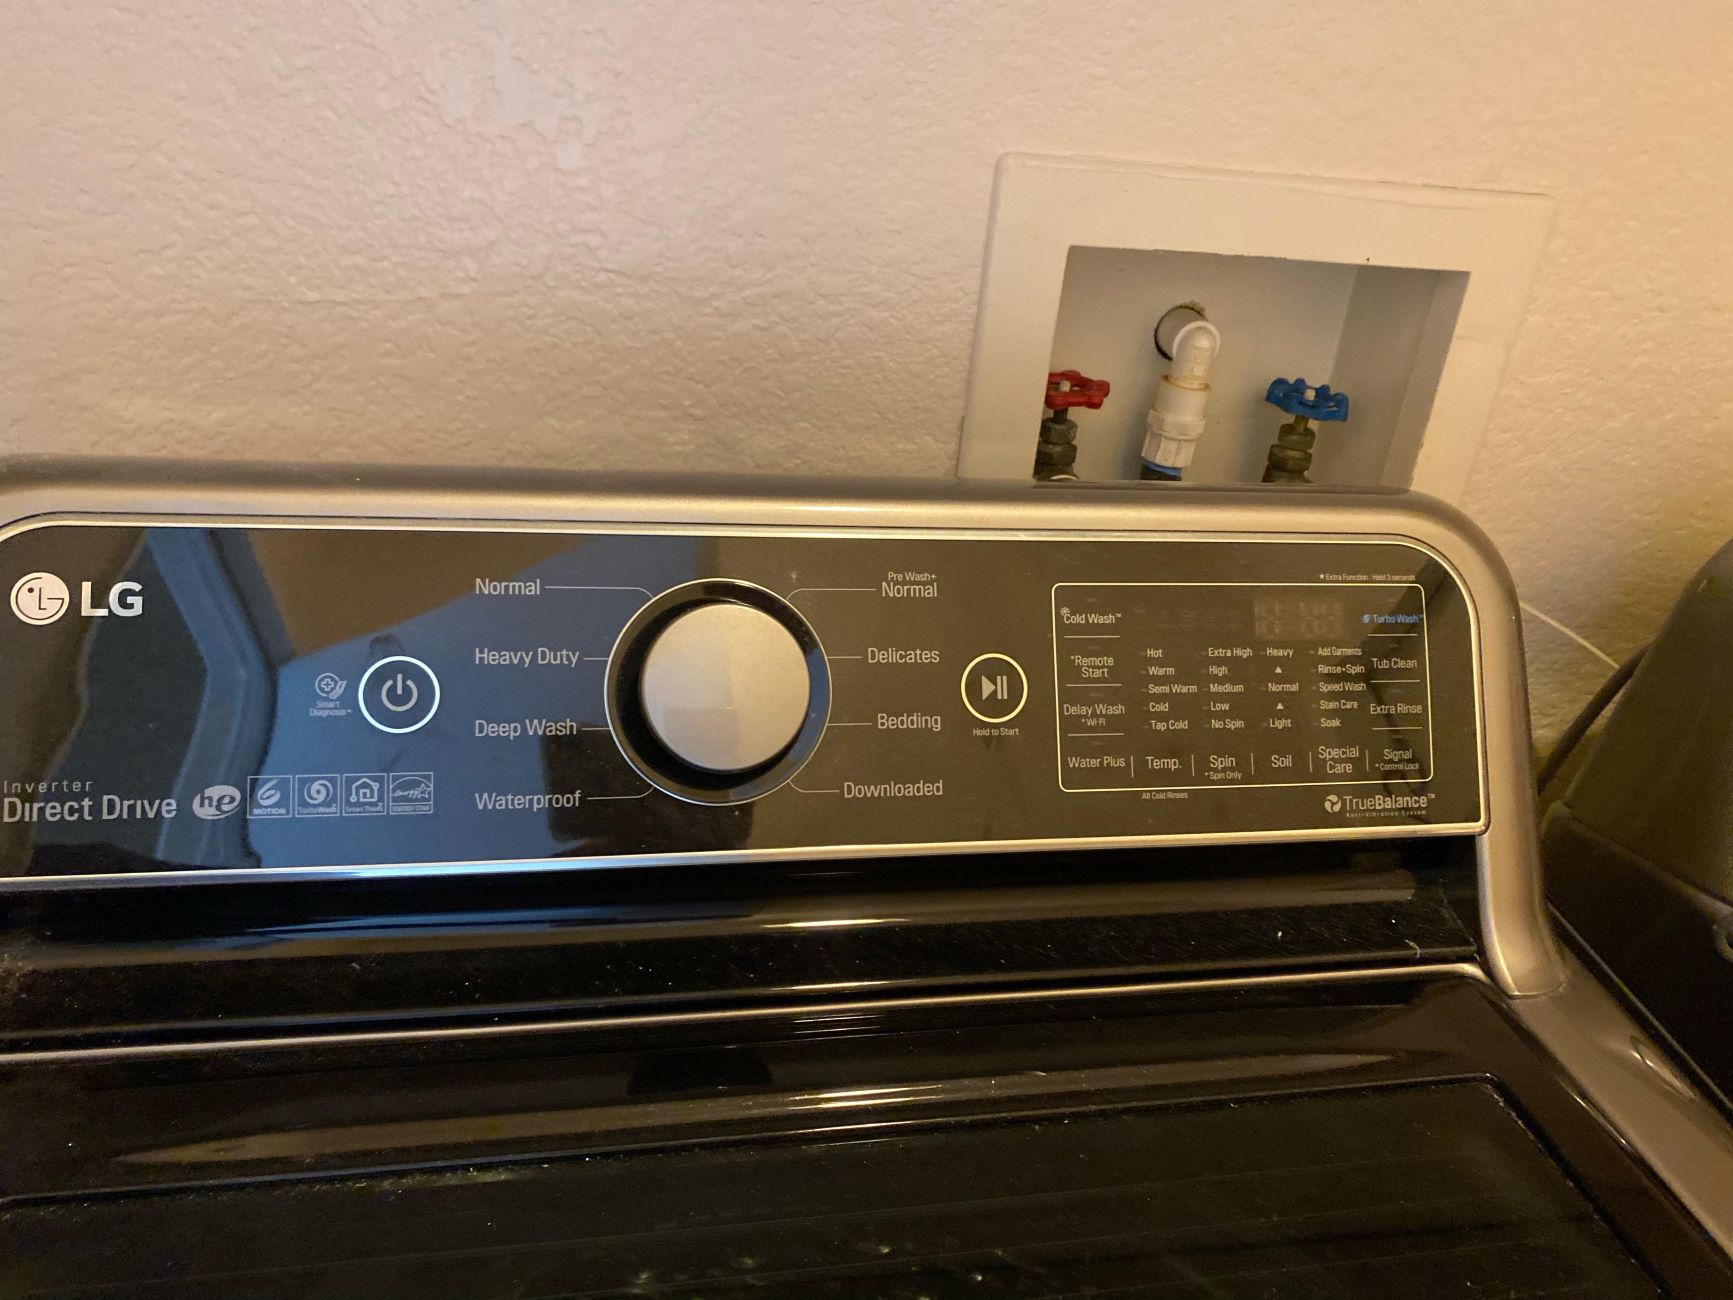
Locate the Timer Assembly: The washing machine timer is typically located on the control panel of the appliance. Identify the specific area where the timer is housed, which may require removing the control panel cover or accessing the rear of the washing machine, depending on the model.
-
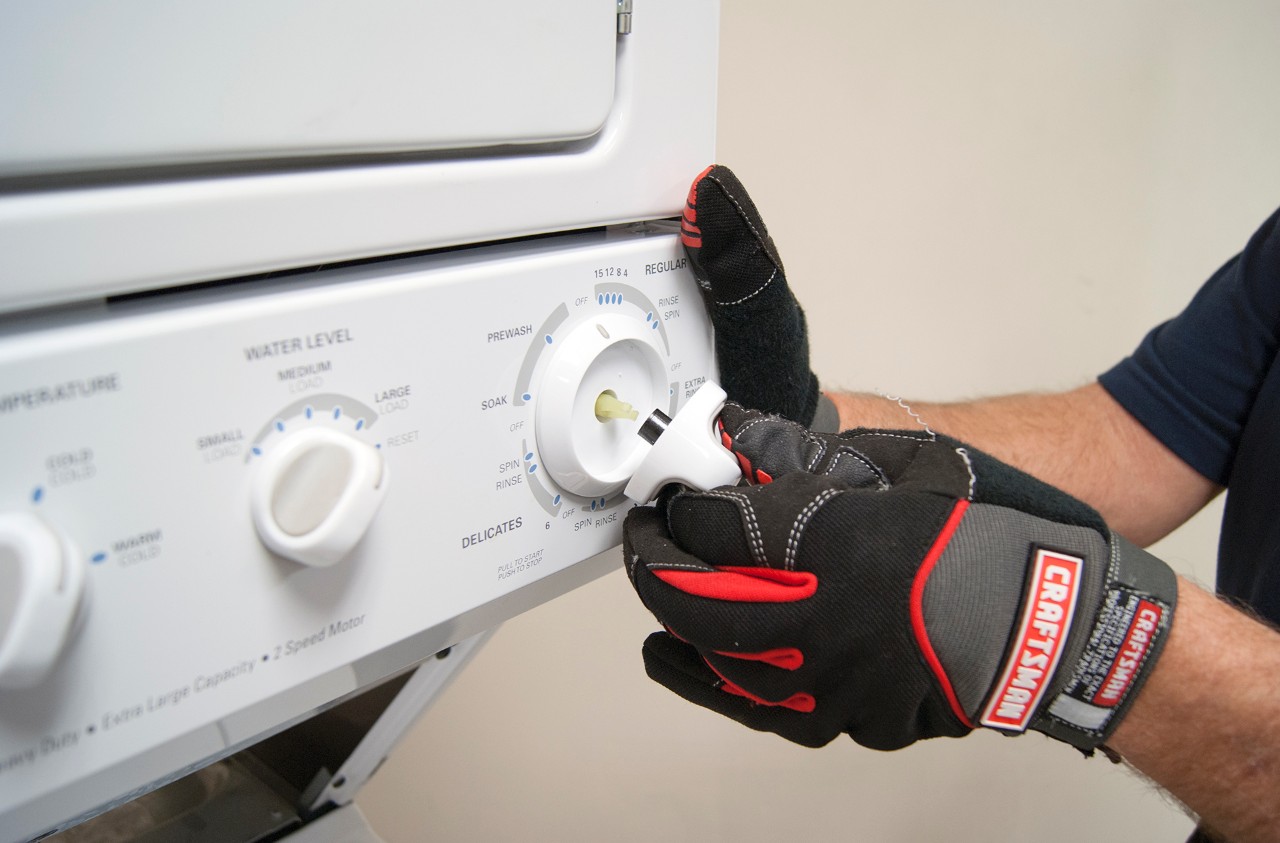
Remove the Control Knob: If the timer is controlled by a knob, gently pull the knob off its spindle to expose the securing screw or clip underneath. Use a screwdriver or the appropriate tool to loosen and remove the securing mechanism, allowing the knob to be detached from the timer assembly.
-
Access the Timer Housing: Once the control knob is removed, the timer housing or cover can be accessed. In some cases, this may involve removing additional screws or fasteners securing the cover in place. Carefully inspect the timer housing for any hidden screws or clips that need to be undone to facilitate its removal.
-
Disconnect Electrical Connections: With the timer housing exposed, identify the electrical connections leading to the timer. Using caution, disconnect the electrical wires from the timer terminals, ensuring that each wire is labeled or documented to aid in reassembly. It is crucial to handle the electrical connections with care to prevent damage to the wires or terminals.
-
Remove the Timer Assembly: Once the electrical connections are detached, the timer assembly can be carefully removed from its mounting position. Depending on the design of the washing machine, the timer may be secured by additional screws or brackets within the housing. Use the appropriate tools to loosen and remove any securing elements, allowing the timer to be extracted from its location.
-
Inspect the Internal Components: With the timer assembly removed, take the opportunity to inspect the internal components for signs of wear, damage, or malfunction. Pay close attention to the contacts, gears, and any visible electronic components within the timer. This visual inspection can provide valuable insights into the potential issues affecting the timer's functionality.
By following these detailed steps, you can effectively disassemble the washing machine timer, gaining access to the internal components for thorough inspection and subsequent repairs. This process sets the stage for identifying and addressing the specific issues affecting the timer's performance, ultimately contributing to the successful restoration of the washing machine's functionality.
How to Identify Faulty Components in the Washing Machine Timer
Identifying faulty components in a washing machine timer is a critical aspect of the repair process, as it enables targeted interventions to restore the timer's functionality. By conducting a systematic assessment of the timer's internal elements, potential issues can be pinpointed and addressed effectively. Here's a detailed guide on how to identify faulty components in the washing machine timer:
Visual Inspection
Begin by visually inspecting the internal components of the timer. Look for any signs of physical damage, such as burnt or discolored areas on the circuit board, loose or frayed wiring, or visibly damaged electronic components. These visual cues can provide initial indications of potential faults within the timer assembly.
Read also: 9 Superior Whirlpool Washer Timer For 2025
Testing for Continuity
Utilize a multimeter to test for continuity in the electrical circuits of the timer. This involves checking the flow of electrical current through various components, such as resistors, capacitors, and relays. A lack of continuity or unexpected resistance readings can signify faulty components that may be impeding the timer's operation.
Inspecting Contacts and Terminals
Examine the contacts and terminals within the timer for signs of corrosion, pitting, or excessive wear. Poor contact surfaces can disrupt the flow of electrical signals, leading to erratic timer behavior or complete malfunction. Cleaning or replacing damaged contacts can rectify such issues and restore the timer's reliability.
Functional Testing
Conduct functional tests on the timer to observe its behavior during simulated operation. Manually rotate the timer dial through different cycles while observing the corresponding actions within the washing machine. Any inconsistencies, delays, or non-responsiveness during the testing process can indicate specific components or circuits that require attention.
Diagnosing Electronic Components
For timers equipped with electronic circuitry, inspect the integrated circuits, transistors, and diodes for potential faults. Look for signs of overheating, physical damage, or irregular behavior when the timer is powered. Electronic component testing can reveal underlying issues affecting the timer's performance and guide targeted component replacements.
Read also: 14 Best Maytag Washer Timer For 2025
Analyzing Gear Mechanisms
If the washing machine timer operates using mechanical gears, carefully examine the gear train for wear, misalignment, or obstructions. Malfunctioning gear mechanisms can impede the timer's ability to progress through cycles accurately, leading to timing inaccuracies or complete failure. Lubrication or replacement of worn gears may be necessary to address such issues.
By diligently applying these methods to identify faulty components in the washing machine timer, you can gain valuable insights into the specific issues affecting its performance. This diagnostic process lays the groundwork for targeted repairs and component replacements, ultimately leading to the successful restoration of the timer's functionality within the washing machine.
How to Replace Faulty Components in the Washing Machine Timer
Replacing faulty components in a washing machine timer is a precise and methodical process that requires attention to detail and a systematic approach. Once the problematic components within the timer have been identified through thorough inspection and testing, the following steps can be undertaken to effectively replace them:
1. Procure Replacement Components
Before commencing the replacement process, ensure that the necessary replacement components, such as resistors, capacitors, relays, or electronic modules, are readily available. It is essential to obtain components that are compatible with the specific make and model of the washing machine timer to ensure seamless integration and optimal functionality.
2. Disconnection of Power Supply
Prior to replacing any components within the washing machine timer, it is imperative to disconnect the power supply to the appliance. Unplug the washing machine from the electrical outlet to eliminate the risk of electrical shock during the replacement process. Safety should always be a top priority when working with electrical components.
Read also: 15 Best Ge Washer Timer For 2025
3. Accessing the Timer Assembly
Follow the disassembly steps outlined earlier to access the timer assembly. Remove the timer from its housing and place it on a stable work surface. Take note of the orientation of the timer and the location of the faulty components to facilitate the replacement process.
4. Component Removal
Identify the faulty components within the timer assembly based on the diagnostic findings. Using appropriate tools, such as soldering irons, desoldering pumps, or precision screwdrivers, carefully remove the defective components from the circuit board or terminal connections. Exercise caution to avoid damaging the surrounding components or circuitry during the removal process.
5. Installation of Replacement Components
Once the faulty components have been removed, proceed to install the replacement components in their designated positions. Align the replacement components according to their polarity and orientation, ensuring a secure and stable connection to the circuit board or terminals. Follow the manufacturer's specifications and guidelines for proper component installation.
6. Soldering and Secure Connection
If the replacement components require soldering, employ proper soldering techniques to establish reliable electrical connections. Ensure that the solder joints are clean, free from excess solder, and securely bonded to the circuit board or terminals. Double-check the connections to verify their integrity before proceeding.
Read more: How To Fix A Leaking Washer
7. Reassembly and Testing
After the replacement components have been installed and secured, reassemble the washing machine timer by following the reverse of the disassembly steps. Reconnect any electrical wires or terminals, ensuring that each connection is secure and properly insulated. Once reassembled, conduct thorough functional tests to validate the effectiveness of the component replacements and the overall functionality of the timer.
By meticulously following these steps, homeowners or technicians can effectively replace faulty components within the washing machine timer, restoring its operational reliability and ensuring the seamless functioning of the appliance. This systematic approach to component replacement contributes to the longevity and performance of the washing machine, addressing the specific issues that initially affected the timer's functionality.
Reassembling the Washing Machine Timer
Reassembling the washing machine timer is a crucial phase of the repair process, as it involves restoring the timer to its operational state within the appliance. Following the successful identification and replacement of faulty components, the reassembly process ensures that the timer is integrated back into the washing machine with precision and attention to detail. Here are the detailed steps for reassembling the washing machine timer:
-
Positioning the Timer Assembly: Begin by carefully placing the repaired timer assembly back into its designated position within the washing machine. Ensure that the timer aligns correctly with the mounting points and that any securing brackets or screws are positioned for reattachment.
-
Reconnecting Electrical Wires: Re-establish the electrical connections to the timer, ensuring that each wire is securely reattached to its corresponding terminal. Exercise caution to avoid cross-wiring or misalignment of the connections, as proper electrical continuity is essential for the timer's functionality.
-
Securing the Timer Housing: If the timer assembly is housed within a cover or casing, reattach the housing by securing any screws, clips, or fasteners that hold it in place. Verify that the housing is firmly and evenly positioned to prevent any undue stress on the timer assembly.
-
Reattaching Control Knobs or Interfaces: If the washing machine timer features control knobs or interfaces, carefully reattach them to the timer spindle or interface panel. Ensure that the knobs are aligned with the timer's settings and that they engage smoothly for intuitive operation.
-
Functional Testing: Once the reassembly is complete, conduct comprehensive functional tests to validate the proper integration of the timer within the washing machine. Manually cycle through the various wash and spin settings to observe the timer's responsiveness and accuracy in initiating and progressing through the designated cycles.
-
Final Inspection: Perform a final visual inspection of the reassembled timer and its surrounding components to confirm that all elements are securely positioned and free from any obstructions. Verify that the electrical connections are insulated and properly routed to prevent interference with other components.
By meticulously following these reassembly steps, the washing machine timer can be seamlessly integrated back into the appliance, culminating in the successful restoration of its functionality. This meticulous approach ensures that the repaired timer operates reliably and contributes to the overall efficiency and performance of the washing machine, providing homeowners with a dependable laundry appliance for their daily needs.
Testing the Washing Machine Timer After Fixing
After the meticulous process of disassembling, identifying faulty components, replacing them, and reassembling the washing machine timer, the final crucial step is to conduct comprehensive testing to ensure that the timer operates seamlessly and accurately. Testing the washing machine timer after fixing involves a series of systematic evaluations to validate its functionality and reliability. Here's a detailed guide on how to effectively test the washing machine timer after completing the repair process:
Functional Cycle Testing
Initiate the testing process by running the washing machine through a complete cycle, including the various wash, rinse, and spin settings. Observe the timer's behavior as it progresses through each stage, ensuring that it accurately advances and initiates the corresponding actions within the appliance. Pay close attention to the timing accuracy and the synchronization of the timer with the operational sequences of the washing machine.
Read more: How To Fix A Washer Machine
Load Capacity Testing
Conduct load capacity testing by running the washing machine with different load sizes, ranging from small to large loads of laundry. This comprehensive testing approach allows for the observation of the timer's performance under varying load conditions, ensuring that it consistently delivers precise timing and operational control regardless of the laundry volume.
Cycle Interruption Testing
Simulate cycle interruptions during the washing process to assess the timer's responsiveness and recovery capabilities. Intentionally pause the washing machine mid-cycle and then resume the operation to verify that the timer accurately resumes the cycle from the point of interruption, demonstrating its resilience and adaptability to user-initiated adjustments.
Duration and Accuracy Verification
Measure the duration of each cycle and compare it against the expected timing for different wash programs. Verify the accuracy of the timer's duration for each cycle, ensuring that it aligns with the manufacturer's specifications and delivers consistent and reliable performance across all programmed settings.
User Interface Testing
Test the user interface elements, such as control knobs, buttons, and digital displays, to ensure that they interact seamlessly with the repaired timer. Confirm that the user inputs for cycle selection and adjustments are accurately reflected in the timer's operation, providing users with intuitive and responsive control over the washing machine's functions.
Read more: How To Fix A Kenmore Washer
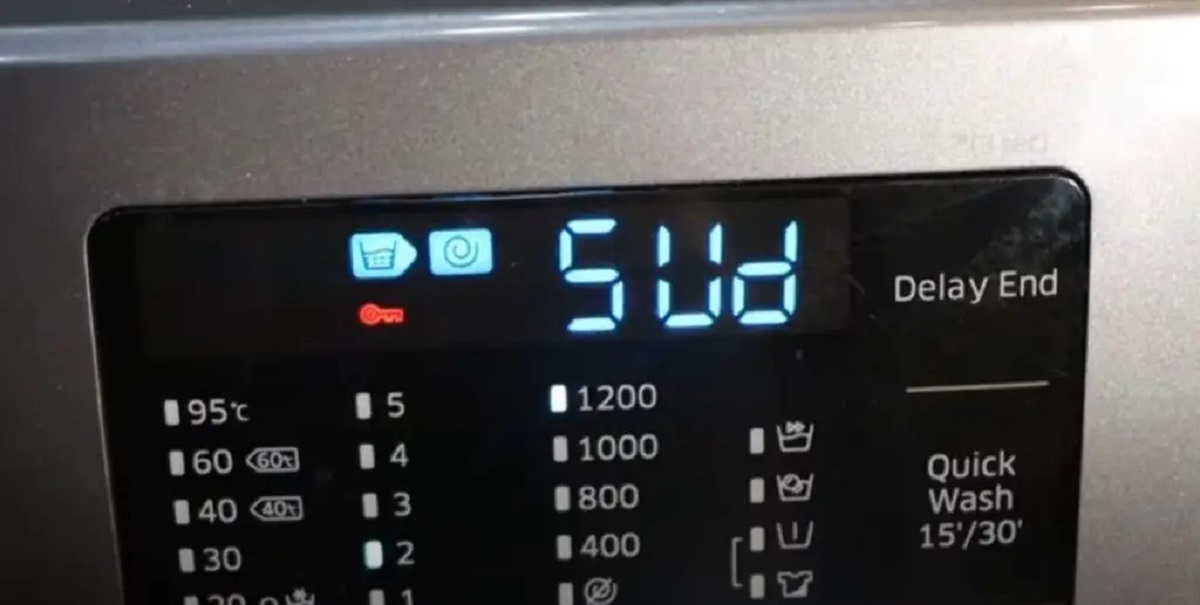
Error Code Monitoring
Monitor the washing machine's error code system, if applicable, to detect any potential error messages or malfunctions related to the timer's operation. Address any error codes promptly and verify that the repaired timer effectively communicates operational status and diagnostic information through the appliance's interface.
By meticulously conducting these comprehensive tests, homeowners or technicians can validate the successful repair and restoration of the washing machine timer. The testing process serves as a critical validation of the repair work, ensuring that the timer operates reliably, accurately, and consistently across various operational scenarios. This meticulous approach to testing contributes to the overall reliability and longevity of the washing machine, providing users with a fully functional and dependable laundry appliance for their daily needs.
Frequently Asked Questions about How To Fix A Washing Machine Timer
Was this page helpful?
At Storables.com, we guarantee accurate and reliable information. Our content, validated by Expert Board Contributors, is crafted following stringent Editorial Policies. We're committed to providing you with well-researched, expert-backed insights for all your informational needs.


0 thoughts on “How To Fix A Washing Machine Timer”