Articles
How To Start A Herb Garden
Modified: October 20, 2024
Learn how to start a herb garden with our expert gardening tips and advice. Start growing your own herbs at home and enjoy fresh flavors in your meals.
(Many of the links in this article redirect to a specific reviewed product. Your purchase of these products through affiliate links helps to generate commission for Storables.com, at no extra cost. Learn more)
Introduction
Welcome to the wonderful world of herb gardening! Whether you have a spacious backyard or a tiny balcony, growing your own herbs can be a rewarding and fulfilling experience. Not only do herbs add beauty to your space, but they also provide a wealth of culinary and medicinal benefits.
In this article, we will guide you through the process of starting your very own herb garden. From choosing the right location to harvesting and using your herbs, we will cover everything you need to know to get started. So, let’s dig in!
Herb gardens have a long history dating back centuries, with herbs being utilized for culinary, medicinal, and aromatic purposes. From the fragrant lavender and invigorating mint to the versatile basil and calming chamomile, each herb brings its unique set of flavors and benefits to the table.
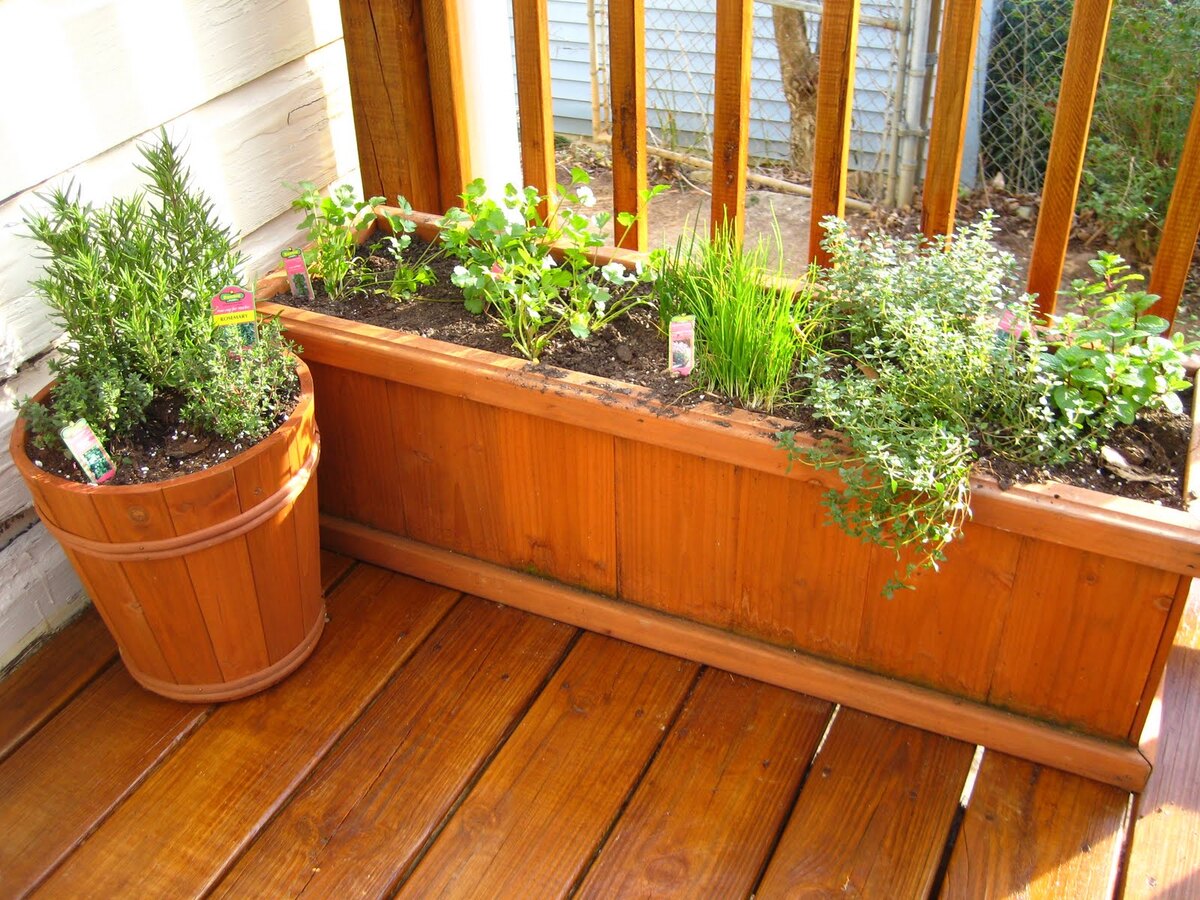
One of the great things about herb gardening is its versatility. You can grow herbs in various ways – whether it’s in containers, raised beds, or even as part of your existing landscaping. This flexibility allows you to create a garden that suits your available space and personal preferences.
Before diving into the details, it’s important to mention that gardening, including herb gardening, is a process that requires patience and care. But fear not! With a little bit of planning and dedication, you’ll be well on your way to enjoying a bountiful herb garden.
In the next sections, we’ll explore the key aspects of starting and maintaining a successful herb garden. From selecting the right herbs to understanding the essential care and harvesting techniques, you’ll be equipped with the knowledge to embark on your herb gardening journey.
So, let’s get started by finding the perfect location for your herb garden!
Key Takeaways:
- Cultivate a thriving herb garden by choosing the right location with ample sunlight and well-draining soil. Select herbs based on culinary preferences, space, and climate, and care for them with attention to watering, fertilizing, and pest control.
- Enjoy the rewards of your herb garden by incorporating homegrown herbs into cooking and exploring their potential medicinal benefits. Experiment with flavors, pairings, and preservation methods to elevate culinary creations and support wellness.
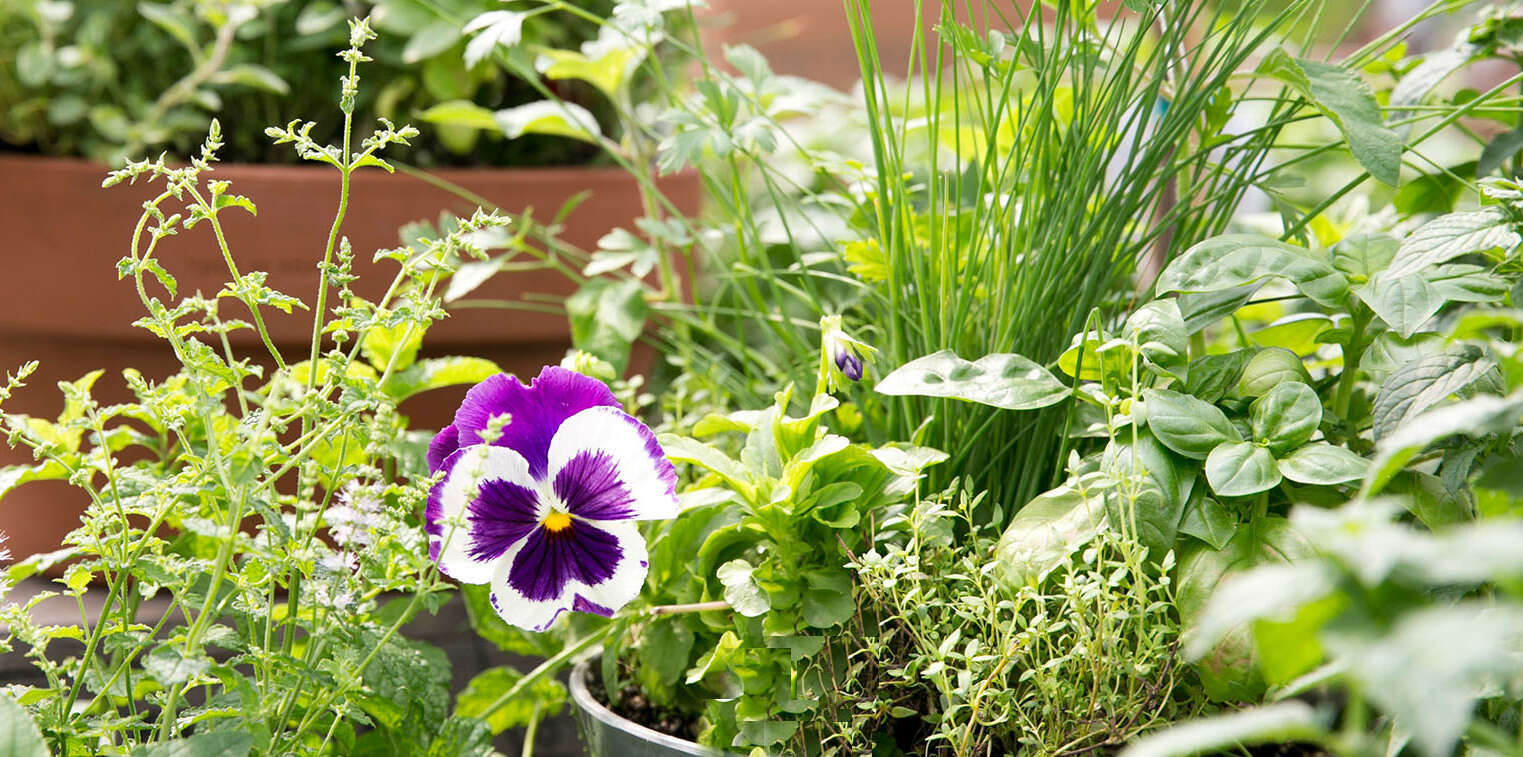
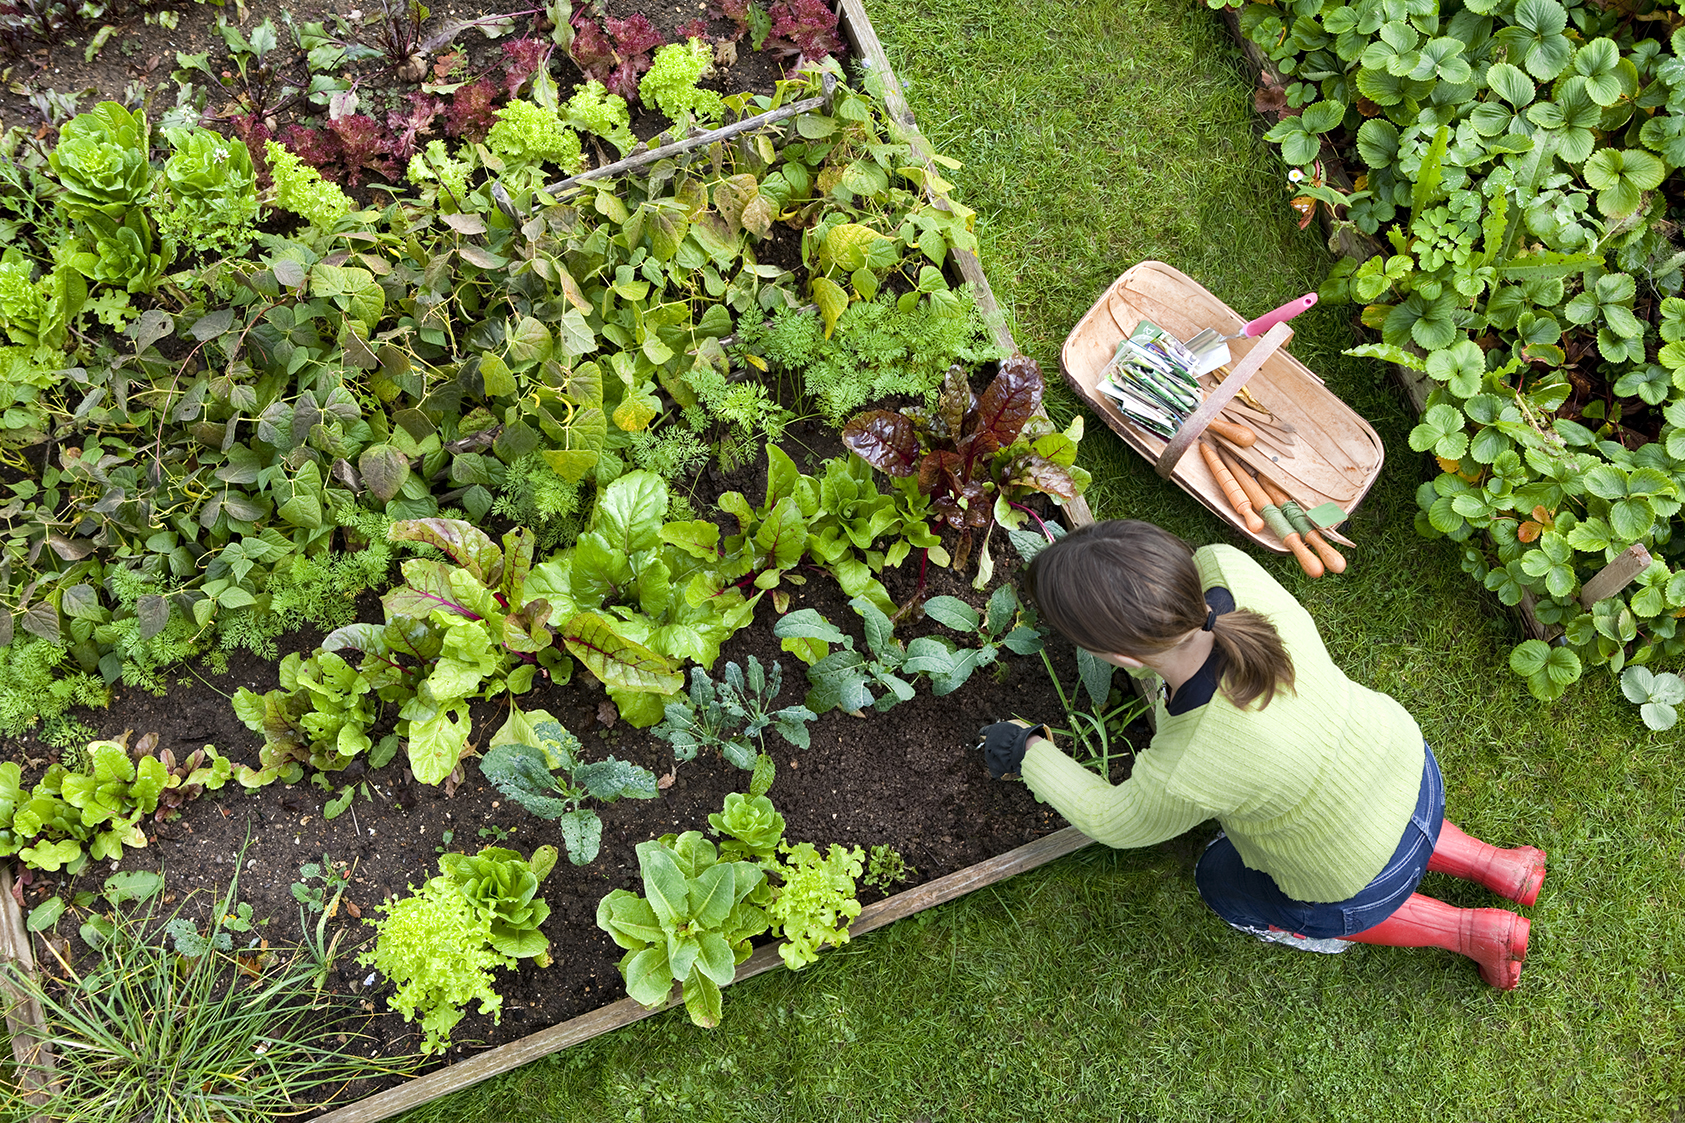
Choosing the Right Location for Your Herb Garden
When it comes to herb gardening, choosing the right location is crucial for the success of your plants. Herbs require specific conditions to thrive and produce flavorful leaves, so it’s important to assess your space before starting your garden.
The first consideration is sunlight. Most herbs crave sunlight and require at least 6-8 hours of direct sunlight per day. Ideally, choose a location that receives the most sunlight during the day. South-facing areas are usually the best in terms of sun exposure. If you have limited access to direct sunlight, don’t worry! Some herbs, like parsley and mint, can tolerate partial shade.
Next, evaluate the soil quality. Well-draining soil is essential for herb growth. Herbs don’t like to sit in waterlogged soil, so make sure your chosen location has good drainage. If your soil is heavy and compacted, consider adding organic matter such as compost or sand to improve drainage and provide nutrients.
Another factor to consider is proximity to a water source. It’s important to have easy access to water when tending to your herb garden. Watering herbs regularly is vital, especially during dry periods or hot summer months. So, choose a location that is convenient for watering without extra hassle.
If you live in an area with extreme weather conditions, such as high winds or frost, it’s essential to provide some protection for your herbs. Planting near a wall or fence can offer shelter from harsh elements. Alternatively, you can use row covers or construct a simple greenhouse to shield your herbs.
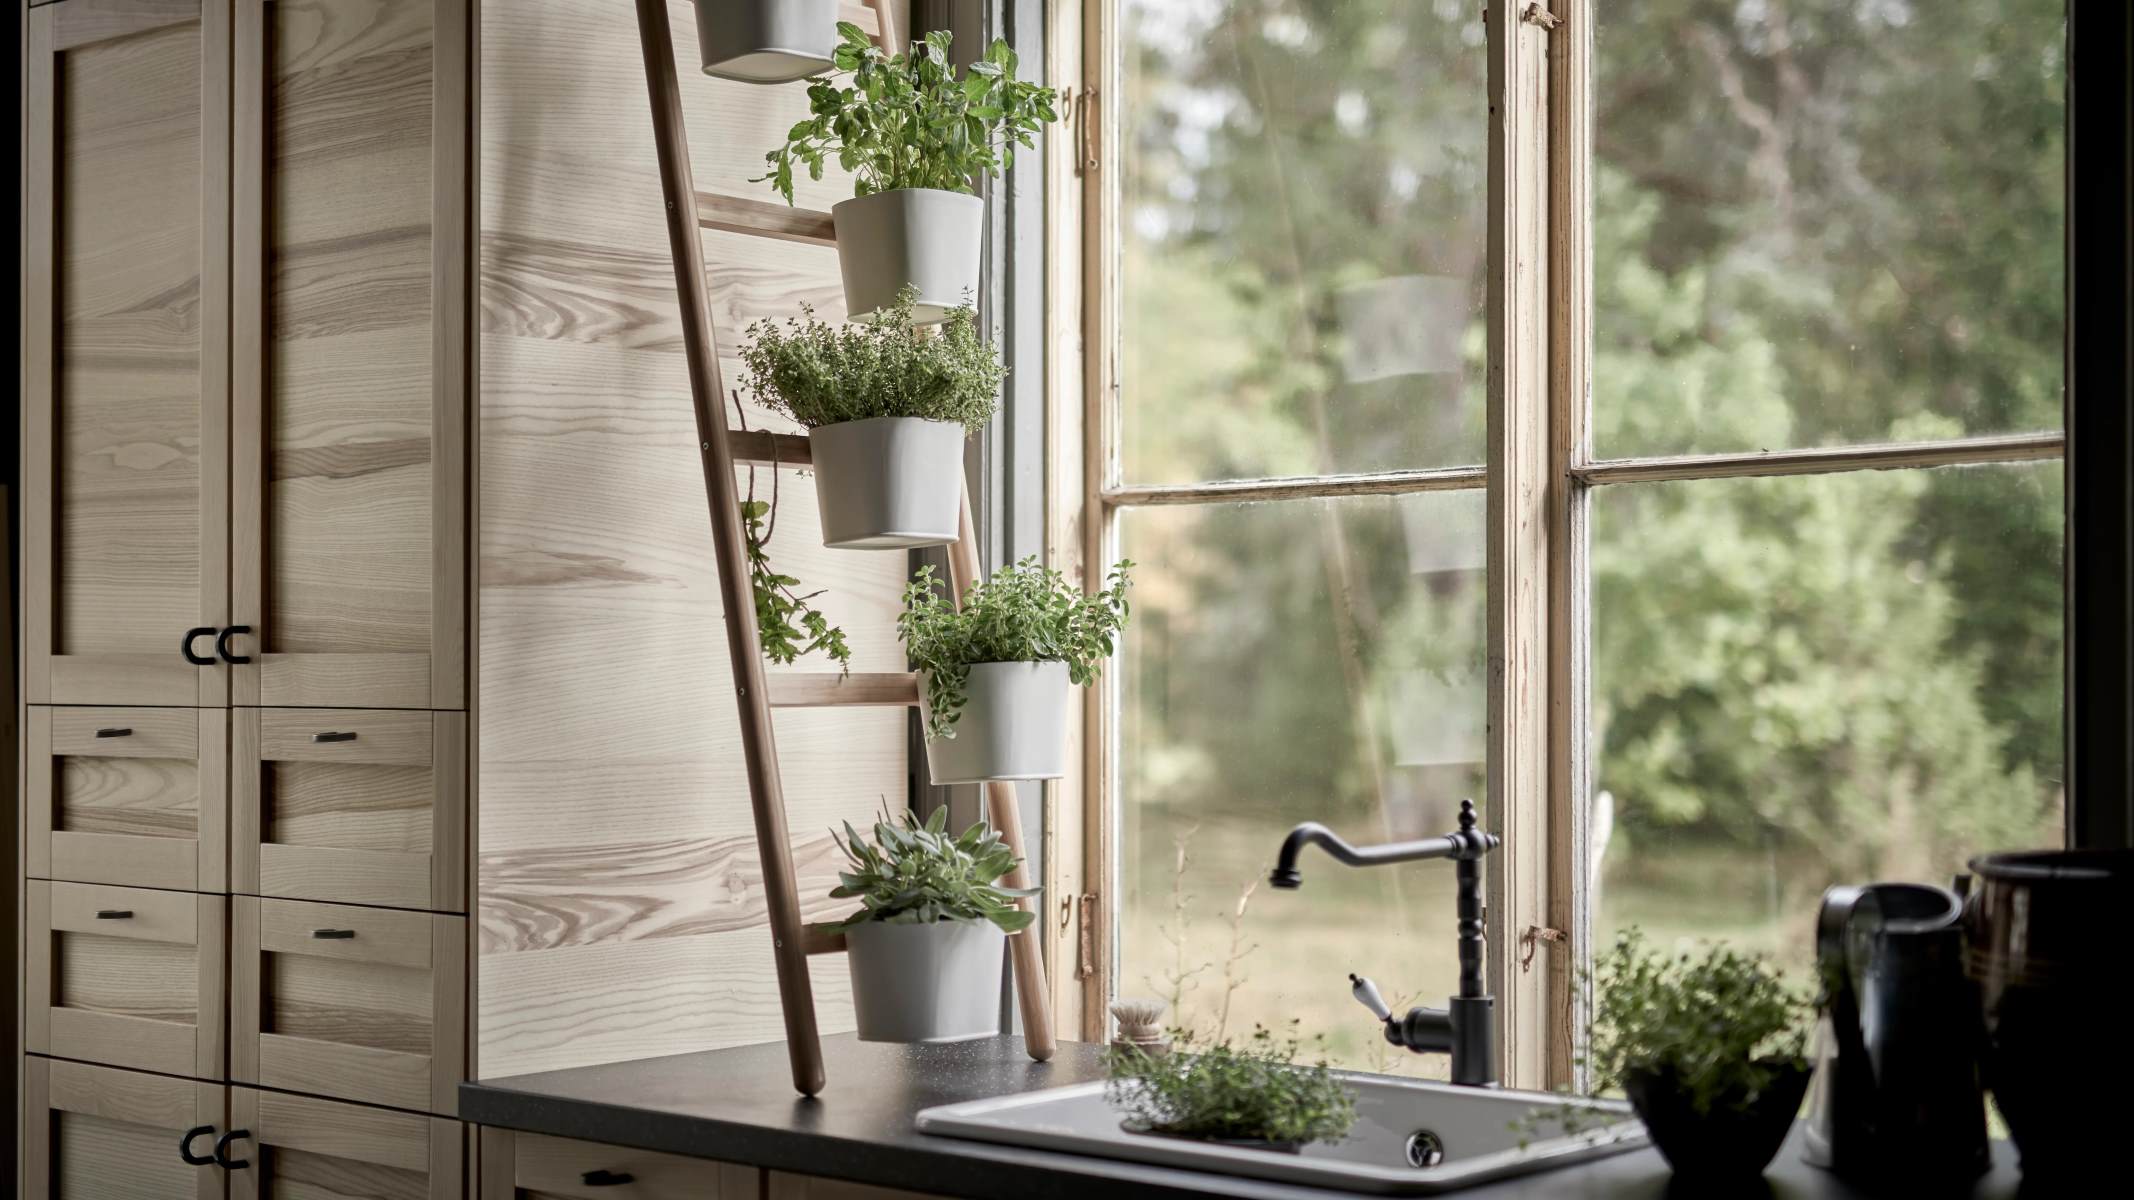
Consider the convenience factor. Are you planning to use your herbs for cooking? If yes, it’s beneficial to plant them near your kitchen for easy access. Having herbs just a few steps away from your cooking area makes it convenient to harvest them fresh and use them in your culinary creations.
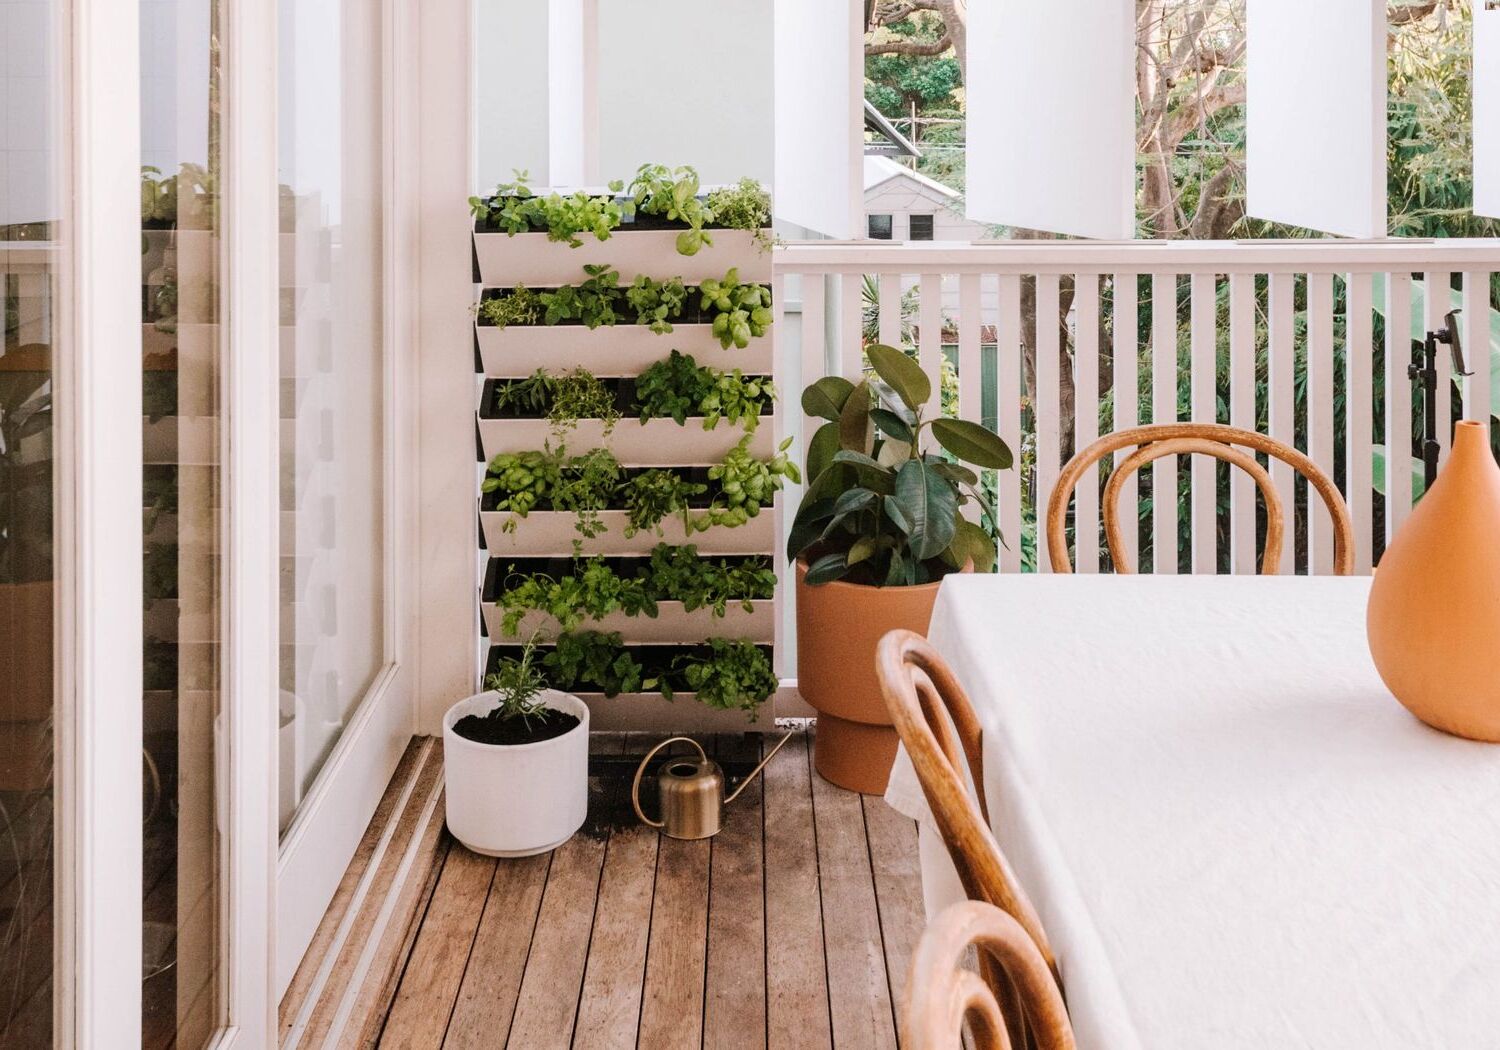
Lastly, aesthetic appeal is worth mentioning. Herb gardens can be as visually pleasing as they are functional. Consider integrating your herb garden into your existing landscape design or create a separate dedicated space for it. You can use raised beds, containers, or even vertical gardening techniques to add a touch of charm to your outdoor space.
By carefully considering these factors, you can select the ideal location for your herb garden. Remember, herbs are versatile and can adapt to different environments. With the right care and attention, your herb garden will flourish and provide you with a fragrant and flavorful harvest year-round.
Selecting the Herbs to Grow
Now that you have chosen the perfect location for your herb garden, it’s time to decide which herbs to grow. The herbs you select will depend on various factors, such as your personal preferences, culinary needs, and the growing conditions in your area.
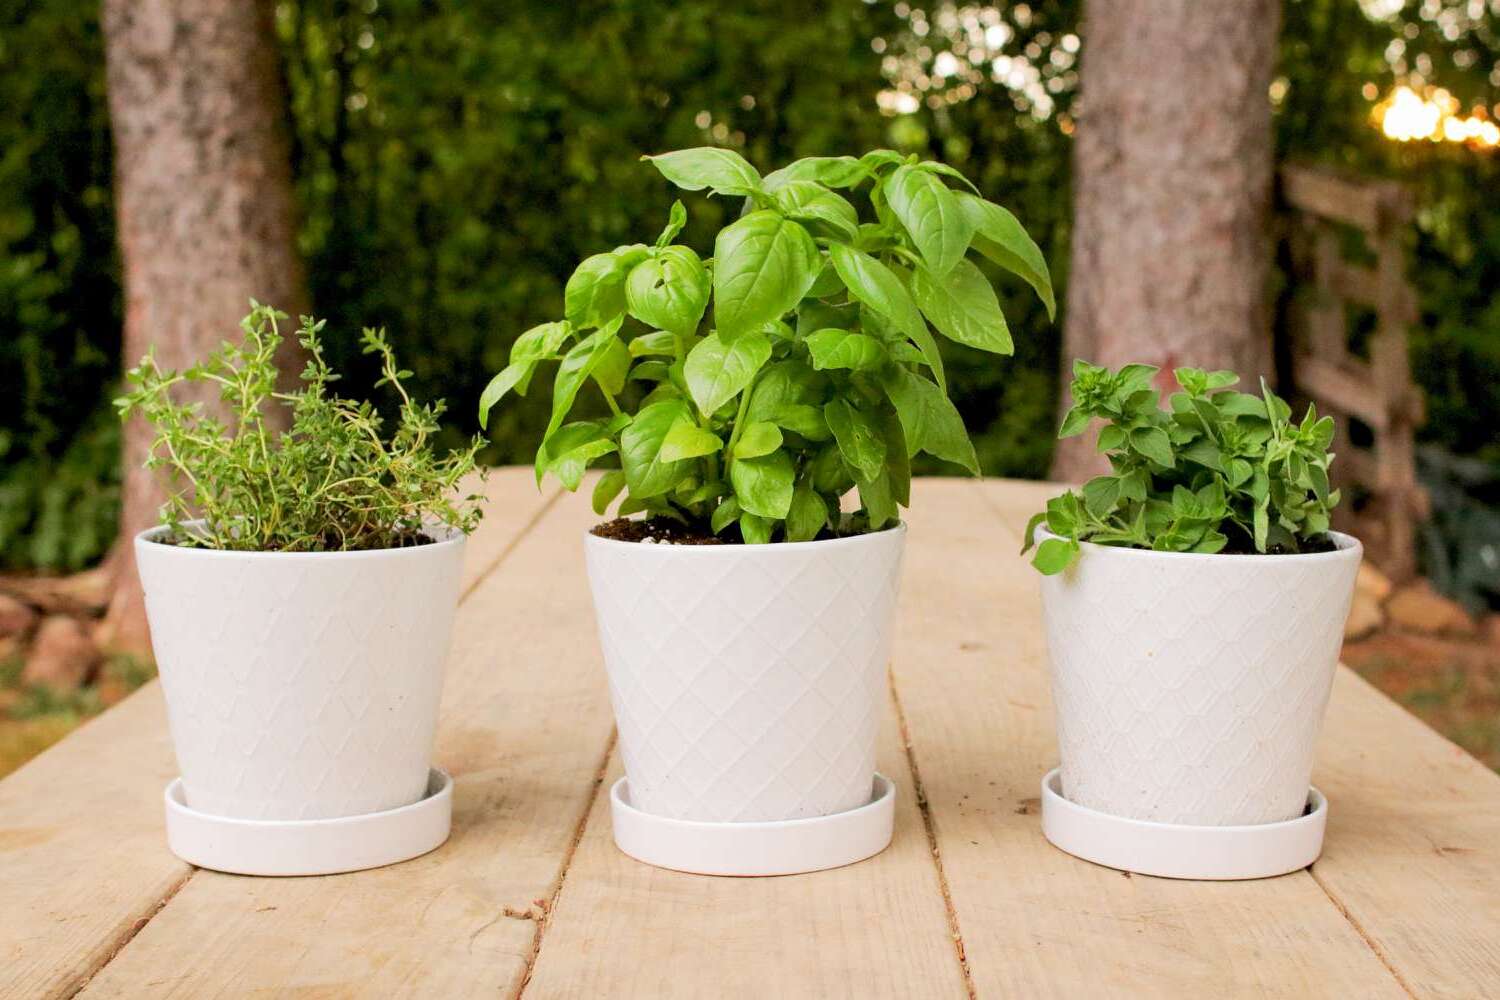
Consider starting with some essential and versatile herbs that are commonly used in cooking. These include basil, rosemary, thyme, parsley, and mint. These herbs can be used in a wide range of dishes and are relatively easy to grow.
However, don’t limit your choices to just these popular herbs. Explore and experiment with less common varieties to add variety and excitement to your garden and culinary experiences. Some unique herbs to consider include lemon balm, lavender, chamomile, chives, and cilantro.
If you have limited space, you might want to prioritize herbs that you frequently use in your cooking or those with specific health benefits. For example, if you love Italian cuisine, focus on growing herbs like oregano, basil, and thyme. On the other hand, if you are interested in herbal teas and natural remedies, consider growing herbs such as chamomile, peppermint, and lemon balm.
It’s also worth considering the growth habit of the herbs you choose. Some herbs, like mint and lemon balm, have a tendency to spread and can become invasive if not contained. These herbs are better grown in containers or designated areas to prevent them from taking over your garden.
Another factor to keep in mind is the climate and growing conditions in your area. Certain herbs thrive in specific climates, so it’s important to choose herbs that are well-suited to your region. Research the recommended growing zones for the herbs you’d like to grow to ensure they will thrive in your garden.
Consider the maintenance level of the herbs you choose. Some herbs, like basil and cilantro, have a relatively short lifespan and need to be replanted regularly. Others, like rosemary and thyme, are perennial and will come back year after year with minimal effort. Choose a mix of annuals and perennials to ensure you have a continuous supply of fresh herbs throughout the seasons.
Lastly, don’t be afraid to experiment and try new herbs. Herb gardening is an opportunity to explore the wonderful world of flavors and aromas. Have fun with your selections and discover the herbs that speak to your taste buds and gardening style.
By considering your culinary preferences, garden space, climate, and maintenance requirements, you can create a diverse and thriving herb garden that caters to your needs and brings joy to your gardening and cooking endeavors.
Preparing the Soil for Your Herb Garden
A crucial step in setting up your herb garden is preparing the soil. Good-quality soil provides the essential nutrients and drainage that herbs need to grow strong and healthy. By giving attention to the soil preparation, you set the foundation for a thriving herb garden.
Start by clearing the area of any weeds, grass, or debris. Remove rocks and large clumps of soil, as they can hinder root growth and drainage. Using a garden fork or tiller, loosen the soil to a depth of about 8-10 inches. This helps create a loose and aerated medium for the herbs’ roots to penetrate.
Next, assess the soil composition and texture. Herbs generally prefer well-draining soil that is rich in organic matter. If your soil is heavy and clay-like, amend it with organic matter such as compost, well-rotted manure, or peat moss. These additions improve the soil’s drainage and water retention capabilities while providing essential nutrients.
Add the organic matter to the soil and mix it thoroughly, ensuring it is evenly distributed. Aim for a ratio of about 1 part organic matter to 3 parts soil. This will create a nutrient-rich environment that promotes healthy root development.
Consider conducting a soil test to determine the pH level of your soil. Most herbs prefer a slightly acidic to neutral pH range between 6.0 and 7.0. If your soil is too acidic (low pH), you can raise it by adding lime. Conversely, if it is too alkaline (high pH), you can lower it by adding sulfur or acidic organic matter.
It’s important to note that different herbs have specific soil requirements. For example, herbs like lavender and rosemary thrive in slightly alkaline soil, while others like parsley and mint prefer slightly acidic soil. Research the soil preferences of the herbs you are growing to ensure you provide the optimal conditions.
Once you have amended the soil and adjusted the pH if necessary, rake the soil surface to create a smooth and level bed. Remove any large clumps or debris that may impede planting or hinder watering. A leveled bed ensures even water distribution and ease of planting.
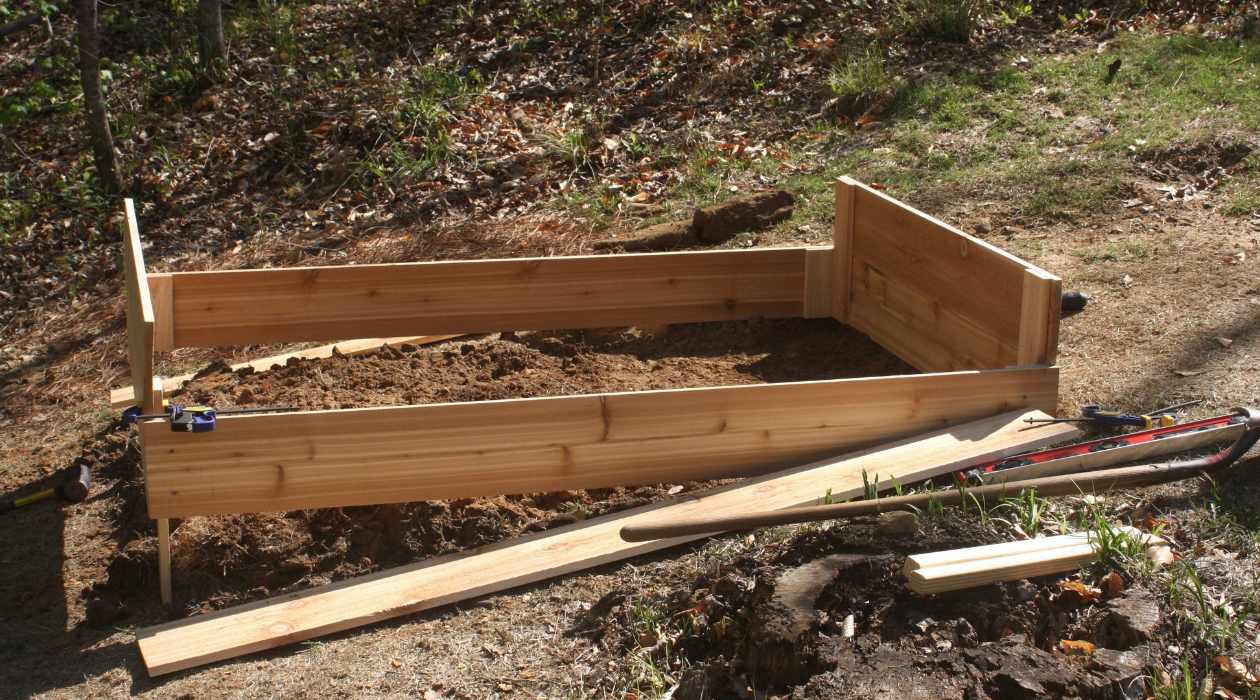
In some cases, you may need to consider additional drainage measures. If you have heavy clay soil that tends to retain water, you can create raised beds or incorporate organic matter further to improve draining. Alternatively, you can plant herbs in containers or pots with well-draining potting mixes.
By taking the time to properly prepare the soil, you provide a healthy growing environment for your herbs. The effort put into soil preparation sets the stage for strong root development, nutrient uptake, and overall plant health. With well-prepared soil, you are well on your way to a flourishing and productive herb garden.
Starting from Seeds or Transplants: Which is Best?
When it comes to starting your herb garden, one of the decisions you’ll need to make is whether to start from seeds or transplants. Both methods have their own benefits and considerations, so let’s explore which option may be best for you.
Starting from seeds allows you to have a wider variety of herbs to choose from. Seed catalogs offer an extensive selection of herb varieties, including unique and heirloom options that may not be available as transplants. This gives you the opportunity to truly personalize your herb garden and explore different flavors and aromas.
Moreover, starting from seeds offers a sense of satisfaction and accomplishment as you witness the entire growth process, from seed to mature plant. It can be a rewarding experience to nurture and care for the seeds as they germinate, watching their progress day by day.
Another benefit of starting from seeds is the cost-effectiveness. Herb seeds are often inexpensive compared to purchasing transplants. With a single packet of seeds, you can have multiple plants, giving you a plentiful supply of herbs without breaking the bank.
However, starting from seeds requires patience and time. Some herb seeds can take a few weeks to germinate and require specific conditions such as temperature and moisture. You may need to provide additional care such as watering, thinning, and transplanting as the seedlings grow. This method is recommended for gardeners who have the time and dedication to devote to the seed starting process.
If you prefer a more convenient and time-saving approach, starting from transplants may be the better choice for you. Transplants, or nursery-grown herb plants, are already established and ready to be planted directly into your garden. They are readily available at local garden centers, saving you the effort of starting from seeds and caring for seedlings.
With transplants, you can have a head start in your herb garden. They are generally more mature, which means you can begin harvesting and using the herbs sooner than if you started from seeds. This is particularly advantageous for herbs with longer growing seasons or those that require a longer time to reach maturity.
Transplants also provide a higher success rate compared to seeds, as they are already established and have stronger root systems. This can be beneficial for beginner gardeners or those who may not have the ideal conditions for starting seeds.
However, there may be a more limited selection of herb varieties available as transplants compared to seeds. Additionally, purchasing transplants can be more expensive, especially if you require a large number of plants.
Ultimately, the decision between starting from seeds or transplants depends on your personal preferences, gardening experience, and the available resources. You may also choose to use a combination of both methods – starting some herbs from seeds and others from transplants to maximize variety and convenience in your herb garden.
Whichever method you choose, be sure to provide proper care and attention to your herbs as they grow. With a little patience, time, and love, your herb garden will flourish, providing you with a consistent supply of fresh, aromatic, and flavorful herbs.
Read more: A Beginner’s Guide To Indoor Herb Gardening
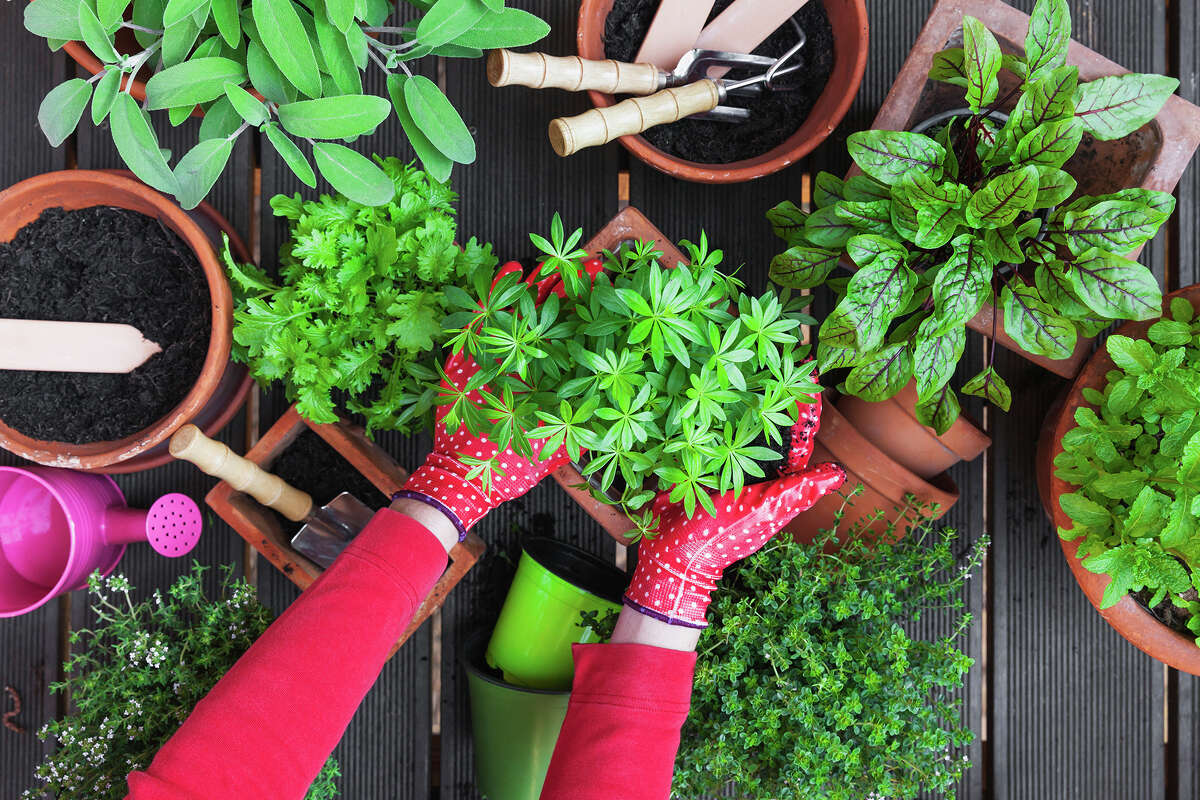
Planting and Caring for Your Herb Garden
Now that you have selected your herbs and prepared the soil, it’s time to dive into the exciting phase of planting and caring for your herb garden. This step-by-step guide will help you ensure that your herbs thrive and reach their full potential.
Step 1: Digging and Planting
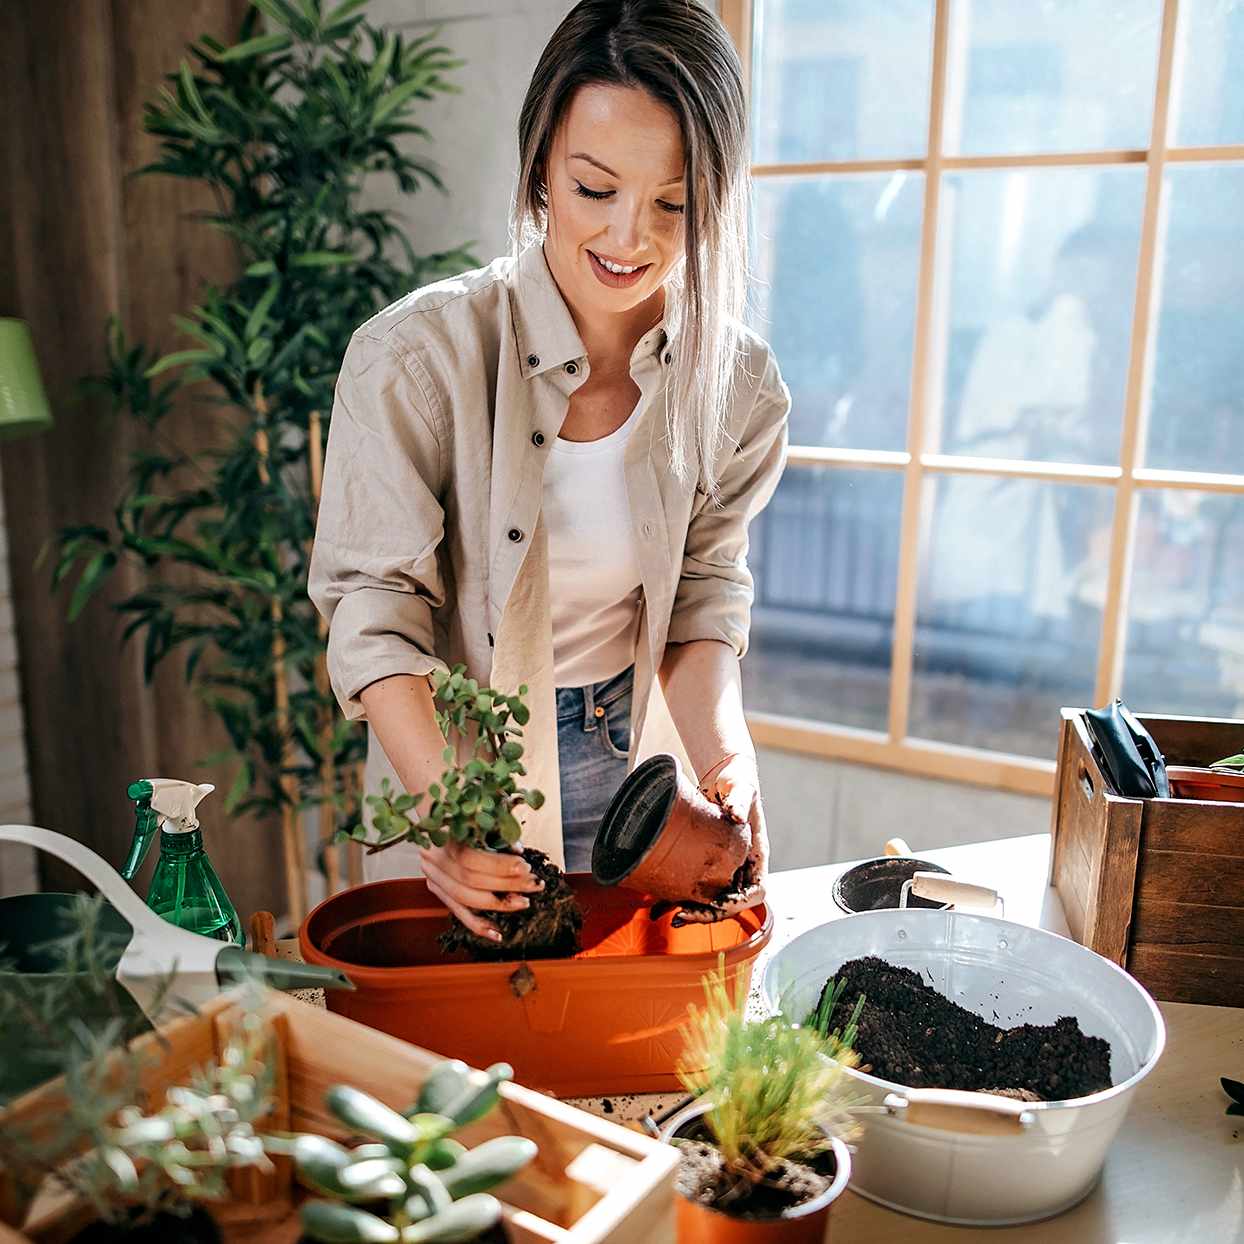
Using a trowel or your hands, dig a hole that is deep enough to accommodate the root system of your herb plant. Gently remove the plant from its container, being careful not to damage the roots, and place it in the hole. Backfill the hole with soil, firming it gently around the base of the plant.
Step 2: Spacing
Give your herbs enough space to grow and spread. Follow the spacing recommendations provided on the plant tag or seed packet. Proper spacing allows for good air circulation and prevents overcrowding, which can lead to disease and hinder growth.
Step 3: Watering
After planting, water your herbs thoroughly to settle the soil around the roots. Herbs need regular and consistent watering to ensure proper growth. Water deeply, but avoid over-watering, as herbs generally prefer well-draining soil. Monitor the moisture levels in the soil and adjust watering accordingly.
Step 4: Mulching
Apply a layer of organic mulch around the base of your herbs. Mulching helps to retain moisture, suppress weed growth, and regulate soil temperature. Use materials like straw, wood chips, or compost as mulch, ensuring that you keep it a few inches away from the stems of the plants to prevent rotting.
Step 5: Pruning and Harvesting
Regular pruning and harvesting are essential for the health and vitality of your herb garden. Pinch off any flowers that appear, as this promotes better foliage growth. Harvest herbs frequently by snipping the leaves or stems, encouraging the plant to produce more. Be sure not to remove more than one-third of the plant’s growth at a time.
Step 6: Fertilizing
Herbs generally do not require heavy fertilization, as too much can diminish their flavors. Organic fertilizers or compost can be applied sparingly to provide nutrients. Follow the instructions on the fertilizer container or consult with a local gardening expert for specific recommendations based on your herb selection.
Step 7: Pest and Disease Control
Keep an eye out for common pests, such as aphids, snails, and slugs, which can damage your herb plants. Regularly inspect the foliage and take appropriate measures, such as handpicking or applying organic pest control methods, to keep infestations under control. Also, monitor your herbs for any signs of disease, such as leaf spots or wilting, and take prompt action, such as appropriate pruning or treatment, to prevent further spread.
Remember, caring for your herb garden is an ongoing process. Regularly assess the health of your herbs, adjust watering and fertilizing as needed, and continue to harvest and enjoy their flavors and aromas. With proper care and attention, your herb garden will flourish, providing you with a continuous supply of fresh, aromatic, and flavorful herbs to enhance your culinary creations.
Choose the right location for your herb garden. Most herbs need at least 6 hours of sunlight per day, so select a spot that receives plenty of sunlight.
Watering and Fertilizing Your Herbs
Watering and fertilizing are two crucial aspects of caring for your herb garden. Proper watering ensures that your herbs receive the right amount of moisture, while appropriate fertilization provides the necessary nutrients for healthy growth. Let’s dive into the best practices for watering and fertilizing your herbs.
Watering:
Herbs generally prefer well-draining soil, so it’s important to strike a balance when watering. Overwatering can lead to root rot and other fungal diseases, while underwatering can cause stress and hinder growth. Here are some guidelines to follow:
- Monitor the soil moisture: Check the soil moisture regularly by inserting your finger about an inch deep into the soil. If it feels dry at that depth, it’s time to water your herbs.
- Water deeply: When you water your herbs, water deeply to ensure the moisture reaches the entire root system. This encourages the roots to grow deeper into the soil. Avoid shallow watering, as it can lead to shallow root growth.
- Water in the morning: It’s best to water your herbs in the morning, allowing the foliage to dry during the day. This helps prevent fungal diseases that thrive in damp conditions.
- Avoid overhead watering: Water the soil directly at the base of the plants, avoiding overhead watering whenever possible. This helps prevent splashing soil onto the leaves, which can also contribute to disease development.
- Adjust watering with the seasons: During hot and dry periods, you may need to water your herbs more frequently. In cooler and rainy periods, you can reduce watering. It’s important to adapt to the specific needs of your herbs and the climate in your area.
Fertilizing:
Proper fertilization is essential to provide your herbs with the nutrients they need for healthy growth. However, it’s important not to over-fertilize, as this can lead to excessive foliage growth and less intense flavors. Here are some tips for fertilizing your herbs:
- Use organic fertilizers: Organic fertilizers, such as compost or well-rotted manure, are excellent choices for feeding your herbs. They provide slow-release nutrients and improve the overall soil structure without the risk of chemical buildup.
- Apply fertilizers sparingly: Herbs generally require minimal fertilization. Too much fertilizer can result in excessive leafy growth at the expense of flavor. Follow the instructions on the fertilizer packaging and use sparingly.
- Apply fertilizer at the right time: Apply fertilizers in the early spring or during the growing season when your herbs are actively growing. Avoid fertilizing late in the season, as this can prompt new growth that may not have enough time to harden off before winter.
- Top-dress with compost: A simple and effective way to provide nutrients to your herbs is to top-dress the soil with compost. This can be done by spreading a thin layer of compost around the base of the plants.
- Monitor the signs of nutrient deficiency: Keep an eye out for any signs of nutrient deficiency, such as yellowing leaves or stunted growth. If you notice these symptoms, consider applying a balanced organic fertilizer to provide the necessary nutrients.
Remember to always follow the specific recommendations for your herb varieties, as their nutrient requirements may vary. With proper watering and fertilizing practices, your herbs will thrive, yielding abundant flavors and aromas to enhance your culinary creations.
Harvesting and Preserving Your Herbs
One of the joys of having an herb garden is being able to harvest and enjoy the flavors and aromas of your homegrown herbs. Harvesting herbs at the right time and preserving them properly ensures that you can savor their freshness and goodness even beyond the growing season. Let’s explore the best practices for harvesting and preserving your herbs.
Harvesting:
Knowing when and how to harvest your herbs is essential for promoting continued growth and flavor development. Here are some tips for successful herb harvesting:
- Harvest in the morning: The morning is the optimal time to harvest herbs. At this time, the essential oils responsible for the flavors and aromas of the herbs are at their peak.
- Use sharp pruning shears or scissors: When harvesting, use sharp and clean pruning shears or scissors to make clean cuts. Avoid using your fingers to pinch or tear off the leaves, as this can damage the plant.
- Harvest before flowering: For optimal flavor, harvest herbs before they start to flower. Flowering can cause the herbs to become bitter and undesirable in taste.
- Harvest lightly: Avoid removing more than one-third of the plant’s growth at a time. This ensures that the herb plant can continue to grow and produce new foliage.
- Take a few leaves from each plant: Instead of harvesting from a single plant, it’s best to take a few leaves from each herb plant. This encourages a fuller and more balanced growth pattern.
- Choose the right stage: Different herbs have different harvesting preferences. For leafy herbs like basil and parsley, harvest the outer leaves first, allowing the inner leaves to continue growing. For woody herbs like rosemary and thyme, you can harvest sprigs as needed.
Preserving:
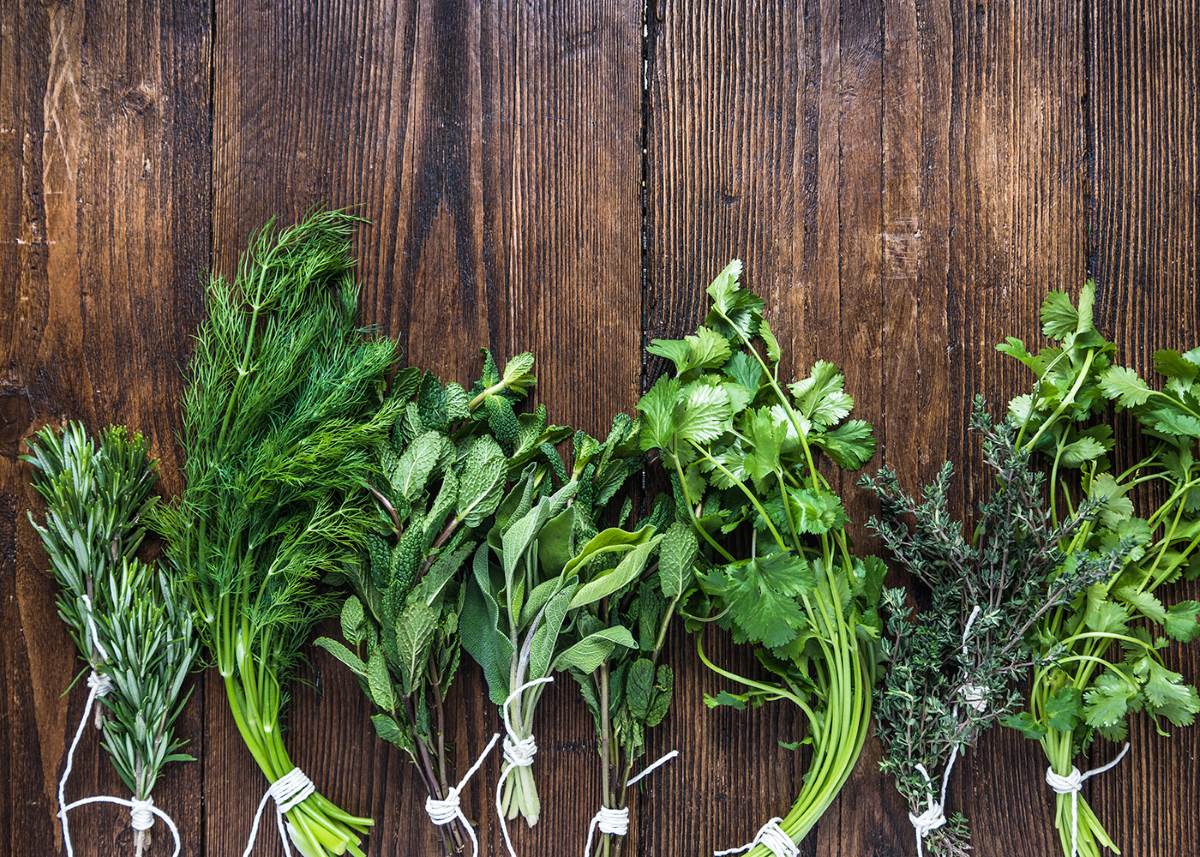
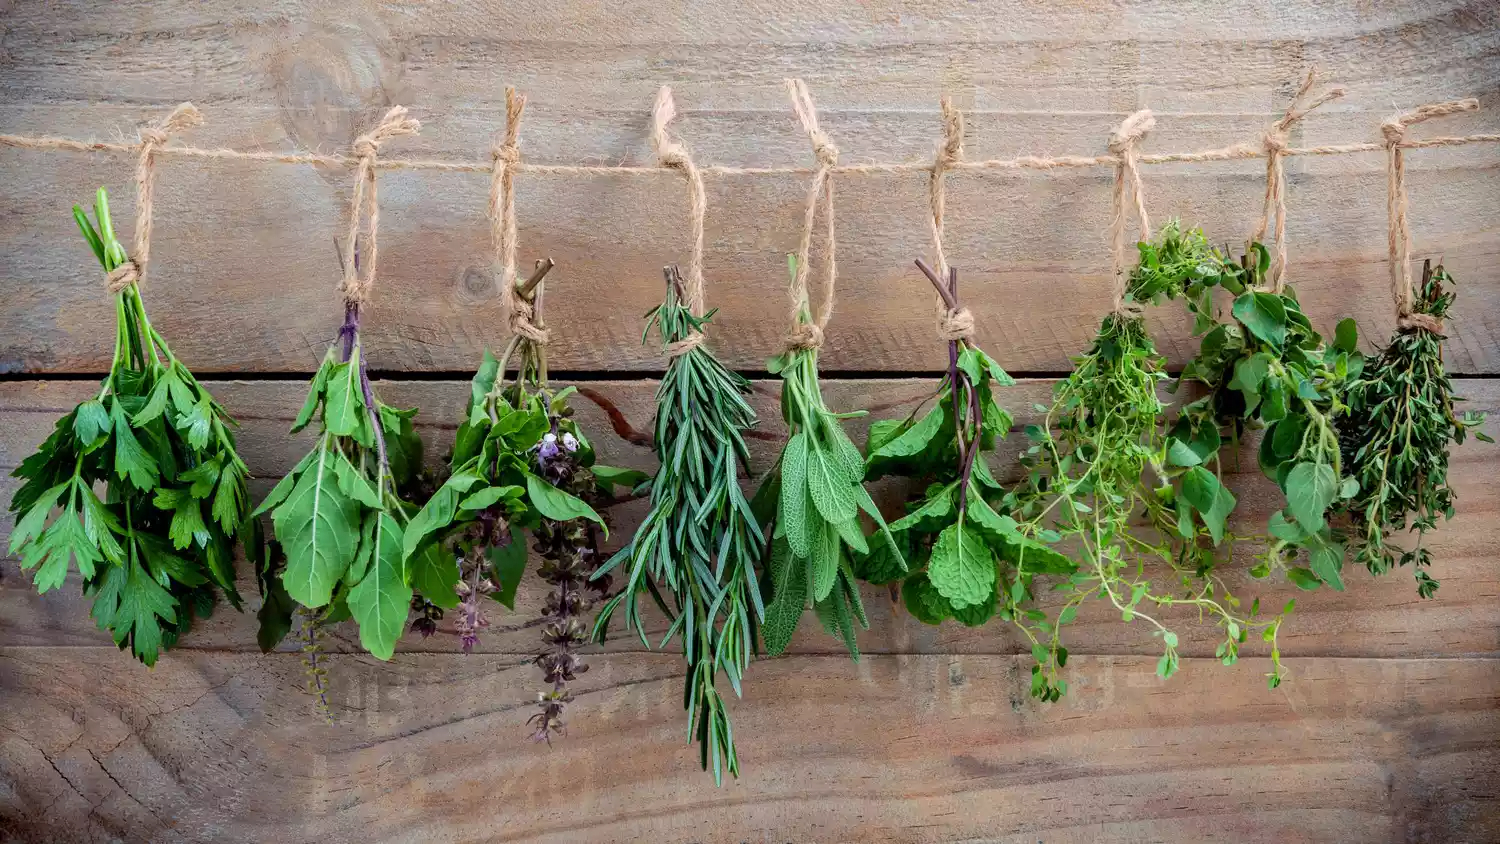
To enjoy your herbs beyond the growing season, it’s important to preserve them effectively. Here are a few methods for preserving your herbs:
- Drying: Air-drying is a traditional and simple method of preserving herbs. Gather small bundles of herb stems and hang them upside down in a dry, well-ventilated area away from direct sunlight. Once dried, crumble the leaves into jars or store them whole for future use.
- Freezing: Freezing herbs is a convenient method that helps retain the flavors and aromas. Wash and dry the herbs thoroughly, then chop or leave them whole. Place them in sealable containers or freezer bags and store in the freezer. Alternatively, you can freeze herbs in ice cube trays with a little water or olive oil.
- Herb-infused oils: Create delicious herb-infused oils by steeping herbs in quality olive, sunflower, or vegetable oil. Place the herbs in a sterilized glass jar and cover them with oil. Keep the jar in a warm spot for a few weeks, then strain the oil and store it in a cool, dark place.
- Herb butters: Blend chopped herbs with softened butter, then roll the mixture into a log shape using plastic wrap. Refrigerate or freeze the herb butter log and slice off portions as needed. Herb butter adds a burst of flavor to dishes and can be used in various recipes.
Remember to label your preserved herbs with the name and date to ensure freshness and proper usage. Experiment with different preservation methods to find what works best for each herb variety.
By harvesting your herbs at the right time and following proper preservation techniques, you can continue to enjoy the flavors and benefits of your homegrown herbs long after the growing season has ended.
Common Pests and Diseases in Herb Gardens
While herb gardening can be a delightful experience, it’s important to be aware of potential pests and diseases that can affect your herb plants. By promptly identifying and addressing these issues, you can protect your herbs and ensure their health and productivity. Let’s explore some of the common pests and diseases that can occur in herb gardens:
Pests:
- Aphids: These tiny, soft-bodied insects are a common nuisance in herb gardens. They suck the sap from the leaves, which can cause curling or yellowing. Aphids can be controlled by spraying a strong stream of water on the affected plants or by using insecticidal soap.
- Snails and Slugs: These slimy creatures can feast on herb leaves, causing irregular holes and damage. Remove them by handpicking or use organic slug and snail control methods, such as beer traps or copper barriers around your plants.
- Caterpillars: Caterpillars can chew through herb leaves, leaving ragged edges. They can be controlled by manually removing them from the plants or using organic methods like Bacillus thuringiensis (BT) or neem oil sprays.
- Whiteflies: These tiny white insects can be found on the undersides of herb leaves, sucking out plant sap and leaving behind sticky residue called honeydew. Introduce natural predators like ladybugs or use insecticidal soap to control whiteflies.
- Spider Mites: These minuscule mites can cause yellowing and webbing on herb leaves. Increase humidity around your plants by misting them regularly and use insecticidal soap to control and eliminate spider mites.
- Thrips: Thrips are tiny, slender insects that can damage herb leaves, causing silvery streaks and distorted growth. Control thrips by using sticky traps, releasing beneficial insects like predatory mites, or using insecticidal soap.
Diseases:
- Powdery Mildew: Powdery mildew appears as a white, powdery coating on herb leaves. It thrives in humid conditions and can affect the overall health of the plants. Improve air circulation, avoid overhead watering, and apply fungicidal sprays to control powdery mildew.
- Leaf Spot: Leaf spot diseases cause dark spots or lesions on herb leaves. Provide adequate spacing between plants to promote air circulation and avoid overhead watering. Pruning affected leaves and applying fungicidal sprays can help control leaf spot.
- Root Rot: Root rot is caused by overwatering or poorly drained soil, leading to rotting of the herb’s root system. Avoid overwatering and ensure proper drainage to prevent root rot. If affected, remove the affected plant and adjust watering practices.
- Downy Mildew: Downy mildew shows as yellow or brown patches on the undersides of herb leaves. It thrives in cool, wet conditions. Improve air circulation, avoid overhead watering, and apply fungicidal sprays to control downy mildew.
- Rust: Rust appears as orange-brown spores on herb leaves and stems. It typically thrives in humid conditions. Remove affected leaves and improve air circulation to prevent the spread of rust. Fungicidal sprays may also be necessary.
Regularly inspect your herbs for signs of pests and diseases. Early detection and intervention are key to preventing further damage. Additionally, practicing proper garden hygiene, such as removing dead leaves and debris, can help reduce the likelihood of pest and disease development.
Consider using organic pest and disease control methods whenever possible to minimize the impact on the environment and the beneficial insects in your garden.
By being proactive and taking appropriate measures to tackle pests and diseases, you can maintain the health and vitality of your herb garden, allowing your plants to flourish and provide you with a bountiful harvest season after season.
Read more: 50 Quick And Easy Herb Garden Ideas
Enjoying the Fruits of Your Labor: Using Herbs in Cooking and Medicinal Purposes
One of the most rewarding aspects of growing your own herb garden is being able to enjoy the fresh flavors and aromatic scents that these plants offer. Herbs not only enhance the taste of your culinary creations but also provide numerous health benefits. Let’s explore how you can make the most of your homegrown herbs in both cooking and medicinal purposes.
Using Herbs in Cooking:
Herbs are a culinary delight and can transform any dish into a flavorful masterpiece. Whether you’re a seasoned chef or an enthusiast in the kitchen, incorporating herbs into your cooking can elevate your meals to new heights. Here are a few tips for using herbs in your recipes:
- Fresh vs Dried: Fresh herbs are ideal when you want to add a burst of flavor and freshness. Use them in dishes that require minimal cooking or as a final garnish. Dried herbs, on the other hand, are more concentrated in flavor and are great for simmering in soups, stews, and sauces.
- Pairing Flavors: Experiment with different herb combinations to find flavors that complement each other and the dish you’re preparing. For example, basil goes well with tomatoes, while rosemary enhances the flavors of roasted meats.
- Timing: Add delicate herbs, such as parsley and cilantro, towards the end of the cooking process to preserve their fresh flavors. Hardy herbs like thyme and rosemary can withstand longer cooking times and are better added earlier in the cooking process.
- Infused Oils and Vinegars: Create your own herb-infused oils and vinegars to add a unique twist to your dishes. Fill a bottle with your favorite herb, top it off with olive oil or vinegar, and let it infuse for a few weeks. Strain and use in dressings, marinades, or as a drizzle over roasted vegetables.
- Herb Butters and Pestos: Blend herbs with softened butter or olive oil, along with other ingredients like garlic, nuts, or cheese, to create flavorful herb butters or pestos. Spread them on bread, use as a sauce for pasta, or as a marinade for grilled meats.
Using Herbs for Medicinal Purposes:
Many herbs have been used for centuries for their medicinal properties. These natural remedies can be a valuable addition to your wellness routine. Here are a few examples of herbs and their medicinal uses:
- Peppermint: Peppermint can aid digestion, relieve headaches, and soothe upset stomachs. Enjoy it as a tea or use the leaves in your cooking and baking.
- Chamomile: Chamomile has calming properties and can promote relaxation and sleep. Brew it as a tea or use it topically to soothe skin irritations.
- Lavender: Lavender is known for its calming and stress-relieving effects. Use it in aromatherapy, infuse it in oils for massages, or enjoy it as a tea.
- Echinacea: Echinacea is believed to boost the immune system and can be taken in supplement form or brewed as a tea to help fight off colds and flu.
- Calendula: Calendula has anti-inflammatory properties and can be used topically to soothe skin irritations, cuts, and burns.
It’s important to note that while herbs have potential health benefits, consulting with a healthcare professional is recommended, especially if you have any existing medical conditions or take medications.
Whether you’re spicing up your favorite recipes or exploring the healing properties of herbs, the fruits of your herb garden labor offer a world of culinary creativity and wellness potential. Enjoy the journey of discovering new flavors, experimenting with herbal remedies, and savoring the bountiful rewards of your herb garden.
Conclusion
Congratulations on embarking on your herb gardening journey! By now, you have learned the essential steps to start and maintain a thriving herb garden. From choosing the right location to harvesting and using your herbs, you are well-equipped with the knowledge and tools to create a bountiful oasis of flavors and aromas.
Remember that herb gardening is not just about growing plants; it’s a journey of exploration, creativity, and connection with nature. As you nurture your herbs, you’ll witness their growth, experience the joy of harvesting, and savor the delightful flavors they bring to your recipes.
Be sure to choose a suitable location with ample sunlight and well-draining soil, and carefully select the herbs that align with your culinary preferences, space, and climate. Prepare the soil with organic matter, whether you start from seeds or transplants, and water and fertilize your herbs with care. Watch out for common pests and diseases, taking prompt action to keep your herb garden healthy and thriving.
Enjoy the fruits of your labor by incorporating your homegrown herbs into your cooking. Experiment with flavors, pairings, and preservation methods to elevate your culinary creations. And don’t forget about the potential medicinal benefits of herbs, as they have been used for centuries to support wellness.
As you continue your herb gardening journey, don’t be afraid to expand your knowledge and try new varieties of herbs. Embrace the process of learning and adapting to the needs of your plants, and enjoy the satisfaction that comes from cultivating your own fresh and flavorful herbs.
Lastly, remember that gardening is a continuous process of care and observation. Take the time to connect with your herb garden, be attuned to its needs, and find joy in the small successes and lessons learned along the way.
So go ahead, get your hands dirty, and let your herb garden flourish. May it bring you abundant harvests, delightful flavors, and a deeper appreciation for the beauty and bounty of nature.
Frequently Asked Questions about How To Start A Herb Garden
Was this page helpful?
At Storables.com, we guarantee accurate and reliable information. Our content, validated by Expert Board Contributors, is crafted following stringent Editorial Policies. We're committed to providing you with well-researched, expert-backed insights for all your informational needs.


0 thoughts on “How To Start A Herb Garden”