Home>Furniture & Design>Outdoor Furniture>How To Make An Outdoor Mosaic Table Top
Outdoor Furniture
How To Make An Outdoor Mosaic Table Top
Modified: August 20, 2024
Learn how to create a stunning outdoor mosaic table top to enhance your outdoor furniture and design. Follow our step-by-step guide for a beautiful addition to your outdoor space.
(Many of the links in this article redirect to a specific reviewed product. Your purchase of these products through affiliate links helps to generate commission for Storables.com, at no extra cost. Learn more)
Introduction
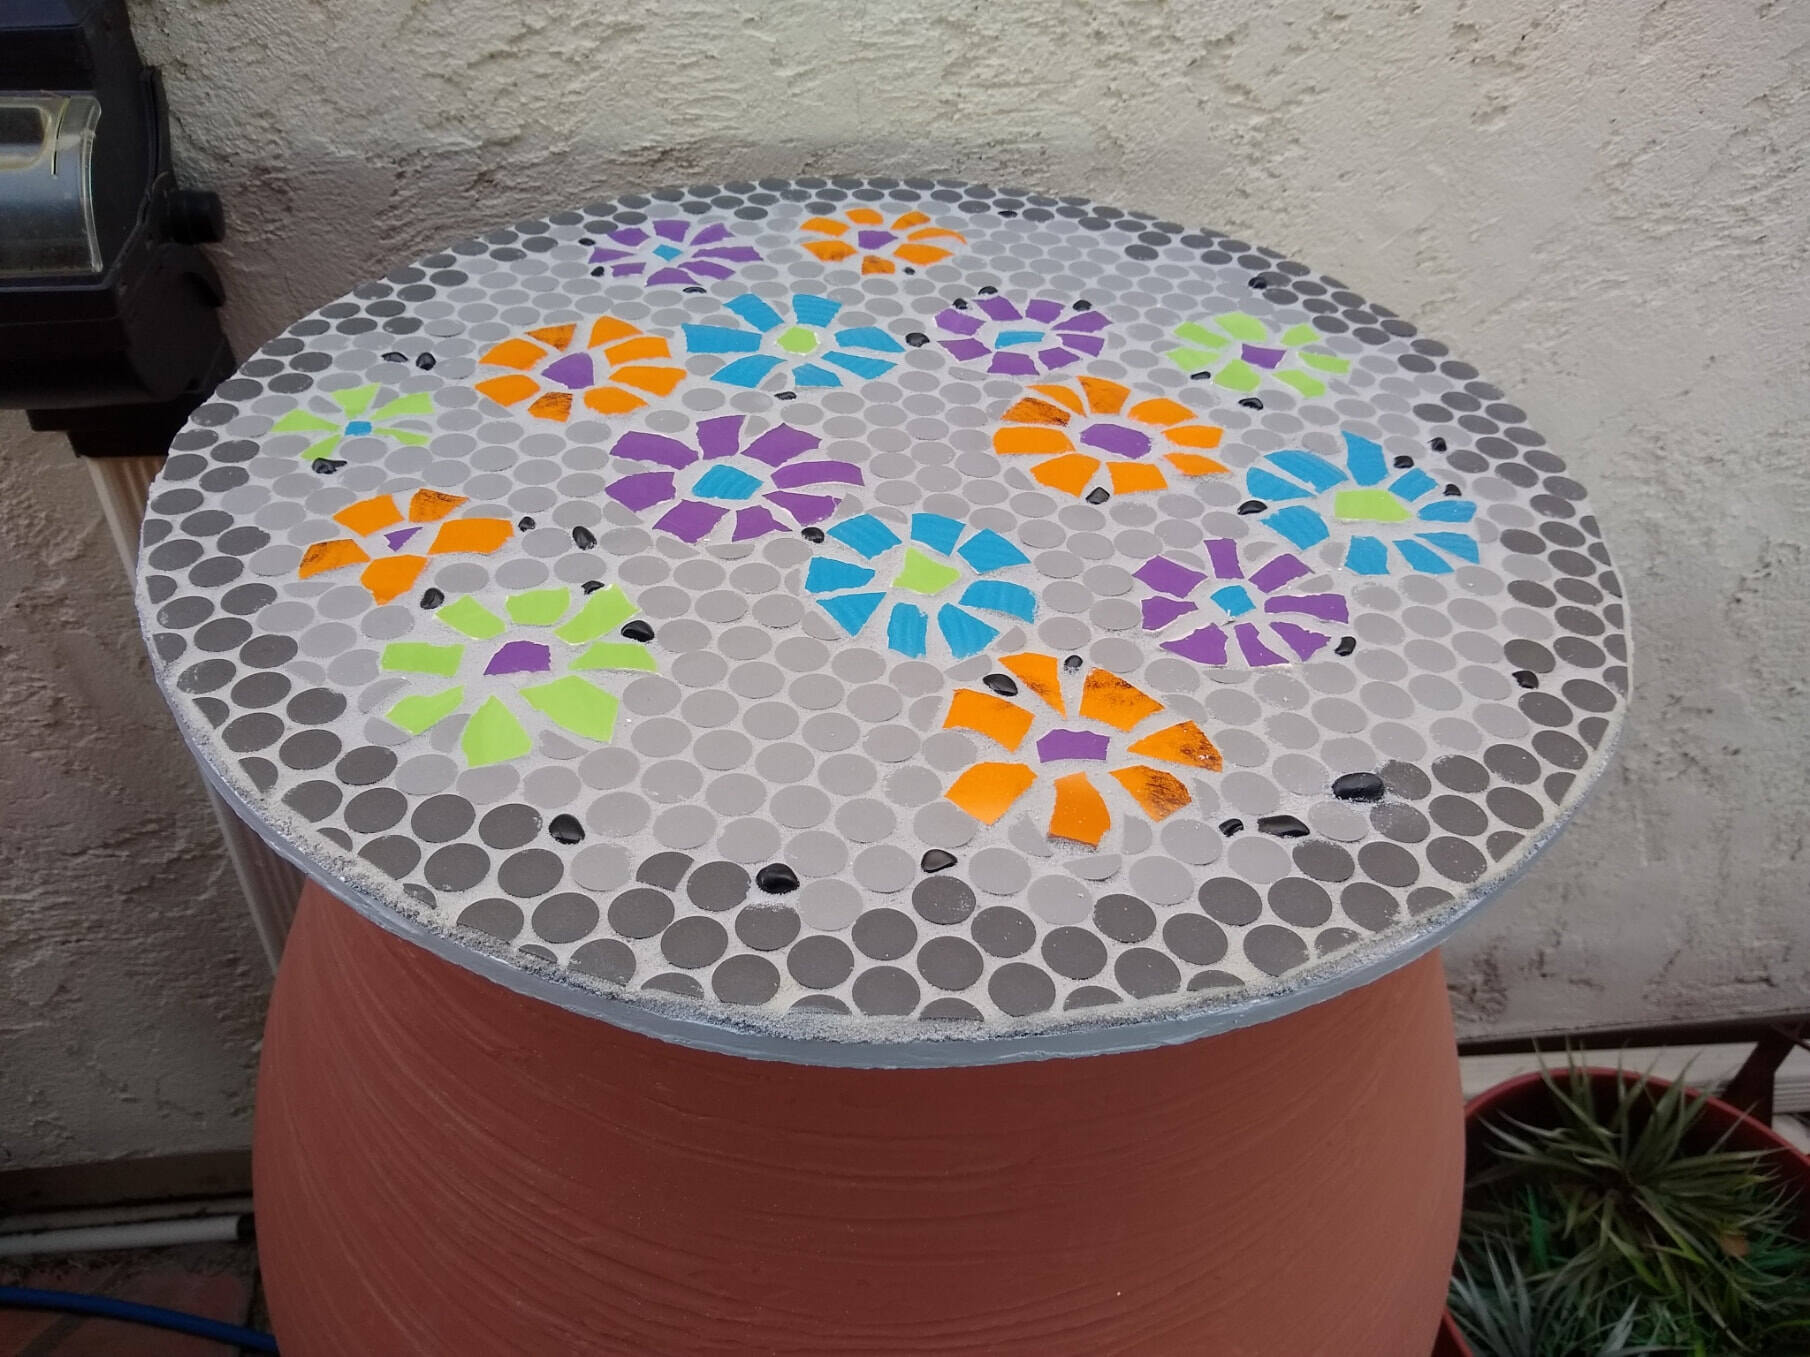
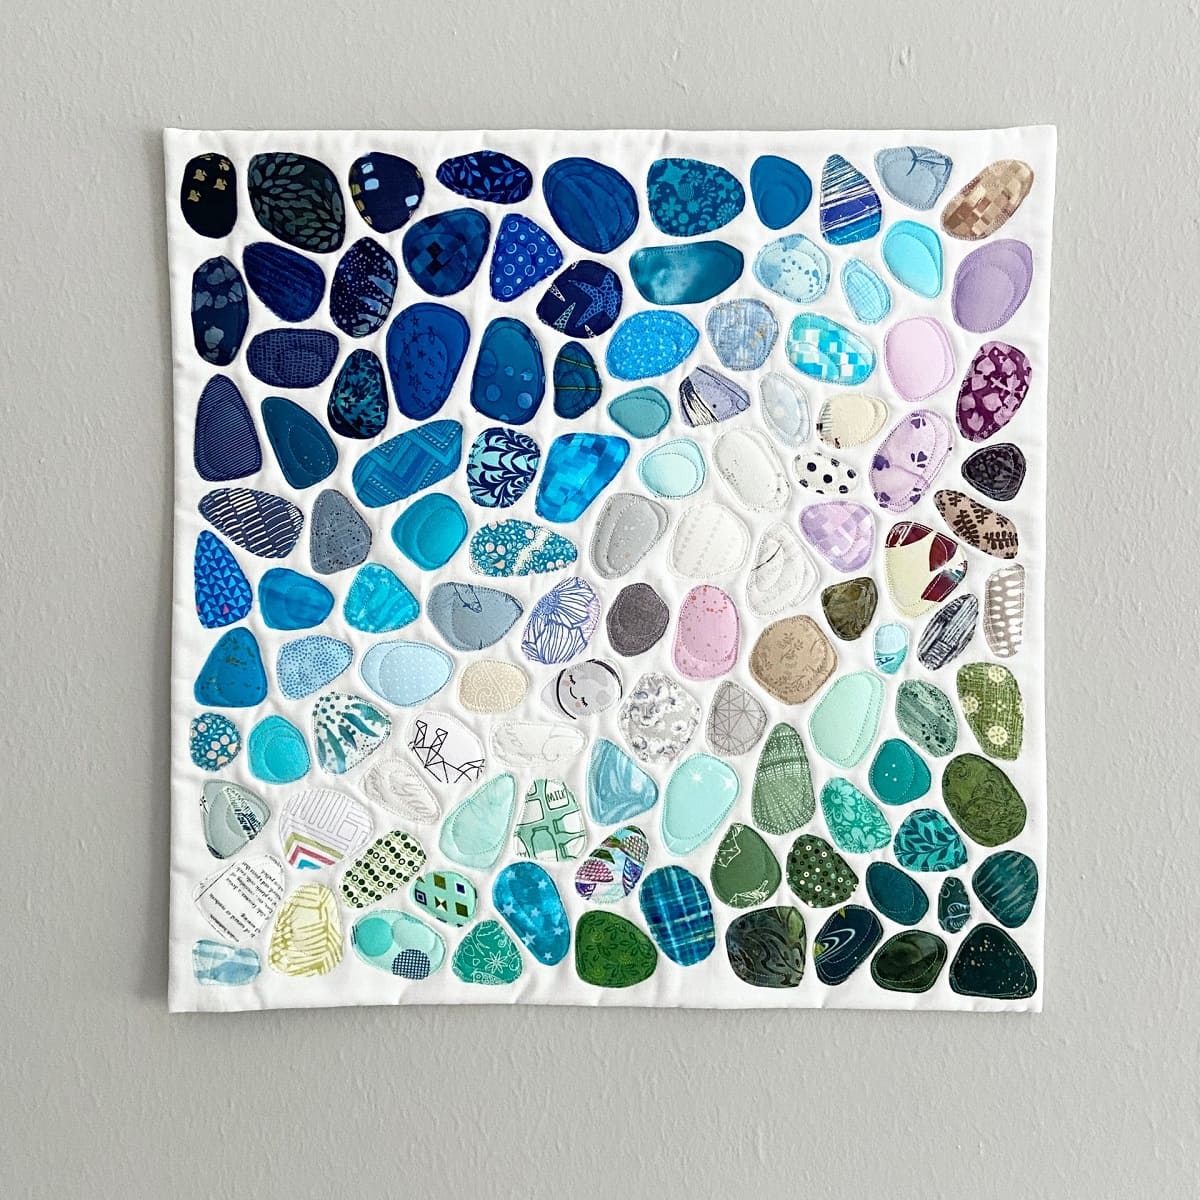
Creating an outdoor mosaic table top is a fantastic way to infuse personality and charm into your outdoor living space. Whether you are revamping an old table or customizing a new one, the process of crafting a mosaic table top is a delightful blend of artistry and functionality. This project allows you to unleash your creativity while adding a unique, handcrafted touch to your outdoor furniture.
The beauty of a mosaic table top lies in its versatility. You can tailor the design to complement your existing outdoor décor or use it as a focal point to introduce a pop of color and texture. From intricate patterns to bold, abstract designs, the possibilities are endless. Additionally, the durability of a mosaic table top makes it an ideal choice for outdoor use, as it can withstand the elements while maintaining its visual appeal.
In this comprehensive guide, we will walk you through the step-by-step process of creating an outdoor mosaic table top. From gathering the necessary materials to sealing the finished product, each stage is an opportunity to bring your vision to life. So, roll up your sleeves, unleash your imagination, and get ready to embark on a rewarding journey of craftsmanship and creativity. Let's dive into the world of outdoor furniture design and learn how to make an outdoor mosaic table top that will be the envy of your outdoor space.
Key Takeaways:
- Unleash your creativity and transform your outdoor space by crafting a durable and visually captivating mosaic table top. From design to sealing, this project adds personality and charm to your outdoor furniture.
- With meticulous preparation and attention to detail, create a stunning mosaic table top that reflects your creativity and craftsmanship. Enjoy a durable and visually captivating centerpiece for your outdoor living space.
Read more: How To Make Outdoor Mosaic
Materials Needed
Before diving into the exciting process of creating an outdoor mosaic table top, it’s essential to gather all the necessary materials. Having the right supplies at hand will streamline the crafting journey and ensure a seamless progression from one step to the next. Here’s a comprehensive list of materials you’ll need:
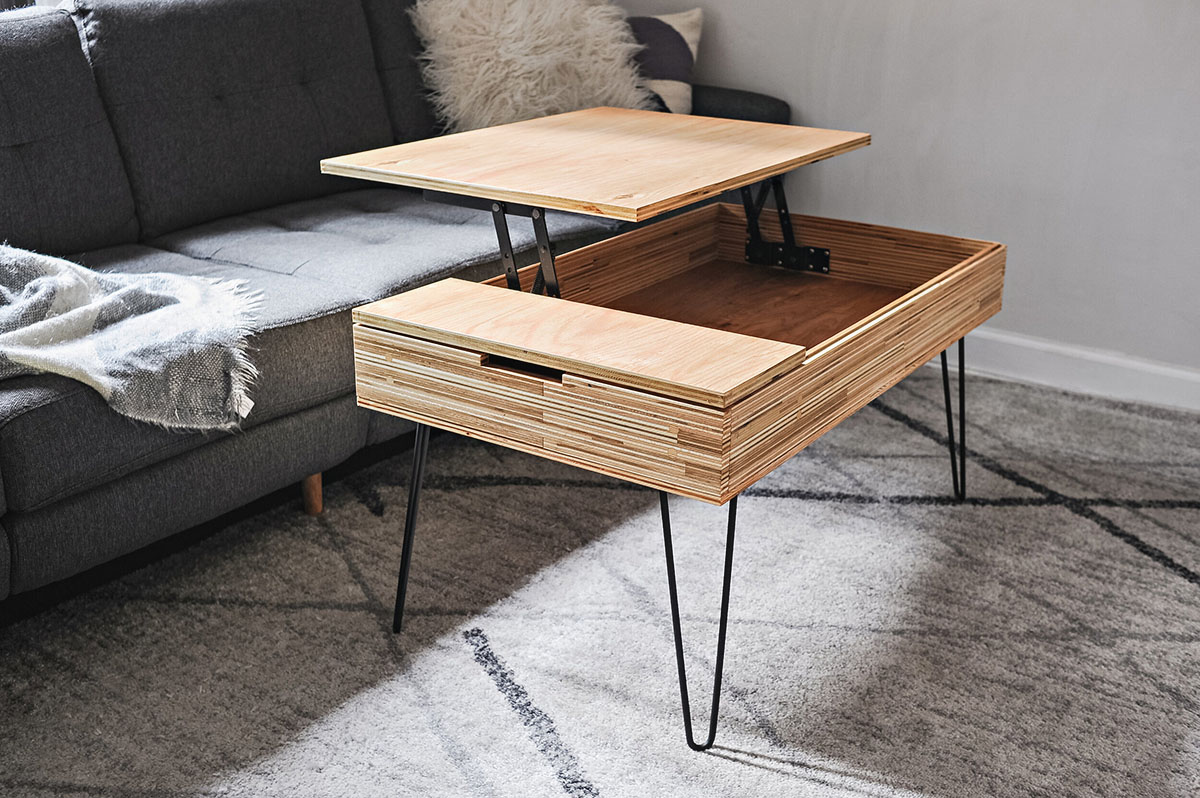
- Table base: Whether it’s a new table or an old one ready for a makeover, ensure that the base is sturdy and suitable for mosaic application.
- Mosaic tiles: Choose a variety of colors, shapes, and sizes to bring your design to life. Ceramic, glass, or porcelain tiles are popular choices for outdoor mosaic projects due to their durability.
- Tile adhesive: Opt for a weather-resistant adhesive suitable for outdoor use. This will ensure that the tiles adhere securely to the table base.
- Grout: Select a grout color that complements your mosaic design. Outdoor grout should be mold-resistant and designed for exterior applications.
- Sealer: A weatherproof sealant will protect the finished mosaic from the elements, preserving its beauty and integrity over time.
- Tile nippers or glass cutter: These tools are essential for cutting and shaping tiles to fit your design.
- Protective gear: Safety goggles and gloves are crucial for handling tiles, adhesive, and grout.
- Measuring tape and straight edge: Accurate measurements and straight lines are key to a polished mosaic table top.
- Sponge and rags: These will be used for cleaning excess grout and adhesive during the mosaic application and grouting process.
- Paintbrushes: Use these to apply the sealant evenly over the finished mosaic.
- Drop cloth or plastic sheet: Protect your work area from adhesive, grout, and sealer.
By ensuring that you have all these materials on hand, you’ll be fully equipped to embark on your outdoor mosaic table top project with confidence and creativity.
Preparing the Table Base
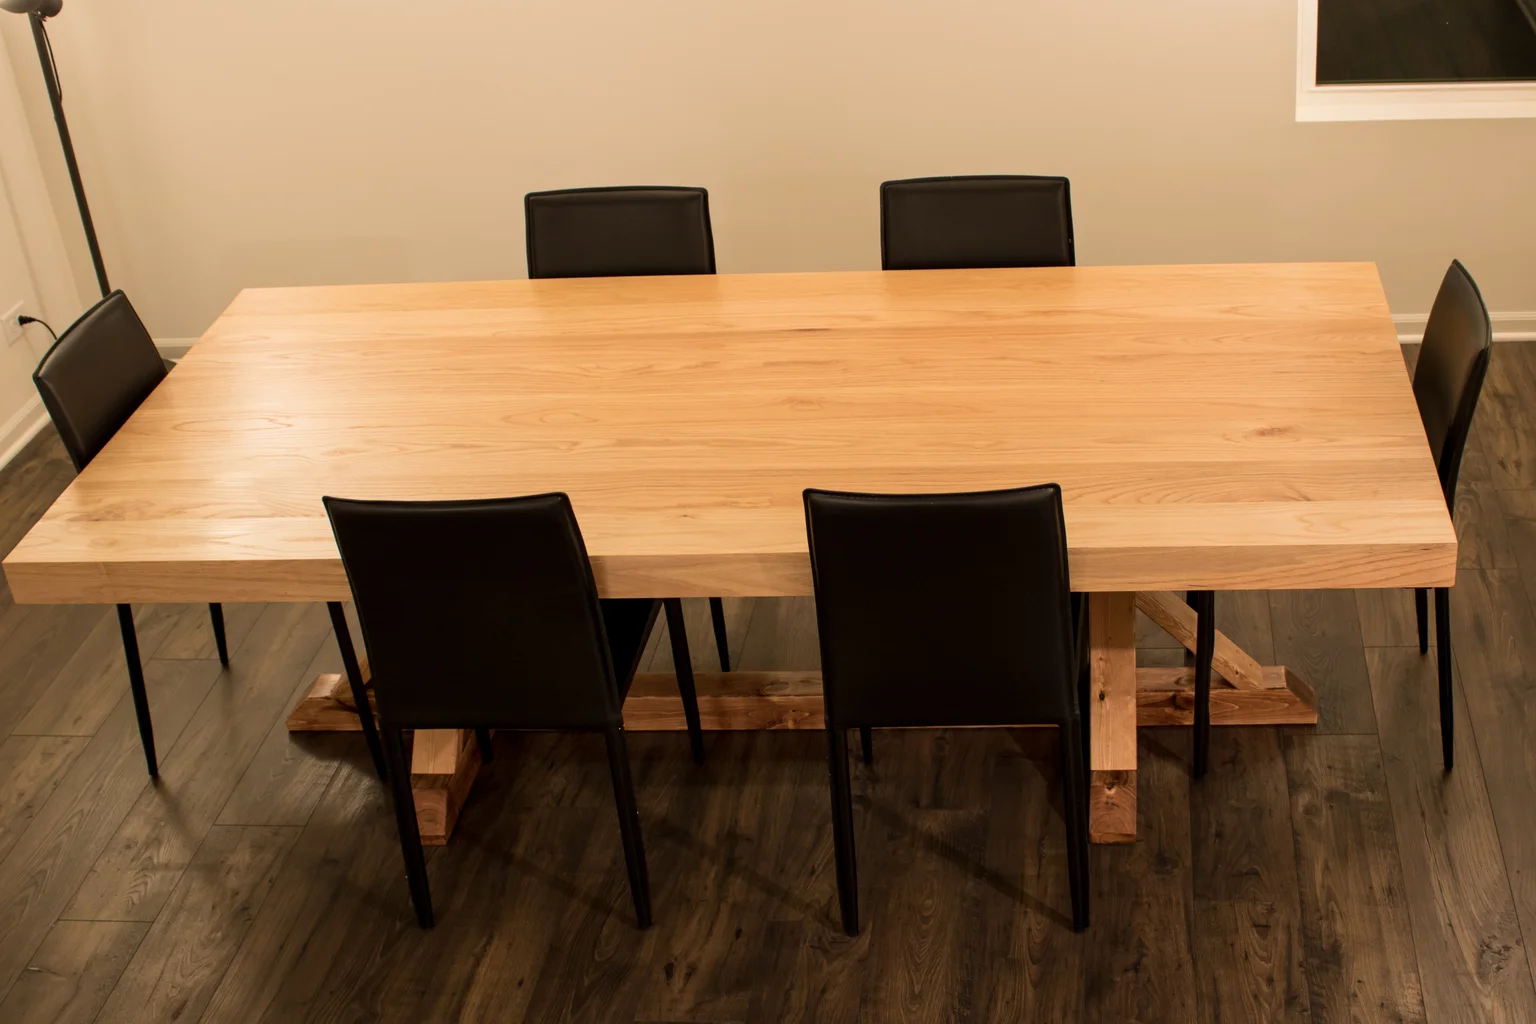
Before delving into the artistic process of creating a mosaic design, it’s crucial to prepare the table base to ensure a smooth and durable foundation for your masterpiece. Whether you’re working with a new table or revamping an existing one, the preparation stage sets the stage for the creative transformation that follows.
Begin by thoroughly cleaning the table surface to remove any dirt, dust, or debris. This step is essential to ensure proper adhesion of the mosaic tiles and to create a pristine canvas for your design. Once the surface is clean and dry, inspect the table for any imperfections or rough areas. Sand down any rough spots and fill in any cracks or holes with wood filler, allowing it to dry completely before proceeding.
If you’re working with a wooden table, consider applying a coat of primer to enhance the adhesion of the tile adhesive. This extra layer of protection can help prevent moisture from penetrating the wood and compromising the longevity of your mosaic table top. For metal or glass tables, ensure that the surface is clean and free of any corrosion or residue that could hinder the adhesion of the mosaic tiles.
Next, measure and mark the center of the table to serve as a reference point for laying out your mosaic design. This step is crucial for achieving symmetry and balance in your pattern. Once the table base is prepped and primed, you’re ready to unleash your creativity and embark on the exhilarating journey of designing and crafting a stunning mosaic table top that will elevate your outdoor living space.
With the table base meticulously prepared, you’ve set the stage for the artistic transformation that awaits. Now, it’s time to bring your vision to life as you design and create a captivating mosaic pattern that will adorn your outdoor furniture with style and personality.
Designing the Mosaic Pattern
Designing the mosaic pattern is where the magic of creativity truly comes to life. This stage allows you to infuse your outdoor table with a personal touch, whether it’s a reflection of your individual style, a nod to your outdoor decor, or a bold statement piece that commands attention. Here’s how to approach the design phase:
Begin by sketching out your design on paper, taking into account the dimensions of the table and the placement of any focal points or visual elements you want to incorporate. Consider the color scheme and how it harmonizes with the surrounding outdoor space. Whether you opt for a symmetrical design, an abstract composition, or a nature-inspired motif, let your imagination guide you as you bring your vision to life.
When selecting mosaic tiles, think about the overall aesthetic you want to achieve. Do you prefer a vibrant and eclectic look with a mix of bold colors, or are you drawn to a more subdued and harmonious palette? The choice of tiles will play a significant role in realizing your design, so take the time to explore different options and combinations that resonate with your creative vision.
As you finalize your design, consider the practical aspects of the mosaic pattern. Will the table be used for dining, lounging, or as a decorative accent? Ensuring that the pattern is both visually captivating and functional is key to creating a mosaic table top that seamlessly integrates into your outdoor lifestyle.
Once your design is sketched and the tile selection is made, it’s time to bring your vision to the table – quite literally. With the design phase complete, you’re ready to embark on the hands-on process of bringing your mosaic pattern to life, one tile at a time.
With your design concept solidified, the next step is to bring it to fruition by choosing the perfect tiles and shaping them to fit your vision. This hands-on phase marks the transition from concept to creation, as you begin to transform your outdoor table into a stunning mosaic masterpiece.
Choosing and Cutting the Tiles
Choosing the right tiles is a pivotal step in the mosaic table top creation process. The tiles you select will not only bring your design to life but also contribute to the durability and visual impact of the finished piece. Here’s how to navigate the selection and cutting process:
When choosing tiles, consider the overall aesthetic you want to achieve. Are you aiming for a vibrant and eclectic look with a mix of bold colors, or do you prefer a more subdued and harmonious palette? The choice of materials – whether ceramic, glass, or porcelain – will also influence the final appearance of your mosaic table top. Take your time to explore various options and combinations that resonate with your creative vision and complement your outdoor living space.
Once you’ve selected your tiles, it’s time to shape them to fit your design. This is where tile nippers or a glass cutter come into play. Carefully trim the tiles to achieve the desired shapes and sizes, ensuring that they seamlessly integrate into your mosaic pattern. Whether you’re creating intricate details or working with larger sections, precision and attention to detail are key in this phase.
As you cut the tiles, keep in mind the overall layout of your design and how each piece contributes to the cohesive whole. Pay attention to the interplay of colors, textures, and shapes, ensuring that the mosaic reflects your artistic intent and enhances the visual appeal of the outdoor table.
By meticulously selecting and cutting the tiles, you’re not only shaping the physical components of the mosaic but also infusing the project with your unique creative flair. This hands-on phase marks a significant step in the journey of crafting a mosaic table top that will be a standout feature in your outdoor living space.
With the tiles carefully chosen and shaped to fit your design, you’re now ready to embark on the exhilarating process of applying them to the table base, bringing your mosaic pattern to life with each precisely placed tile.
When making an outdoor mosaic table top, make sure to use weather-resistant materials such as outdoor tile or glass. This will ensure that your table top can withstand the elements and last for a long time.
Read more: How To Make A Mosaic Patio Table Top
Applying the Adhesive
As you transition from the design phase to the practical execution of your mosaic table top, the application of tile adhesive plays a pivotal role in bringing your vision to life. This step sets the foundation for securely affixing the tiles to the table base, ensuring a durable and visually stunning result.
Before applying the adhesive, carefully plan the layout of the tiles on the table surface. This pre-planning phase allows you to visualize the placement of each tile and ensures a cohesive and balanced mosaic design. Once you have a clear vision of the layout, begin applying the adhesive in manageable sections, working methodically to avoid premature drying of the adhesive.
When selecting the adhesive, opt for a weather-resistant and waterproof formula designed for outdoor use. This ensures that the mosaic table top will withstand the elements and maintain its integrity over time. Use a trowel to spread the adhesive evenly, creating a smooth and consistent surface for laying the tiles.
As you apply the adhesive, work in small areas to maintain control over the process and prevent the adhesive from drying before the tiles are placed. Pay careful attention to the thickness of the adhesive layer, aiming for a uniform coating that provides ample support for the tiles without seeping through the grout lines.
Once the adhesive is applied, it’s time to bring your mosaic design to life by carefully placing each tile according to your predetermined layout. As you work, periodically step back to assess the emerging pattern and make any necessary adjustments to ensure the symmetry and visual impact of the mosaic table top.
By applying the adhesive with precision and care, you’re not only creating a solid foundation for the mosaic tiles but also setting the stage for the artistic transformation that awaits. This hands-on phase marks a significant step in the journey of crafting a mosaic table top that will be a standout feature in your outdoor living space.
With the adhesive meticulously applied and the tiles ready to be set in place, you’re now poised to bring your mosaic design to fruition, one carefully positioned tile at a time.
Arranging and Setting the Tiles
As you embark on the exciting phase of arranging and setting the tiles, the mosaic table top begins to take shape, reflecting the creative vision you’ve meticulously planned. This hands-on process is where your design comes to life, infusing your outdoor furniture with character and charm.
Begin by carefully arranging the tiles on the adhesive-coated table base, following the predetermined layout you sketched during the design phase. Take your time to ensure that the tiles are aligned according to your design, paying attention to spacing and symmetry. This meticulous approach will contribute to a polished and visually captivating mosaic pattern.
As you set each tile in place, press it firmly into the adhesive to ensure a secure bond with the table base. Pay attention to the level of the tiles, ensuring that they are uniformly set to create a smooth and cohesive surface. Periodically step back to assess the emerging mosaic design, making any necessary adjustments to maintain the integrity of the pattern.
Throughout the process, maintain a keen eye for detail, ensuring that each tile contributes to the overall harmony and visual impact of the mosaic table top. Whether you’re working with vibrant colors, intricate patterns, or bold geometric shapes, the arrangement of the tiles is a testament to your creativity and craftsmanship.
As the mosaic design unfolds, revel in the transformation taking place before your eyes. Each tile you set in place adds depth and character to the table top, infusing it with a unique blend of artistry and functionality that will enhance your outdoor living space.
With the tiles meticulously arranged and set in place, you’ve brought your mosaic design to life, creating a visually captivating table top that reflects your creative vision and adds a touch of personality to your outdoor furniture.
The process of arranging and setting the tiles marks a significant milestone in the creation of your mosaic table top, setting the stage for the final phase of grouting and sealing that will complete the project with finesse and durability.
Grouting the Mosaic
As you transition from the meticulous placement of tiles to the final stages of completing your mosaic table top, the grouting process serves as the pivotal step that brings cohesion and durability to your creation. Grouting not only secures the tiles in place but also enhances the visual impact of the mosaic design, creating a seamless and polished surface.
Before applying the grout, ensure that the adhesive securing the tiles to the table base has fully cured. This crucial step sets the stage for a successful grouting process, ensuring that the tiles are securely set in place and ready to receive the finishing touch that will elevate the mosaic to its full potential.
Choose a grout color that complements your mosaic design and enhances its visual appeal. Whether you opt for a neutral tone that seamlessly blends with the tiles or a contrasting color that accentuates the individual elements of the design, the grout serves as a defining component of the finished mosaic table top.
Using a rubber grout float, apply the grout in sweeping motions, ensuring that the spaces between the tiles are thoroughly filled. Work in manageable sections, periodically using a damp sponge to remove excess grout from the tile surfaces while smoothing the grout lines to achieve a uniform and polished finish.
As you progress through the grouting process, take care to maintain the integrity of the mosaic design, ensuring that the grout enhances the visual cohesion of the pattern. Pay attention to the consistency and depth of the grout lines, aiming for a professional and refined appearance that highlights the artistry of your mosaic table top.
Once the grout has been applied and the excess carefully removed, allow it to set according to the manufacturer’s instructions. This crucial curing period ensures that the grout achieves its full strength and durability, providing a resilient and long-lasting finish for your mosaic table top.
With the grouting process complete, you’ve brought your mosaic table top one step closer to its final transformation. The meticulous application of grout has not only secured the tiles in place but has also elevated the visual impact of the design, creating a stunning and enduring centerpiece for your outdoor living space.
The grouting process represents a significant milestone in the creation of your mosaic table top, setting the stage for the final phase of sealing that will preserve and protect your masterpiece, ensuring its longevity and enduring beauty.
Sealing the Table Top
As you near the completion of your outdoor mosaic table top, the sealing process serves as the final touch that not only enhances the visual allure of the mosaic but also protects it from the rigors of outdoor elements. Sealing the table top is a crucial step in ensuring the longevity and durability of your masterpiece, preserving its beauty for years to come.
Before applying the sealant, ensure that the grout has fully cured according to the manufacturer’s recommendations. This critical step sets the stage for a successful sealing process, allowing the grout to achieve its full strength and stability, ensuring that it will withstand the demands of outdoor use.
Choose a high-quality sealant designed for exterior applications, specifically formulated to protect mosaic surfaces from moisture, UV exposure, and general wear and tear. The sealant not only enhances the colors and luster of the tiles but also forms a protective barrier that safeguards the mosaic table top from the elements.
Using a clean, dry paintbrush, apply the sealant evenly over the entire mosaic surface, ensuring complete coverage of the tiles and grout lines. Work methodically to avoid pooling or streaking, creating a smooth and uniform application that enhances the visual appeal of the mosaic design.
As the sealant dries, it forms a transparent protective layer that accentuates the colors and textures of the mosaic while providing a resilient shield against moisture, sunlight, and environmental factors. This protective barrier not only safeguards the visual integrity of the mosaic but also simplifies maintenance, making it easier to clean and preserve the table top over time.
Once the sealant has dried according to the manufacturer’s instructions, your outdoor mosaic table top is ready to take its place as a stunning and enduring centerpiece of your outdoor living space. The meticulous application of sealant not only enhances the visual allure of the mosaic but also ensures its resilience and longevity, allowing you to enjoy its beauty for years to come.
The sealing process represents the final phase of completing your outdoor mosaic table top, culminating in a visually captivating and durable masterpiece that reflects your creativity and craftsmanship, adding a touch of artistry and personality to your outdoor furniture.
Read more: How To Make Mosaic Backsplash
Conclusion
Congratulations on completing the journey of creating an outdoor mosaic table top! This hands-on project has allowed you to infuse your outdoor living space with a unique blend of artistry and functionality, creating a visually captivating centerpiece that reflects your creativity and craftsmanship. As you admire the finished mosaic table top, you can take pride in the transformative process that has elevated your outdoor furniture to new heights.
Throughout this endeavor, you’ve explored the intricate steps of preparing the table base, designing a captivating mosaic pattern, selecting and shaping tiles, applying adhesive, arranging and setting the tiles, grouting, and finally, sealing the table top. Each phase has been an opportunity to unleash your creativity and attention to detail, resulting in a stunning mosaic that adds a touch of personality and charm to your outdoor living space.
By meticulously selecting materials, shaping tiles, and applying adhesive with precision, you’ve not only created a visually captivating mosaic but also ensured its durability and resilience in outdoor settings. The grouting and sealing processes have further enhanced the visual allure of the mosaic while safeguarding it from the elements, ensuring that your masterpiece will maintain its beauty for years to come.
As you bask in the satisfaction of completing this project, you’ve not only adorned your outdoor furniture with a stunning mosaic but also cultivated a deeper appreciation for the art of outdoor furniture design. The process of crafting a mosaic table top has allowed you to explore the intersection of creativity and practicality, resulting in a functional work of art that enriches your outdoor living space.
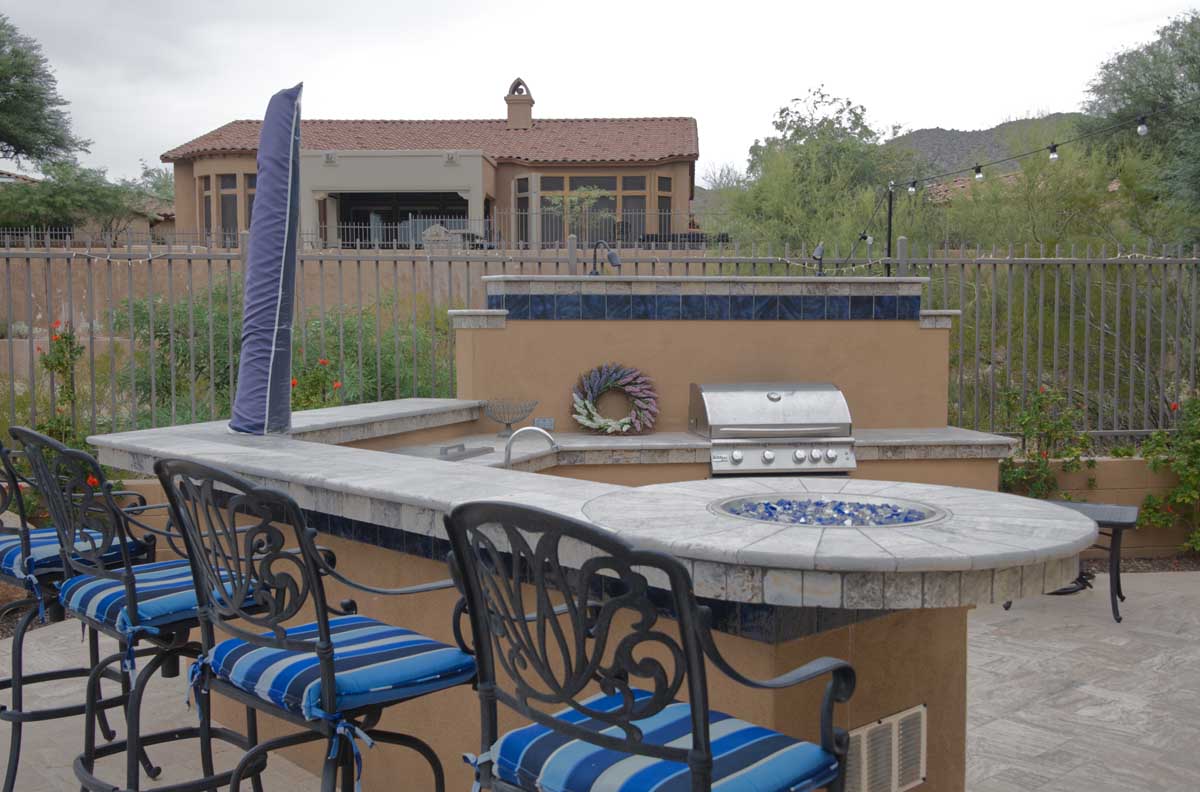
Whether you’re enjoying leisurely meals, entertaining guests, or simply savoring quiet moments in your outdoor oasis, the mosaic table top stands as a testament to your ingenuity and dedication. Its vibrant colors, intricate patterns, and enduring resilience serve as a reflection of your creative vision and a source of pride in your outdoor sanctuary.
As you continue to infuse your outdoor living space with personal touches and artistic flair, the mosaic table top will remain a standout feature, inviting admiration and adding a touch of elegance to your outdoor gatherings. This transformative project has not only adorned your outdoor furniture with a stunning mosaic but has also enriched your connection to your outdoor space, creating a welcoming and visually captivating environment.
With the completion of your outdoor mosaic table top, you’ve not only added a touch of artistry to your outdoor furniture but have also cultivated a deeper appreciation for the craftsmanship and creativity that elevate everyday objects into enduring works of art.
Frequently Asked Questions about How To Make An Outdoor Mosaic Table Top
Was this page helpful?
At Storables.com, we guarantee accurate and reliable information. Our content, validated by Expert Board Contributors, is crafted following stringent Editorial Policies. We're committed to providing you with well-researched, expert-backed insights for all your informational needs.


0 thoughts on “How To Make An Outdoor Mosaic Table Top”