Articles
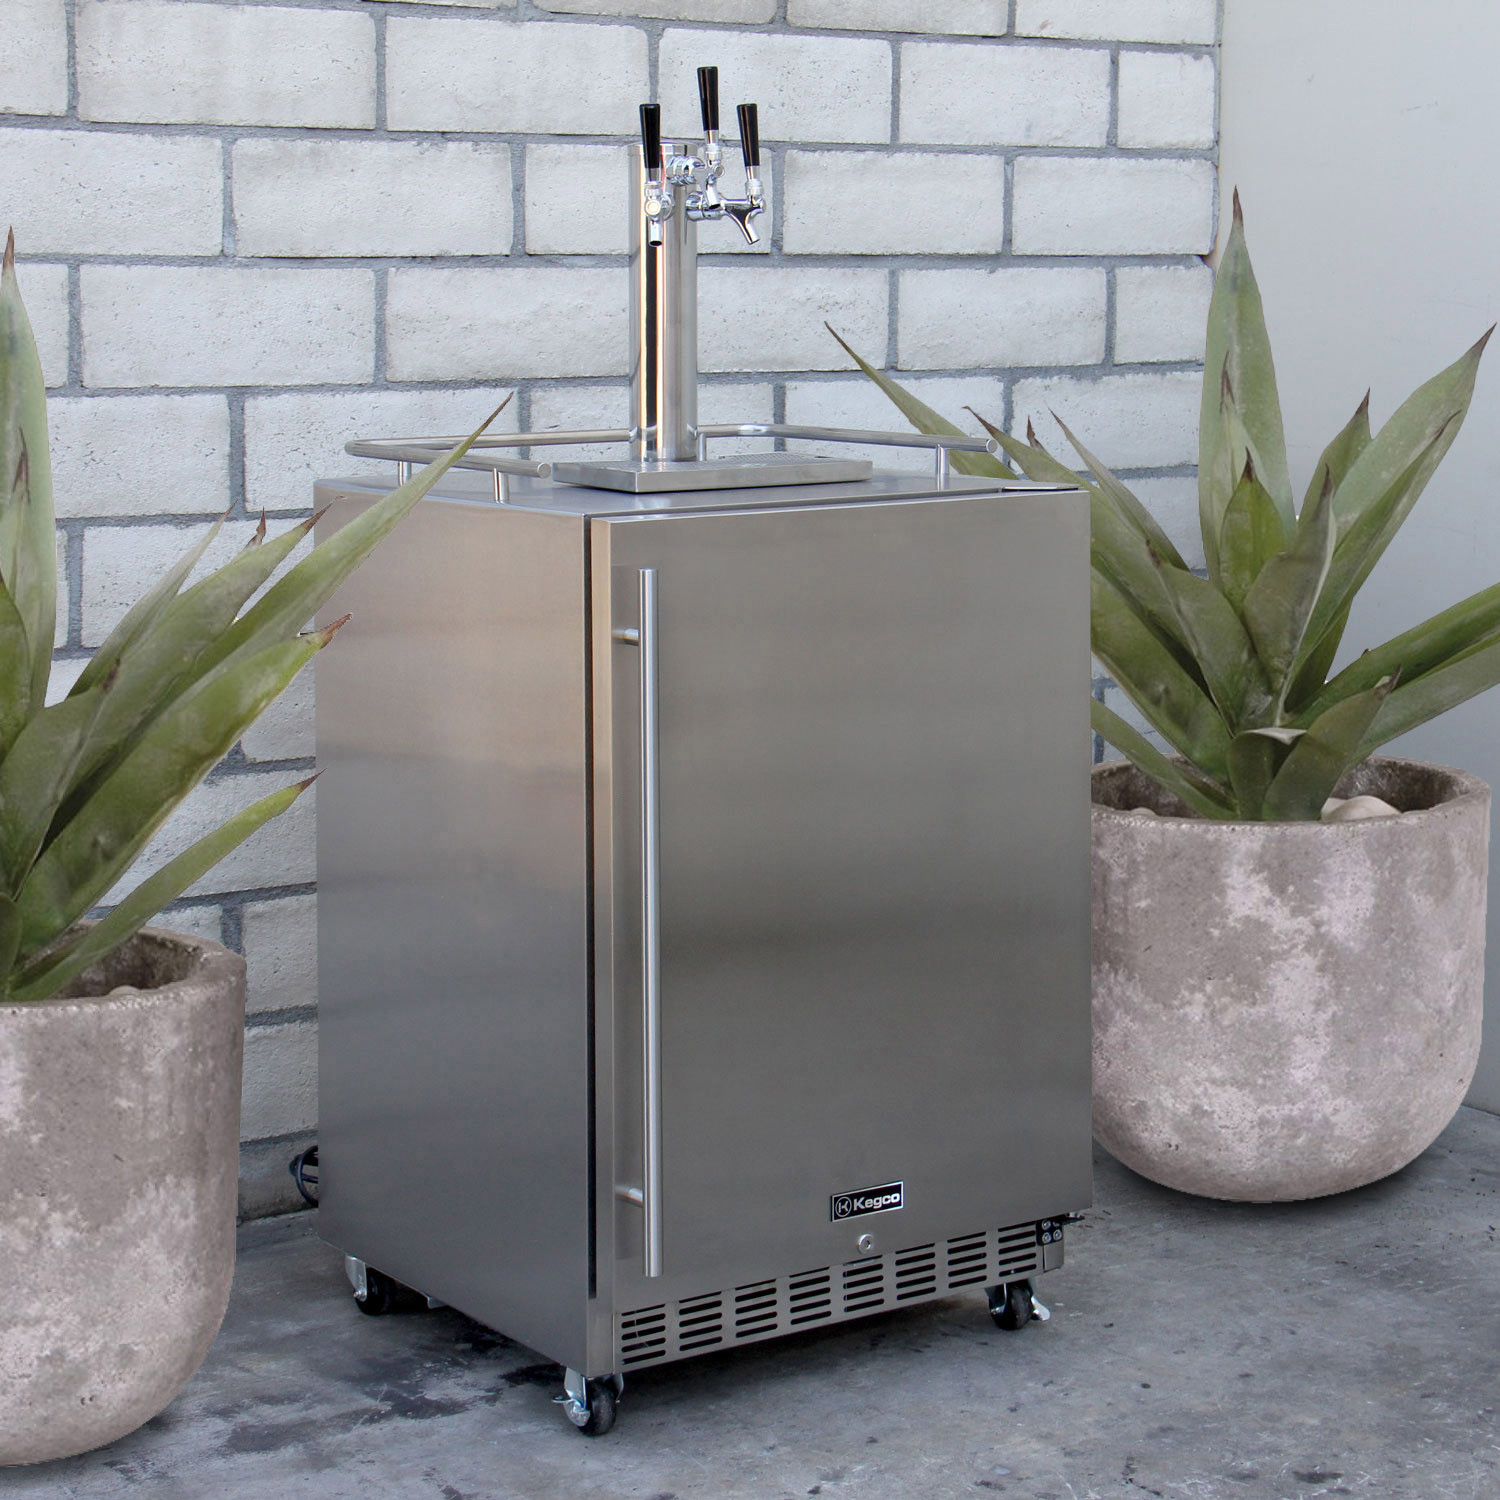
How To Tap Keg In Kegerator
Modified: August 30, 2024
Learn how to tap a keg in your kegerator with these helpful articles. Get step-by-step instructions and tips for a perfect pour.
(Many of the links in this article redirect to a specific reviewed product. Your purchase of these products through affiliate links helps to generate commission for Storables.com, at no extra cost. Learn more)
Introduction
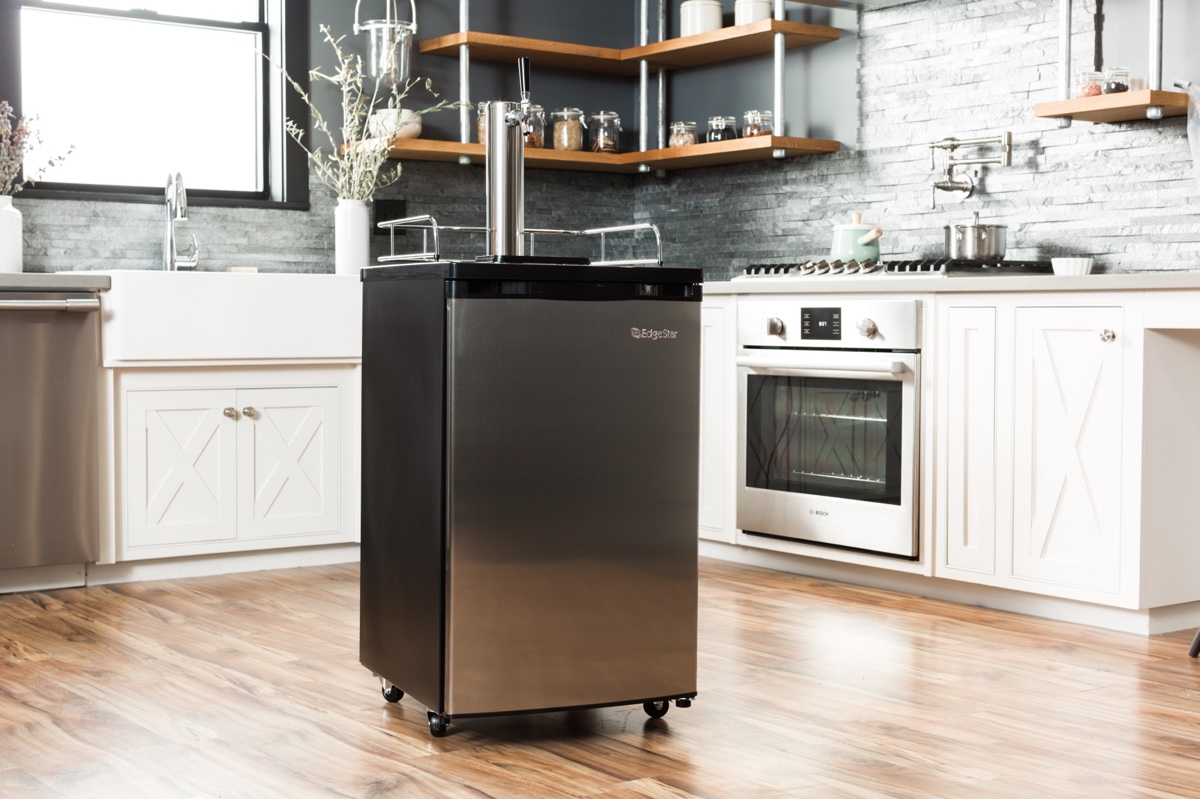
Welcome to the world of keg tapping! If you’re a beer lover and have just invested in a kegerator, you’re about to take your home bar to the next level. Tapping a keg is not only a fun and satisfying process, but it also guarantees you’ll have a steady supply of fresh draught beer right at your fingertips.
In this article, we’ll guide you through the step-by-step process of tapping a keg in your kegerator. Whether you’re a newbie or have some experience, by following these instructions, you’ll be able to tap a keg like a pro.
Tapping a keg is all about ensuring a smooth flow of beer from the keg to your glass while maintaining the freshness and carbonation of the beer. With the right equipment and technique, you’ll be able to pour the perfect pint every time.
Before we begin, it’s important to note that different kegs and kegerators may have slight variations in their setup and instructions. Therefore, always consult the user manual provided with your kegerator and keg, as it will have specific details and guidelines for your particular equipment.
Now, let’s dive into the exciting world of keg tapping and get ready to enjoy a cold, refreshing beer straight from your kegerator!
Key Takeaways:
- Master the art of tapping a keg in your kegerator with these step-by-step instructions. Impress your guests and enjoy perfectly poured pints of fresh, flavorful draft beer at home.
- Troubleshoot common issues like excessive foam and slow pouring to ensure a smooth and enjoyable beer pouring experience. Keep your tap system clean and maintain the perfect balance of beer and foam.
Overview of Keg Tapping Process
Before we get into the nitty-gritty details, let’s take a bird’s-eye view of the keg tapping process. Tapping a keg typically involves the following steps:
- Prepare the Keg
- Connect the Tap System
- Release the Pressure
- Position the Kegerator Dispenser
- Tap the Keg
- Pour the Beer
- Troubleshooting Common Issues
Now, let’s break down each step and explore them in detail.
Step 1: Prepare the Keg
The first step of tapping a keg is properly preparing it. Here’s what you need to do:
- Chill the Keg: Before tapping the keg, make sure it has been properly chilled. Most kegs require a temperature of 36-40°F (2-4°C) for optimal serving. Place the keg in a refrigerator or kegerator at least 24 hours prior to tapping to ensure it is nice and cold.
- Remove the Cap: Locate the cap or seal on the top of the keg. Use a wrench or a keg-specific cap removal tool to carefully remove it. Be cautious not to damage the keg or let any debris fall into the keg.
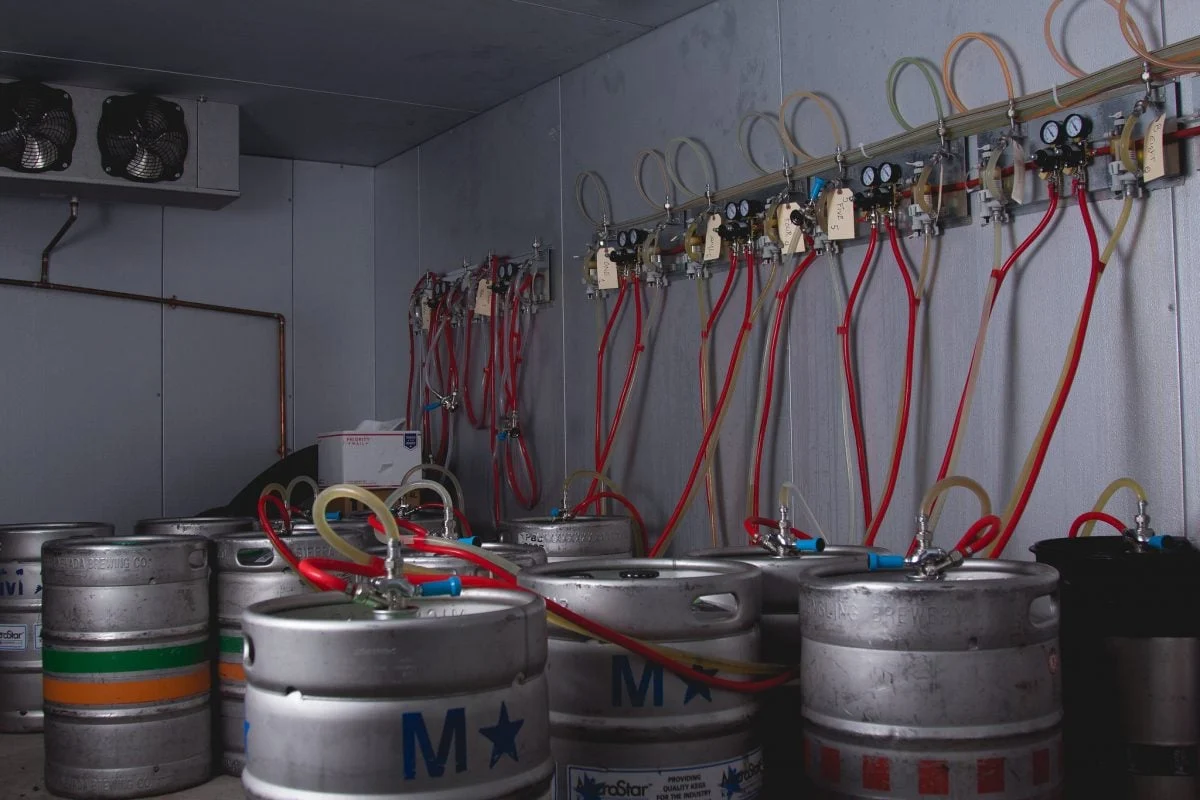
- Sanitize the Tap System: It’s crucial to maintain cleanliness to avoid any contamination that can affect the flavor of the beer. Thoroughly clean and sanitize all components of the tap system, including the tap faucet, tap handle, beer lines, and coupler. Refer to the manufacturer’s instructions for recommended cleaning and sanitizing agents.
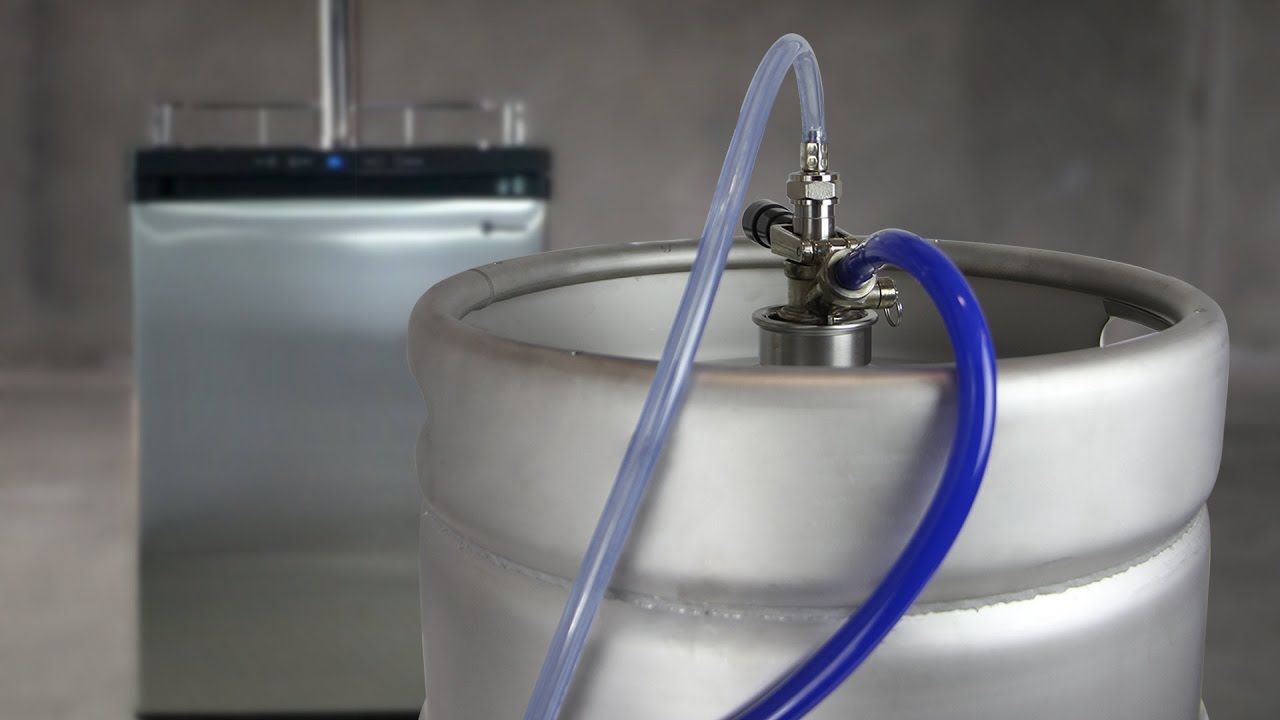
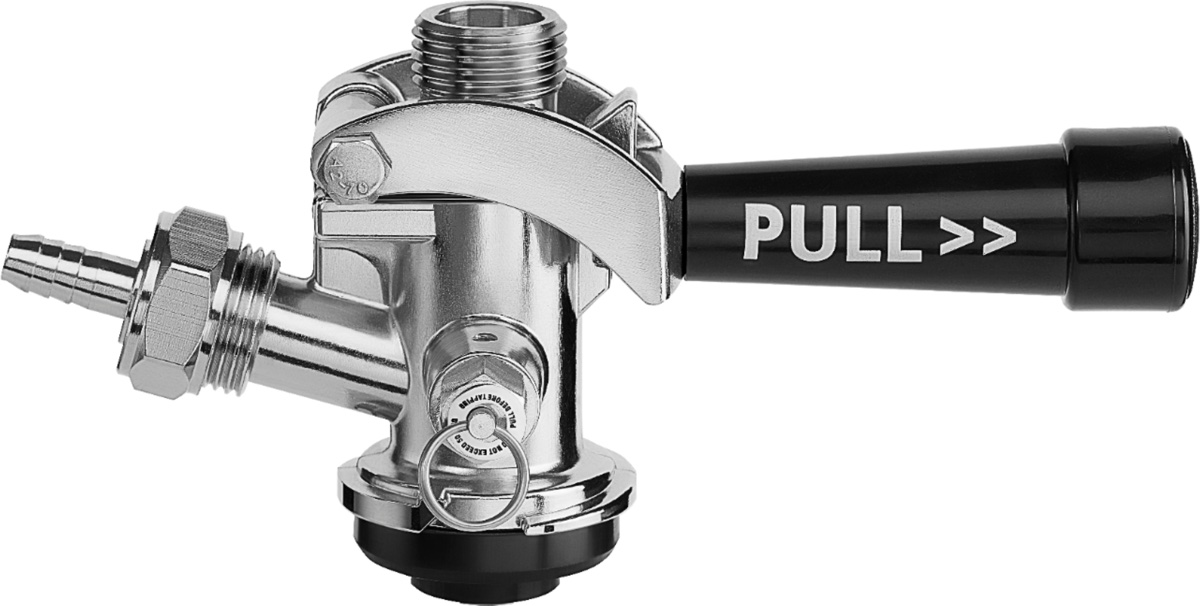
- Attach the Coupler: The coupler is a device that connects the keg to the tap system. Align the coupler with the keg valve and firmly push it down until it locks into place. Make sure it is properly aligned and securely attached.
Following these steps will ensure that your keg is ready to be tapped and that you maintain the quality and taste of the beer. Now that the keg is prepared, we can move on to the next step: connecting the tap system.
Step 2: Connect the Tap System
Once the keg is prepared, it’s time to connect the tap system. Follow the instructions below for a smooth setup:
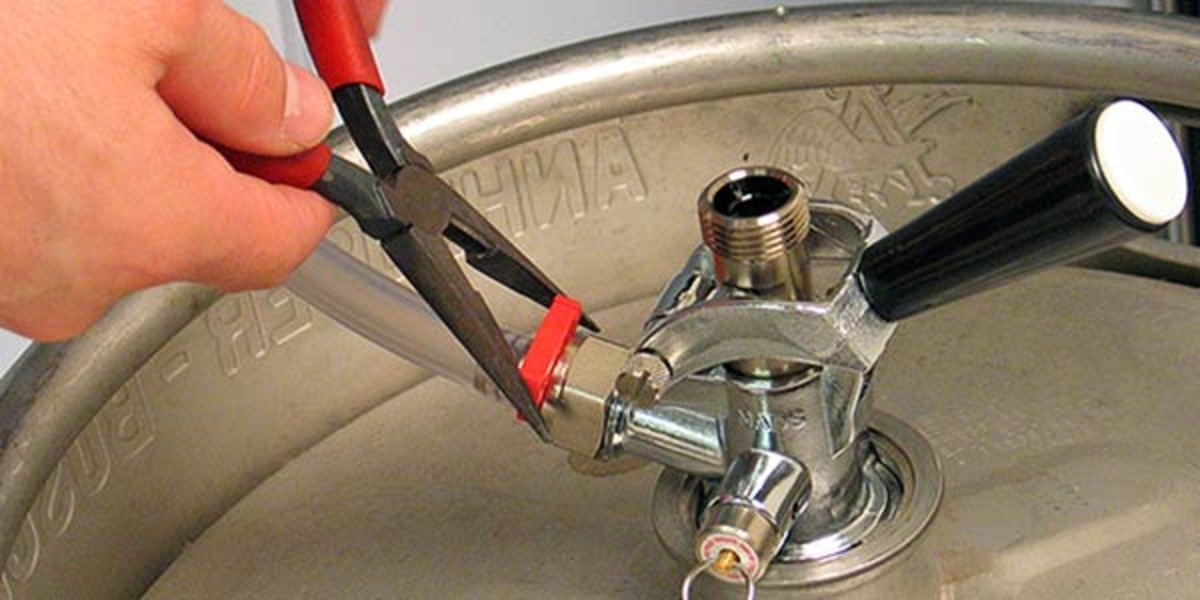
- Find the Beer Line: Locate the beer line coming out of the tap faucet. It is usually a clear plastic or PVC hose connected to the tap system.
- Attach the Beer Line: Take the end of the beer line and connect it to the coupler outlet. Ensure a tight connection by firmly pushing the hose onto the barbed fitting.
- Secure the Clamps: If your tap system uses clamps, make sure to secure them tightly around the hose and barbed fitting. This prevents any leakage and ensures a proper flow of beer.
- Connect Gas Line (optional): Some kegerators have the option to connect a gas line for additional pressure. If you wish to use a gas line, refer to your kegerator’s instructions on how to connect it securely.
- Check for Leaks: Once all the connections are made, check for any leaks in the system. Apply some soapy water to the connections and look for bubbles. If you see any bubbles forming, there might be a leak. Tighten the connections or replace any faulty parts if necessary.
By properly connecting the tap system, you ensure a steady flow of beer from the keg to your glass. Now that the tap system is set up, it’s time to move to the next step: releasing the pressure.
Step 3: Release the Pressure
Before tapping the keg, it’s important to release the pressure inside the keg. This step will prevent excessive foaming when you start pouring the beer. Follow the instructions below to release the pressure safely:
- Locate the Pressure Relief Valve: On the top of the keg, you’ll find a pressure relief valve. It is usually a small, round valve with a lever or a pull-ring.
- Pull the Pressure Relief Valve: Using your fingers or a tool, gently pull or lift the pressure relief valve. This will release the built-up pressure inside the keg. You may hear a hissing sound as the pressure is released.
- Wait for the Pressure to Equalize: After releasing the pressure, give it a few moments for the pressure inside the keg to equalize. This step ensures a smooth flow of beer without excessive foaming.
- Check for Leaks: While waiting for the pressure to equalize, keep an eye out for any leaks around the coupler connection or any other parts of the tap system. If you notice any leaks, address them by tightening connections or replacing faulty parts.
Releasing the pressure is an important step to ensure a controlled pour and minimize wastage due to excessive foam. With the pressure released and the system checked for leaks, you’re now ready to position the kegerator dispenser and tap the keg.
Before tapping a keg in a kegerator, make sure the CO2 tank is connected and the pressure is set to the appropriate level for the type of beer. This will ensure a smooth pour and optimal carbonation.
Step 4: Position the Kegerator Dispenser
Properly positioning the kegerator dispenser is crucial for an enjoyable and convenient beer pouring experience. Here’s what you need to do:
- Clean the Drip Tray: Before positioning the kegerator dispenser, make sure the drip tray is clean and free from any debris or residue. Wipe it down with a mild soap solution and a clean cloth.
- Place the Drip Tray: Position the drip tray underneath the tap faucet to catch any drips or spills during the pouring process. Make sure it is level and stable.
- Adjust the Dispenser Height: Depending on the size and shape of your glasses or beer mugs, you may need to adjust the height of the dispenser. Most kegerators have a height adjustment knob or mechanism to raise or lower the dispenser. Set it to a comfortable height that allows for easy filling of your glass.
- Ensure Proper Drainage: Ensure that the drip tray has proper drainage to prevent overflowing. Check that the drain hose or hole is clear and can safely carry any excess liquid away from the dispenser.
- Check for Stability: Take a moment to check the overall stability of the kegerator dispenser. Make sure it is securely positioned on a level surface and won’t wobble or tip during use.
By following these steps, you’ll ensure that the kegerator dispenser is properly positioned for easy pouring and minimal mess. Now that everything is in place, let’s move on to the exciting part: tapping the keg!
Step 5: Tap the Keg
Now comes the moment you’ve been waiting for: tapping the keg and readying it for a refreshing pour. Follow these steps to tap the keg like a pro:
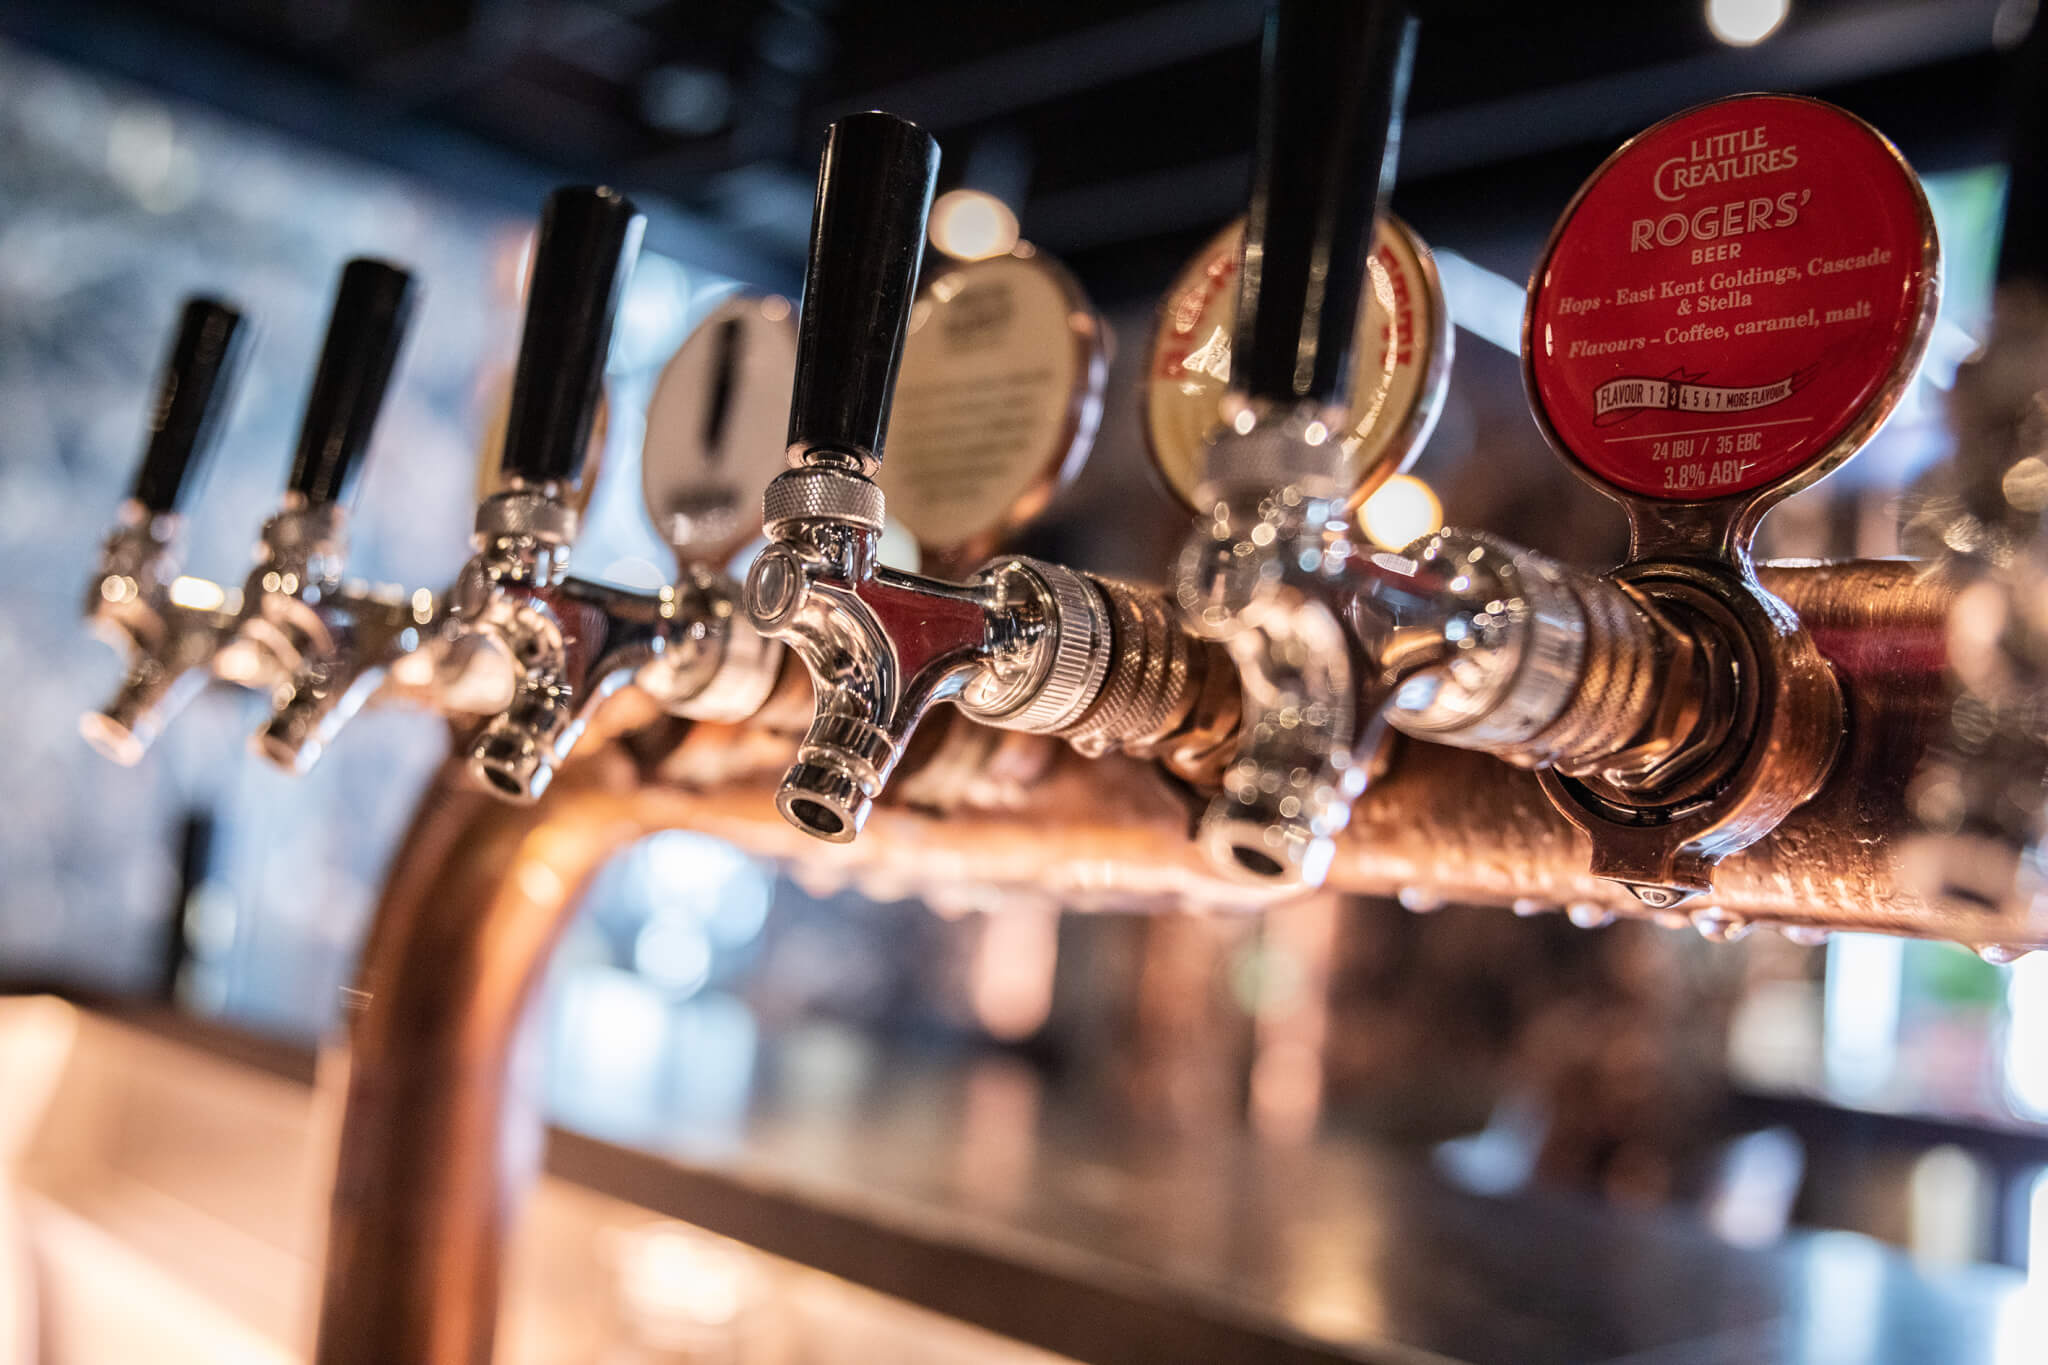
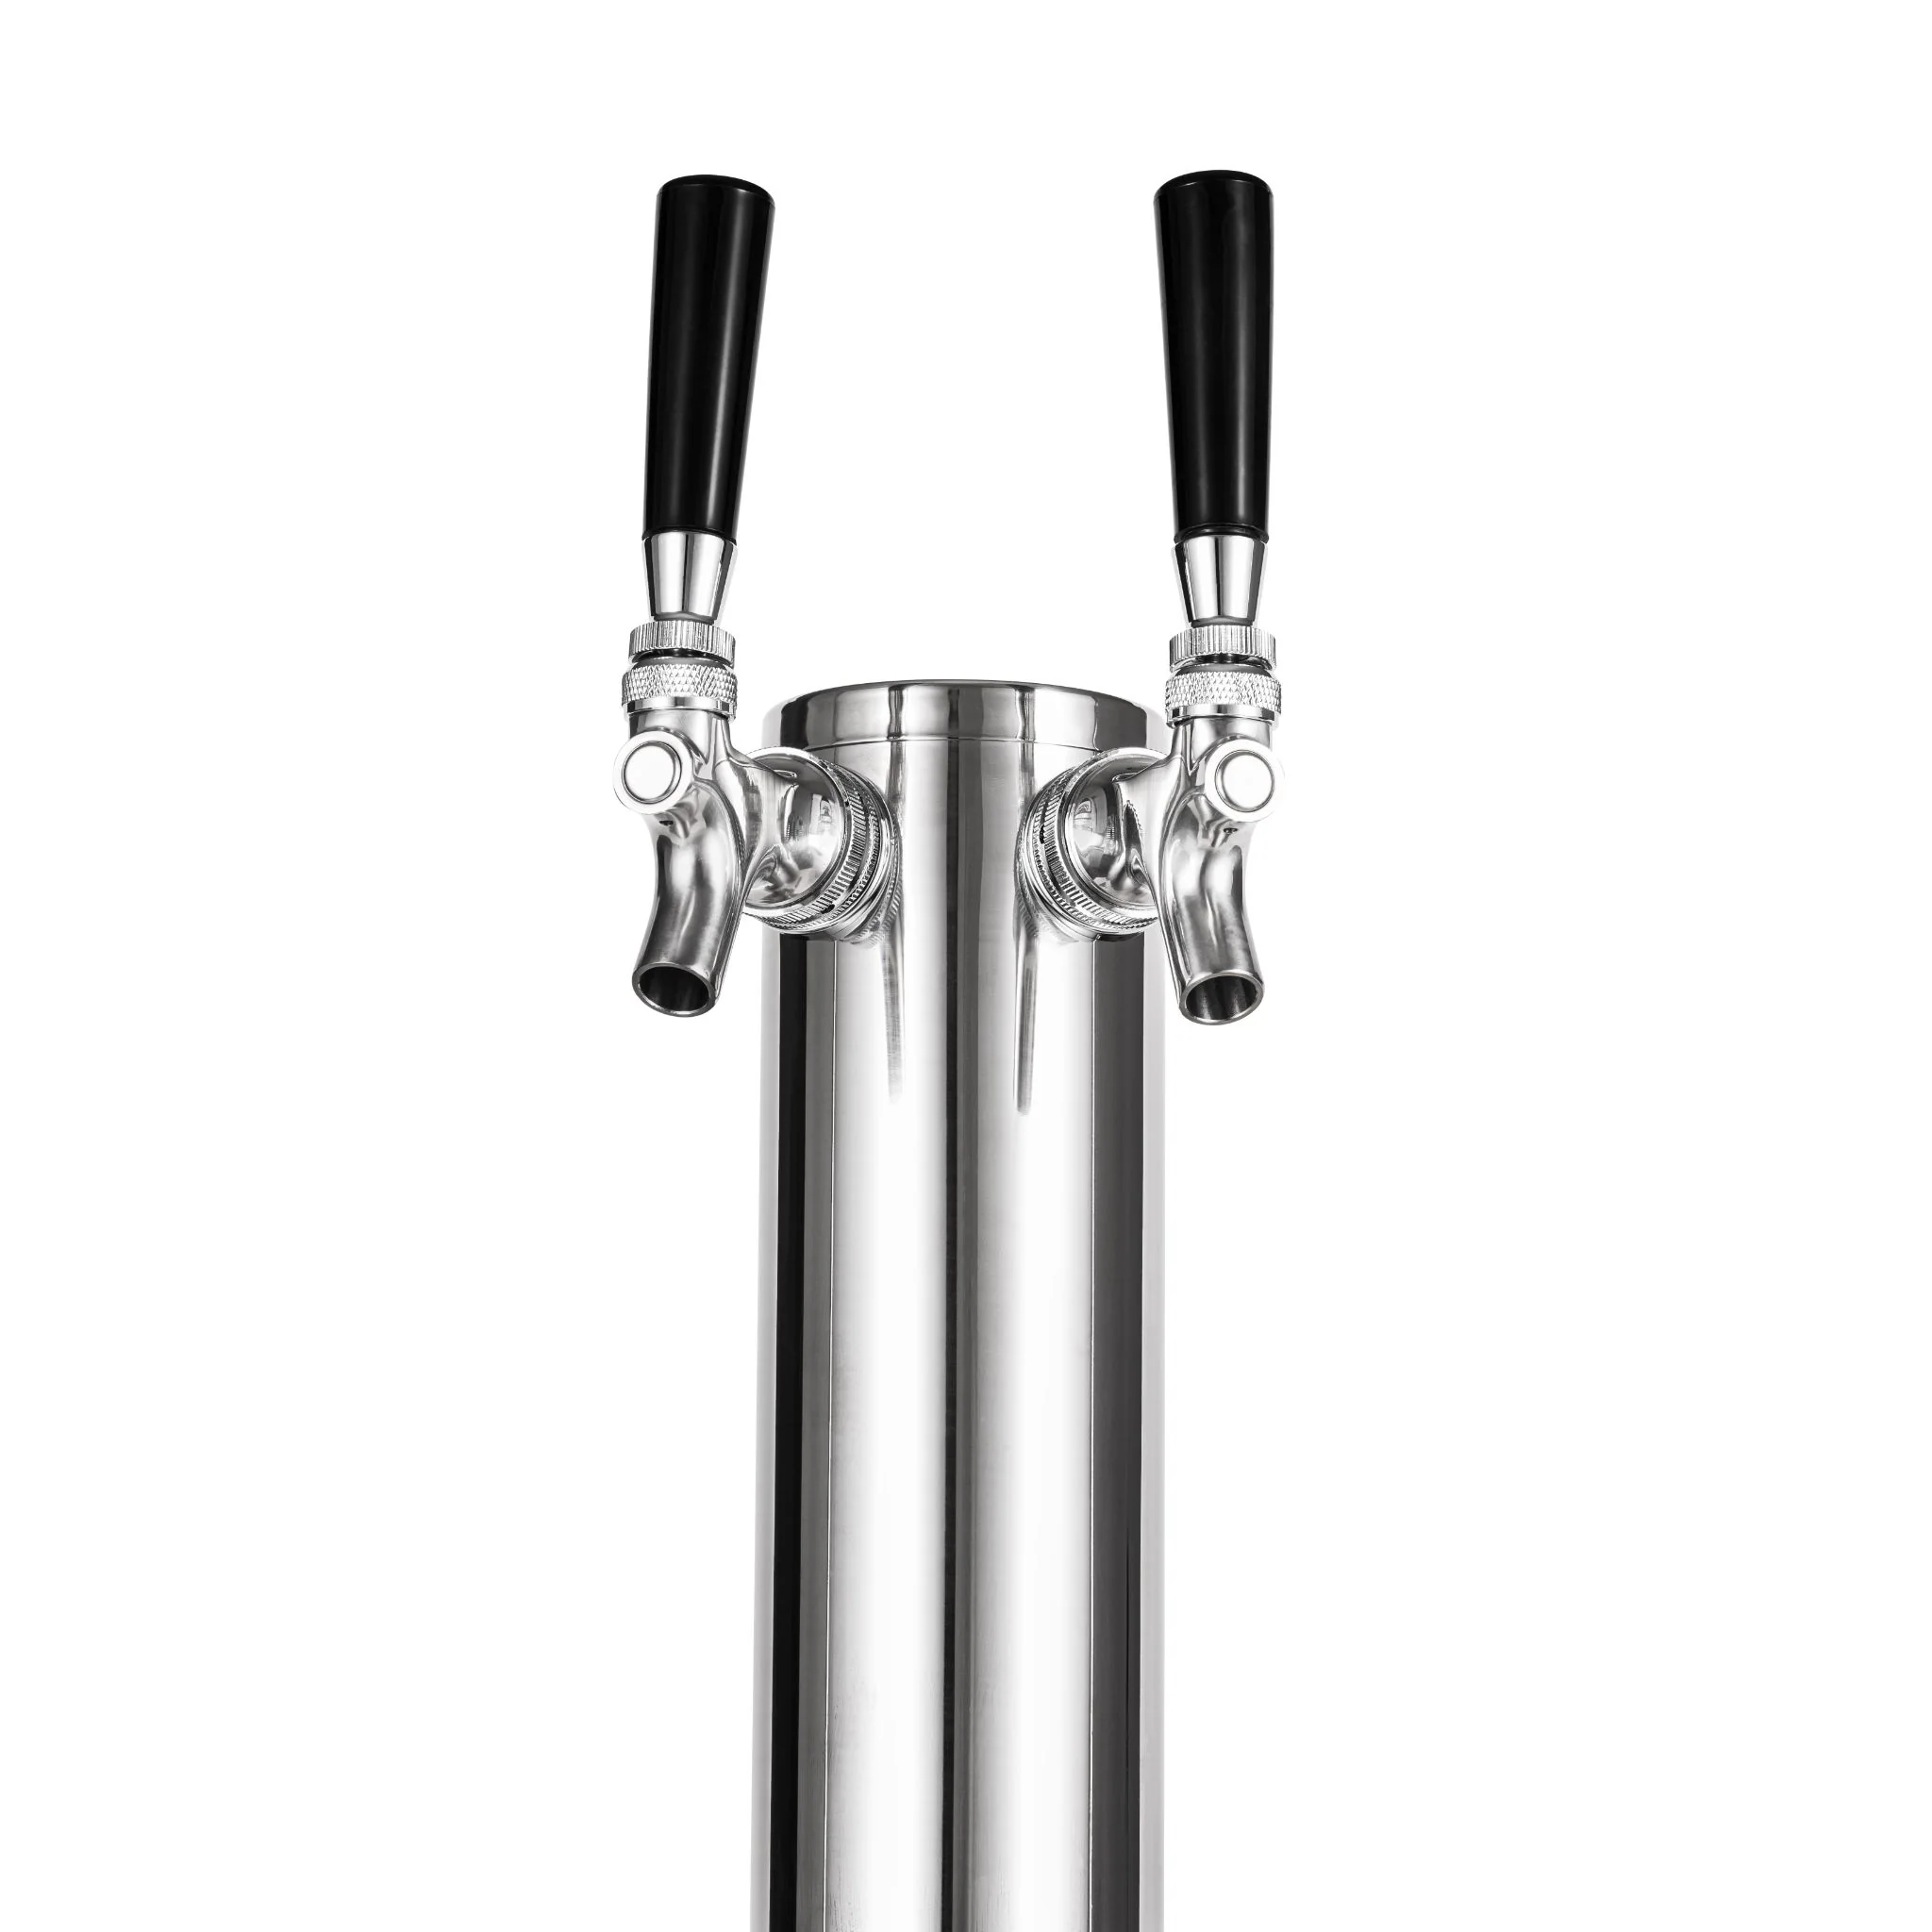
- Hold the Tap Handle: Grasp the tap handle firmly with one hand. The tap handle is the lever that controls the flow of beer.
- Position the Tap: With your other hand, position the tap nozzle underneath the tap faucet.
- Insert the Tap: Press the tap nozzle up into the tap faucet until it locks into place. You may need to apply gentle pressure to ensure a secure connection.
- Engage the Tap Handle: Pull the tap handle forward or push it down, depending on the design of your tap system. This action will engage the flow of beer from the keg.
- Listen for the Click: Once the tap is engaged, you should hear a click or a slight hiss as the beer starts flowing. This indicates that the keg is tapped and ready to pour.
- Check for Leaks: As the beer starts flowing, keep an eye out for any leaks around the tap connection or any other parts of the tap system. If you notice any leaks, address them by tightening connections or replacing faulty parts.
Now that the keg is successfully tapped, you’re one step closer to enjoying a cold, refreshing beer. But first, let’s move on to the next step: pouring the beer into your glass.
Step 6: Pour the Beer
It’s time to savor the fruits of your labor and pour yourself a well-deserved glass of beer. Follow these steps to pour the perfect pint:
- Hold the Glass: Hold a clean and dry glass at a 45-degree angle underneath the tap faucet. This angle helps to control the pouring process and minimize excessive foaming.
- Open the Tap: Slowly open the tap by pulling the handle forward or pushing it down, depending on the design of your tap system. Allow the beer to flow gently into the glass.
- Adjust the Glass Angle: As the glass fills up, gradually straighten it to a vertical position. This adjustment helps to create a proper head and prevents overflowing.
- Pour with Control: Aim to pour the beer smoothly and steadily, avoiding any sudden rushes or splashing. This technique helps to create a perfect head and maintain the beer’s carbonation.
- Leave Room for Head: When nearing the top of the glass, leave a small space to accommodate the beer’s frothy and foamy head. This space typically ranges from half an inch to one inch.
- Close the Tap: Once the glass is filled to your desired level, close the tap by pushing the handle back into its original position. This action stops the flow of beer from the keg.
- Clean Up any Spills: If any drips or spills occurred during the pouring process, wipe them off with a clean cloth or towel. Keep the kegerator area clean and tidy for the next pour.
Congratulations! You’ve successfully poured your first beer from the tapped keg. Now, all that’s left to do is sit back, relax, and enjoy the fruits of your labor. Cheers!
Step 7: Troubleshooting Common Issues
While tapping a keg is usually a smooth process, you may encounter some common issues along the way. Here are a few troubleshooting tips to help you overcome potential obstacles:
- Excessive Foam: If you’re experiencing excessive foaming when pouring the beer, it could be due to a few reasons. Make sure the keg is properly chilled, the pressure is released before tapping, and the glass is held at a 45-degree angle. Additionally, avoid aggressive or rapid pouring, as it can cause excessive foam. Adjusting these factors can help you achieve a perfect pour with the right balance of beer and foam.
- Slow Pour: If the beer flow seems slow, it could be due to a clogged or obstructed tap system. Check for any blockages in the tap faucet, beer lines, or coupler. Clean or remove any debris or obstructions that may be hindering the flow. Additionally, ensure that the keg is not empty or nearly empty, as this can also result in a slow pour.
- Leaks in the System: If you notice any leaks in the tap system, such as around the connections or the coupler, it’s essential to address them promptly. Check and tighten all connections to ensure a secure and watertight fit. If necessary, replace any faulty parts that may be causing the leaks. Leaks can lead to a loss of carbonation and affect the quality of the beer.
- No Carbonation or Flat Beer: If the beer pouring from the tap is flat or lacks carbonation, it could be due to insufficient pressure. Check that your CO2 tank is properly connected and has enough pressure. Adjust the CO2 pressure regulator as needed to obtain the desired carbonation level. Additionally, ensure that the keg has not been agitated or shaken, as this can release excess carbonation.
- Off Flavors or Odors: If the beer has off flavors or odors, it may indicate an issue with cleanliness or stale lines. Thoroughly clean and sanitize the tap system, including the beer lines. If necessary, replace old or worn-out lines, as they can retain flavors and affect the taste of the beer. Regular cleaning and maintenance of the tap system are key to ensuring a fresh and enjoyable beer experience.
By addressing and troubleshooting these common issues, you’ll be able to overcome any obstacles that may arise during the keg tapping process. Remember to refer to the manufacturer’s instructions for your specific tap system and kegerator, as they may have additional troubleshooting tips and guidelines.
Read also: 13 Best Kegerator 3 Tap For 2025
Conclusion
Congratulations! You have successfully learned how to tap a keg in your kegerator. By following the step-by-step process outlined in this article, you can now enjoy the pleasure of pouring your own draught beer at home.
From preparing the keg and connecting the tap system to releasing the pressure and positioning the kegerator dispenser, each step plays a crucial role in ensuring a smooth and enjoyable beer pouring experience. Remember to troubleshoot common issues like excessive foam or slow pouring, and maintain the cleanliness of your tap system to keep the flavors fresh and the beer flowing perfectly.
With your newly acquired keg tapping skills, you can impress your friends and family with perfectly poured pints of beer. Imagine the joy of hosting gatherings, game nights, or simply enjoying a refreshing beer after a long day. Each pour will be a testament to your mastery of the keg tapping process.
So, go ahead and indulge in the world of keg tapping. Explore different beer styles, experiment with pouring techniques, and elevate your home bar experience. Cheers to your newfound knowledge and the delightful journey of enjoying fresh, flavorful draft beer!
Frequently Asked Questions about How To Tap Keg In Kegerator
Was this page helpful?
At Storables.com, we guarantee accurate and reliable information. Our content, validated by Expert Board Contributors, is crafted following stringent Editorial Policies. We're committed to providing you with well-researched, expert-backed insights for all your informational needs.


0 thoughts on “How To Tap Keg In Kegerator”