Home>Articles>How To Make Home Brew With Your Kegerator Sanke
Articles
How To Make Home Brew With Your Kegerator Sanke
Modified: August 16, 2024
Learn how to convert your kegerator from Sanke to home brew with our informative articles. Discover the step-by-step process and start brewing your own delicious beer today!
(Many of the links in this article redirect to a specific reviewed product. Your purchase of these products through affiliate links helps to generate commission for Storables.com, at no extra cost. Learn more)
Introduction
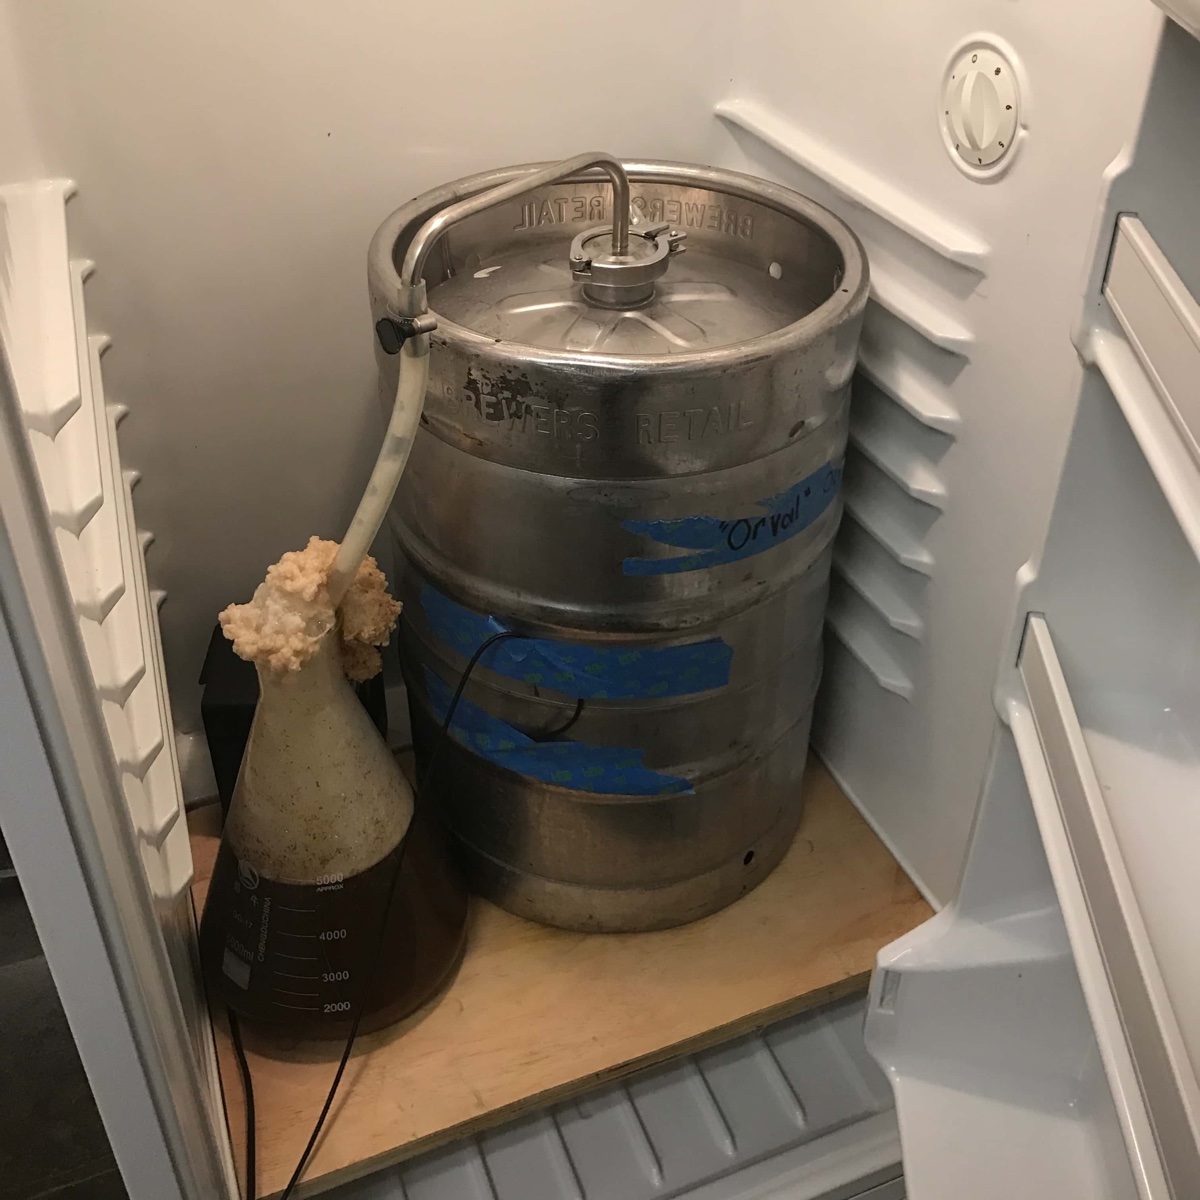
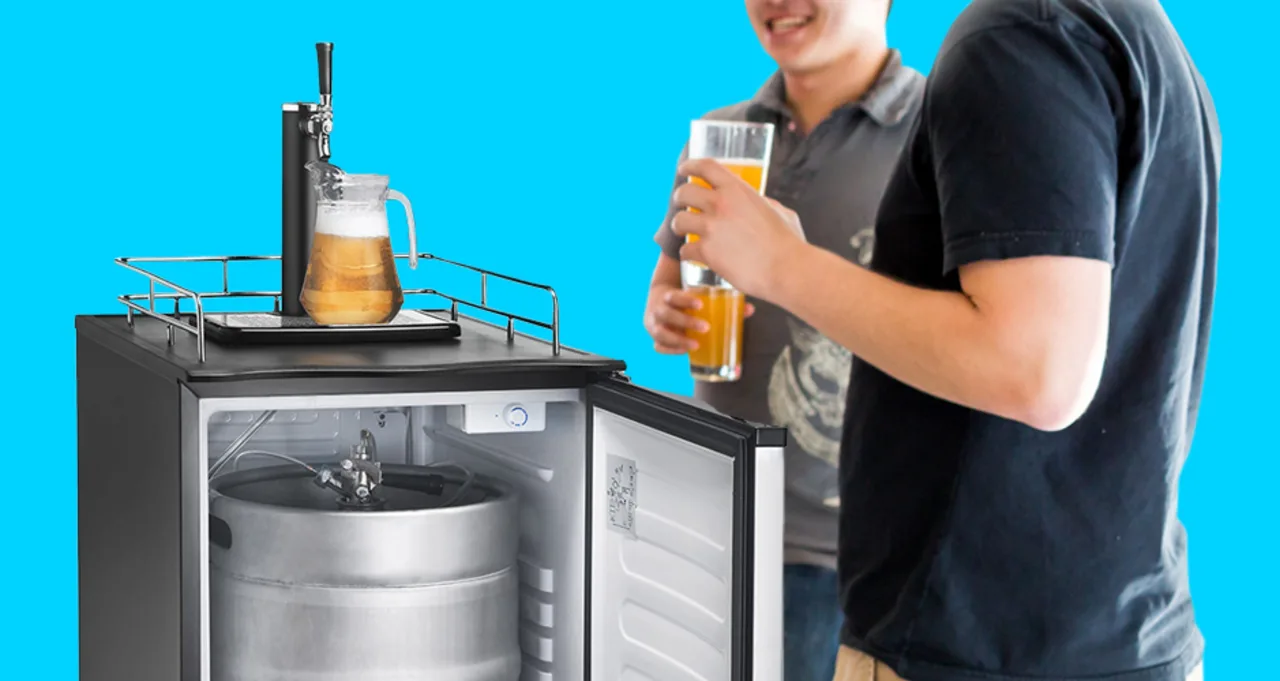
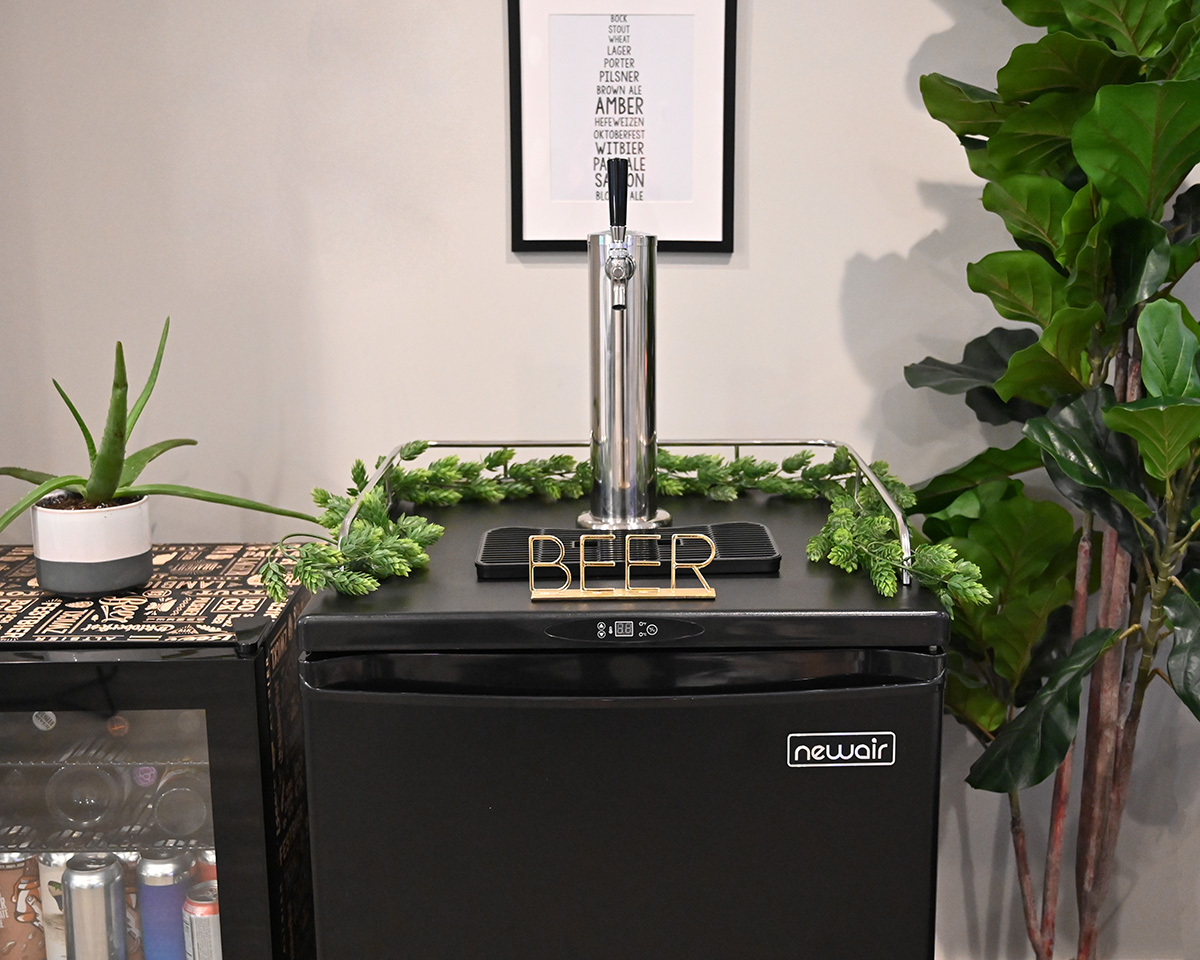
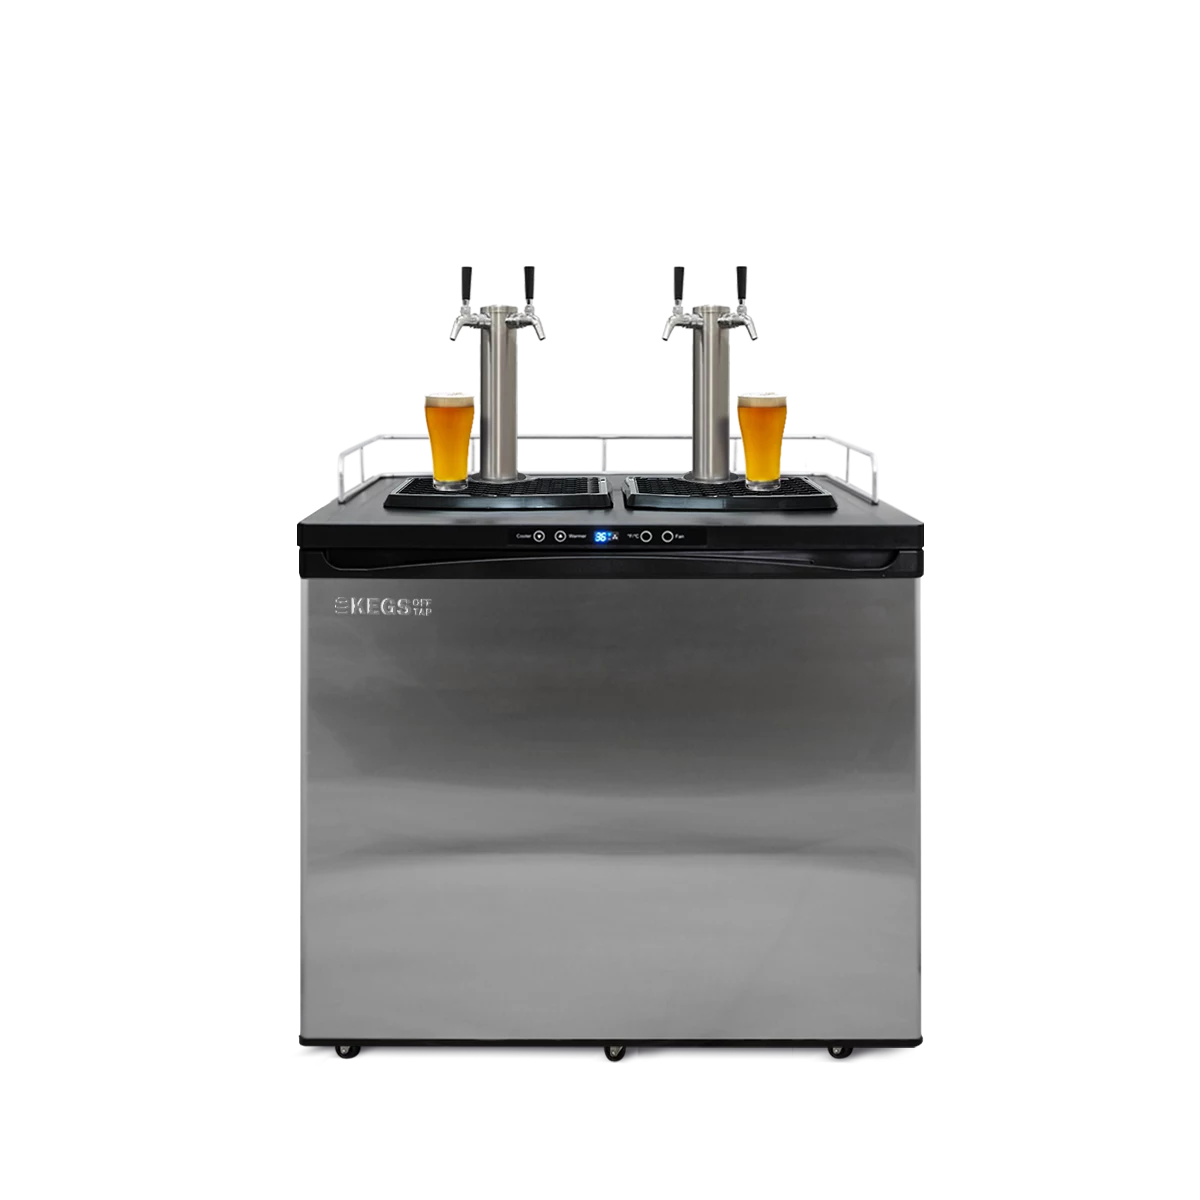
Welcome to the world of home brewing! There’s something special about crafting your own delicious beer right in the comfort of your own home. One of the key components of a successful home brewing setup is a kegerator, a specialized refrigerator that allows you to store and dispense your home brewed beer with ease. However, if you already have a kegerator designed for commercial kegs (also known as Sanke kegs), you may be wondering how to convert it to accommodate your home brew. In this article, we’ll guide you through the process of converting your Sanke kegerator to accommodate home brew, so you can enjoy the satisfaction of pouring your own creations on tap.
Before we dive into the conversion process, it’s important to understand the differences between Sanke and home brew kegerators. Sanke kegerators are specifically designed to dispense beer from commercial kegs which utilize a different type of connection system compared to home brew kegs. Home brew kegerators, on the other hand, have the necessary fittings and accessories to accommodate the unique requirements of home brewed beer. By converting your Sanke kegerator to a home brew kegerator, you’ll ensure that your setup is optimized for brewing and dispensing your own beer.
Now that we have a clear understanding of what we’re aiming for, let’s take a look at the materials you’ll need to convert your Sanke kegerator into a home brew friendly setup.
Key Takeaways:
- Converting a Sanke kegerator to accommodate home brew involves understanding the differences, gathering specific materials, and following a step-by-step conversion process. Troubleshooting tips help address potential challenges, ensuring a successful transition to a home brew-friendly setup.
- The process of converting a Sanke kegerator to accommodate home brew involves replacing the coupler, connecting gas and liquid lines, and troubleshooting potential issues. With patience and attention to detail, home brewers can enjoy the satisfaction of dispensing their own beer on tap.
Read more: How To Make A Kegerator For Cold Brew
Understanding the Differences between Sanke and Home Brew Kegerators
To successfully convert your Sanke kegerator into a home brew kegerator, it’s essential to understand the key differences between the two types of kegerators. While both serve the purpose of dispensing beer, they have distinct features that cater to the specific requirements of their respective kegs.
Sanke kegerators are designed to accommodate commercial kegs, which typically use a Sanke coupler system. The Sanke coupler has a larger diameter compared to home brew couplers and employs a different mechanism to connect the keg to the beer lines. These commercial kegs often come with their own carbonation system, eliminating the need for additional equipment to carbonate the beer.
On the other hand, home brew kegerators are specifically built to accommodate home brewed beer, which is typically kegged in corny kegs or ball lock kegs. These kegs utilize a different connection system than Sanke kegs, with separate gas and liquid posts that require specialized fittings and disconnects.
When converting your Sanke kegerator to a home brew setup, you’ll need to replace the Sanke coupler with a compatible home brew coupler, which is designed to fit the posts and connections on home brew kegs. This allows you to connect your home brew kegs directly to the beer lines in your kegerator.
Additionally, home brew kegerators often come with additional features to accommodate the home brewing process. These may include a carbonation system, temperature control options, and the ability to hold multiple kegs simultaneously.
By understanding these distinctions, you can ensure that your Sanke kegerator conversion is successful and that your setup is optimized for home brewing. Now, let’s move on to the materials you’ll need to gather for the conversion process.
Materials Needed for Converting a Sanke to a Home Brew Kegerator
Converting your Sanke kegerator to accommodate home brew requires a few specific materials to ensure a successful transformation. Here’s a list of the materials you’ll need:
- Home Brew Coupler: The first and most crucial item you’ll need is a home brew coupler. This is the component that connects your home brew keg to the beer lines in your kegerator. Make sure to choose a coupler that is compatible with the specific type of kegs you’ll be using.
- Gas and Liquid Disconnects: These disconnects are necessary to connect your gas and liquid lines to your home brew coupler. They allow for easy connection and disconnection of the kegs.
- Gas and Liquid Lines: You’ll need suitable gas and liquid lines to connect your disconnects to your kegerator. These lines should be food-grade and sized appropriately for your setup.
- Home Brew Kegs: Of course, you’ll need home brew kegs to store and dispense your homemade beer. Corny kegs or ball lock kegs are commonly used in home brewing.
- Fittings and Adapters: Depending on your specific kegerator and home brew kegs, you may need various fittings and adapters to ensure a proper connection between the kegs, coupler, and lines. Check the compatibility of your equipment and purchase any necessary fittings or adapters.
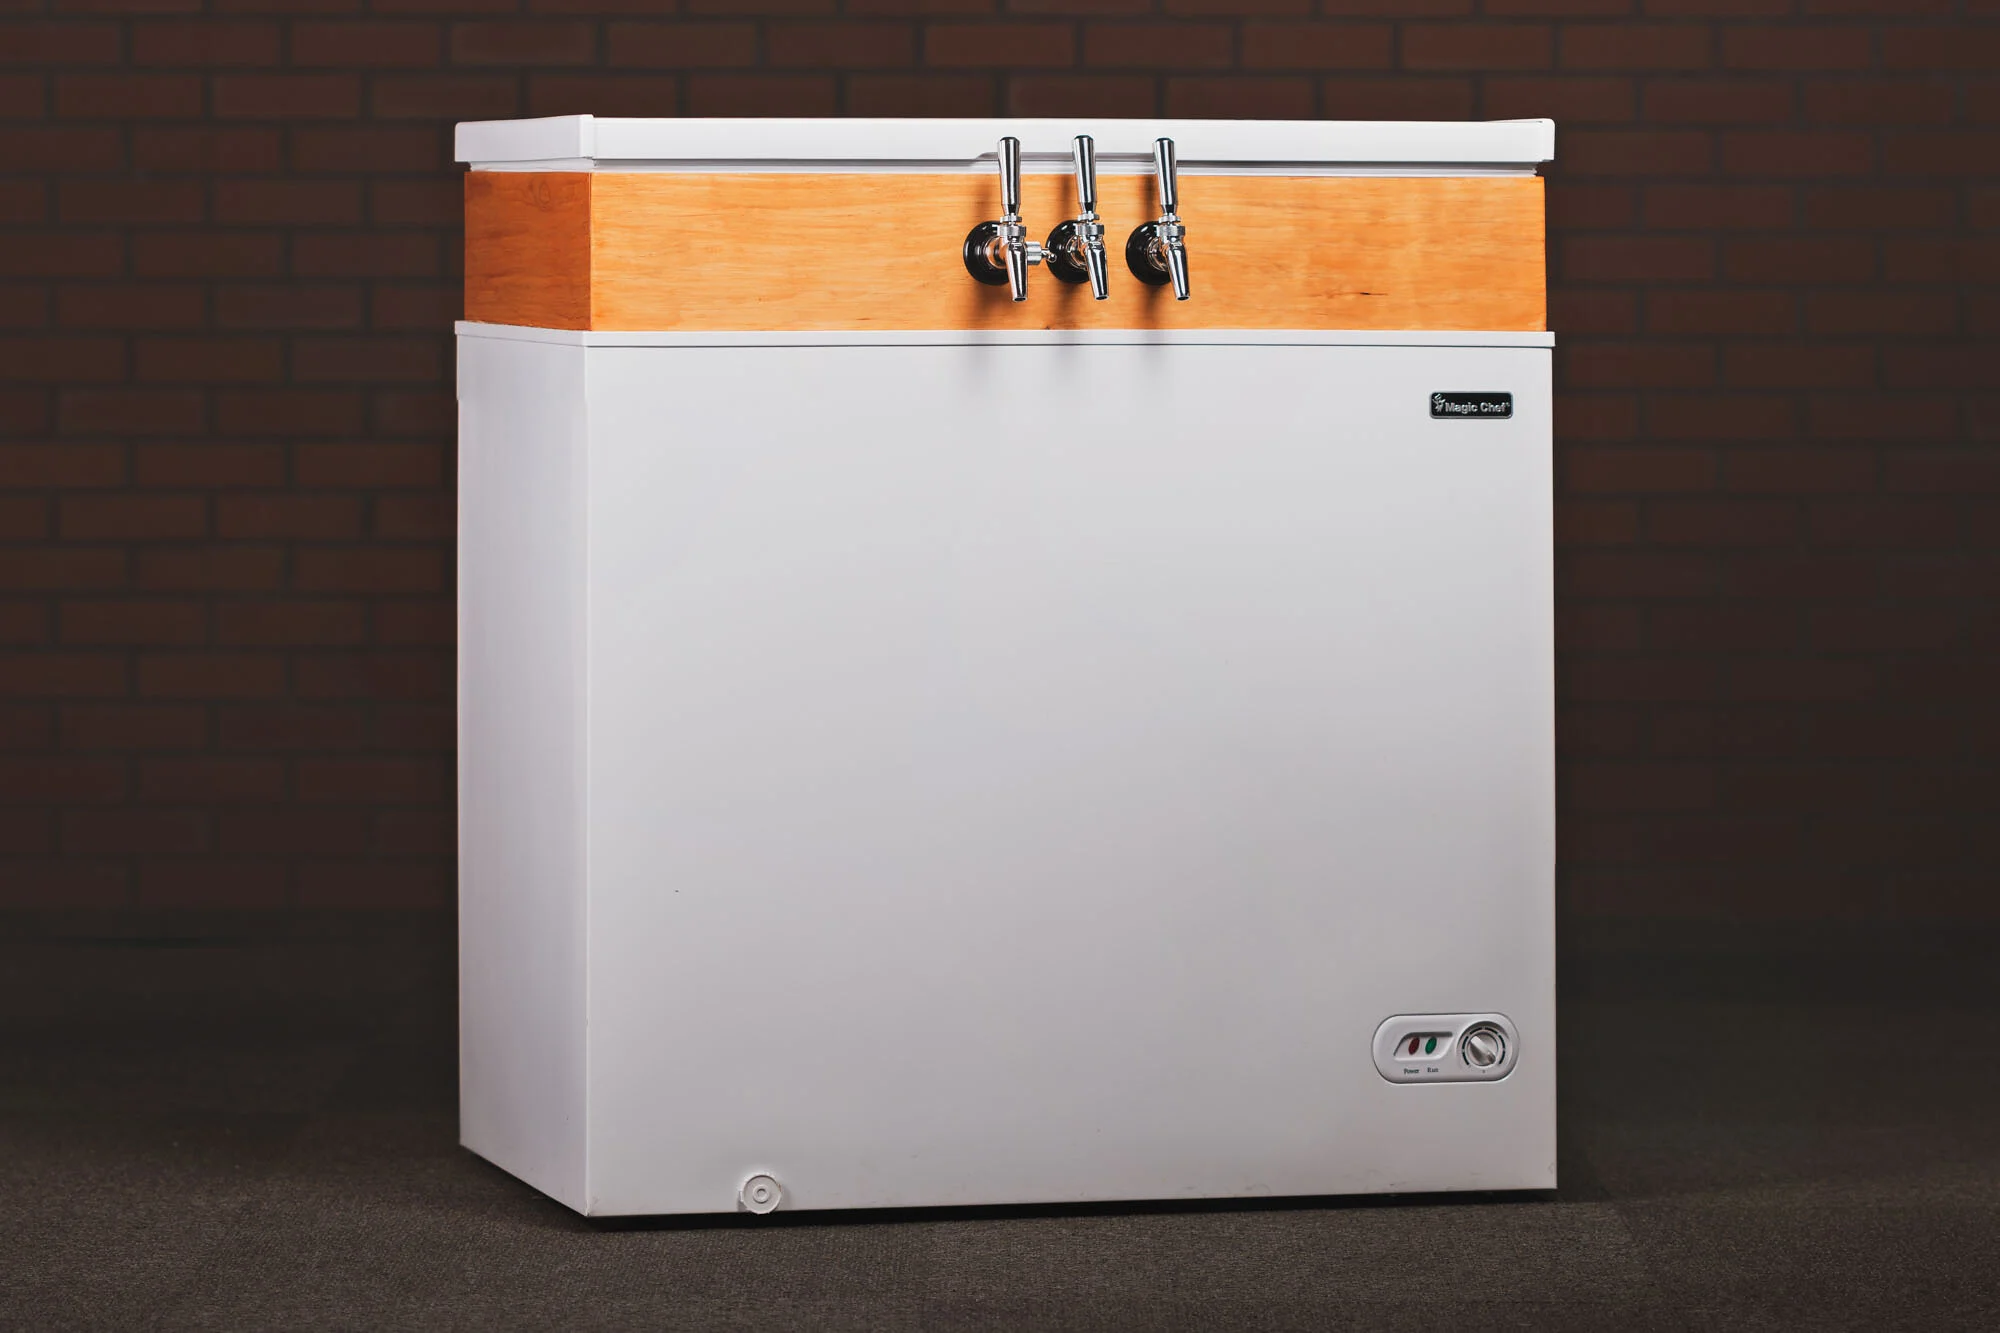
- Additional Accessories: Consider any additional accessories you may want for your home brew kegerator, such as a carbonation system, tap handles, drip tray, or temperature control options.
It’s important to source high-quality materials for your conversion to ensure a smooth and reliable home brew kegerator setup. Take your time to research and purchase the appropriate components that match your specific needs and equipment.
Once you have gathered all the necessary materials, you can proceed with the conversion process. In the following section, we’ll guide you through the steps to convert your Sanke kegerator to accommodate home brew.
When converting a Sanke kegerator to homebrew, make sure to replace the Sanke coupler with a ball lock or pin lock coupler to fit standard homebrew kegs. This will ensure a proper seal and easy dispensing of your homebrew.
Steps to Convert Your Sanke Kegerator to Accommodate Home Brew
Converting your Sanke kegerator to accommodate home brew is a straightforward process, although it requires some specific steps to ensure a successful conversion. Follow these steps to convert your Sanke kegerator:
- Empty and Clean: Start by removing any remaining beer or cleaning solution from your kegerator. Make sure to clean all the components thoroughly to ensure a fresh start for your home brew setup.
- Disconnect and Remove Sanke Coupler: Unscrew and disconnect the Sanke coupler from the beer lines in your kegerator. Set it aside as it won’t be needed for the home brew setup.
- Attach the Home Brew Coupler: Take your home brew coupler and connect it to the beer lines in your kegerator. Make sure it is securely attached and properly aligned.
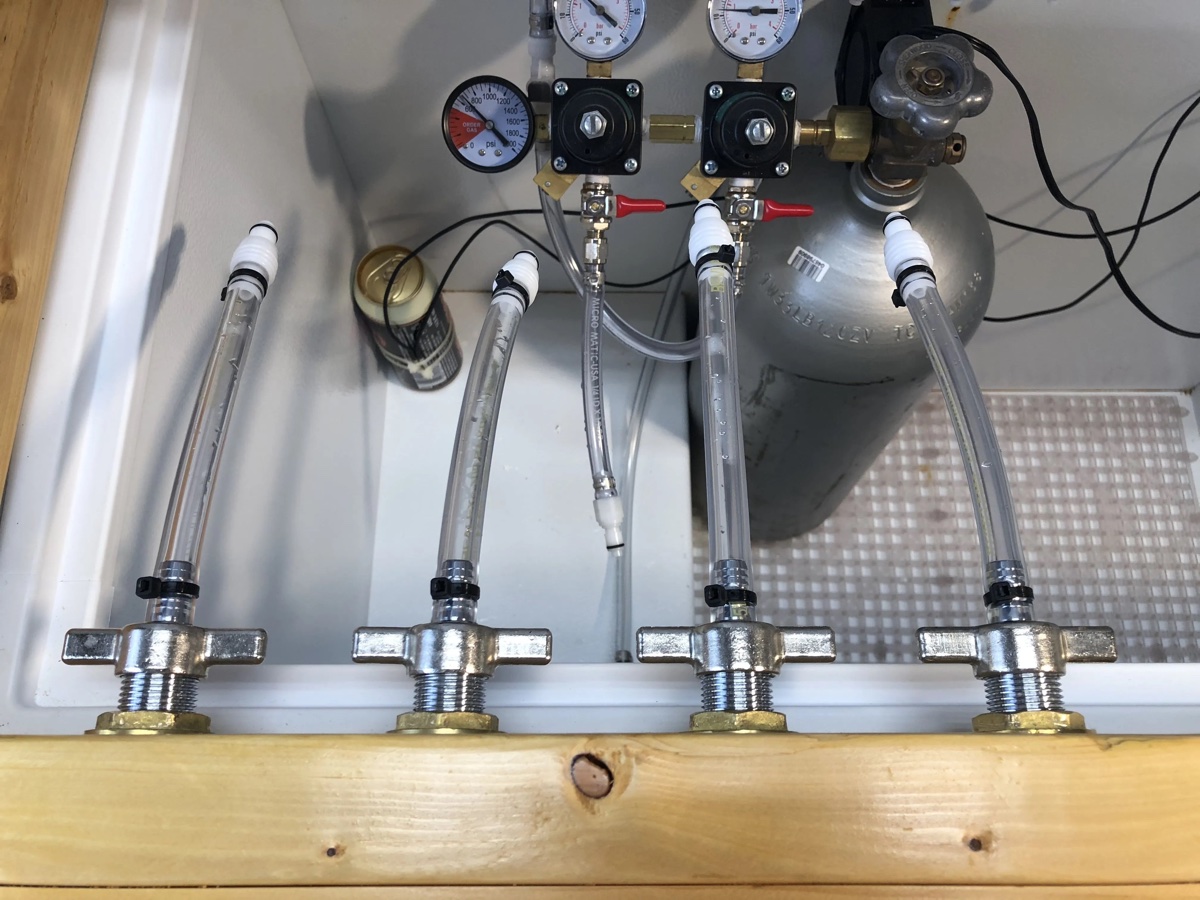
- Connect Gas and Liquid Disconnects: Attach the gas and liquid disconnects to your home brew coupler. Ensure they are connected tightly to prevent any leaks.
- Connect Gas and Liquid Lines: Connect the gas line to the gas disconnect and the liquid line to the liquid disconnect. Double-check the connections and make sure they are secure.
- Prepare Home Brew Keg: If you haven’t already, clean and sanitize your home brew keg to ensure it is ready for use. Follow proper sanitization procedures to maintain the quality and safety of your beer.
- Attach Gas and Liquid Disconnects to Home Brew Keg: Connect the gas disconnect to the gas post on your home brew keg and the liquid disconnect to the liquid post. Ensure they are securely attached.
- Place the Home Brew Keg in the Kegerator: Carefully place the home brew keg inside the kegerator, ensuring it fits properly and is stable. Close the kegerator door.
- Test for Leaks: Turn on the gas supply to pressurize the keg. Check for any leaks in the connections by spraying a soapy water solution on them. If you see any bubbles forming, tighten the connections and retest until there are no leaks.
- Adjust Temperature and Carbonation Levels: Set the desired temperature in your kegerator, depending on the style of beer you are dispense. If necessary, adjust the carbonation level using a carbonation system or other suitable methods.
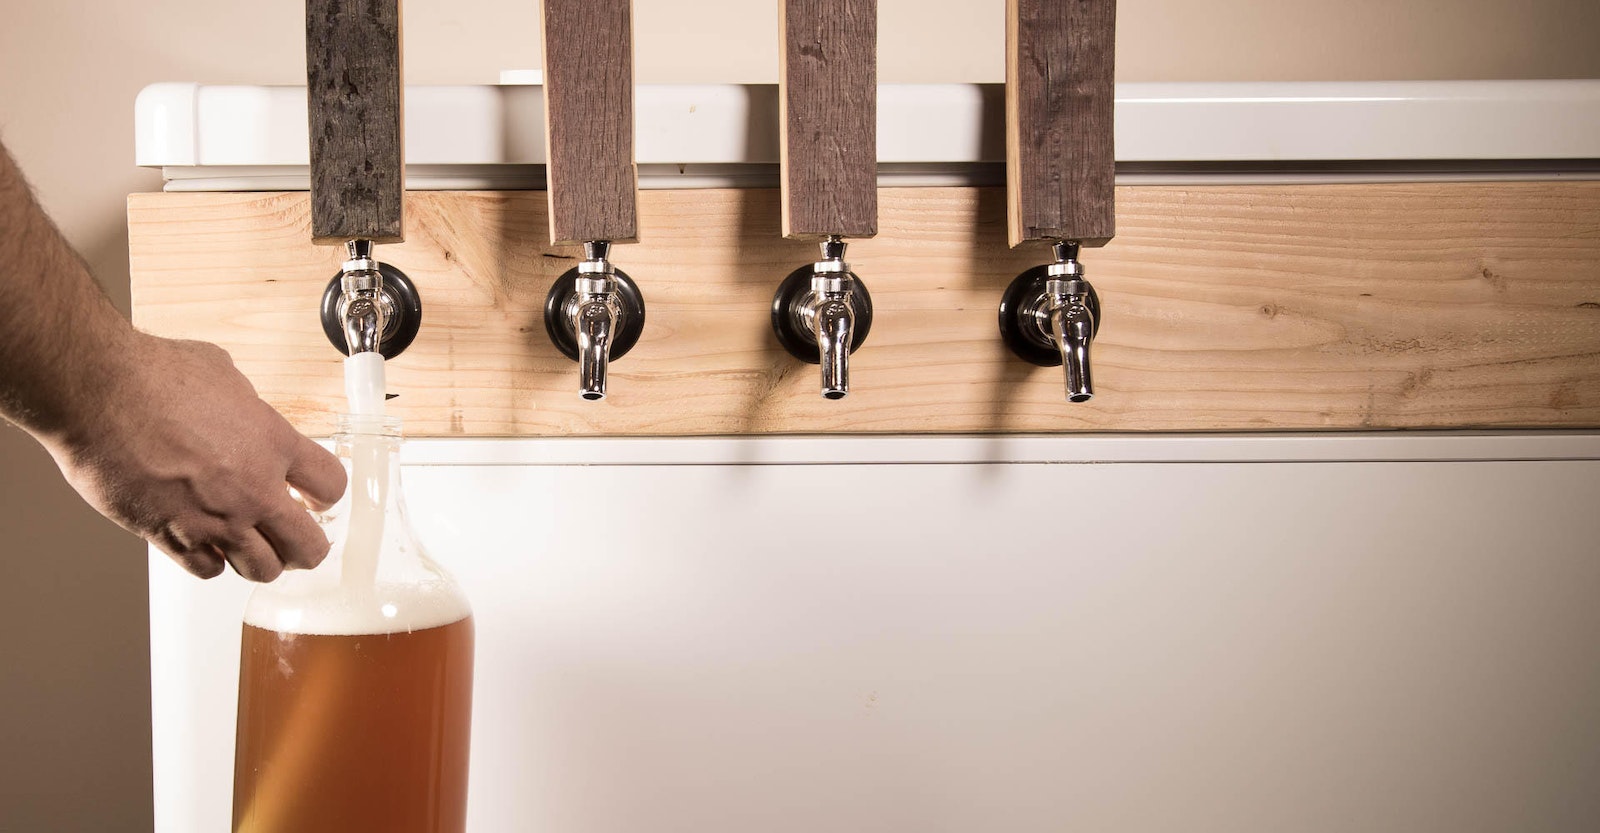
- Enjoy Your Home Brew on Tap: Once everything is set up and functioning properly, you’re ready to enjoy your homemade beer on tap! Pour yourself a glass and savor the fruits of your labor.
Remember, it may take a few attempts to get everything dialed in perfectly. Be patient and make adjustments as needed to ensure the best possible results. With your Sanke kegerator successfully converted to a home brew kegerator, you can now enjoy the convenience of dispensing your own beer on tap.
In the next section, we’ll provide some troubleshooting tips to help you address any potential issues that may arise during the conversion process.
Troubleshooting Tips for a Successful Conversion
Converting your Sanke kegerator to accommodate home brew may come with a few challenges along the way. However, with these troubleshooting tips, you can overcome any potential issues and ensure a successful conversion:
- Leak Detection: If you notice any leaks in your connections, use a soapy water solution to identify the source. Tighten the connections appropriately to eliminate the leaks.
- Carbonation Issues: If your beer is over-carbonated or under-carbonated, adjust the carbonation level by adjusting the pressure and temperature in your kegerator. Refer to resources or consult experienced home brewers for guidance.
- Temperature Control: If your kegerator is not maintaining the desired temperature, check the thermostat settings and make any necessary adjustments. Also, ensure proper insulation and airtight seals to prevent temperature fluctuations.
- Dispensing Problems: If you’re experiencing issues with dispensing, such as slow flow or excessive foam, check for any kinks or blockages in the beer lines. Be sure to clean and sanitize your lines regularly to prevent buildup.
- Proper Cleaning and Sanitization: Ensure that you are following proper cleaning and sanitization procedures for your home brew keg, lines, and other components. This helps avoid any contamination issues that could affect the quality and taste of your beer.
- Compatibility Issues: Double-check the compatibility of your fittings, adapters, and disconnects with your specific kegerator and home brew kegs. Incompatibility can lead to leaks and other functionality problems.
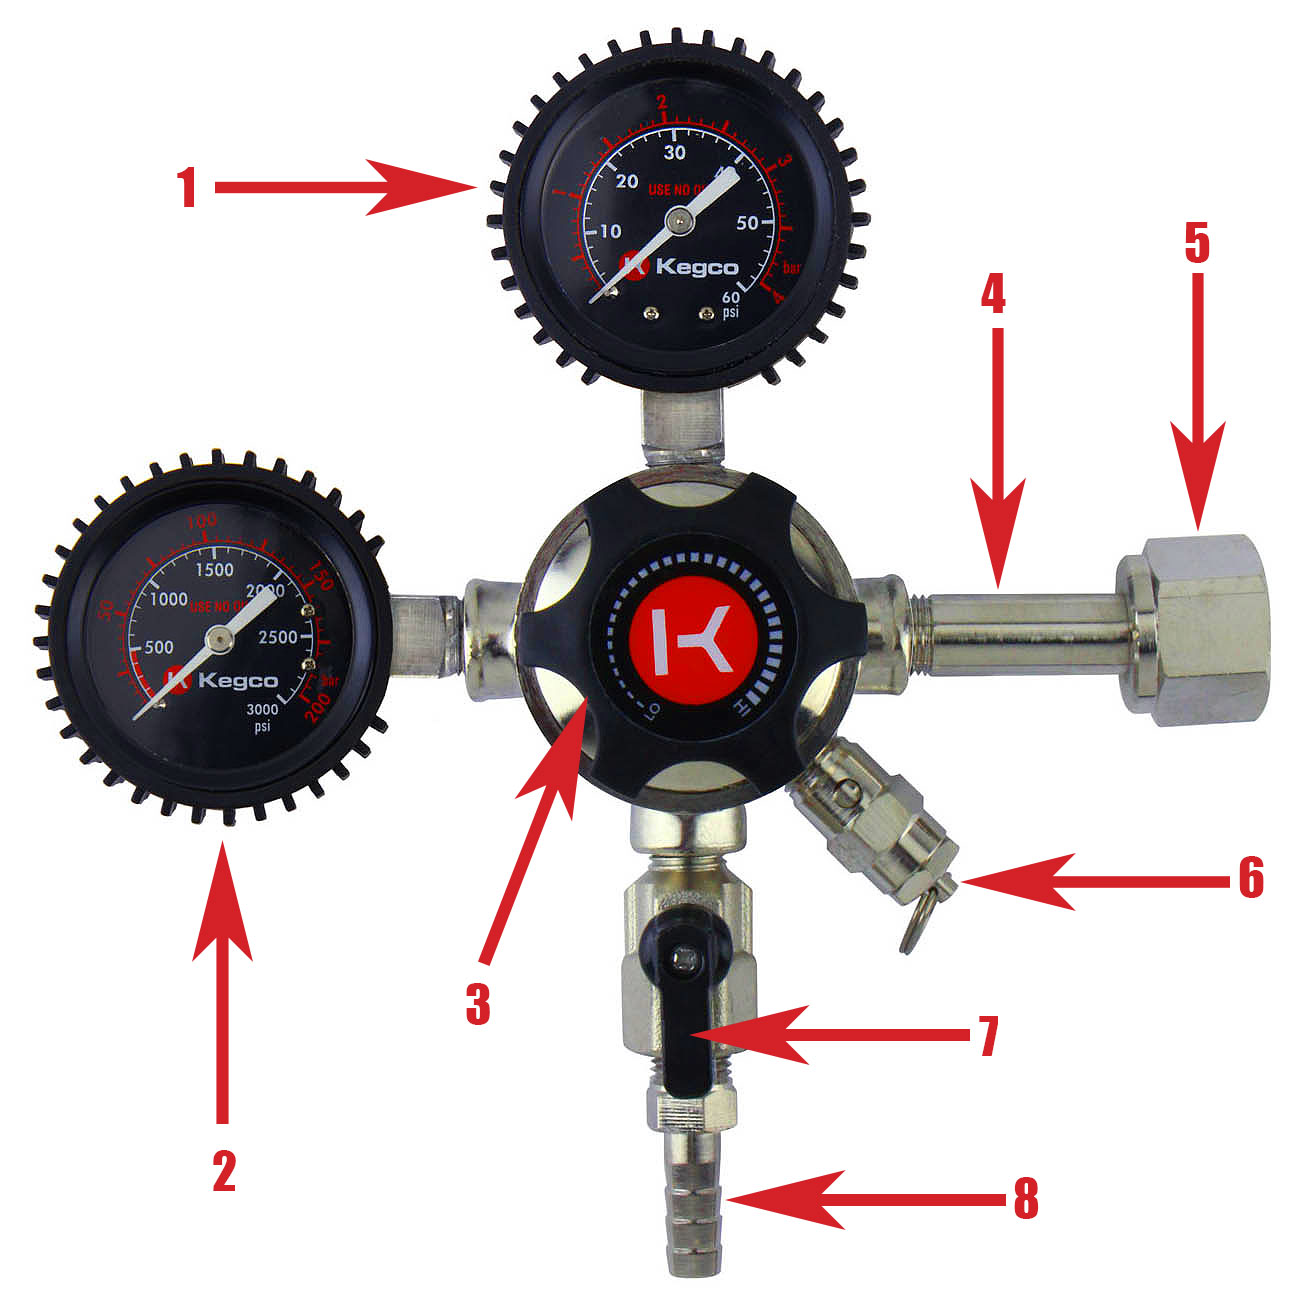
- Pressure Adjustment: If the keg is not pressurizing properly, check for any blockages in the gas line or issues with the regulator. Adjust the pressure accordingly to achieve the desired carbonation level.
Remember, troubleshooting is part of the learning process in home brewing. Don’t get discouraged if you encounter any setbacks along the way. Take your time to address the issues and make necessary adjustments. The more you experiment and fine-tune your setup, the better your home brew kegerator will perform.
Now that you have a clear understanding of the troubleshooting tips, you’re well-equipped to tackle any challenges that may arise during the conversion process. Let’s wrap up with a summary of the key points discussed in this article.
Read more: How To Make A Kegerator Handle
Conclusion
Converting your Sanke kegerator to accommodate home brew opens up a world of possibilities for brewing and enjoying your own beer on tap. By understanding the differences between Sanke and home brew kegerators, gathering the necessary materials, following the conversion steps, and troubleshooting any issues, you can successfully transform your kegerator into a home brew-friendly setup.
Throughout this article, we discussed the importance of understanding the distinctions between Sanke and home brew kegerators, as well as the materials needed for the conversion process. We walked through the steps to convert your Sanke kegerator and provided troubleshooting tips to help you overcome any challenges that may arise. The road to a functional and enjoyable home brew kegerator may have its ups and downs, but with patience and perseverance, you can achieve success.
Remember to source high-quality materials, clean and sanitize your equipment properly, and pay close attention to the compatibility of your components. Troubleshooting is a natural part of the process, so don’t be discouraged by setbacks. Embrace the learning experience and fine-tune your setup to brew and dispense the best quality beer.
Now it’s time to grab your home brew kegs, attach the gas and liquid disconnects, and pour yourself a glass of your very own homemade beer. Cheers to your newfound ability to enjoy the delicious fruits of your brewing labor, right in the comfort of your own home.
Happy brewing!
Frequently Asked Questions about How To Make Home Brew With Your Kegerator Sanke
Was this page helpful?
At Storables.com, we guarantee accurate and reliable information. Our content, validated by Expert Board Contributors, is crafted following stringent Editorial Policies. We're committed to providing you with well-researched, expert-backed insights for all your informational needs.


0 thoughts on “How To Make Home Brew With Your Kegerator Sanke”