
Articles
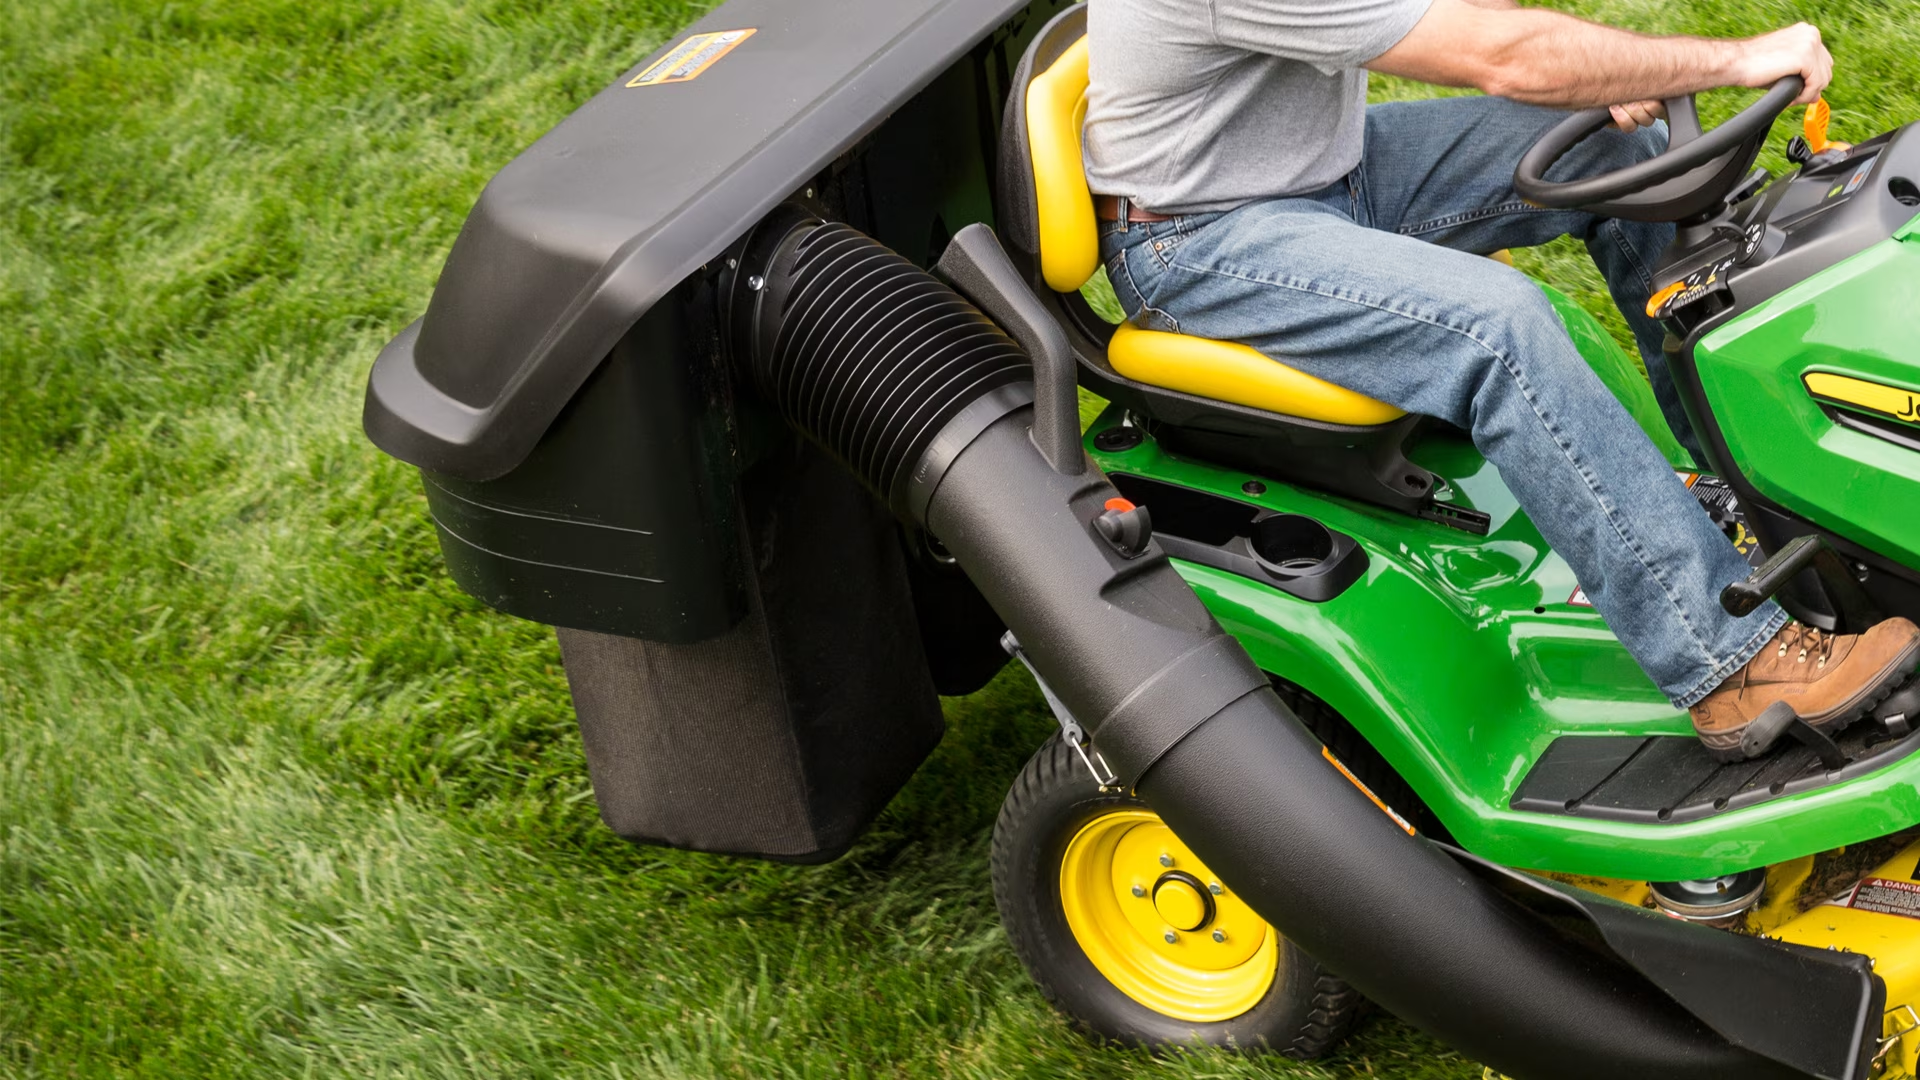
How To Store A Lawn Mower In Garage
Modified: January 5, 2024
Learn the best way to store your lawn mower in the garage with these helpful articles. Keep your equipment protected and organized for long-term use.
(Many of the links in this article redirect to a specific reviewed product. Your purchase of these products through affiliate links helps to generate commission for Storables.com, at no extra cost. Learn more)
Introduction
Storing your lawn mower in the garage is a great way to protect it from the elements and ensure its longevity. However, simply parking your mower in a corner and forgetting about it may lead to mechanical problems and expensive repairs when spring rolls around. Properly storing your lawn mower involves a few essential steps to keep it in top shape during the off-season.
In this article, we will guide you through the process of storing your lawn mower in the garage, step by step. By following these tips, you can ensure that your lawn mower is ready to go when you need it and avoid any unnecessary headaches.
Key Takeaways:
- Properly storing your lawn mower in the garage involves essential steps such as cleaning, draining fuel, changing oil, and removing the battery. This ensures optimal performance and longevity when you need it next.
- Storing the lawn mower in a cool, dry place, away from direct sunlight and moisture, and covering it with a fitted cover provides extra protection from potential damage. Following these steps ensures your mower is in excellent condition and ready for use when spring arrives.
Read more: How To Store Lawn Mower
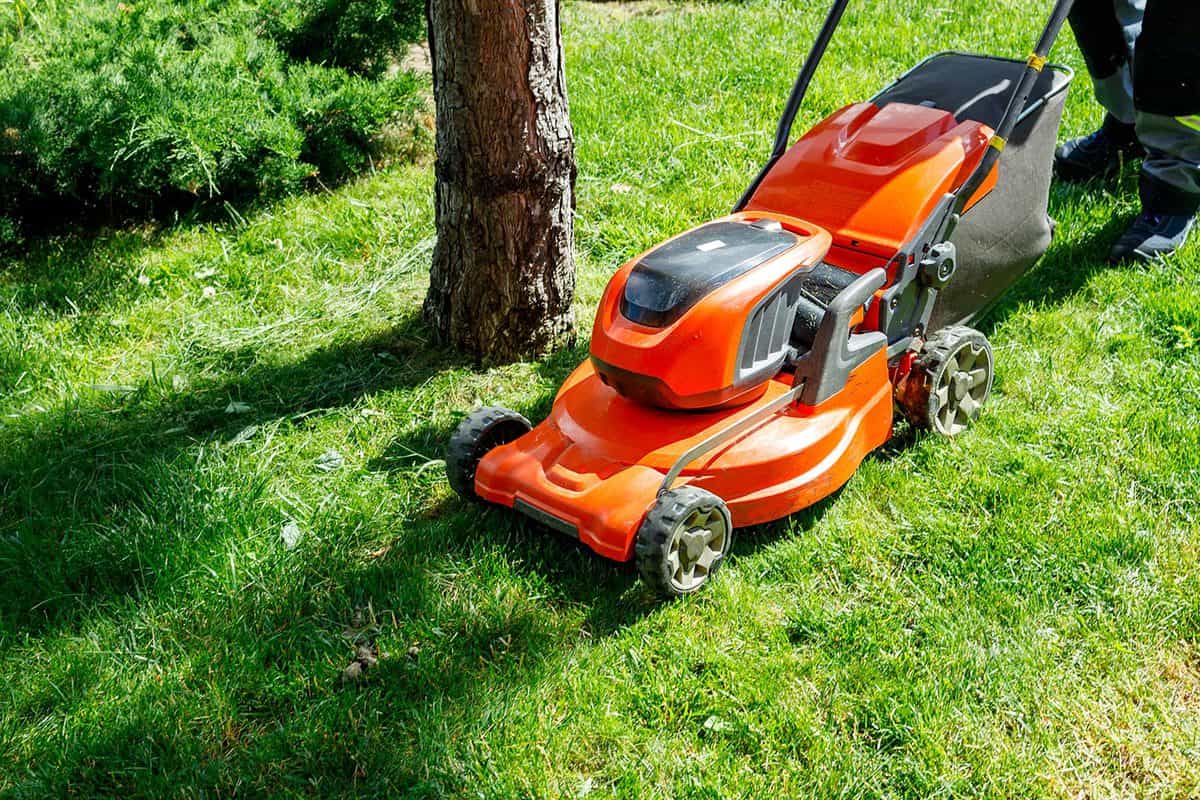
Step 1: Clean the Lawn Mower
The first step in storing your lawn mower is to give it a thorough cleaning. Over time, grass clippings, dirt, and debris can build up on the blades and under the mower deck. This can lead to rust and corrosion if left untreated.
Start by removing any loose debris from the mower by using a brush or compressed air. Be sure to also clean out the grass clippings bag or collection system, if your mower has one. Next, use a garden hose or a pressure washer to thoroughly clean the mower. Pay special attention to the undercarriage, where grass clippings tend to accumulate.
Once the mower is clean, allow it to dry completely before moving on to the next step. This will help prevent any moisture from causing damage during storage.
Step 2: Drain the Fuel
Before storing your lawn mower for an extended period, it is essential to drain the fuel tank. Fuel left unused for an extended time can deteriorate and cause engine problems when you try to start the mower again.
Start by locating the fuel tank on your lawn mower. Next, place a gas can or container below the fuel tank and remove the fuel cap. Carefully tilt the mower to pour the fuel into the container. Ensure that you are in a well-ventilated area and take appropriate safety precautions as fuel can be flammable.
Once the fuel has been drained, you may consider running the engine for a few minutes to ensure any remaining fuel in the fuel lines is also used up. This can help prevent varnish build-up and clogged fuel lines, which can affect the mower’s performance.
Remember to properly dispose of the drained fuel in accordance with local regulations. You can consult your local waste management authority to find out the appropriate methods of disposal.
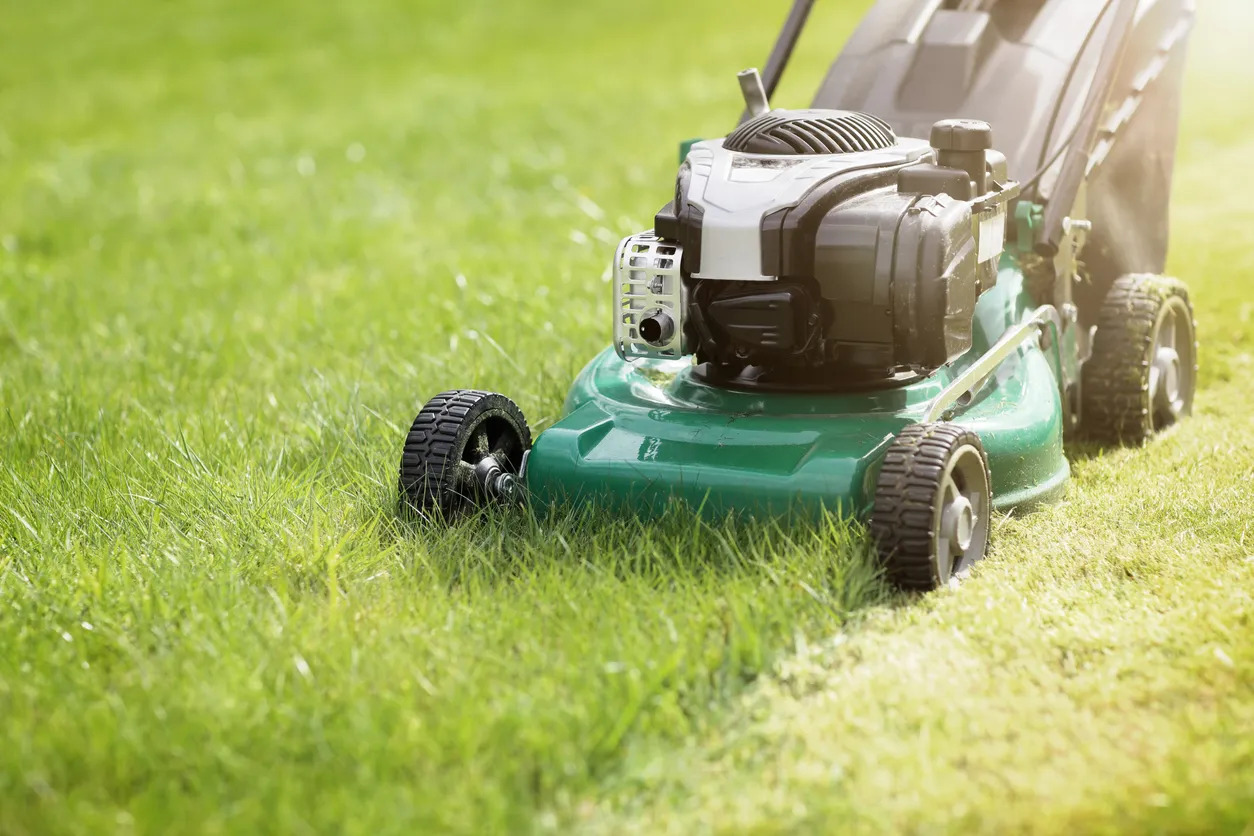
Step 3: Change the Oil
Changing the oil in your lawn mower before storing it is an important maintenance task. Over time, oil can become contaminated with dirt and debris, leading to decreased engine performance. By changing the oil, you ensure that your mower’s engine remains in optimal condition during storage.
To begin, consult your lawn mower’s manual for specific instructions on oil changing procedures and the recommended type of oil. Locate the oil drain plug underneath the mower’s engine. Place a container or oil pan beneath the drain plug to collect the used oil.
Next, remove the oil fill cap or dipstick and unscrew the oil drain plug. Allow the old oil to drain completely into the container. Once the oil has drained, replace the drain plug and tighten it securely.
Now, it’s time to add fresh oil to the engine. Refer to your manual for the appropriate oil type and the recommended oil capacity. Slowly pour the fresh oil into the oil filler opening, being careful not to overfill.
After adding the oil, replace the oil fill cap or dipstick and ensure it is securely tightened. Finally, run the engine for a few minutes to circulate the new oil throughout the engine. This will help ensure that the engine is properly lubricated during storage.
Remember to dispose of the used oil in accordance with local regulations. Most gas stations and auto parts stores have oil recycling facilities where you can safely dispose of used oil.
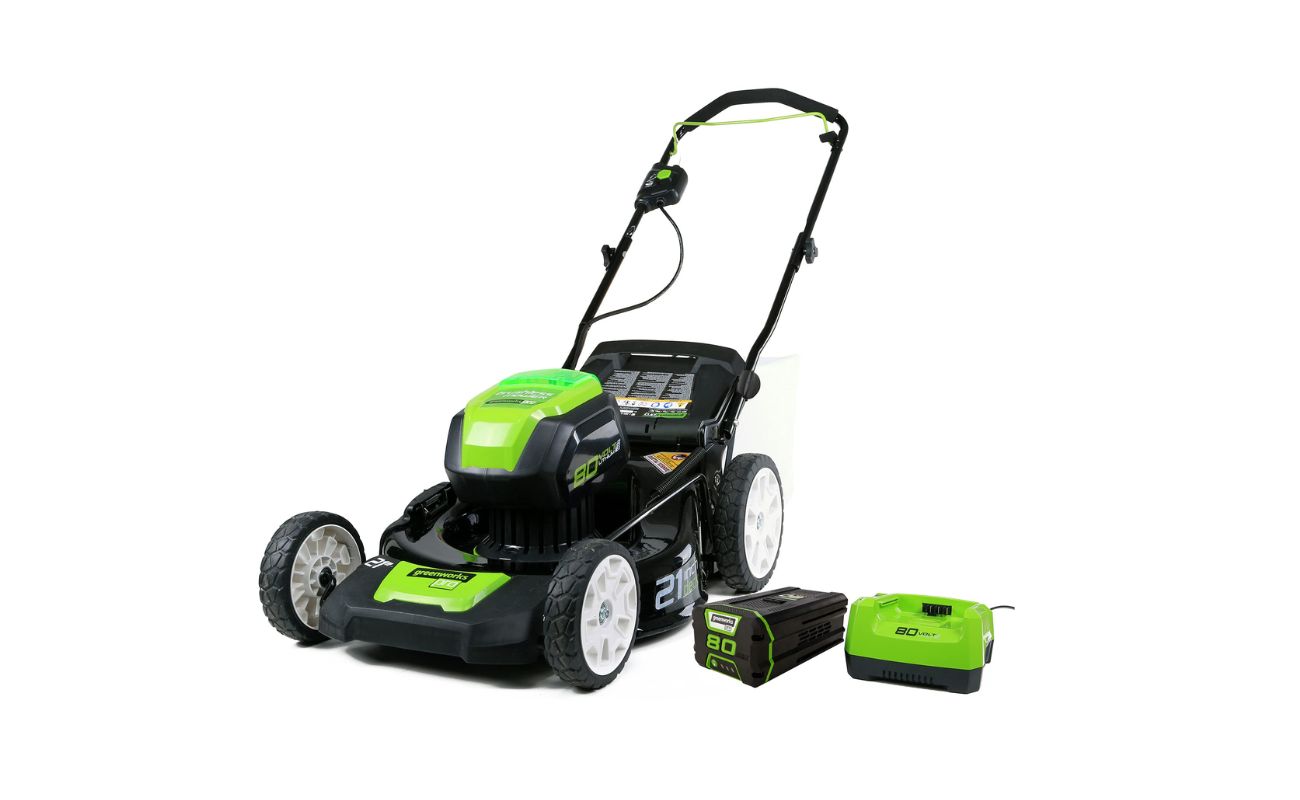
Step 4: Remove the Battery
If your lawn mower is equipped with a battery, it is important to remove it before storing the mower. Removing the battery will help prevent any potential power drainage or damage to the battery during long periods of inactivity.
First, locate the battery on your lawn mower. Depending on the model, you may need to remove a protective cover or access panel to access the battery. Once the battery is exposed, you will typically find a positive (+) and negative (-) terminal.
Before removing the battery, it is essential to take safety precautions. Make sure the engine is turned off and the mower is positioned on a stable and level surface. Additionally, wear protective gloves and eyewear to prevent any accidents or injuries.
Start by disconnecting the negative terminal cable (usually colored black) using a wrench or socket. Loosen the nut and remove the cable from the battery terminal. Be careful not to allow the cable to come into contact with the positive terminal, as it may cause a short circuit.
Next, repeat the same process for the positive terminal cable (usually colored red). Loosen the nut and remove the cable from the positive terminal.
With both cables disconnected, carefully lift the battery out of its compartment. It may be heavy, so use caution and lift with your legs to prevent strain or injury.
Once the battery is removed, clean any debris or corrosion from the terminals using a battery terminal cleaner or a mixture of baking soda and water. This will help maintain the battery’s performance and prevent any buildup that could affect its lifespan.
Store the battery in a cool, dry place away from direct sunlight or extreme temperatures. Consider using a battery maintainer or trickle charger to keep the battery charged and in good condition during storage.
By removing the battery and storing it separately, you can ensure its longevity and prevent any potential issues when you’re ready to use your lawn mower again.
When storing a lawn mower in the garage, make sure to clean the mower thoroughly to remove any grass clippings or debris. Also, consider using a stabilizer in the fuel to prevent it from degrading during storage. Finally, store the mower in a dry, well-ventilated area to prevent rust and corrosion.
Read more: How To Store Lawn Mower Battery For Winter
Step 5: Disconnect Spark Plug
Before storing your lawn mower for an extended period, it is essential to disconnect the spark plug. This simple step helps prevent any accidental starting of the engine while in storage and protects the electrical system.
Start by locating the spark plug wire. It is generally found on the top or side of the engine and connected to the spark plug. The spark plug wire is usually a thick, rubber-coated wire.
To disconnect the spark plug, firmly grasp the rubber boot covering the spark plug and gently pull straight out. The boot may require a slight twist as you pull to ensure a clean disconnection. Once the boot is detached, set it aside in a safe place away from any potential contact with the spark plug.
By disconnecting the spark plug, you eliminate any possibility of the engine accidentally starting while in storage. This prevents potential accidents and reduces any unnecessary wear and tear on the mower’s components.
Before reconnecting the spark plug when you’re ready to use the mower again, inspect it for any signs of wear or damage. If necessary, clean the spark plug using a wire brush and replace it if it shows excessive wear or damage.
Remember to take safety precautions when working with the spark plug, such as wearing gloves and eyewear. Always consult your lawn mower’s manual for specific instructions on disconnecting and reconnecting the spark plug.
By taking the time to disconnect the spark plug, you ensure that your lawn mower is stored safely and ready to be used when you need it next.
Step 6: Remove the Blades
Removing the blades from your lawn mower before storing it is an important step to prevent damage and ensure a longer lifespan. By removing the blades, you can also perform necessary maintenance and sharpening for optimal cutting performance.
Start by ensuring that the lawn mower is turned off and the spark plug is disconnected, as mentioned in the previous steps. This will prevent any accidental starting of the engine while working on the blades.
Locate the blade attachment area underneath the mower deck. Depending on the model, you may need to tilt the mower or use a wrench to remove the blade retaining bolt or nut. Refer to your lawn mower’s manual for specific instructions on the proper blade removal procedure.
Carefully remove the blade, taking note of its orientation and how it is attached. It is a good practice to mark the blade or take a photo for reference when reinstalling it later.
Inspect the blade for any signs of damage, such as nicks, chips, or excessive wear. If the blade is damaged or worn, it is recommended to replace it with a new one. Using a damaged or worn blade can affect the quality of the cut and potentially damage the mower’s engine.
If the blade is still in good condition, you may choose to sharpen it before storing. Using a file or a dedicated blade sharpener, carefully remove any dull edges or imperfections from the blade. Follow the manufacturer’s instructions for proper sharpening techniques and angles.
Once the blades are removed and inspected, clean them thoroughly to remove any grass or debris. This will help prevent rust and improve the longevity of the blades. You can use a wire brush or soak the blades in warm, soapy water for easier cleaning.
Store the blades in a safe place, such as a clean and dry container, to protect them from moisture and damage.
When you’re ready to use your lawn mower again, reinstall the blades following the marked orientation or reference photo. Ensure that the blades are tightly secured to prevent any accidents while in operation.
By removing and maintaining the blades, you can ensure optimal cutting performance and prolong the life of your lawn mower.
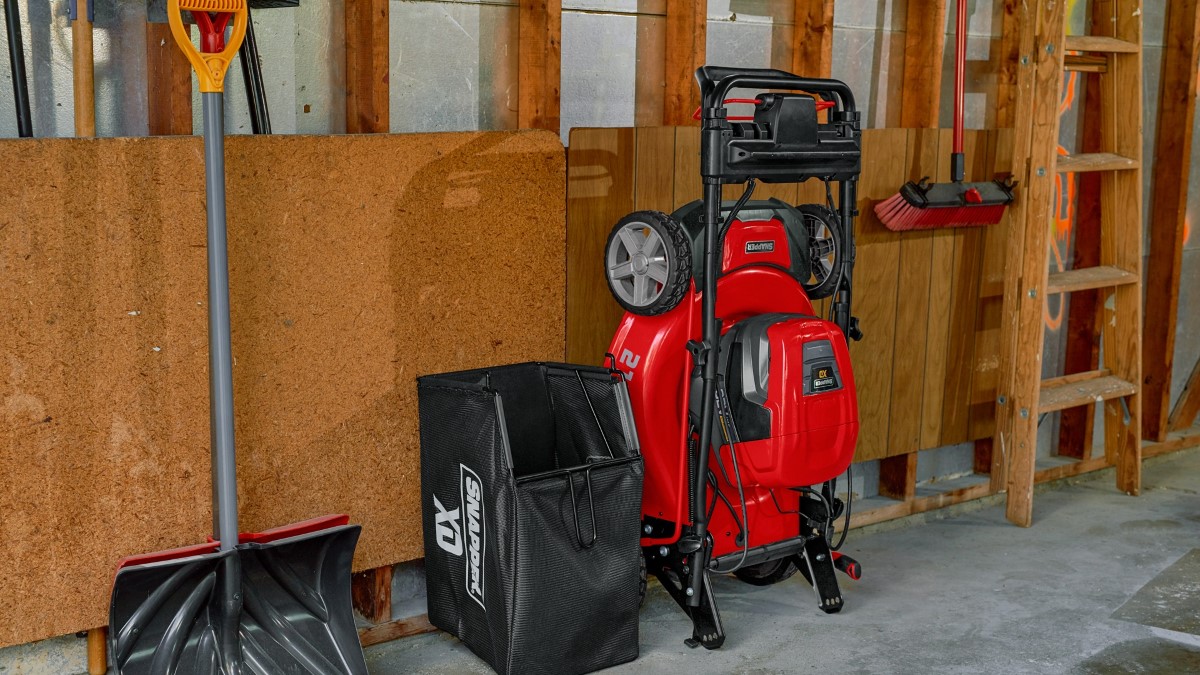
Step 7: Store in a Cool and Dry Place
Choosing the right storage location for your lawn mower is crucial to keeping it in good condition during the off-season. It is important to store it in a cool and dry place to prevent any damage from moisture, extreme temperatures, or humidity.
First, find a suitable spot in your garage or storage area. Ensure that the area is clean and free of any debris or chemicals that could potentially harm the mower. Clear any clutter or obstacles that may hinder accessing the mower when needed.
It is important to choose a spot away from direct sunlight. Prolonged exposure to sunlight can cause fading, cracking, and deterioration of the mower’s components, especially plastic parts.
Avoid storing the mower near any heat sources or flammable materials. Lawn mowers contain fuel and oil residue, which can present a fire hazard if stored near open flames or sparks.
Moisture is a common enemy of lawn mowers. High humidity or moisture can cause rust and corrosion, which can degrade the mower’s performance and shorten its lifespan. Therefore, it is crucial to store the mower in a dry environment.
Consider using a dehumidifier or moisture-absorbing products, such as silica gel packs, to help maintain a low-humidity environment. This is especially important if your storage area tends to get damp or humid.
Avoid storing the mower directly on the floor, as it can be susceptible to moisture or condensation. Instead, place it on a raised platform or use a moisture-resistant mat to create a barrier between the mower and the floor.
If space allows, it may be beneficial to cover the mower to provide additional protection from dust and potential debris. Use a fitted cover specifically designed for lawn mowers, ensuring that it is made from breathable material to prevent condensation from forming.
By storing your lawn mower in a cool and dry place, you can help preserve its condition, prevent rust and corrosion, and ensure that it is ready for use when the grass starts growing again.
Step 8: Cover the Lawn Mower
Covering your lawn mower is the final step in ensuring its protection during storage. A proper cover can shield the mower from dust, debris, and potential damage from accidental bumps or scratches.
Before covering the mower, ensure that it is completely clean and dry to prevent any moisture or trapped dirt. Refer to the earlier steps to clean the mower thoroughly and allow it ample time to dry.
Invest in a fitted cover specifically designed for lawn mowers. These covers are often made from durable and weather-resistant materials that provide adequate protection. Ensure that the cover is the appropriate size for your mower, allowing a snug but not overly tight fit.
Place the cover over the top of the mower, starting from the handlebar area and working it down to cover the entire unit. Ensure that all edges and components of the mower are fully covered, including the wheels, engine, and cutting deck.
Make sure that the cover is secured properly to prevent it from blowing off or shifting during storage. Some covers come with built-in straps or elastic bands that can be tightened around the bottom or securing points of the mower. This helps to keep the cover in place, even during windy conditions.
If your chosen cover does not have securing mechanisms, you can use bungee cords or straps to fasten the cover to the mower. Be careful not to overtighten or stress any sensitive components of the mower.
Regularly check the cover during storage to ensure it remains in place and continues to provide adequate protection. If you notice any damage or wear on the cover, consider replacing it to maintain the mower’s protection.
Remember that it’s important to remove the cover completely before attempting to start or use the lawn mower again. This helps prevent any potential hazards or interference with the mower’s operation.
By covering your lawn mower during storage, you add an extra layer of protection against dust, debris, and accidental damage, ensuring that it remains in optimal condition until it’s time to use it again.
Read more: How To Store Riding Lawn Mower Outside
Conclusion
Properly storing your lawn mower in the garage not only protects it from the elements but also ensures its longevity and optimal performance. By following the step-by-step guide outlined in this article, you can confidently store your lawn mower and avoid any potential issues when it’s time to use it again.
The first step of cleaning the lawn mower ensures that any grass clippings, dirt, or debris are removed, preventing rust and corrosion. Draining the fuel and changing the oil help prevent engine problems caused by deteriorating fuel and contaminated oil. Removing the battery and disconnecting the spark plug eliminates the risk of accidental starting and protects the electrical system. Removing and inspecting the blades allows for maintenance and sharpening, ensuring a clean and precise cut next season.
Storing the lawn mower in a cool and dry place, away from direct sunlight, heat sources, and moisture, further safeguards it against potential damage. Finally, covering the mower provides extra protection from dust, debris, and accidental bumps.
By following these steps, you can rest assured that your lawn mower will be in excellent condition and ready for use when spring arrives. Remember to review your mower’s manual for specific instructions and always prioritize safety when handling and storing your equipment.
With proper care and maintenance, your lawn mower will continue to serve you well for years to come, keeping your lawn looking beautiful and well-groomed. So, when the grass starts to grow again, you’ll be ready to tackle it with a mower that’s in top-notch shape.
Frequently Asked Questions about How To Store A Lawn Mower In Garage
Was this page helpful?
At Storables.com, we guarantee accurate and reliable information. Our content, validated by Expert Board Contributors, is crafted following stringent Editorial Policies. We're committed to providing you with well-researched, expert-backed insights for all your informational needs.


0 thoughts on “How To Store A Lawn Mower In Garage”