Articles
How To Store Lawn Mower
Modified: October 20, 2024
Learn how to properly store your lawn mower with these helpful articles. Discover tips and techniques to keep your equipment in top shape and prolong its lifespan.
(Many of the links in this article redirect to a specific reviewed product. Your purchase of these products through affiliate links helps to generate commission for Storables.com, at no extra cost. Learn more)
Introduction
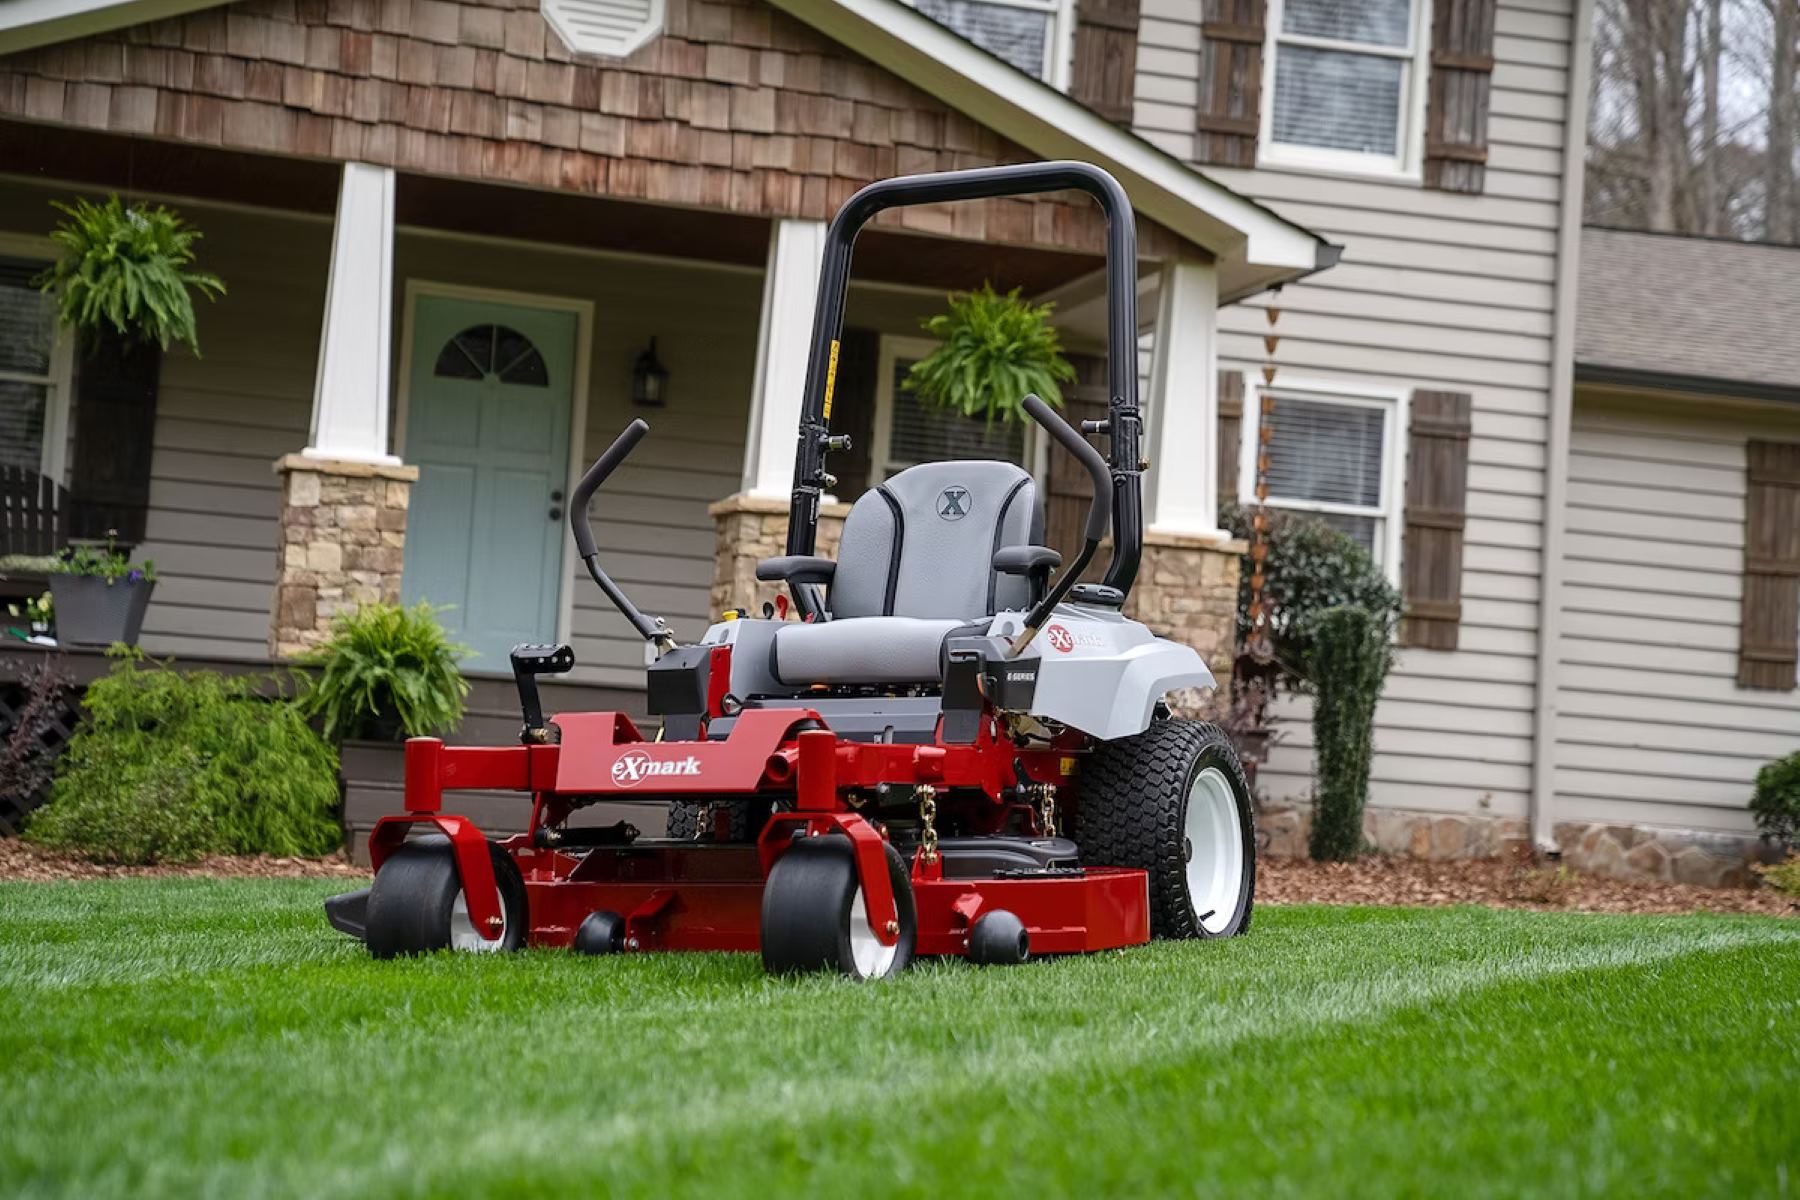
Storing your lawn mower properly is essential to keep it in good condition and ensure its longevity. Whether you are storing it for the winter or for an extended period, following the right steps will help protect your investment and make sure it’s ready to use when you need it again. In this article, we will guide you through the process of storing your lawn mower so that it remains in top shape for the next mowing season.
Properly storing your lawn mower involves a few key steps, including cleaning and preparing the mower, emptying the fuel tank, disconnecting the spark plug, removing the battery (if applicable), finding a suitable storage area, protecting the mower from dust and moisture, and performing regular maintenance checks. By following these steps, you can ensure that your lawn mower remains in optimal condition and is ready for use when you need it again.
So, let’s dive into the details and learn how to store your lawn mower properly to keep it in great shape.
Key Takeaways:
- Properly storing your lawn mower involves cleaning, emptying the fuel tank, disconnecting the spark plug, removing the battery, and storing it in a dry, sheltered area to protect it from dust and moisture.
- Regular maintenance during storage, such as oil changes, starting the mower, and inspecting the air filter and tires, ensures optimal performance and longevity. Following these steps will keep your mower in excellent condition for future use.
Read more: How To Store A Lawn Mower In Garage
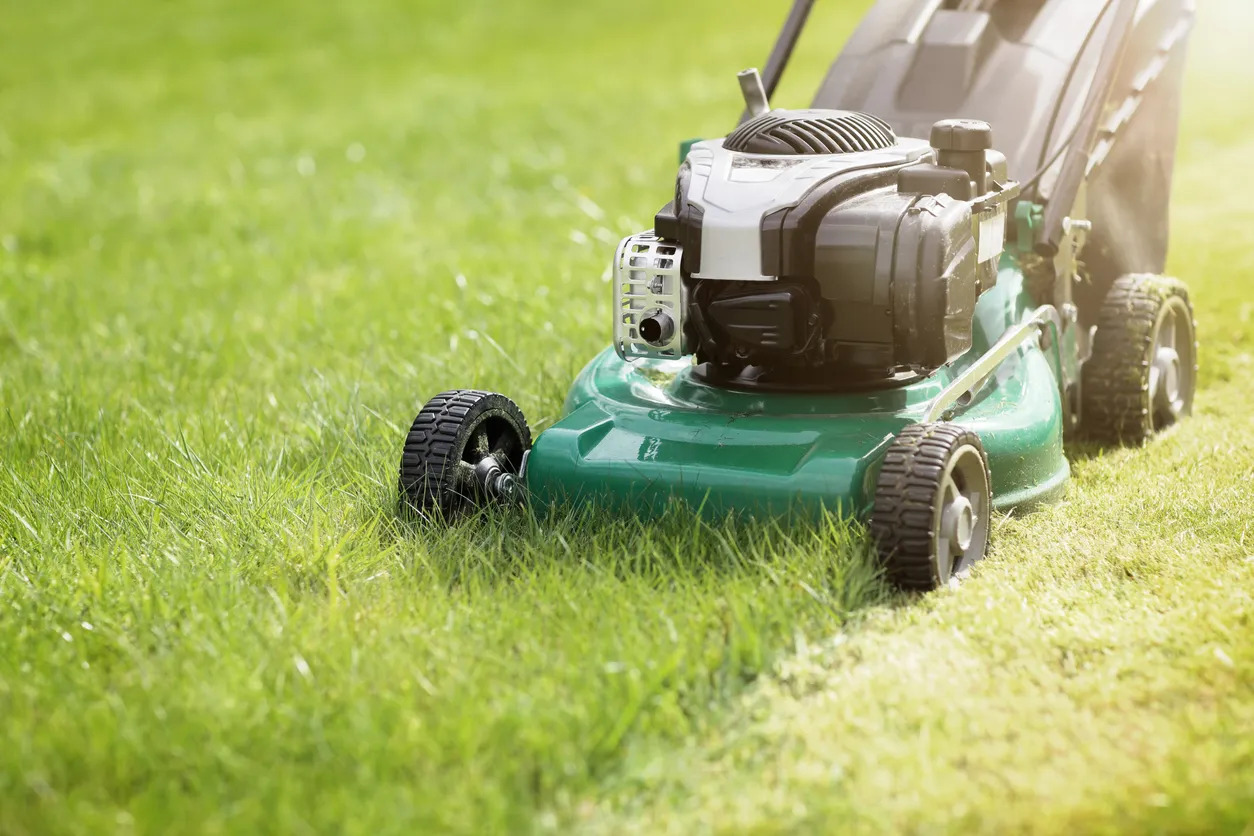
Step 1: Clean and Prepare the Lawn Mower
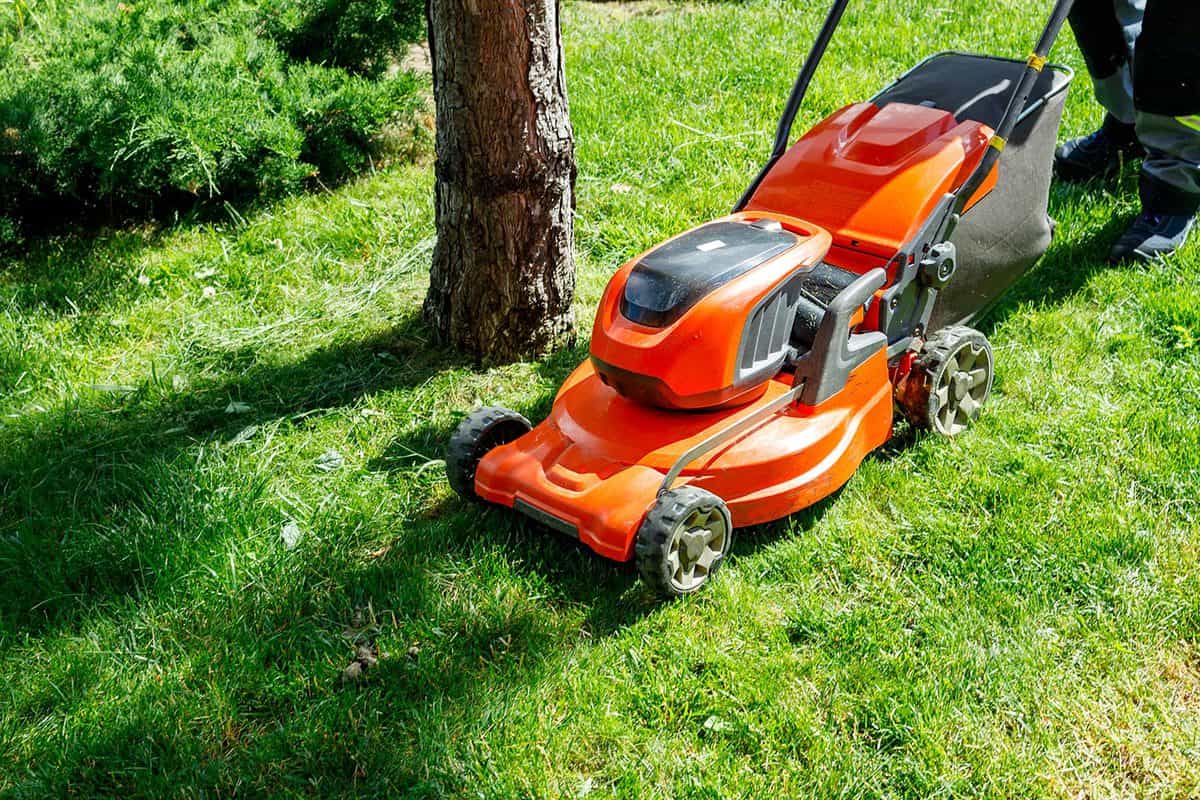
Before storing your lawn mower, it’s crucial to take the time to clean and prepare it properly. This step ensures that any debris or grass clippings are removed, preventing them from causing damage or corrosion during storage.
Start by removing any visible dirt, grass, or debris from the top and sides of the mower. Use a stiff brush or a handheld blower to dislodge any stubborn clumps of grass or dirt. Be sure to pay attention to hard-to-reach areas, such as under the mower deck and around the wheels.
Once the exterior is clean, it’s time to tackle the underside of the mower deck. Tip the mower on its side, making sure the fuel and oil caps are facing up to prevent leaks. Use a scraper or wire brush to remove any caked-on grass or dirt from the blades and deck. Take extra care not to damage the blades during this process.
After cleaning the underside, inspect the blades for any signs of damage or wear. Sharpen or replace the blades as needed to ensure optimal cutting performance. You can either sharpen the blades yourself or take them to a professional service.
In addition to cleaning, it’s also a good idea to change the oil and replace the air filter before storing the mower. Over time, oil can become contaminated with dirt and debris, and a clogged air filter can reduce engine performance. Check your mower’s manual for specific instructions on how to change the oil and replace the air filter.
Once you have completed the cleaning and maintenance tasks, allow the mower to dry thoroughly before moving on to the next step. Moisture can lead to rust or other damage if the mower is stored while still wet.
By taking the time to clean and prepare your lawn mower before storage, you are ensuring that it remains in top condition and ready for use when you need it again.
Step 2: Empty the Fuel Tank
Emptying the fuel tank is an important step in properly storing your lawn mower. Over time, gasoline can break down and become stale, which can lead to starting issues and damage to the engine. Additionally, leaving fuel in the tank during storage can increase the risk of leaks and spills.
Before emptying the fuel tank, you should run the mower until the fuel runs out. This ensures that you are working with a nearly empty tank. To do this, start the mower and let it run until it shuts off on its own. This will consume most of the fuel remaining in the tank.
Once the mower has stopped running, let it cool down for a few minutes. Next, locate the fuel tank and remove the cap. It’s a good idea to place a container or a funnel beneath the fuel tank to catch any fuel that may spill out.
Tilt the mower towards the fuel tank side, slowly and carefully, to pour out the remaining fuel. Take caution not to spill any fuel on the engine, as it can cause damage and fire hazards. Allow the tank to drain completely, ensuring that no fuel is left inside.
It’s important to properly dispose of the fuel you have drained from the tank. Gasoline should never be poured down drains or thrown away in regular household trash. Check with your local recycling center or hazardous waste management facility for proper disposal guidelines in your area.
Once the fuel tank is empty, it’s a good idea to run the mower for a few minutes to ensure that any remaining fuel in the fuel lines is burned off. This will prevent any residual gasoline from gumming up the fuel system during storage.
Emptying the fuel tank helps to prevent starting issues, engine damage, and leakage during storage. Taking this step will contribute to keeping your lawn mower in excellent condition and ready for use when you need it again.
Step 3: Disconnect the Spark Plug
Disconnecting the spark plug is a crucial step in properly storing your lawn mower. By disconnecting the spark plug, you prevent the engine from accidentally starting during storage, reducing the risk of injury and equipment damage.
Before disconnecting the spark plug, make sure the engine is cool to the touch. Locate the spark plug wire, which is typically attached to the top of the engine. Gently grasp the rubber boot that covers the spark plug and twist it counterclockwise to loosen it.
Once the boot is loose, carefully pull it away from the spark plug. This will effectively disconnect the spark plug and prevent the flow of electrical current to the engine. Be sure to keep the spark plug wire in a safe place where it won’t come into contact with the spark plug or any metal surfaces.
Disconnecting the spark plug not only prevents the engine from starting accidentally, but it also allows you to perform any necessary maintenance or repairs without the risk of the engine firing up unexpectedly. It’s also a good time to check the condition of the spark plug and replace it if necessary.
When it’s time to use your lawn mower again, reconnect the spark plug wire by pushing it back onto the spark plug until you feel it click into place. Ensure that the boot is firmly seated on the spark plug before starting the engine.
By following this step and disconnecting the spark plug, you can store your lawn mower safely and with more peace of mind, knowing that the engine won’t accidentally start during its period of storage.
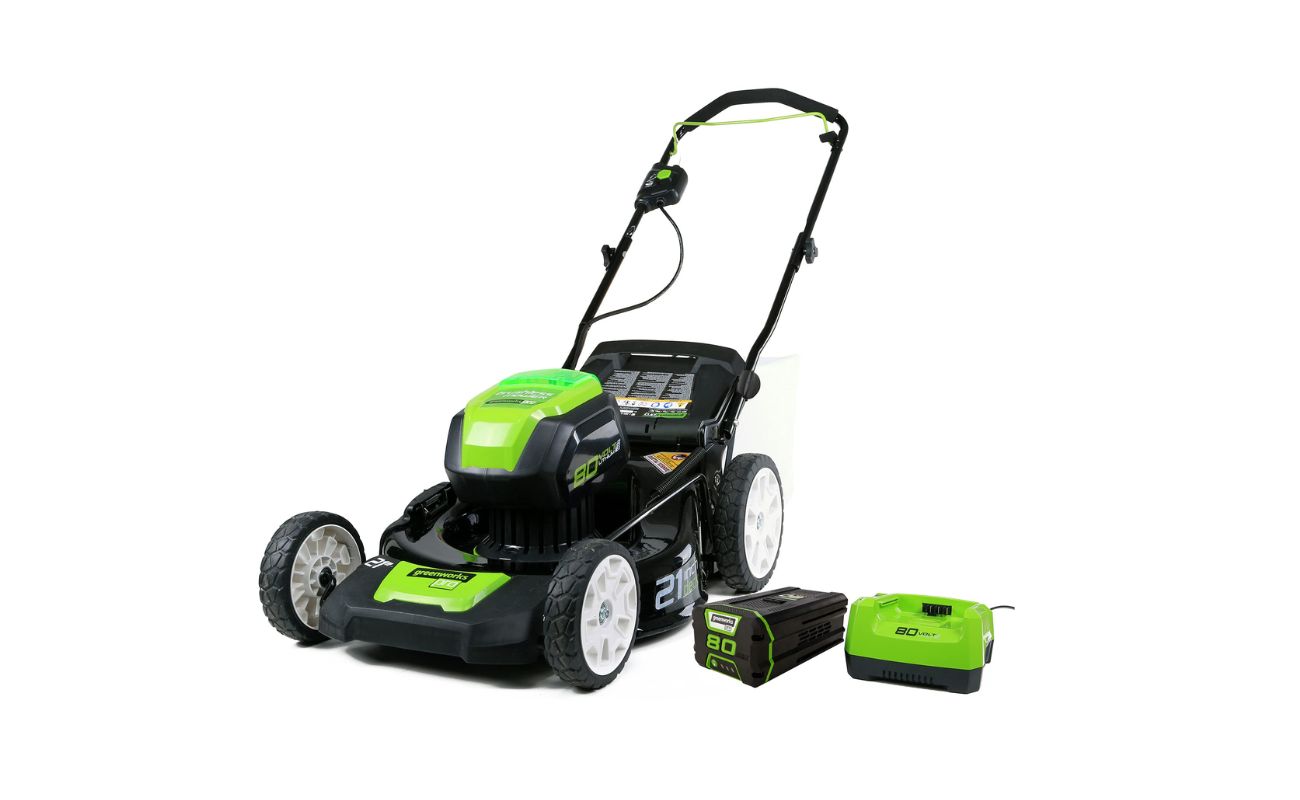
Step 4: Remove the Battery (If Applicable)
If your lawn mower is equipped with a battery, it’s essential to remove it before storing the mower for an extended period. Removing the battery not only protects it from potential damage but also helps prevent battery drain and corrosion.
Start by locating the battery on your lawn mower. The battery is typically found near the engine or under a protective cover. Before removing the battery, it’s important to ensure that the engine is off and the mower is in a stable, parked position.
To remove the battery, you may need to unscrew or release any fasteners or covers that secure it in place. Follow the instructions provided in your mower’s manual for specific details on how to remove the battery safely.
Once the battery is accessible, disconnect the negative (-) cable first by loosening the nut or fastener and gently pulling the cable away from the battery terminal. Next, disconnect the positive (+) cable in the same manner. Be careful not to let the cables touch each other or any metal surfaces, as this can cause a short circuit.
After removing the battery cables, check the battery terminals for any corrosion. If you notice buildup, you can clean the terminals with a solution of baking soda and water or a specialized battery terminal cleaner. Use a wire brush or a rag to gently scrub off any corrosion, then rinse with clean water and dry thoroughly.
Once the battery is disconnected and cleaned, store it in a cool, dry place. It’s best to keep the battery off the ground and away from extreme temperatures or direct sunlight. If possible, consider using a battery maintainer or trickle charger to keep the battery charged and in optimal condition during storage.
When it’s time to use your lawn mower again, reinstall the battery by connecting the positive cable first and then the negative cable. Ensure that the cables are securely tightened onto the battery terminals.
By removing the battery from your lawn mower during storage, you are protecting it from potential damage and preserving its performance. This step is especially important if you live in an area with harsh winters or if you won’t be using the mower for an extended period of time.
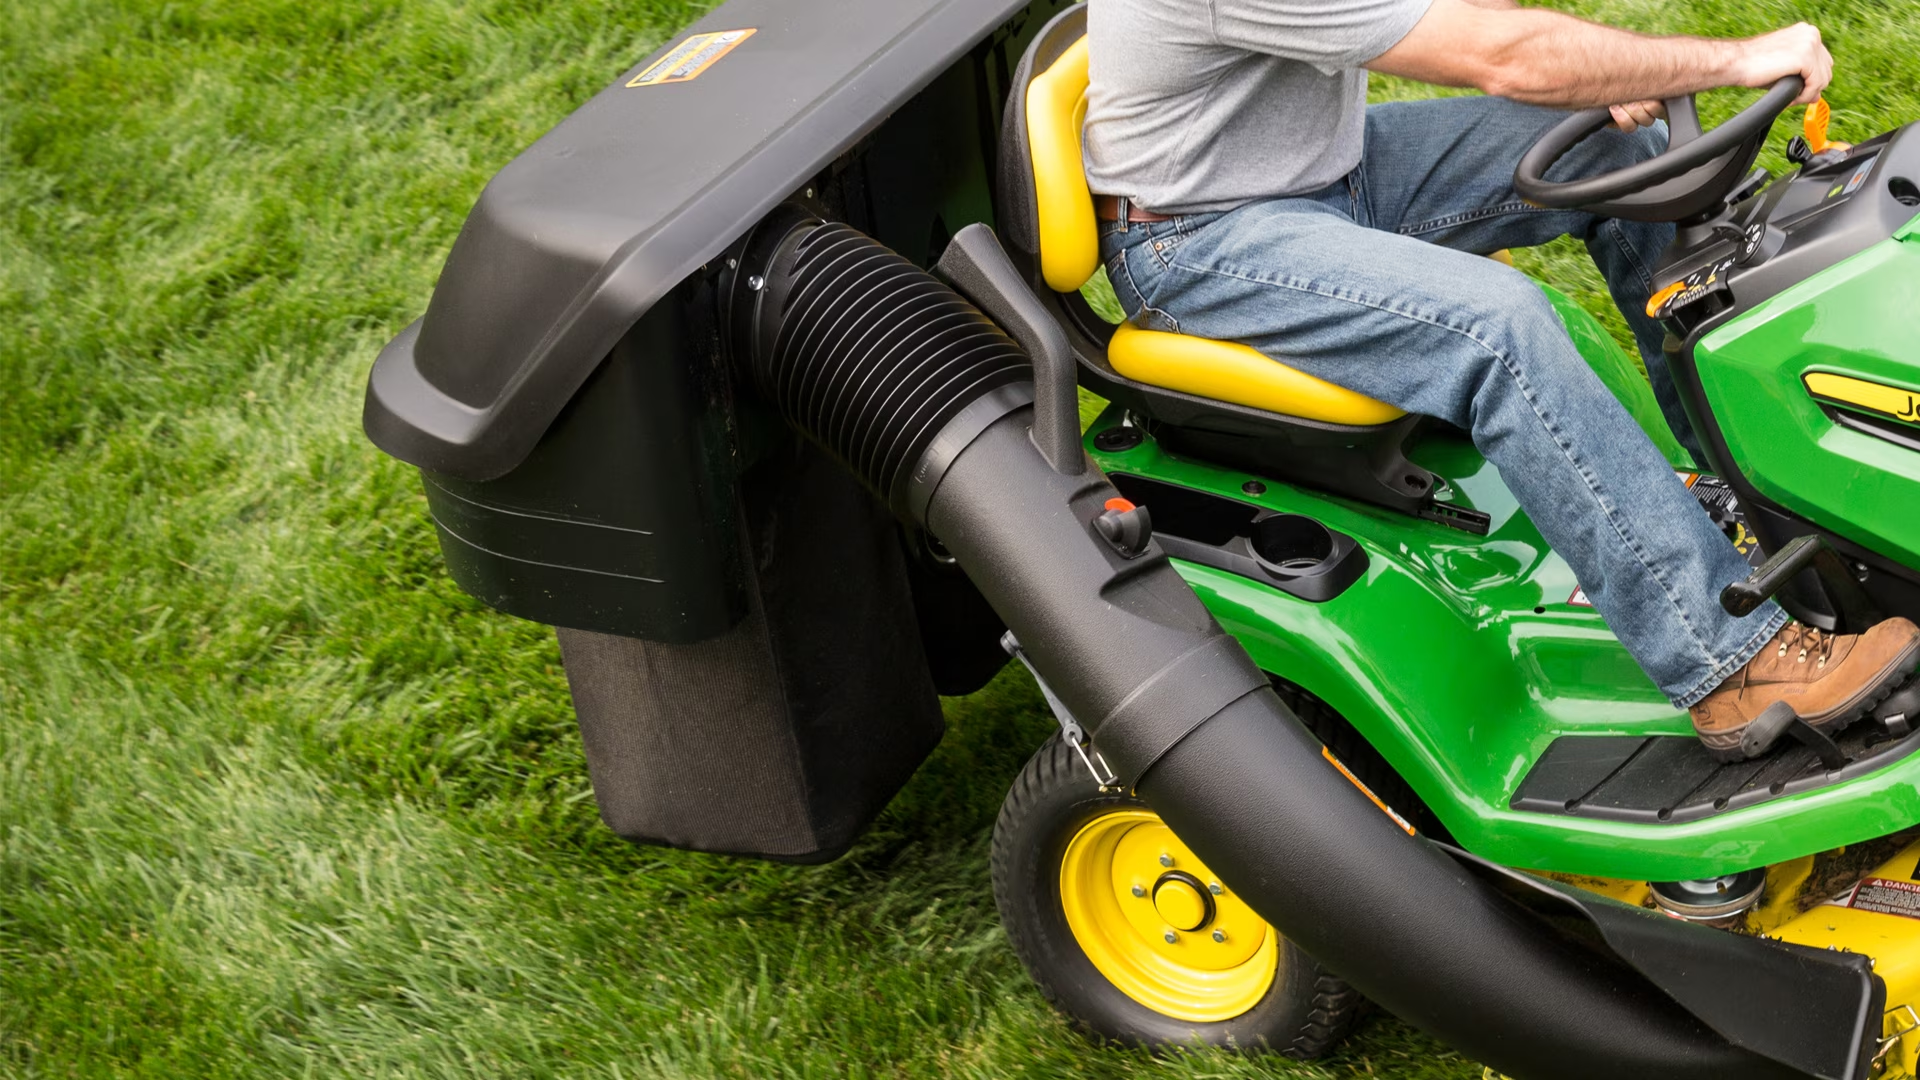
After using the lawn mower, make sure to clean the blades and underside to remove any grass clippings and debris. Store the mower in a dry, well-ventilated area to prevent rust and damage.
Read more: How To Store Lawn Mower Battery For Winter
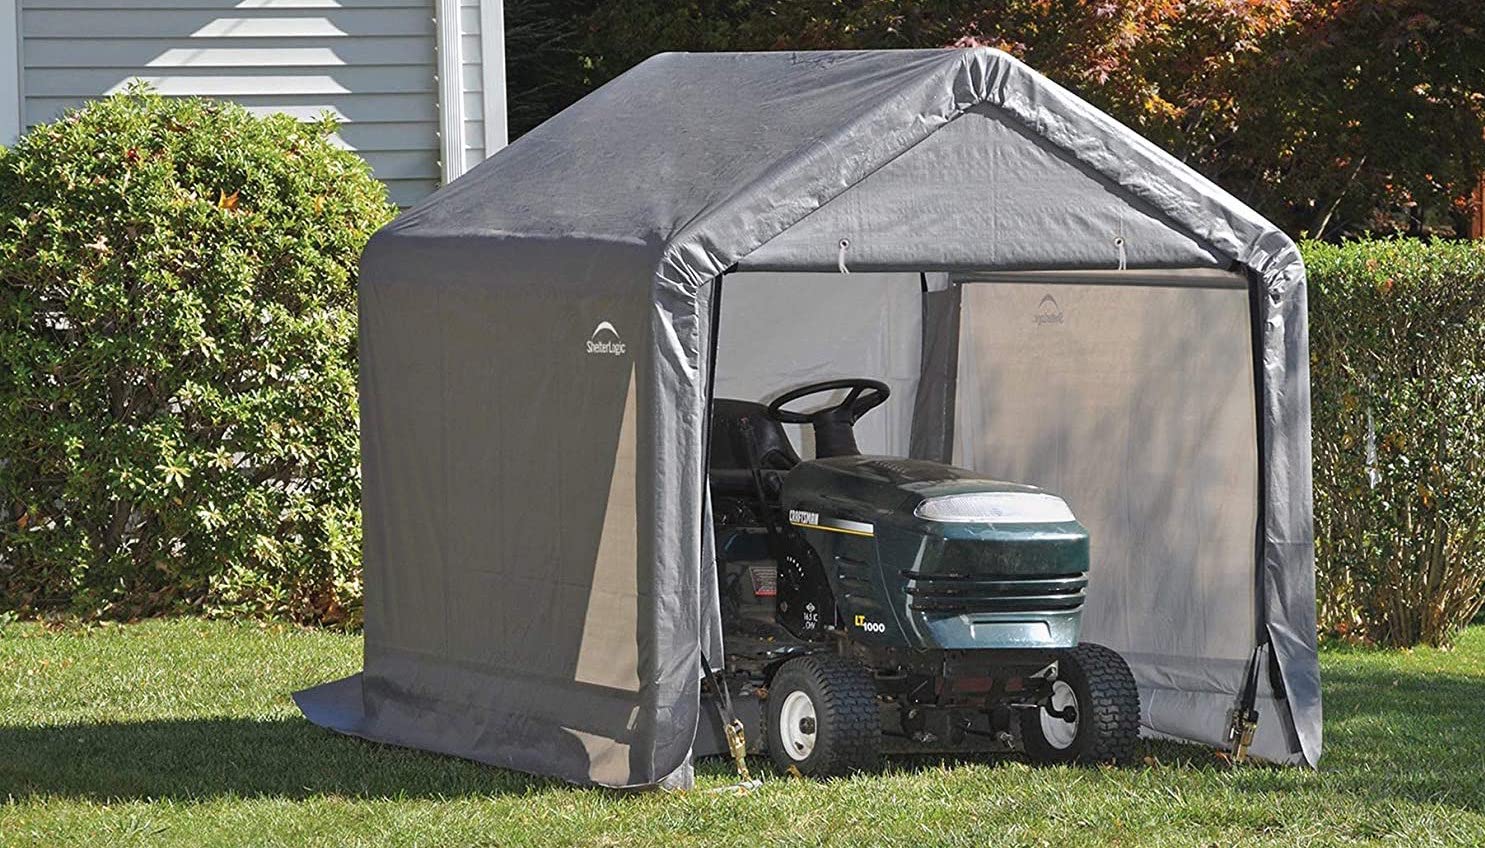
Step 5: Store in a Dry and Sheltered Area
Choosing the right storage location for your lawn mower is crucial to its longevity and performance. Storing the mower in a dry and sheltered area protects it from the elements, such as rain, snow, and excessive moisture, which can cause rust and other damage.
When selecting a storage area, look for a space that is well-ventilated and free from extreme temperature fluctuations. Ideally, the area should have a consistent temperature and low humidity level to prevent condensation and moisture buildup.
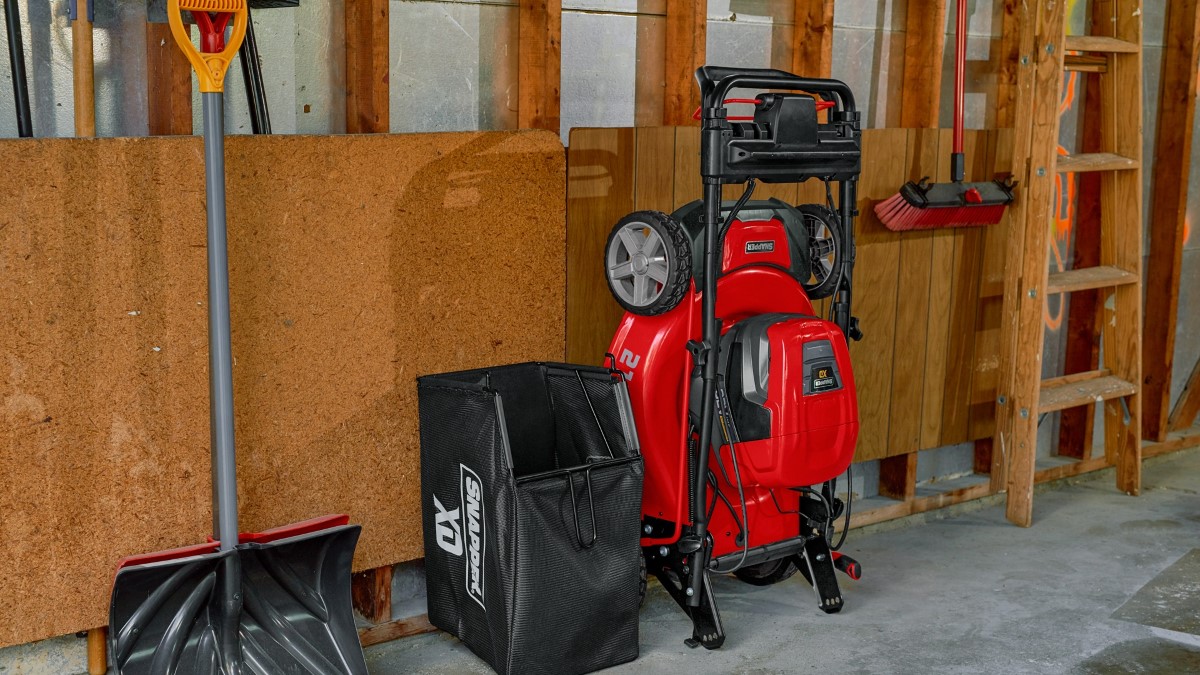
If possible, consider storing the lawn mower indoors, such as in a garage, shed, or basement. These enclosed spaces provide better protection from the elements and typically have more stable temperature and humidity levels.
If indoor storage is not available, you can use a sturdy and weatherproof cover to protect the mower from rain, snow, and direct sunlight. Ensure that the cover is securely fastened to prevent it from being blown away by strong winds.
If you are storing the mower outside, it’s advisable to place it on a raised platform or pallet to keep it off the ground. This helps prevent moisture absorption and potential damage from pests or rodents.
Before storing the mower, make sure the area is clean and free from any potential hazards or objects that could damage the equipment. Keep the mower away from chemicals, flammable substances, or sharp tools.
By storing your lawn mower in a dry and sheltered area, you are protecting it from the elements and minimizing the risk of damage that can occur due to moisture or extreme temperatures. This step helps to ensure that your mower remains in excellent condition and is ready for use when needed.
Step 6: Protect the Lawn Mower from Dust and Moisture
Keeping your lawn mower protected from dust and moisture is essential to maintaining its performance and preventing potential damage. Dust accumulation can clog the internal components of the mower and affect its efficiency, while moisture can lead to rust and corrosion.
To protect your lawn mower from dust, start by covering it with a breathable, waterproof tarp or mower cover. This will shield the mower from dust particles while allowing airflow to prevent moisture buildup. Ensure that the cover fits securely and is properly fastened to prevent it from being blown off by wind.
In addition to using a cover, you can use a silicone-based spray or lubricant to protect metal parts from dust and corrosion. Apply a thin layer of the spray to exposed metal surfaces, including the mower deck, handles, and any other areas prone to rust. This helps create a protective barrier against dust and moisture.
When it comes to protecting your lawn mower from moisture, it’s crucial to keep it in a dry environment. Avoid storing the mower in areas prone to leaks or excessive humidity, such as a damp basement or a poorly insulated shed.
If humidity is a concern, consider using a dehumidifier or placing moisture-absorbing materials, such as desiccant packs or silica gel packets, near the mower. These materials will help absorb excess moisture and maintain a drier environment.
Regularly inspect the storage area to ensure that no water or moisture has seeped in. If you notice any signs of moisture or leaks, take immediate measures to address the issue and find a more suitable storage location.
Lastly, it’s important to periodically uncover and inspect the mower during storage to check for any signs of dust or moisture accumulation. Wipe down the surfaces with a clean, dry cloth if necessary, and make sure that the mower remains in proper condition throughout its storage period.
By taking steps to protect your lawn mower from dust and moisture, you can extend its lifespan and ensure that it’s ready to tackle your lawn care needs when the time comes.
Step 7: Maintain the Lawn Mower during Storage
Maintaining your lawn mower during storage is essential to ensure its optimal performance and longevity. Even when not in use, certain maintenance tasks should be carried out periodically to keep the mower in top shape.
Firstly, it’s important to check and change the oil periodically, as oil can become contaminated or break down over time. Refer to your mower’s manual to determine the recommended oil change interval during storage. Changing the oil ensures that the engine is properly lubricated and protected from damage.
In addition to oil changes, it’s a good idea to periodically start the mower and let it run for a few minutes. This helps circulate fluids and prevents the engine from seizing up. However, make sure to operate the mower in a well-ventilated area to avoid exposure to exhaust fumes.
During these maintenance check-ups, inspect the air filter as well. Clean or replace the air filter as necessary to ensure proper airflow and prevent debris from entering the engine. A clogged air filter can significantly affect the mower’s performance and fuel efficiency.
If you have removed the battery, it’s crucial to keep it charged during storage. Periodically check the battery’s charge level and recharge it as needed to prevent it from losing its capacity. Follow the manufacturer’s guidelines for battery maintenance and storage.
Inspect the tires for proper inflation and wear during storage. If necessary, adjust the tire pressure to the recommended level outlined in the mower’s manual. Maintaining proper tire pressure ensures smooth operation and prevents uneven cutting.
Lastly, pay attention to the blade condition. Regularly inspect the blade for any signs of damage, dullness, or wear. Sharpen or replace the blade as necessary to ensure precise and efficient cutting performance.
Remember to always follow safety precautions when performing maintenance tasks on the mower. Disconnect the spark plug wire before working on any moving parts and refer to the manufacturer’s instructions for specific maintenance guidelines.
By periodically maintaining your lawn mower during storage, you can keep it in excellent working condition and minimize the likelihood of issues when it’s time to use it again. Proper maintenance ensures that your mower remains reliable and efficient for years to come.
Conclusion
Properly storing your lawn mower is essential for maintaining its performance, extending its lifespan, and ensuring its readiness for future use. By following the steps outlined in this article, you can protect your investment and avoid common issues that may arise during storage.
Begin by thoroughly cleaning and preparing the lawn mower, removing any debris and performing necessary maintenance tasks like changing the oil and sharpening the blade. Emptying the fuel tank and disconnecting the spark plug help prevent starting issues and potential damage. If your mower has a battery, remove it and store it in a cool, dry place.
Choose a dry and sheltered area for storing the mower, whether it’s indoors or outdoors, to protect it from the elements. Use a breathable cover to prevent dust accumulation and consider using a silicone-based spray to protect against rust and corrosion. Pay attention to moisture levels and take steps to ensure a dry environment.
Maintaining the lawn mower during storage is crucial. Periodically check and change the oil, start the mower to circulate fluids, and inspect and clean/replace the air filter. Keep the battery charged if applicable. Regularly inspect tire pressure and blade condition to ensure optimal cutting efficiency.
By following these steps, you can rest assured that your lawn mower will be in excellent condition when you’re ready to use it again. Proper storage not only protects your equipment but also saves you time and money in the long run.
Remember to always refer to your mower’s manual for specific instructions and safety guidelines. With the right storage practices in place, you can enjoy a well-maintained and reliable lawn mower year after year.
Frequently Asked Questions about How To Store Lawn Mower
Was this page helpful?
At Storables.com, we guarantee accurate and reliable information. Our content, validated by Expert Board Contributors, is crafted following stringent Editorial Policies. We're committed to providing you with well-researched, expert-backed insights for all your informational needs.


0 thoughts on “How To Store Lawn Mower”