
Articles
How To Start Ryobi Electric Lawn Mower
Modified: September 2, 2024
Discover step-by-step articles on how to start your Ryobi electric lawn mower. Find expert tips and troubleshooting advice for a smooth lawn care experience.
(Many of the links in this article redirect to a specific reviewed product. Your purchase of these products through affiliate links helps to generate commission for Storables.com, at no extra cost. Learn more)
Introduction
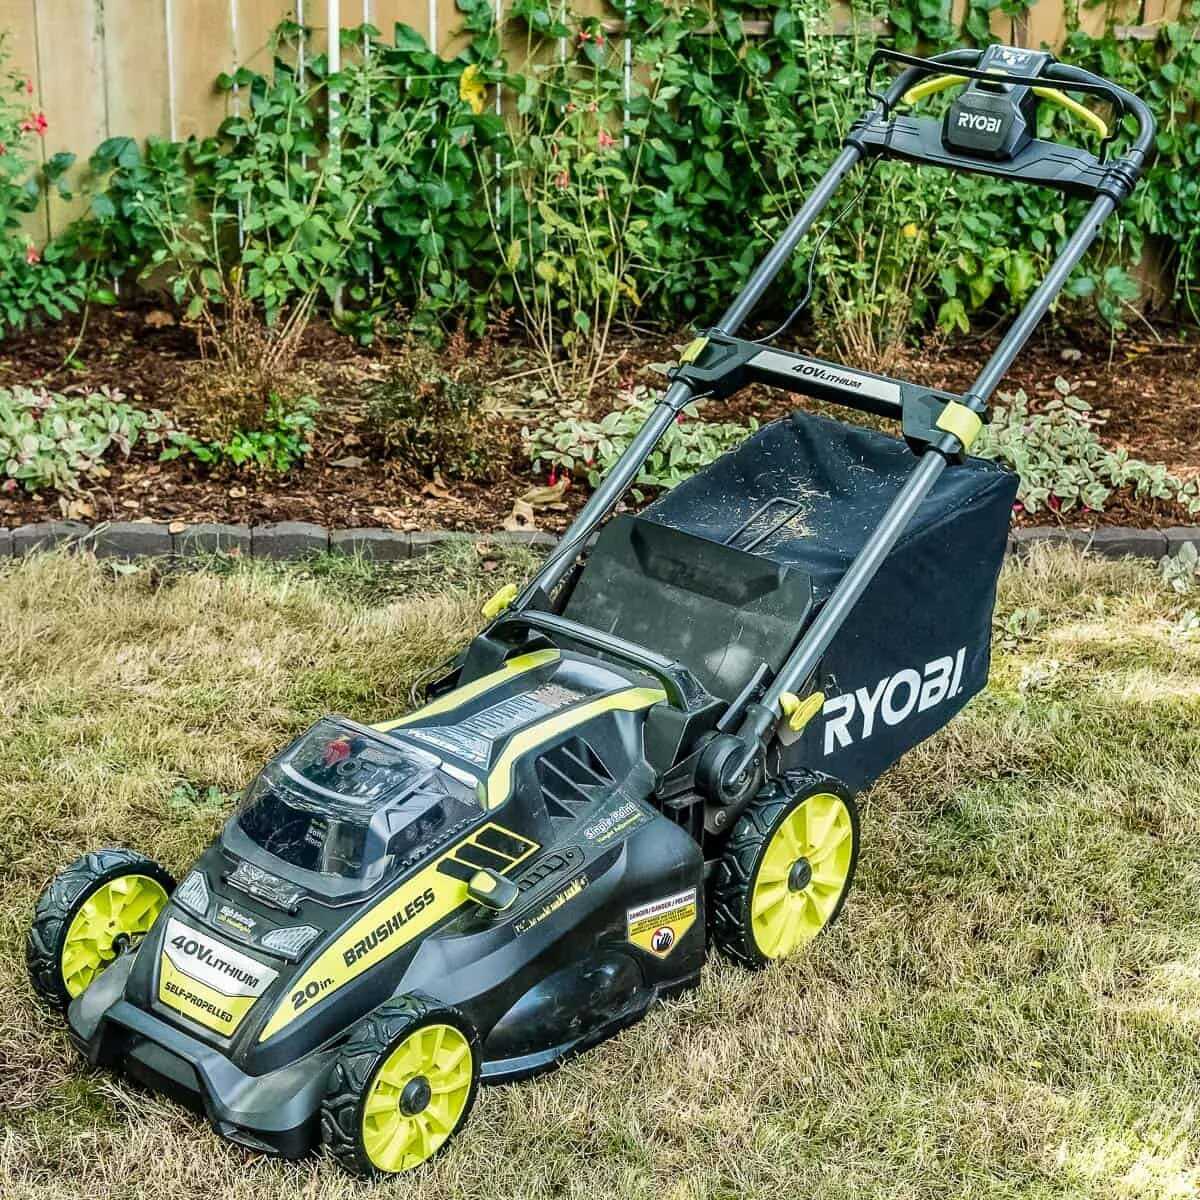
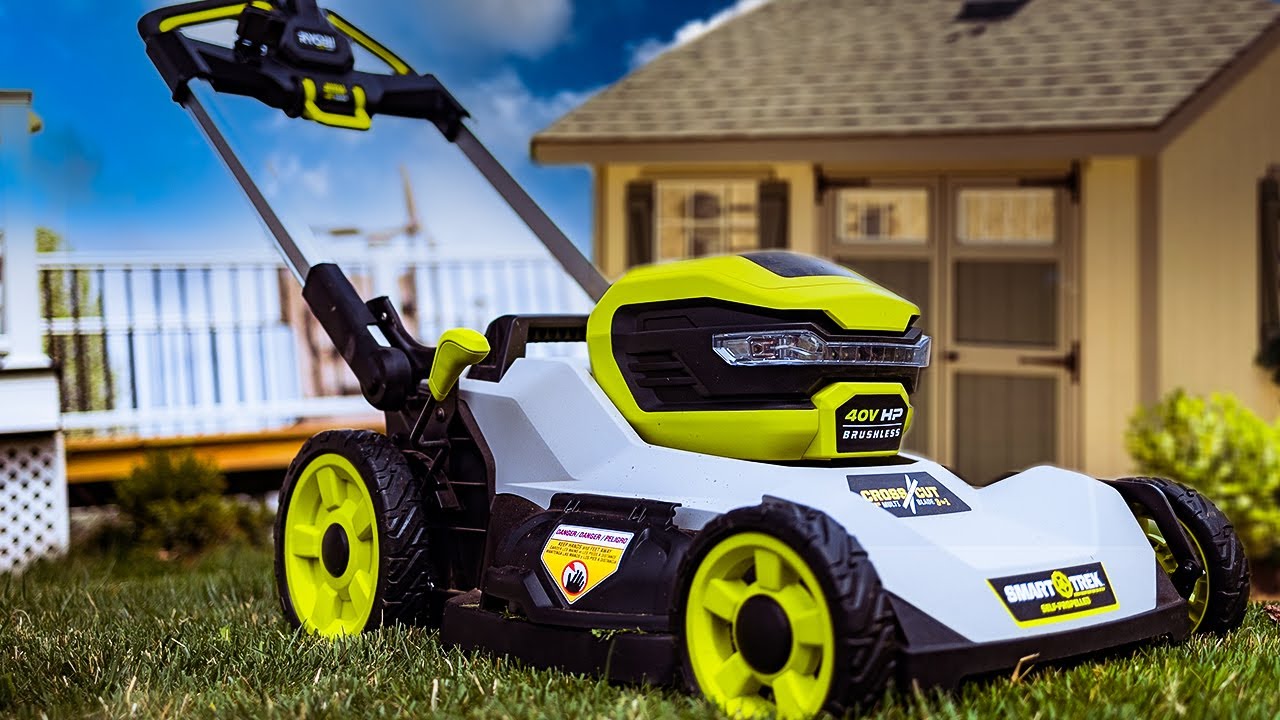
Welcome to the world of electric lawn mowers! If you’re tired of the noise, fumes, and maintenance associated with gas-powered mowers, then the Ryobi electric lawn mower is a fantastic choice. Not only is it environmentally friendly, but it also offers a convenient and hassle-free mowing experience.
Before you start using your new Ryobi electric lawn mower, it’s important to familiarize yourself with the machine and its features. In this article, we will guide you through the steps you need to take to get your Ryobi mower up and running smoothly. From assembling the mower to troubleshooting any potential issues, we’ve got you covered.
So let’s get started and get your Ryobi electric lawn mower ready to tackle your yard!
Key Takeaways:
- Embrace the convenience and efficiency of electric mowing with the Ryobi electric lawn mower. From assembly to maintenance, enjoy a hassle-free and environmentally-friendly mowing experience while achieving a beautifully manicured lawn.
- Gain confidence and proficiency in operating your Ryobi electric lawn mower through practice and maintenance. Troubleshooting tips ensure optimal performance, allowing you to enjoy the benefits of quiet, efficient mowing for years to come.
Read more: Why Is My Ryobi Lawn Mower Not Starting
Step 1: Read the Manual
Before diving into the assembly and operation of your Ryobi electric lawn mower, take the time to thoroughly read the manual provided by the manufacturer. The manual contains important information on safety precautions, recommended maintenance, and specific instructions for your particular model.
Reading the manual will give you a good understanding of how the mower functions and any specific steps or precautions you need to take. It will also help you avoid potential mistakes or accidents that could arise from not following the proper procedures.
Make sure to pay attention to safety guidelines outlined in the manual, such as wearing appropriate protective gear, keeping bystanders at a safe distance, and avoiding operating the mower in hazardous conditions.
By familiarizing yourself with the manual, you will have a solid foundation of knowledge that will make the assembly and operation of your Ryobi electric lawn mower much smoother and safer.
Step 2: Assemble the Mower
Now that you have familiarized yourself with the manual, it’s time to assemble your Ryobi electric lawn mower. The assembly process is relatively straightforward, and the necessary tools and components should be included in the package.
Begin by finding a flat surface to work on, preferably near an electrical outlet for convenience. Lay out all the parts and refer to the manual to identify each component. Take care to follow the provided instructions for proper assembly.
Start by attaching the handle to the mower deck. Ensure that it is securely fastened and aligned with the wheels. Some models may require the use of a wrench or screwdriver to tighten the screws or bolts provided.
Next, attach the grass catcher bag or, if your model has one, the mulching insert. Align the connectors and secure them according to the manual’s instructions.
Finally, insert the battery into its designated compartment on the mower. Make sure it is properly seated and connected to the electrical system.
Once you have assembled your Ryobi electric lawn mower, give it a quick visual inspection to ensure that everything is in place and secure. Your mower is now ready for the next step: charging the battery.
Step 3: Charge the Battery
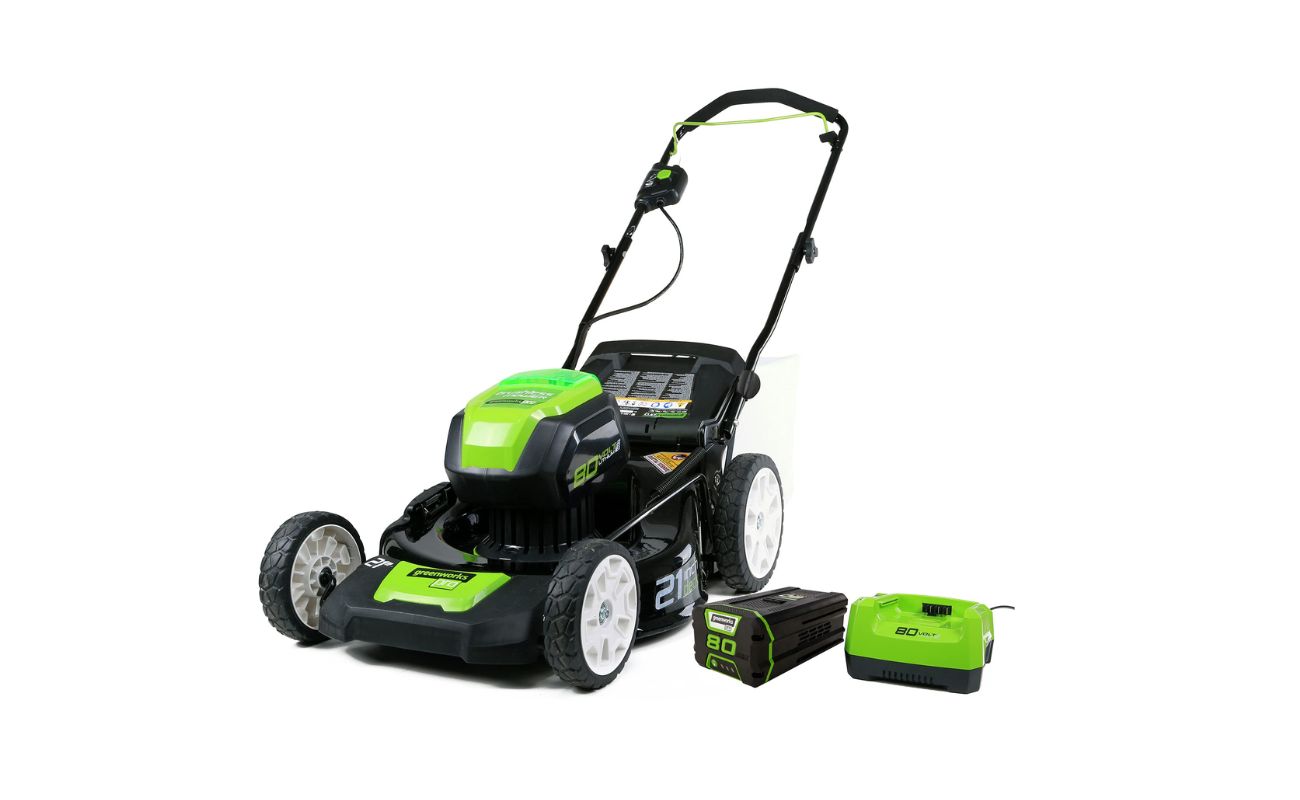
Now that your Ryobi electric lawn mower is assembled, it’s time to charge the battery. The battery is an essential component of your mower, providing the necessary power for operation.
Start by locating the charging port or compartment on your mower. It is typically located near the handle or on the side of the mower. Open the charging port cover and connect the charger to the battery.
Plug the charger into a standard electrical outlet. Make sure the charger is securely connected and that the outlet is functioning properly. The charger will have an indicator light to let you know when the battery is charging.
Allow the battery to charge according to the manufacturer’s instructions. Charging times may vary depending on the size and capacity of the battery. It is important not to disconnect the charger prematurely, as this can affect the battery’s performance.
While the battery is charging, take the opportunity to familiarize yourself with the mower’s controls and settings. Understand how to adjust the cutting height, engage the blades, and activate any additional features your model may have.
Once the battery is fully charged, unplug the charger from the outlet and disconnect it from the charging port. Close the charging port cover securely.
Now your Ryobi electric lawn mower is powered up and ready to go. But before you start mowing, let’s move on to the next step: adjusting the cutting height.
Step 4: Adjust the Cutting Height
Properly adjusting the cutting height of your Ryobi electric lawn mower is crucial for maintaining a healthy lawn. Different grass types and seasons require specific cutting heights to promote optimal growth and appearance.
Locate the cutting height adjustment lever on your mower. It is typically located near the wheels or on the front or back of the mower. The lever may have multiple settings or a single dial for adjusting the height.
Refer to the manual or the markings on the lever to determine the cutting height options available for your specific model. Most electric lawn mowers offer a range of cutting heights, allowing you to customize the length of your lawn’s grass.
To adjust the cutting height, simply move the lever to your desired setting. If your mower has a dial, turn it to the corresponding number or height. Start with a higher setting and gradually lower it until you achieve the desired grass length.
Keep in mind that cutting the grass too short can stress the plants and make them more susceptible to disease and weed invasion. Conversely, leaving the grass too long can hinder healthy growth and promote thatch buildup.
Once you have adjusted the cutting height, do a quick visual check to ensure that the adjustment is applied evenly on all wheels. This will ensure a consistent cut across your entire lawn.
Now that your Ryobi electric lawn mower is properly adjusted, let’s move on to the next step: starting the mower.
Before starting your Ryobi electric lawn mower, make sure the battery is fully charged and the safety key is inserted. Check the grass catcher and blades for any debris or damage before use.
Read more: How To Start Ryobi 40V Lawn Mower
Step 5: Start the Mower
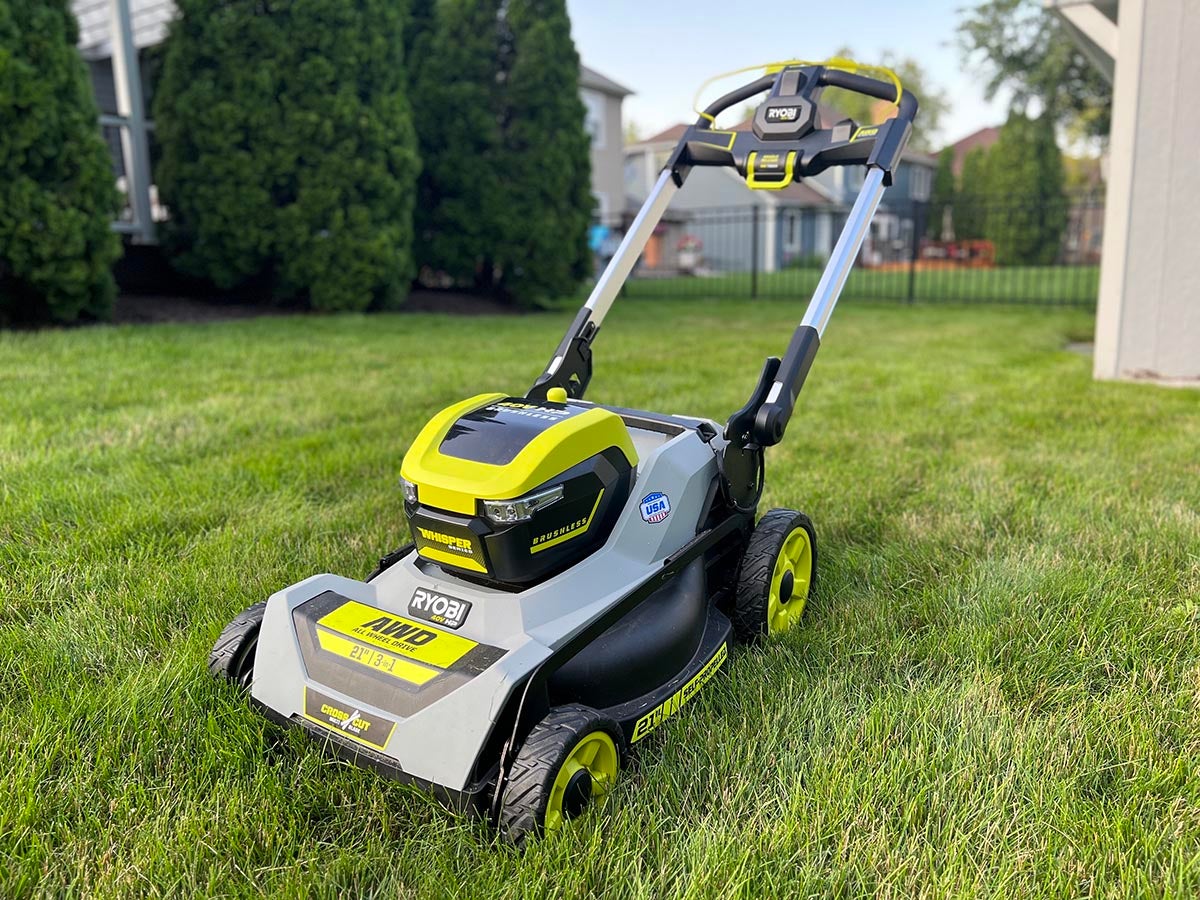
With the cutting height adjusted, it’s now time to start your Ryobi electric lawn mower and get ready to tackle your yard. Starting an electric mower is much simpler and quieter than starting a gas-powered mower.
Before starting the mower, ensure that the battery is securely connected and that the safety key, if applicable, is inserted into its designated slot. This key is a safety feature that prevents accidental starting and should be included with your mower.
Locate the start button or pull cord on your mower. Press the start button or pull the cord, depending on your model’s design. The mower should start up quickly and smoothly without the need for priming or choke adjustments.
As the mower starts, listen for any unusual sounds or vibrations. If you notice anything out of the ordinary, turn off the mower immediately and refer to the troubleshooting section of your manual.
Once the mower is running, give it a few moments to warm up and stabilize. The blades should start spinning, ready for action. Remember to keep your hands and feet clear of the cutting deck at all times, as the blades can be very sharp.
As you begin mowing, take your time and move at a consistent pace. Start with straight lines and overlapping rows to ensure even coverage. Remember to engage any additional features, such as mulching or bagging, if desired.
If at any point you need to stop the mower, release the safety handle or press the stop button, depending on your model. This will immediately shut off the motor and blades.
Now that your Ryobi electric lawn mower is up and running, it’s time for the next step: practicing with test runs.
Step 6: Practice with Test Runs
Now that your Ryobi electric lawn mower is started and ready to go, it’s a good idea to practice with some test runs before tackling your entire yard. This will allow you to familiarize yourself with the mower’s handling, maneuverability, and cutting performance.
Start by selecting a small area of your lawn to mow, preferably an open and flat section. This will give you ample space to maneuver the mower and get a feel for its controls. It’s also a good opportunity to assess the cutting height and make any necessary adjustments.
As you mow, pay attention to how the mower handles different terrain and obstacles. Note any areas where the cutting performance may need improvement or where the mower struggles to navigate.
Practice turning the mower smoothly and efficiently, making wide, sweeping turns to avoid scalping or damaging the grass. Take note of how well the mower collects or mulches the cut grass, or if any potential clogging occurs.
During your test runs, take the time to experiment with different mowing techniques. Try mowing at different speeds or changing your mowing patterns to achieve the best results for your lawn.
Remember to follow all safety guidelines throughout your practice sessions, including wearing appropriate protective gear and being mindful of your surroundings.
By practicing with test runs, you’ll gain confidence and become more proficient in operating your Ryobi electric lawn mower. Once you feel comfortable, it’s time to tackle your entire yard!
The next step, maintenance and cleaning, will ensure the longevity and performance of your mower. Let’s move on.
Step 7: Maintain and Clean the Mower
To keep your Ryobi electric lawn mower in top shape and ensure its longevity, regular maintenance and cleaning are essential. Proper maintenance will help prevent performance issues and extend the life of your mower.
After each use, it’s important to clean the cutting deck and remove any grass clippings or debris that may have accumulated. Use a brush or a hose to gently remove the buildup and dry the mower thoroughly to prevent rusting.
Check the blades regularly for signs of damage or wear. If you notice any dullness or nicks, it may be time to sharpen or replace them. Sharpening can be done using a blade sharpening kit or by taking the blades to a professional.
Inspect the wheels and axles for any signs of wear or looseness. Tighten any loose parts and replace any worn or damaged wheels as necessary to maintain smooth and even mowing.
During maintenance, it’s also important to check the battery’s condition. Clean the terminals to remove any corrosion and ensure a solid connection. If the battery becomes weak or fails to hold a charge, contact the manufacturer for a replacement.
Refer to the manual for recommended maintenance intervals and procedures. This may include lubricating moving parts, checking and replacing filters, and adjusting belts if necessary.
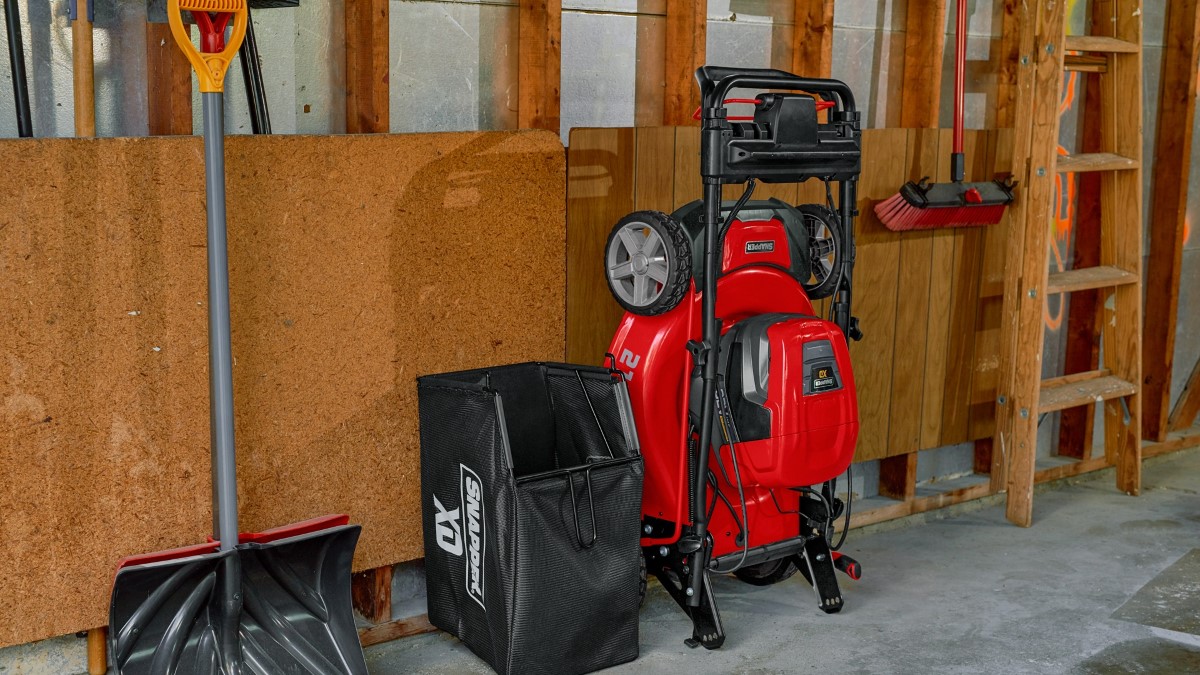
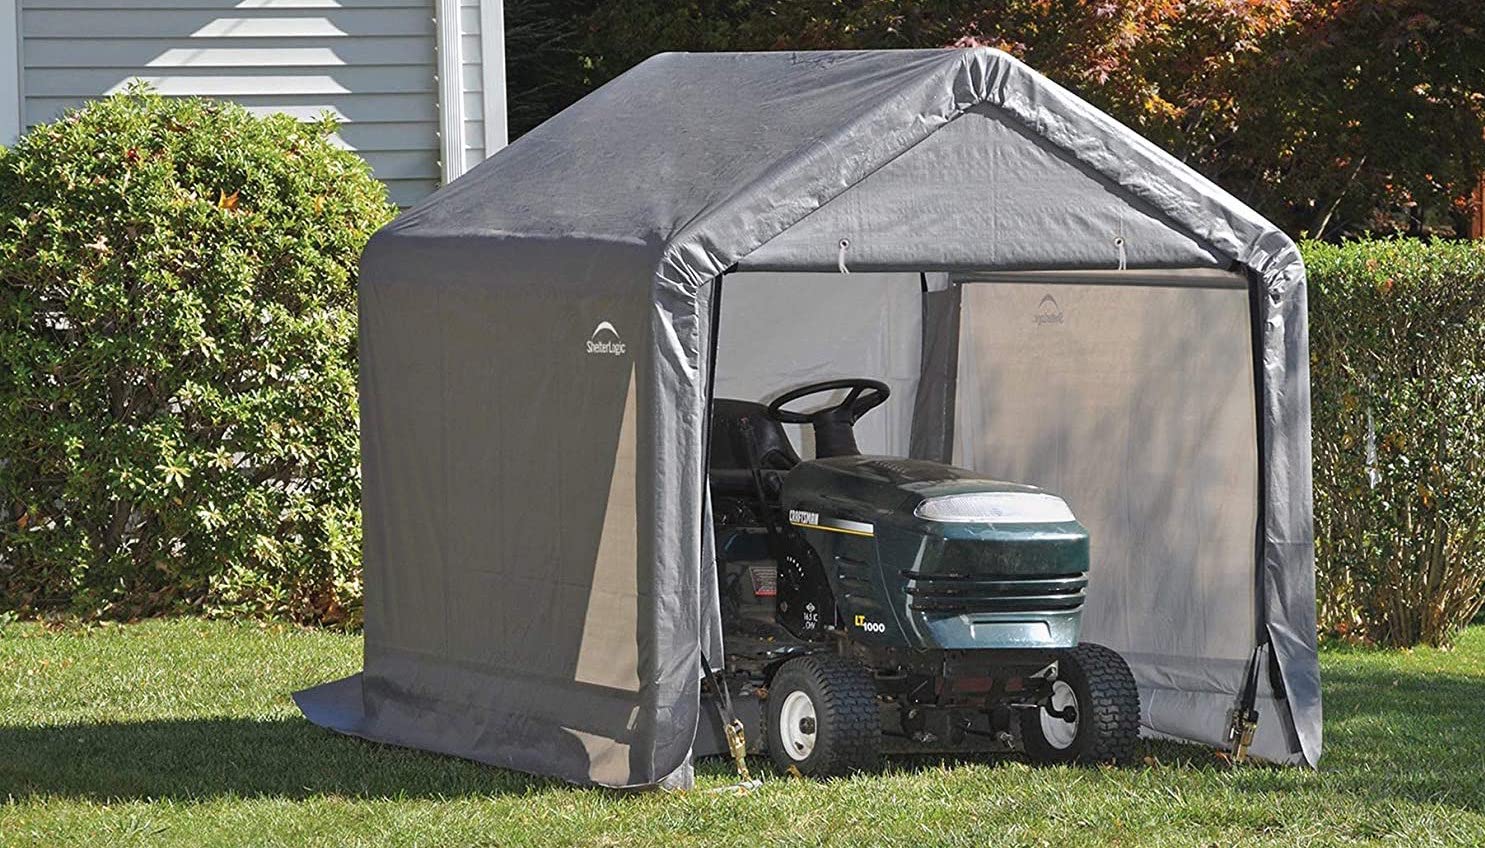
Storing your mower properly is also crucial in maintaining its performance. Store it in a clean, dry area away from extreme temperatures or moisture. It’s beneficial to remove the battery when storing for an extended period to prevent any draining.
By following these maintenance and cleaning practices, you can ensure that your Ryobi electric lawn mower remains in optimal condition for years to come.
However, if you do encounter any issues or need troubleshooting assistance, let’s move on to the final step: troubleshooting tips.
Step 8: Troubleshooting Tips
While Ryobi electric lawn mowers are reliable and durable machines, occasional issues may still arise. If you encounter any problems with your mower, here are some troubleshooting tips to help you identify and resolve common issues:
1. Mower does not start: Ensure that the battery is properly connected and fully charged. Check for any loose connections or blown fuses. If the issue persists, consult the manual or contact customer support.
2. Uneven cutting: If the mower is leaving uneven patches, check that the cutting height is properly adjusted. Make sure the blades are sharp and balanced. If the problem continues, inspect the wheels for any damage or misalignment.
3. Poor cutting performance: If the mower is struggling to cut through grass, ensure that the blades are sharp and not clogged with debris. Adjust the cutting height if necessary. If the issue persists, consult the manual for further troubleshooting steps.
4. Grass clippings not collecting: If the grass catcher bag is not collecting clippings properly, check that it is properly attached and not overfilled. Ensure that the chute or mulching insert is clear from obstructions. Clean the bag or replace it if it is worn or damaged.
5. Excessive noise or vibration: If the mower is making unusual noises or vibrating excessively, check for any loose or damaged parts. Inspect the blades, wheels, and belts for any signs of wear or damage. If the issue persists, consult a professional for further inspection.
Remember, safety should always be a priority. If you are unsure or unable to resolve the issue on your own, do not hesitate to seek professional assistance or contact the manufacturer’s customer support for guidance.
By following these troubleshooting tips, you can address common issues and keep your Ryobi electric lawn mower in optimal working condition.
So there you have it — the step-by-step guide to starting and maintaining your Ryobi electric lawn mower. With this knowledge in hand, you’re ready to enjoy the convenience and efficiency of electric mowing while achieving a beautifully manicured lawn!
Happy mowing!
Read more: How To Use Ryobi Lawn Mower
Conclusion
Congratulations! You’ve successfully learned how to start and maintain your Ryobi electric lawn mower. By following these steps, you can enjoy the benefits of a quiet, environmentally-friendly, and efficient mowing experience.
Starting with reading the manual, assembling the mower, charging the battery, adjusting the cutting height, and starting the mower itself, you have gained a solid foundation in the operation of your Ryobi electric lawn mower. The practice with test runs has allowed you to become familiar with its handling and performance, giving you the confidence to tackle your entire yard.
Maintaining and cleaning your mower regularly will ensure its longevity and optimal performance. By following the recommended maintenance procedures and troubleshooting tips, you can address common issues and keep your mower in excellent condition for years to come.
Remember to always prioritize safety when operating your Ryobi electric lawn mower. Wear appropriate protective gear, keep bystanders at a safe distance, and be mindful of your surroundings. If you ever encounter any issues or are unsure about anything, consult the manual or reach out to the manufacturer’s customer support for assistance.
Now, armed with the knowledge and skills you have acquired, it’s time to get out there and enjoy the convenience and satisfaction that comes with maintaining a beautiful lawn using your Ryobi electric lawn mower. Say goodbye to the noise and hassle of gas-powered mowers, and embrace the future of lawn care!
Happy mowing!
Now that you know the nuts and bolts of starting a Ryobi electric lawn mower, dive deeper into keeping your home in top condition with other engaging articles. Check out our comprehensive guide on routine tasks every homeowner should tackle for optimal upkeep. From cleaning gutters to checking smoke detectors, our detailed advice ensures nothing is overlooked. Don't miss out on insights that will keep your living space both safe and inviting.
Frequently Asked Questions about How To Start Ryobi Electric Lawn Mower
Was this page helpful?
At Storables.com, we guarantee accurate and reliable information. Our content, validated by Expert Board Contributors, is crafted following stringent Editorial Policies. We're committed to providing you with well-researched, expert-backed insights for all your informational needs.


0 thoughts on “How To Start Ryobi Electric Lawn Mower”