Home>Gardening & Outdoor>Landscaping Ideas>How To Attach Grass Catcher To Riding Lawn Mower
Landscaping Ideas
How To Attach Grass Catcher To Riding Lawn Mower
Modified: February 18, 2024
Learn how to attach a grass catcher to your riding lawn mower for a cleaner yard and easier landscaping. Get expert tips and step-by-step instructions. Ideal for landscaping-ideas enthusiasts!
(Many of the links in this article redirect to a specific reviewed product. Your purchase of these products through affiliate links helps to generate commission for Storables.com, at no extra cost. Learn more)
Introduction
Attaching a grass catcher to your riding lawn mower can significantly improve the efficiency of your lawn maintenance routine. This simple addition helps in collecting grass clippings, leaves, and other debris, leaving your lawn looking immaculate. Whether you're a seasoned lawn care enthusiast or a novice looking to enhance your mowing experience, installing a grass catcher is a straightforward process that can yield impressive results.
In this guide, we will walk you through the step-by-step process of attaching a grass catcher to your riding lawn mower. By following these instructions, you can streamline your lawn maintenance efforts and achieve a cleaner, more polished look for your yard. Let's dive into the tools and materials you'll need to get started.
Key Takeaways:
- Attaching a grass catcher to your riding lawn mower is a simple process that can make your lawn look cleaner and more polished by collecting grass clippings and debris as you mow.
- By following the step-by-step guide, you can seamlessly install and test the grass catcher, leading to a more efficient mowing experience and a well-groomed lawn.
Read more: How To Put Grass Catcher On Mower
Tools and Materials Needed
Before you begin the process of attaching a grass catcher to your riding lawn mower, it's important to gather the necessary tools and materials. Having everything on hand will ensure a smooth and efficient installation process. Here's what you'll need:
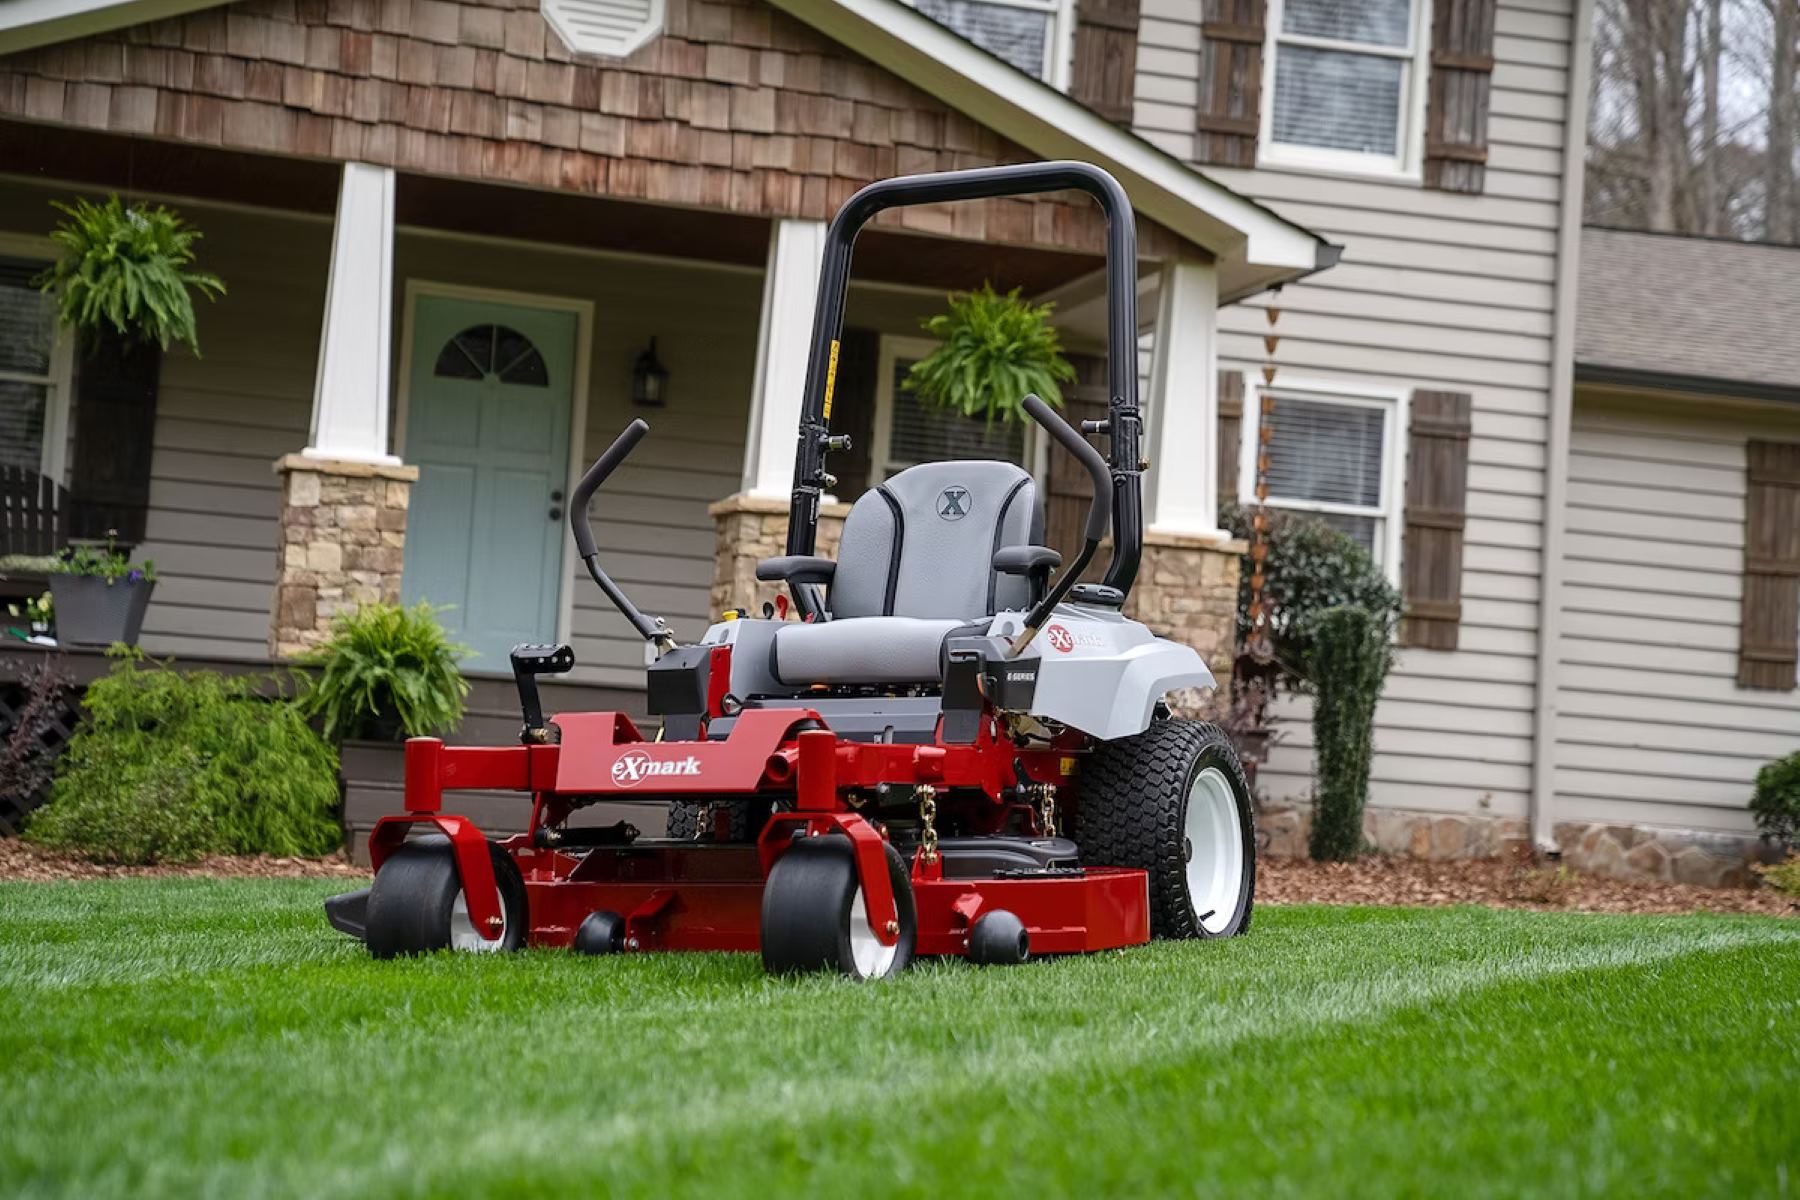
- Riding lawn mower
- Grass catcher attachment kit (specific to your mower model)
- Work gloves
- Socket wrench set
- Adjustable wrench
- Owner’s manual for the riding lawn mower
- Safety goggles
- Clean cloth or rag
These tools and materials will equip you to securely attach the grass catcher to your riding lawn mower, ensuring a successful and hassle-free installation. With everything at your disposal, you can proceed to the first step of the process: preparing the riding lawn mower.
Step 1: Prepare the Riding Lawn Mower
Before attaching the grass catcher, it’s crucial to prepare the riding lawn mower to ensure a seamless installation process. Follow these steps to get your mower ready:
- Read the Owner’s Manual: Familiarize yourself with the specific instructions provided in the owner’s manual for your riding lawn mower. This will give you valuable insights into the attachment points and any model-specific considerations.
- Inspect the Mower: Conduct a thorough visual inspection of the mower to ensure that it’s in good working condition. Check for any loose or damaged parts that may need attention before proceeding with the attachment.
- Clean the Mower Deck: Use a clean cloth or rag to wipe down the mower deck, removing any grass clippings, dirt, or debris. A clean surface will facilitate a secure attachment of the grass catcher.
- Put on Safety Gear: Prioritize safety by wearing work gloves and safety goggles. These protective measures will safeguard you from potential hazards during the installation process.
By thoroughly preparing the riding lawn mower, you set the stage for a successful attachment of the grass catcher. With these preliminary steps completed, you’re ready to move on to assembling the grass catcher itself.
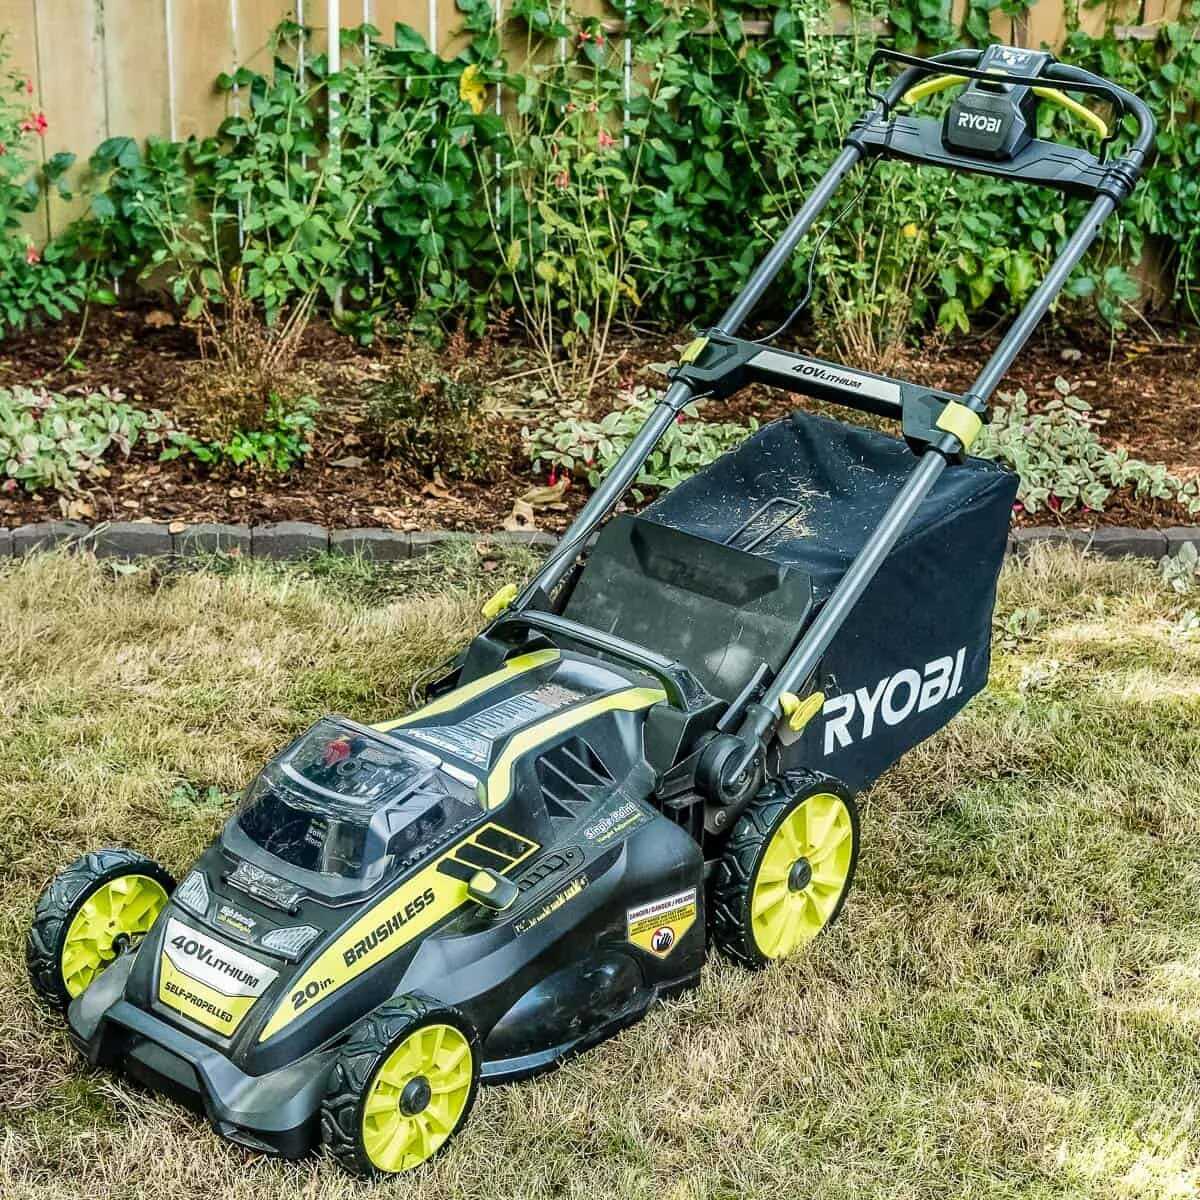
Step 2: Assemble the Grass Catcher
Assembling the grass catcher is a pivotal part of the process, ensuring that it is ready to be securely attached to your riding lawn mower. Follow these steps to assemble the grass catcher:
- Unpack the Components: Carefully unpack the grass catcher attachment kit, ensuring that all components are accounted for. Check for any damage and verify that you have all the necessary parts as per the instruction manual.
- Refer to the Instruction Manual: Consult the assembly instructions provided in the grass catcher kit. Pay close attention to the step-by-step guidelines and any specific details related to your mower model.
- Assemble the Frame: Begin by assembling the frame of the grass catcher according to the provided instructions. This may involve attaching support rods, brackets, or other frame components as per the designated configuration.
- Install the Collection Bag: Once the frame is assembled, proceed to install the collection bag as directed. Ensure that it is securely attached to the frame, and any fasteners or straps are properly tightened to prevent slippage during use.
- Inspect the Assembly: Conduct a thorough inspection of the assembled grass catcher to confirm that all components are securely attached and in proper working order. Address any issues or discrepancies before proceeding to the attachment phase.
By meticulously assembling the grass catcher, you set the stage for a successful attachment to your riding lawn mower. With the grass catcher ready, you’re now prepared to move on to the next crucial step: attaching the grass catcher to the riding lawn mower.
When attaching a grass catcher to a riding lawn mower, make sure to follow the manufacturer’s instructions carefully. Typically, you will need to align the hooks or brackets on the catcher with the mounting points on the mower, and then secure them in place using the provided hardware. Double check that everything is securely attached before mowing.
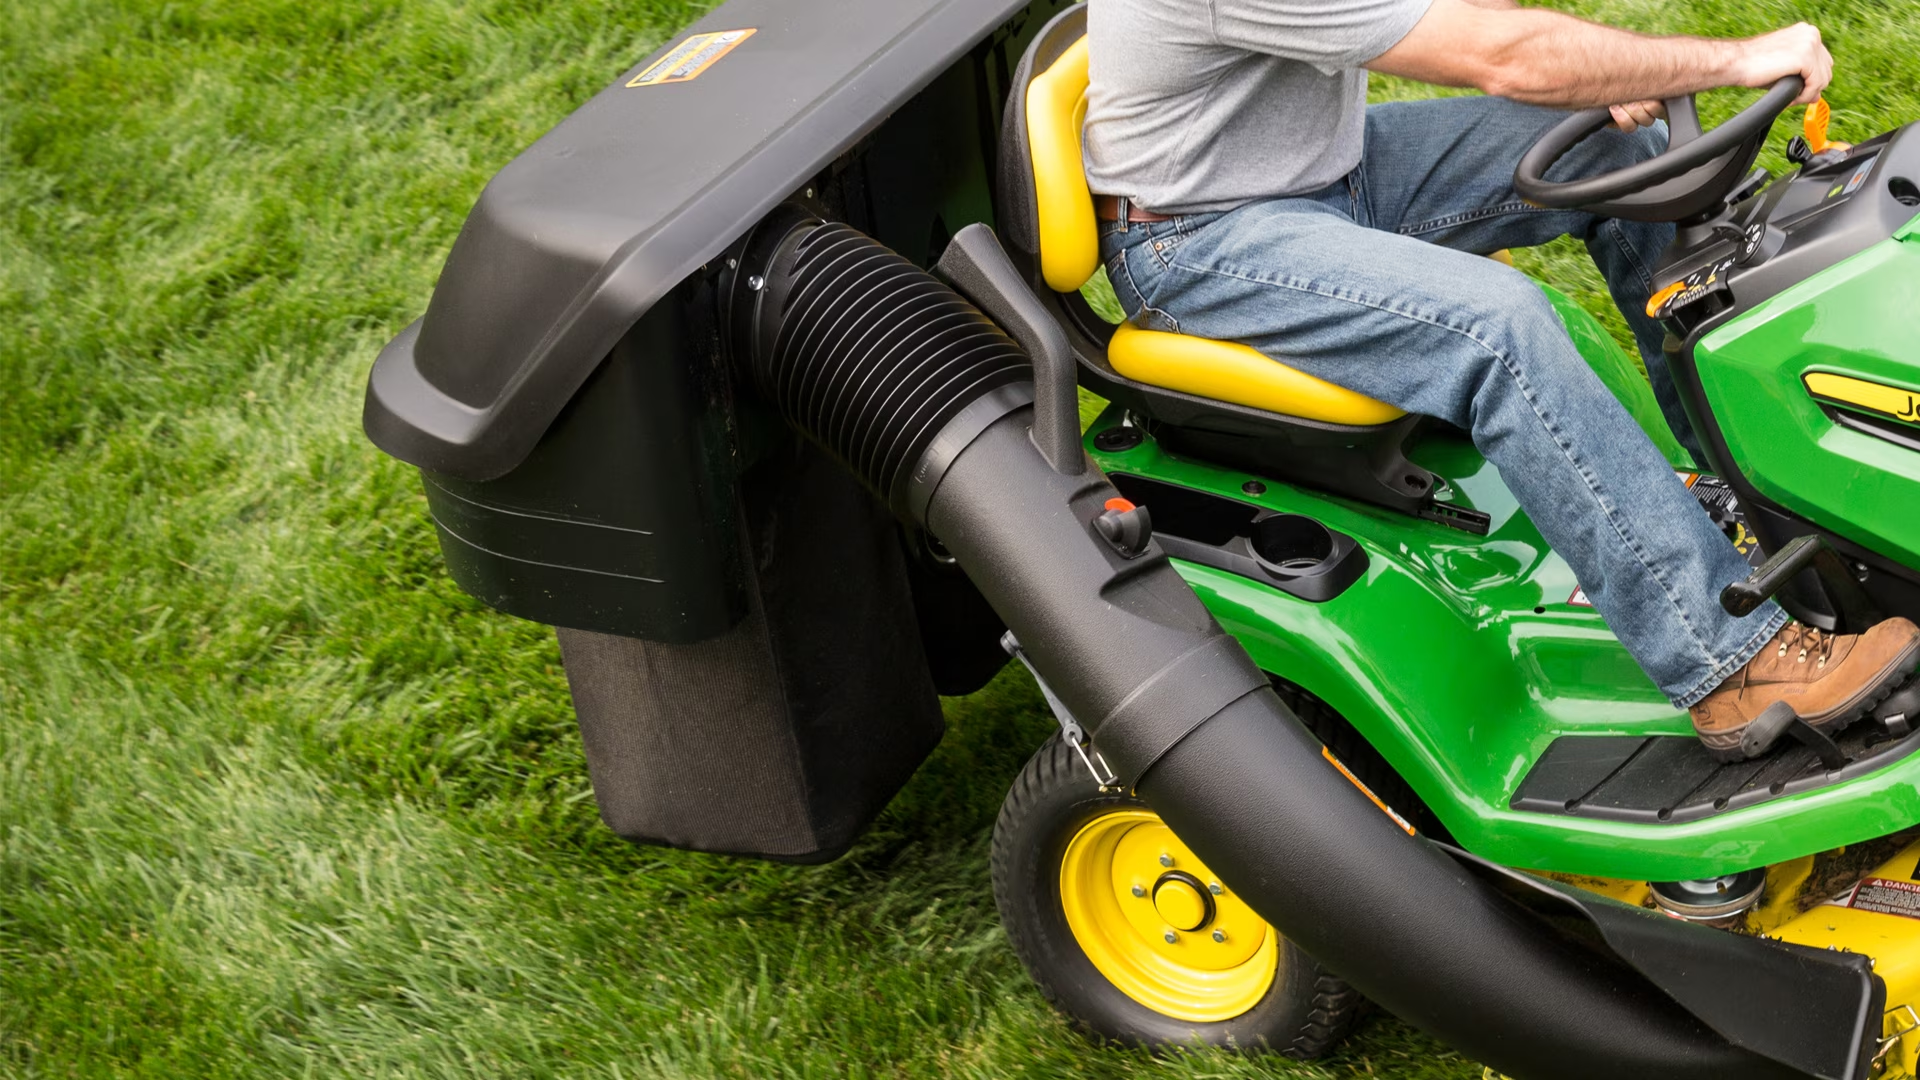
Step 3: Attach the Grass Catcher to the Riding Lawn Mower
Attaching the grass catcher to your riding lawn mower is a pivotal step that requires precision and attention to detail. Follow these guidelines to securely affix the grass catcher to your mower:
- Locate Attachment Points: Refer to the owner’s manual or the specific instructions provided with the grass catcher kit to identify the attachment points on your riding lawn mower. These may include mounting brackets or other designated areas for securing the grass catcher.
- Position the Grass Catcher: With the attachment points identified, carefully position the grass catcher near the rear of the mower, aligning it with the designated mounting locations. Ensure that the frame and collection bag are oriented correctly for a proper fit.
- Secure the Grass Catcher: Utilize the provided fasteners, bolts, or clamps to secure the grass catcher to the designated attachment points on the riding lawn mower. Follow the specific instructions for tightening and securing the attachment to ensure a stable and reliable connection.
- Double-Check the Attachment: After securing the grass catcher, perform a thorough inspection to verify that it is firmly attached and stable. Confirm that all fasteners are tightened according to the specified torque requirements to prevent any potential issues during operation.
By methodically attaching the grass catcher to your riding lawn mower, you ensure that it is securely in place and ready for use. With this step completed, you’re now ready to proceed to the final phase: testing the grass catcher to confirm its functionality.
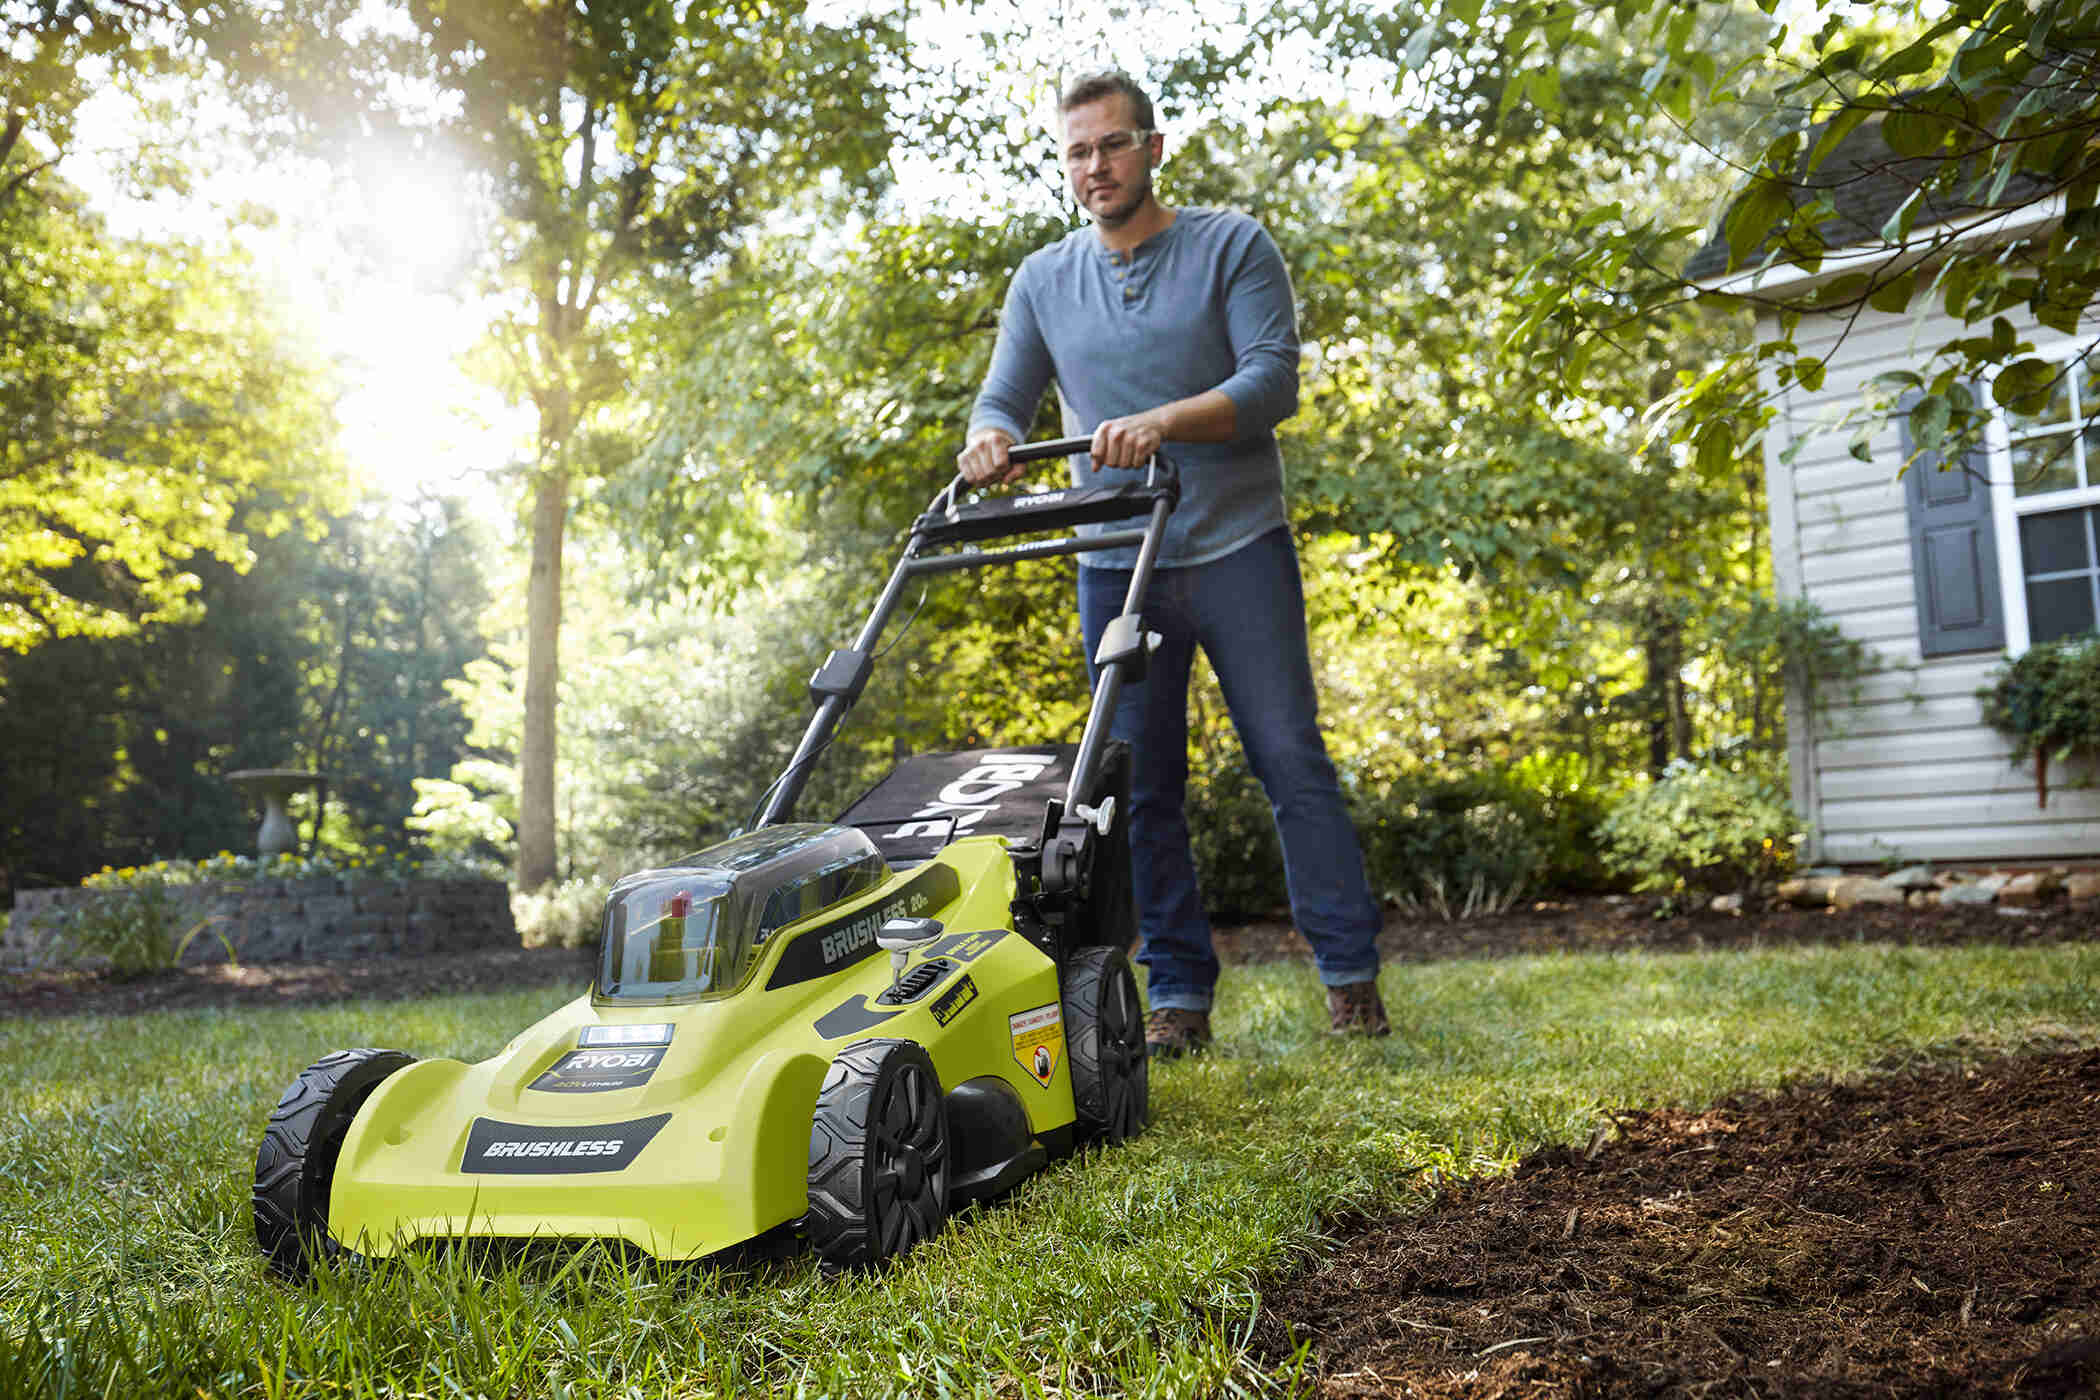
Step 4: Test the Grass Catcher
Testing the grass catcher after installation is essential to ensure that it functions as intended and effectively collects grass clippings and debris. Follow these steps to test the grass catcher on your riding lawn mower:
- Start the Mower: Begin by starting the riding lawn mower and engaging the cutting blades. Ensure that the mower is in a suitable outdoor location with ample space for maneuvering.
- Mow the Lawn: Gradually mow a section of your lawn, paying close attention to the performance of the grass catcher. Observe how it collects grass clippings and any potential issues such as clogging or improper collection.
- Inspect the Collection Bag: After mowing, inspect the collection bag to assess the amount of grass clippings and debris accumulated. Ensure that the grass catcher effectively retains the collected material without spilling or overflowing.
- Address Any Issues: If you encounter any issues during testing, such as inadequate collection or operational challenges, refer to the troubleshooting section of the owner’s manual. Address any issues promptly to ensure optimal performance.
- Adjust as Needed: Make any necessary adjustments to the grass catcher or the attachment to address any performance issues identified during testing. This may involve tightening fasteners, repositioning the grass catcher, or addressing any operational concerns.
By thoroughly testing the grass catcher, you can confirm its functionality and make any required adjustments to optimize its performance. With the grass catcher successfully tested and fine-tuned, you can now enjoy the enhanced efficiency and cleanliness it brings to your lawn maintenance routine.
Conclusion
Attaching a grass catcher to your riding lawn mower is a valuable enhancement that contributes to a pristine and well-maintained lawn. By following the step-by-step process outlined in this guide, you can seamlessly install and test the grass catcher, paving the way for a more efficient mowing experience. As a result of this simple addition, you can enjoy a cleaner yard with the convenience of collecting grass clippings and debris as you mow.
From preparing the riding lawn mower and assembling the grass catcher to securely attaching it and conducting thorough testing, each step plays a crucial role in ensuring the successful integration of the grass catcher into your lawn care routine. The careful attention to detail and adherence to the provided instructions will yield a rewarding outcome, allowing you to maintain a well-groomed lawn with ease.
With the grass catcher in place, you can look forward to a streamlined mowing process and a tidy lawn that enhances the overall aesthetic of your outdoor space. Whether you’re a dedicated lawn care enthusiast or a homeowner seeking to elevate your lawn maintenance, the addition of a grass catcher to your riding lawn mower is a practical and effective solution.
By implementing these steps and embracing the benefits of a grass catcher, you can take pride in a beautifully manicured lawn that reflects your commitment to meticulous lawn care. Embrace the convenience and efficiency of a grass catcher-equipped riding lawn mower, and revel in the enhanced results it delivers with every mowing session.
Frequently Asked Questions about How To Attach Grass Catcher To Riding Lawn Mower
Was this page helpful?
At Storables.com, we guarantee accurate and reliable information. Our content, validated by Expert Board Contributors, is crafted following stringent Editorial Policies. We're committed to providing you with well-researched, expert-backed insights for all your informational needs.


0 thoughts on “How To Attach Grass Catcher To Riding Lawn Mower”