Articles
How To Store A Spore Print
Modified: December 7, 2023
Learn effective techniques for storing a spore print in this comprehensive article. Find step-by-step instructions and expert tips to ensure long-term preservation.
(Many of the links in this article redirect to a specific reviewed product. Your purchase of these products through affiliate links helps to generate commission for Storables.com, at no extra cost. Learn more)
Introduction
Welcome to the fascinating world of spore prints! If you are a mushroom enthusiast or a mycologist, you may have come across the term “spore print” before. But for those who are new to this concept, let’s start with a brief introduction.
A spore print is a technique used to identify and reproduce the spores of mushrooms. It involves taking a mature mushroom cap, placing it on a suitable surface, and allowing it to release its spores. The resulting print will display the unique pattern and color of the mushroom’s spores, which can be used for identification purposes or to cultivate new mushrooms.
Now, you might be wondering why you would need to store a spore print in the first place. Well, there are several reasons why you might want to preserve a spore print for future use:
- Documentation: Spore prints are valuable for documenting the existence and characteristics of different mushroom species. By storing spore prints, you can create a personal collection or contribute to scientific research.
- Identification: Mushroom identification can be a complex process, and having an archive of spore prints can help in distinguishing between similar-looking species.
- Propagation: If you have a specific mushroom species that you want to grow, storing spore prints can be a starting point for cultivating your own mushrooms.
- Sharing: Spore prints can also be shared with other mycophiles or used for educational purposes.
- Preservation: In some cases, preserving a spore print can be a way to conserve the genetic diversity of a particular mushroom species.
Now that you understand the importance of storing a spore print, let’s dive into the step-by-step process of how to properly store it for long-term use. It’s crucial to keep in mind that the storage conditions should be suitable to maintain the viability and integrity of the spores.
Key Takeaways:
- Storing spore prints is crucial for documenting, identifying, and propagating mushroom species. Proper preparation, cleaning, drying, packaging, and storage conditions are essential for preserving the viability and integrity of spores.
- Regular monitoring of stored spore prints is necessary to ensure their quality and viability. By following a comprehensive storage process, enthusiasts and mycologists can contribute to research and conservation efforts while exploring the fascinating world of mushrooms.
Read more: How To Store Mushroom Spores
What is a Spore Print?
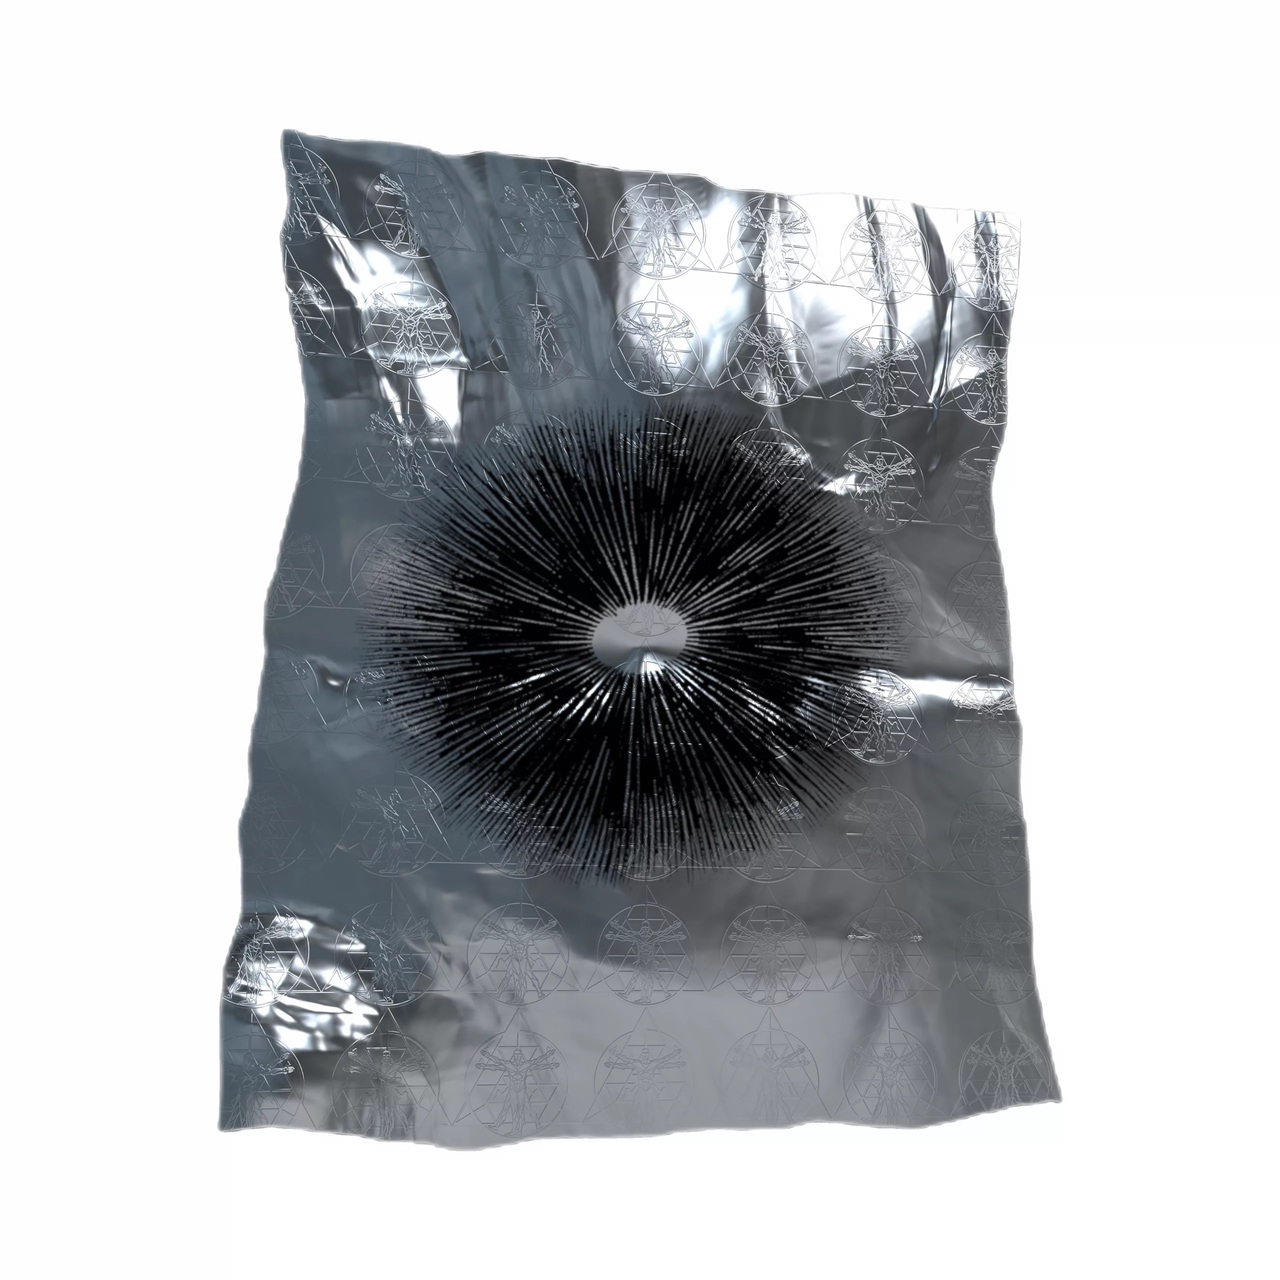
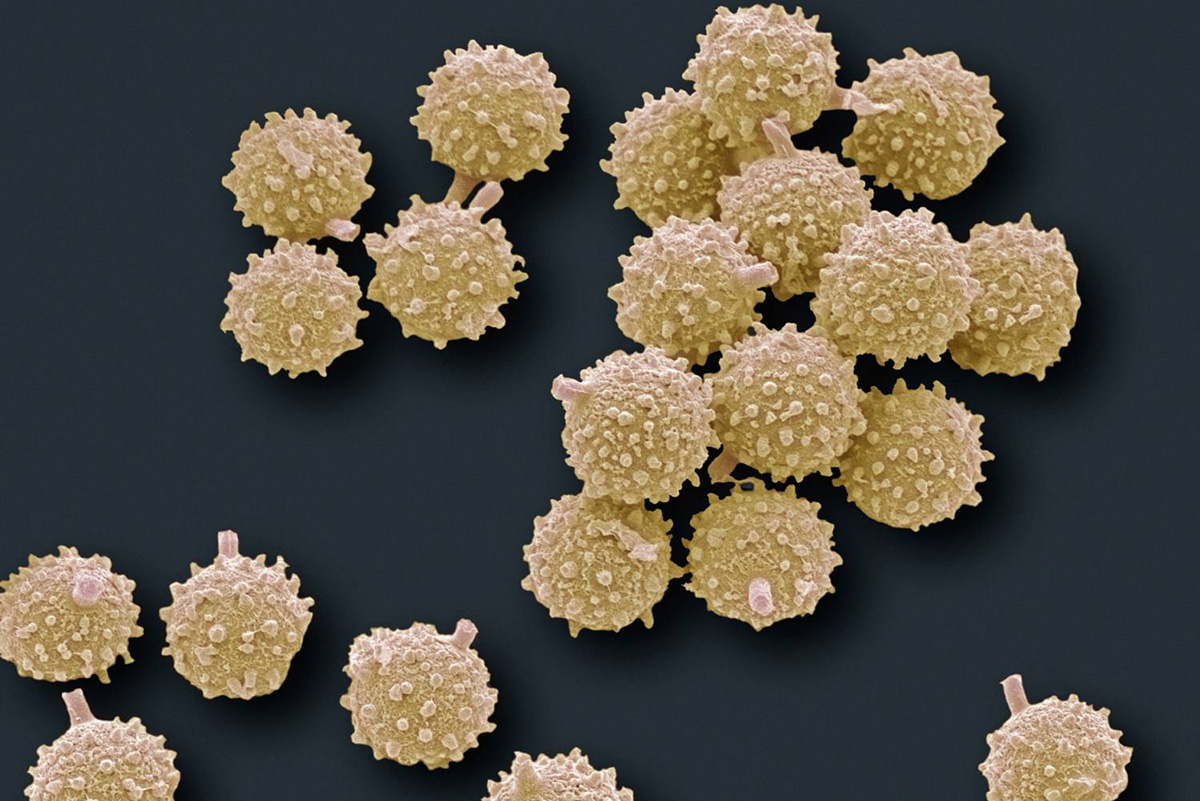
A spore print is a technique used to capture and examine the spores of mushrooms. Spores are tiny reproductive cells produced by fungi, including mushrooms. They are responsible for the dispersal and propagation of the fungus. Each species of mushroom has unique spores that can be identified through their size, shape, and color.
To obtain a spore print, a mature mushroom cap is carefully removed from the stem. The cap is then placed gill-side down on a suitable surface, such as a piece of paper or glass. Over time, the cap releases spores, which fall onto the surface, creating a visible pattern that represents the spore color and arrangement.
The process of creating a spore print is relatively simple, yet it holds valuable information for mushroom identification and cultivation. By examining the color and pattern of the spores, mycologists can determine the genus and species of a mushroom. Spore prints also aid in distinguishing between similar-looking mushrooms and can be used as evidence in taxonomic studies.
Spore prints come in a wide range of colors, including white, cream, brown, black, purple, and even pink or green. These colors are influenced by factors such as the mushroom’s genetics, habitat, and environmental conditions. Understanding the spore color can be instrumental in narrowing down the possible identification of a mushroom.
It’s important to note that while spore prints are a useful tool for mushroom identification, they should not be the sole determining factor. Other characteristics, such as the shape, size, and texture of the cap, stem, and gills, as well as habitat and chemical reactions, should also be considered.
Now that you have a basic understanding of what a spore print is and its significance, let’s explore how to store spore prints properly to ensure their longevity and usability.
Why Store a Spore Print?
Storing a spore print may seem like a curious practice, but there are several compelling reasons why mushroom enthusiasts and mycologists choose to preserve these prints. Let’s explore some of the main motivations behind storing spore prints.
Documentation: Spore prints serve as a valuable documentation tool in the world of mycology. By storing spore prints, you can create a personal collection that represents the diverse range of mushroom species you have encountered. These collections can be used for reference, education, or even scientific research. Having a well-documented collection of spore prints can contribute to our understanding of fungal biodiversity and aid in the ongoing efforts to classify and protect mushroom species.
Identification: The unique patterns and colors of spore prints can be immensely helpful in identifying mushrooms. The spore color, size, and shape are distinct for each species, allowing mycologists to narrow down the possibilities when trying to identify a particular mushroom. By storing a collection of spore prints, you can compare and match them to unknown mushrooms, making the identification process much more accurate and reliable.
Propagation: If you have a specific mushroom species that you want to cultivate, storing the spore print can be a crucial step in the propagation process. Spores are the reproductive cells of fungi, and they contain the genetic information necessary for growing mushrooms. By preserving a spore print, you can preserve the genetic material of a particular species and use it to inoculate a growing medium, such as agar or grain, to start your own mushroom culture.
Sharing and Collaboration: Spore prints can be shared with other mushroom enthusiasts, mycologists, or researchers, leading to collaboration and the exchange of knowledge. By building a network of individuals with similar interests and a shared passion for mushrooms, you can expand your understanding of fungi and contribute to the wider mycological community.
Conservation: In some cases, storing spore prints can be a means of preserving the genetic diversity of mushrooms. As habitat loss and environmental changes threaten many species, having a collection of spores from different habitats can serve as a genetic bank. These stored spores can be used in conservation efforts, such as re-establishing populations in their native habitats or conducting genetic studies to understand and protect vulnerable species.
As you can see, storing spore prints offers numerous benefits for both personal enjoyment and scientific endeavors. Whether you’re an amateur enthusiast or a professional mycologist, creating and maintaining a collection of spore prints can enhance your understanding of mushrooms, contribute to research, and provide a foundation for experimentation and exploration.
Now that we understand why it’s valuable to store spore prints, let’s explore the materials needed and the step-by-step process for proper storage.
Materials Needed
Before you begin the process of storing a spore print, it’s important to gather all the necessary materials. Having the right supplies on hand will ensure that your spore print is stored properly and remains viable. Here are the materials you’ll need:
- Mature Mushroom: Choose a mushroom that is mature and has fully opened gills. The cap should be intact and show no signs of damage or decay.
- Non-Porous Surface: Select a non-porous surface to place the mushroom cap on for the spore release. Options include glass, ceramic, or a sheet of smooth paper or aluminum foil.
- Clear Glass Jar or Container: You’ll need a clear glass jar or container to cover the mushroom cap during spore release. The container should be large enough to accommodate the cap without touching it and allow for proper ventilation.
- Scalpel or Knife: Use a clean and sharp scalpel or knife to carefully remove the mushroom cap from the stem.
- Forceps or Tweezers: These tools will help you handle the mushroom cap without touching it directly to avoid contamination.
- Desiccant: A desiccant, such as silica gel or rice, is necessary for drying the spore print. This helps prevent moisture buildup, which can cause deterioration or fungal growth.
- Storage Containers: Prepare small, airtight containers for storing the dried spore prints. Glass vials or jars with tight-fitting lids work well for this purpose.
- Labeling Materials: Don’t forget to label your spore prints with the name of the mushroom species, date, and any other relevant information. Permanent markers or labels are recommended.
Ensure that all the materials you use for storing spore prints are clean and sterile. This will prevent any contamination and maintain the integrity of the stored spores.
Once you have gathered these essential materials, you are ready to proceed with the process of storing a spore print. In the following steps, we will guide you through the procedure, from preparation to proper storage conditions.
Are you ready to start preserving those fascinating spore prints? Let’s move on to the next step: Preparation.
Step 1: Preparation
Before you begin the process of storing a spore print, it’s important to make sure you have everything you need and create a clean and sterile workspace. Follow these steps to properly prepare for storing your spore print:
- Gather Materials: Collect all the necessary materials listed in the previous section to ensure you have everything you need within reach.
- Clean Work Area: Start by cleaning your work area to prevent contamination. Wipe down surfaces with a mild disinfectant or a mixture of water and rubbing alcohol. Avoid using strong chemicals or cleaners that could leave residue on the workspace.
- Sterilize Tools: It’s crucial to sterilize any tools you will be using, such as scalpels, forceps, or tweezers. Use rubbing alcohol or boiling water to disinfect the tools before starting. This step will help minimize the risk of introducing unwanted organisms or contaminants to the spore print.
- Wash Hands: Remember to wash your hands thoroughly with soap and warm water before handling any materials. This will remove any potential contaminants from your hands and minimize the chance of introducing foreign substances to the spore print.
- Create a Still Environment: Find a calm, draft-free area to work in. Spores are delicate and can easily be disturbed by airflow, leading to inaccurate prints or cross-contamination. Choose a location away from open windows or fans that may disrupt the spores during the printing process.
By following these preparation steps, you will create a clean and controlled environment for storing your spore prints. Now that your workspace is ready, it’s time to move on to the next step: cleaning the spore print.
Read more: How To Store Mushroom Spore Syringes
Step 2: Cleaning the Spore Print
Now that you have prepared your workspace and gathered the necessary materials, it’s time to clean the spore print. Cleaning the spore print helps remove any debris or contaminants that may affect the quality and longevity of the stored spores. Follow these steps to clean the spore print:
- Select a Mature Mushroom Cap: Choose a mushroom cap that is fully mature, with well-developed gills and no signs of decay or damage.
- Remove the Mushroom Cap: Using a sterilized scalpel or knife, carefully cut the mushroom cap from the stem. Make clean and precise cuts to avoid damaging the cap or introducing contaminants.
- Place the Cap on a Non-Porous Surface: Take the detached mushroom cap and gently place it gill-side down on a clean, non-porous surface. A piece of glass, ceramic, or smooth paper works well for this purpose. Make sure the surface is sterile and free from any potential contaminants.
- Cover the Cap: To prevent any foreign particles from settling on the spore print, use a clear glass jar or container to cover the cap. Ensure that the container allows for some air circulation to prevent mold growth, while still providing a protective barrier.
- Wait for the Spores to Release: Place the covered mushroom cap in a still environment, away from any drafts or airflow. The spores will gradually be released from the gills onto the surface below, forming a distinct spore print. This process can take several hours or even overnight, depending on the mushroom species.
- Remove the Cap: Once you are satisfied with the amount of spores deposited, carefully lift the glass jar or container and remove the mushroom cap. Be cautious not to disturb the spore print.
- Clean the Non-Porous Surface: After removing the cap, inspect the surface on which the spore print was made. Use a clean, soft brush or compressed air to gently remove any loose debris or unwanted particles. Be careful not to touch the spore print directly.
By following these steps, you can ensure that your spore print is free from contaminants and ready for the next stage of the storage process. The cleaned spore print will be ready for drying, which we will cover in the next step.
Store spore prints in a cool, dry place, away from direct sunlight. Place them in a sealed container with a desiccant packet to absorb any moisture and prevent mold growth.
Step 3: Drying the Spore Print
Once you have obtained a clean spore print, the next step is to dry it properly. Drying the spore print helps preserve the viability of the spores and prevents mold or bacterial growth. Follow these steps to effectively dry your spore print:
- Prepare a Desiccant: Obtain a desiccant, such as silica gel or rice, to absorb moisture from the spore print. Silica gel packets can be purchased online or at craft stores and are highly effective for drying purposes.
- Place the Desiccant: Fill a shallow container with a layer of the desiccant material. Make sure the container is clean and dry before adding the desiccant.
- Transfer the Spore Print: Gently transfer the spore print from the non-porous surface onto the desiccant. Carefully place the spore print on top of the desiccant layer, taking care not to touch or disturb the delicate spores.
- Surround the Spore Print: Once the spore print is on the desiccant, create a protective environment by surrounding it with more desiccant. Cover the entire spore print with a generous amount of desiccant material, ensuring that it is fully enclosed.
- Seal the Container: Seal the container to prevent moisture from entering. Use a tight-fitting lid or cover the container with plastic wrap and secure it with a rubber band. This helps maintain a dry atmosphere around the spore print.
- Store in a Dry Location: Place the sealed container in a cool and dry location, away from direct sunlight and excessive humidity. The drying process can take anywhere from a few days to a couple of weeks, depending on the moisture content of the spore print and the surrounding environment.
- Check for Dryness: Periodically check the spore print to ensure it has completely dried. The print should appear crisp and dry to the touch. If any residual moisture is present, continue to dry it for a longer period of time.
Properly drying the spore print is crucial for maintaining the integrity and viability of the spores. Once the spore print is completely dry, it will be ready for packaging and storage, which we will cover in the next step.
Now that you have successfully dried your spore print, it’s time to move on to the next step: packaging the print for long-term storage.
Step 4: Packaging
After drying the spore print, it’s essential to package it properly to ensure its long-term preservation and protection from moisture, light, and contaminants. Follow these steps to effectively package your spore print:
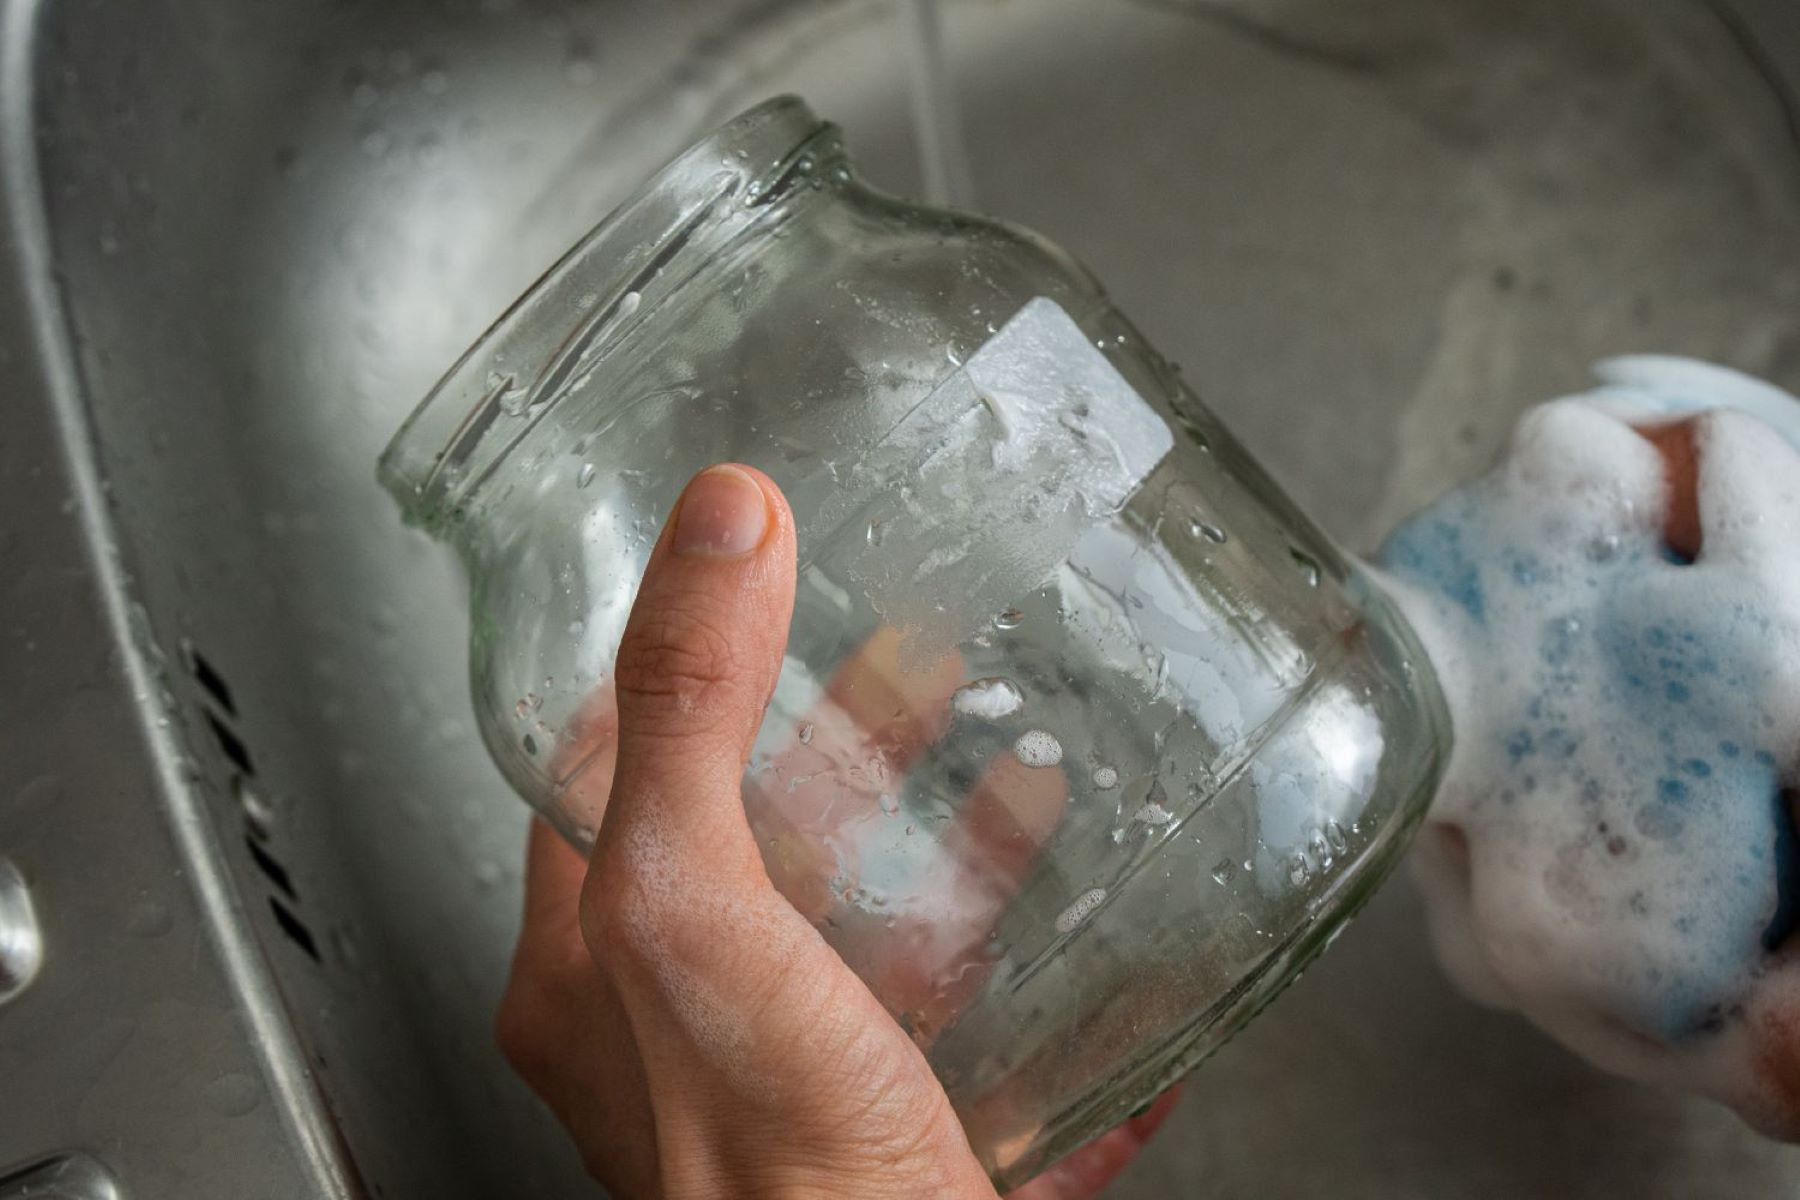
- Prepare Storage Containers: Clean and sterilize small airtight containers, such as glass vials or jars, that are suitable for storing the dried spore prints. Make sure the containers are completely dry before use.
- Cut the Spore Print: Carefully cut the dried spore print into smaller sections that fit comfortably within the storage containers. Make clean cuts to ensure the spores remain intact and undamaged.
- Place in Containers: Gently place each section of the spore print into a separate container. Arrange them in such a way that they are positioned flat and do not overlap, preventing any potential damage or contamination.
- Label the Containers: Clearly label each container with the name of the mushroom species, date of the spore print, and any additional information or notes that may be relevant. Use a permanent marker or labels that can withstand the test of time.
- Seal the Containers: Ensure the containers are tightly sealed to prevent any moisture or air from entering. This will help maintain the quality and viability of the spores over an extended period. Check that the lids or caps are securely closed.
- Store in a Dark Location: Place the sealed containers in a cool and dark location, away from direct sunlight and humidity. Exposure to light can degrade the spores, so it’s crucial to store them in a dark environment to maintain their integrity.
By packaging your spore prints carefully and storing them in appropriate conditions, you can ensure their longevity and usability for future purposes, such as identification, cultivation, or research.
Now that your spore prints are properly packaged, the next step is to select an appropriate storage location. We will cover this in the next step of the process.
Step 5: Choosing a Storage Location
Choosing the right storage location is crucial for maintaining the quality and viability of your stored spore prints over a long period. Follow these considerations when selecting a storage location:
- Avoid Direct Sunlight: Spore prints are sensitive to light and can degrade when exposed to direct sunlight. Choose a storage location away from windows or any other sources of intense light.
- Maintain a Consistent Temperature: Fluctuations in temperature can impact the viability of spores. Choose a storage location that maintains a relatively stable temperature. Avoid areas that experience extreme temperatures or rapid temperature changes.
- Avoid Humidity: High humidity can cause moisture buildup, leading to deterioration or mold growth. Choose a storage location with low humidity levels to minimize the risk of moisture damage.
- Prioritize Coolness: Mushroom spores generally prefer cooler temperatures. Aim for a storage location that is on the cooler side, but still above freezing temperature, to help preserve the spores’ quality.
- Consider Air Quality: Spores can be sensitive to pollutants or contaminants in the air. Choose a storage location with good air quality to minimize the risk of introducing unwanted elements to the spore prints.
- Prevent Exposure to Pests: Keep the storage location protected from pests, such as insects or rodents, that could potentially damage the stored spore prints. Use sealed containers and consider additional measures like placing them in a locked cabinet or drawer.
- Organize and Keep Track: Maintain a clear system for organizing and labeling your stored spore prints. Keep a record of the different species and their respective storage locations to easily locate specific prints when needed.
By considering these factors and choosing a suitable storage location, you can ensure the longevity and usability of your spore prints for future research, identification, or cultivation purposes.
Now that you have selected an ideal storage location, the next step is to understand the proper storage conditions necessary for maintaining the quality of your spore prints. We will cover this in the next step.
Read more: How To Store Sublimation Prints
Step 6: Proper Storage Conditions
Proper storage conditions are essential to maintain the quality, viability, and longevity of your spore prints. Follow these guidelines to ensure the best storage conditions for your stored spore prints:
- Airtight Containers: Store your spore prints in airtight containers to prevent moisture and air from entering. Use glass vials, jars, or other containers with tight-fitting lids that create a sealed environment.
- Silica Gel or Desiccant: Add a small silica gel packet or desiccant to each storage container to help absorb any remaining moisture and maintain dry conditions. This prevents fungal growth or degradation of the spore prints.
- Dark Environment: Store your spore prints in a dark location to protect them from exposure to light. Light can degrade the spores over time, so it’s crucial to keep them away from direct sunlight or artificial light sources.
- Stable Temperature: Aim for a storage environment with a consistent temperature between 35°F and 50°F (2°C to 10°C). Avoid extreme temperature fluctuations, as they can negatively affect the viability of the spores.
- Low Humidity: Maintain a low humidity level, ideally below 60%, to prevent moisture buildup and the growth of mold or fungus. Consider using a dehumidifier in the storage area if necessary.
- Avoid Freezing: While it’s important to keep the storage location cool, avoid freezing temperatures. Extreme cold can damage the spores and reduce their chances of remaining viable.
- Keep Away from Chemicals: Avoid storing your spore prints near chemicals, cleaning agents, or any substances that may emit fumes or strong odors. These can potentially contaminate the spore prints and affect their integrity.
- Regular Monitoring: Periodically check on your stored spore prints to ensure they remain in optimal condition. Inspect for any signs of moisture, mold, or degradation. If any issues arise, take necessary measures to address them promptly.
By following these storage conditions, you can maximize the shelf life and viability of your spore prints, ensuring their availability and usability for years to come.
Now that you understand the proper storage conditions, the final step is to monitor your stored spore prints to ensure their quality over time. We will cover this in the next step.
Step 7: Monitoring the Spore Print
Monitoring your stored spore prints is essential to ensure they remain in optimal condition and retain their viability. Regular monitoring allows you to identify any potential issues early on and take necessary actions. Follow these steps to effectively monitor your spore prints:
- Regular Visual Inspection: Set a schedule to visually inspect your stored spore prints on a regular basis. Look for any signs of mold, moisture, discoloration, or physical damage to the prints or containers.
- Check for Contaminants: Examine the spore prints for any signs of contamination, such as the presence of foreign molds or fungi. If you notice any suspicious growth, it’s essential to address it promptly to prevent further contamination.
- Assess Viability: Regularly assess the viability of the spore prints by attempting to germinate a small portion of the spores. Follow proper cultivation techniques and observe if the spores successfully germinate and produce mycelium. This will help determine if the stored spores are still viable for propagation.
- Document Changes: Maintain a record of any changes or observations regarding your spore prints. Note any unsuccessful germinations, changes in color or texture, or other relevant information in order to track the quality and viability of the stored spores over time.
- Address Issues Promptly: If you detect any issues or abnormalities during your monitoring process, take immediate action to address them. This may involve removing contaminated prints, transferring prints to new containers, or adjusting storage conditions to prevent further deterioration.
- Consider Duplication: As a precautionary measure, consider duplicating your important spore prints. Having backup copies allows you to preserve the genetic diversity and ensures you have a second chance in case your primary prints are compromised.
By consistently monitoring your spore prints, you can safeguard their quality and viability. Regular inspection and vigilance will help maintain the integrity of the stored spores and ensure their usability for future research, identification, or cultivation purposes.
Congratulations! You have completed all the steps for storing a spore print. By following this comprehensive guide, you can now confidently store and preserve your spore prints for years to come.
Remember, each species of mushroom may have specific requirements for storing spore prints, so it’s recommended to research and adapt the process accordingly. Happy mushroom exploration!
Conclusion
Storing a spore print is a fascinating and essential practice for mushroom enthusiasts and mycologists alike. This comprehensive guide has walked you through the step-by-step process of storing a spore print, from understanding what it is to selecting the proper storage conditions.
By storing a spore print, you open up a world of possibilities. You create a record of different mushroom species, contribute to scientific research, enhance your ability to identify mushrooms accurately, and even cultivate your own mushrooms. The spore print becomes a valuable resource for documentation, sharing, and conservation efforts.
Throughout the process, we emphasized the importance of proper preparation, cleanliness, and maintaining suitable storage conditions. Creating a sterile workspace, carefully cleaning the spore print, drying it thoroughly, and packaging it in airtight containers are critical steps to ensure the longevity and viability of the spores.
Choosing an appropriate storage location, one that is cool, dark, and with low humidity, is crucial to preserving the quality of the spore prints. Regular monitoring is necessary to detect any issues and ensure the prints remain in optimal condition over time.
Remember, each mushroom species may have specific requirements, so it’s essential to research and adapt the process accordingly. With this guide as a foundation, you can confidently store your spore prints and embark on a journey of exploration, research, and admiration for the incredible world of mushrooms.
So, go ahead, start collecting, storing, and preserving your spore prints. Let your passion for mushrooms continue to grow as you delve deeper into the captivating realm of mycology!
Frequently Asked Questions about How To Store A Spore Print
Was this page helpful?
At Storables.com, we guarantee accurate and reliable information. Our content, validated by Expert Board Contributors, is crafted following stringent Editorial Policies. We're committed to providing you with well-researched, expert-backed insights for all your informational needs.


0 thoughts on “How To Store A Spore Print”