Home>Technology>Smart Home Devices>How To Print On Fabric With An Inkjet Printer
Smart Home Devices
How To Print On Fabric With An Inkjet Printer
Modified: October 19, 2024
Learn how to print on fabric with an inkjet printer and create custom designs for smart home devices. Follow our step-by-step guide for stunning results.
(Many of the links in this article redirect to a specific reviewed product. Your purchase of these products through affiliate links helps to generate commission for Storables.com, at no extra cost. Learn more)
**
Introduction
**
Printing on fabric with an inkjet printer opens up a world of creative possibilities. Whether you're a DIY enthusiast, a crafter, or a small business owner looking to add a personal touch to your products, this technique allows you to transfer intricate designs, patterns, or images onto fabric with ease. From customizing clothing and accessories to creating unique home decor items, the ability to print on fabric offers endless opportunities for self-expression and innovation.
In this comprehensive guide, we'll explore the step-by-step process of printing on fabric using an inkjet printer. We'll cover everything from the materials needed to the preparation of the fabric, setting up the printer, the actual printing process, and finishing the printed fabric. Additionally, we'll share valuable tips and tricks to help you achieve the best results and troubleshoot common issues.
By the end of this article, you'll have a solid understanding of how to successfully print on fabric with your inkjet printer, empowering you to unleash your creativity and bring your unique designs to life on fabric surfaces. Let's dive in and discover the exciting world of fabric printing with inkjet technology.
**
Key Takeaways:
- Printing on fabric with an inkjet printer allows you to create personalized clothing and home decor. Prepare the fabric, set up the printer, and follow the steps to achieve vibrant and durable prints.
- Experiment with different fabric types and optimize printer settings for the best results. Embrace creativity and seek inspiration to unleash your unique designs on fabric surfaces.
Read more: What Is An Inkjet Printer
Materials Needed
**
Before embarking on your fabric printing journey, it's essential to gather the necessary materials to ensure a smooth and successful process. Here's a list of items you'll need to get started:
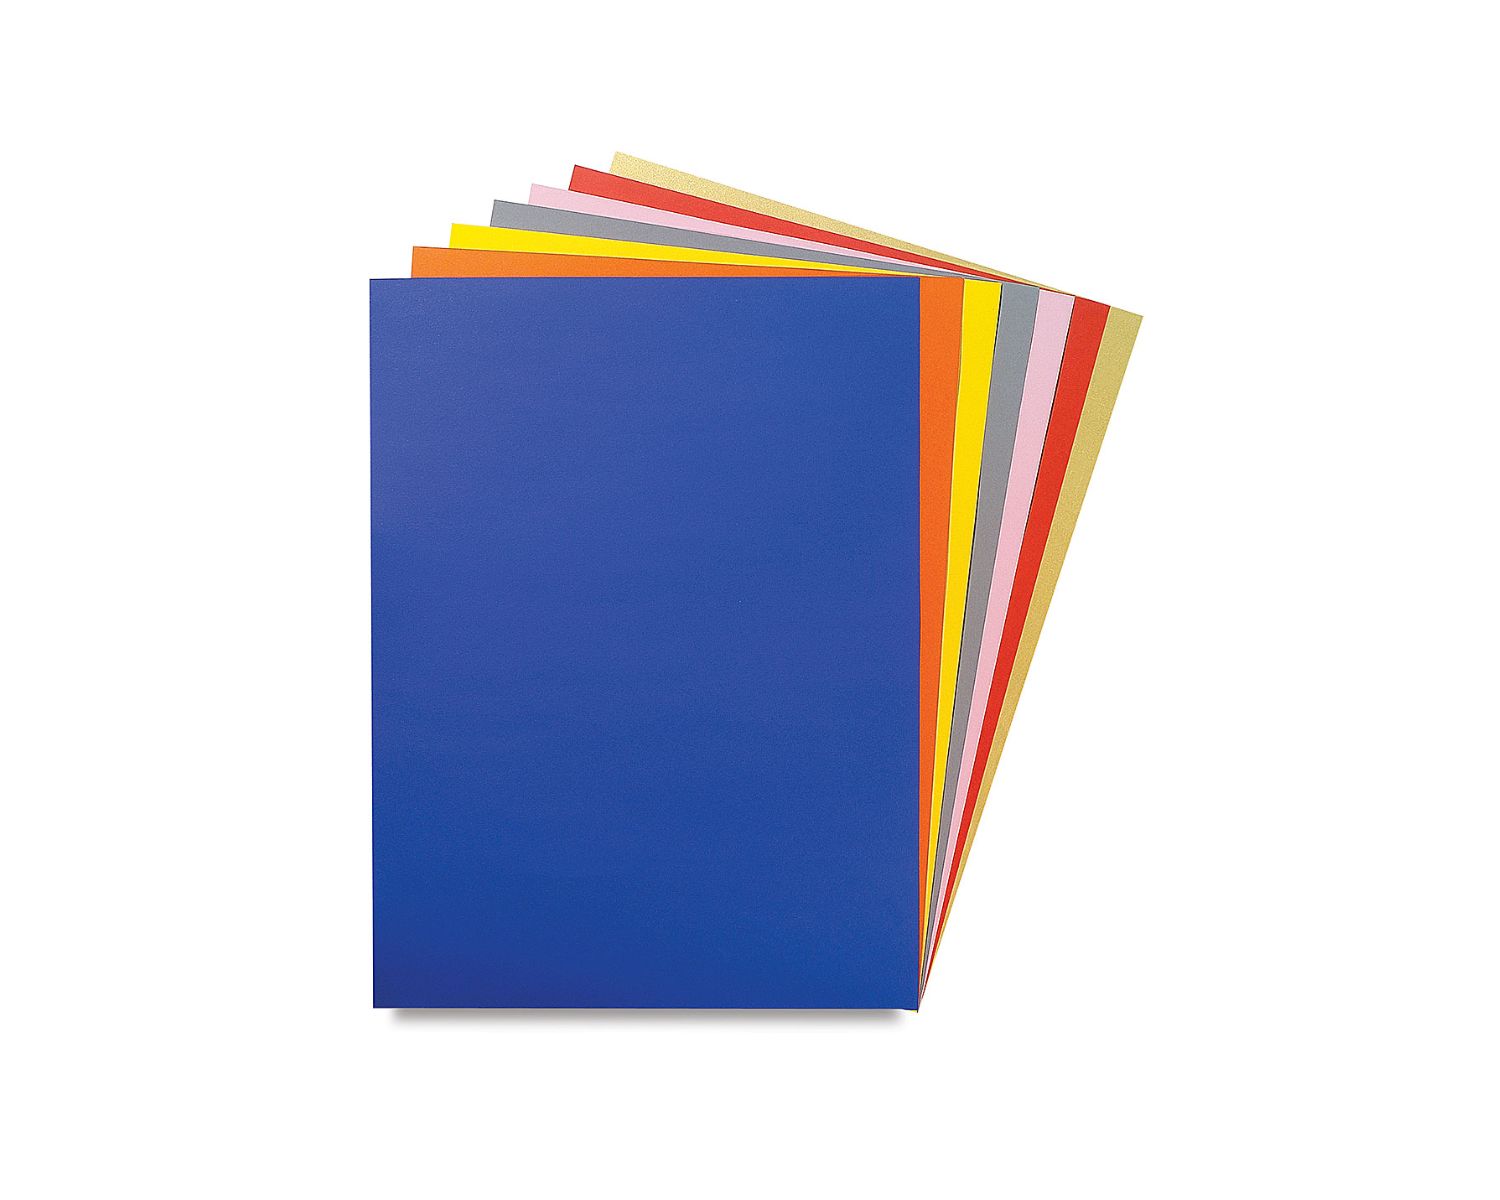
- Fabric: Choose a high-quality fabric suitable for inkjet printing, such as cotton, linen, or canvas. Ensure that the fabric is prewashed to remove any sizing or impurities that may interfere with the ink bonding process.
- Fabric Sheets: Invest in fabric sheets specifically designed for inkjet printers. These sheets are treated to absorb and hold the ink, resulting in vibrant and long-lasting prints.
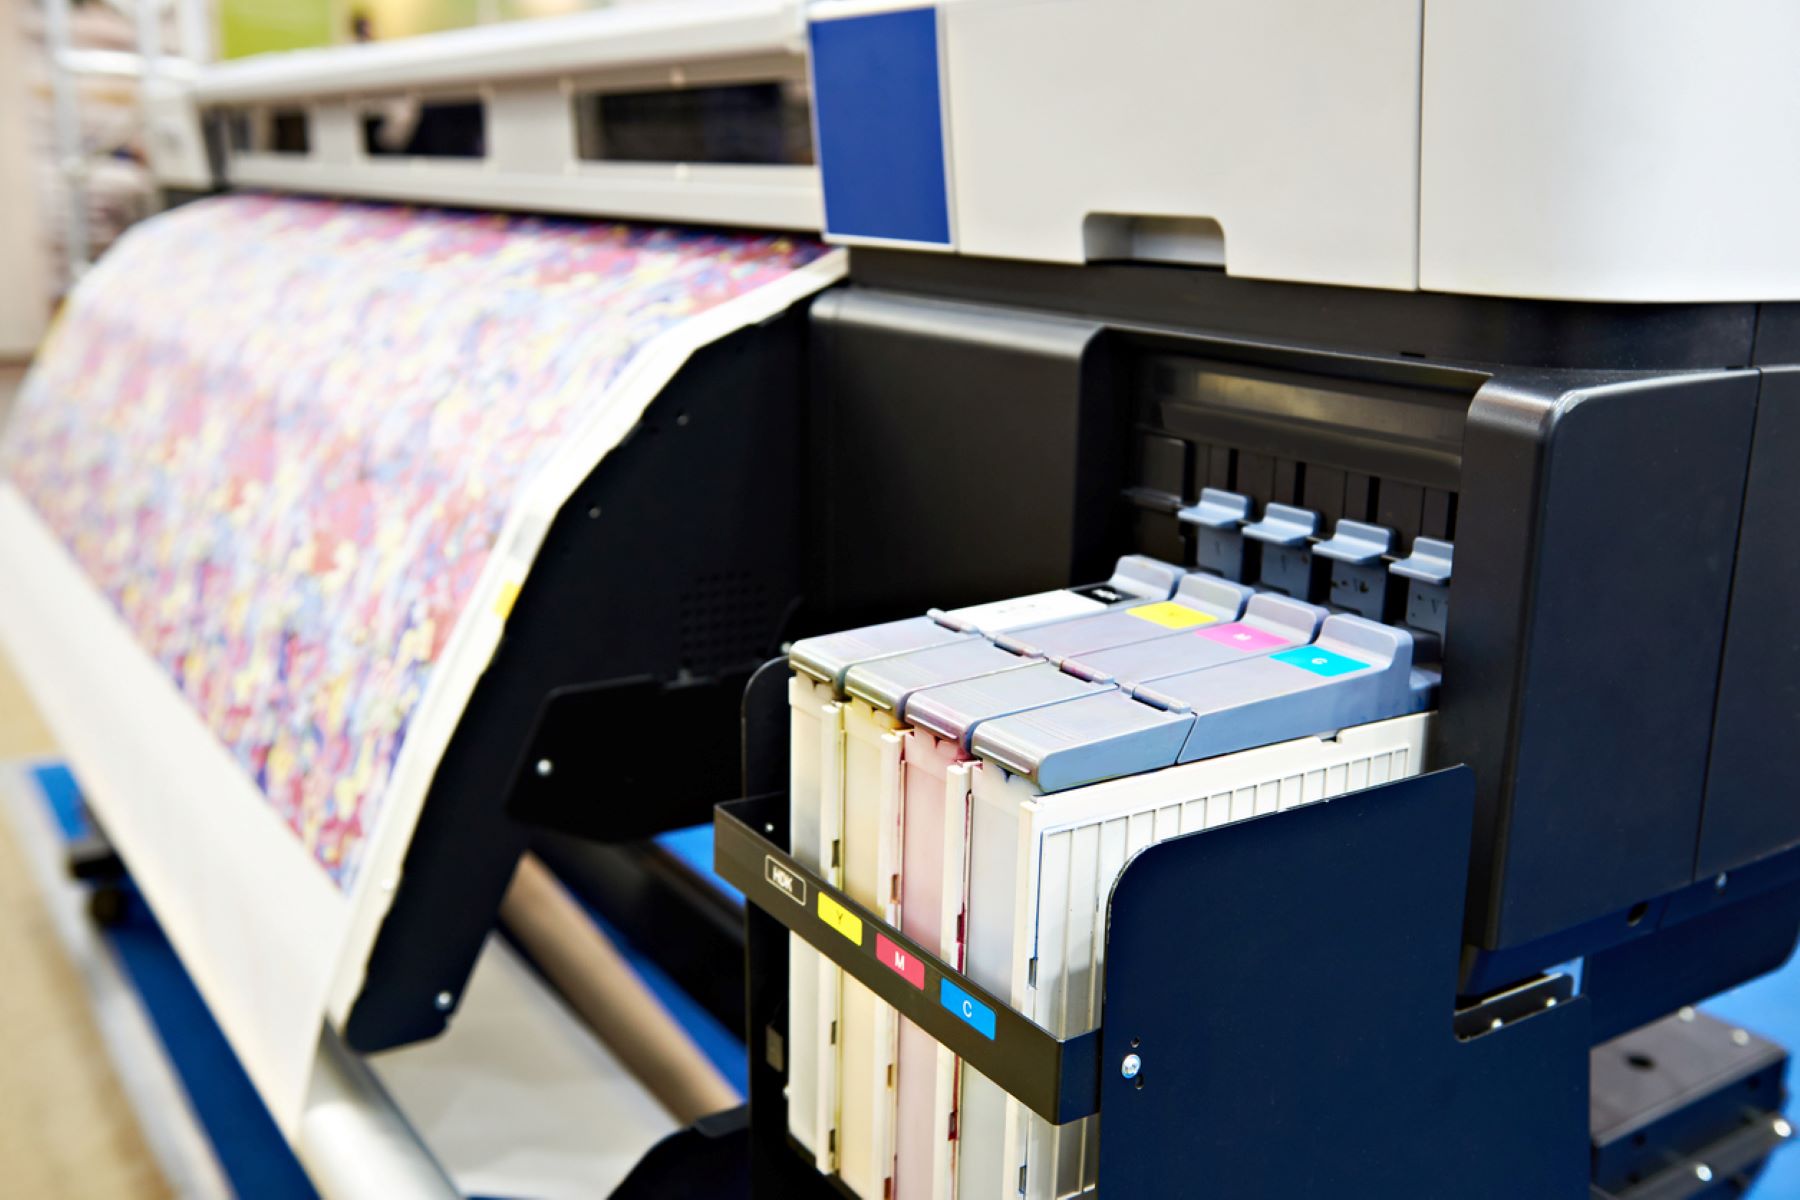
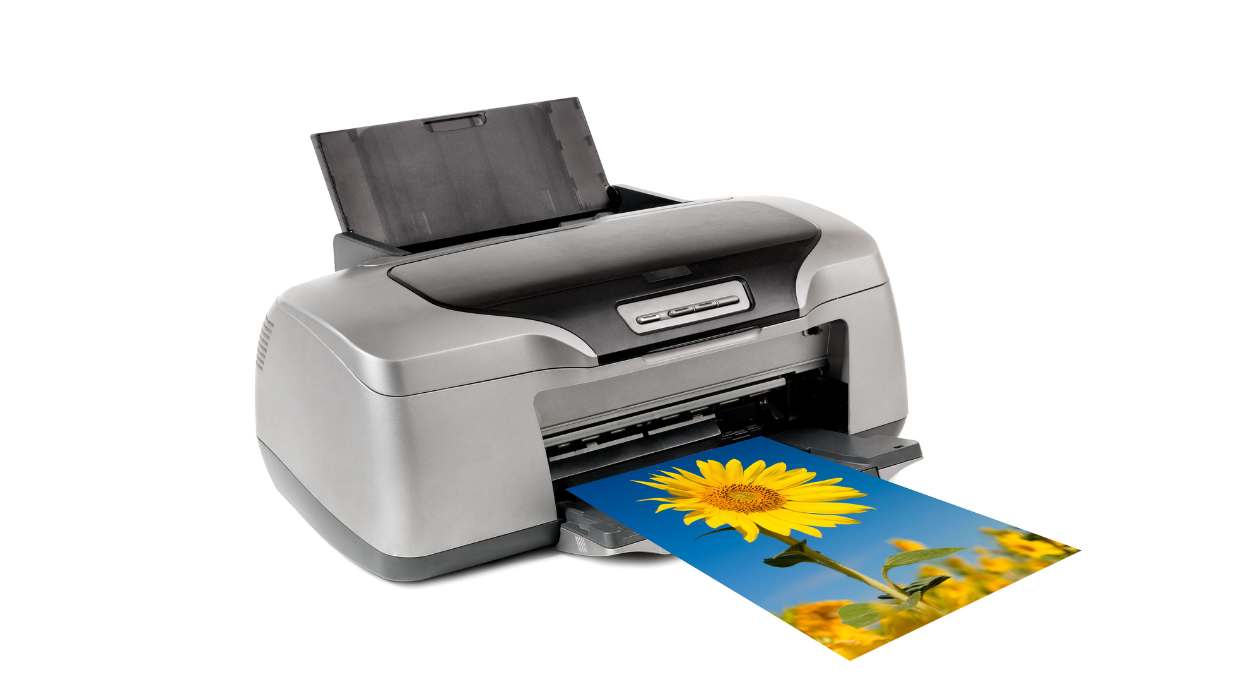
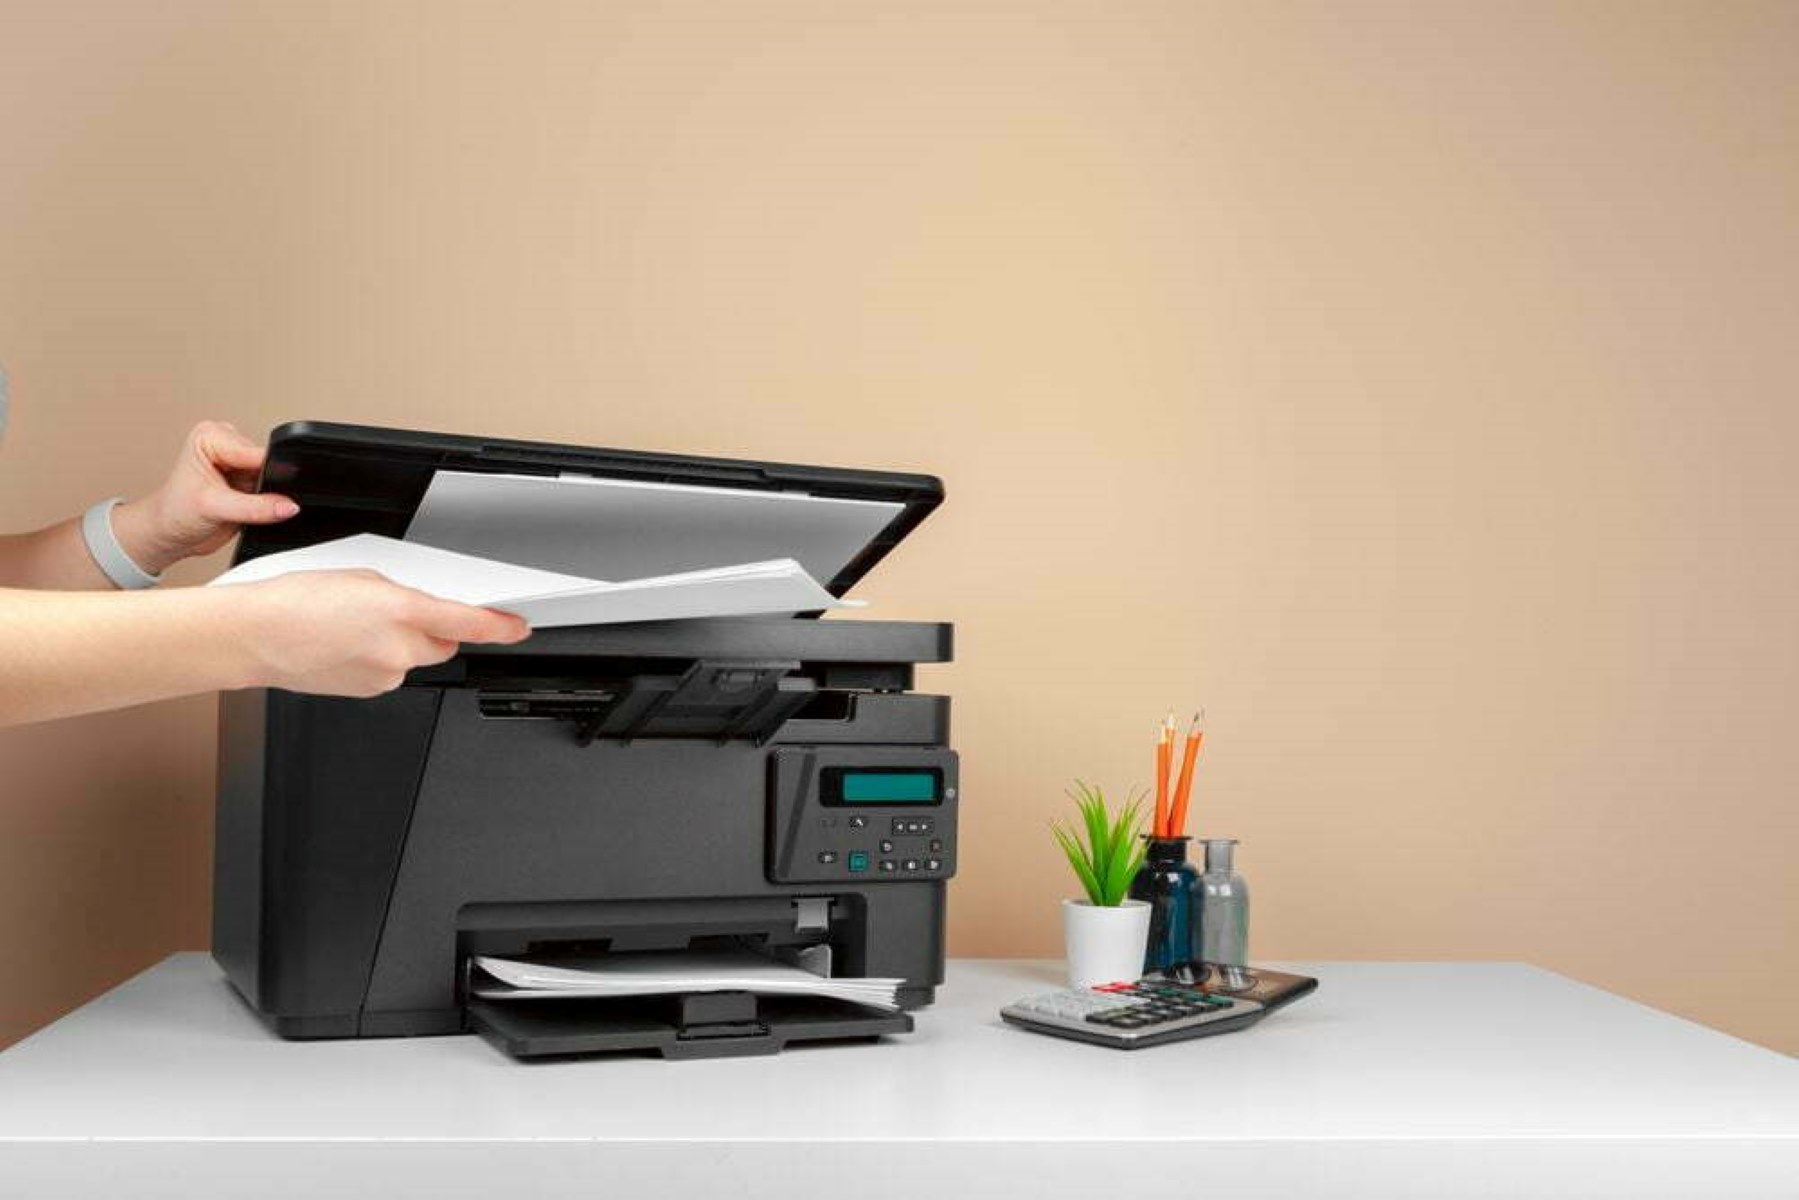
- Inkjet Printer: Use a dedicated inkjet printer for fabric printing. While many standard inkjet printers can handle fabric sheets, it's advisable to reserve a printer exclusively for this purpose to avoid potential ink contamination from regular paper printing.
- Quality Ink: Opt for high-quality ink cartridges compatible with your inkjet printer. Pigment-based inks are preferred for fabric printing due to their durability and resistance to fading.
- Scissors or Rotary Cutter: Have a pair of sharp scissors or a rotary cutter on hand to trim the fabric sheets to the desired size for printing.
- Iron and Ironing Board: You'll need an iron and an ironing board to heat-set the printed fabric, ensuring the ink bonds permanently with the fabric fibers.
- Protective Paper or Fabric: Prepare protective paper or fabric to cover the printed fabric during the heat-setting process, preventing the ink from transferring to the iron or ironing board.
- Design Software: If you plan to print custom designs or patterns, access to design software such as Adobe Photoshop or Illustrator will enable you to create and adjust your artwork before printing.
- Clear Adhesive Spray (Optional): Consider using a clear adhesive spray designed for fabric to enhance the color fastness and washability of the printed fabric.
By ensuring that you have these essential materials at your disposal, you'll be well-prepared to embark on your fabric printing project with confidence and creativity.
**
Preparing the Fabric
**
Properly preparing the fabric is crucial to achieving high-quality and long-lasting prints. Follow these steps to ensure that your fabric is ready for the printing process:
- Prewash the Fabric: Before printing, it's important to prewash the fabric to remove any sizing, dirt, or impurities that may interfere with the ink absorption. Use a mild detergent and cold water, and avoid using fabric softeners or bleach. Once washed, dry the fabric thoroughly.
- Iron the Fabric: After the fabric is completely dry, iron it to remove any wrinkles and ensure a smooth surface for printing. Use a suitable heat setting on the iron based on the fabric type to prevent damage.
- Trim the Fabric Sheets: If you're using larger fabric pieces, such as a yard of fabric, cut it into smaller, printer-friendly sheets using scissors or a rotary cutter. Ensure that the fabric sheets are slightly larger than the printer paper size to accommodate any shifting during the printing process.
- Prepare the Work Area: Clear a clean and flat surface for the printing process, ensuring that it is free from dust, debris, and potential sources of ink smudging. Consider covering the work area with a protective layer, such as a clean sheet or a plastic tablecloth, to further safeguard against accidental spills or stains.
- Test Print on Scrap Fabric: Before printing your final design, it's advisable to perform a test print on a small piece of fabric to assess the color accuracy and print quality. This allows you to make any necessary adjustments before committing to the full printing process.
By meticulously preparing the fabric and the workspace, you set the stage for successful fabric printing and ensure that your designs translate beautifully onto the fabric surface. With the fabric ready, it's time to move on to setting up the printer for the printing process.
**
Setting Up the Printer
**
Preparing your inkjet printer for fabric printing involves a few key steps to optimize the printing process and ensure exceptional results. Follow these guidelines to set up your printer for fabric printing:
- Dedicate the Printer to Fabric Printing: If possible, designate a specific inkjet printer for fabric printing to minimize the risk of ink contamination from regular paper printing. This dedicated printer can be optimized for fabric printing, allowing you to fine-tune settings and maintain consistent results.
- Adjust Printer Settings: Access the printer settings on your computer and select the appropriate media type for fabric printing. Look for options such as "Fabric" or "Cotton" to ensure that the printer applies the ideal amount of ink and optimizes the print quality for fabric surfaces.
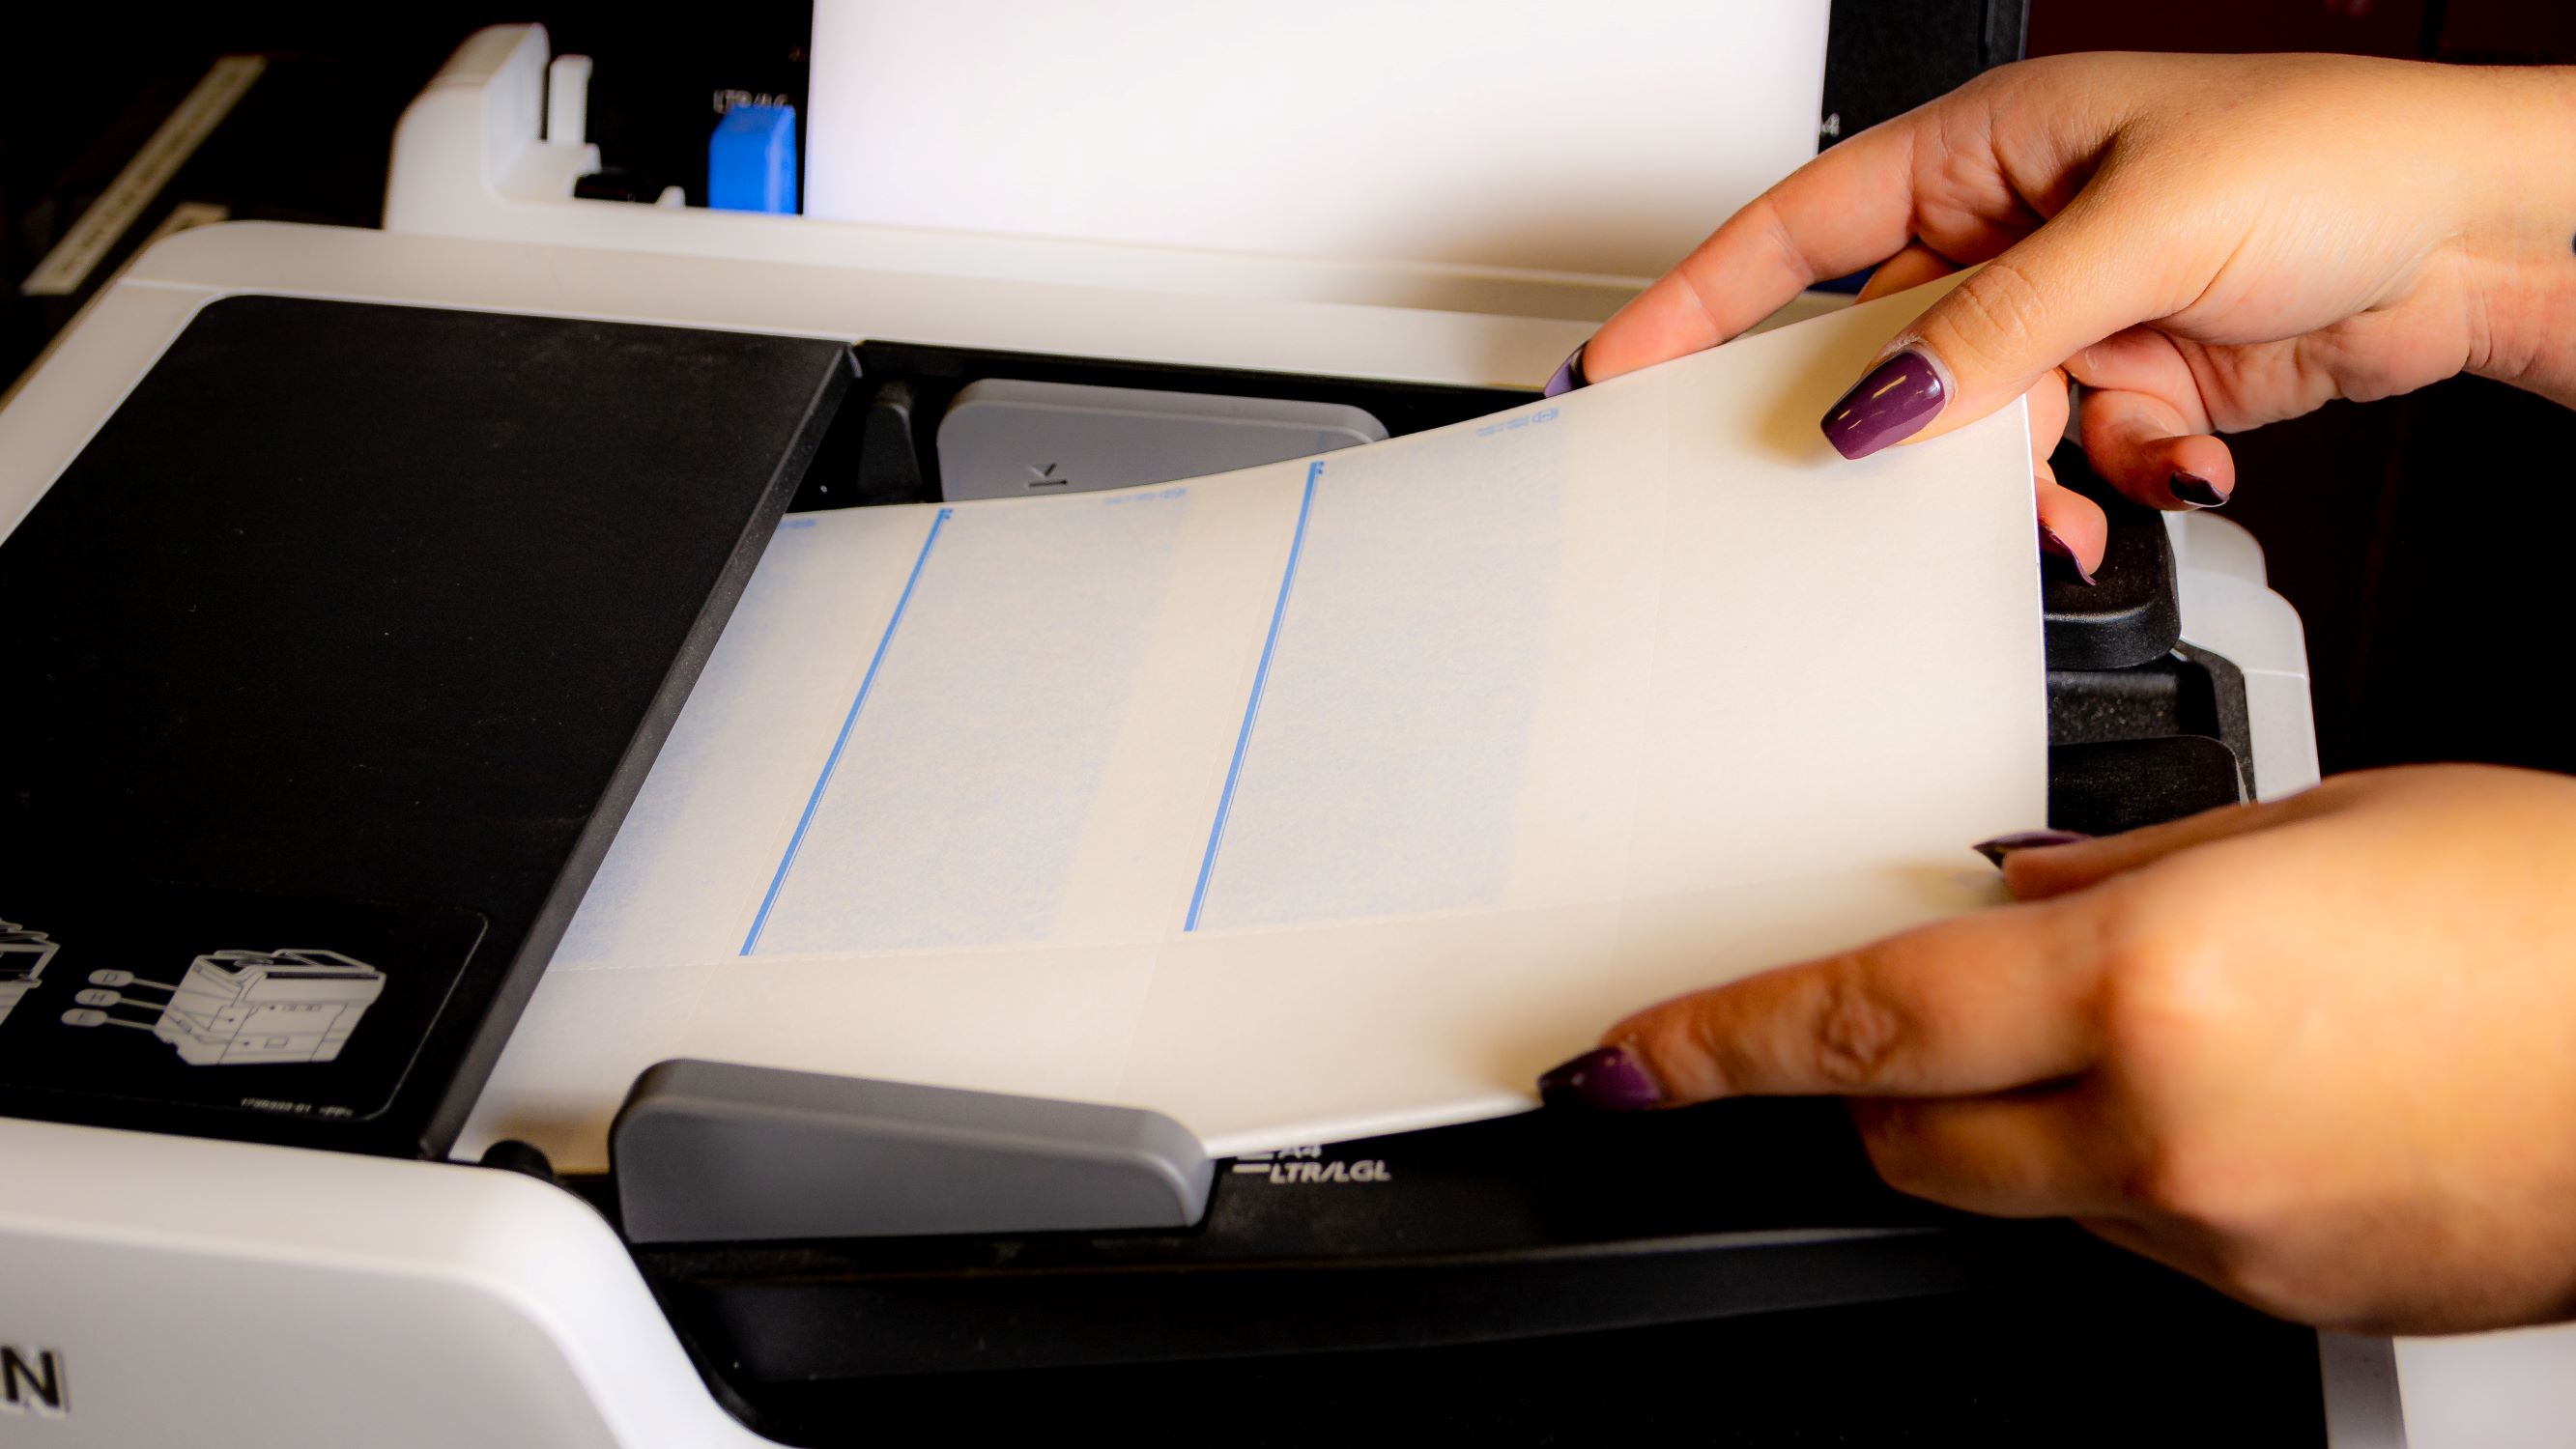
- Load the Fabric Sheets: Prepare the printer for fabric printing by loading the fabric sheets into the paper tray or feed slot according to the printer's specifications. Ensure that the fabric sheets are aligned correctly and that the printer can feed them smoothly without any obstructions.
- Perform a Printer Alignment Check: Before printing your designs, consider running a printer alignment check to verify that the ink is distributed evenly and that the printer nozzles are functioning optimally. This step helps prevent potential printing issues, such as streaks or smudges, and ensures consistent ink coverage.
- Verify Ink Compatibility: Confirm that the ink cartridges in your printer are compatible with fabric printing. Pigment-based inks are preferred for their durability and resistance to fading when applied to fabric. If necessary, consider using or switching to pigment-based inks for the best results.
By following these steps, you can optimize your inkjet printer for fabric printing, setting the stage for precise and vibrant prints that adhere seamlessly to the fabric surface. With the printer ready, you're now prepared to embark on the exciting process of printing your designs onto fabric.
**
Before printing on fabric with an inkjet printer, make sure to use fabric sheets specifically designed for inkjet printing. Also, set your printer to the fabric setting and allow the ink to dry completely before handling the fabric.
Printing on Fabric
**
With the fabric prepared and the printer set up for fabric printing, it's time to bring your designs to life on fabric. Follow these steps to ensure a successful printing process:
- Design Selection: If you're printing custom designs or patterns, ensure that your digital artwork is ready for printing. Use design software to adjust the size, colors, and layout of your designs as needed. If you're printing existing images, ensure that they are formatted and sized appropriately for the fabric sheets.
- Print a Test Page: Before printing your final designs, consider running a test page on a plain paper to verify the colors and layout. This allows you to make any necessary adjustments before proceeding to print on the fabric sheets.
- Load the Fabric Sheets: Carefully load the prepared fabric sheets into the printer, ensuring that they are aligned correctly and that the printer can feed them smoothly. Avoid overloading the printer tray to prevent jams or misfeeds.
- Print the Designs: Initiate the printing process, ensuring that the printer settings are optimized for fabric printing. Monitor the printing progress to address any issues, such as ink smudging or misalignment, that may arise during the printing process.
- Allow the Ink to Set: Once the designs are printed, allow the fabric sheets to rest and the ink to set for the recommended time specified by the ink manufacturer. This step is crucial for ensuring that the ink bonds effectively with the fabric fibers, resulting in vibrant and durable prints.
By following these steps, you can successfully print your designs onto fabric, unleashing your creativity and bringing your artistic vision to life in tangible and wearable forms. With the printing process complete, the final step involves finishing the printed fabric to ensure lasting quality and color fastness.
**
Read more: How To Know If Printer Is Inkjet
Finishing the Printed Fabric
**
Completing the fabric printing process involves taking the necessary steps to ensure that the printed designs are durable, colorfast, and ready for use in various projects. Follow these essential finishing steps to enhance the longevity and quality of your printed fabric:
- Heat-Set the Ink: Use an iron set to the appropriate heat level for the fabric type to heat-set the printed designs. Place the printed fabric on a clean surface, cover it with protective paper or fabric, and gently press the iron over the design for the recommended duration. This heat-setting process helps the ink bond permanently with the fabric fibers, enhancing its washability and colorfastness.
- Allow Cooling and Resting: After heat-setting, allow the fabric to cool and rest for a few minutes to ensure that the ink sets completely. Avoid handling the printed fabric until it has cooled to prevent smudging or distortion of the designs.
- Optional Clear Adhesive Spray: Consider using a clear adhesive spray designed for fabric to further enhance the color fastness and washability of the printed fabric. Apply the spray according to the manufacturer's instructions, ensuring even coverage and allowing it to dry completely before use.
- Trim and Finish Edges: Once the printed fabric has been heat-set and cooled, trim any excess threads or fabric edges to achieve a clean and professional finish. This step is particularly important if the printed fabric will be used for sewing or crafting projects.
- Inspect and Store: Carefully inspect the finished printed fabric for any imperfections or inconsistencies. Once satisfied with the results, store the printed fabric in a clean and dry environment, protecting it from dust and direct sunlight until it is ready for use.
By completing these finishing steps, you ensure that your printed fabric is ready to be incorporated into a wide range of creative projects, from apparel and accessories to home decor items. The meticulous finishing process enhances the durability and visual impact of the printed designs, allowing you to showcase your creativity with confidence.
**
Tips and Tricks
**
As you delve into the exciting realm of fabric printing with an inkjet printer, consider the following tips and tricks to enhance your printing experience and achieve outstanding results:
- Use High-Resolution Images: When printing custom designs or photographs, ensure that the digital images are high-resolution to capture fine details and achieve crisp, clear prints on fabric.
- Test Different Fabric Types: Experiment with printing on various fabric types to discover the textures and finishes that best complement your designs. Cotton, linen, and canvas are popular choices for inkjet fabric printing.
- Optimize Printer Settings: Fine-tune the printer settings, such as ink density and print quality, to achieve the best results for fabric printing. Customizing the settings can significantly impact the vibrancy and durability of the printed designs.
- Perform Regular Printer Maintenance: Keep your dedicated fabric printing printer in optimal condition by performing regular maintenance, such as cleaning the printheads and ensuring that the ink cartridges are functioning effectively.
- Allow Adequate Drying Time: After printing, allow the fabric to dry completely before handling or heat-setting the designs. Adequate drying time ensures that the ink sets properly and minimizes the risk of smudging.
- Protect the Work Area: Cover the work surface with a protective layer, such as a plastic tablecloth or craft paper, to safeguard against accidental ink spills or smudges during the printing process.
- Explore Embellishment Techniques: Consider incorporating embellishment techniques, such as embroidery or fabric paint accents, to enhance the printed designs and add dimension to your fabric creations.
- Document Your Settings: Keep a record of the optimal printer settings and fabric types that yield the best results for future reference. This documentation can streamline the printing process and ensure consistency across multiple projects.
- Seek Inspiration: Draw inspiration from diverse sources, including art, nature, and cultural motifs, to fuel your creativity and explore innovative design concepts for fabric printing.
- Embrace Creativity: Embrace experimentation and creativity as you explore the possibilities of fabric printing. Allow yourself the freedom to push boundaries and discover unique approaches to showcasing your designs on fabric.
By incorporating these tips and tricks into your fabric printing endeavors, you can elevate your skills, expand your creative horizons, and achieve remarkable outcomes that reflect your artistic vision and passion for fabric design.
**
Conclusion
**
Embarking on the journey of printing on fabric with an inkjet printer opens up a world of creative expression and endless possibilities. From personalized apparel and accessories to custom home decor items, the ability to transfer vibrant designs onto fabric empowers individuals to infuse their unique style into tangible and functional creations.
Throughout this comprehensive guide, we’ve explored the step-by-step process of fabric printing with an inkjet printer, from preparing the fabric and setting up the printer to the actual printing process and finishing techniques. By meticulously following these steps and incorporating valuable tips and tricks, individuals can achieve exceptional results and elevate their fabric printing endeavors.
As you venture into the realm of fabric printing, remember to embrace experimentation, seek inspiration from diverse sources, and document your successful techniques for future reference. Whether you’re a seasoned crafter, a budding designer, or a DIY enthusiast, fabric printing with an inkjet printer offers a dynamic platform for showcasing your creativity and bringing your designs to life in a tangible and wearable form.
With the knowledge and insights gained from this guide, you are well-equipped to embark on your fabric printing journey with confidence, creativity, and a passion for transforming fabric into personalized works of art. Embrace the process, unleash your imagination, and revel in the joy of seeing your designs come to life on fabric surfaces. The world of fabric printing awaits, ready to be adorned with your unique and vibrant creations.
Frequently Asked Questions about How To Print On Fabric With An Inkjet Printer
Was this page helpful?
At Storables.com, we guarantee accurate and reliable information. Our content, validated by Expert Board Contributors, is crafted following stringent Editorial Policies. We're committed to providing you with well-researched, expert-backed insights for all your informational needs.


0 thoughts on “How To Print On Fabric With An Inkjet Printer”