Home>Furniture & Design>Interior Design Trends>How To Remove Printing On Glass
Interior Design Trends
How To Remove Printing On Glass
Modified: February 18, 2024
Learn how to effectively remove printing on glass and keep up with the latest interior design trends with our expert tips and techniques. Discover the best methods for achieving a clean and modern look for your space.
(Many of the links in this article redirect to a specific reviewed product. Your purchase of these products through affiliate links helps to generate commission for Storables.com, at no extra cost. Learn more)
Introduction
Removing printing on glass can be a challenging task, especially when dealing with stubborn ink or adhesive residue. Whether you're looking to repurpose glassware, eliminate unwanted labels from windows, or restore the pristine appearance of a glass surface, the process requires careful attention and the right materials. By following a few simple steps, you can effectively erase printing from glass without causing damage or leaving unsightly marks behind.
In this comprehensive guide, we will walk you through the step-by-step process of removing printing from glass, providing valuable insights and practical tips to ensure successful results. From preparing the glass surface to applying the appropriate solvent and executing the removal technique, each stage is crucial in achieving a clean and polished finish. By understanding the materials needed and following the recommended procedures, you can confidently tackle this task and restore the visual appeal of your glass items.
Whether you're a DIY enthusiast, a homeowner seeking to revitalize glass fixtures, or a professional looking to refine the appearance of glass surfaces, this guide is designed to equip you with the knowledge and techniques necessary for effective printing removal. With a focus on safety, efficiency, and achieving optimal outcomes, this step-by-step approach will empower you to tackle printing removal on glass with confidence and precision.
Now, let's delve into the materials needed and the first step in this process: preparing the glass surface for effective printing removal.
Key Takeaways:
- Say goodbye to unwanted printing on glass by following a step-by-step process using simple materials like rubbing alcohol, soft cloths, and a plastic razor blade. It’s easy, safe, and leaves your glass looking pristine!
- With patience and precision, you can remove printing from glass without damaging it. Just prepare the surface, apply the solvent, gently scrape off the printing, and finish with a thorough cleaning for a flawless result.
Read more: How To Remove Print From A 3D Printer
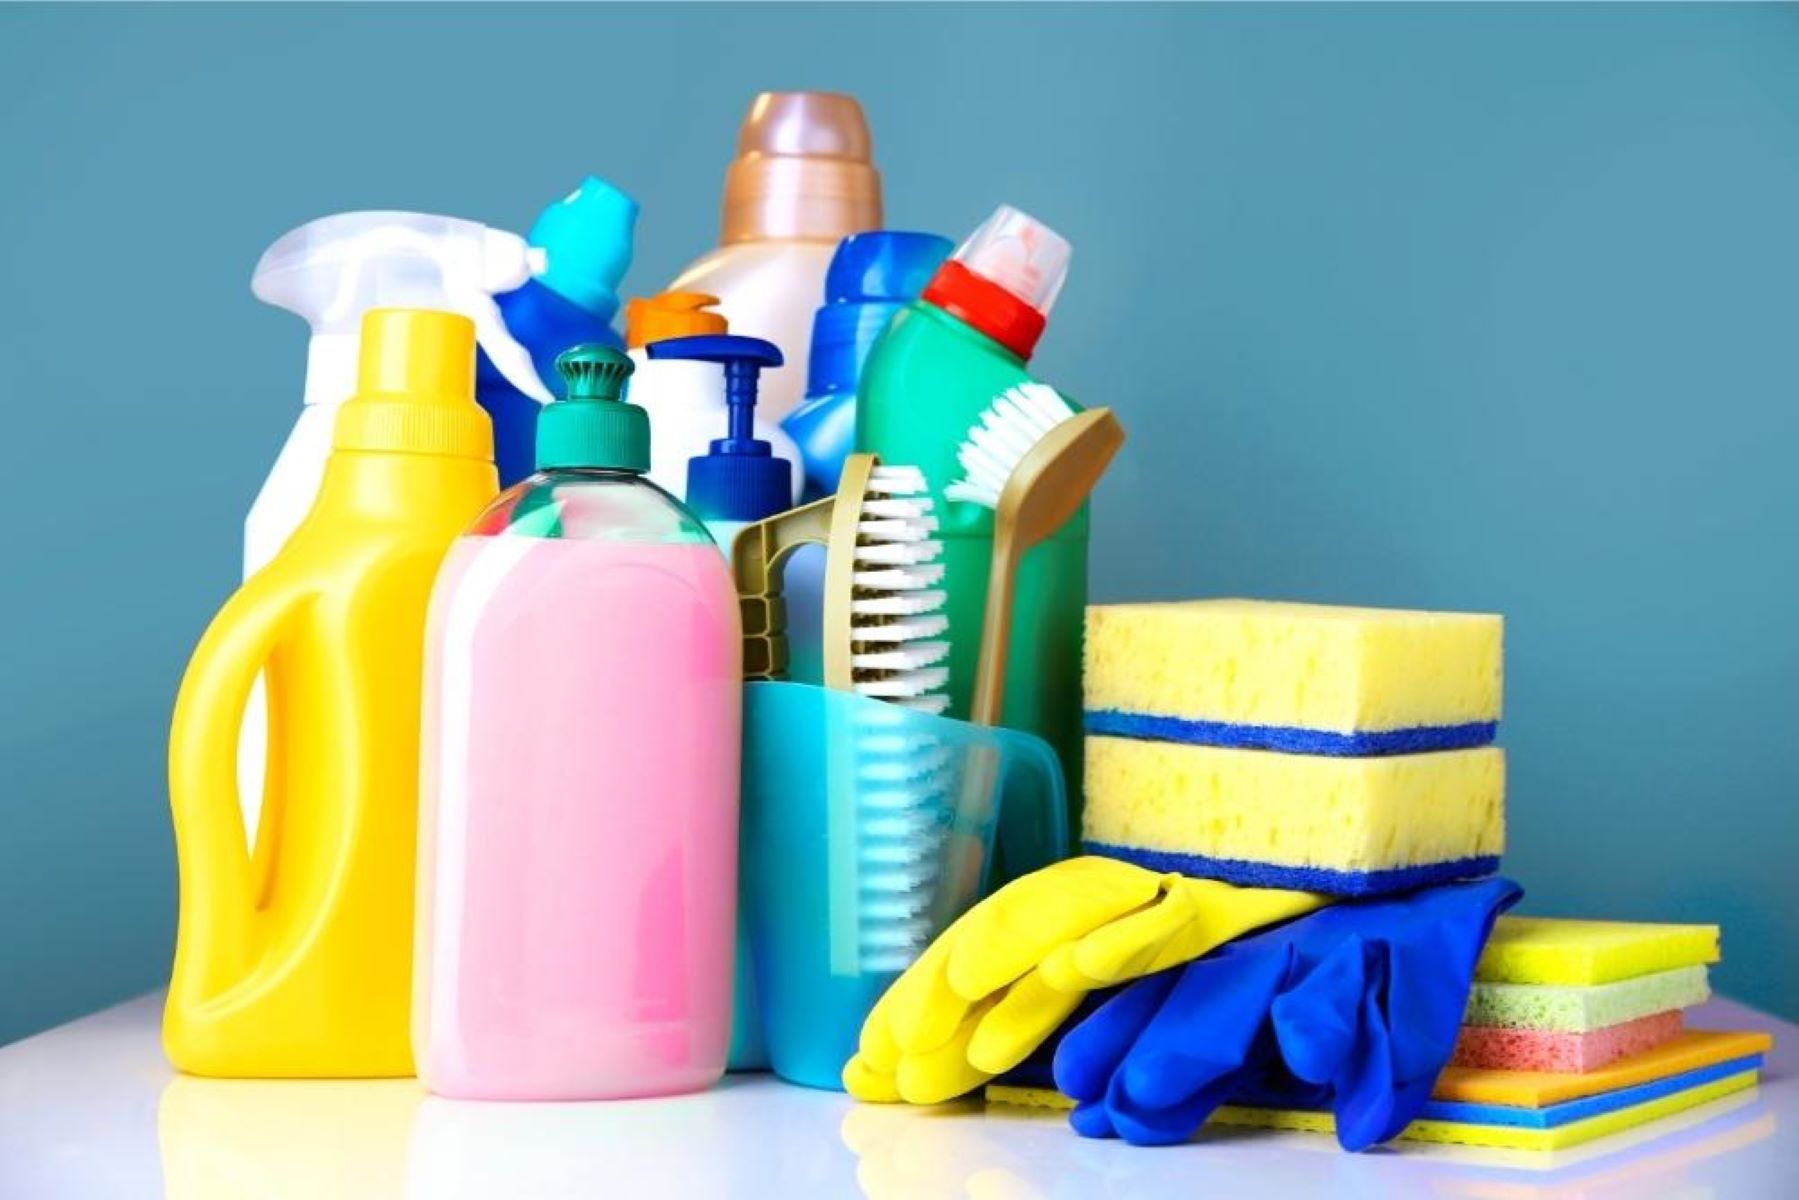
Materials Needed
Before embarking on the process of removing printing from glass, it's essential to gather the necessary materials to ensure a smooth and successful procedure. The following items are crucial for effectively erasing printing from glass surfaces:
-
Rubbing Alcohol or Acetone: These solvents are highly effective in breaking down ink and adhesive residues, making them essential for removing printing from glass. Ensure that the rubbing alcohol or acetone is of high purity to achieve optimal results without leaving streaks or marks on the glass.
-
Soft Cloths or Microfiber Towels: Utilize soft, lint-free cloths or microfiber towels to apply the solvent and gently wipe the glass surface. These materials help prevent scratching and ensure a smooth, even application of the solvent for effective printing removal.
-
Plastic Razor Blade or Scraper: A plastic razor blade or scraper is ideal for delicately removing printing from glass without causing damage. Unlike metal blades, plastic options are less likely to scratch or etch the glass, providing a safe and efficient means of eliminating printing.
-
Protective Gloves: When working with solvents such as rubbing alcohol or acetone, it's important to prioritize safety by wearing protective gloves. This precautionary measure helps shield your skin from direct contact with the solvent, minimizing potential irritation or adverse reactions.
-
Safety Glasses: As an additional safety measure, wearing protective glasses can safeguard your eyes from accidental splashes or exposure to the solvent during the printing removal process.
-
Mild Dish Soap and Water: After removing the printing from the glass, a gentle cleaning solution comprising mild dish soap and water can be used to thoroughly cleanse the surface and remove any residual solvent or ink remnants.
By ensuring that these materials are readily available before initiating the printing removal process, you can approach the task with confidence and precision. Each item plays a crucial role in facilitating the effective elimination of printing from glass while prioritizing safety and the preservation of the glass surface. With the necessary materials at hand, you are well-equipped to proceed to the next step: preparing the glass surface for printing removal.
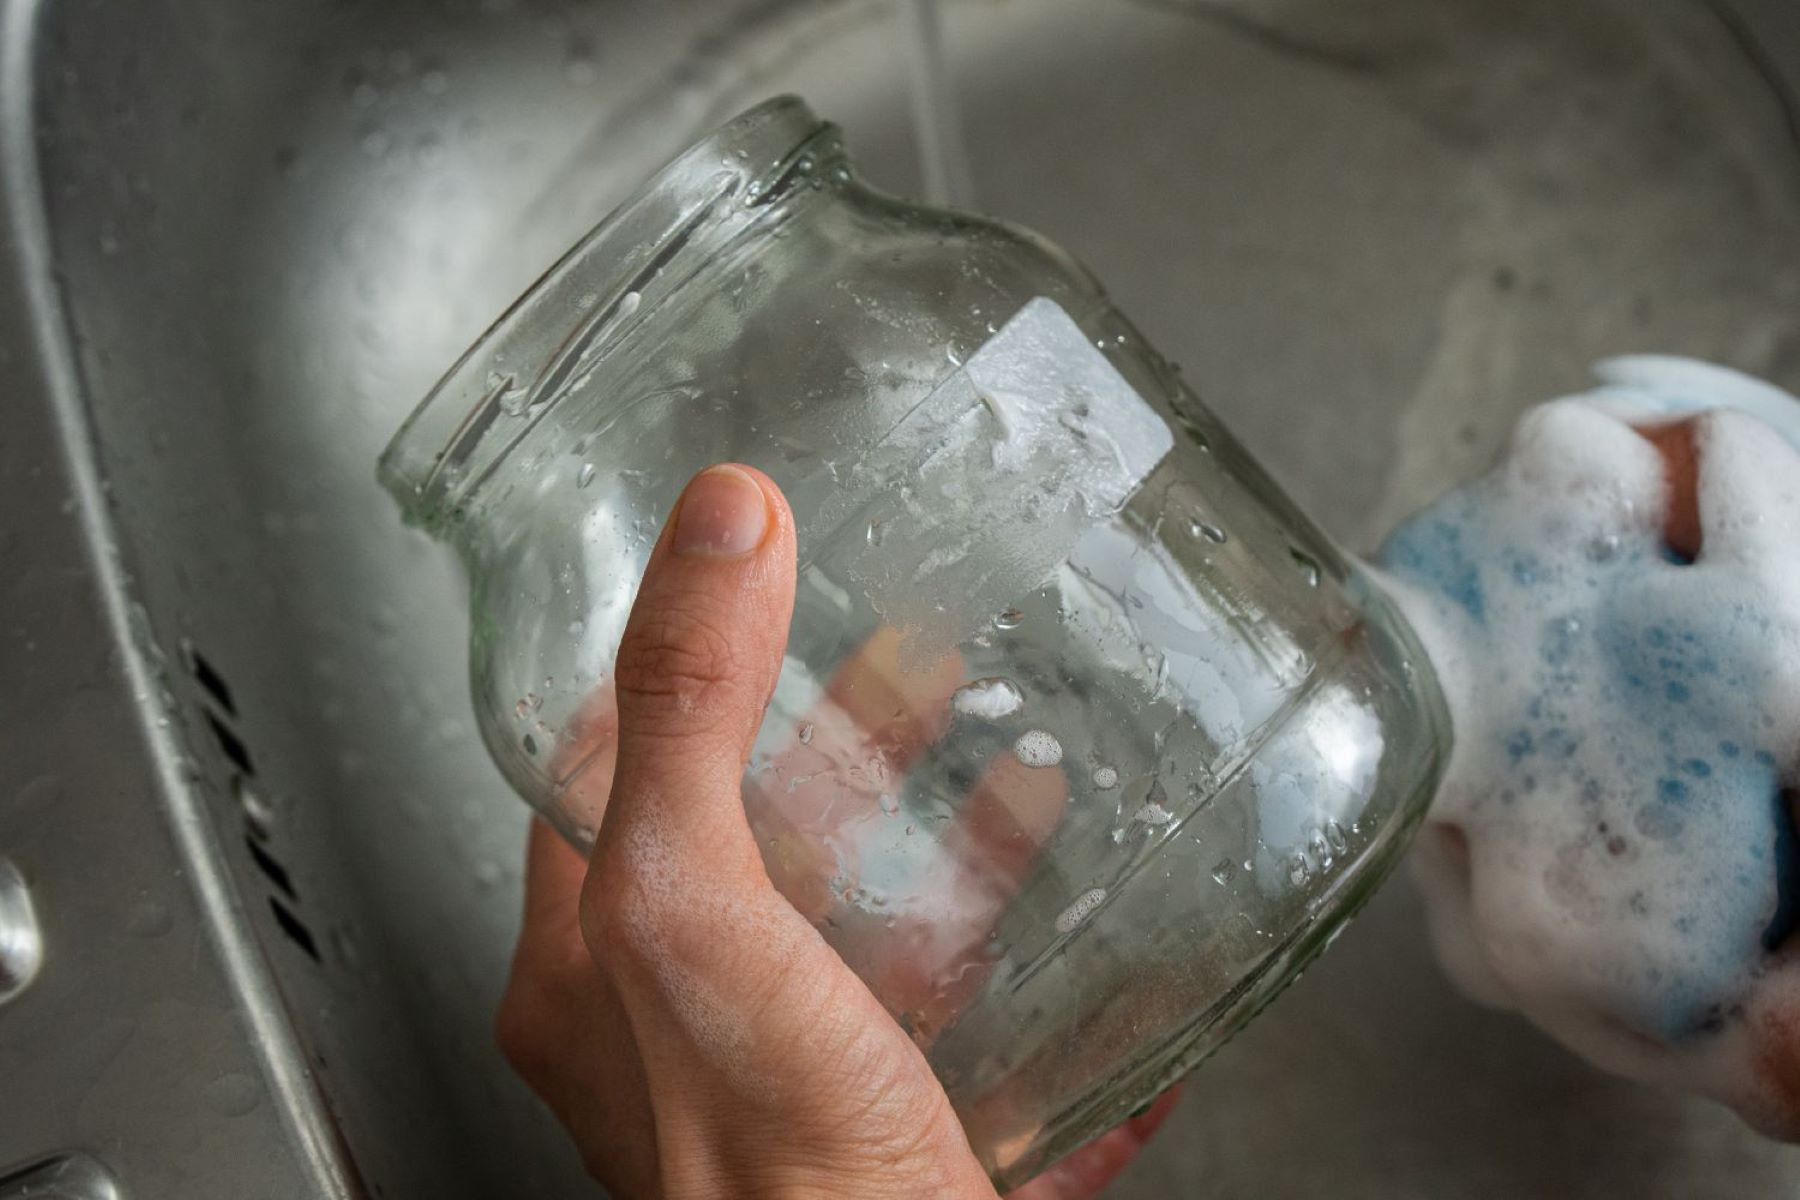
Step 1: Prepare the Glass Surface
Before initiating the process of removing printing from glass, it is crucial to prepare the glass surface adequately. This preparatory step sets the foundation for effective printing removal and ensures that the subsequent procedures can be carried out smoothly and efficiently.
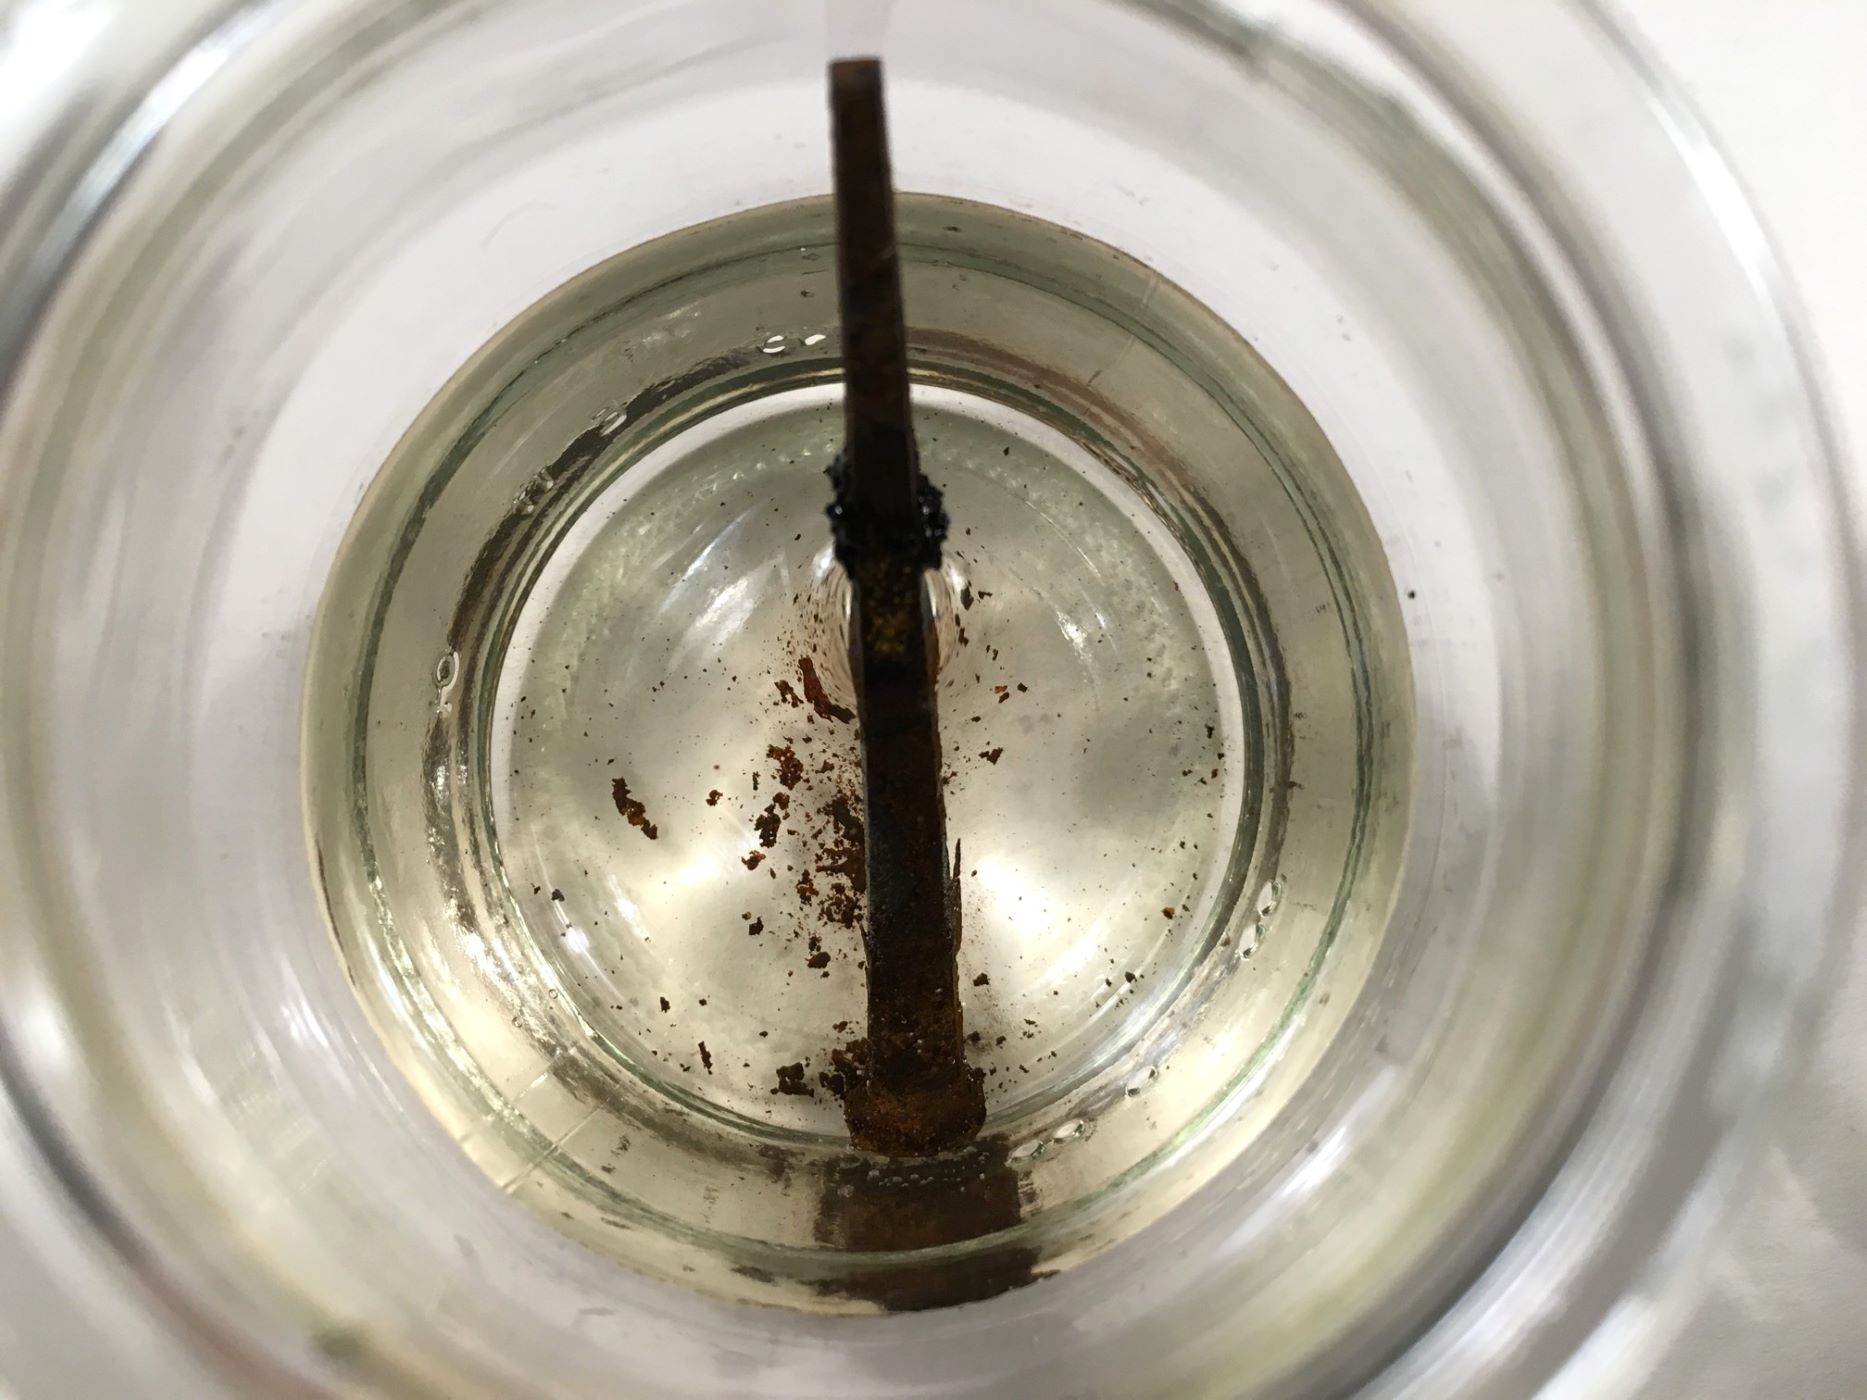
To begin, carefully examine the glass surface to identify the extent of the printing and any accompanying adhesive residue. If the glass item is removable, such as a glassware or window pane, it is advisable to work in a well-ventilated area with ample space to maneuver comfortably. For fixed glass surfaces, ensure that the surrounding area is protected from potential spills or splashes during the printing removal process.
Next, thoroughly clean the glass surface using a mild dish soap and water solution. Gently wash the glass to remove any surface dirt, dust, or grime that may impede the effectiveness of the printing removal process. Once cleaned, dry the glass surface using a soft, lint-free cloth to ensure that it is free from moisture and ready for the application of the solvent.
After cleaning, it is essential to protect yourself by wearing protective gloves and safety glasses before handling the solvent. This precautionary measure minimizes direct contact with the solvent and safeguards your skin and eyes during the printing removal process.
By preparing the glass surface meticulously, you create an optimal environment for the subsequent steps of applying the solvent and executing the printing removal technique. This careful preparation sets the stage for a successful printing removal process, ensuring that the glass surface is primed for effective ink and adhesive removal without compromising its integrity.
With the glass surface prepared, you are now ready to proceed to the next step: applying the solvent to begin the printing removal process.
Step 2: Apply the Solvent
With the glass surface meticulously prepared, the next critical step in the printing removal process involves the application of the chosen solvent. Whether utilizing rubbing alcohol or acetone, it is essential to approach this stage with precision and care to effectively break down the ink and adhesive residues present on the glass.
Begin by saturating a soft cloth or microfiber towel with the selected solvent, ensuring that it is adequately damp but not dripping. Gently apply the solvent-soaked cloth to the areas of the glass containing the printing, allowing the solvent to penetrate the ink and adhesive residues. It is important to avoid excessive rubbing or pressure during this stage, as the solvent needs time to dissolve the printing without causing damage to the glass surface.
As the solvent begins to work its magic, you may notice the ink and adhesive residues softening and loosening their grip on the glass. Allow the solvent to sit on the affected areas for a few minutes, granting it sufficient time to effectively break down the printing. This waiting period is crucial in ensuring that the solvent can penetrate and dissolve the ink and adhesive residues thoroughly.
For stubborn or persistent printing, consider reapplying the solvent and gently agitating the affected areas with the solvent-soaked cloth. This additional application can further aid in loosening the printing, making it easier to remove during the subsequent steps of the process.
Throughout the application of the solvent, it is important to maintain a controlled and deliberate approach, ensuring that the solvent is applied exclusively to the areas containing the printing. This focused application minimizes the risk of unnecessary contact with the solvent on unaffected areas of the glass, preserving its overall integrity.
By methodically applying the solvent and allowing it to work its magic, you set the stage for the successful removal of printing from the glass surface. This meticulous approach ensures that the ink and adhesive residues are effectively targeted and broken down, paving the way for the next crucial step in the printing removal process: gently scraping off the softened printing without causing damage to the glass.
Use a mixture of equal parts vinegar and water to soak a cloth, then rub the printing on the glass in a circular motion. The acid in the vinegar will help break down the ink, making it easier to remove.
Step 3: Let the Solvent Sit
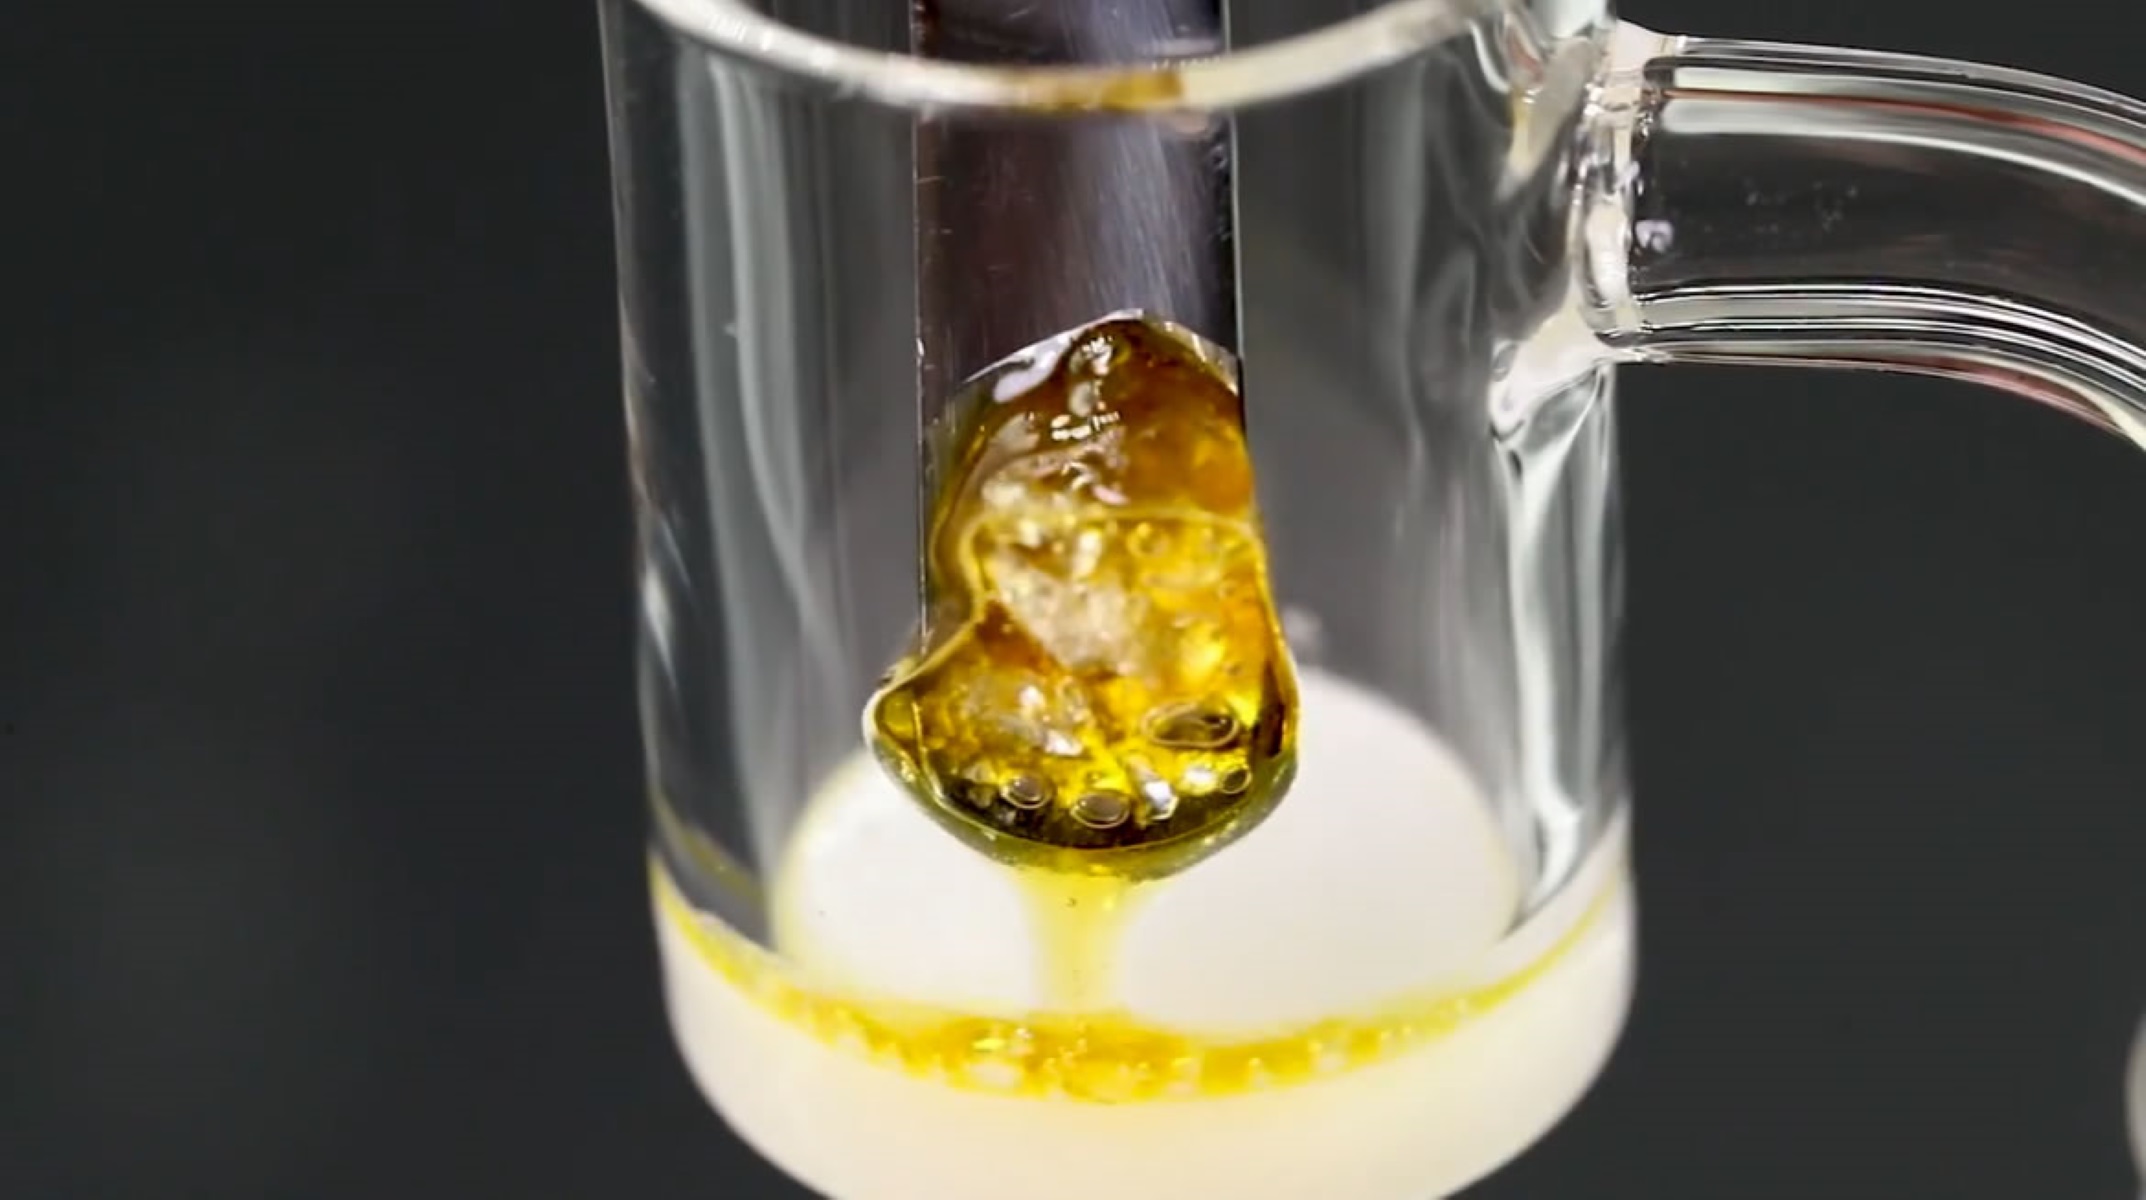
Allowing the solvent to sit on the glass surface is a pivotal stage in the printing removal process. After applying the solvent and ensuring its even distribution over the affected areas, it is essential to exercise patience and grant the solvent sufficient time to work its magic. This waiting period is instrumental in enabling the solvent to penetrate the ink and adhesive residues, effectively softening and loosening their bond with the glass.
As the solvent permeates the printing, you may observe subtle changes in the appearance of the ink and adhesive residues. They may begin to appear softened or slightly raised from the glass surface, indicating that the solvent is actively breaking down their composition. This visual cue signifies that the solvent is effectively targeting the printing, preparing it for the subsequent removal stage.
The duration for which the solvent should be left to sit on the glass surface can vary depending on the type and stubbornness of the printing. In general, allowing the solvent to work for approximately 5 to 10 minutes is recommended, providing ample time for it to thoroughly penetrate and dissolve the ink and adhesive residues. For particularly stubborn or aged printing, extending the waiting period may be beneficial in achieving optimal results.
During this waiting period, it is important to maintain a vigilant eye on the glass surface, periodically checking the progress of the solvent's action on the printing. This attentive approach ensures that the solvent is given adequate time to effectively break down the ink and adhesive residues, setting the stage for the subsequent steps of the printing removal process.
By patiently allowing the solvent to sit and work its magic, you are facilitating the gradual breakdown of the printing, making it easier to remove without causing damage to the glass. This strategic approach ensures that the solvent can effectively target and soften the ink and adhesive residues, laying the groundwork for the next step: delicately scraping off the softened printing to reveal a pristine glass surface.
Read more: How To Remove Frosted Glass
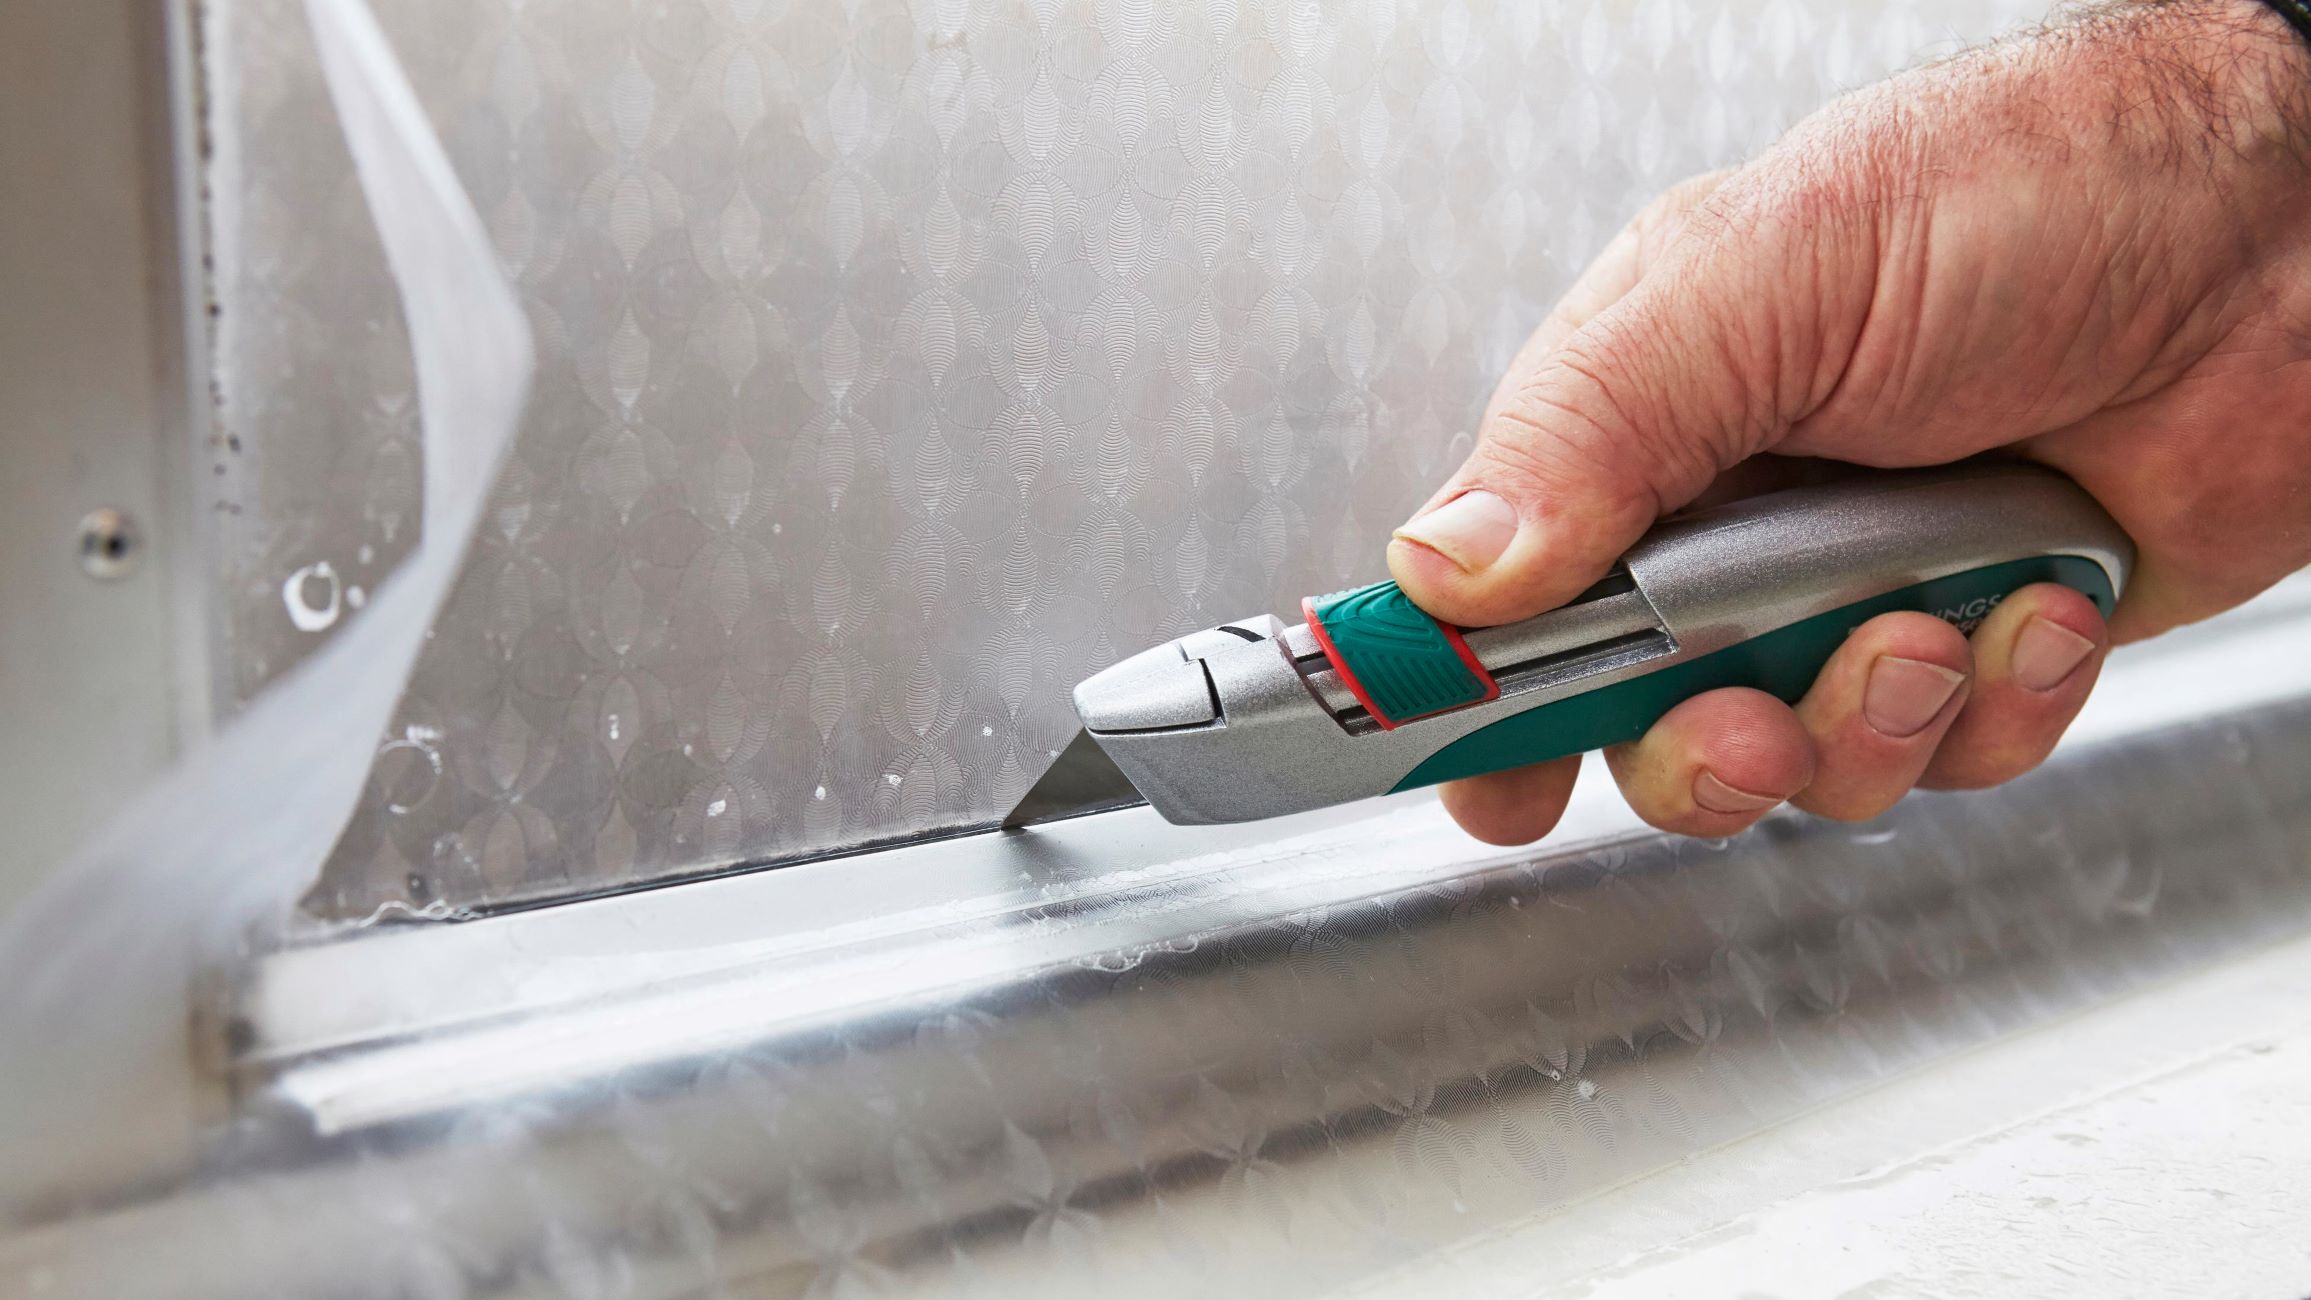
Step 4: Scrape Off the Printing
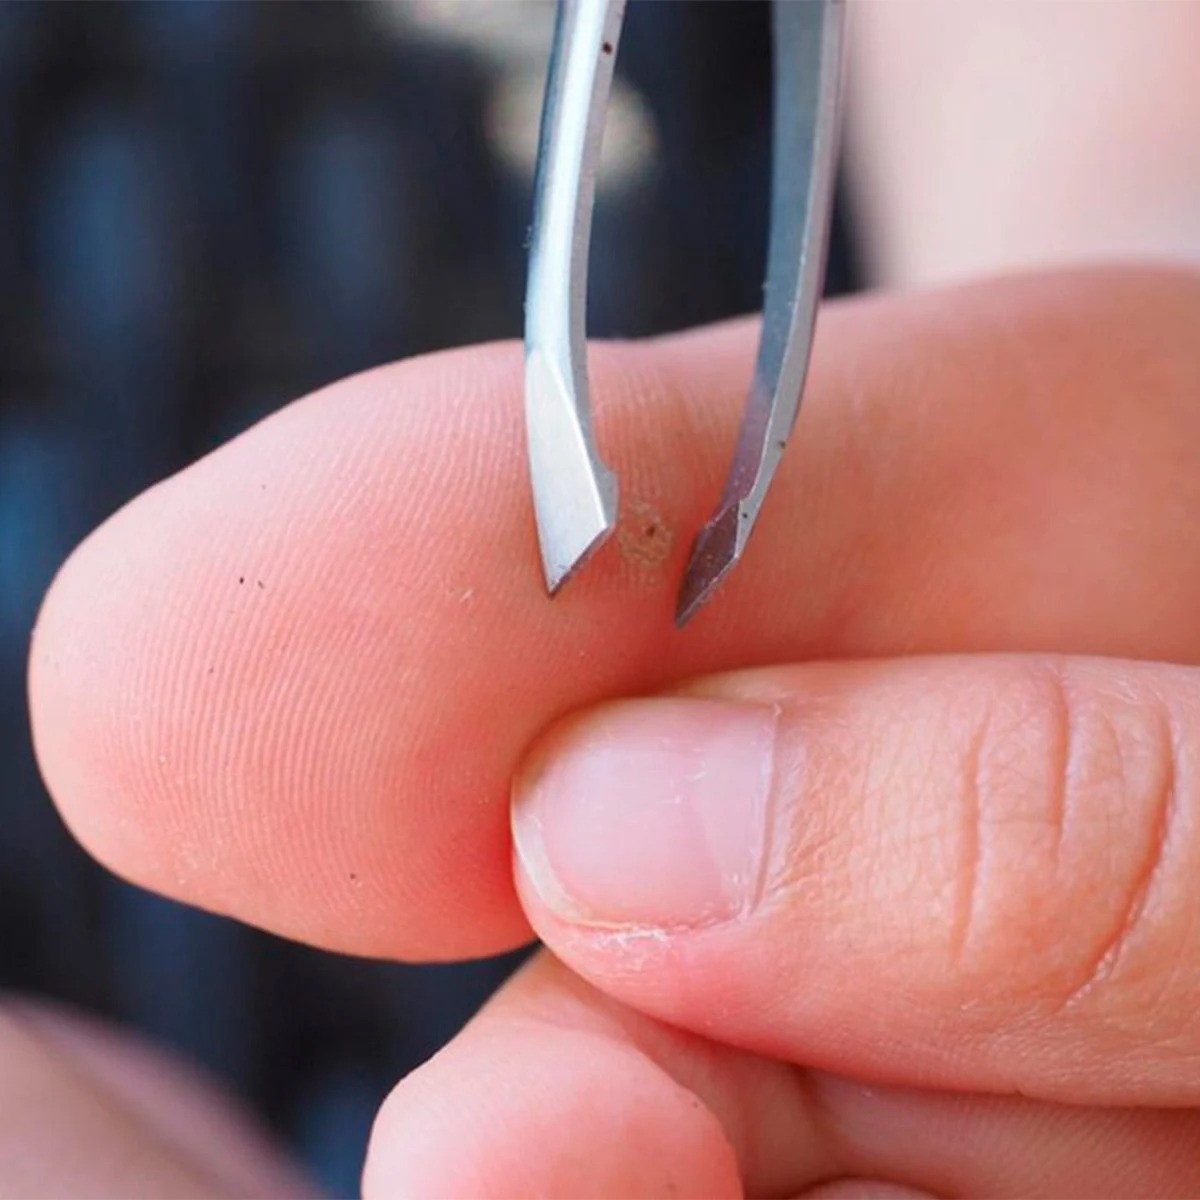
After allowing the solvent to effectively penetrate and soften the ink and adhesive residues, the next crucial step in the printing removal process involves delicately scraping off the softened printing from the glass surface. This step requires precision and a gentle touch to ensure that the printing is effectively removed without causing damage or scratches to the glass.
Using a plastic razor blade or scraper, carefully position the blade at a shallow angle against the softened printing. It is important to maintain a controlled and even pressure during this process, ensuring that the blade glides smoothly over the glass surface without exerting excessive force. By angling the blade gently, you can effectively lift the softened printing from the glass, gradually revealing the pristine surface underneath.
As you begin to scrape off the printing, it is essential to work methodically and attentively, focusing on small sections at a time. This deliberate approach allows for precise removal of the printing without the risk of inadvertently scratching or etching the glass. By gently maneuvering the plastic razor blade or scraper, you can effectively lift the softened ink and adhesive residues, gradually restoring the glass surface to its original clarity.
For particularly stubborn or residual printing, consider reapplying the solvent to further soften the ink and adhesive residues before gently scraping them off. This additional application can aid in loosening any remaining traces of printing, facilitating their seamless removal without compromising the integrity of the glass.
Throughout the scraping process, it is crucial to maintain a keen eye on the progress, ensuring that the printing is being lifted off the glass surface without leaving behind any marks or streaks. By working diligently and attentively, you can effectively remove the printing, revealing a clean and polished glass surface free from any remnants of ink or adhesive residues.
By delicately scraping off the softened printing, you are one step closer to achieving a pristine glass surface, devoid of any unwanted markings or labels. This meticulous approach ensures that the glass is restored to its original clarity, ready to be showcased without any traces of the previous printing. With the printing successfully removed, the final step involves thoroughly cleaning the glass to eliminate any residual solvent or ink remnants, leaving behind a gleaming, unblemished surface.
Step 5: Clean the Glass
After successfully removing the printing from the glass surface, the final step involves thorough cleaning to eliminate any residual solvent, ink remnants, or debris, ensuring that the glass is left pristine and gleaming. This crucial stage not only enhances the visual appeal of the glass but also ensures that no traces of the printing removal process remain, resulting in a polished and unblemished finish.
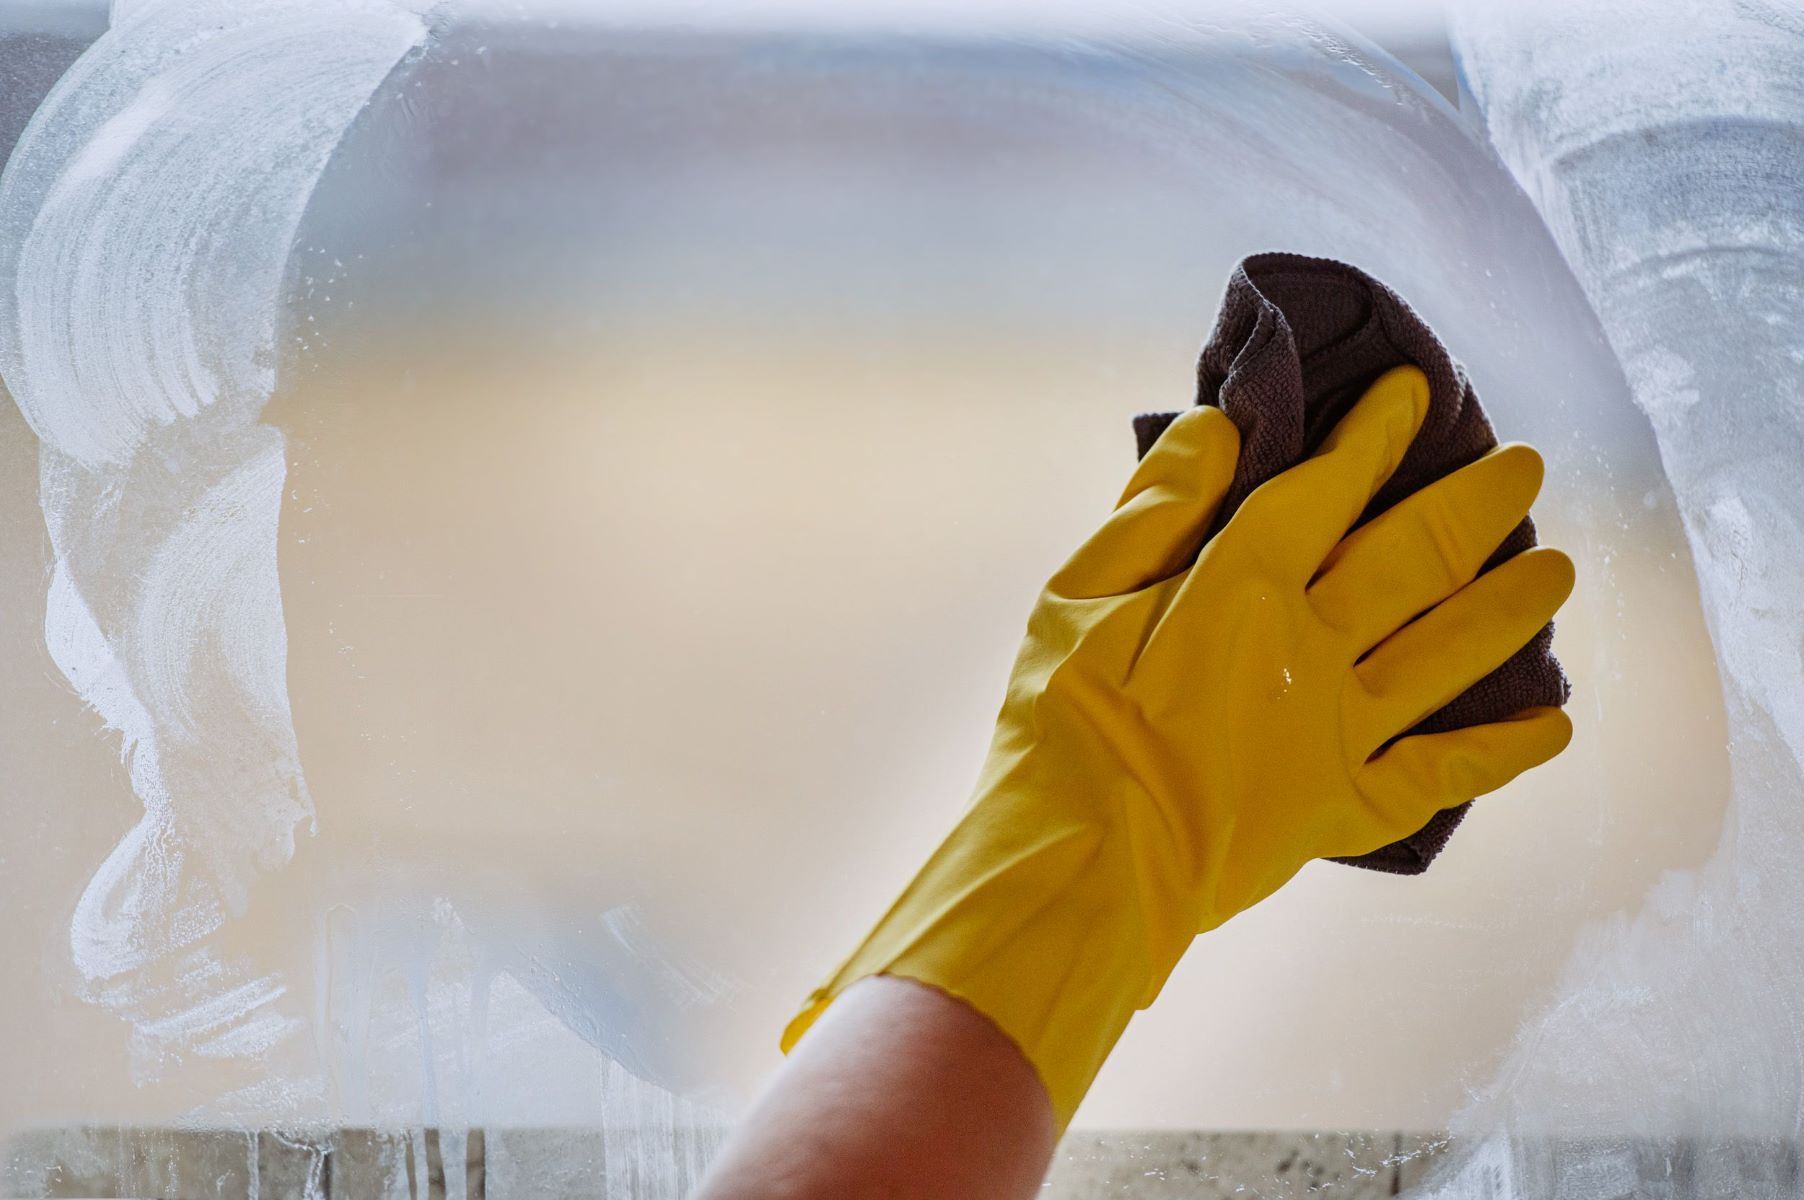
To begin the cleaning process, prepare a gentle solution comprising mild dish soap and water in a clean container. The mild dish soap effectively cuts through any remaining solvent or ink residues while being gentle enough to safeguard the glass surface. Ensure that the solution is well-diluted to prevent any soapy residue from being left behind on the glass.
Dip a soft cloth or microfiber towel into the soapy solution, ensuring that it is lightly damp but not saturated. Gently wipe the entire glass surface, paying particular attention to the areas from which the printing was removed. This meticulous approach ensures that any residual solvent or ink remnants are effectively lifted from the glass, leaving behind a pristine and unmarred surface.
After wiping the glass with the soapy solution, rinse the cloth or towel thoroughly to remove any soapy residue. Then, dampen the cloth with clean water and carefully wipe the glass surface to remove any remaining traces of the soap solution. This final rinse ensures that the glass is left free from any cleaning residues, resulting in a crystal-clear and immaculate finish.
Once the glass has been thoroughly cleaned and rinsed, use a dry, lint-free cloth to gently dry the surface, ensuring that no water spots or streaks are left behind. This careful drying process further enhances the clarity and pristine appearance of the glass, preparing it to be showcased without any remnants of the previous printing.
By meticulously cleaning the glass, you ensure that the printing removal process culminates in a flawless and unblemished surface. This final step not only eliminates any residual solvent or ink remnants but also enhances the overall visual appeal of the glass, leaving it gleaming and ready to be admired without any traces of its previous markings.
Conclusion
In conclusion, the process of removing printing from glass requires meticulous attention to detail, the use of appropriate materials, and a methodical approach to ensure successful results. By following the step-by-step guide outlined in this comprehensive resource, individuals can confidently tackle the task of printing removal while preserving the integrity and visual appeal of glass surfaces.
The journey begins with the meticulous preparation of the glass surface, ensuring that it is clean and primed for the application of the chosen solvent. This preparatory step sets the stage for the subsequent procedures, laying the groundwork for effective printing removal without compromising the glass.
The application of the solvent is a critical stage in the process, where the chosen solution works to penetrate and soften the ink and adhesive residues. Patience and precision are key during this phase, allowing the solvent to effectively target the printing without causing damage to the glass.
After allowing the solvent to sit and work its magic, delicately scraping off the softened printing follows, requiring a gentle touch and methodical approach. This step ensures that the printing is effectively removed without leaving behind any marks or scratches on the glass, resulting in a pristine and unblemished surface.
The final stage involves thorough cleaning to eliminate any residual solvent or ink remnants, leaving the glass gleaming and unmarred. This meticulous approach ensures that the printing removal process culminates in a flawless and polished surface, ready to be showcased without any traces of its previous markings.
By embracing the insights and techniques presented in this guide, individuals can confidently address the task of printing removal from glass, whether it involves repurposing glassware, eliminating unwanted labels from windows, or restoring the pristine appearance of glass surfaces. With a focus on safety, precision, and achieving optimal outcomes, this step-by-step approach empowers individuals to tackle printing removal with confidence and precision.
In essence, the successful removal of printing from glass hinges on meticulous preparation, the strategic application of solvents, delicate scraping techniques, and thorough cleaning. By adhering to these principles, individuals can transform glass surfaces, unveiling their inherent clarity and visual appeal while erasing any remnants of previous markings.
Frequently Asked Questions about How To Remove Printing On Glass
Was this page helpful?
At Storables.com, we guarantee accurate and reliable information. Our content, validated by Expert Board Contributors, is crafted following stringent Editorial Policies. We're committed to providing you with well-researched, expert-backed insights for all your informational needs.


0 thoughts on “How To Remove Printing On Glass”