Home>Articles>How To Store An Electric Golf Cart For 6 Months
Articles
How To Store An Electric Golf Cart For 6 Months
Modified: February 28, 2024
Discover helpful articles on how to properly store your electric golf cart for a period of 6 months. Get expert tips and techniques to ensure your cart remains in top condition during its storage.
(Many of the links in this article redirect to a specific reviewed product. Your purchase of these products through affiliate links helps to generate commission for Storables.com, at no extra cost. Learn more)
Introduction
Welcome to our comprehensive guide on how to store an electric golf cart for 6 months. Electric golf carts provide a convenient and eco-friendly way to navigate the golf course or cruise around the neighborhood. However, if you’re planning to store your electric golf cart for an extended period of time, it’s important to follow the proper procedures to ensure its longevity and optimal performance.
Storing an electric golf cart involves more than just parking it in a garage or storage unit. There are specific steps you need to take to prepare the cart for storage, protect its components, and prevent any potential damage. By following our guidelines, you can confidently store your electric golf cart for up to 6 months, knowing that it will be safe and ready to use when you’re ready to hit the greens again.
In this article, we’ll walk you through each step of the process, providing detailed instructions and tips along the way. We’ll start by discussing the importance of cleaning and inspecting your electric golf cart before storage. Next, we’ll guide you through the necessary preparations for the battery, tires, and wheels. We’ll also cover how to safeguard the body and interior of the cart, as well as how to prevent engine damage during storage.
Once your electric golf cart is properly prepared, we’ll delve into the best practices for storing it. This includes finding the ideal storage location, ensuring proper ventilation, and avoiding exposure to extreme temperatures or moisture. Additionally, we’ll explain the importance of performing regular maintenance tasks while the cart is in storage, such as checking on it periodically and charging the battery as needed.
By following these steps and guidelines, you can rest assured that your electric golf cart will be well-protected and preserved during its storage period. When you’re ready to bring it back into action, it will be in optimal condition and ready to hit the fairways once again.
Now, let’s dive into the first step: cleaning and inspecting your electric golf cart before storage.
Key Takeaways:
- Properly preparing and storing an electric golf cart for 6 months ensures its longevity and optimal performance, from cleaning and inspecting to safeguarding the body and interior.
- Regular maintenance tasks, such as checking the cart periodically and charging the battery, are essential to keep the electric golf cart in top shape during the storage period.
Read more: How To Store Electric Golf Cart For Winter
Step 1: Clean and Inspect the Electric Golf Cart
Before storing your electric golf cart for an extended period of time, it’s essential to clean both the exterior and interior of the cart. This helps remove any dirt, debris, or corrosive substances that may have accumulated during use. Cleaning the golf cart also allows you to inspect its condition and identify any damage or wear and tear that may need to be addressed before storage.
Start by cleaning the exterior of the golf cart using a mild detergent and water solution. Use a soft cloth or sponge to gently scrub the surfaces, paying attention to areas that are prone to accumulating dirt, such as the wheels, undercarriage, and roof. Avoid using harsh chemicals or abrasive materials, as these can damage the paint or finish of the golf cart.
After cleaning the exterior, move on to the interior of the golf cart. Remove any personal belongings or loose items that may be inside. Vacuum the floors and seats to remove any dirt or debris. If there are any stains on the upholstery, use a mild upholstery cleaner and a soft brush to gently scrub the area.
Once the golf cart is clean, it’s time to inspect it for any damage or wear and tear. Check the body of the cart for any dents, scratches, or rust spots. If you notice any damage, consider getting it repaired before storing the cart to prevent further deterioration.
Inspect the battery and charging system of the electric golf cart to ensure they are in proper working condition. Check the battery terminals for any signs of corrosion and clean them if necessary. If the battery is nearing the end of its lifespan, it may be wise to replace it before storing the golf cart.
Check the charger and charging cables for any signs of damage or fraying. Make sure the charger is functioning correctly and that all connections are secure. If you notice any issues with the charger or cables, have them repaired or replaced before storing the golf cart.
By thoroughly cleaning and inspecting your electric golf cart, you can identify any potential issues and address them before storage. This helps ensure that your cart remains in good condition during the storage period and is ready for use when you retrieve it.
Now that the golf cart is clean and inspected, it’s time to move on to step 2: preparing the battery for storage.
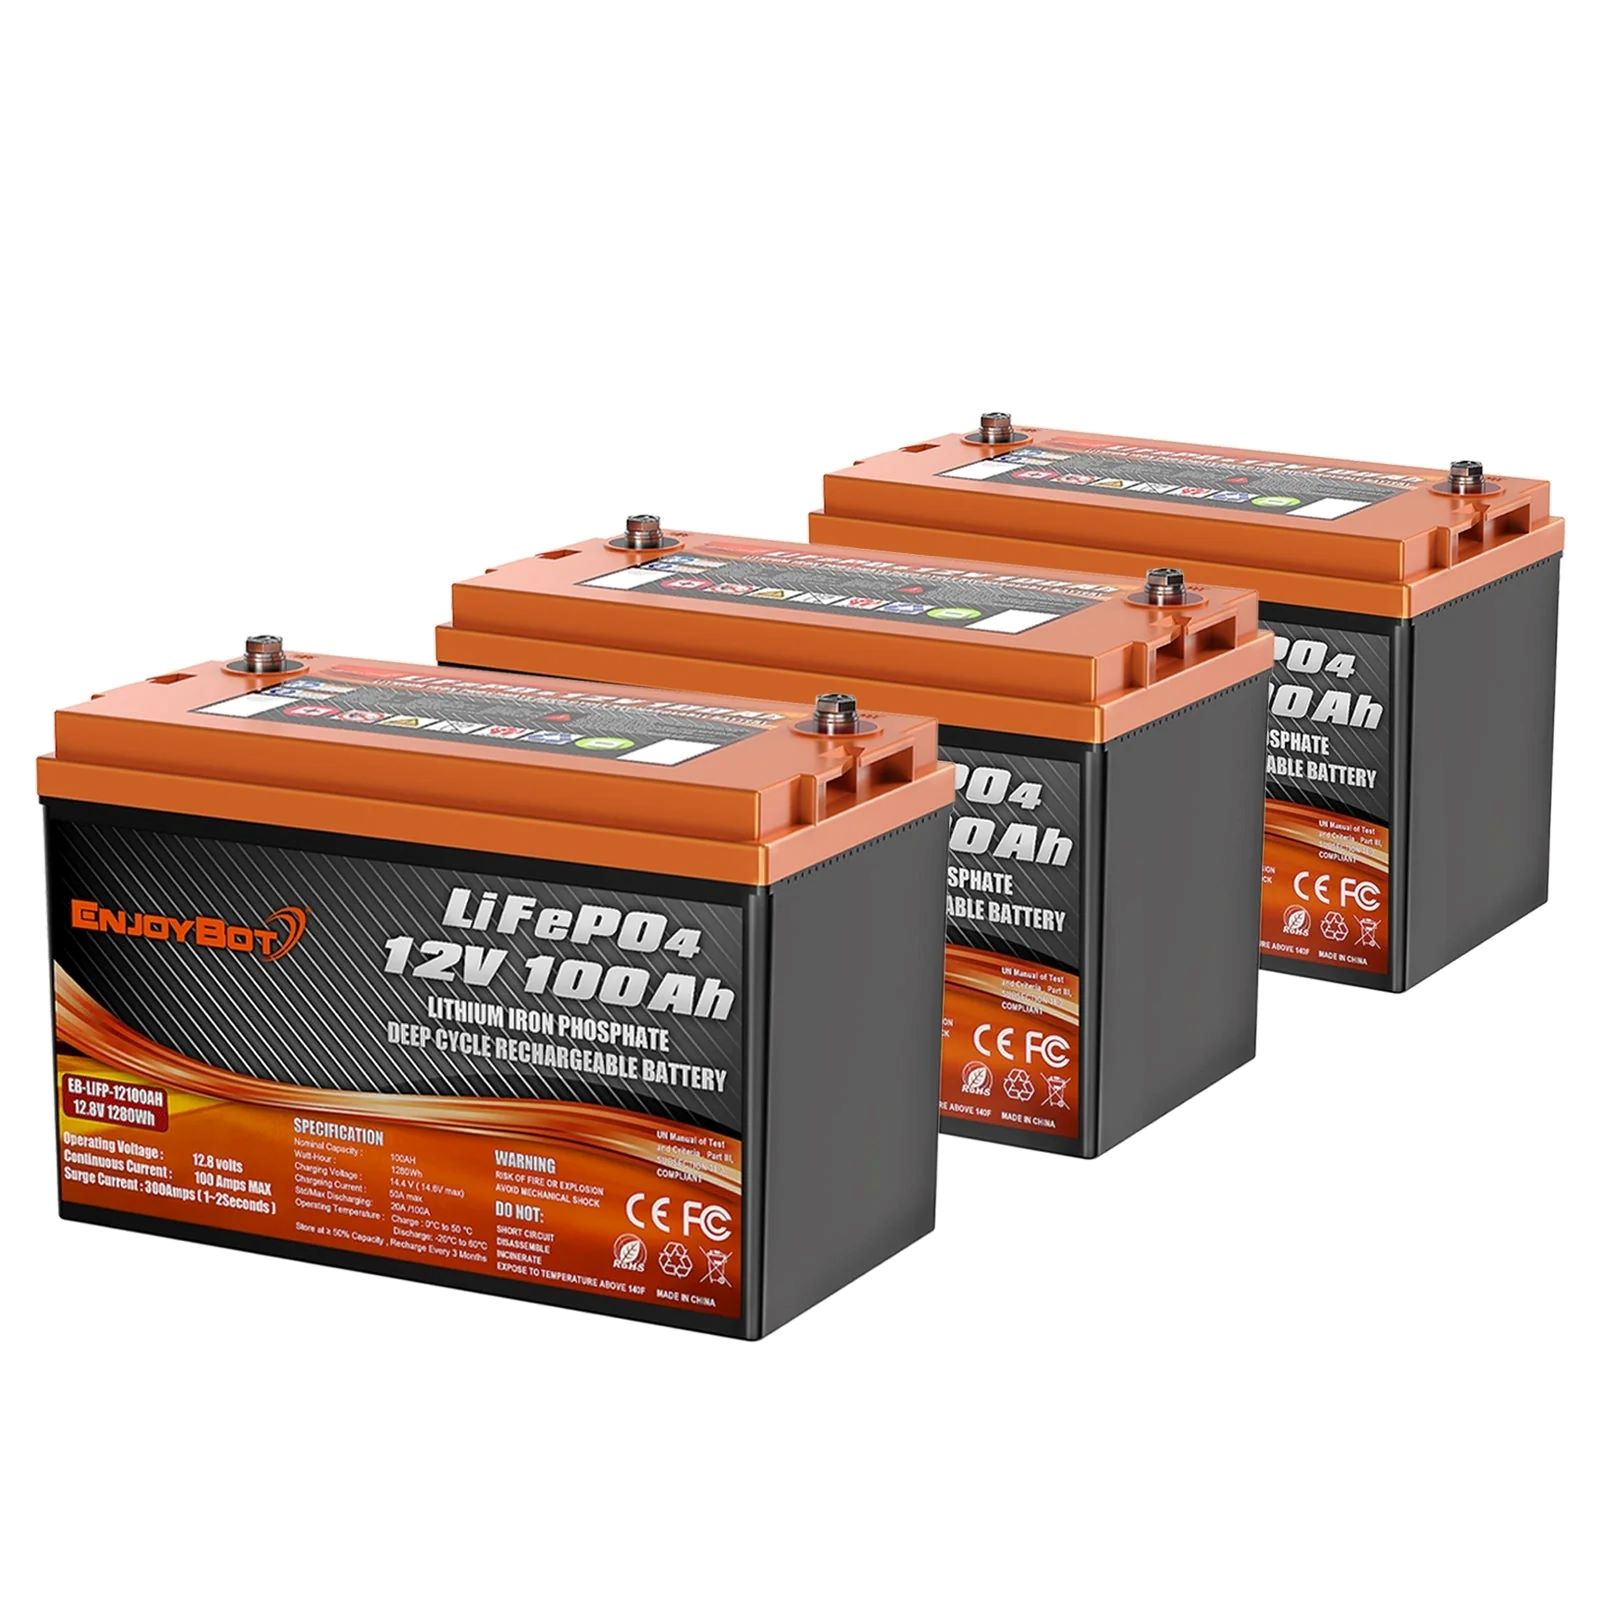
Step 2: Prepare the Battery for Storage
One of the most crucial steps in storing an electric golf cart is properly preparing the battery. The battery is an essential component of the cart, and improper storage can lead to diminished performance or even permanent damage. Follow these steps to ensure your battery remains in optimal condition during the storage period.
Start by charging the battery fully before storage. This ensures that it is at its maximum capacity and ready to be stored for an extended period. Connect the charger to the golf cart’s battery, following the manufacturer’s instructions. Allow the battery to charge until it reaches its full capacity. Once fully charged, disconnect the charger from the battery.
Next, disconnect the battery cables from the battery terminals. Start by loosening the negative (black) cable first, followed by the positive (red) cable. Use a suitable wrench to loosen the nuts and carefully remove the cables. Make sure to secure them away from the battery terminals to avoid accidental reconnection.
After disconnecting the battery cables, it is recommended to remove the battery from the electric golf cart. This step is especially essential if you’re planning to store the cart in an area with extreme temperatures or high humidity. Removing the battery prevents any potential damage that may occur from these conditions.
When removing the battery, be sure to follow safety precautions. Electric golf cart batteries can be heavy, so use proper lifting techniques or seek assistance to avoid any injuries. Place the battery in a safe and secure location, away from any flammable materials or sources of heat.
It is best to store the battery in a cool, dry place with a stable temperature. Extreme hot or cold temperatures can affect the performance and longevity of the battery. Consider storing the battery in a battery storage box or on a battery maintainer to maintain its charge during the storage period.
Properly preparing and storing the electric golf cart’s battery ensures that it remains in good condition and ready to use when you retrieve the cart from storage. In the next step, we’ll discuss how to protect the tires and wheels of the electric golf cart during storage.
Step 3: Protect the Tires and Wheels
The tires and wheels of your electric golf cart need proper care and protection during the storage period to prevent damage and maintain their condition. Follow these steps to ensure that your tires and wheels are well-protected.
Start by inflating the tires to the recommended pressure. Check the manufacturer’s guidelines or the sidewall of the tires for the proper inflation pressure. Use a tire pressure gauge to measure the current pressure and add air as needed. Properly inflated tires help prevent flat spots and maintain their shape during storage.
After inflating the tires, it’s important to clean the wheels to remove any dirt, brake dust, or debris. Use a mild wheel cleaner and a soft brush or cloth to gently scrub the wheels. Pay attention to any hard-to-reach areas or crevices. Rinse the wheels thoroughly with clean water and dry them using a microfiber cloth to prevent any water spots.
Once the tires and wheels are prepared, consider placing the golf cart on blocks or jack stands. This step helps alleviate the weight and pressure on the tires, preventing flat spots from forming during the storage period. Place the jack stands or blocks securely under the frame or axles of the golf cart, following the manufacturer’s instructions. Make sure the cart is stable and balanced before leaving it in this elevated position.
By inflating the tires to the recommended pressure, cleaning the wheels, and placing the golf cart on blocks or jack stands, you can protect the tires and wheels from damage and ensure they are in optimal condition when you’re ready to use the cart again.
With the tires and wheels properly protected, let’s move on to step 4: safeguarding the golf cart’s body and interior.
Step 4: Safeguard the Golf Cart’s Body and Interior
To ensure that your electric golf cart remains in pristine condition during its storage period, it’s crucial to take steps to safeguard both the body and interior of the cart. Follow these guidelines to protect your golf cart from potential damage.
Start by applying a protective wax or sealant to the body of the golf cart. This creates a barrier that helps shield the paint from environmental elements such as UV rays, dirt, and moisture. Use a high-quality automotive wax or sealant and follow the manufacturer’s instructions for application. Make sure to cover all surfaces, including the roof, sides, and front and rear panels of the cart.
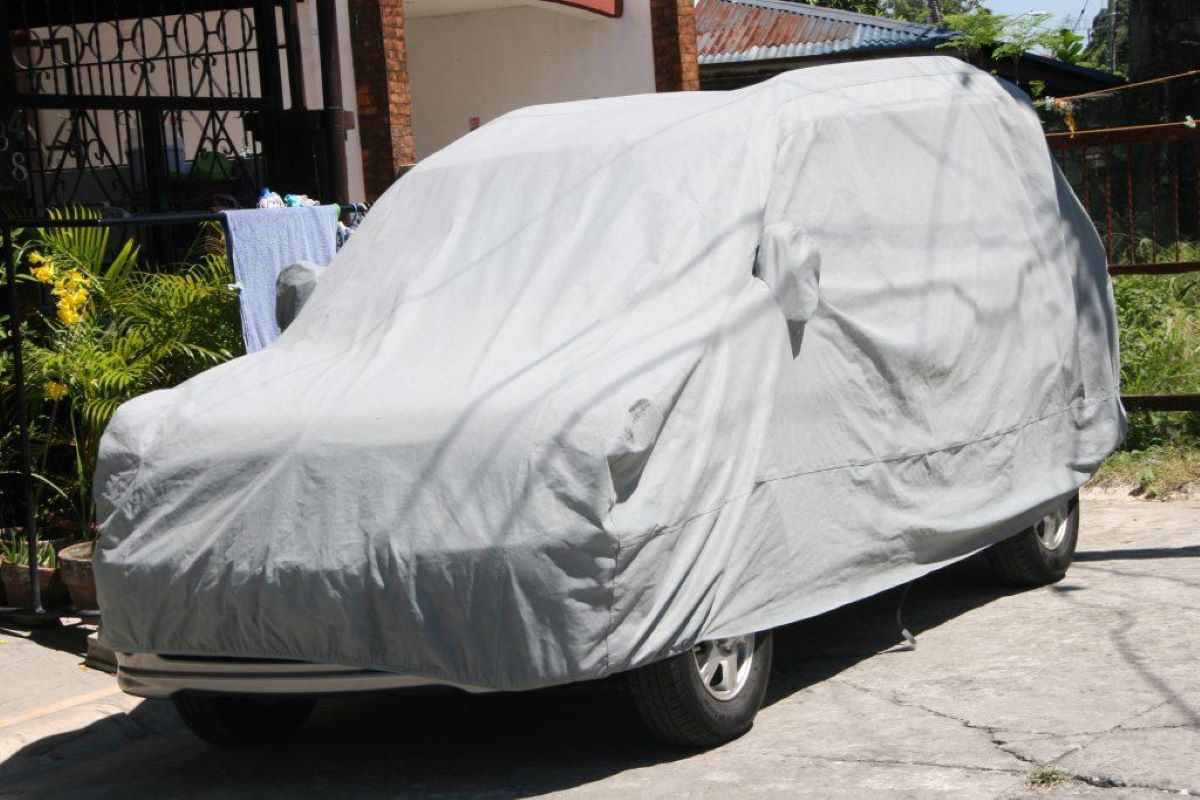
Next, cover the golf cart with a breathable, waterproof cover specifically designed for golf carts. This cover acts as an additional layer of protection against dust, debris, and moisture. Choose a cover that is made of breathable material to prevent condensation or mold from forming on the surface of the cart. Make sure the cover fits snugly over the cart and is securely fastened.
Before covering the cart, it’s important to remove any perishable items or food from the interior. These items can attract pests or rodents during storage and cause damage to the interior of the golf cart. Also, remove any personal belongings or valuable items from the cart to prevent theft or damage.
By applying a protective wax or sealant, covering the golf cart with a breathable cover, and removing any perishable items from the interior, you can ensure that both the body and interior of your electric golf cart are safeguarded during the storage period.
Now that your golf cart is well-protected, let’s move on to step 5: preventing engine damage.
To store an electric golf cart for 6 months, fully charge the batteries, clean the cart thoroughly, and remove the batteries for storage in a cool, dry place. Disconnect the battery cables to prevent drainage. Cover the cart to protect it from dust and debris.
Read more: How To Store Golf Cart For Winter
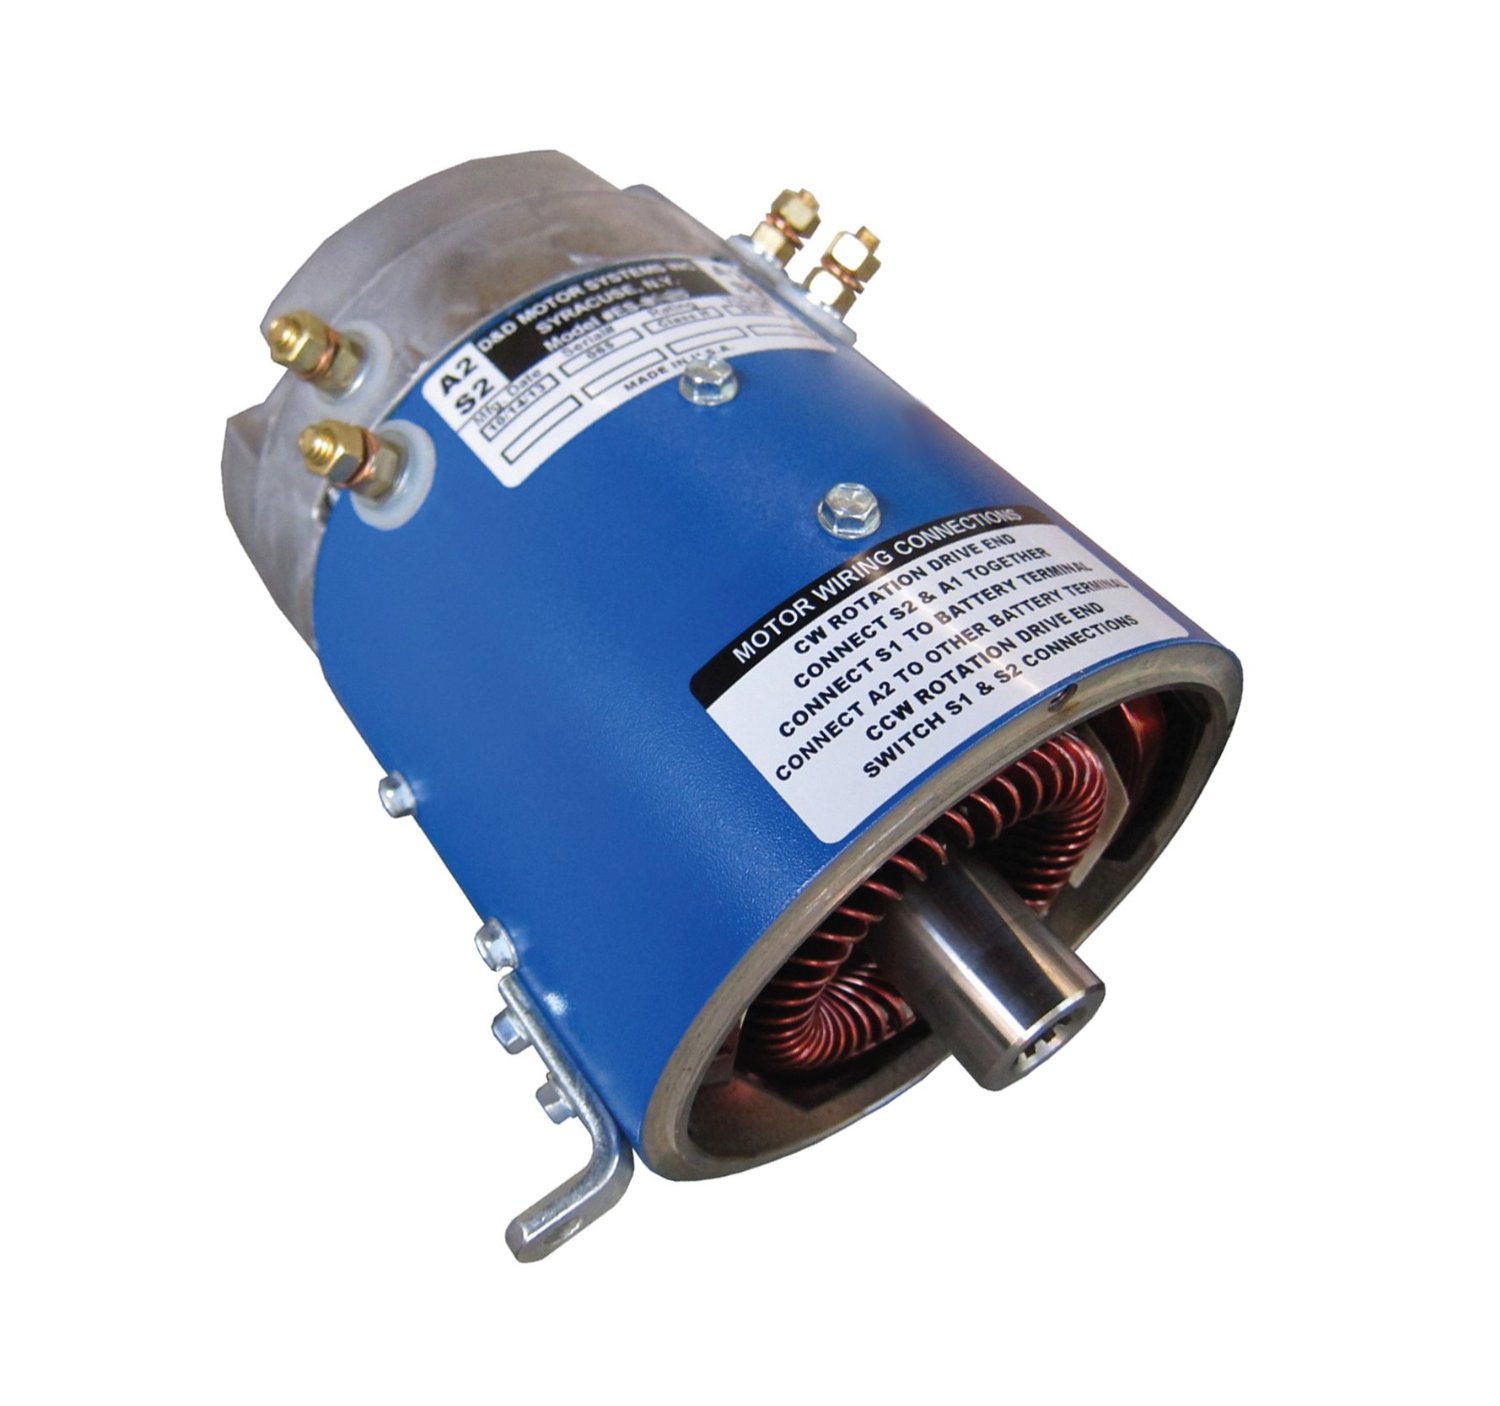
Step 5: Prevent Engine Damage
The engine of your electric golf cart needs proper care and attention during the storage period to prevent any potential damage. Follow these steps to ensure that your engine remains in good condition and is ready to perform when you take your golf cart out of storage.
Start by adding a fuel stabilizer to the gas tank of your electric golf cart. This is especially important if your cart runs on gasoline. A fuel stabilizer helps prevent the fuel from deteriorating and causing issues with the engine during storage. Follow the instructions provided by the manufacturer on the appropriate amount of fuel stabilizer to add based on the size of your gas tank.
After adding the fuel stabilizer, run the engine of your golf cart for a few minutes to allow the stabilizer to circulate throughout the fuel system. This helps ensure that the stabilizer reaches all the necessary components and helps protect against any potential fuel-related issues during storage.
Once the engine has run for a few minutes, turn it off and proceed to disconnect the spark plug. This step prevents the engine from accidentally starting during the storage period, which can lead to unnecessary wear and tear. Disconnecting the spark plug also helps preserve the battery and prevents any potential electrical issues.
Ensure that the spark plug wire is disconnected and securely kept away from the spark plug. This prevents any accidental reconnection or contact that can lead to unintended engine activation. Take caution when handling the spark plug to avoid any accidental shocks or injuries.
By adding a fuel stabilizer to the tank, running the engine to distribute the stabilizer, and disconnecting the spark plug, you can prevent engine damage and ensure that your electric golf cart is ready to be started and used once you retrieve it from storage.
Now that we’ve covered how to prevent engine damage, let’s move on to step 6: storing the electric golf cart properly.
Step 6: Store the Electric Golf Cart Properly
Proper storage of your electric golf cart is essential to maintain its condition and ensure that it remains in optimal working order during its time off the course. Follow these guidelines to store your golf cart properly:
Start by finding a secure and sheltered storage location for your electric golf cart. Ideally, this location should be indoors, such as a garage or storage unit, that can provide protection from the elements and potential theft. If an indoor storage option is not available, consider using a waterproof and weather-resistant cover to protect the cart when stored outdoors.
Ensure that the storage location provides adequate ventilation. Good air circulation helps prevent the build-up of condensation or moisture, which can lead to rust and other damage. If the storage space lacks proper ventilation, consider using a dehumidifier or leaving a small gap for air circulation.
Avoid exposing the electric golf cart to extreme temperatures or moisture during storage. High temperatures can damage the battery and other components, while moisture can lead to corrosion and deterioration. If possible, choose a storage location that maintains a relatively consistent temperature and humidity level.
When storing the golf cart, avoid parking it on grass or dirt surfaces that can retain moisture and contribute to rusting. Instead, ensure that the golf cart is parked on a clean and dry surface. If necessary, place a sheet of plywood or a mat underneath the cart to provide additional protection.
Remember to secure the golf cart with the parking brake engaged and, if available, wheel chocks to prevent any unintended movement during storage.
By finding a secure and sheltered storage location, ensuring adequate ventilation, and avoiding exposure to extreme temperatures or moisture, you can protect your electric golf cart and ensure that it remains in optimal condition throughout the storage period.
Now that your golf cart is properly stored, let’s move on to step 7: performing regular maintenance during storage.
Step 7: Perform Regular Maintenance During Storage
While your electric golf cart is in storage, it’s important to perform regular maintenance tasks to ensure that it remains in top condition and is ready for use once you retrieve it. Follow these maintenance steps to keep your electric golf cart in excellent shape during the storage period:
First, check the golf cart periodically throughout the storage period. This allows you to inspect for any signs of damage, such as leaks, corrosion, or pest infestation. Look for any unusual odors or sounds when inspecting the cart. If you notice any potential issues, address them promptly to prevent further damage or deterioration.
Next, charge the battery every 4-6 weeks, even if the cart is not being used. Extended periods of inactivity can cause the battery to lose its charge, which can result in reduced performance and potential battery damage. Use a battery charger specifically designed for electric golf cart batteries and follow the manufacturer’s instructions for safe and effective charging.
Address any issues that arise promptly during the storage period. This includes mechanical issues, electrical problems, or any other signs of damage or malfunction. Contact a certified technician or your golf cart manufacturer for assistance in diagnosing and resolving any issues to ensure that your cart is in optimal working condition when you need it again.
In addition to the regular maintenance tasks mentioned above, it’s a good idea to keep a log or checklist of the maintenance activities performed during the storage period. This helps you track when and what maintenance tasks were completed, making it easier to remember and stay on top of them.
By checking the golf cart periodically, charging the battery regularly, and addressing any issues promptly, you can maintain your electric golf cart’s performance and ensure that it’s ready for action when you retrieve it from storage.
With the regular maintenance tasks covered, you’ve successfully completed all the steps necessary to store your electric golf cart for 6 months. When the time comes to use your golf cart again, follow the proper procedures to bring it out of storage and enjoy a smooth and hassle-free ride.
We hope this comprehensive guide has been helpful in guiding you through the process of storing your electric golf cart. Proper storage ensures that your cart remains in great condition and ready for many rounds of enjoyable golf or neighborhood cruising. Happy storing!
Conclusion
Storing your electric golf cart for an extended period of time requires careful attention and proper procedures to ensure its longevity and optimal performance. By following the steps outlined in this guide, you can confidently store your electric golf cart for up to 6 months knowing that it will be safe and ready to use when you’re ready to hit the greens again.
From cleaning and inspecting the cart to preparing the battery and protecting the tires, wheels, body, and interior, each step plays a crucial role in keeping your golf cart in excellent condition during storage. Taking the time to properly prepare and store your electric golf cart not only maintains its appearance but also ensures that its components remain in good working order.
Remember to add a fuel stabilizer, run the engine, and disconnect the spark plug to prevent engine damage. Find a secure and sheltered storage location with adequate ventilation, and avoid exposure to extreme temperatures or moisture. Regularly check the cart, charge the battery, and address any issues promptly to keep it in top shape during storage.
By following these guidelines and performing regular maintenance tasks, your electric golf cart will be well-protected, and you can rest assured that it will be ready to hit the fairways once again when you retrieve it from storage.
We hope this guide has provided you with the information you need to store your electric golf cart effectively. Always refer to your cart’s specific manufacturer guidelines and consult with professionals if needed. With proper storage, your electric golf cart will continue to bring you joy and convenience for years to come.
Happy storing and future adventures with your electric golf cart!
Frequently Asked Questions about How To Store An Electric Golf Cart For 6 Months
Was this page helpful?
At Storables.com, we guarantee accurate and reliable information. Our content, validated by Expert Board Contributors, is crafted following stringent Editorial Policies. We're committed to providing you with well-researched, expert-backed insights for all your informational needs.


0 thoughts on “How To Store An Electric Golf Cart For 6 Months”