Articles
How To Store Golf Cart For Winter
Modified: August 28, 2024
Learn the best way to store your golf cart for the winter season with our informative articles. Keep your cart protected and in top condition until the next golfing season.
(Many of the links in this article redirect to a specific reviewed product. Your purchase of these products through affiliate links helps to generate commission for Storables.com, at no extra cost. Learn more)
Introduction
Welcome to the comprehensive guide on how to store your golf cart for the winter season. As the cold weather approaches, it is vital to take proactive steps to ensure the longevity and performance of your golf cart. Proper winter storage is essential to protect your investment and prevent any potential damage caused by freezing temperatures, moisture, and other environmental factors.
By following the tips and guidelines outlined in this article, you can confidently store your golf cart for the winter and have it ready for action when the warmer months return. From choosing the right storage location to performing necessary maintenance tasks, we will cover all aspects of winter storage to help keep your golf cart in optimal condition.
So grab a cup of coffee, sit back, and let’s dive into the details of how to store your golf cart for the winter like a pro!
Key Takeaways:
- Proper winter storage is essential to protect your golf cart from potential damage caused by freezing temperatures, moisture, and environmental factors. Choosing the right location, performing maintenance tasks, and managing the battery and fuel are crucial steps to ensure your golf cart’s longevity and optimal performance.
- By following the comprehensive guidelines for winter storage, including cleaning, battery care, tire pressure, and lubrication, you can confidently prepare your golf cart for the colder months. Taking proactive measures and regular maintenance are key to preserving the long-term performance and lifespan of your golf cart.
Read also: 15 Best Golf Cart Fan for 2024
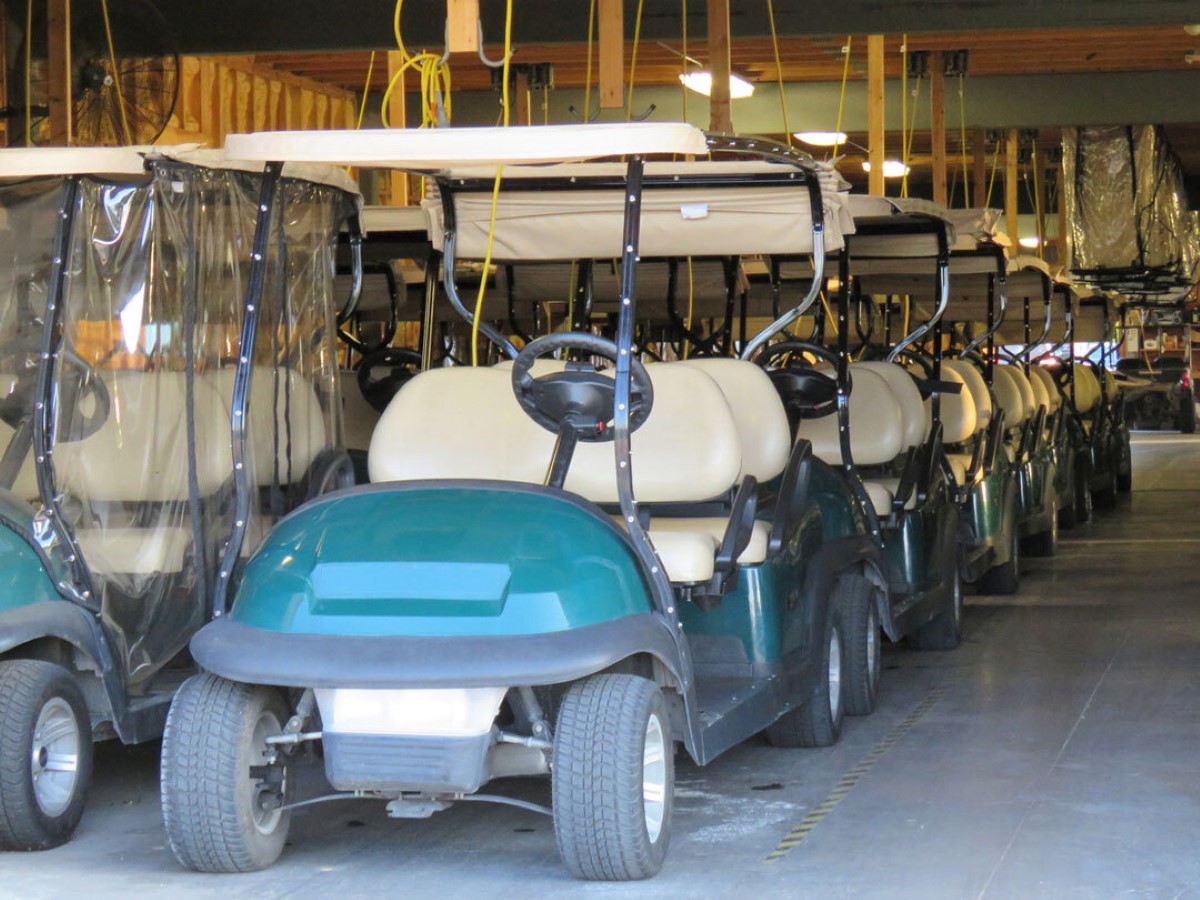
Choosing the Right Location
When it comes to storing your golf cart for the winter, selecting the right location is crucial. The ideal storage location should be dry, well-ventilated, and offer protection from extreme temperatures and the elements. Here are some factors to consider when choosing the right location:
- Indoor Storage: If possible, storing your golf cart indoors is the best option. A garage, shed, or storage unit can provide the necessary protection from the elements. Make sure the space is clean, free from pests, and secure to prevent theft or damage.
- Outdoor Storage: If indoor storage is not available, you can still store your golf cart outdoors. Look for a designated storage spot that is away from trees, shrubs, and other hazards. Consider investing in a good quality cover to protect the cart from rain, snow, and UV rays.
- Climate Control: Extreme temperature variations can have a negative impact on your golf cart’s battery and other components. If you opt for indoor storage, try to choose a location with climate control capabilities. This will help maintain a stable temperature throughout the winter months.
- Accessibility: While it’s important to ensure the security of your golf cart during storage, you should also consider easy access when you need to retrieve it. Make sure the chosen location allows for convenient entry and exit, especially if you plan on using the golf cart sporadically during the winter.
By taking the time to select the right storage location, you can minimize the risk of damage or deterioration to your golf cart during the winter season. Remember, the goal is to keep your golf cart in a safe and protected environment until it’s ready to hit the greens again.
Cleaning and Inspection
Before storing your golf cart for the winter, it’s essential to give it a thorough cleaning and inspection. This step will help identify any existing issues and prevent further damage during the storage period. Here’s a checklist to follow:
- Exterior Cleaning: Start by washing the exterior of your golf cart with mild soap and water. Pay extra attention to areas prone to dirt and grime buildup, such as the wheels, fenders, and undercarriage. Dry the cart thoroughly to prevent any moisture-related issues.
- Interior Cleaning: Remove any personal items, trash, or debris from the interior of the golf cart. Use a vacuum or brush to clean the seats, floor mats, and storage compartments. Wipe down the steering wheel, dashboard, and controls with a damp cloth.
- Battery Inspection: Check the battery terminals for corrosion and clean them with a mixture of baking soda and water if necessary. Inspect the battery cables for any signs of damage or wear. Ensure that the battery is fully charged before storing or consider removing it for maintenance.
- Fluid Inspection: Check the fluid levels, including coolant, brake fluid, and oil. If any of the fluids are low or dirty, top them up or consider having a professional service the cart before storage.
- Tire Inspection: Inspect the tires for wear and tear, punctures, or low pressure. Inflate the tires to the recommended pressure if needed. This step is crucial to prevent flat spots and ensure the tires are in good condition when you take the cart out of storage.
- Brake and Light Check: Test the brakes to ensure they are functioning correctly. Check all lights, including headlights, taillights, and turn signals, to ensure they are in working order. Replace any burned-out bulbs before storage.
- Moving Parts Lubrication: Apply lubricant to the moving parts, such as hinges, bushings, and suspension components. This will prevent them from seizing or rusting during storage.
By thoroughly cleaning and inspecting your golf cart, you can address any maintenance issues and ensure that it is in optimal condition before storing it for the winter. Taking these proactive steps will help extend the life of your golf cart and make the process of getting it back on the course in the spring much smoother.
Battery Maintenance
Proper battery maintenance is critical when storing your golf cart for the winter. Failing to take the necessary precautions can lead to a dead or damaged battery when you’re ready to use your cart again. Follow these steps to ensure your golf cart’s battery remains in good condition during the storage period:
- Charge the Battery: Before storing your golf cart, make sure the battery is fully charged. This will help prevent sulfation, a process that occurs when batteries are left in a discharged state for an extended period. If needed, connect the battery to a charger and bring it to a full charge.
- Disconnect the Battery: If possible, disconnect the battery cables to prevent any drain on the battery during storage. This will help extend its lifespan and ensure it remains ready for use when you reconnect it in the spring. Be sure to label the cables for easy reconnection.
- Keep the Battery Clean: Clean the battery terminals and cables using a mixture of baking soda and water to remove any corrosion or buildup. A wire brush can be used to scrub off stubborn deposits. After cleaning, rinse with water and dry the battery thoroughly.
- Store in a Cool, Dry Location: The ideal temperature range for storing batteries is between 50°F and 80°F (10°C and 27°C). Avoid extreme temperatures as they can negatively impact the battery’s performance. It’s also essential to store the battery in a dry location to prevent moisture-related damage.
- Monitor the Battery: While your golf cart is in storage, periodically check the battery’s charge level. If it drops significantly, recharge it to prevent deep discharge, which can lead to irreversible damage. Consider using a battery maintainer or tender to keep the battery topped up during prolonged storage periods.
It’s important to note that not all batteries are the same, and the maintenance requirements may vary. Be sure to consult your golf cart’s manufacturer guidelines for specific instructions on how to properly care for your particular battery type.
By following these battery maintenance tips, you can ensure your golf cart’s battery remains in optimal condition during the winter storage period. This proactive approach will save you from the frustration of dealing with a dead battery and prolong the overall lifespan of the battery.
Fuel Management
Managing the fuel in your golf cart is an essential aspect of winter storage. Improper fuel storage can lead to engine issues and costly repairs. Follow these guidelines to effectively manage the fuel in your golf cart:
- Drain the Fuel: If possible, it’s best to drain the fuel tank before storing your golf cart for the winter. Stale fuel can cause engine problems and clog the fuel lines. Run the engine until it is out of fuel or use a siphoning tool to empty the tank.
- Add Fuel Stabilizer: If you cannot drain the fuel completely, add a fuel stabilizer to the tank. Fuel stabilizers prevent the gasoline from breaking down and becoming stale, reducing the risk of engine problems. Follow the product instructions for the correct amount to use.
- Run the Engine: After adding the fuel stabilizer, run the engine for a few minutes to ensure the treated fuel circulates throughout the system. This helps protect the carburetor or fuel injectors from damage caused by residual fuel.
- Check the Fuel Filter: If your golf cart has a fuel filter, check and replace it if needed before storage. A clean fuel filter keeps the fuel system free from debris, preventing blockages and ensuring proper fuel flow when you start using the cart again.
It’s important to note that these fuel management tips may vary depending on the type of fuel your golf cart uses. Gasoline and electric golf carts have different requirements. Always refer to the manufacturer’s guidelines for specific instructions on fuel storage and management.
By properly managing the fuel in your golf cart during winter storage, you can avoid potential engine issues and ensure your cart performs optimally when the golf season returns. Taking these precautions will save you time, money, and frustration in the long run.
To store a golf cart for winter, fully charge the batteries, clean the cart thoroughly, apply a protective wax, and cover it with a breathable, weatherproof cover. Remove the batteries and store them in a cool, dry place.
Read more: How To Store A Cart
Tire Pressure and Suspension
Proper tire pressure and suspension maintenance are crucial to ensure your golf cart is ready for action when winter ends. Neglecting these areas can lead to uneven tire wear, handling problems, and potential damage to the suspension components. Here’s what you need to do:
- Check Tire Pressure: Before storing your golf cart, check the tire pressure and inflate them to the recommended level. Properly inflated tires help prevent flat spots and maintain their shape during the storage period. Consult the owner’s manual or the tire manufacturer guidelines to determine the correct pressure.
- Suspension Inspection: Inspect the suspension components for any signs of damage, wear, or loose connections. Look for cracks, rust, or worn-out bushings. If any issues are detected, it is advisable to have them repaired or replaced before storing the golf cart for the winter.
- Suspension Lubrication: Apply lubricant to the suspension components, such as the shocks, springs, and pivot points. This will help prevent rust and corrosion during the storage period. Follow the manufacturer’s recommendations for the type of lubricant to use.
- Support the Frame: To prevent excessive strain on the suspension components, consider using jack stands or blocks to support the frame of the golf cart. This will help relieve pressure on the suspension and keep it in proper alignment.
When storing your golf cart, it’s also a good idea to periodically rotate the tires to prevent flat spots. This can be done by slightly moving the cart every few weeks or using tire cradles to evenly distribute the weight. Doing so will help maintain the integrity of the tires during the storage period.
Proper tire pressure and suspension maintenance will ensure a smooth and safe ride when you’re ready to start using your golf cart again. By taking care of these areas during winter storage, you can enhance the longevity of the tires and suspension components, ultimately saving you from potential expenses and inconveniences in the future.
Lubrication and Rust Prevention
Lubrication and rust prevention are essential maintenance tasks to ensure the longevity and performance of your golf cart, especially during the winter storage period. Moisture and cold temperatures can contribute to rust and corrosion, while lack of lubrication can lead to friction and potential damage to moving parts. Here’s what you need to do:
- Apply Lubricant: Lubricate all the necessary moving parts of your golf cart. This includes hinges, pivot points, brake components, suspension parts, and any other areas that may require lubrication. Use a suitable lubricant recommended by the manufacturer to ensure optimal performance.
- Protect Metal Surfaces: Apply a rust-preventive spray or coating to all metal surfaces of the golf cart, especially those exposed to the elements. This includes the chassis, frame, nuts, bolts, and any other susceptible areas. The protective layer will help prevent rust formation and keep the metal surfaces in good condition.
- Check Cables and Wiring: Inspect the cables and wiring of your golf cart for any signs of wear, fraying, or damage. Apply dielectric grease to the connections and terminals to protect them from moisture and corrosion. This will help maintain proper electrical connections and extend the lifespan of the cables and wiring.
- Clean and Protect the Body: Thoroughly clean the exterior of your golf cart and apply a protective wax or sealant. This will help preserve the paint, prevent fading or dullness, and provide an additional layer of protection against the elements during the storage period.
Performing these lubrication and rust prevention tasks will keep your golf cart in optimal condition, even during the winter months when it’s not in use. By taking proactive steps to prevent rust and ensure proper lubrication, you can minimize potential damage, extend the lifespan of your golf cart, and facilitate a smoother transition when it’s time to hit the links again.
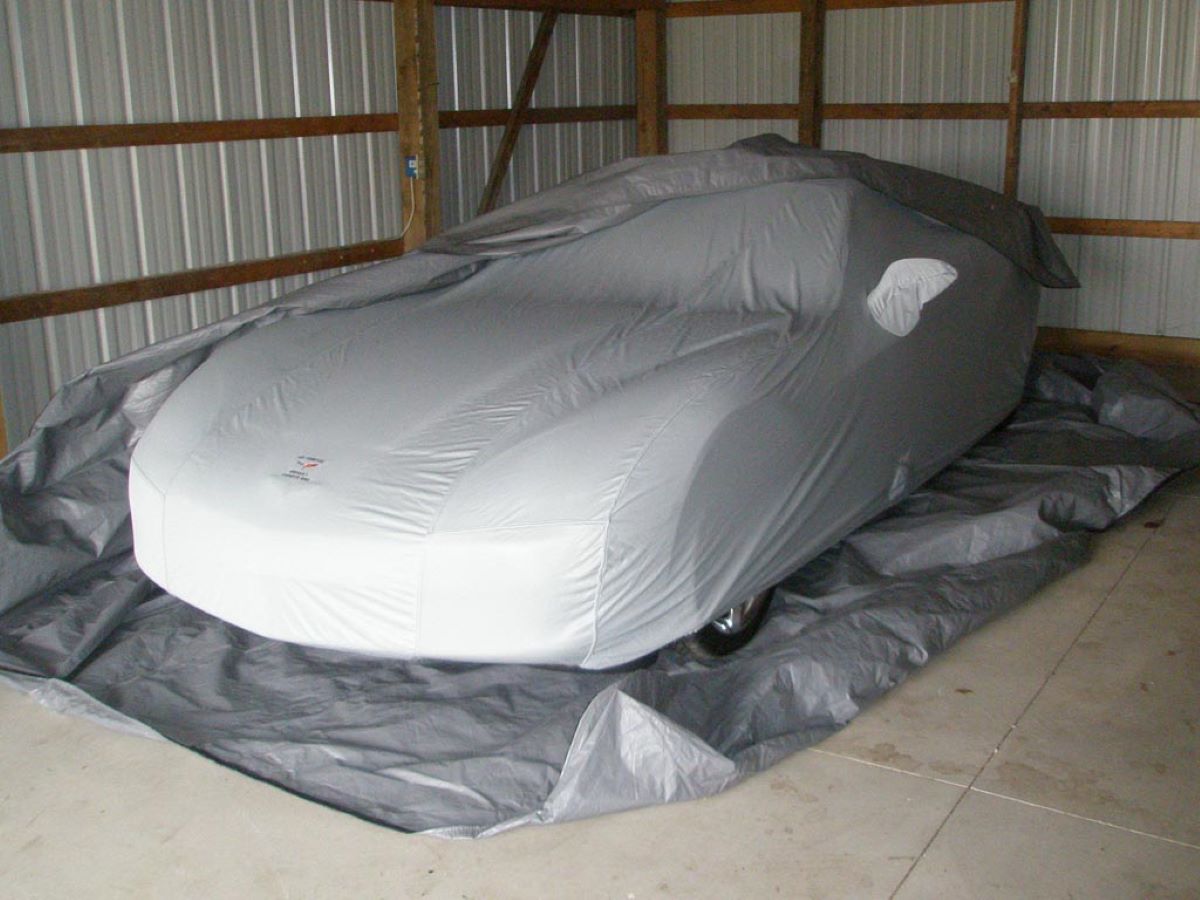
Covering and Storage Options
Choosing the right covering and storage options for your golf cart is an important consideration to protect it from the elements and potential damage during the winter season. Here are some options to consider:
- Golf Cart Cover: Investing in a high-quality golf cart cover is one of the most effective ways to protect your cart during winter storage. Look for a cover that is waterproof, breathable, and provides a snug fit. The cover should fully enclose the cart, protecting it from dust, moisture, and UV rays.
- Enclosed Storage Unit: If you have the space and budget, storing your golf cart in an enclosed storage unit is an excellent option. These units offer maximum protection from the elements and provide a secure storage environment. Look for a storage unit that is climate-controlled to maintain stable temperatures throughout the winter.
- Carport or Garage: If you don’t have access to an enclosed storage unit, storing your golf cart in a carport or garage can still offer protection from the elements. Ensure the area is well-ventilated and free from moisture. Consider covering the cart with a golf cart cover to provide an extra layer of protection.
- Outdoor Storage Shed: If you have a suitable outdoor storage shed, it can be a viable option for storing your golf cart. Ensure the shed is weather-resistant and provides adequate protection from rain, snow, and UV rays. Use a golf cart cover to provide additional protection.
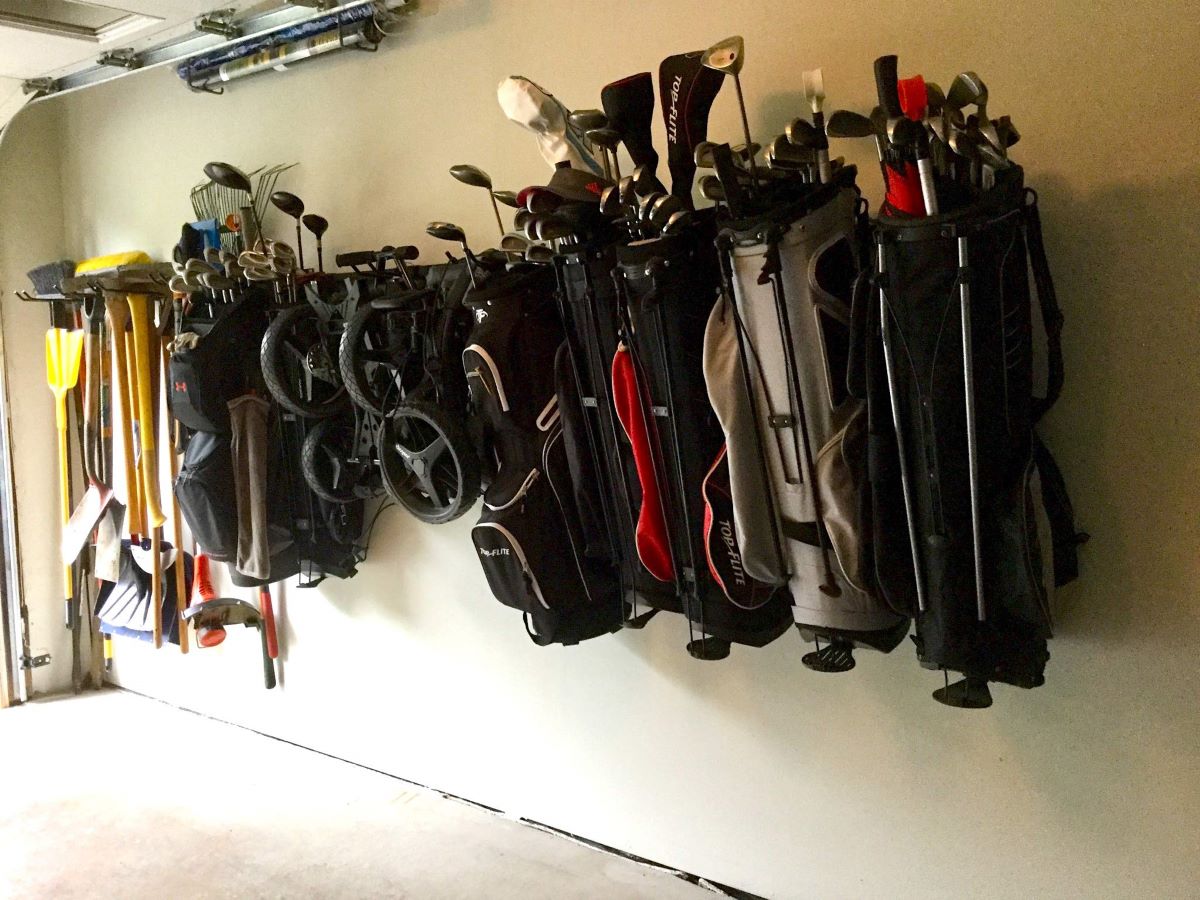
- Remove Accessories: Before storing your golf cart, consider removing any valuable or easily removable accessories, such as GPS devices or portable stereos. This reduces the risk of theft and ensures these accessories remain in optimal condition for future use.
When choosing a storage option, prioritize protection from the elements and security. Selecting the right covering or storage unit will help safeguard your golf cart from moisture, UV rays, dust, and potential damage caused by extreme weather conditions.
Remember, whichever storage option you choose, it’s important to keep the golf cart clean, dry, and properly covered throughout the winter season. By taking these precautions, you can extend the lifespan of your golf cart and keep it looking and performing at its best.
Final Tips for Winter Storage
As you prepare to store your golf cart for the winter, here are some final tips to ensure a smooth storage period and keep your cart in optimal condition:
- Documentation: Take photos or make a note of any existing damage or wear on your golf cart before storing it. This documentation can be helpful for insurance purposes or when assessing any changes or issues that may occur during the storage period.
- Keep it Elevated: If storing your golf cart on a concrete floor, consider placing a barrier or sheet of plastic underneath to prevent moisture from seeping up into the underside of the cart.
- Revisit Maintenance: Periodically check on your golf cart during the storage period, especially if it’s stored for an extended time. This ensures there are no leaks, damage, or other issues that need immediate attention.
- Battery Maintenance: If you chose to disconnect the battery, periodically recharge it as recommended by the manufacturer to maintain optimal charge levels throughout the storage period.
- Properly Inflate Tires: Before using your golf cart in the spring, remember to check the tire pressure and inflate them to the recommended levels. This will ensure a safe and smooth ride on the golf course.
- Scheduled Maintenance: After taking your golf cart out of storage, perform a routine maintenance check-up. This includes oil changes, filter replacements, and other regular maintenance tasks to ensure your cart is in top condition before hitting the greens again.
Remember, proactive measures and regular maintenance are key to preserving the long-term performance and lifespan of your golf cart. By following these final tips, you can have peace of mind knowing that your golf cart will be in great shape when you’re ready to hit the course again.
Read also: 11 Best Golf Cart Electric Motor for 2024
Conclusion
As the winter season approaches, properly storing your golf cart is crucial to ensure its longevity and optimal performance. By following the tips and guidelines outlined in this comprehensive guide, you can confidently prepare your golf cart for winter storage and protect it from potential damage during the colder months.
From choosing the right storage location to performing essential maintenance tasks, such as cleaning, battery care, fuel management, tire pressure, and lubrication, every step plays a vital role in safeguarding your golf cart. Taking the time to properly store your cart will not only extend its lifespan but also save you from potential problems and costly repairs in the future.
Remember to choose a suitable storage location, whether it’s indoors or outdoors, and utilize the appropriate covering or storage options to protect your golf cart from the elements. Regularly inspect and maintain the battery, fluids, tires, suspension, and ensure proper lubrication to keep your cart in optimal condition even during storage.
Make sure to follow the manufacturer’s guidelines for specific maintenance recommendations and consult your owner’s manual for any additional instructions that may pertain to your specific golf cart model.
When the golf season returns, don’t forget to perform a routine check-up and maintenance tasks before hitting the course. This final step will ensure that your golf cart is ready for action and will provide you with many enjoyable rounds of golf ahead.
By taking the time and effort to properly store and maintain your golf cart during the winter, you can ensure its longevity, protect your investment, and enjoy the best possible performance when the warmer months roll around again.
Frequently Asked Questions about How To Store Golf Cart For Winter
Was this page helpful?
At Storables.com, we guarantee accurate and reliable information. Our content, validated by Expert Board Contributors, is crafted following stringent Editorial Policies. We're committed to providing you with well-researched, expert-backed insights for all your informational needs.


0 thoughts on “How To Store Golf Cart For Winter”