Articles
How To Store Band-Aids
Modified: February 10, 2024
Learn the best methods for storing bandaids in this informative article. Keep your first aid essentials organized and easily accessible.
(Many of the links in this article redirect to a specific reviewed product. Your purchase of these products through affiliate links helps to generate commission for Storables.com, at no extra cost. Learn more)
Introduction
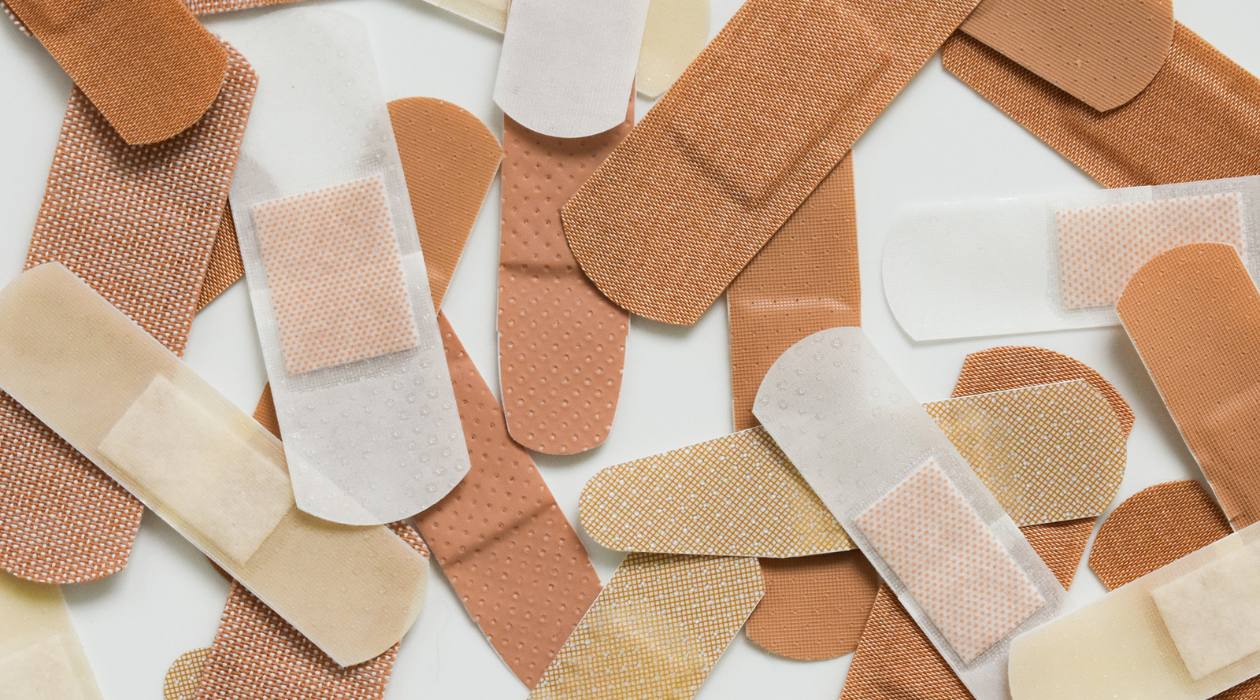
Welcome to the world of bandaids! Whether you have a small cut or a blister, having bandaids on hand is essential for managing minor injuries. But how do you store them properly to ensure they are readily available when you need them? In this article, we will explore the best ways to store bandaids to keep them organized, easily accessible, and in good condition.
Having a designated storage solution for your bandaids not only saves you time when searching for one but also helps to keep them clean and protected from dust, moisture, and other potential contaminants. Additionally, if you travel frequently, you’ll want to consider portable storage options that allow you to carry bandaids with you wherever you go.
Let’s dive into the details of how to store bandaids effectively, and discover the best practices for organizing and protecting these crucial little lifesavers!
Key Takeaways:
- Properly storing bandaids is essential for quick access and longevity. Choose the right container, organize by size and type, and store in a cool, dry place to ensure they’re always ready for minor injuries.
- When traveling, invest in a portable case, use individually wrapped bandaids, and pack extras. Check expiration dates and keep them clean and protected for on-the-go first aid readiness.
Read more: How To Store Rubber Bands
Choosing the Right Storage Container
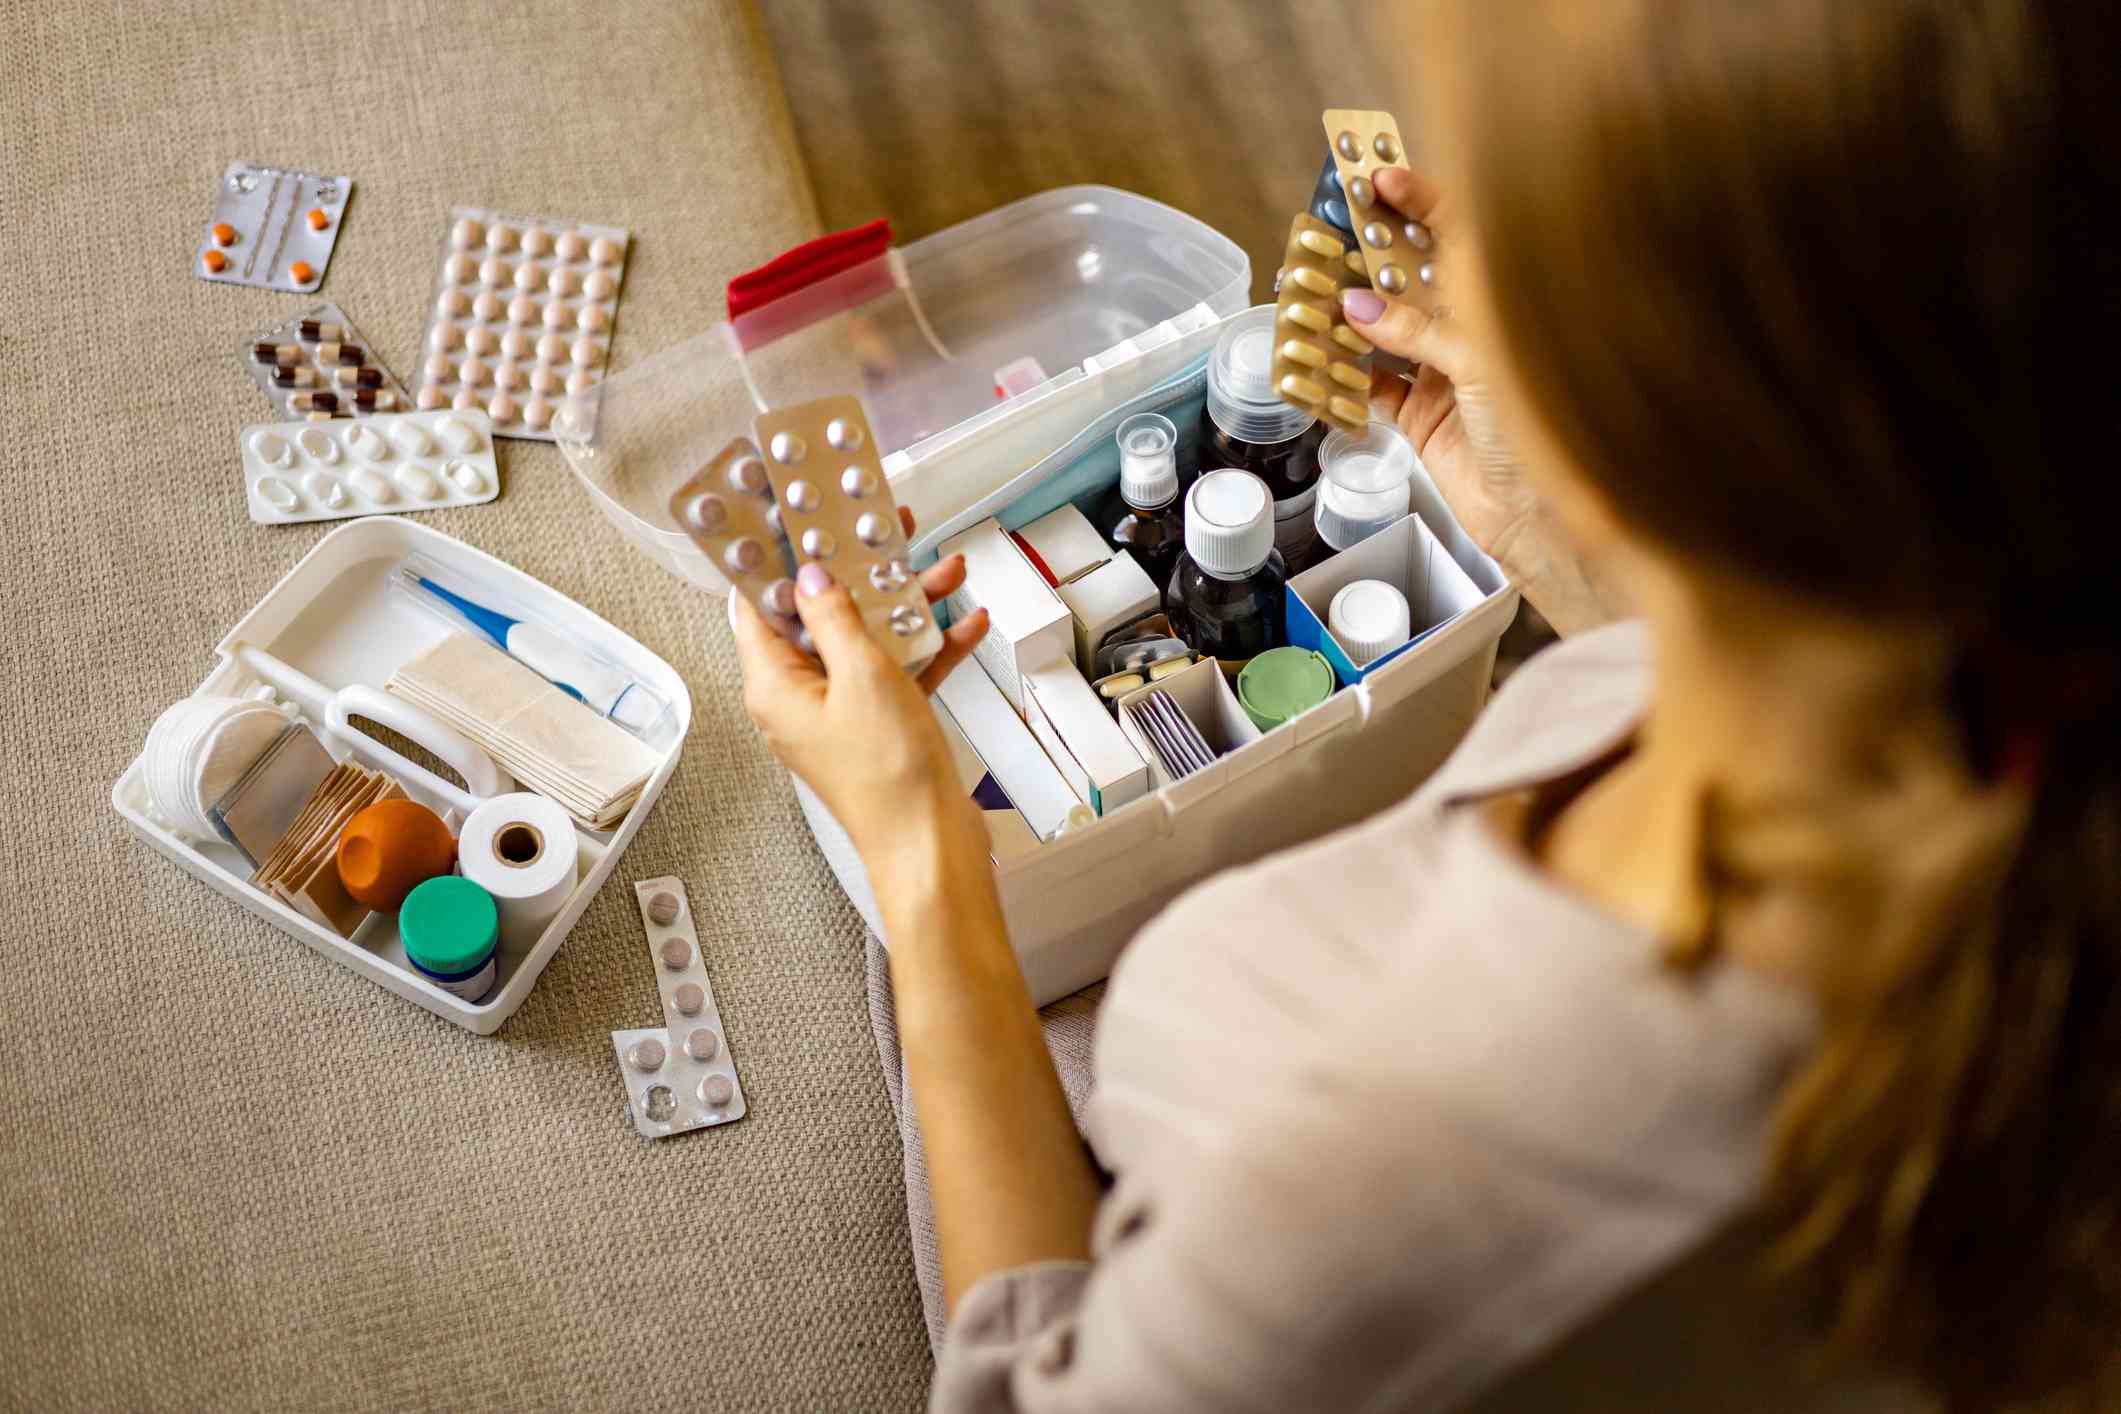
When it comes to storing your bandaids, the first step is to choose the right storage container. This will depend on your specific needs and preferences, as well as the number of bandaids you typically have on hand.
One popular option is a plastic storage box with dividers. These boxes often come with adjustable dividers that allow you to customize the size of each compartment to fit different types and sizes of bandaids. Look for a container with a clear lid, so you can easily see what’s inside without having to open it.
Another convenient and portable option is a small plastic pouch or bag with multiple compartments. These pouches are available in various sizes and designs and are lightweight and travel-friendly. They often have multiple pockets or sections, making it easy to separate and access different types of bandaids.
If you prefer a more eco-friendly option, consider using a small fabric pouch or a reusable silicone storage bag. These materials are sustainable and durable, ensuring your bandaids stay protected and organized.
Regardless of the type of storage container you choose, make sure it’s clean and dry before placing your bandaids inside. This will help prevent any dirt or moisture from getting on the bandaids and potentially compromising their adhesive properties.
Once you’ve selected the appropriate storage container, it’s time to move on to creating a first aid kit!
Creating a First Aid Kit
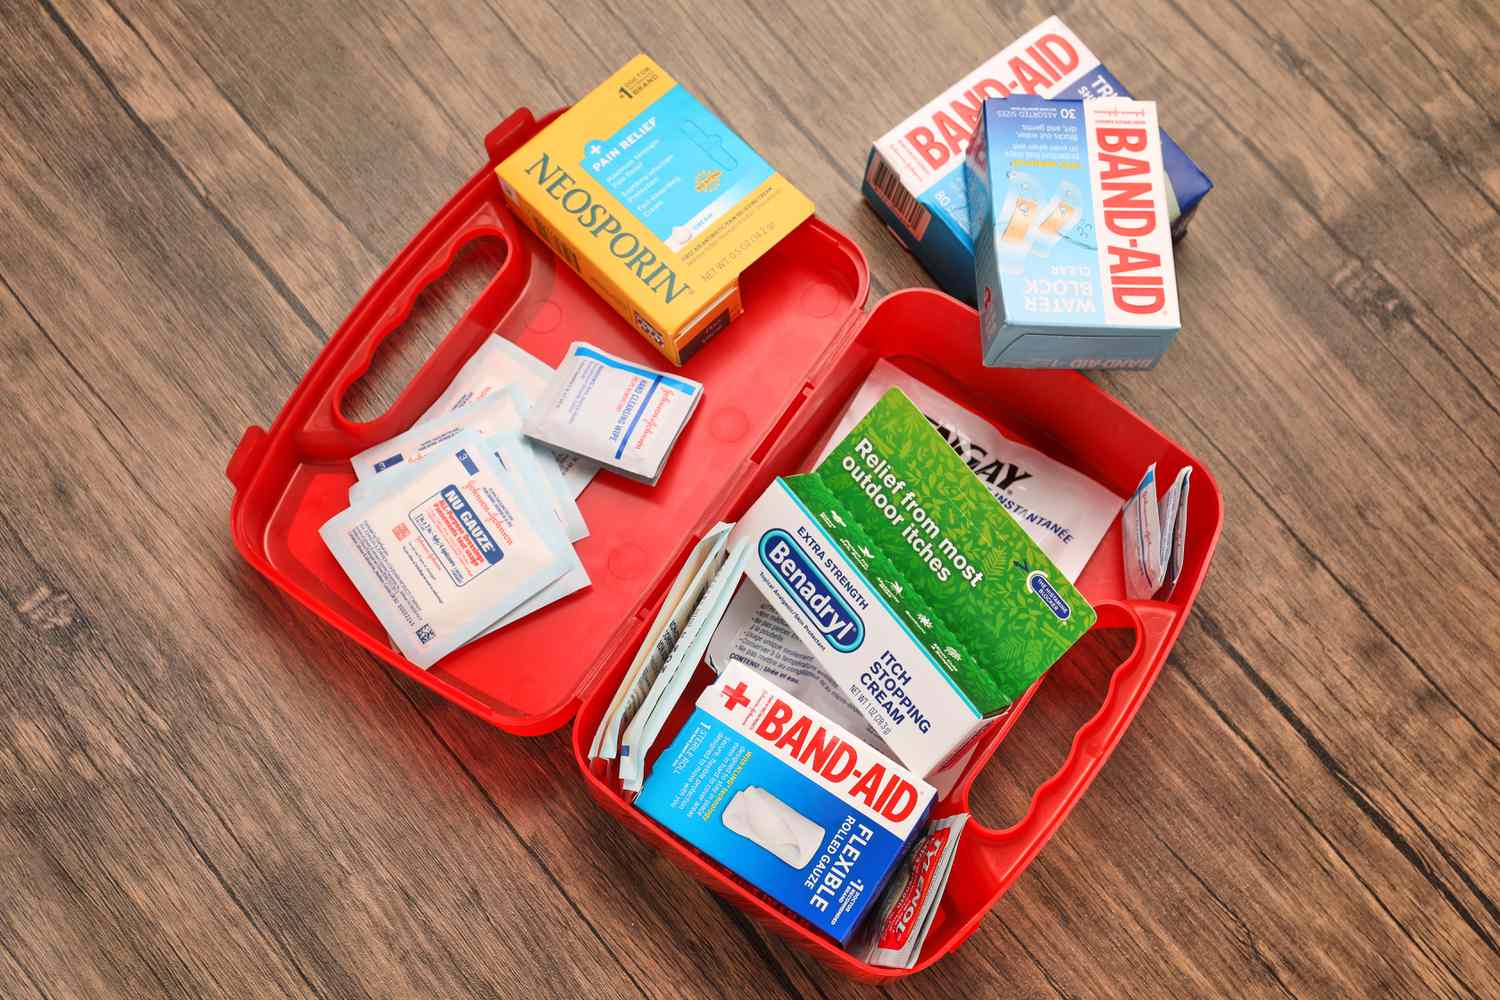
Creating a first aid kit is crucial for ensuring you have all the necessary supplies for handling minor injuries. Apart from bandaids, your first aid kit should include essentials like antiseptic wipes, adhesive tape, gauze pads, tweezers, scissors, and pain relief medication. It’s important to have these items readily available in case an unexpected injury occurs.
To begin, find a sturdy and easily accessible container for your first aid kit. A small plastic box or bag with compartments works well, as it allows you to separate and organize different items. Alternatively, you can use a designated first aid kit pouch or bag, which often come with multiple compartments and even labels for easy identification.
Next, gather all the necessary supplies and organize them in your kit. Place larger items like gauze pads and adhesive tape at the bottom of the container, and smaller items like bandaids and antiseptic wipes on top. Use dividers or small bags within the kit to keep everything organized and easily accessible.
It’s also wise to include a small booklet with basic first aid instructions in your kit. This can come in handy if you or someone else needs guidance on how to properly treat a specific type of injury.
Remember to regularly check and restock your first aid kit to ensure that it is always equipped with fresh supplies. This way, you’ll be well-prepared for any unexpected accidents that may occur.
Now that your first aid kit is ready, let’s move on to organizing your bandaids within it!
Organizing Bandaids by Size and Type
Organizing your bandaids by size and type not only makes it easier to find the right one quickly but also helps to ensure that they stay in good condition for longer periods of time. Here are some tips on how to effectively organize your bandaids within your first aid kit:
1. Sort by size: Start by separating your bandaids into different piles based on their sizes. This can include small round bandaids, large rectangular bandaids, and various sizes in between. By organizing them by size, you can easily locate the most appropriate bandaid for a specific wound.
2. Categorize by type: Once you’ve separated the bandaids by size, further categorize them by type. This can include categories such as waterproof bandaids, fabric bandaids, clear bandaids, or specialized bandaids for blisters or cuts. By grouping them by type, you can quickly identify the specific bandaid you need for a particular circumstance.
3. Use small containers or bags: To keep each category of bandaids neatly organized, consider placing them in small containers or bags within your first aid kit. This will prevent them from getting mixed up or becoming tangled, making it easier to grab the right one when needed. Clear zip-lock bags or small plastic containers with dividers work well for this purpose.
4. Label or color-code: If you prefer an extra level of organization, consider labeling or color-coding the containers or bags that hold each category of bandaids. This can be especially helpful if you have multiple people using the first aid kit, as it eliminates any confusion about which bandaid to use for a particular situation.
Remember to regularly check the condition of your bandaids, particularly the adhesive, as they may expire or lose their stickiness over time. Discard any bandaids that have passed their expiration date or show signs of damage.
With your bandaids neatly organized by size and type, it’s time to discuss the proper storage techniques to ensure their longevity.
Store bandaids in a cool, dry place away from direct sunlight and moisture to prevent them from losing their adhesive properties. A medicine cabinet or a clean, dry drawer is a good option.
Properly Storing Bandaids in a First Aid Box
When it comes to storing bandaids in a first aid box, there are a few important considerations to keep in mind to ensure their proper condition and accessibility:
1. Keep them in their original packaging: Bandaids typically come individually wrapped in sterile packaging. It’s best to keep them in their original packaging until they are ready to be used. This helps to maintain their cleanliness and prevents them from sticking together or getting damaged.
2. Place them in a designated compartment: Most first aid boxes have multiple compartments or dividers. Assign a specific compartment or section of your first aid box specifically for storing your bandaids. This helps to keep them separate from other medical supplies and prevents them from getting lost or misplaced.
3. Arrange them by expiration date: Bandaids have an expiration date printed on the packaging. When storing them, arrange them in such a way that the ones with the closest expiration dates are easily accessible. This ensures that you use the bandaids before they expire and helps to maintain a fresh and effective supply of bandaids in your first aid kit.
4. Keep them away from direct sunlight and moisture: It’s important to store your first aid box in a cool and dry place to prevent the bandaids from being exposed to excessive heat or moisture. These conditions can affect the adhesive properties of the bandaids and render them less effective. Consider placing a moisture-absorbing packet or silica gel within the box to minimize moisture buildup.
5. Regularly check and restock: Make it a habit to periodically check your first aid box and restock any bandaids that have been used or have expired. This ensures that your kit is always equipped with a fresh supply of bandaids when needed.
By following these storage guidelines, you can ensure that your bandaids are readily available and in good condition, ready to provide quick relief for minor injuries.
Now, let’s explore how to store bandaids for travel, so you can be prepared even when you’re on the go.
Read more: How To Store Resistance Bands
Storing Bandaids for Travel
When it comes to traveling, having bandaids readily accessible is essential for addressing any unexpected injuries or blisters that may occur. Here are some tips on how to store bandaids effectively for travel:
1. Use a portable travel case: Invest in a small, compact travel case specifically designed for first aid supplies. Look for one with separate compartments or sleeves to keep your bandaids organized and easily accessible. A travel case with a zipper closure will also help to prevent them from falling out or getting tampered with during transit.
2. Opt for individually wrapped bandaids: While carrying a bulk pack of bandaids may be convenient, it can take up unnecessary space in your travel bag. Instead, consider packing individually wrapped bandaids. These are compact and take up less space, allowing you to carry a variety of sizes and types without adding extra bulk to your luggage.
3. Utilize a pillbox: If you have limited space or want a more compact storage option, repurpose a pillbox to store a few bandaids. Simply remove the medication divider and place individual bandaids in each compartment. This way, you can easily slip the pillbox into a pocket or purse without taking up much space.
4. Use sealable plastic bags: To keep your bandaids clean and protected during travel, place them in small sealable plastic bags. This helps to prevent them from getting damaged or contaminated by other items in your bag. You can also label the bags based on the size or type of bandaid for easy access when needed.
5. Pack extras: It’s always a good idea to pack more bandaids than you anticipate needing. Travel plans can change, and you may encounter situations where you or someone else requires additional bandaids. Having extras ensures you’re prepared for any unexpected injuries during your journey.
Remember to check the expiration dates of your travel bandaids and discard any that are past their prime. Before you embark on your trip, double-check that your travel first aid kit is securely packed and easily accessible in your luggage.
By following these tips, you can travel with confidence, knowing that you have bandaids readily available for any minor injuries that may occur along the way.
Now, let’s conclude our article on storing bandaids with a summary of the key points we’ve discussed.
Conclusion
Properly storing bandaids is essential for keeping them organized, easily accessible, and in good condition. By following the tips outlined in this article, you can ensure that your bandaids are always ready to provide quick relief for minor injuries, whether you’re at home or on the go.
Choosing the right storage container, such as a plastic box with dividers or a portable pouch, is the first step towards effective organization. Keeping your bandaids in their original packaging and placing them in a designated compartment within your first aid kit helps maintain their cleanliness and prevents damage.
Organizing your bandaids by size and type further enhances accessibility. Sorting them into categories and using small containers or bags keeps each type neatly organized. Consider labeling or color-coding for added convenience.
When storing bandaids in a first aid box, make sure to arrange them by expiration date and keep the box in a cool, dry place away from direct sunlight and moisture. Regularly check and restock your first aid kit to maintain a fresh supply.
For travel purposes, invest in a portable travel case or repurpose a pillbox for compact storage. Individually wrapped bandaids and sealable plastic bags keep them clean and protected. Remember to pack extras and check expiration dates before departing.
By implementing these best practices, you’ll be well-prepared for any minor injuries that may come your way. Remember to regularly check and restock your supply, ensuring that you have a fresh and effective stash of bandaids available at all times.
So, next time you need a bandaid, you can confidently reach into your well-organized storage solution and quickly find the perfect one for the job!
Frequently Asked Questions about How To Store Band-Aids
Was this page helpful?
At Storables.com, we guarantee accurate and reliable information. Our content, validated by Expert Board Contributors, is crafted following stringent Editorial Policies. We're committed to providing you with well-researched, expert-backed insights for all your informational needs.


0 thoughts on “How To Store Band-Aids”